
Hello Everyone!
It is now officially October. The time of season when we can enjoy everything pumpkin and can start preparing for Halloween.
In my last blog, I showed you how to make a wreath out of little more than a ceiling medallion and paint. In this post, I will give you the links to make your own paper bats and paper mice to decorate the inside of your home. Again, I am sad to say, that these are not my ideas. I saw one of them, the mice, in a Martha Stewart "Real Living" magazine about a decade ago. Lucky for you and for me, this project seems to be very popular and you can now find the instructions for how to make them online.
I thought about just attaching link, but I thought that it may be helpful if I put the instructions here.
Paper Mice
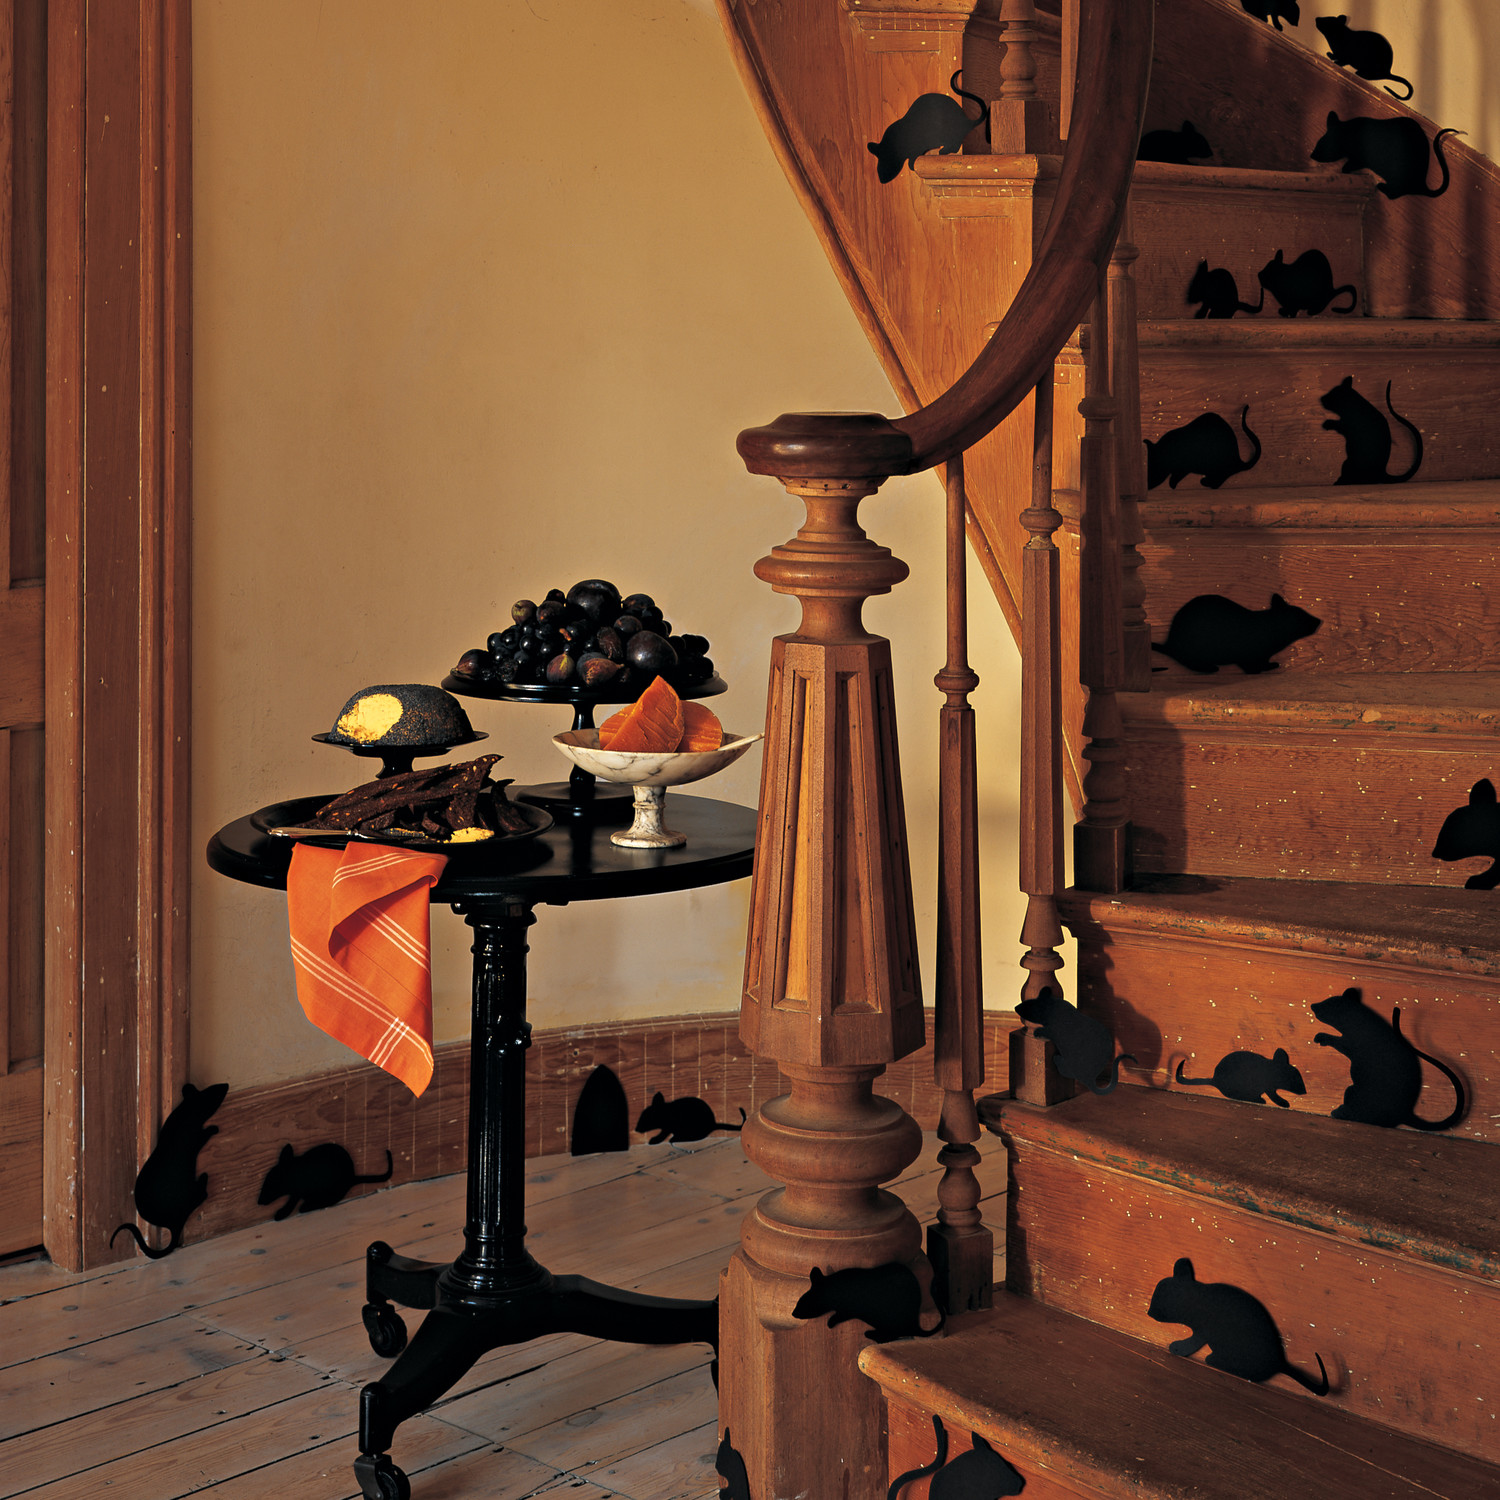 |
| This was the picture I saw in the magazine that made me want to do this project. I did not take this picture. Some very talented person working for Real Living did. Aren't the mice adorable?!?!? |
Materials
Black construction paper or scrapbook paper
White pencil or gel pen
Scissors
Tape
Access to a printer
Instructions
1. Click on the link below and print the templates on stock paper. (You can use regular paper but its easier to trace around the template if the paper is slightly thicker.)
http://assets.marthastewart.com/d4/1005/1005_creepymice.pdf
2. Carefully cut around the mice. (Be very careful around the tails, they are quite fragile and can tear off very easily.
3. Place your mice templates on black construction or scrapbook paper and trace around them with a white pen or pencil. (You can use a regular pencil, but this is harder to see.) Trace the amount of mice that you wish to do for your project. Personally, I like to have a lot of mice, so I did a couple dozen. I like to tape them to walls, mantles, on furniture that touches the floor.......... You're getting the idea.
4. Carefully cut the mice out. Again, be careful of the tails.
5. Using tape, attach them to anything that you think mice would get on.
Sticking with the rodent theme, it is now time to move on to paper bats. I saw this in a Home and Gardens magazine a few years ago and fell in love. How can you not love something that is so simple, easy, and cheap to do that changes your house décor so quickly? I cannot find the original ones that I use, but Martha Stewart didn't let me down and has her own paper bat templates.
Again, I have included instructions.
Flying Paper Bats
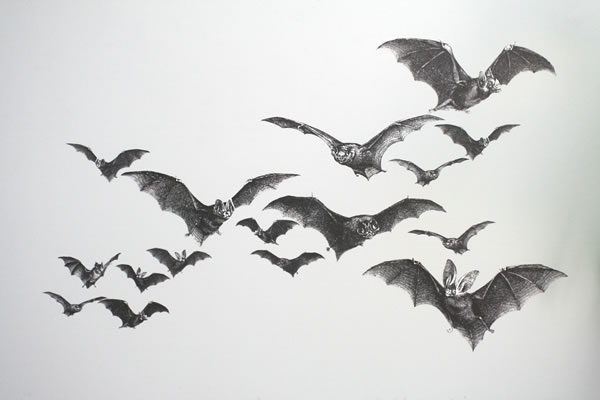 |
| This is actually a drawing of bats, but this is sort of the pattern that you want to put your bats in to make them more realistic. |
Materials
Black scrapbook paper (You can use construction paper, but it doesn't work as well.)
White pencil or gel pen
Scissors
Tape
Access to a printer
Instructions
1. Click on the link below and print the template on stock paper. (You can use regular paper if no stock paper is available.)
http://images.marthastewart.com/images/content/web/pdfs/2012/good-things-bat-wings-msl1012.pdf
2. Carefully cut around the bat templates.
3. Fold the black scrapbook paper in half.
3. Place the bat templates onto the folded edge of the black scrapbook paper and trace around them using a white pen or pencil.
NOTE: You don't have to use black scrapbook paper, but I would highly recommend it. These bats are going to be folded and placed on the wall. You want them to hold their shape and not look wilt-y and that is not going to happen for very long if you use construction paper.
4. Cut bats out of the paper. (This process is a lot like making creepy paper snowflakes.) Again, the amount you want is up to you, but I like to do a couple dozen.
5. Fold the wings along the body of the bat. (See the template for where to fold.)
6. Put tape on either of the wings or the center of the bat. Switch them up so all of the bats look different. When you tape them to the wall, start with one or two and then fan them out using more and more of them. This will give the look that happens when you have bats flying out of a cave.
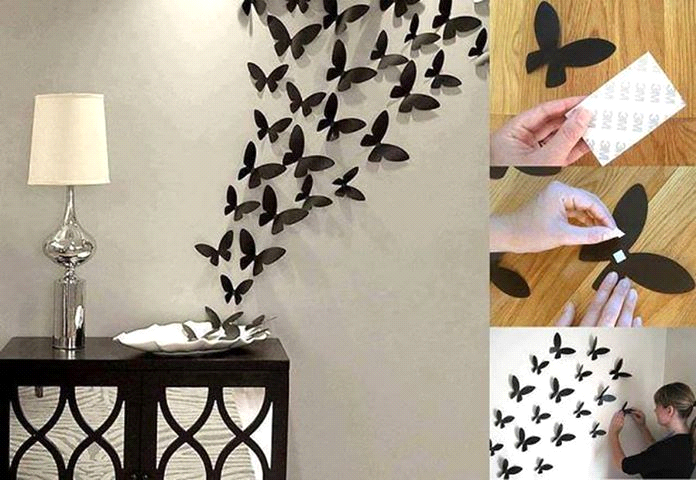 |
| I know these are butterflies! But this best shows the shape I am trying to describe. |
Keep coming back to the site because I have more simple, easy Halloween crafts that I am going to be posting!
No comments:
Post a Comment