
It is time, yet again, for another Halloween craft post.
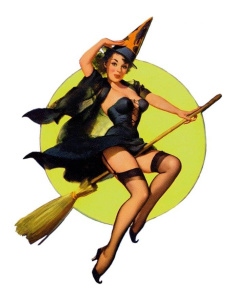 |
| I know its not the first thing that you look at when you see this picture, but look at her shoes! Those are just the cutest little witches shoes with the turned up toes!!! |
As I am sure that I have mentioned, I live in Louisiana. That means that, even in October, when temperatures are supposed to be dropping and leaves should be falling, the temperatures remain impossibly hot and everything is still green. While this is a great thing for my herb garden, it is not a great thing for carving pumpkins. Carving a real pumpkin in Louisiana is something that almost has to be done the day of Halloween or it will be spoiled and rotten before the trick-or-treaters ever arrive on your doorstep. I love to carve pumpkins. But I also love to carve very elaborate pumpkins that take me hours to do and I hate to see all my hard work rot after just a day. Which is why I have started to invest in foam pumpkins and have decorated them in a variety of styles.
The fantastic thing about foam pumpkins as a frugal option is that they do not rot and you can reuse them year after year. Usually hobby stores have them on sale for about half off during Halloween and, if they don't, that is what half off on any regular priced item coupons are kept for.
Today I will be showing how to make a pumpkin that is designed more for inside your house than outside on your doorstep. It is very easy to do but, unlike some of my previous craft projects I have shown you so far, this one will take a little bit of skill to do.
Edgar Allen Poe Raven Pumpkin
 |
| I love the little paper mice that I put behind the pumpkin! I think it just gives it that added spookiness. |
1 white foam pumpkin (I used a white/cream Funkin pumpkin.)
1 black calligraphy marker
1 pencil
Painters tape(Can also use string or rubber band if don't have painters tape)
1 fake crow/raven (I got mine from the dollar store.)
Instructions
1. Find a copy of Edgar Allan Poe's The Raven and put the poem where you can easily see it. You will use this for reference. (Unless you have the poem memorized. In which case kudos to you!)
2. Take your pumpkin and, depending on the size of pumpkin that you have chosen to decorate, and wrap the painters tape around the pumpkin. The top and bottom of the tape will be the height of your letters, so space the tape appropriately.
 |
| I know this pumpkin is orange, but I had actually done the Poe Raven Pumpkin last year before I started the blog. (And, to be truthful, I didn't draw lines because I can write in a very straight line free hand.) This pumpkin is what I had this year and is my craft that I am working on for this Halloween. Hopefully, I will finish it in time and be able to show you the completed project. |
3. Lightly draw lines around the pumpkin going along the edges of the painters tape using an erasable pencil. Do not press too hard!!! If you do, you will have a permanent line impression on your pumpkin even after you erase the lines. The width of your lines is up to you. I find it easy to just do this width of the tape (about one inch) as this is easy for me to see and trace. This will be the guideline for your letters.
4. Once the lines are drawn remove the tape. Using a calligraphy pen write down as much of the poem as will fit on your pumpkin.
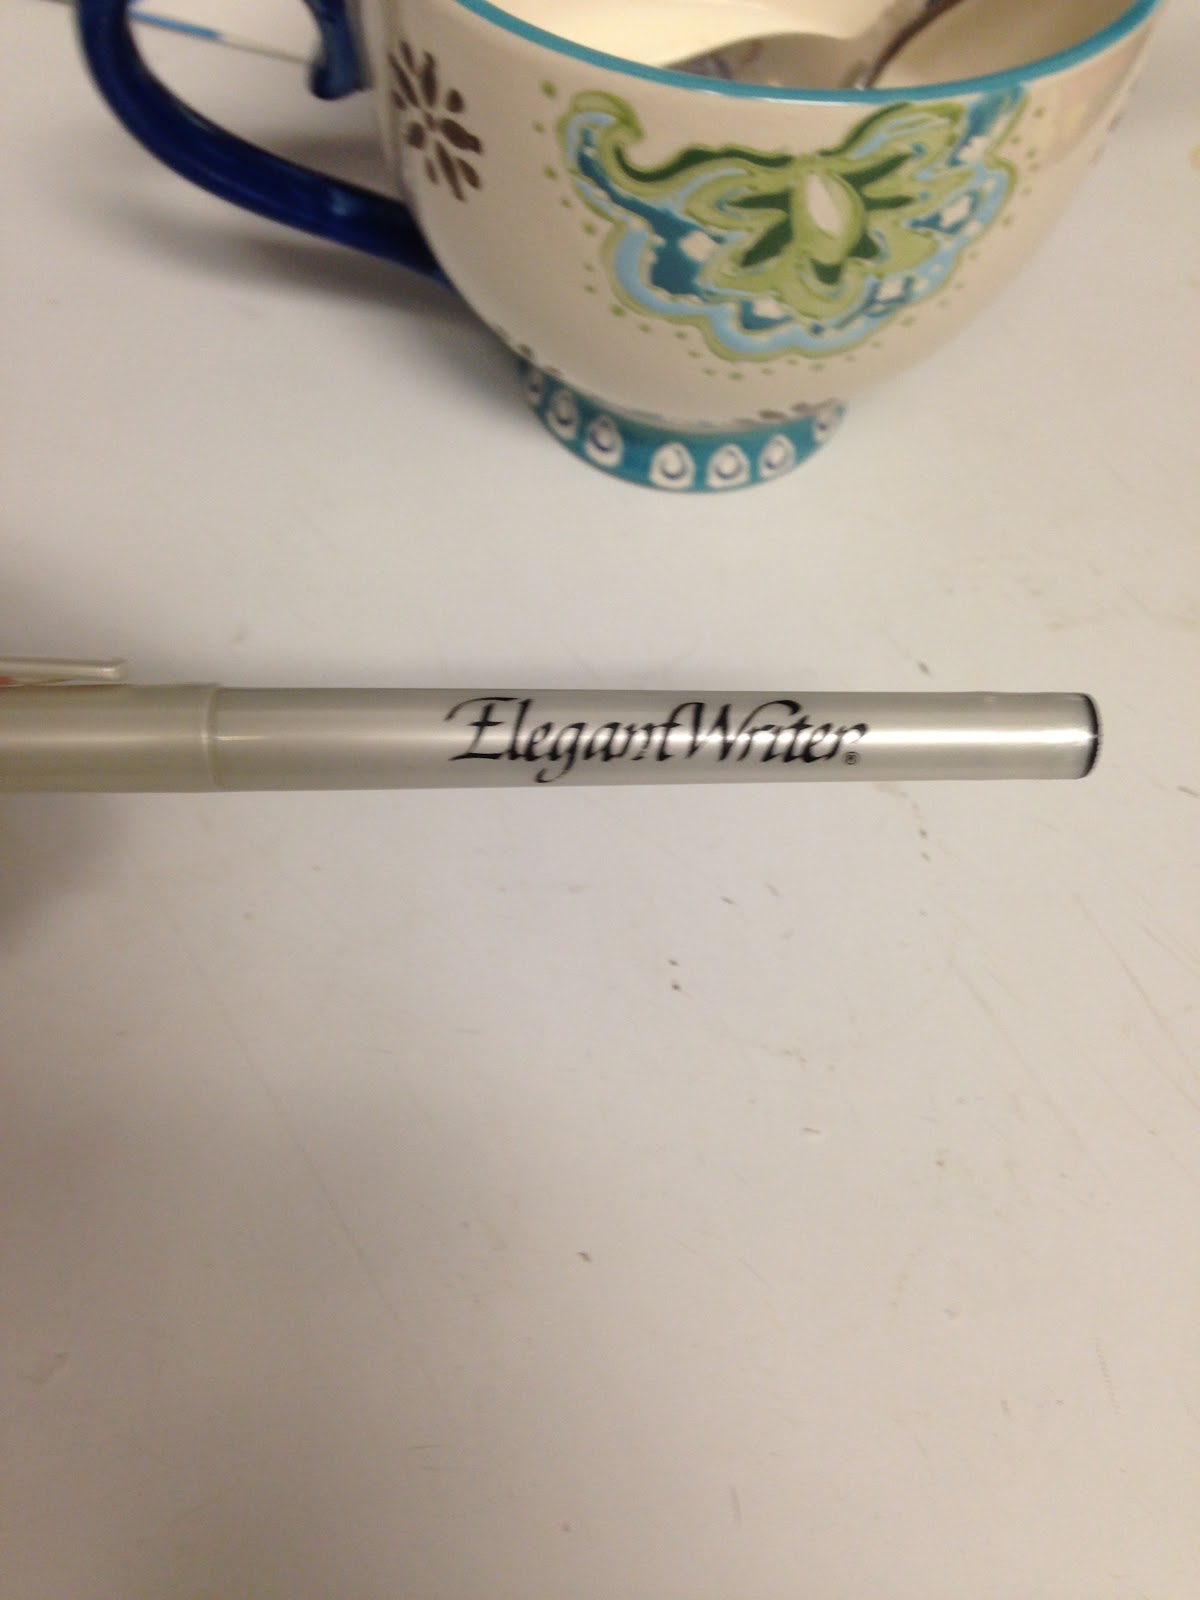 |
| If you get a calligraphy marker like this, it will be easier for you to write on the pumpkin. I have tried using a regular calligraphy pen, and the ink doesn't dry quick enough. |
Again, this depends on the size of both your pumpkin and the size letters that you want to use. This is where the "skill" comes in as you will want to make certain that you handwriting is legible. The good news is, if you hold the calligraphy pen correctly, it will do most of the work for you in making the letters look good.
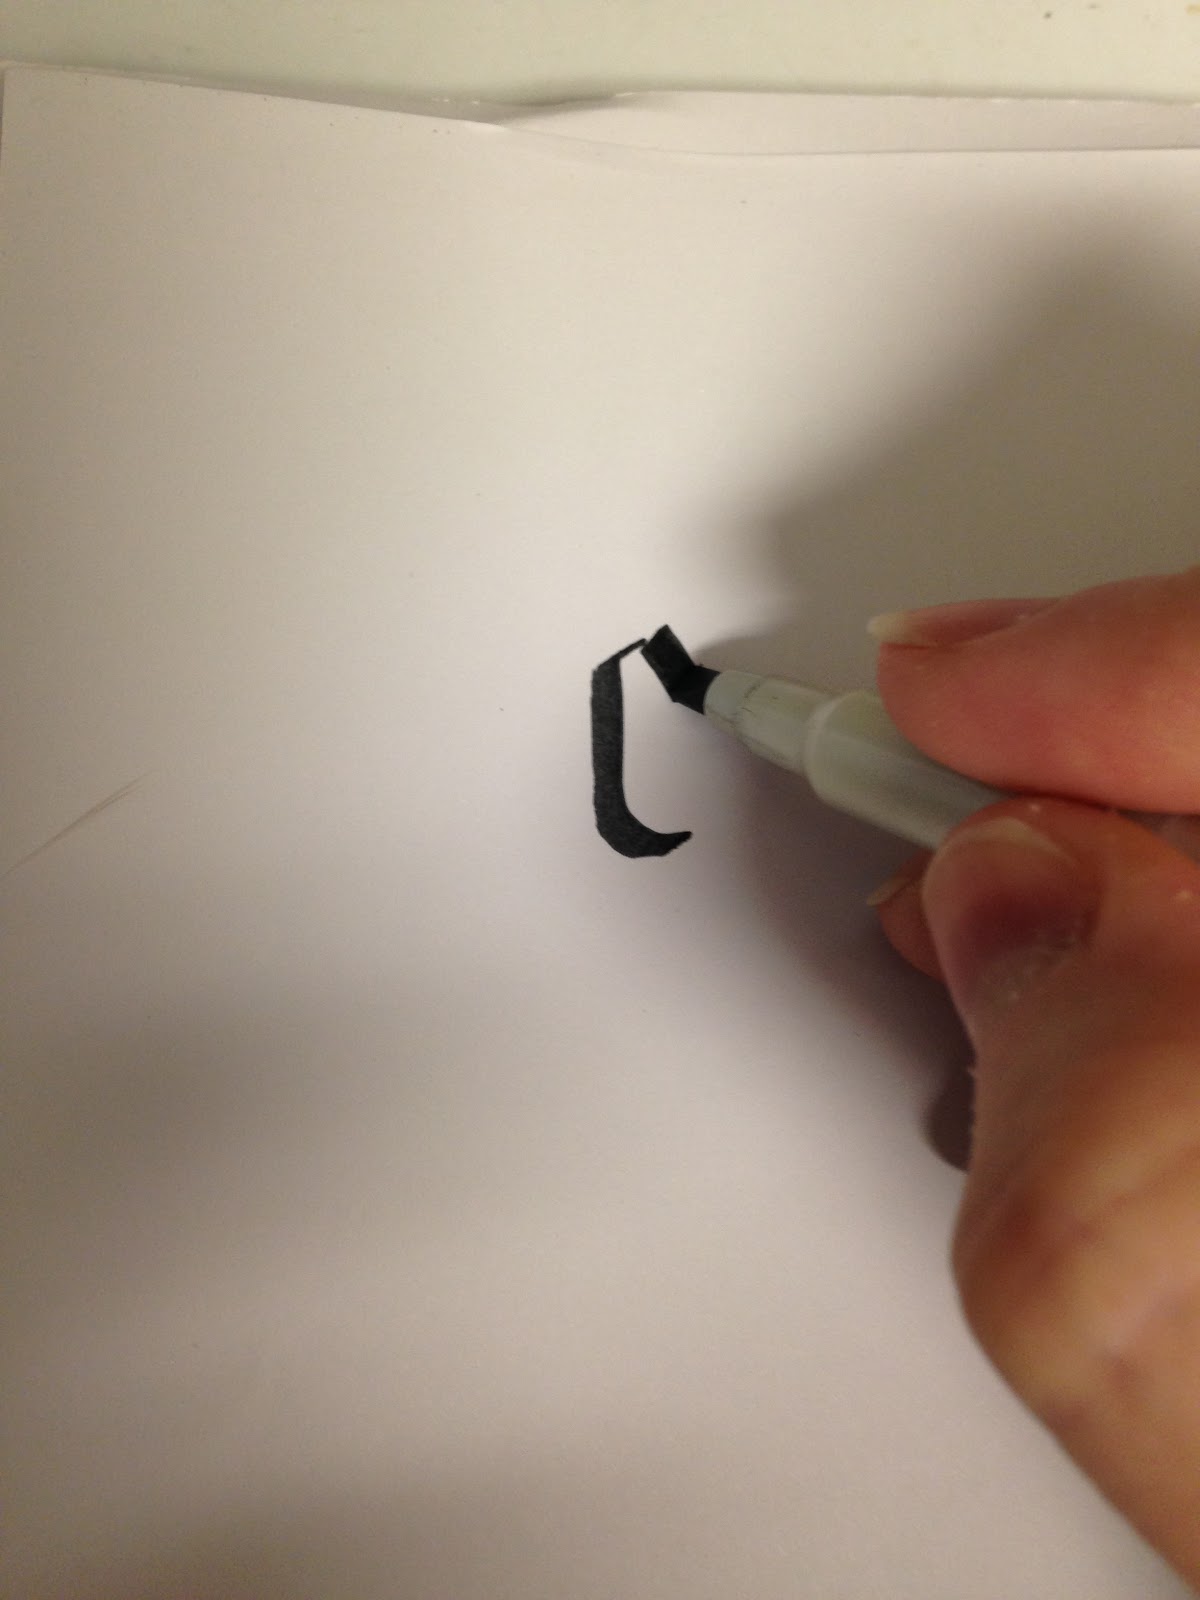 |
| I tried to show you how to hold the marker, but I'm not sure how clear it turned out. You want to hold the marker so that the flat side of the nib is the one that is on the paper most of the time. |
(If you have never used a calligraphy marker before, it is best to practice a little on a piece of paper before writing on the pumpkin.)
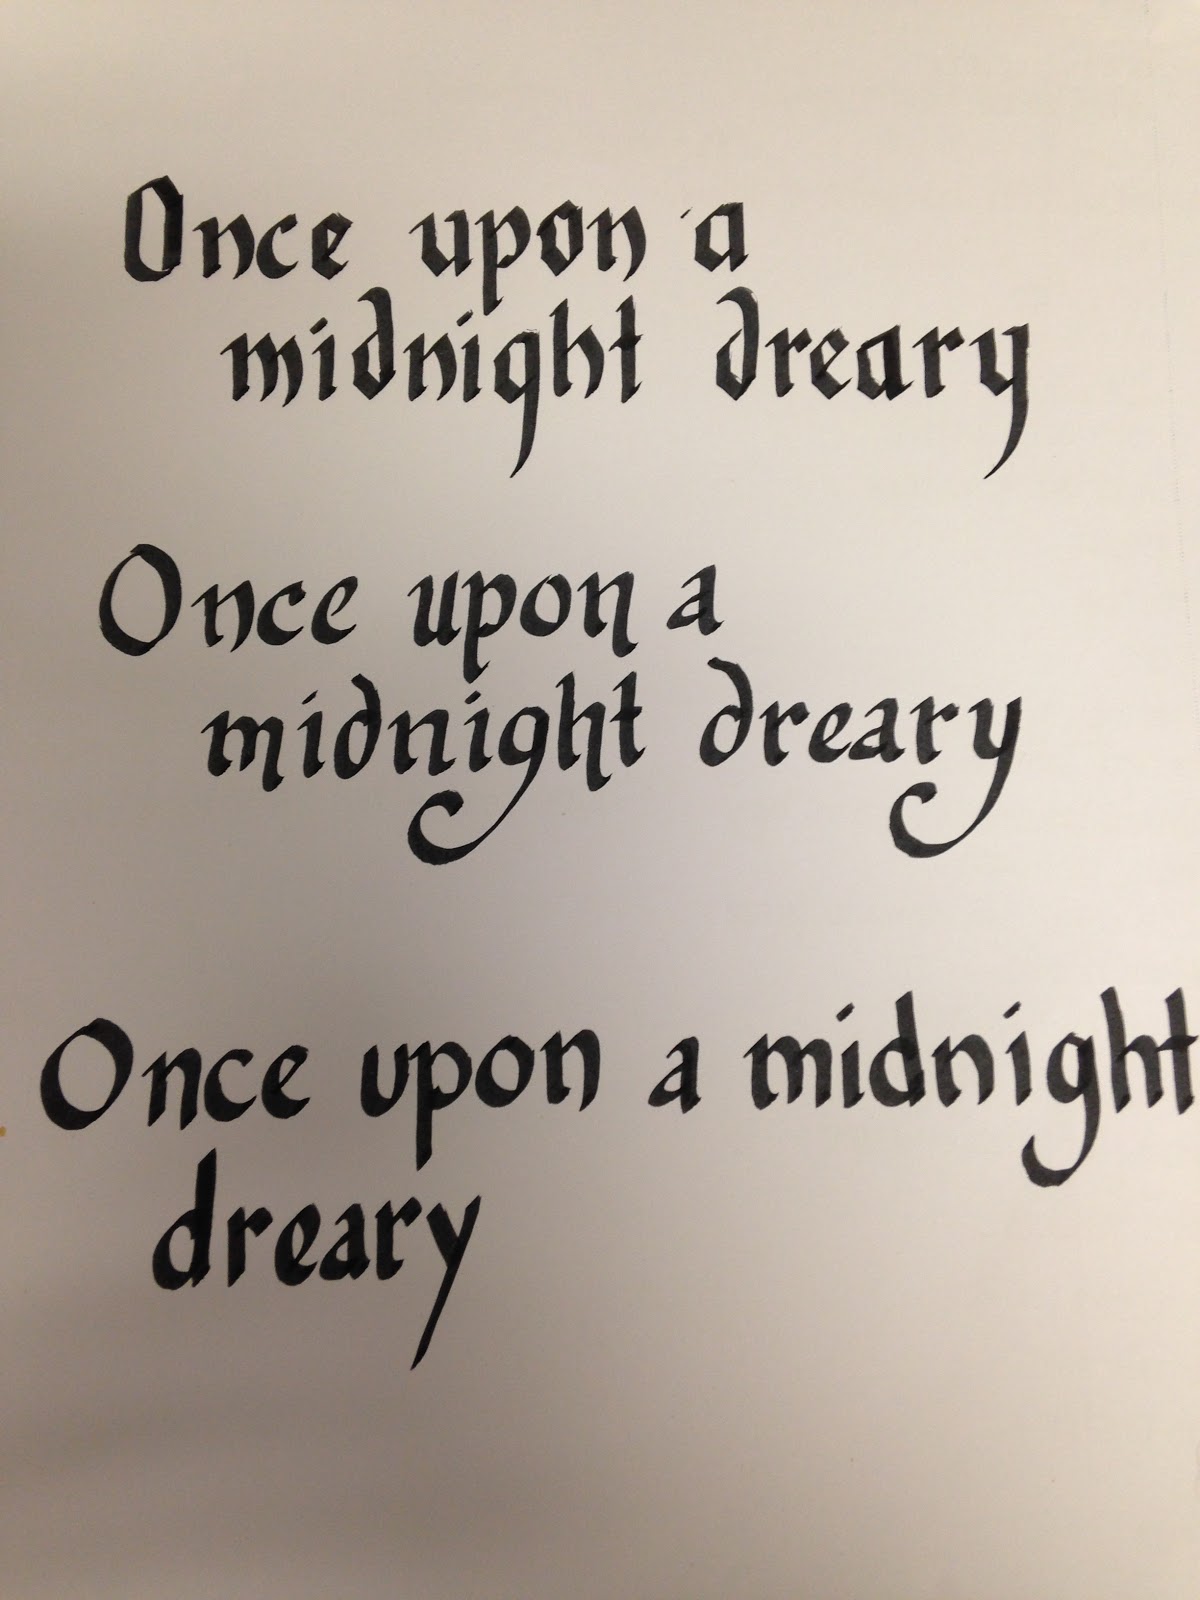 |
| Here are a few samples of the styles that you can do. One is a more standard, Gothic version of calligraphy, the middle is more modernized, and the bottom is just my regular hand writing using a calligraphy marker. (I was in a hurry with that one, so it doesn't look as nice. Sorry.) |
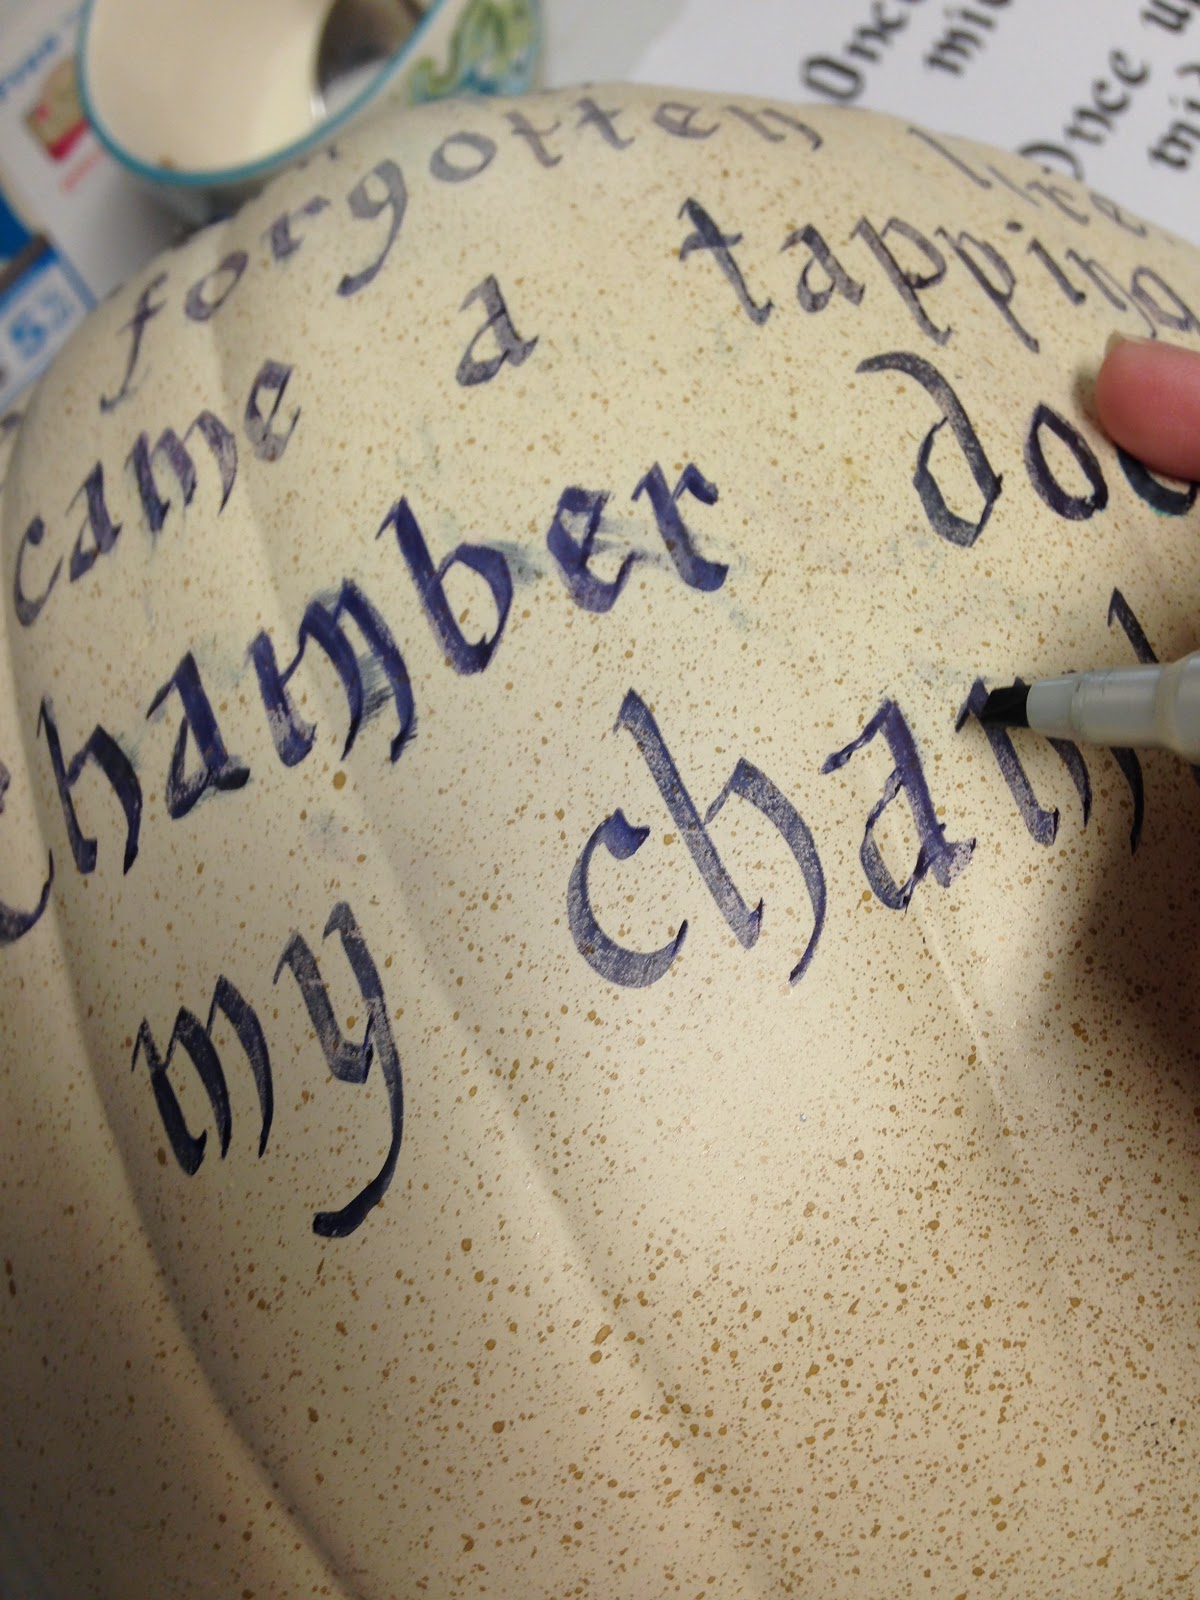 |
| Don't worry about going fast. Take your time. If you go too fast, you will smear your ink. I left mine like this, because I thought it added to the creepiness factor, but if I was doing it for anything other than Halloween, I would have fixed it. You can repair smudges with rubbing alcohol and a q-tip for most calligraphy markers. Just carefully swab the places where the ink has smeared and is cloudy. |
5. Once the pumpkin is filled with writing, and the ink is dry, erase your pencil lines around your pumpkin.
6. Place the pumpkin where you want it to be in your home and place the fake raven on top of it. My raven fits fine on my pumpkin without glue, but you may want to use a hot glue gun to attach your raven to your pumpkin.
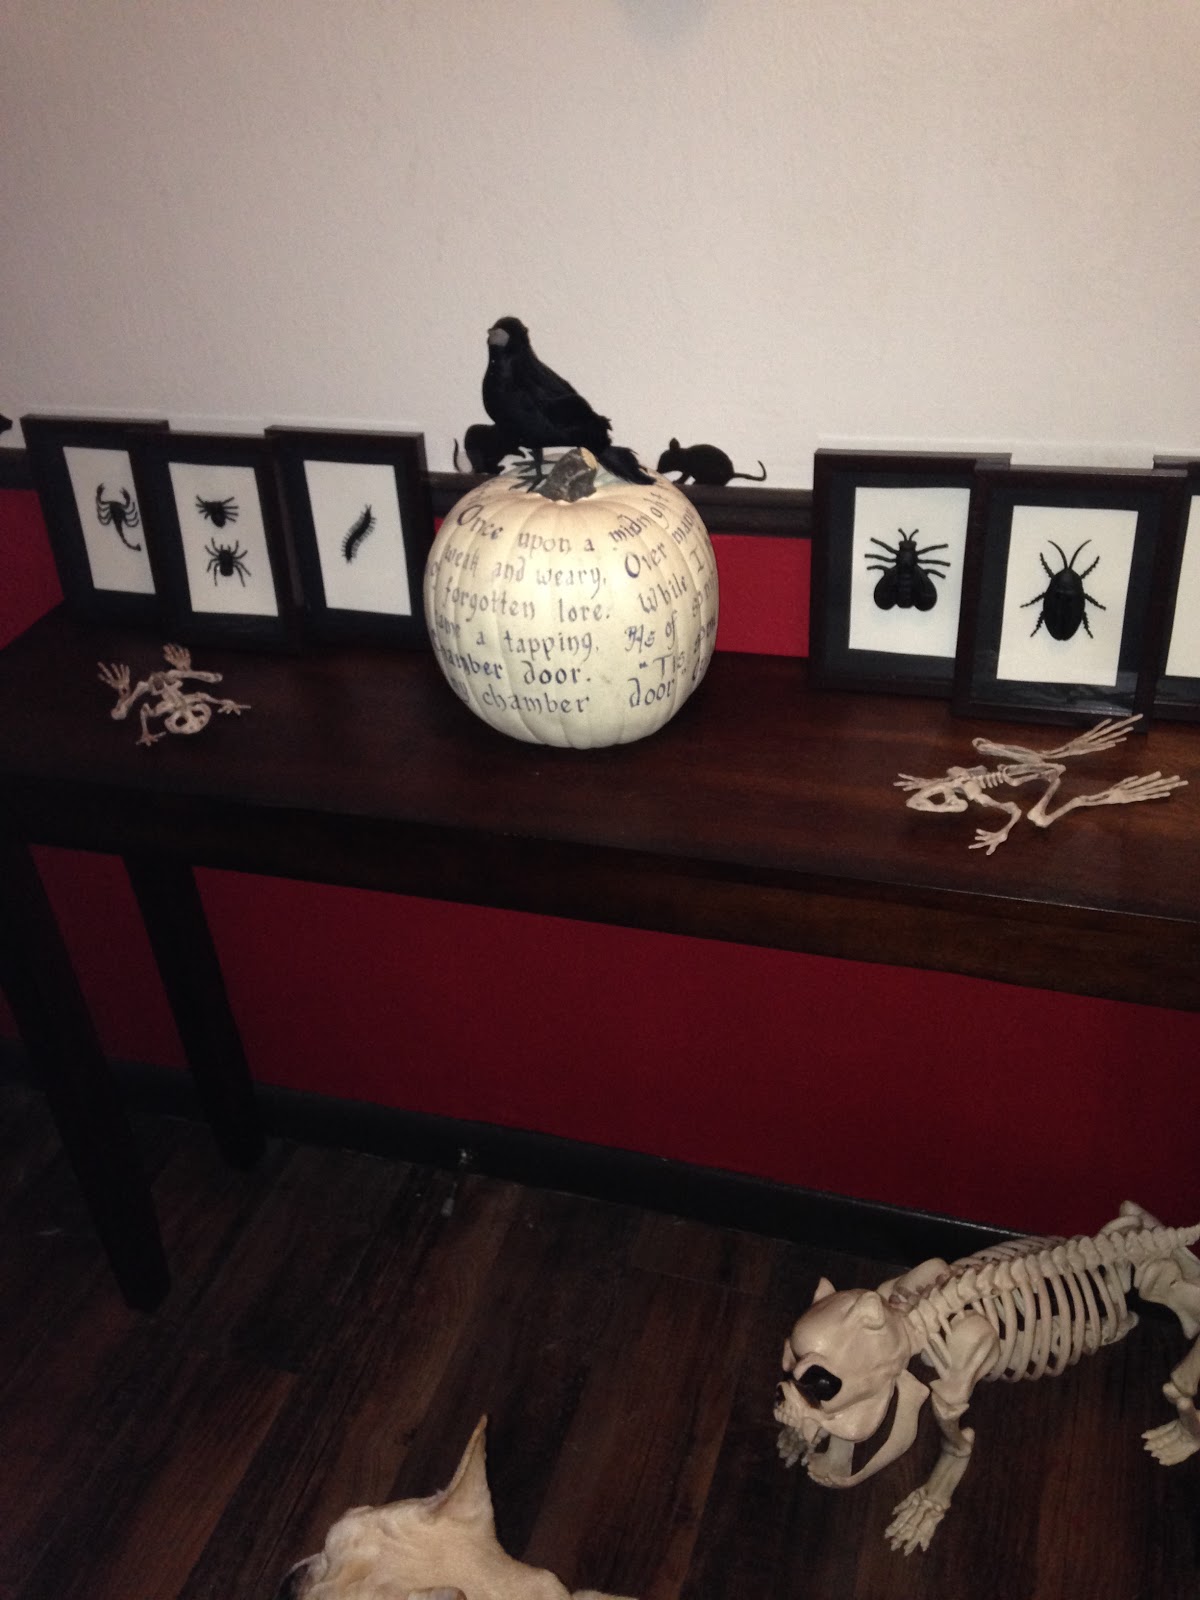 |
| I made the pumpkin the center piece of my hall display this year, but it also looks AWESOME on fire place mantles and as table center pieces for a Halloween dinner party. |
That is it! Another super easy Halloween craft.
If you are wondering how much this one cost, this is one of my more expensive craft projects. The foam pumpkin cost me $10 and the calligraphy pen $3. The raven I got at the dollar store was only $1.
So, in total I spent about $15.00 on this one decoration. But, again, I consider it an investment because I will be using it year after year.
Please keep checking back this week, as I plan to try to kick up the number of postings a little for the week leading up to Halloween to help you prepare for the little ghosts and goblins in your neighborhood!
No comments:
Post a Comment