Hello Everyone!
I hope everyone had a great Thanksgiving and enjoyed a lot of good food. I actually had two Thanksgivings this year as I celebrated the actual holiday with my husband's family and then had a Friends-giving two days later on Saturday.
I have to admit that Friends-giving is my favorite because I can cook whatever I want and have my lovely friends come over and eat it and then we play games and drink wine. It is a great sendoff for the Christmas season.
For my Friends-giving, I prepared the following menu:
Bread Cornucopia
Pear Shaped Blue Cheese Ball
Apple Shaped Cheese Ball
Oil and Vinegar Dipping Sauce
Roasted Turkey
Mashed Potatoes and Gravy
Ratatouille
Pan Roasted Shallots
Cornbread Dressing
Mini Apple Tarts
Mini Pumpkin Pies
Homemade Whip Cream
(I know, I didn't make a lot, but I was trying to keep it simple this year.)
I did figure out how to make my cornucopia, even though they discontinued my refrigerated bread sticks so I had to find another solution. I was very pleased with the result and I will be sharing that recipe with y'all next Thanksgiving since I missed this one.
 |
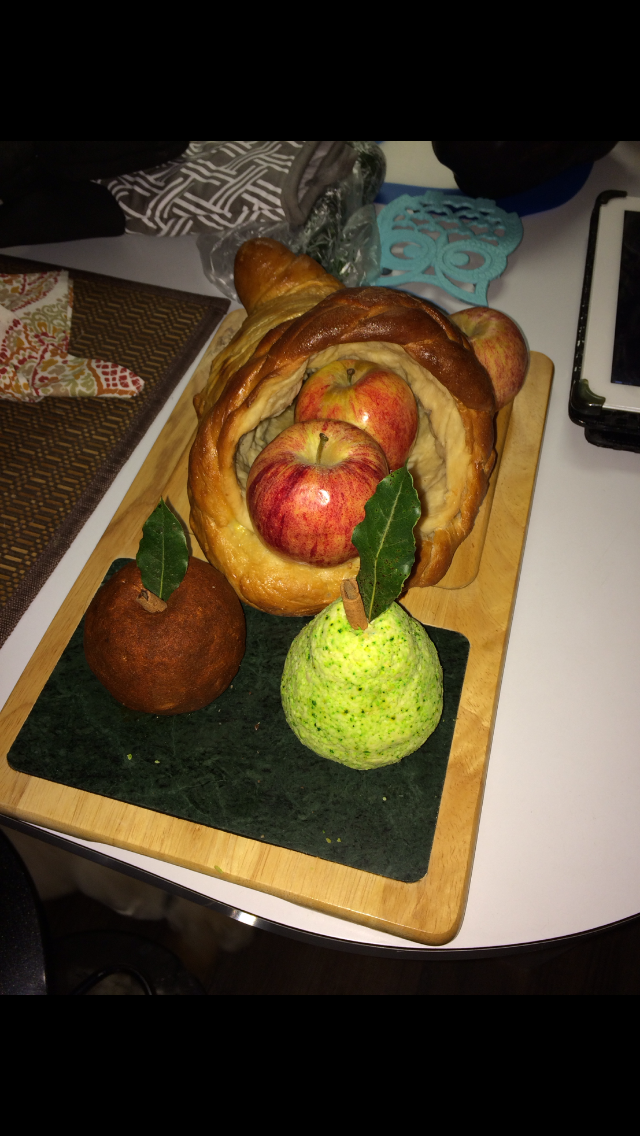
| I usually decorate this more when I am doing a fancy Thanksgiving and using this as the center piece, but this was Friends-giving and I had to use my kitchen counter rather than my serving table, so I went a little more casual than is my usual this year. |
 |
| I just love that this center piece looks good but is also delicious. By the end of the evening, none of this tray was left except for the real apples. |
I will also include the cheese ball recipes when I share the cornucopia recipe.
So, even though I prepared less this year, I still had leftovers. The food items that I had remaining were:
Turkey
Cornbread Stuffing
Pan Roasted Shallots
I also had a leftover beef roast from the previous evening's dinner. (Nicholas' family usually makes a turkey and a beef roast for Thanksgiving, so these are the two meats that are usually leftover to turn into other dinners)
Because I didn't have as many leftovers this year. and because I will be in rehearsals to work backstage for "A Christmas Carol" this year, I will not have the opportunity to make a two week menu. (Next week will be soup and sandwiches for my husband and I.) Instead, I am giving y'all a one week menu, showing you how to make other delicious dinners out of the leftovers that I had from my dinner. (I think most of you will have the same leftovers barring the Pan Roasted Shallots, so I will show you how to make the shallots quickly when they come into play for one of the recipes.)
 |
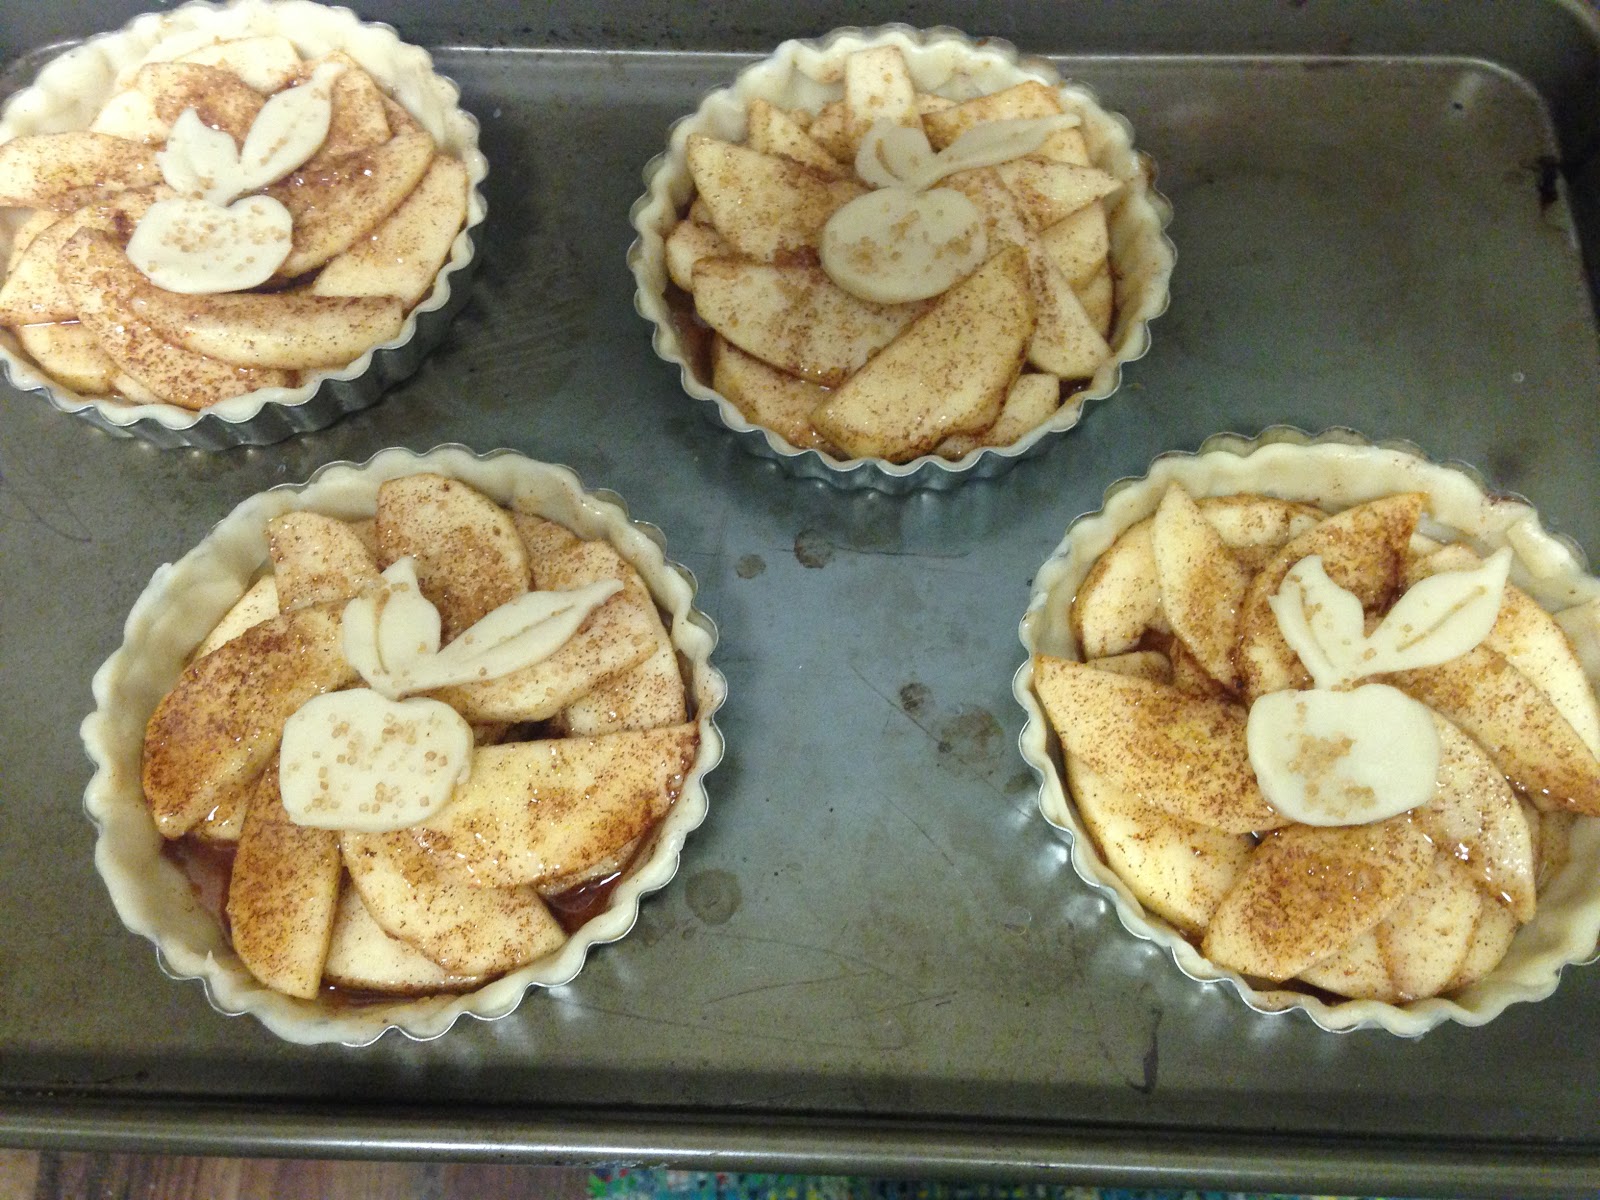
| Just because I think they are pretty, I am showing you the mini apple tarts before they went in the oven. Aren't they cute?!?!?!? I just love miniature versions of food. |
One Week Menu
Sunday - Turkey Piccata Pasta and Roasted Root Vegetables (fresh veggies I had leftover from the Ratatouille that had to be prepared before they went bad)
Monday - Turkey and Sausage Gumbo with Rice and Salad
Tuesday - Beef Burgers with Scallions and Cream Cheese (or chevre) and Leftover Stuffing Balls (Mock Hush Puppies made out of stuffing)
Wednesday - Leftover Turkey Pasta Soup and grilled cheese sandwiches
Thursday - Grilled Chicken Breast with Scallion, tossed salad and simple wild rice pilaf
Friday - Leftover gumbo sandwiches served on french bread (The au jus for dipping is the liquid base of the gumbo) with sweet potato fries (I don't have leftover sweet potatoes, but tis the season so I am including a recipe)
Saturday - Mincemeat Pies (Or for the more cautious of you, I have included a Beef Pot Pie Recipe. The Minced meat will need to be prepped on Sunday and then eaten on Saturday. If you are eating the beef pot pies instead, eat those on Sunday and move all the other dinners down one day.)
Now that we know the Agenda, lets get started!
Traditional Mincemeat Mini Pies
Fooled you! We're not starting with the turkey pasta. Why? Because first we have to prepare the mincemeat for Saturday.

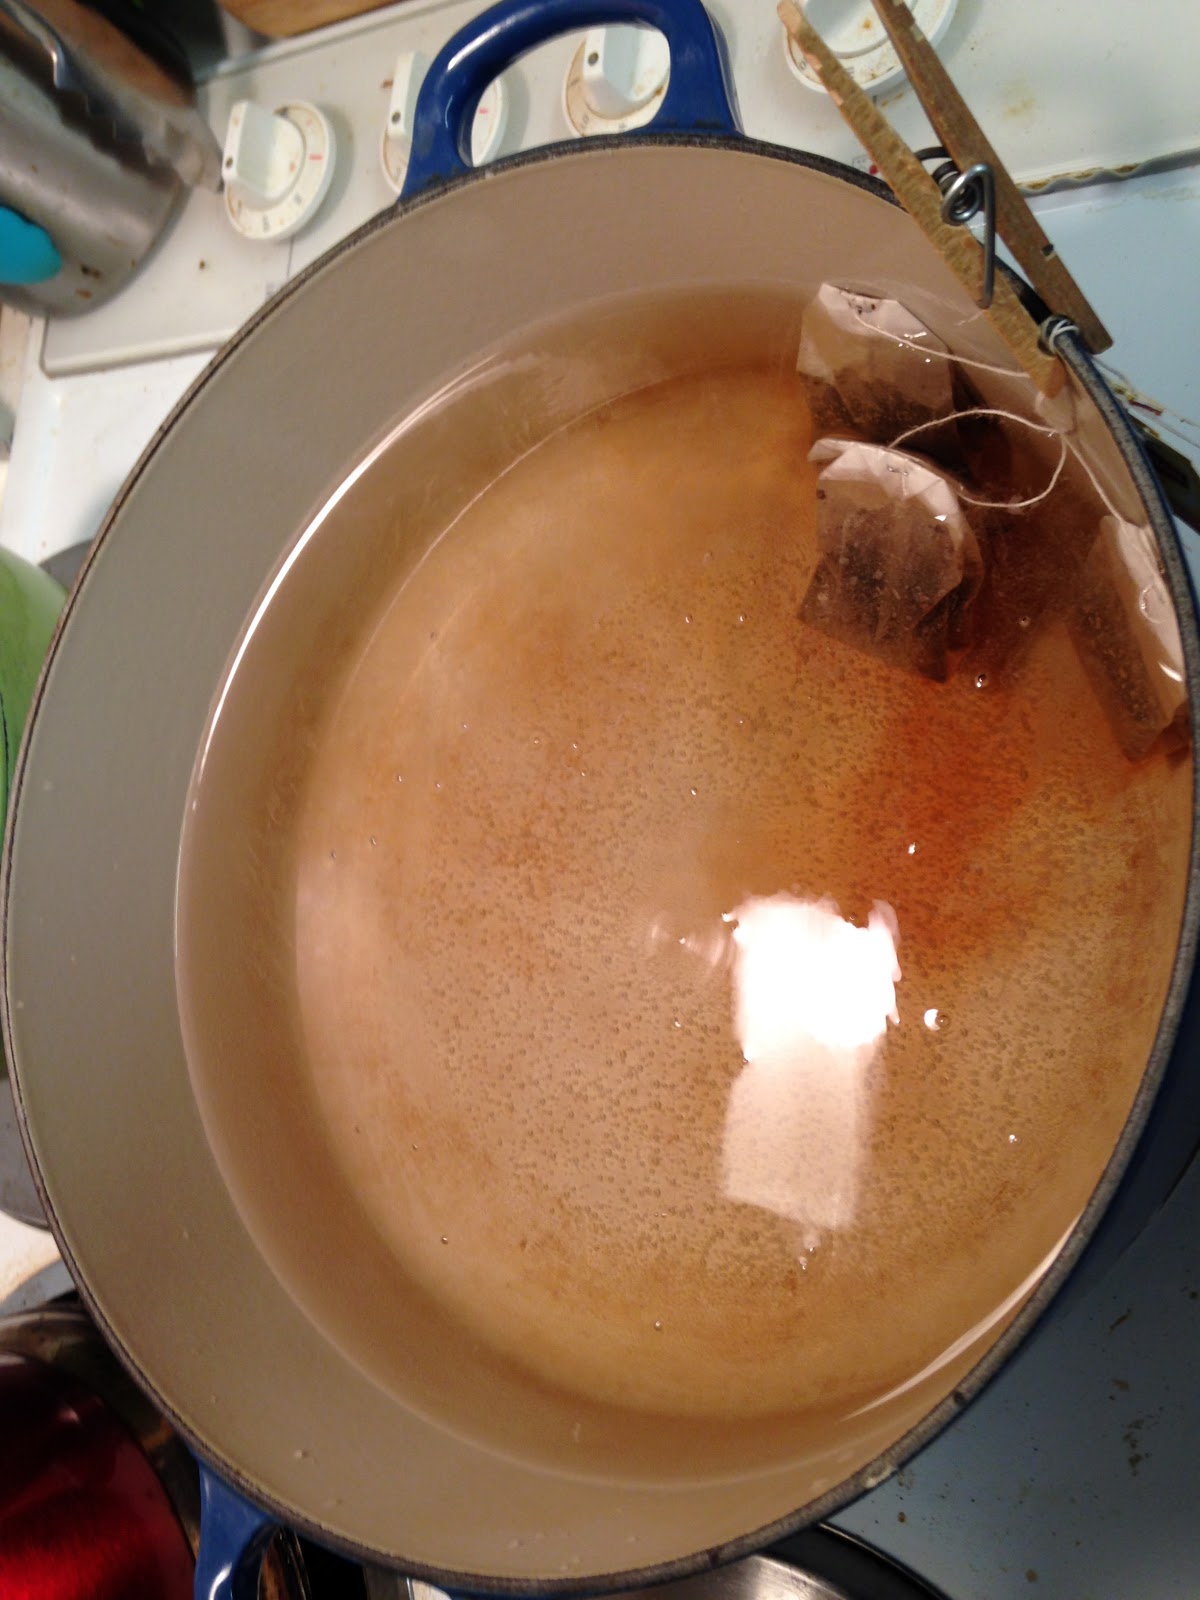
I know that most of us here in the United States have not had mincemeat pies and when we do think about them at all, we tend to think of them as a Christmas dish. But mincemeat pie was one of the dishes that scholars know was served at the first Thanksgiving so I am bringing it back. Most modern day mincemeat pie recipes do not contain meat, but they did back during the first Thanksgiving and they are going to in the recipe that I am going to show in this post today. This mincemeat pie recipe is based off a version that was featured in a cookbook published in 1861 call Mrs. Beeton's Book of Household Management. Ideally, the mincemeat filling should be prepared at least two days and preferably two weeks prior to the making of the pies so that the flavors can combine and meld. But most of us, myself included are a little cautious when it comes to leaving meat in the fridge for two weeks, so I am going to do mine for a little less than a week.
Ingredients
Crust
1 pckg. Pillsbury Refrigerated Pie Crust Dough (You can make your own pie crust dough, but I don't like the hassle of making dough unless I absolutely have to.)
Filling
1 cup finely chopped beef suet (Some people can get this from their butcher. If you cant, freeze a cup of butter - real butter- and finely chop that. Try to touch it with your hands as little as possible because you do not want the butter to melt.)
6 tbsp. currants
6 tbsp. chopped rump steak or roast
1/4 cup raisins
1/4 cup packed dark brown sugar
1 tbsp. brandy
1/2 tsp. and 1/4 tsp. chopped candied citron peel
1/2 tsp. and 1/4 tsp. chopped candied lemon peel
1/2 tsp. and 1/4 tsp. chopped candied orange peel
1/2 tsp. fresh lemon juice
1/8 tsp. to 1/4 tsp. nutmeg (I would start with 1/8 tsp. and if you want a stronger nutmeg flavor, move up to 1/4 tsp.)
1 granny smith apple, cored and finely chopped
grated zest of 1/4 to 1/2 lemon (Again, do 1/4 and if you want more lemon than add the rest)
Instructions
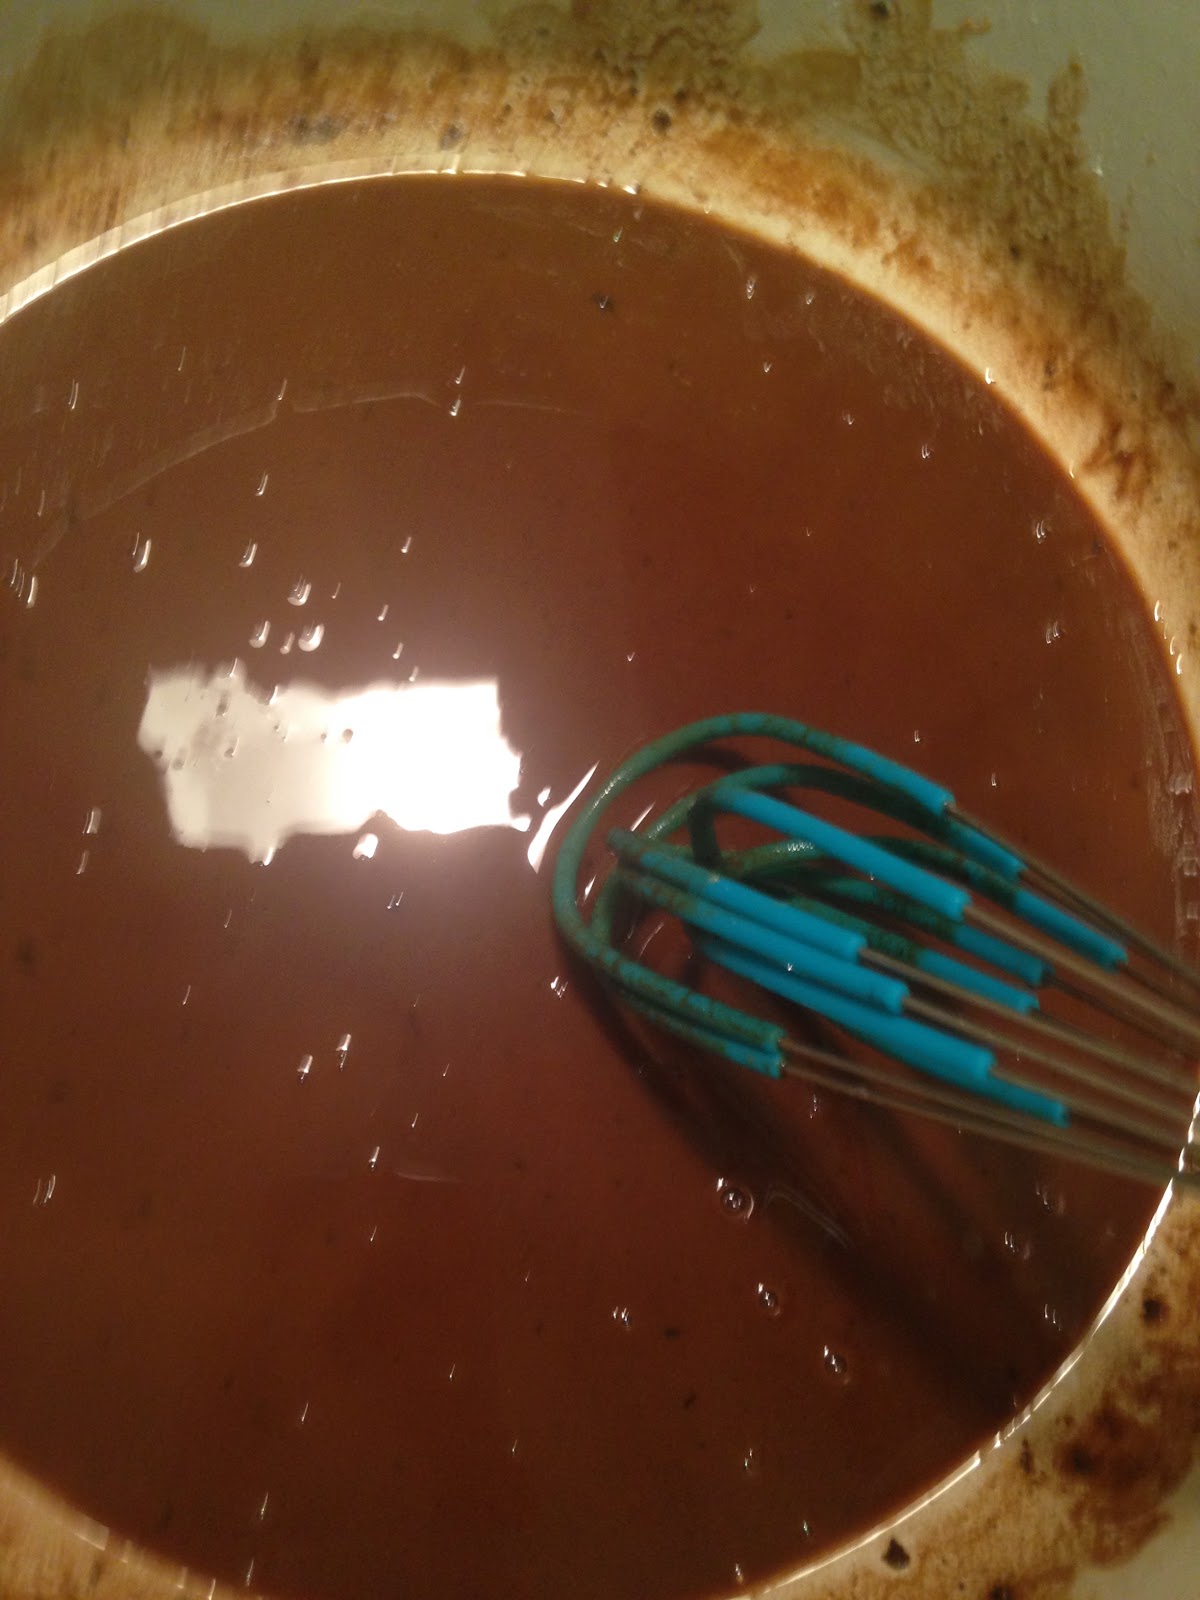
1. In a bowl, combine beef suet, currants, rump steak, raisins, brown sugar, brandy, citron peel, lemon peel, orange peel, lemon juice, nutmeg, apples and lemon zest. Mix well.
2. Transfer mixture to a large mason jar and screw on the lid. Refrigerate for two days to 2 weeks.
That is all you are getting of that for now. I will continue this recipe on Saturday when I actually make the dish. I will also include the beef pot pie recipe at that time. Don't worry, I will include the full recipe on Saturday. I just did this so you would know how to prepare the mincemeat.
Turkey Piccata Pasta
This is a nice lighter dish after eating some of the heavier dishes you get during Thanksgiving.
 |
| Basil wants some pasta. |
Ingredients
1 handful linguine, dry
2 tbsp. unsalted butter
2 tbsp. bottled capers, rinsed and drained
1/4 cup reserved pasta water
1 1/2 tbsp. lemon juice, freshly squeezed
1 cup cooked turkey meat, bite-size
1 1/2 tsp. dried dill
1/2 tbsp. extra virgin olive oil, (You can used flavored olive oils, garlic is good with this one as is a Tuscan blend)
Kosher salt and freshly ground pepper (to taste)
1/4 cup parmigiano-reggiano cheese, freshly grated
Instructions
1. Cook linguine according to package directions until pasta is al dente.
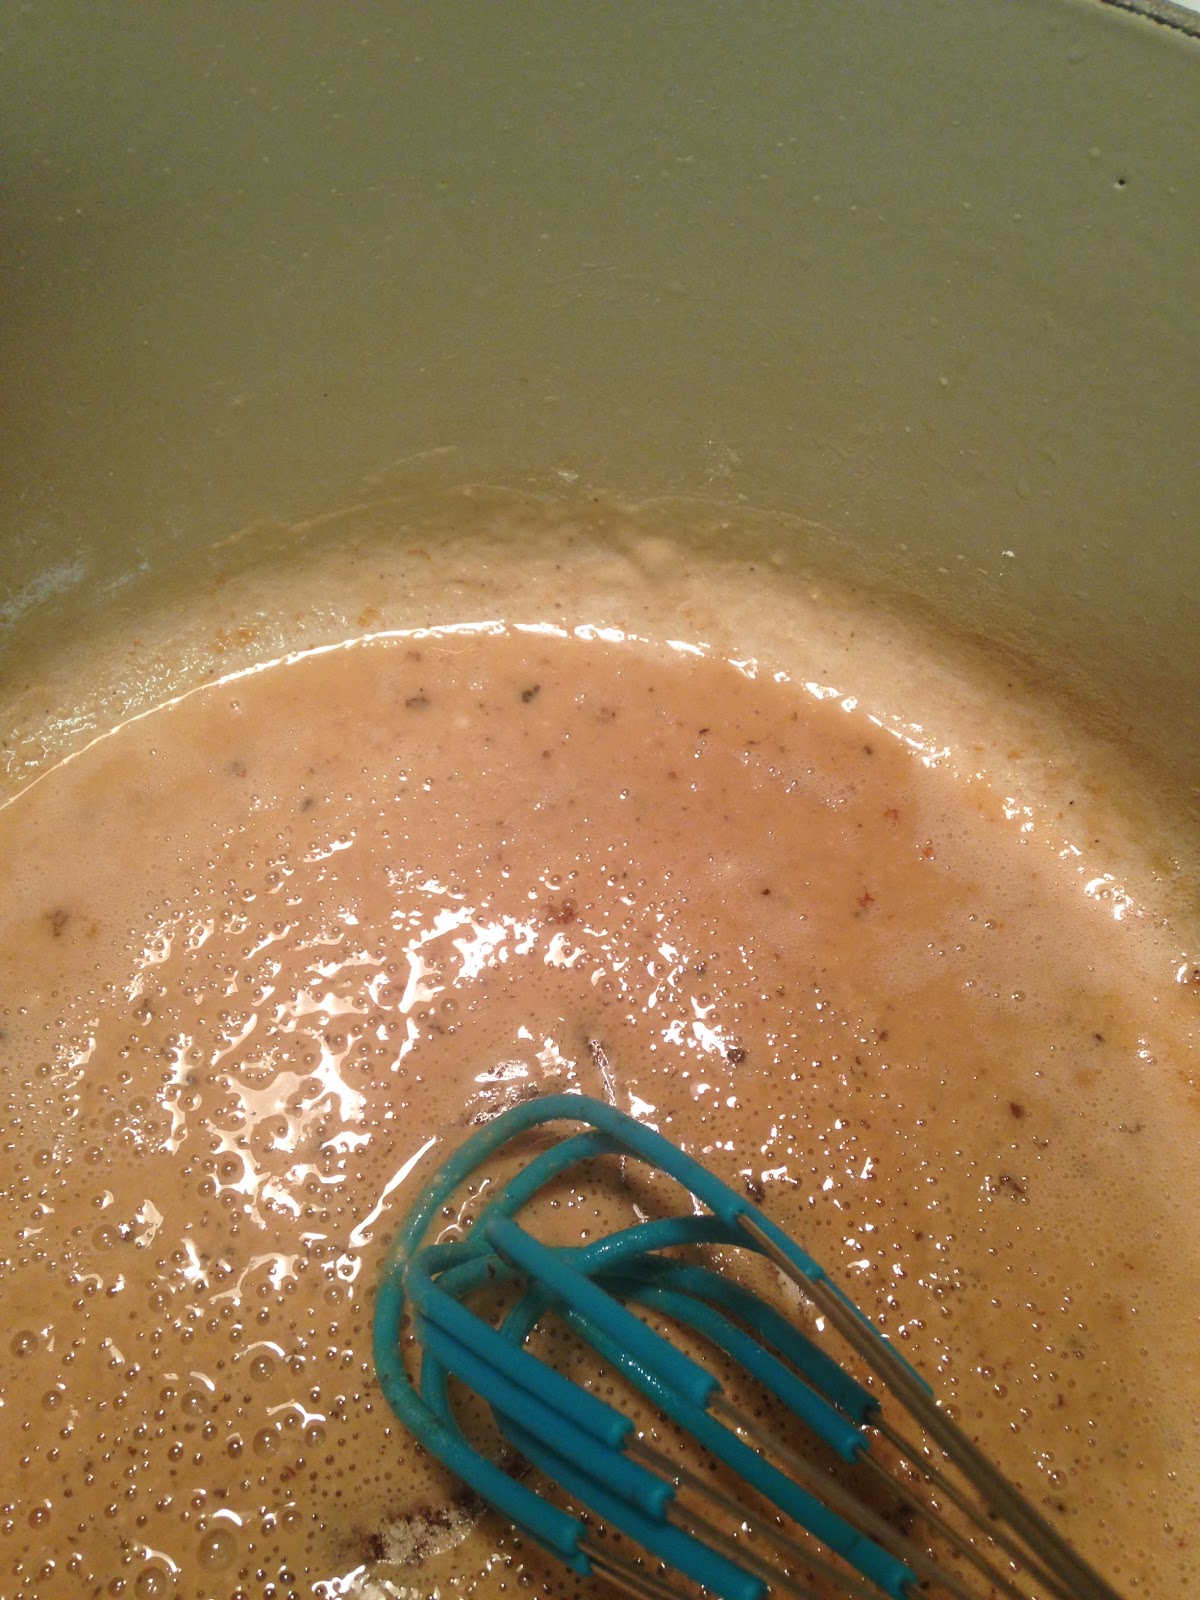
2. Meanwhile, melt butter in a medium sized, heavy bottomed skillet over medium high heat. Add capers and cook, stirring constantly, until fragrant. (This will take about two minutes.)
3. Add 1/4 cup pasta water and the lemon juice into the skillet and bring to a simmer.
4. Drain the pasta and add to the skillet along with the turkey and dill.
5. Simmer the turkey, tossing with tongs, until the turkey is heated through and the pasta is coated with sauce. (About two minutes.)
6. Remove the pan from heat and stir in oil. Salt and pepper to taste. Toss with cheese and serve.
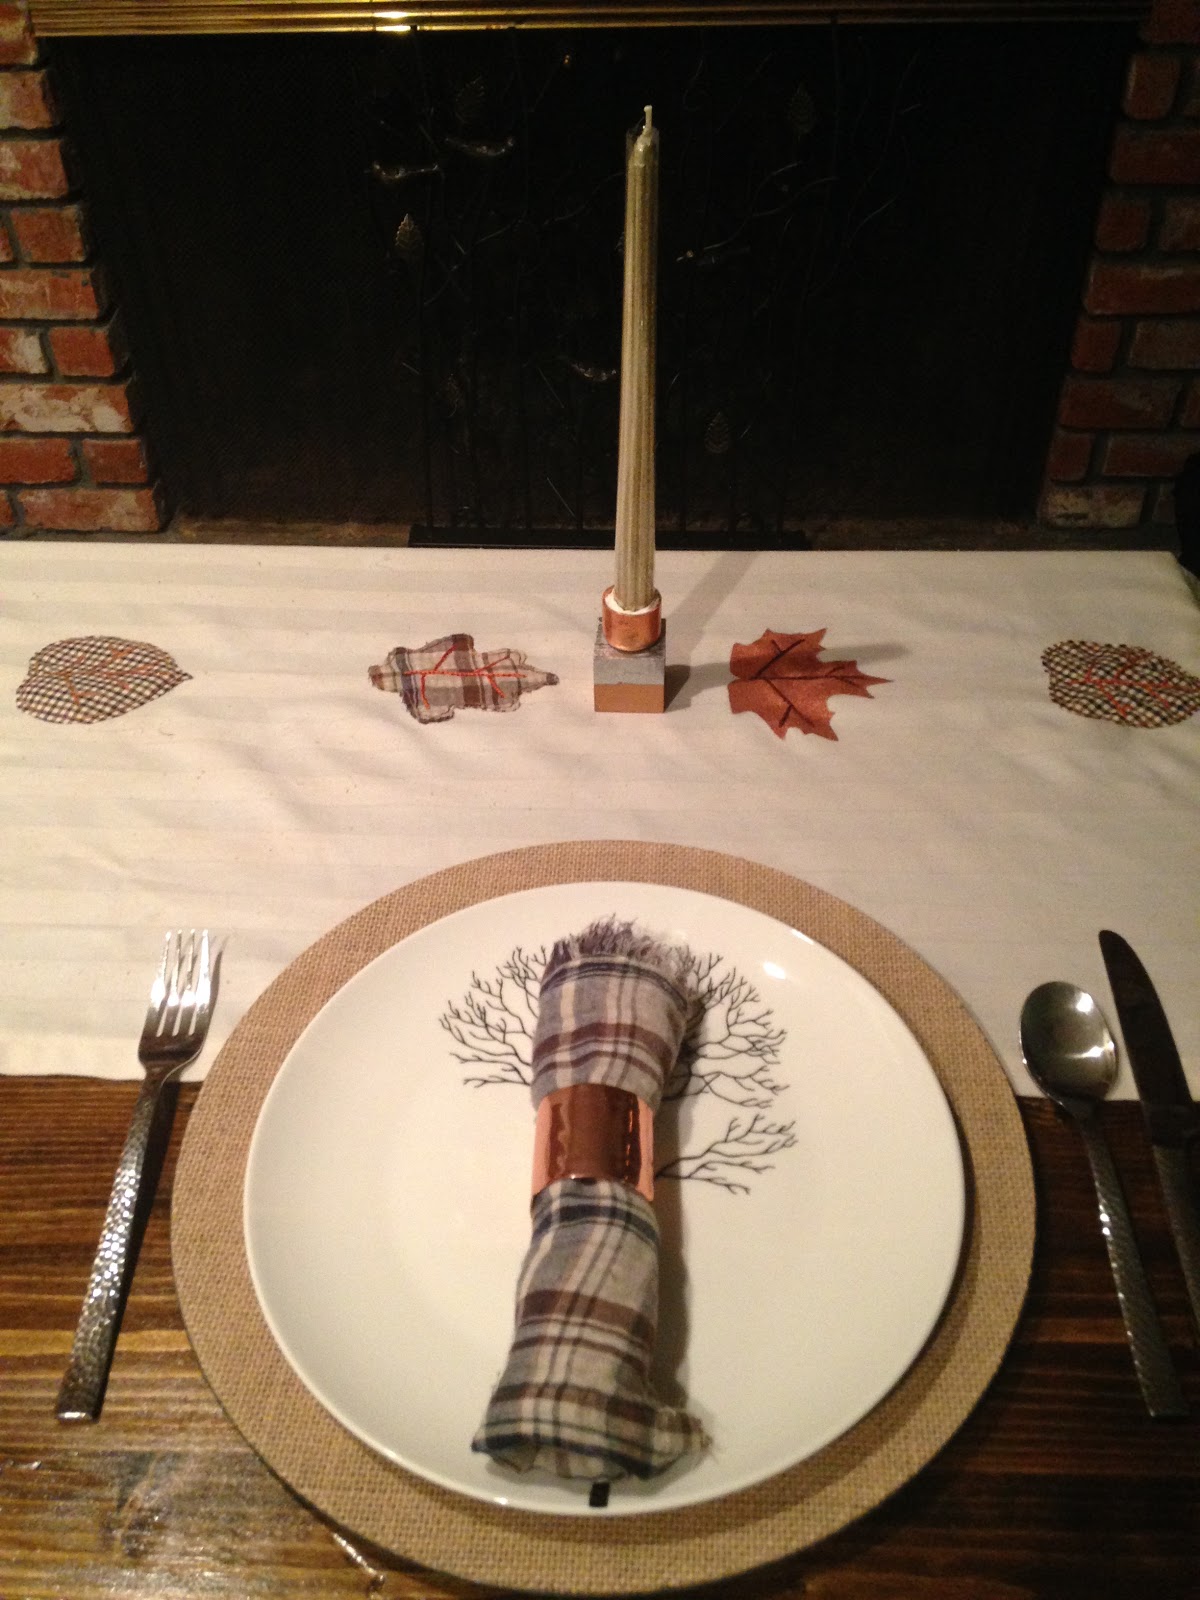
 |
| One more picture of fall decorations and then, we move into Christmas. |
Oven Roasted Vegetables
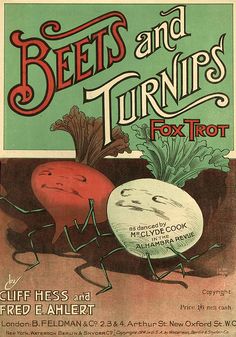
 |
| I did not put any beets or turnips in my oven roasted vegetables, but I just loved this picture. |
This next recipe is totally not my recipe. I stole it off of a Lipton Savory Herb and Garlic Soup Box. I have modified it a little, but only so you know what vegetables that I used. This is a definite cheat recipe, but it is easy and tastes good. (They don't all have to be handmade. :-) )
Ingredients
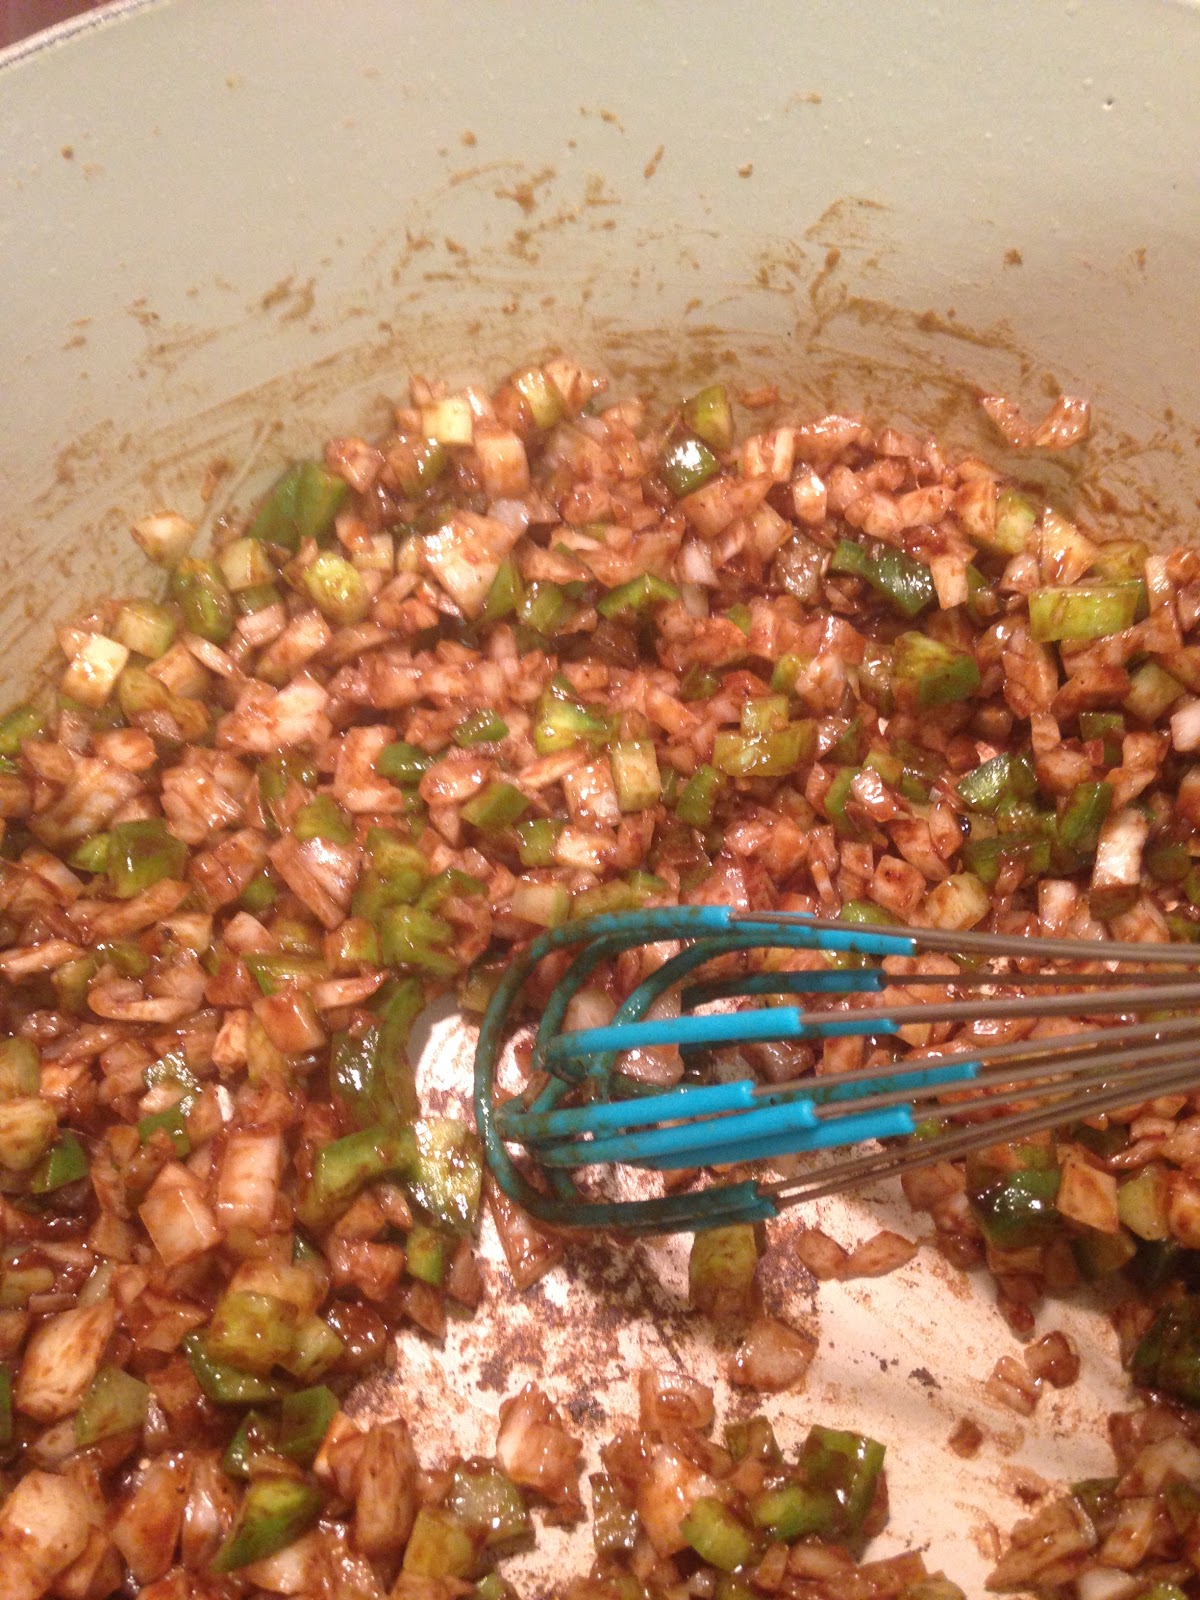
1 envelope Lipton Savory Herb with Garlic Soup Mix
1/2 eggplant, roughly diced
1/2 zucchini, roughly diced
1/2 green bell pepper, roughly diced
1 celery, roughly diced
1-2 carrots, roughly diced
1/2 onion, roughly diced
1- 2 tbsp. olive oil (I eyeball it. All the vegetables should be covered and there should be an enough oil so the vegetables don't stick to the pan.)
Instructions
1. Preheat oven to 450 degrees.
2. In a 13 x 9 inch baking or roasting pan, combine all ingredients.
3. Bake, uncovered, 20 minutes or until vegetables are tender. (Stir once about halfway through <10 minutes> baking time.)
I will continue to post more leftover Thanksgiving recipes, but I will also be showing you some craft ornaments to start gearing up for Christmas on a limited budget and I will start posting for the Christmas Season!
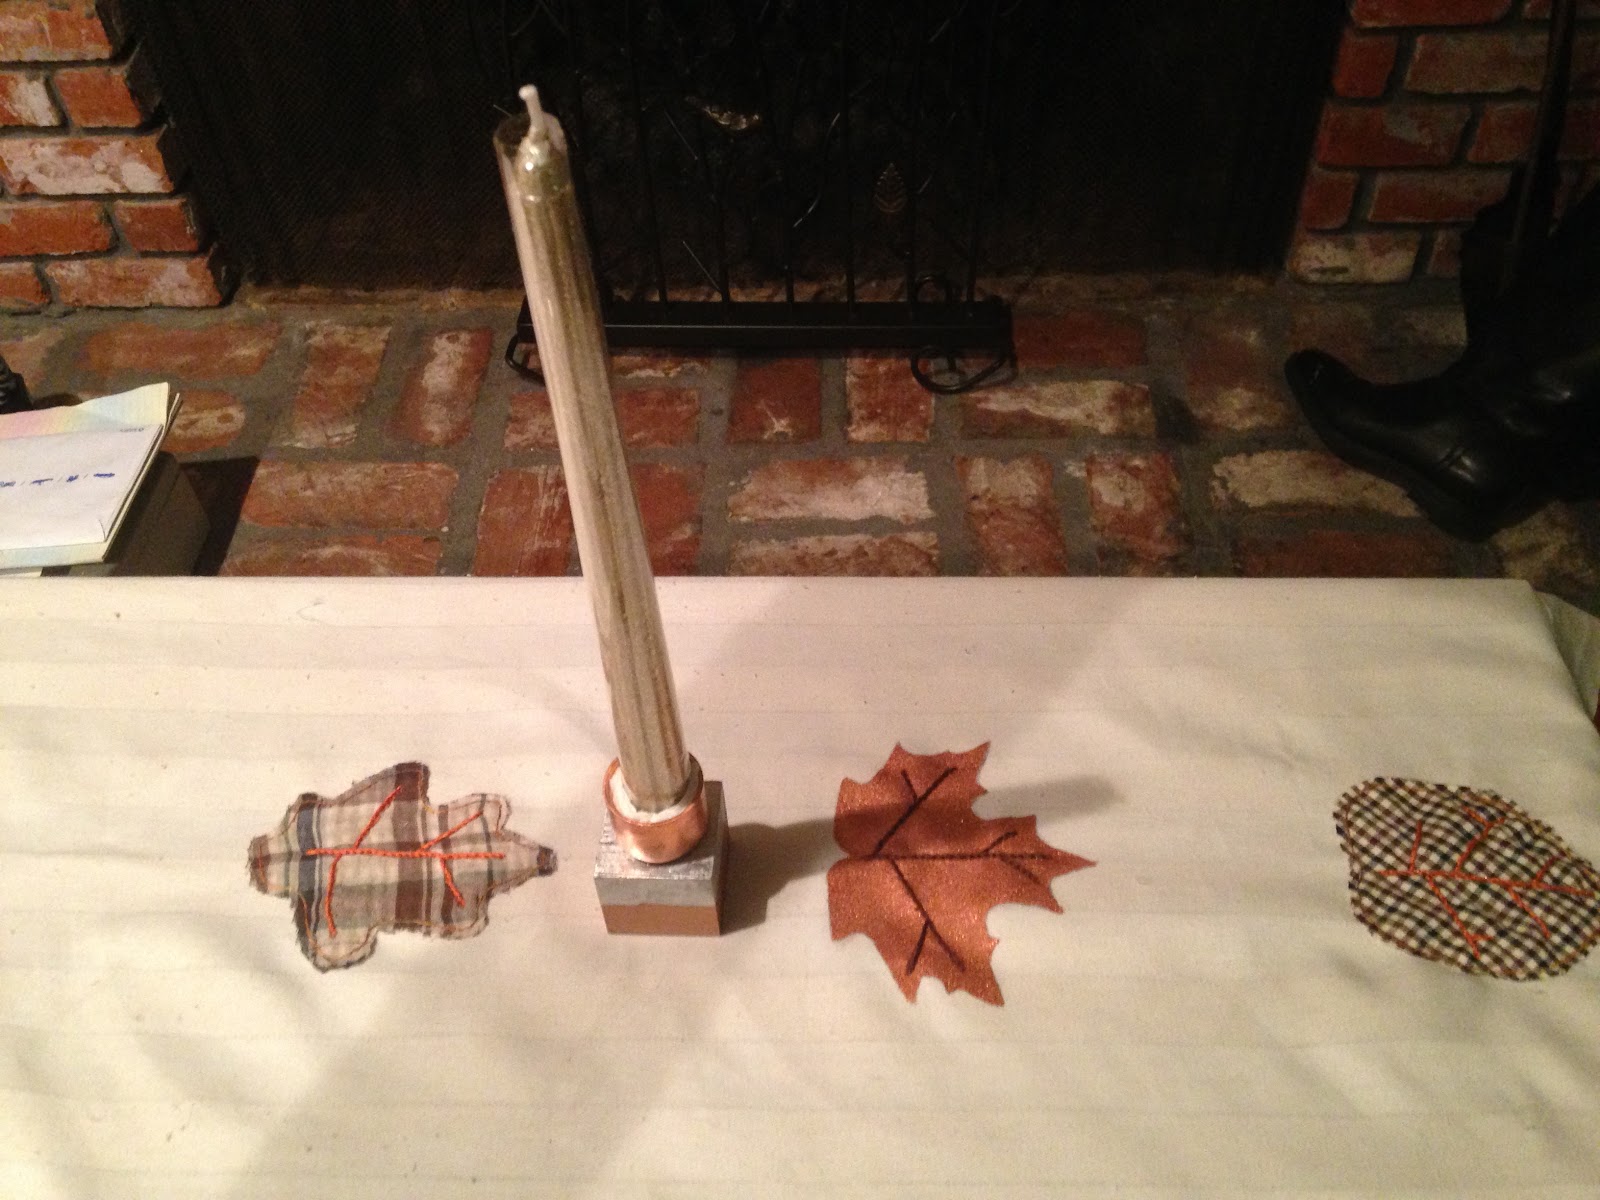
Good Bye Fall!
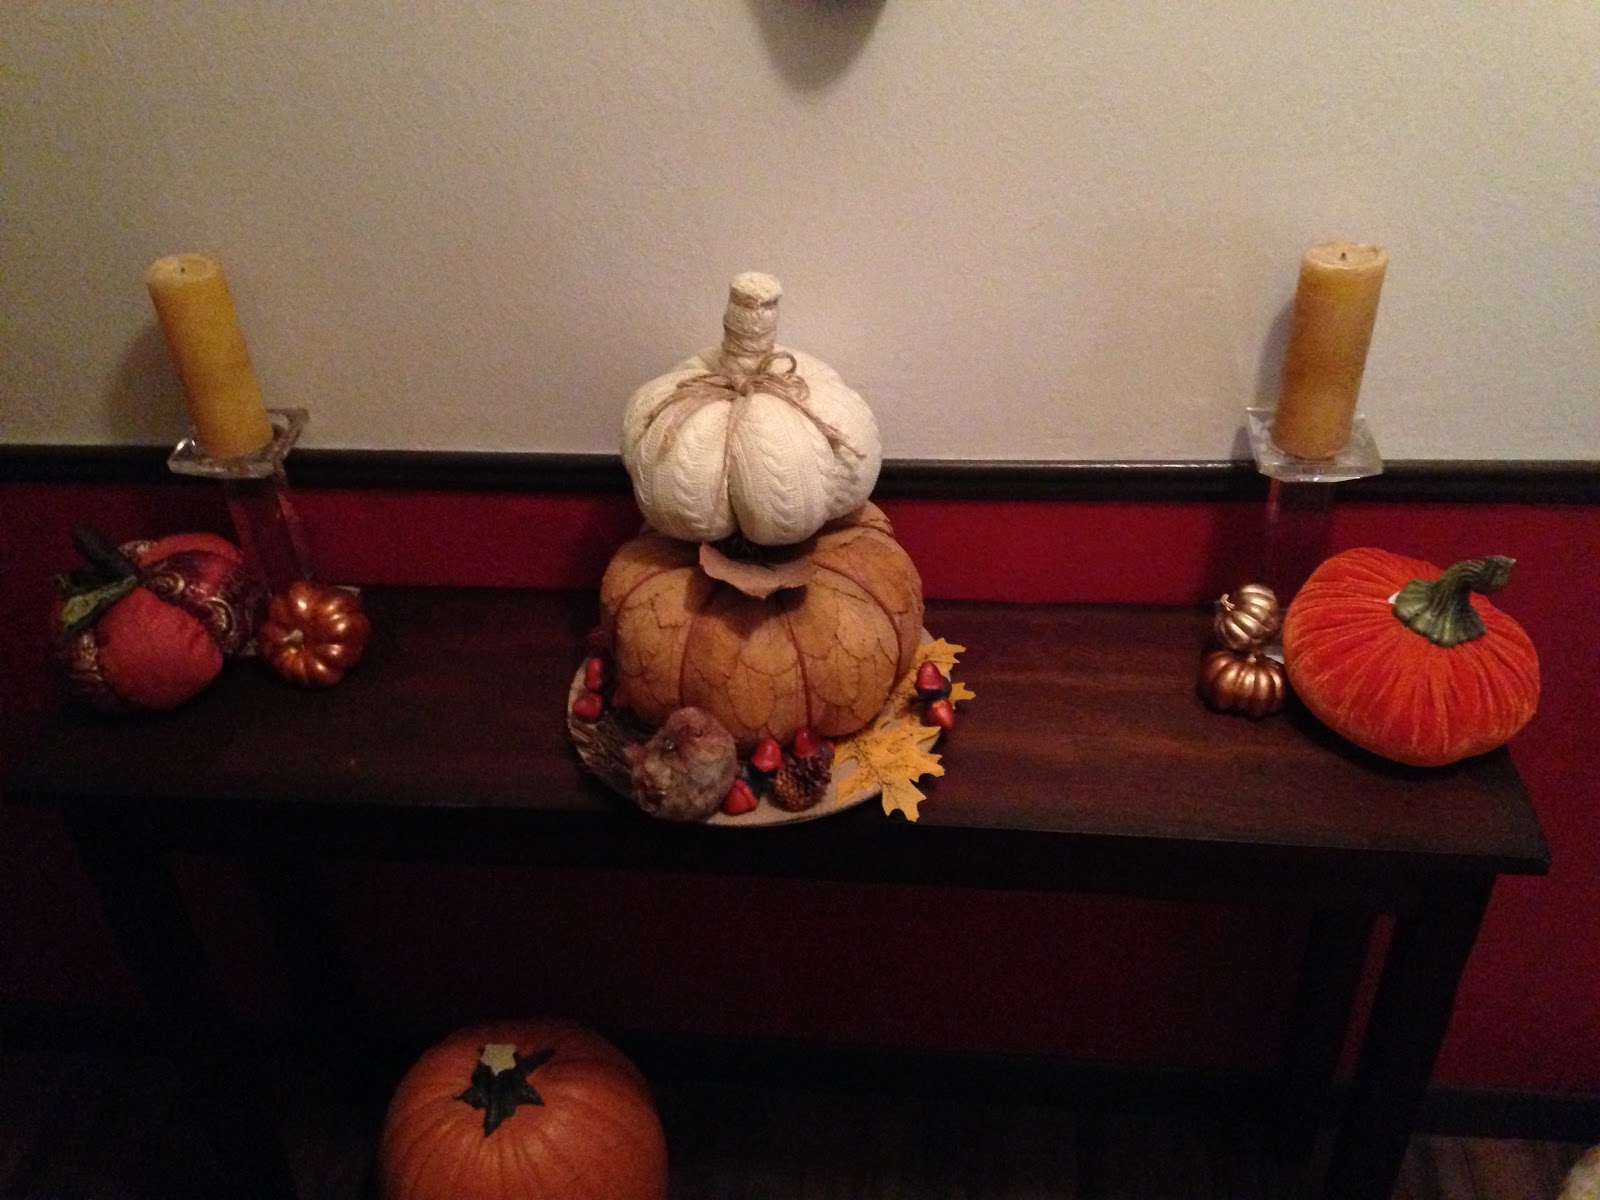
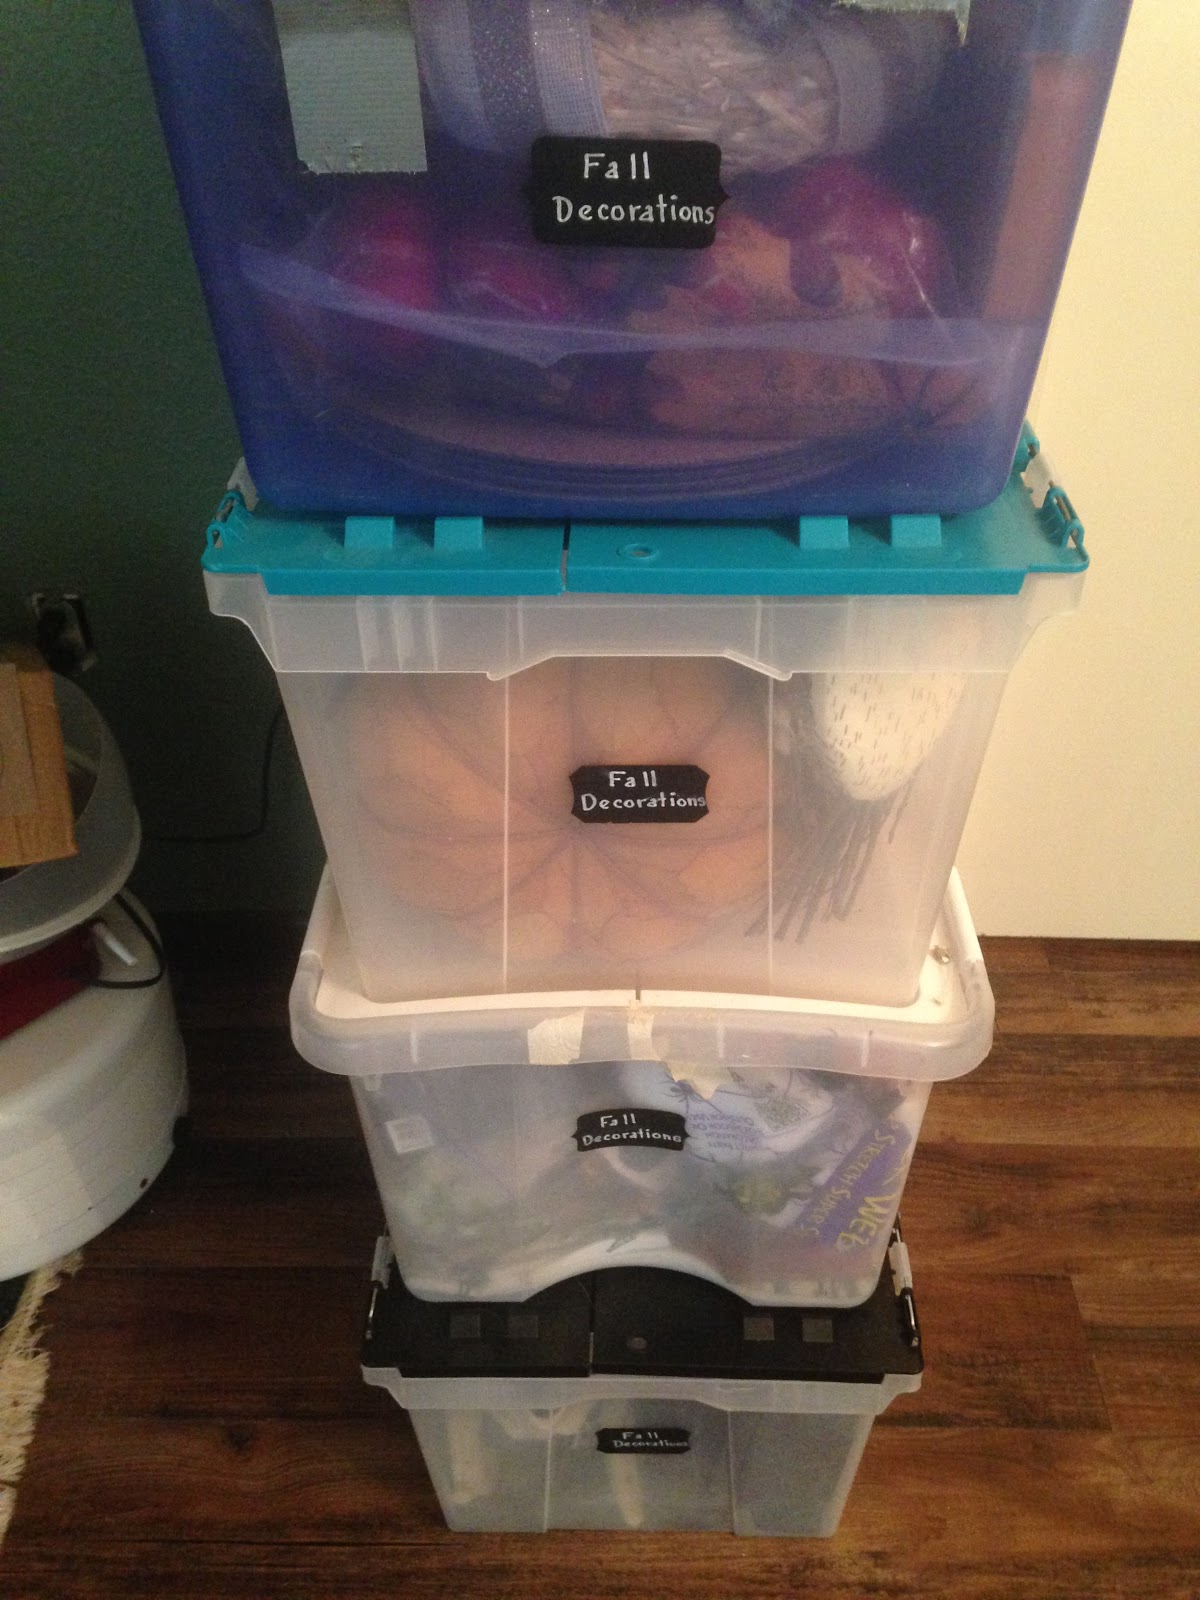
 |
| Fall decorations packed up and ready to go in the attic. |
Hello Christmas!
 |
| She looks entirely too happy sitting with her bare thighs on that snow. And if you look at the penguins, I think that they think she is, just a little bit, crazy. |