Wednesday, December 21, 2016

A Quick Last Minute Present for Christmas (Coffee Cup Cozie) and a Homemade Hot Cocoa Recipe

Hello Everyone!
This has been a very busy holiday season for me.  I'm so behind that I haven't even put up a single Christmas tree.  That is very odd for me because I usually put up four Christmas trees and go crazy on the decorations. I also haven't been able to do several of the Christmas posts that I planned on doing.  So this post is for all of you that may be as behind as me this holiday season.

Isn't this the cutest vintage picture?  I remember my great grandmother used to have Christmas cards from the forties and fifties and this was one of the cards in the box.  I always loved it.

In my post on how to make your own Thanksgiving napkins, I told you to keep the sleeves of the flannel shirt as I was going to show you how to make them into a simple gift in a later post.
http://frugalfemmecarole.blogspot.com/2016/11/rags-to-riches-fall-table-runner-and.html

This is that post!  Today, I am going to show you how to make a flannel coffee cup cozie.  Honestly, this may be one of the simplest projects I will ever post.  But it is so darn cute!!!

Flannel Coffee Cup Cozie

I think that this makes a cute, inexpensive Christmas gift and it takes almost no time to make.  I used a chalkboard version of Not A Paper Cup that I found on eBay.  But you can use any cup that matches your cozie.  To complete the gift, put some dry coco or coffee into the mug.

I love the chalk board cup.  You can write your name on it, make a funny face, draw a picture, I just love the options that it allows.  This time I made a face and bow tie.  I think he looks adorable.


Materials
1 flannel shirt,XL
scissors
paper cup or I'm Not A Paper Cup mug or a mug of a similar shape

Instructions
1.  Find a flannel shirt that has seen better days and you are willing to cut up.  In my case, I had cut off the sleeves of a flannel shirt that I had used to make Thanksgiving napkins; which is why mine is brown and cream.
2.  Undo all of the buttons on the sleeve to create a flat cutting area.
3.  Using fabric scissors, carefully cut along the edge of the hemmed side of the cuff.  I like to follow along the inside edge as it gets a closer cut to the outside edge.  Take your time doing this, you don't want it to look ragged.


4.  Button your cozie back together and put on a paper cup or a mug that is shaped like a paper cup.


And now that you have something to keep your cup warm, here is something delicious to put inside of it.  I don't drink coffee, and 'tis the season for cocoa so I am including this recipe that I found on epicurious.com for homemade cocoa for one.

http://www.epicurious.com/recipes/food/views/simple-hot-cocoa-for-one-369469

I hope that you enjoy!


Tuesday, December 13, 2016

Mince Meat Pie or Beef and Cheddar Cheese Mini Pot Pies - Saturday - One Week Menu

Hello Everyone!
So, we are back to the mince meat pies that I started two weeks ago.  This is actually one thing that is better after it has rested, so it is the one thing that will actually be better after the delay with my internet.  Below is the recipe that I posted earlier.  But this time I complete the instructions.
http://frugalfemmecarole.blogspot.com/2016/11/turkey-piccata-pasta-and-roasted-root.html

(Don't worry, for those of you who just don't enjoy dried fruit with your meat, I have a Beef and Cheese Pot Pie recipe after the Mince Meat Pie recipe.)
As I stated before, mince meat pies are traditionally thought of as a Christmas dinner today, but they were served as part of the first Thanksgiving so I think that they are appropriate throughout the holiday season.

Mince Meat Pie


Ingredients
Crust
1 pckg. Pillsbury Refrigerated Pie Crust Dough  (You can make your own pie crust dough, but I don't like the hassle of making dough unless I absolutely have to.  You will be using both pie crust doughs that come in the package.)

Filling
1 cup finely chopped beef suet  (Some people can get this from their butcher.  If you cant, freeze a cup of butter - real butter- and finely chop that.  Try to touch it with your hands as little as possible because you do not want the butter to melt.)
6 tbsp. currants
6 tbsp. chopped rump steak or roast
1/4 cup raisins
1/4 cup packed dark brown sugar
1 tbsp. brandy
1/2 tsp. and 1/4 tsp. chopped candied citron peel
1/2 tsp. and 1/4 tsp. chopped candied lemon peel
1/2 tsp. and 1/4 tsp. chopped candied orange peel
1/2 tsp. fresh lemon juice
1/8 tsp. to 1/4 tsp. nutmeg  (I would start with 1/8 tsp. and if you want a stronger nutmeg flavor, move up to 1/4 tsp.)
1 granny smith apple, cored and finely chopped
grated zest of 1/4 to 1/2 lemon  (Again, do 1/4 and if you want more lemon than add the rest)

Instructions
1.  In a bowl, combine beef suet, currants, rump steak, raisins, brown sugar, brandy, citron peel, lemon peel, orange peel, lemon juice, nutmeg, apples and lemon zest.  Mix well.
2.  Transfer mixture to a large mason jar and screw on the lid.  Refrigerate for two days to 2 weeks.
3.  When ready to bake, preheat oven to 350 degrees.
4.  Lightly grease a pie pan and place one of the prepared pie dough into the pan.
5.  Add the filling to the bottom pie crust.
6.  Place the other prepared pie dough on top of the filling.  Make sure to crimp the edges together and cut some vents into the top dough with a bread knife.
7.  Place in the oven and bake until golden, about one hour.


For those of you would would like something a little more suited for the modern American palette, I am including this pot pie recipe I just perfected this weekend.

Beef and Cheddar Cheese Mini Pot Pies

I didn't crimp this could enough and some of the inside came out.  I made the snowflake with a cookie cutter that I have.  I am going to use the same cutter to show you how to make awesome Christmas ornaments in an upcoming post.

I don't think that I have posted a pot pie recipe yet even though I make them all the time.  Mostly because I was trying to wait until I can take pictures, but I wanted to give y'all another option other than the mince meat pie.  I promise that I will post another pot pie recipe and include pictures with that one.

Ingredients
1 tsp. butter
1 tsp. olive oil
1/2 can cream of chicken
1 tsp. Better Than Beef Boullion
1/2 cup water
1/2 cup cooked beef roast, cubed
1/4 cup sour cream
1 potato, cubed (You don't have to skin if you have golden potatoes but if using Idaho's, skin the potato)
1 carrot, sliced and cubed
1/2 cup onion, diced
1-2 cloves garlic
1 cup cheddar cheese, shredded
1 tsp. balsamic vinegar
1 tsp. Worcestershire Sauce
1 tsp. garlic powder
Creole Seasoning, to taste
Freshly ground black pepper, to taste
1 package Pillsbury Pie Dough (You will only need one of the pie dough crusts.)
1 egg
1 tsp. water

Instructions
1.  In a large, heavy bottomed stock pot heat oil and butter over medium heat.  Once the oil heats and starts to "shimmer" add the onion, carrots and potatoes.  Cook until the vegetables start to get tender, about 5 minutes.
2.  Add the water, the Better Than Beef Boullion and the garlic, let simmer for about 3 minutes, this will help soften the potatoes and will keep the garlic from burning and turning bitter.
3.  Add half a can of cream of chicken, sour cream, balsamic vinegar, Worcestershire sauce, garlic powder, Creole seasoning and freshly ground black pepper.  Cook on medium until it starts to simmer.
4.  Once the mixture starts to simmer add the cubed beef.  Cook until the beef gets warm, about 3 minutes.  Then add the shredded cheddar cheese and stir until the cheese has melted completely.
5.  Remove from heat.
6.  Preheat oven to 375 degrees.

Preparing the Pies
1.  Place parchment paper on work space and lightly dust with flour.  Gently roll out the dough onto the floured surface.
2.  Using a 5 inch custard cup cut four circles out of the dough.  Take one of the five inch circles and roll with rolling pin or fondant roller until the circle is about 6 inches in diameter.
3.  Lightly spray a mini cocotte or custard cup with oil and place 6 inch crust inside.
4.  Scoop the beef mixture into the crust, leaving about about a half inch of room from the top.
5.  Using a 4 inch custard cup, cut out four circles.  (You will run out of pre-rolled dough at this point.  You have enough dough to make one more circle, you just have to gather your dough scraps, make a ball, and roll until dough is about 1/4 inch thick then cut your final circle.  You should even have enough leftover dough after this to decorate the tops of your pies if you so choose.)  Using a rolling pin or fondant roller, flatten the 4 inch dough until the circle is 5 inches in diameter.
6.  Place the 5 inch pie crust on top of the meat mixture.  Crimp the edges of the bottom crust and top crust, making certain to seal.
7.  In a small bowl, mix together the water and egg.  Brush the egg mixture on the top of the crusts.
8.  With a bread knife, cut vents into the pie crust.
9.  Place in oven and bake for 30 minutes or until golden brown.
10.  Remove from oven and cool 10-15 minutes before serving.

Serving Note.  These pies freeze very well and can be heated back up in the microwave, so don't worry that they make four pies.  You can freeze them and save them for another dinner.

I don't know what this was supposed to advertise during WWII, but I think its sort of cute, so I had to include it.

Wooh!  Three nights of power posting and I am caught up on the recipes.  That means tomorrow I am going to do my best to start my Christmas posts!!!!

Leftover Gumbo Sandwich on French Bread with Baked Sweet Potatoes Fries and Fry Dipping Sauce - Friday - One Week Menu

Hello Everyone!
We are down to two more nights worth of leftovers.  The recipe for this post is more of a different way of serving something than an actual recipe.


 I love gumbo.  Its one of the foods I quickly grew to love when I moved to Louisiana.  But even as much as I love gumbo, I don't always want it served over rice as a soup.  I came up with this idea because I love french dips and I thought that I could make a version of it with my leftover gumbo.
I included the gumbo recipe in an earlier post and told you to keep a little out of the freezer for another meal, this is the meal that I was referring to.  This is a super simple dinner and is quick to prepare.

Leftover Gumbo Sandwich

Ingredients
French Bread, sliced in halves diagonally
Leftover Gumbo
Mayo, optional
Dijon mustard, optional
Cheddar Cheese, sliced or shredded

Instructions
1.  Put at least two cups of leftover gumbo into a pot and heat over medium heat until warm.
2.  Using a slotted spoon, remove all of the meat and veggies from the heated liquid.  Place the solids from the gumbo onto a bottom slice of bread.
3.  Cover with the cheddar cheese (I liked shredded, but my husband prefers slices.)
4.  On the top slice of bread place the condiments that you wish.  Mayo and Dijon mustard are delicious, but you may want to do the condiment you prefer.  I don't like lettuce and tomatoes on my sandwich, but you might.  Don't be afraid to try what you like.
5.  Once you have arranged your sandwich, put the top slice of bread on the sandwich.
6.  In a small bowl or pastry cup spoon the liquid from the gumbo.  Use this as your "au jus" to dip your sandwich into.

Baked Sweet Potato Fries

Sweet potato fries are a bit of a southern thing, especially here in Louisiana where they were grown for a while.  As you can see by the vintage ads I found online:


I think this may be my favorite ad.  I love the name of Bayou Maid.  I also am partial because the college I went to was not that far from Carencro, LA and Carencro is where I experienced my first really good gumbo.


While they are delicious, they can be a bit unhealthy if fried in the traditional manner.  In this recipe, I show you how to make sweet potato fries in the oven.

Ingredients
1 tbsp. olive oil, (can use less if you choose, you just need enough to coat the potatoes)
2 sweet potatoes, peeled and sliced into 1/4 inch strips (You can use a crinkle cut knife if you want them to look pretty)
1 tsp. kosher salt, (Salt is to taste, you can add more if you desire)
1 tsp. freshly ground black pepper
1 tsp. garlic powder
1/2 tsp. paprika
1 tsp. sugar (optional -- this actually is good on all fries, but is especially good on sweet potato fries, but the recipe tastes just as good if you are afraid to try it.)

Instructions
1.  Preheat oven to 450 degrees.
2.  Line a baking sheet with parchment paper.
3.  In a large bowl, toss the sweet potatoes with the oil, salt, pepper, garlic powder, paprika, and sugar.
4.  Spread sweet potatoes in a single layer on the prepared baking sheet.
5.  Bake until sweet potatoes are golden brown and tender, turning occasionally, about 20 minutes.
6.  Depending on how much salt you've used, you can sprinkle with creole seasoning when you take them out of the oven.

Let the fries sit before serving.

You can dip them in anything that you would dip your regular fries in, but I find that this sauce is especially good.


Dipping Sauce

Ingredients
2 tbsp. mayo
1 tbsp. ketchup
1/2 tsp. lemon juice
1/4 tsp. soy sauce
1 tsp. Worcestershire sauce
2-3 drops hot sauce  (I like Louisiana hot sauce, but, on occasion, Sriracha is good too)
  
Instructions
1.  Mix all ingredients together in a small bowl.

Feel free to adjust these seasonings to your personal taste.  Sometimes I like to add more mayo, other times I like to skip the lemon juice.  It really is whatever you feel like tasting when you make the sauce.

I am going to try to post one more post tonight and then I will be caught up on the one week recipes and will start posting my Christmas Crafts and Recipes!

Monday, December 12, 2016

Pan Cooked Chicken Breasts with Shallots, Simple Wild Rice Pilaf and Tossed Salad - Thursday, One Week Menu

Hello Everyone!
At this point, I am almost out of my leftovers.  About the only thing that I have left is the shallots.  The recipes that I am about to show in this post are super easy.  In fact, this is just another variation of the Chicken Breasts done six different ways that I posted earlier:
http://frugalfemmecarole.blogspot.com/2016/09/road-to-recovery-recipes-and-some-fema.html

Sorry I don't have alot of pictures for this post.

Pan Cooked Chicken Breasts with Shallots


Ingredients
1 chicken breast, cut into two equal portions
1 tsp. olive oil
1 tsp.  balsamic vinegar, or more to taste
1 tsp. Herb de Provence, or more to taste
3-4 shallots, sliced thinly
1/4 cup white wine or sherry
1/4 chicken broth
1 tbsp. butter
kosher salt (optional and to taste)

Instructions
1.  Heat oil in a non-stick omelette pan on medium heat.
2.  While oil is heating pound the halved breasts flat so they are each about 1 inch thick.  This will help the chicken cook uniformly when you put it in the pan so that both breasts will be done at the same time.
3.  Sprinkle the breasts with the Herb de Provence and kosher salt.  Rub into the breasts.
4. Once oil is heated, place the chicken in the pan and sprinkle 1/2 teaspoon balsamic vinegar on the chicken.
4.  Cook for 4 minutes and turn chicken.
5.  Sprinkle remaining 1/2 teaspoon balsamic vinegar on chicken breasts.  Move  breasts around the pan with prongs to try completely cover the breasts with the vinegar glaze.
6.  Cook for 4 more minutes.  Flip chicken once more and stir around for a few more seconds to try to completely cover with vinegar.
7. Remove chicken from pat, put on a warm plate and loosely cover with foil.
8.  Using your same pan and oil, put the shallots into the pan.  Cook until tender on medium high heat - about 3 to 4 minutes.
9.  Add white wine/sherry and chicken broth.  Turn heat up to high and cook until the liquid has mostly evaporated, continue cooking the shallots until they turn brown in color.
10.  Once shallots are brown, add butter.  Stir until butter melted.
11.  To serve, remove chicken from plate and put cooked shallots on top of chicken.

Simple Wild Rice Pilaf

Ingredients
2 tbsp. butter, divided
1/4 cup yellow onion, diced
1 cup wild rice
Kosher salt
1 tbsp. finely chopped scallions, white and green parts (about one scallion)
Freshly ground black pepper to taste
1 tsp. dried dill

Instructions
1.  In a small, nonstick pan, melt 1 tbsp. butter; add the yellow onion and cook over low heat for 5 to 10 minutes, until the onions are translucent.
2.  Place the wild rice and and water in a rice cooker according to your cookers directions.  I does two cups water to one cup wild rice.  (I like to do one cup water and one cup chicken broth, I find that it adds to the flavor.)  Add the cooked onions and a pinch of kosher salt.
3.  When your rice is cooked, add one tablespoon butter, the scallions, the dill, a pinch of salt and freshly ground pepper to your taste.  Stir to mix together and serve warm.

I'm going to leave you on your own for the tossed salad.


Leftover Roast Turkey Pasta Soup - Wednesday, One Week Menu

Hello Everyone!
Still playing catch-up and on my second blog of the day.
I know that I have already shown you how to make gumbo and that is a type of soup, but I REALLY love soup, and I love to make soup out of leftovers.  This recipe can also work with chicken.  In fact, I may have already posted it with chicken, but it was really meant for turkey, so I thought that I would add it again.


Leftover Roast Turkey Pasta Soup

Ingredients
1/2 cup onion, diced
1 medium carrot, diced
1 stalk celery, diced
1 tbsp. olive oil
2 cups homemade chicken broth, or one can 14.5 oz. each chicken broth
2 cups water
1 envelope Good Seasonings Zesty Italian Salad Dressing Mix
2 cups leftover turkey, cubed
1/2 cup bite sized pasta of your choice, uncooked

Instructions
1.  In a large, heavy bottomed stock pot, heat oil over medium heat until the oil starts to "shimmer".  
2.  When the oil is ready, add the onion, carrot and celery and cook until the vegetables are tender, about 3 to 5 minutes, stirring occasionally.
3.  Stir in chicken broth, water and dressing mix.  Bring to a boil.
4.  Add the turkey and the pasta and cover.  
5.  Reduce heat to medium-low; simmer 10 to 12 minutes until pasta is tender.


Grown-Up Grilled Cheese Sandwiches with Cheddar Cheese and Shallots


I always have leftover, non-cooked shallots when I do my pan roasted shallots, this recipe helps make certain that they are used before they go bad.  This recipe is not my recipe, I got it from America's Test Kitchen in their free recipes.  I tried to find it online again but I guess it is too old or I looked up the right name.  So I am going to put their recipe here, but I also thought that I would include ten other grown up grilled cheese sandwiches from the queen of diy-Martha Stewart.


Ingredients
7 ounces aged cheddar cheese, cut into 24 equal pieces; at room temperature
2 ounces Brie cheese, rind removed (or the mini Trader Joe Brie with the rind)
2 tbsp. dry white wine or vermouth
4 tsp. minced shallot (can also use green onion)
3 tbsp. butter, softened
1 tsp. Dijon mustard (I like the ones that have dill or champagne in them)
8 slices hearty, white sandwich bread

Instructions
1.  Process cheddar, Brie and wine in a food processor until a smooth paste is formed, 20 to 30 seconds.  Add shallot and pulse to combine, about three to five pulses.
2.  Combine mustard and butter in a small bowl.
3.  Spread the mustard butter mixture evenly over one side of slices of bread.  Flip four slices of bread over and spread cheese mixture evenly over slices.  Top with remaining four slices of bread, buttered side up.
4.  Preheat 12 inch nonstick skillet over medium heat for two minutes.  Place two sandwiches in the skillet; reduce heat to medium-low; and cook until both sides are crispy and golden brown, 6 to 9 minutes per side, moving sandwiches to ensure even browning.
5.  Remove sandwiches from skillet and let stand for two minutes before serving.
6.  Repeat with remaining two sandwiches.

Two more  days of recipes left to go.  I will keep trying to post more than one a day so that I can do some of my Christmas posts.

Beef Burgers with Shallots and Boursin Cheese and Stuffing "Hushpuppies" - Tuesday, One Week Menu

Hello Everybody!
This meal was inspired by the television show "Bob's Burgers".  My husband and I have purchased the cookbook with recipes based on the burger of the day board that they have in the cartoon and have been trying to prepare one of the burgers each week.


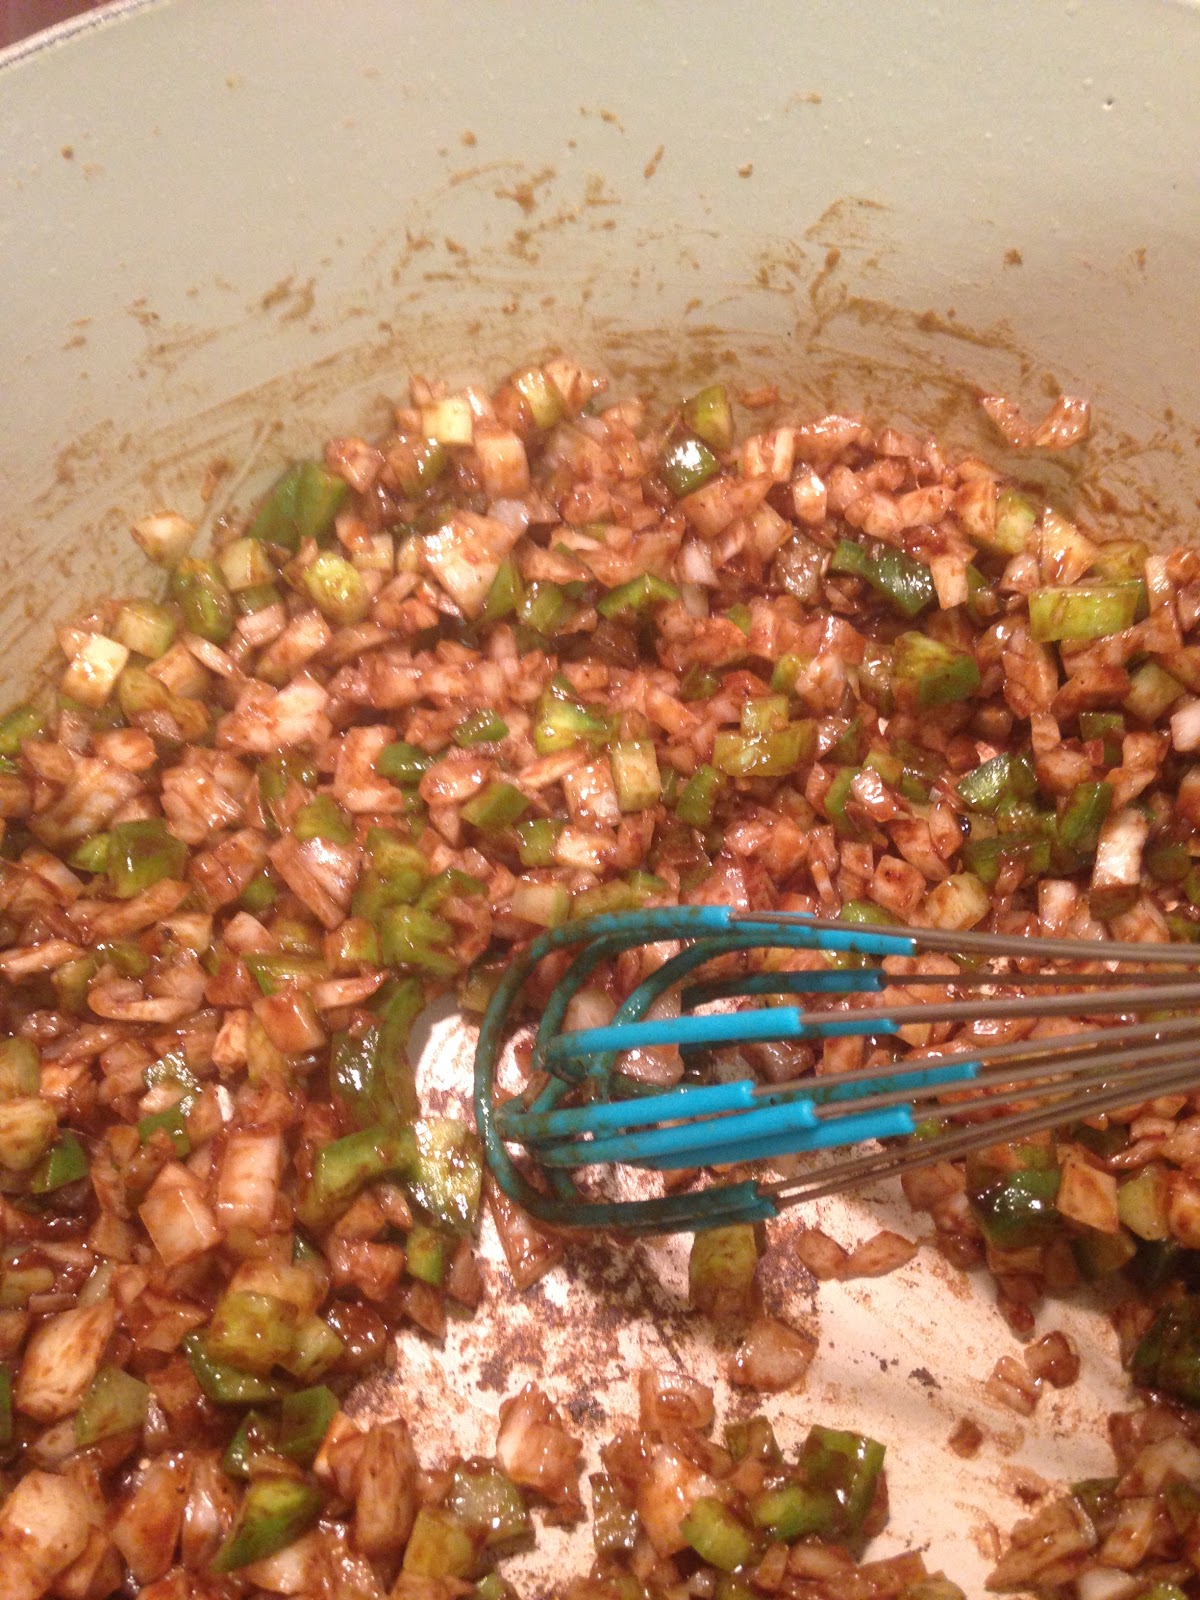
I couldn't, in good conscience, do a burger from the book when I had so many items left over from Thanksgiving, but I decided that I would create my own burger of the day using leftovers.  It is not a turkey burger.  (I don't care for turkey burgers.  When my husband and I first got married, we had a month when our paychecks fell strangely and we were VERY limited on what we could purchase for food.  I got us ground turkey because you could get alot for very little cash and, added bonus, its healthier than ground beef.  So I got some and for two straight weeks its all that we ate...... in many, many, many different forms.  No matter what I made, it wasn't as good as it would have been using another meat.  It wasn't bad, it just wasn't as good.  And my husband and I haven't really eaten it since.)  But I do use the leftover scallions and the leftover cornbread stuffing that I had from Thanksgiving dinner.  That's two sides re-purposed! I know that not alot of you did the pan roasted scallions as a side.  So I am including the recipe here so that you will have an idea of what the flavor is like.

Pan Roasted Shallots

Ingredients
1 pound shallots, peeled and sliced
1 cup chicken stock, homemade is preferable
1/2 cup dry white wine
3 tbsp. unsalted butter, split
1 tbsp. sugar
1/2 tsp. kosher salt
freshly ground pepper, to taste

Instructions
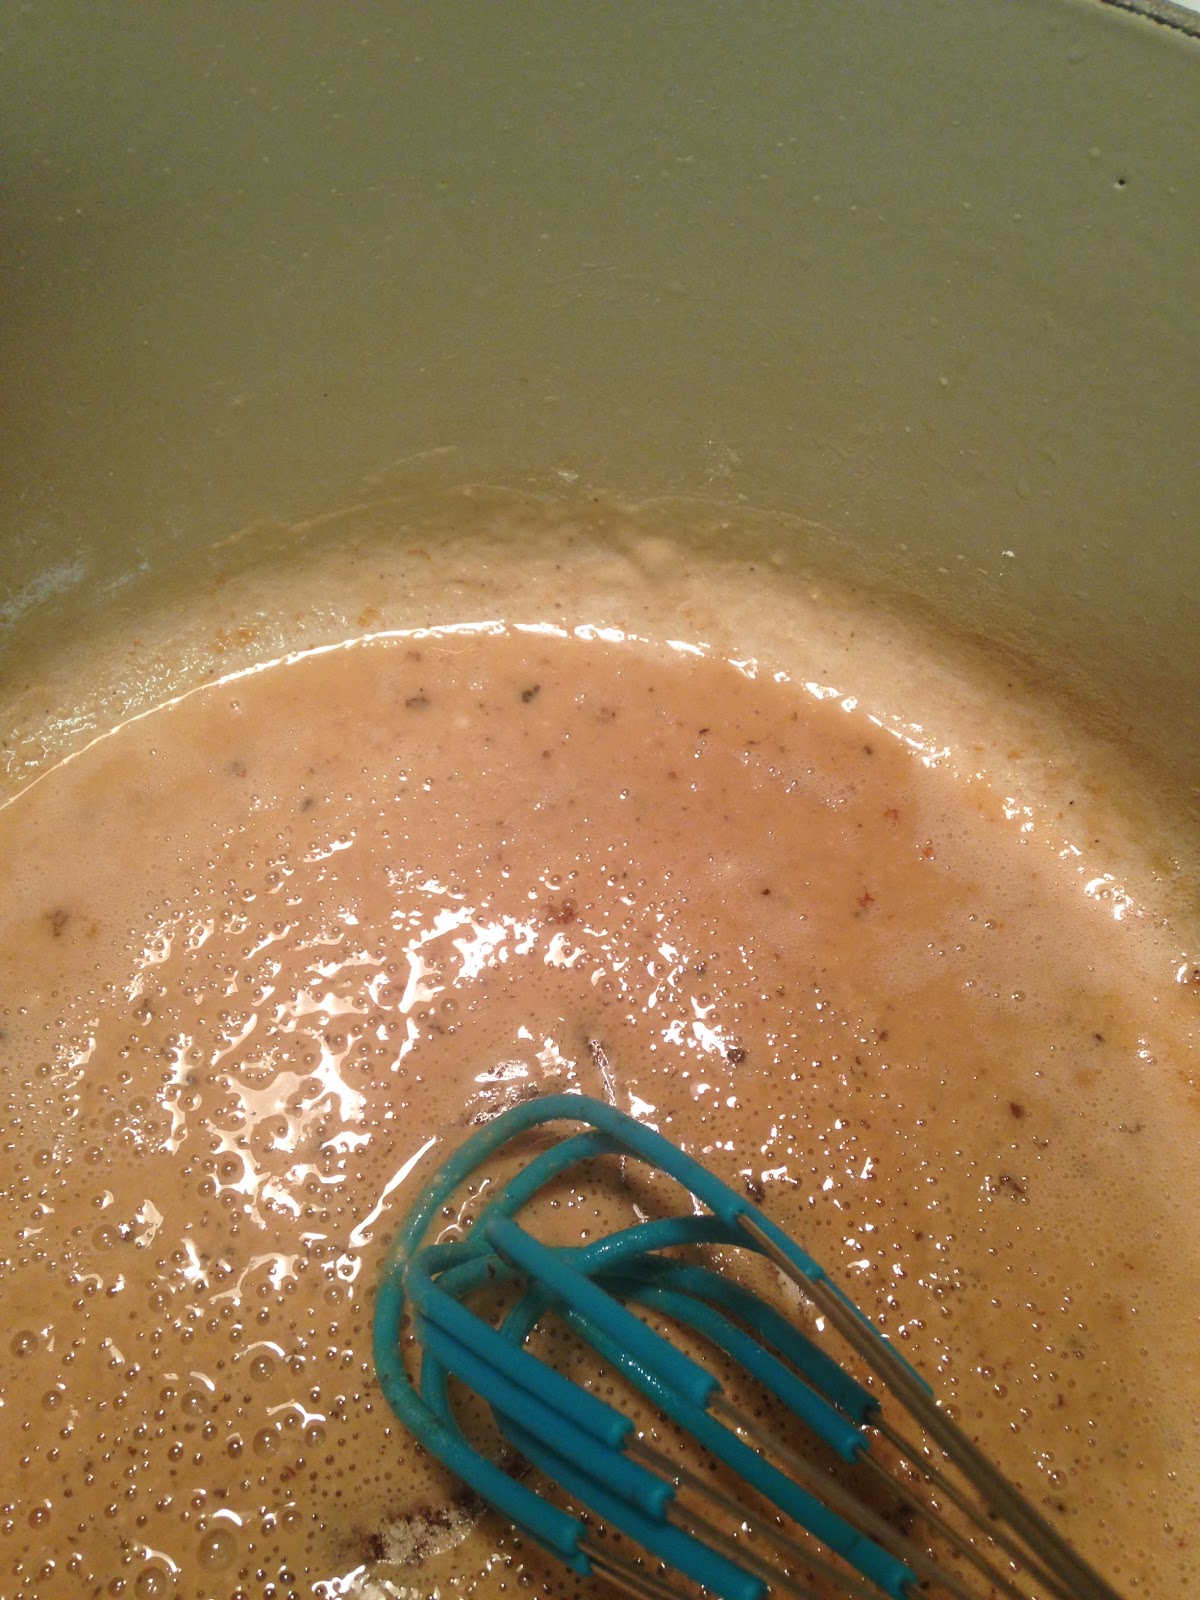
1.  In a large heavy bottomed skillet, place the shallots making certain that all of the shallots fit in the pan in a single layer.
2.  Pour in the chicken stock, white wine, 2 tbsp. unsalted butter, sugar, kosher salt and pepper.  The liquid should mostly cover the shallots, but it will be fine if a few poke above the liquid.
3.  Bring to a boil over high heat and then reduce heat to medium-low and bring liquid to a simmer.  Cook the shallots, uncovered, stirring occasionally, until the shallots are tender, about 10 minutes.
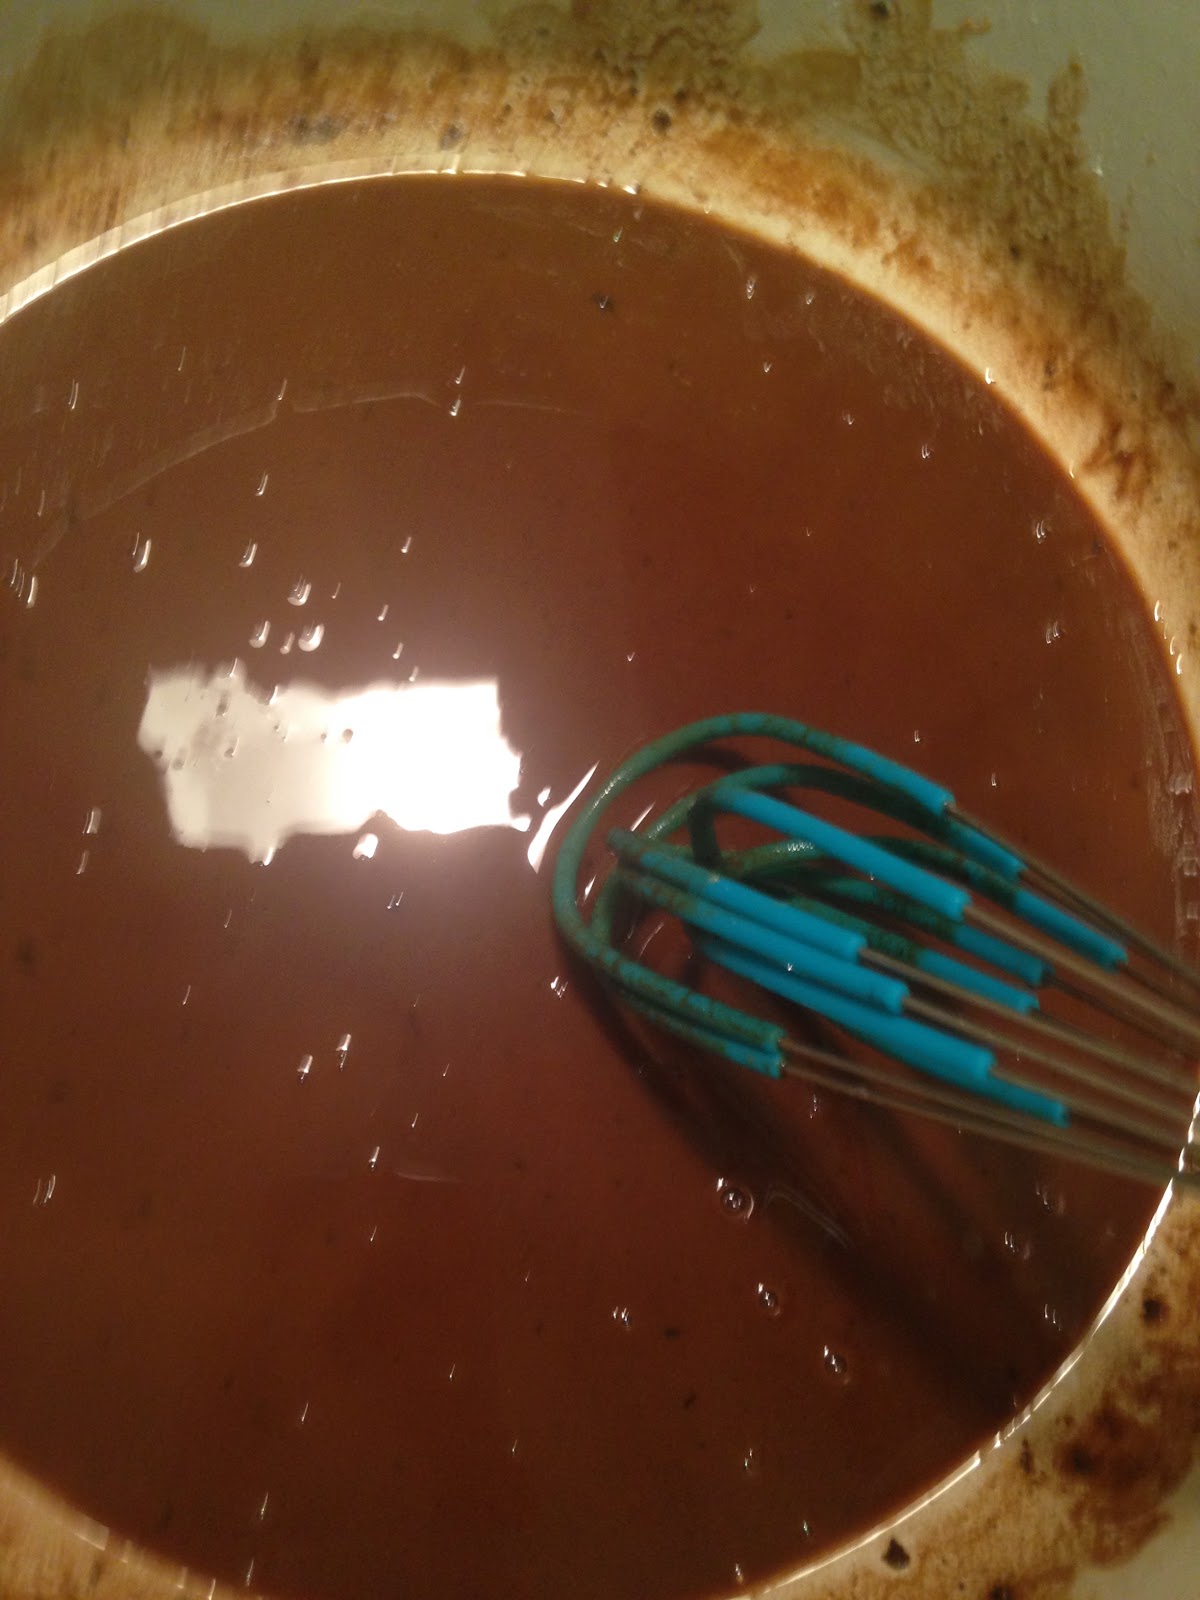
4.  Raise the heat to medium and cook shallots, stirring frequently, until the shallots start to brown all over and are coated in a thick syrup.
5.  Once the shallots are brown, stir in the remaining tablespoon of butter and stir until completely melted.

Note:  These should be served warm, so time your meal so that they are one of the last items to go out on the table.


Beef Burgers with Shallots and Boursin Cheese

Ingredients
1 pound ground beef
1 egg
1 slice bread, crumbled
2 tbsp. garlic and herb bread crumbs
1 tsp. Worcestershire Sauce
Sprinkle of garlic salt, to taste
Freshly ground black pepper, to taste
1 tbsp. butter
1/2 cup leftover pan roasted shallots
2-4 tbsp. Boursin Shallot and Chive Cheese (Or Cream Cheese)
Hamburger buns

Instructions
1.  In a large bowl, use your hands to  mix together the ground beef, egg, bread, bread crumbs, worcestershire sauce, garlic salt, and pepper.
2.  Divide the meat mixture in half.  Then divide these halves in half.  This should form four equal sections of meat.
3.  Take each section and roll into a ball, then pat and flatten until it is the shape of a hamburger patty.Over
4.  Over medium high heat, heat butter in a large skillet or grill.  Once the pan is hot, place your hamburger patties on the surface.  Cook four minutes and then turn to cook the other side and cook for another four minutes.
5.  While the burgers are cooking, put your leftover shallots in a microwave safe bowl and cook on high heat for 1 minute and 35 seconds.
6. Now we get to the fun part of assembling the burger!
Assemble your burger in the following order
bottom bun
hamburger patty
shallots
Boursin Shallot and Chive Cheese (1 tbsp. per burger, but you can put more or less as per your taste)

The warm shallots will make the soft cheese melt and your hamburger won't be dry.  So I suggest that you try it this way first before you add your usual condiments.


Bacon and Cheese Leftover Stuffing Balls

I don't know about you, but I love stuffing for the Thanksgiving meal but I hate eating it afterward.  This is why I came up with this recipe to turn the leftover stuffing into "hushpuppies".  This can work with any leftover dressing or stuffing, it does not have to be cornbread dressing.

Ingredients
2 cups leftover stuffing
1 egg
4-6 slices bacon
1 cup shredded cheddar cheese

Instructions
1.  In a heavy bottomed skillet, cook your bacon to desired done-ness.  I usually cook mine so that it is crispy on the outside but still a little tender on the inside, this way it won't over-cook when the stuffing balls go to the oven.  Remove the bacon from the skillet and drain on a paper towel.  Reserve your bacon grease.
2.  Once the bacon has cooled enough to handle, crumble the bacon into small crumbled pieces.
3.  In a large bowl combine the stuffing, egg, bacon, and cheese.  Mix together with your hands until all of the items start to stick together.
4.  Preheat oven to 350 degrees.
5.  Using a brush, brush bacon grease onto a baking pan, non-stick is best.  Roll the stuffing mixture into balls.  (The size is really up to you, but I like to use an ice cream scoop to measure out my stuffing ball size.) Place the balls onto the greased baking sheet.
6.  Put the baking sheet in the oven and bake for about 8 minutes.  This will be just long enough to set the stuffing balls.

You can eat them plain or you can dip them in the sauce/condiment of your choosing.

Well, that is it for this set of leftover recipe, I will try to post a couple more today so that we can catch up from my internet being down.  But I also want to get some Christmas posts up.  Grrr.  I hate technical difficulties-but, hopefully, I will be caught up soon.


Sunday, December 11, 2016

Turkey and Sausage Gumbo - Monday, One Week Menu

Hello Everyone!
Oh my goodness, I am so behind on everything this season!!!


 My internet went down for an entire week and I couldn't post my week of Thanksgiving leftover recipes. Then, once the cable guy finally showed up to fix the internet - it only took him three scheduled appointments before he arrived - I had rehearsals every night for a week.  I also got a new, eleven month old French bulldog puppy the week that this all happened.

This is Moss in his corner at the theatre where I work.
His name is Morris.  We call him Moss and he is our fourth dog.
That means that we now have four dogs and two cats.  ("Hi, my name is Carole and I have a pet addiction.")
All of this means that I am behind on both my posts and my Christmas decorating.  The outside of my house looks festive but the inside looks like any other time of the year.  I hope to change that tonight and tomorrow night.
I thought for a long time on how I should post the recipes that I promised for the one week leftovers menu, and I figured the best solution was to post the recipes as I originally intended so that they would be easy to find if anyone wanted to try them, but that I wouldn't put a notice up like I usually do and that I would try to get my Christmas posts up and those I would post on Facebook.  We'll see how that works.

Today I am doing a recipe that no one in Louisiana needs - a recipe for Turkey and Sausage Gumbo.  Everyone has their own version of grandma's gumbo. Since I don't have a Cajun grandma, but have lived in the state for years, I have come up with my own version of gumbo that I have learned from several of my friend's grandmas.  This is my recipe that my husband, who has lived in Louisiana all of his life loves.

Turkey and Sausage Gumbo

Ingredients
2 cups cooked turkey, cut into 1 inch cubes
5 tbsp. oil (for frying)
1 1/2 pounds Andouille Sausage  or Smoked Sausage, chopped into coins
6 tbsp. all purpose flour
4 cups onion, minced
1 bell pepper, chopped finely  (or about 1 cup)
1/2 cup celery, chopped finely
2 1/2 quarts chicken stock
2 tbsp. garlic, minced
1/2 tsp. ground thyme
3 bay leaves
1/4 tsp. cayenne pepper
1 tbsp. basil
Salt and Pepper to taste
1/2 cup green onion, chopped (optional)

Instructions
1.  In a large, heavy bottomed stock pot, heat up the oil over medium heat.
2.  Add the Andouille sausage and fry for 4 to 5 minutes.  Remove with a slotted spoon and reserve on a plate for later.
3.  Turn down the heat on the stove to medium-low.
4.  To the oil left in the pot, add the flour and slowly cook until the flour is the brown color of dark chocolate, making certain to whisk constantly.  (This is the hardest step and is called making a roux.  If you have the heat too low, your roux will take forever to cook, if you cook it on too high a heat, the roux will burn and your gumbo will turn bitter and not taste very good.)  Another way of telling your roux is done, other than color, is the smell.  When it is close to being ready, it will smell like it is just on the edge of burning.  (My husband always knows the roux is almost ready by that almost burning smell.)

This is what the roux looks like when you first add the flour.


This is the color it should be when it is done

5.  When the roux is ready, add the onions, bell pepper and celery and saute until the vegetables are limp.

This right here, is a picture of Cajun goodness.  It is the trinity being cooked in the dark flour roux.  This is one of the best smells that you will ever experience.

6.  Add the chicken stock, a little at a time, and stir until blended each time.
7.  Add garlic, thyme, bay leaves, cayenne pepper and basil.  Stir until mixed well.  Carefully add salt and pepper to taste.
8.  Let the mixture slowly simmer for at least 40 minutes.
9.  After it has simmered for 40 minutes, add the turkey and the sausage.  Cook until turkey is warmed through and tender, about 20 minutes.
10.  Remove the pot from heat and add the green onions.  Let set for 10-15 minutes and serve over cooked rice.

This dish, minus the rice freezes great!
What my husband and I usually do is have our bowls for dinner, save enough for one more night's worth of meals and freeze the rest.  It makes a great quick meal in the winter time.

I will try to keep posting recipes and Christmas posts will be coming soon!