
I have decorated my home for Halloween. I'm not done yet, but here are some pictures of what I have done so far. In a few pictures, you will see a couple of the craft projects that I have already posted in previous blogs. You may also notice that, with just a few minor adjustments, a lot of the décor can be modified to look appropriate for fall and Thanksgiving. I love decorations that can do double duty--its a frugal use of décor that you won't be using all year.
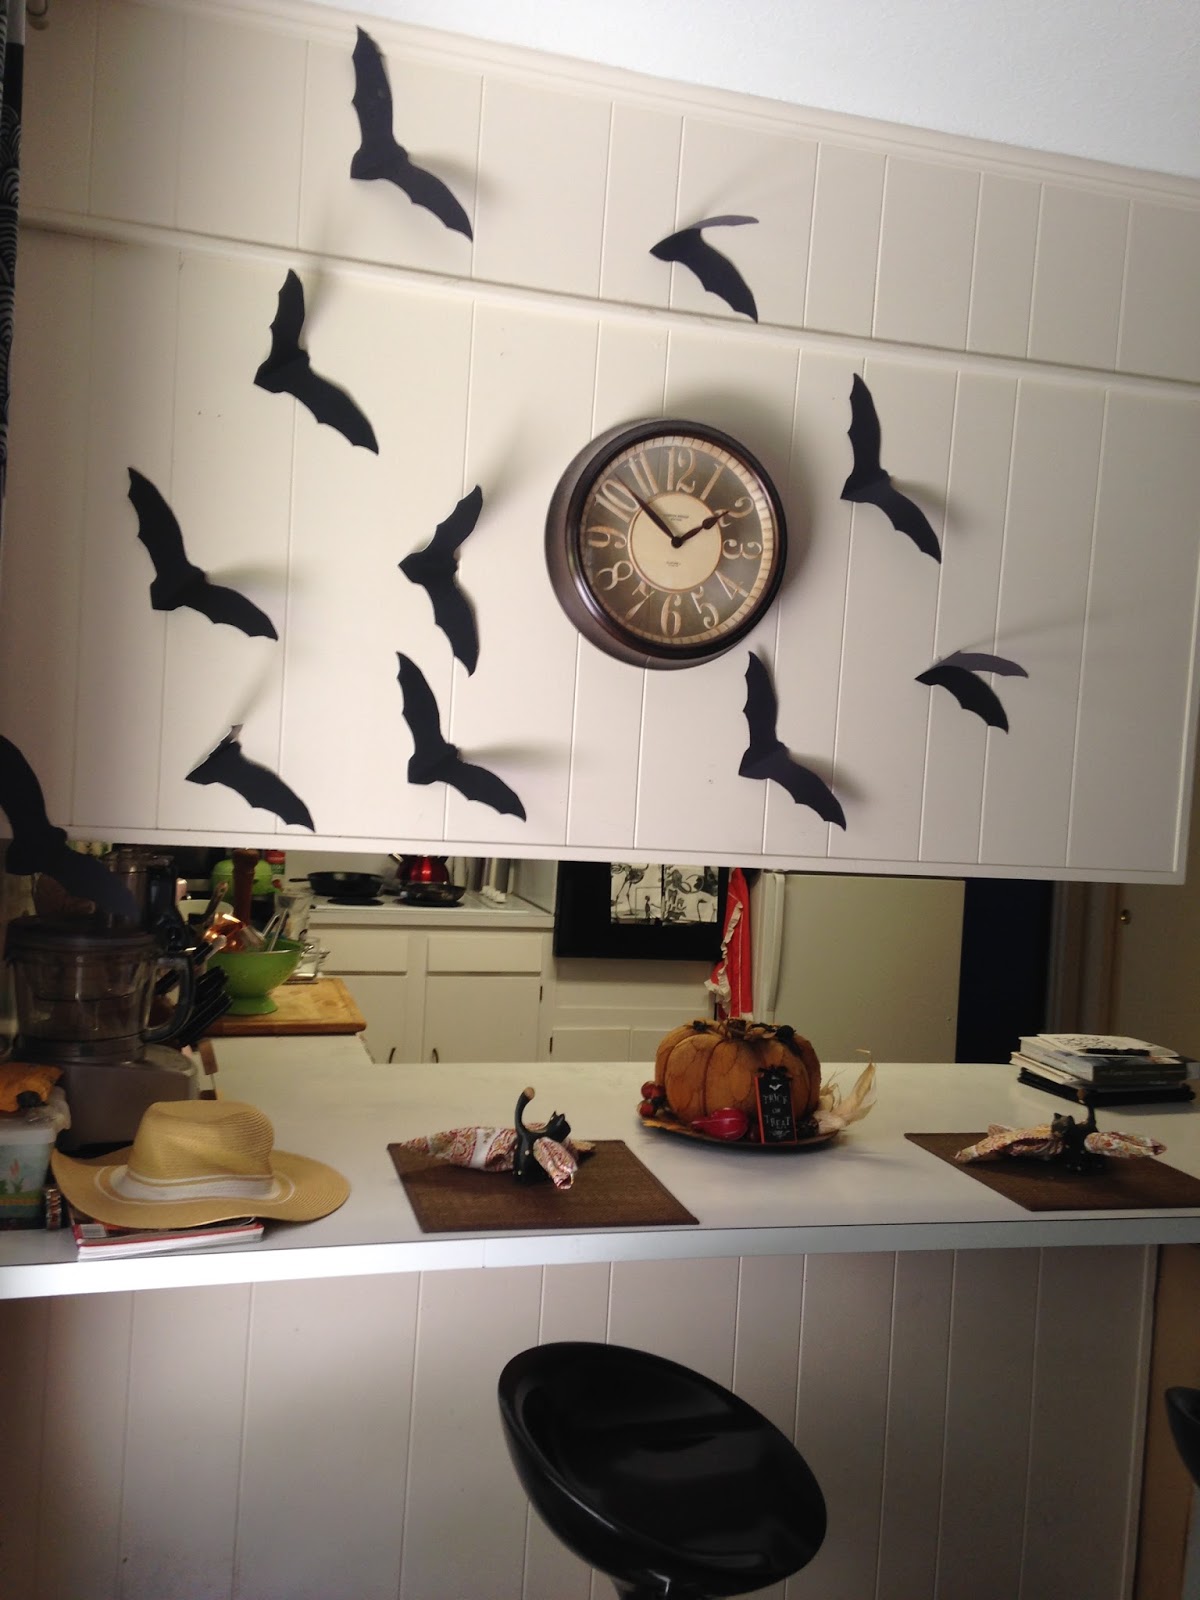 |
| Poster board bats flying above my countertop. For instructions on how to make these and the mice, click below. http://frugalfemmecarole.blogspot.com/2016/10/creepy-and-crawly-paper-projects-to.html |
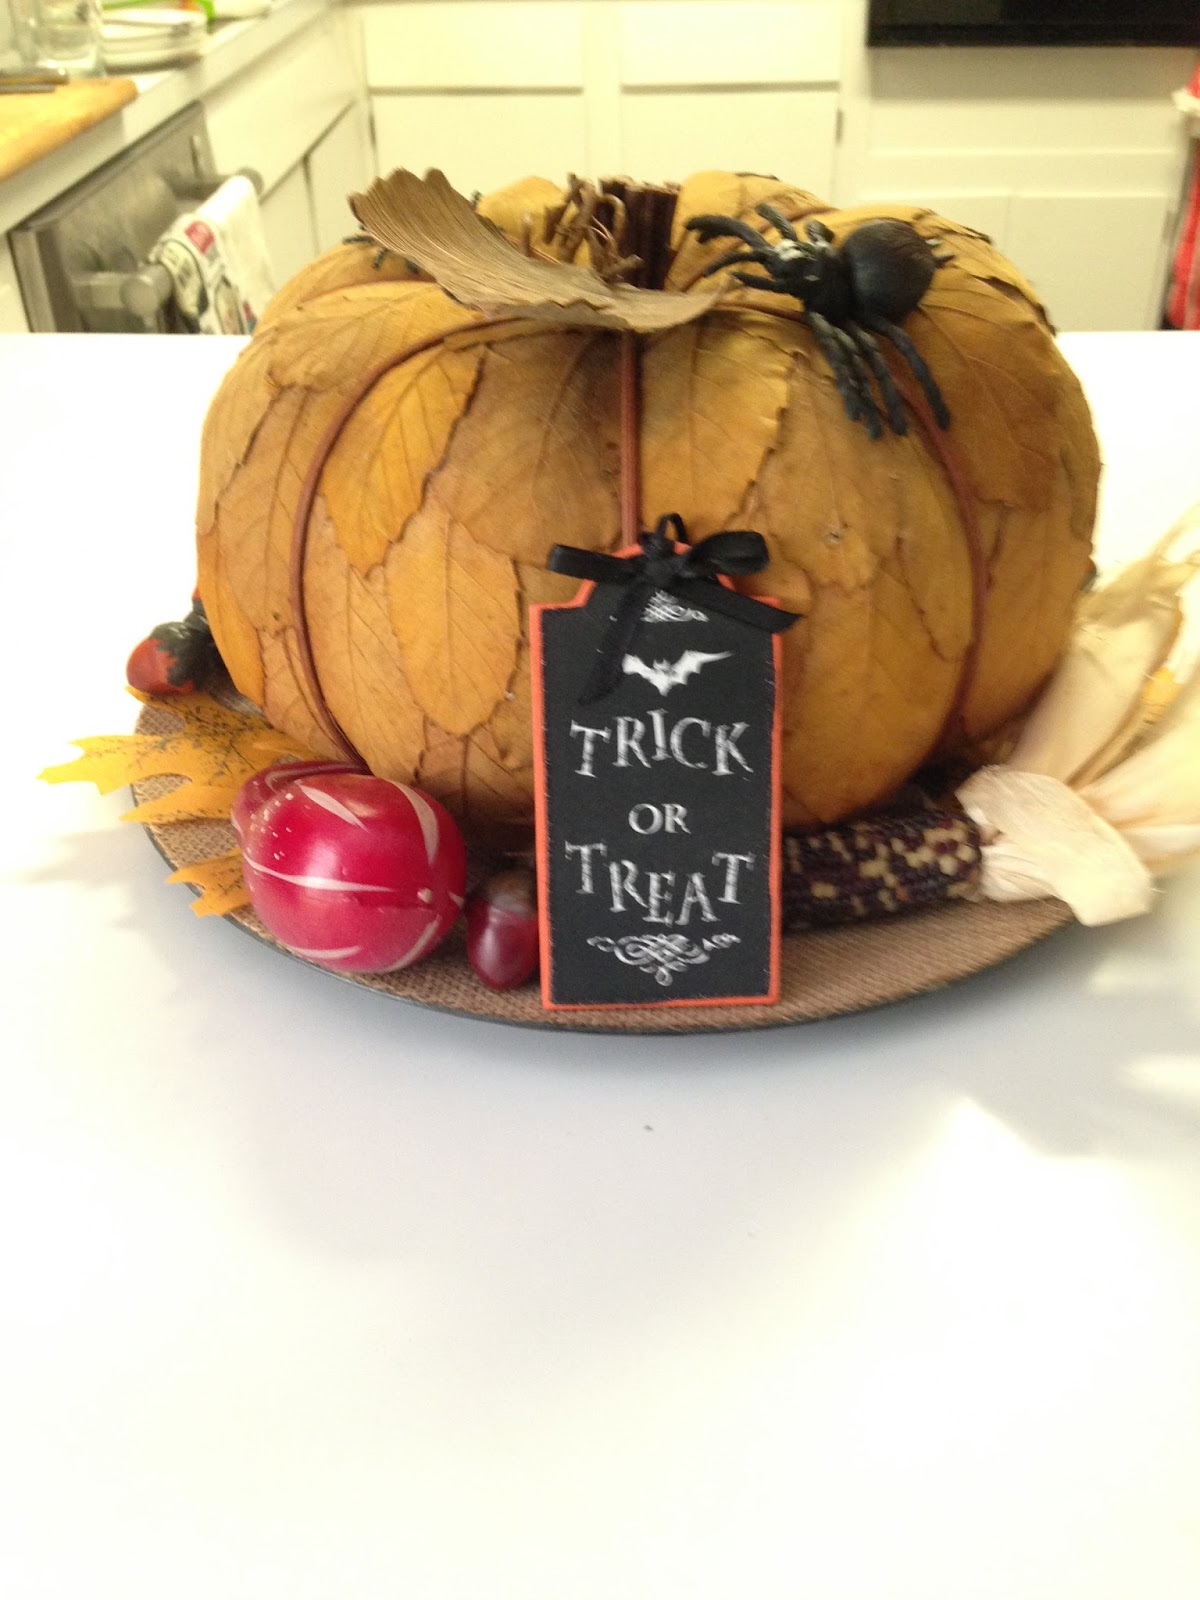 |
| My scary pumpkin on my counter. When Halloween ends, I will take off the trick or treat sign and remove the spiders and it will go from spooky to Harvest festive for Thanksgiving. |
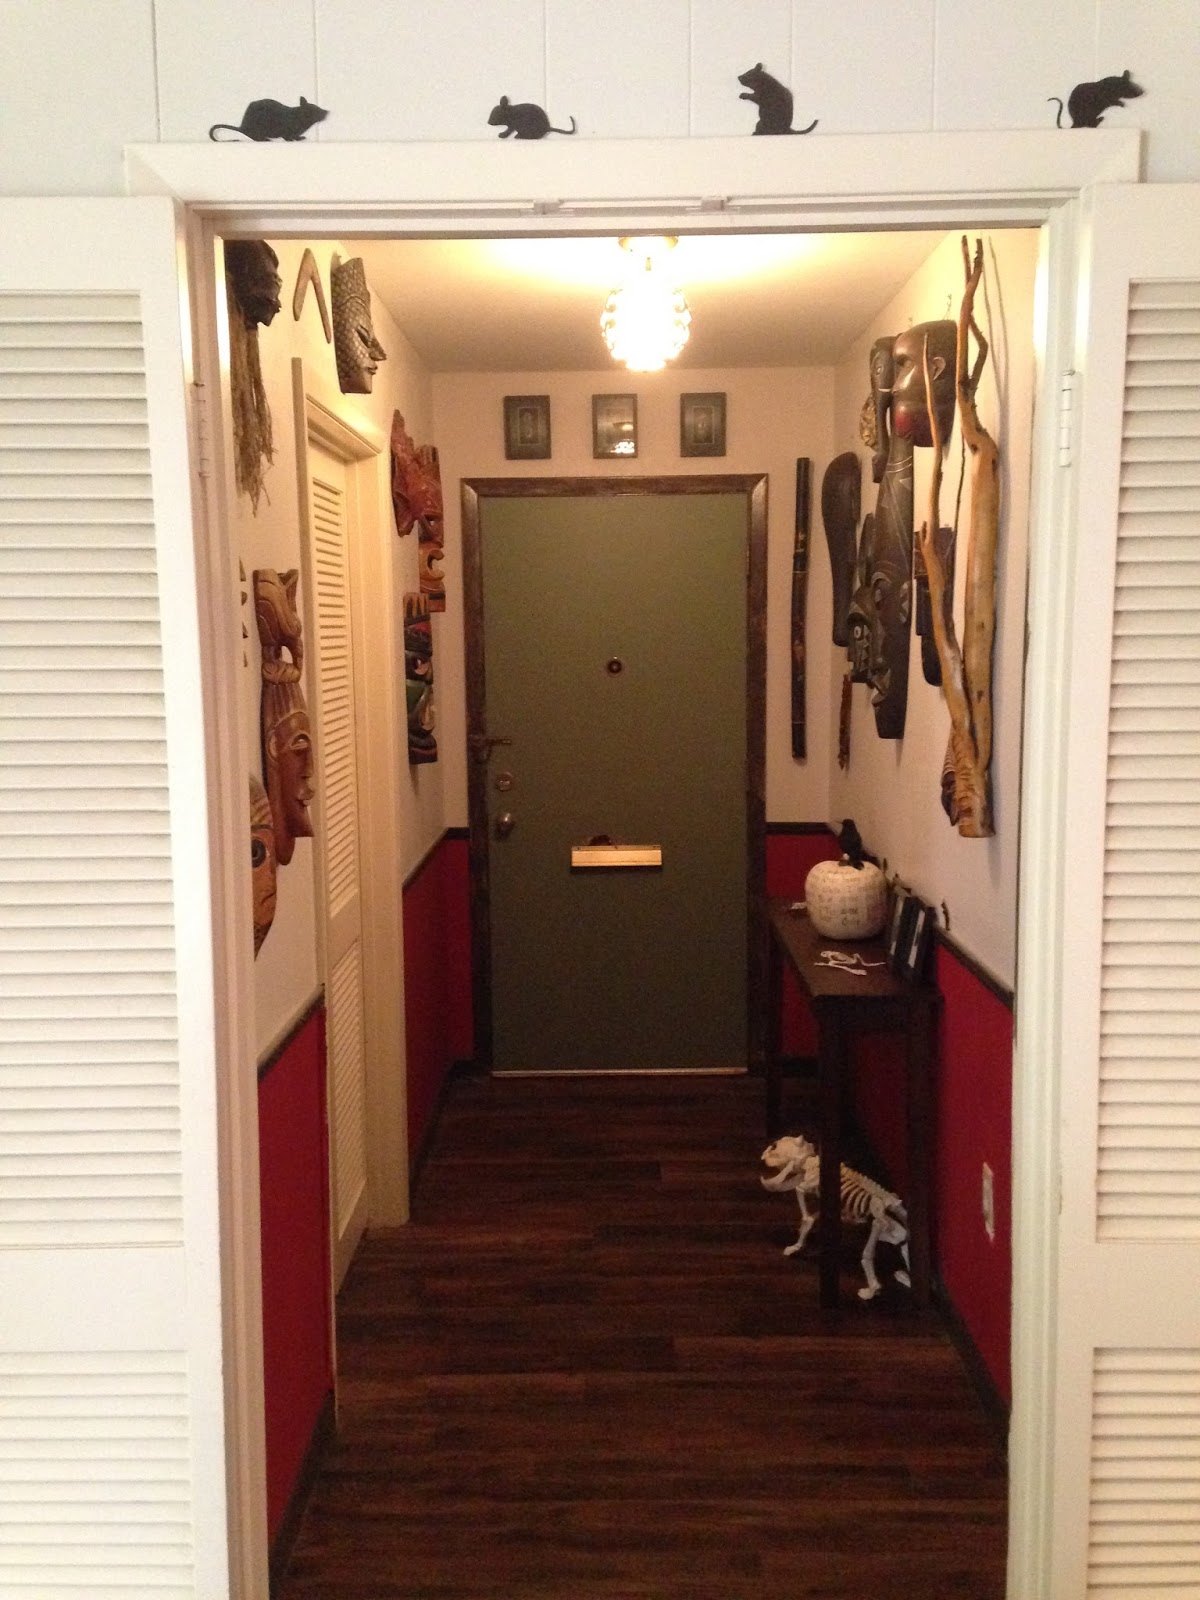 |
| Poster board mice investigating my entryway. |
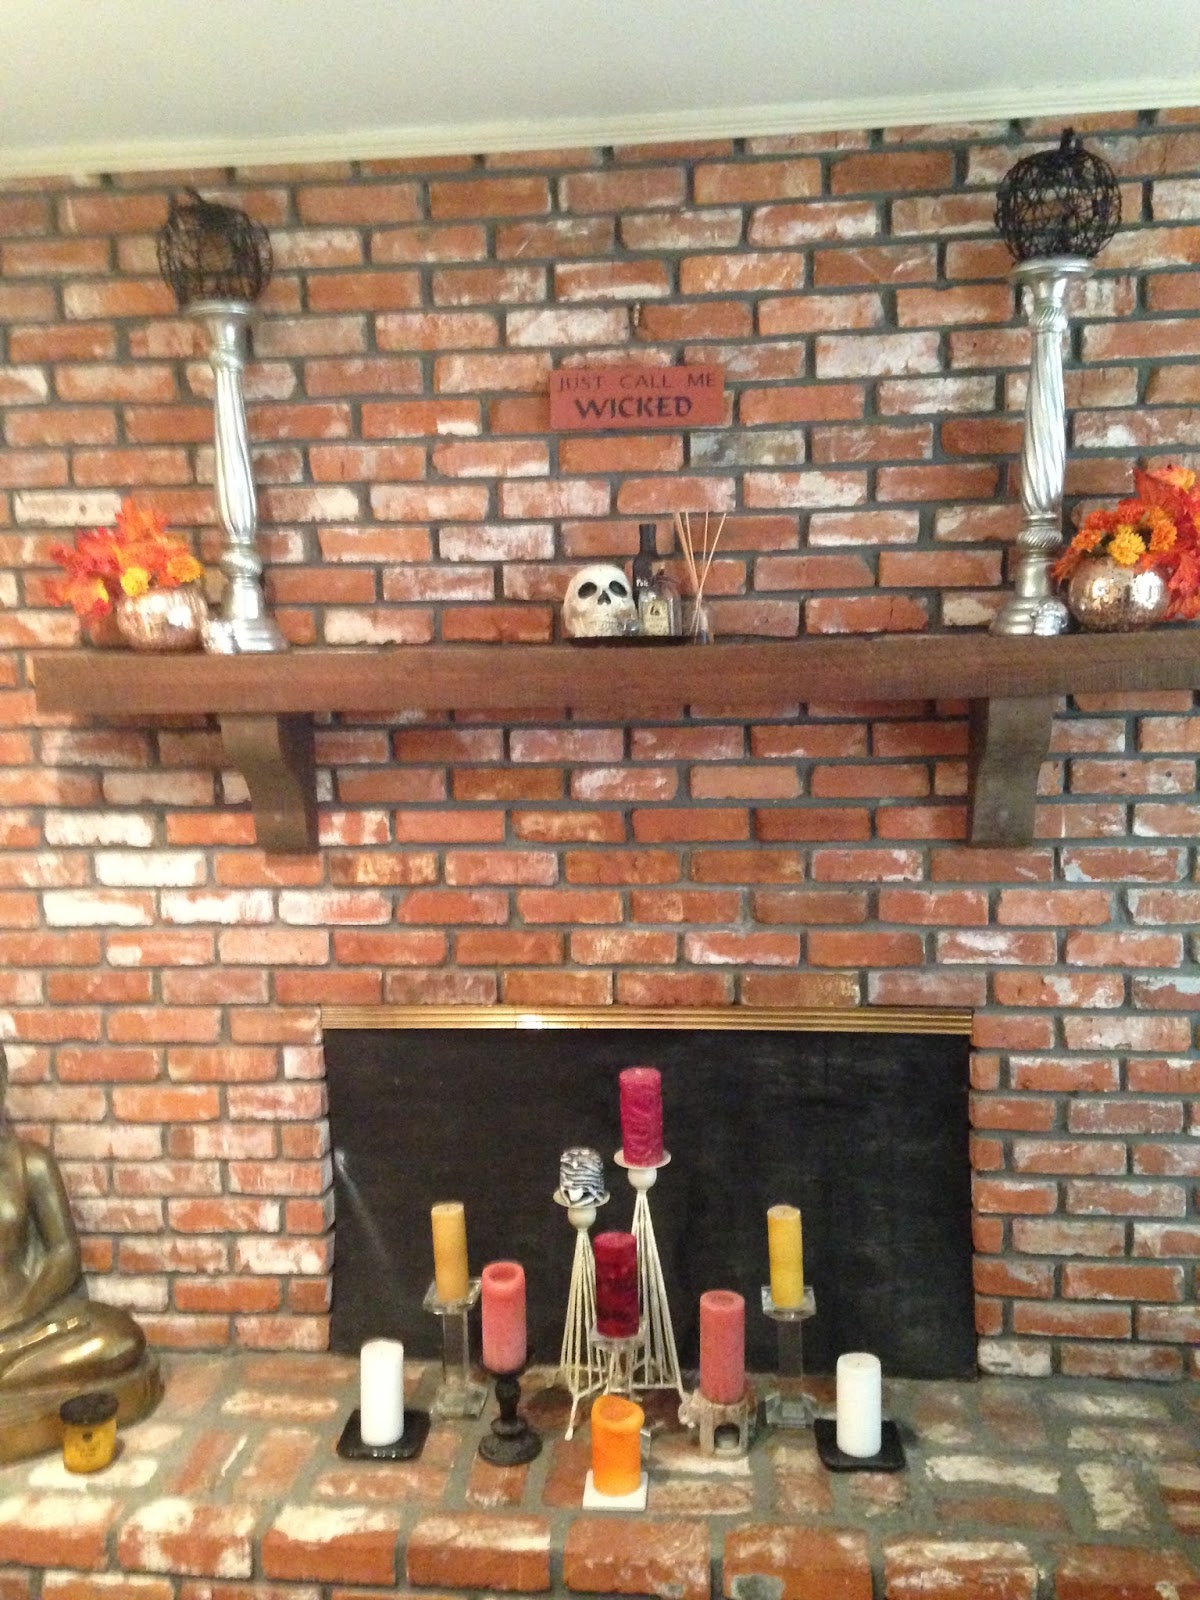 |
| I don't think that I am completely done with the mantle, I think that I want to add some cobwebs and the tiny fairy lights you can put in jars. |
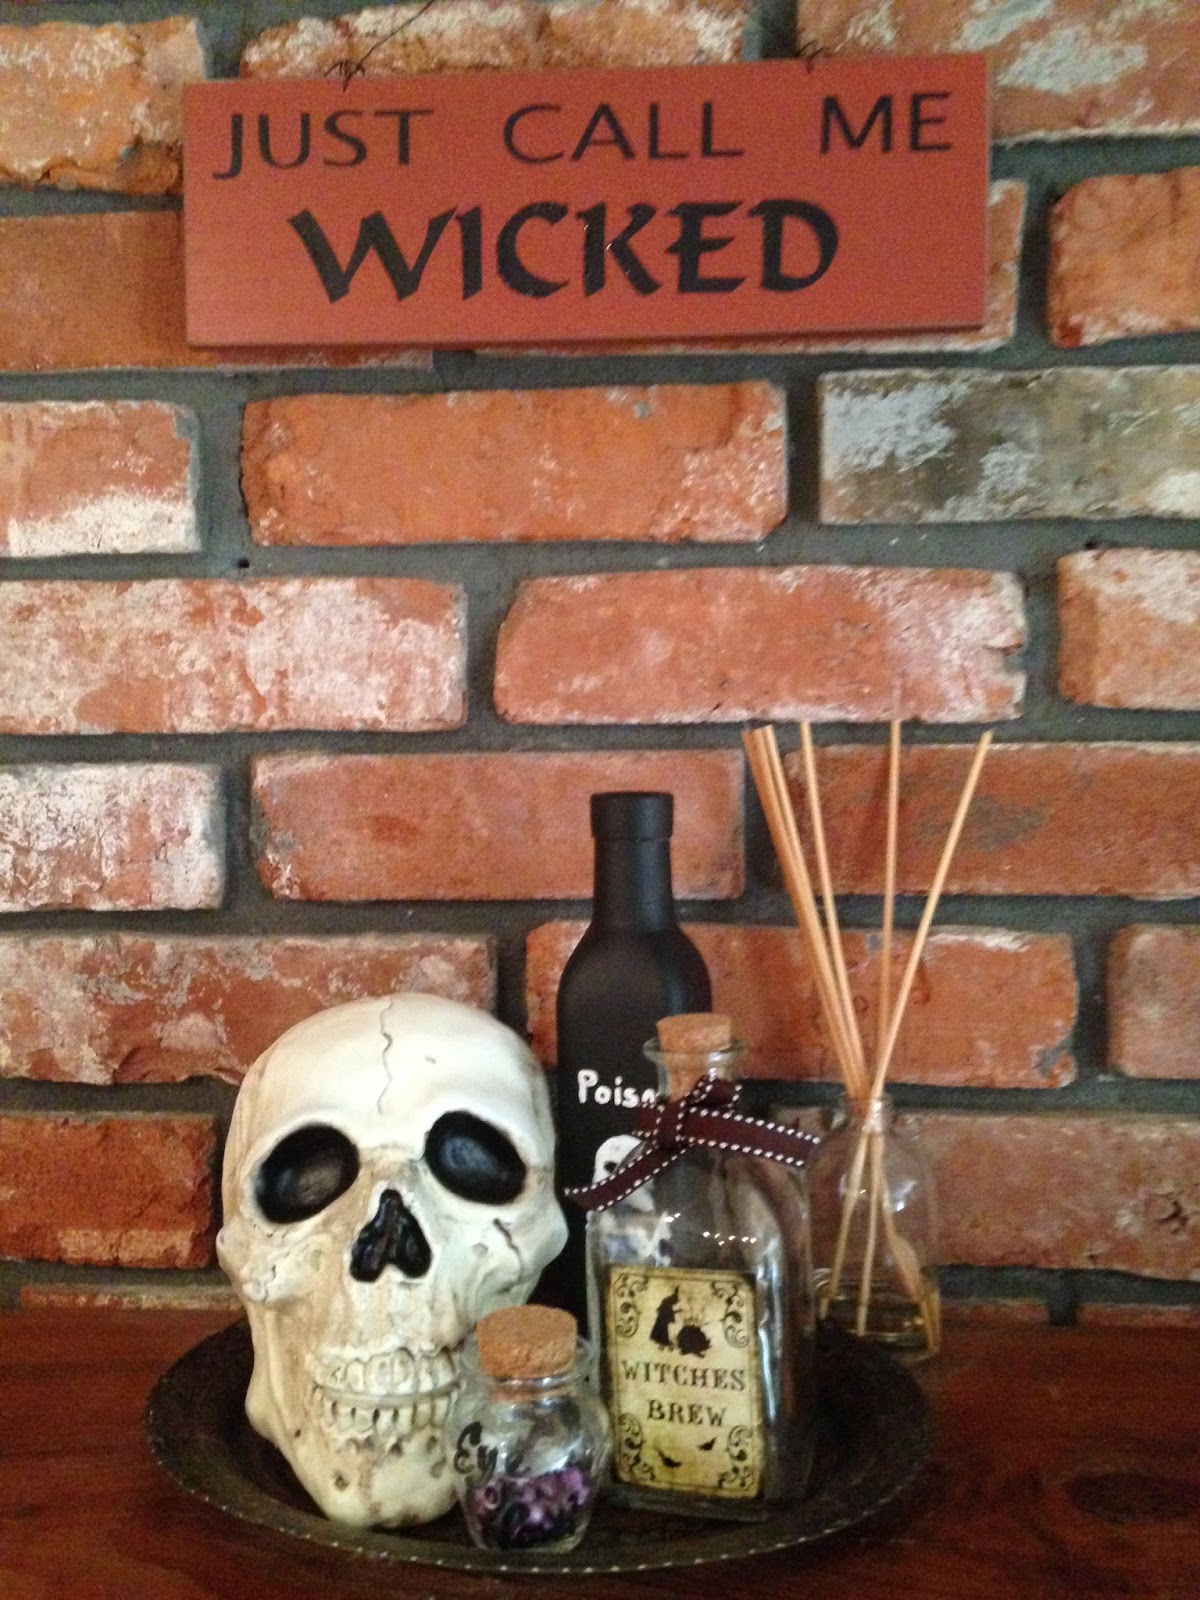 |
| The skull I got at the dollar store, as well as the bottles. Fill them with water colored with food dye. The eye of newt were some plastic beads that I didn't use for a bracelet. |
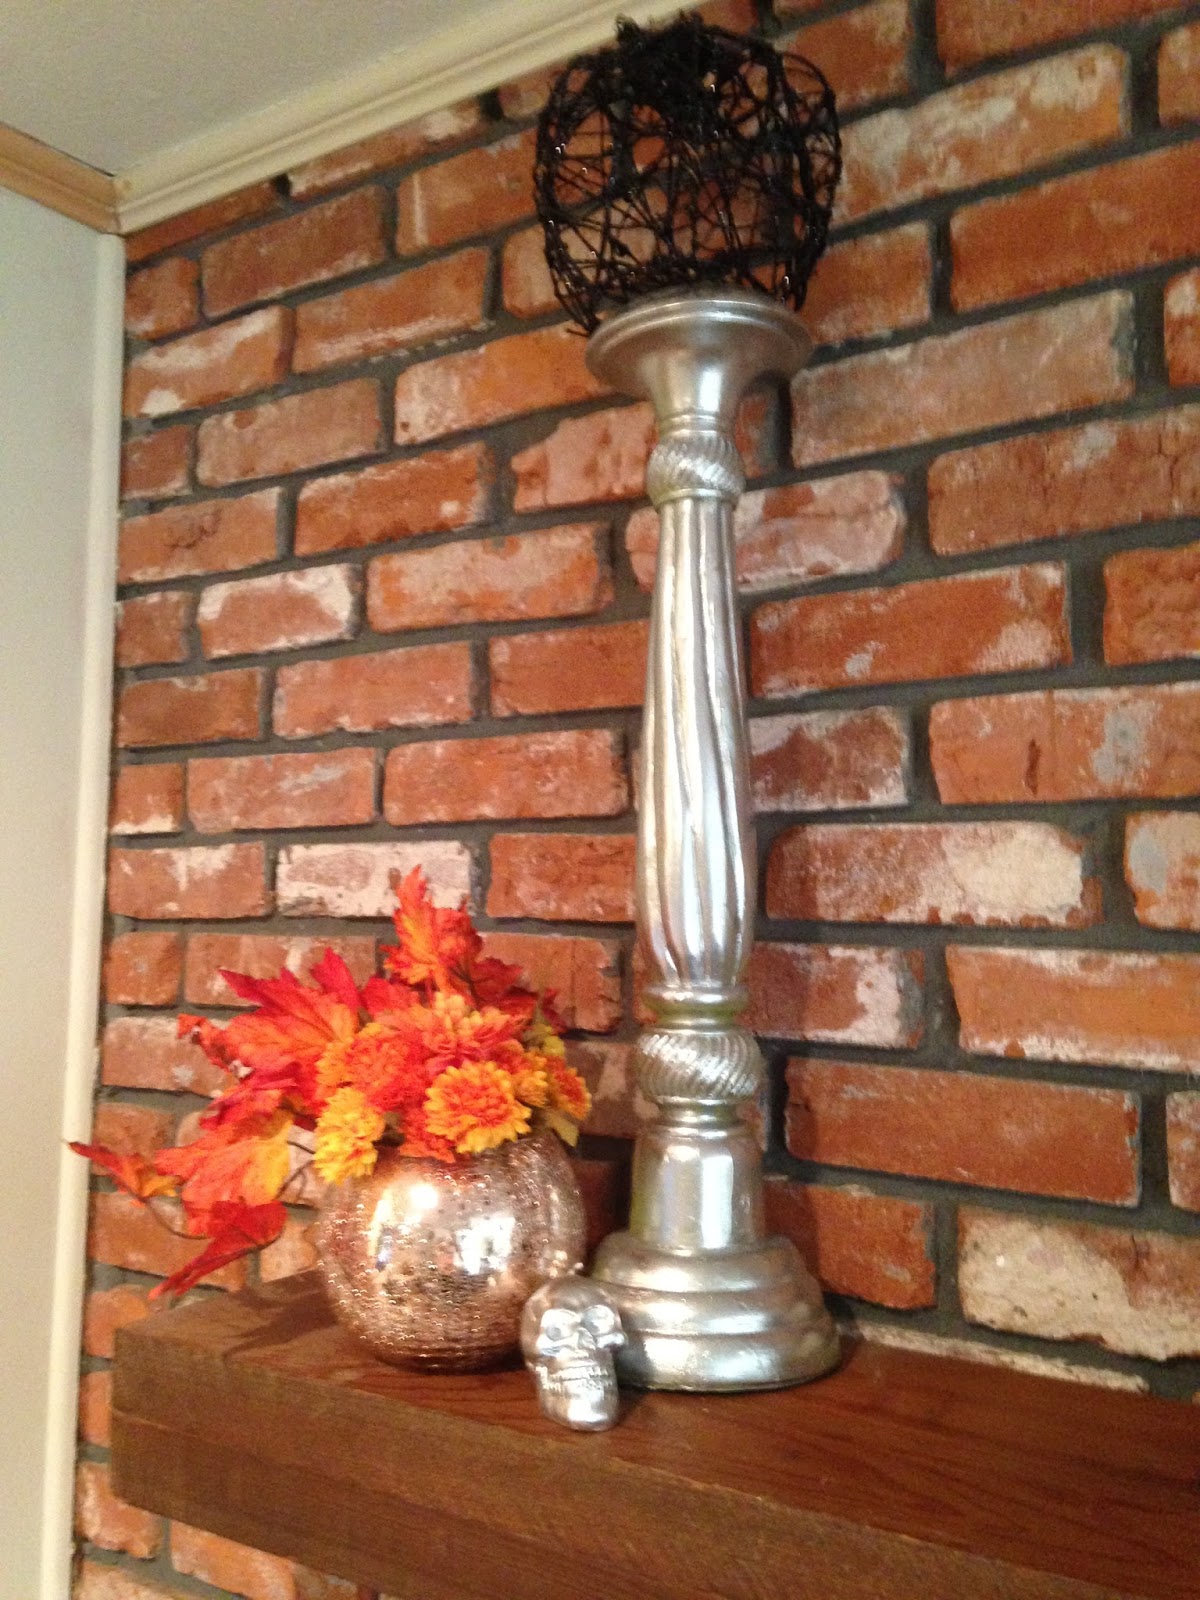 |
| The candle sticks that I have on the mantle are actually wood candlesticks that I got at a garage sale. They were originally a lime green and I spray painted over them with chrome paint. |
I have yet another Halloween craft that is easy, inexpensive, and does not take any artistic talent. This craft project may not be for everybody, especially if you are squeamish about insects, but if you are into the slightly crawly for Halloween, this project can't be beat!
I got most of my items at the dollar store, so the total cost for me was $10.00. These look so creepily elegant when they are completed. Once done, you can hang these on your wall or put them on your mantel.
They are a very inexpensive way to set the Halloween mood and, if your friends are anything like mine, they will ask you where you got them so that they can purchase them for themselves.
Insects Under Glass

Materials
Black Poster Board
Vintage Dictionary Pages or White Poster Board
Plastic or Rubber Insects
Picture Frames (Deep enough to hold width of insects) or Shadow Boxes - preferable black
Black Spray Paint (Optional - may not be needed)
Ruler
Pencil
Scissors
Hot Glue and Hot Glue Gun
Instructions
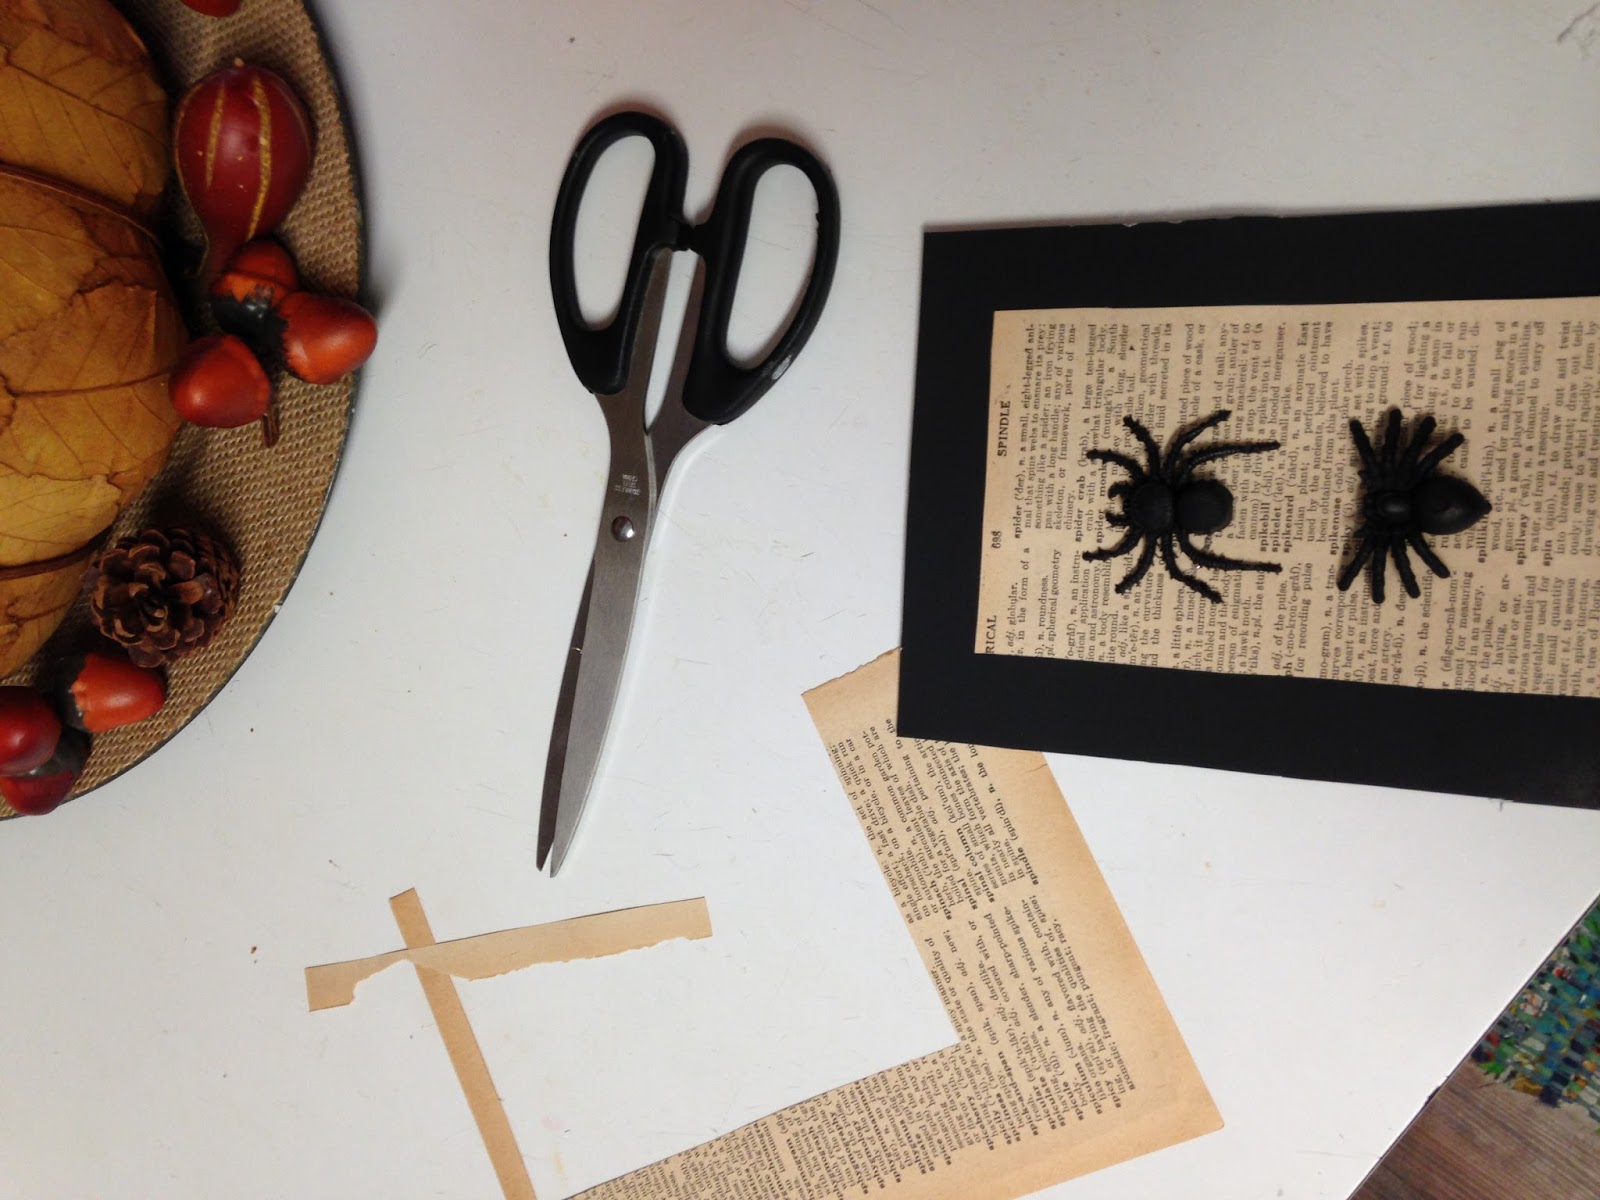
1. Go to the dollar store and shop for your supplies. The size of your project will depend on the size of your frames. When I was looking for frames, I was actually looking for shadow boxes and I had tried to find them in my local craft store. But the cost of shadow boxes was way out of my budget and I quickly changed my plan to see if I could find frames that would work at the dollar store. Look for frames that have a little bit of space between the glass and the back cardboard. The ones I ended up finding were 5x7 frames in a maroon so dark that they almost looked black. Also be on the lookout for toy bugs. The ones that I found were "realistic" looking and were in color. I wanted them to be all in black, so I used spray paint I already had on hand to spray them black so don't let color deter you.
2. Once home, open your frames and use the papers inside as your template for the black poster board. Trace around your "template" with a pencil and cut out with scissors.
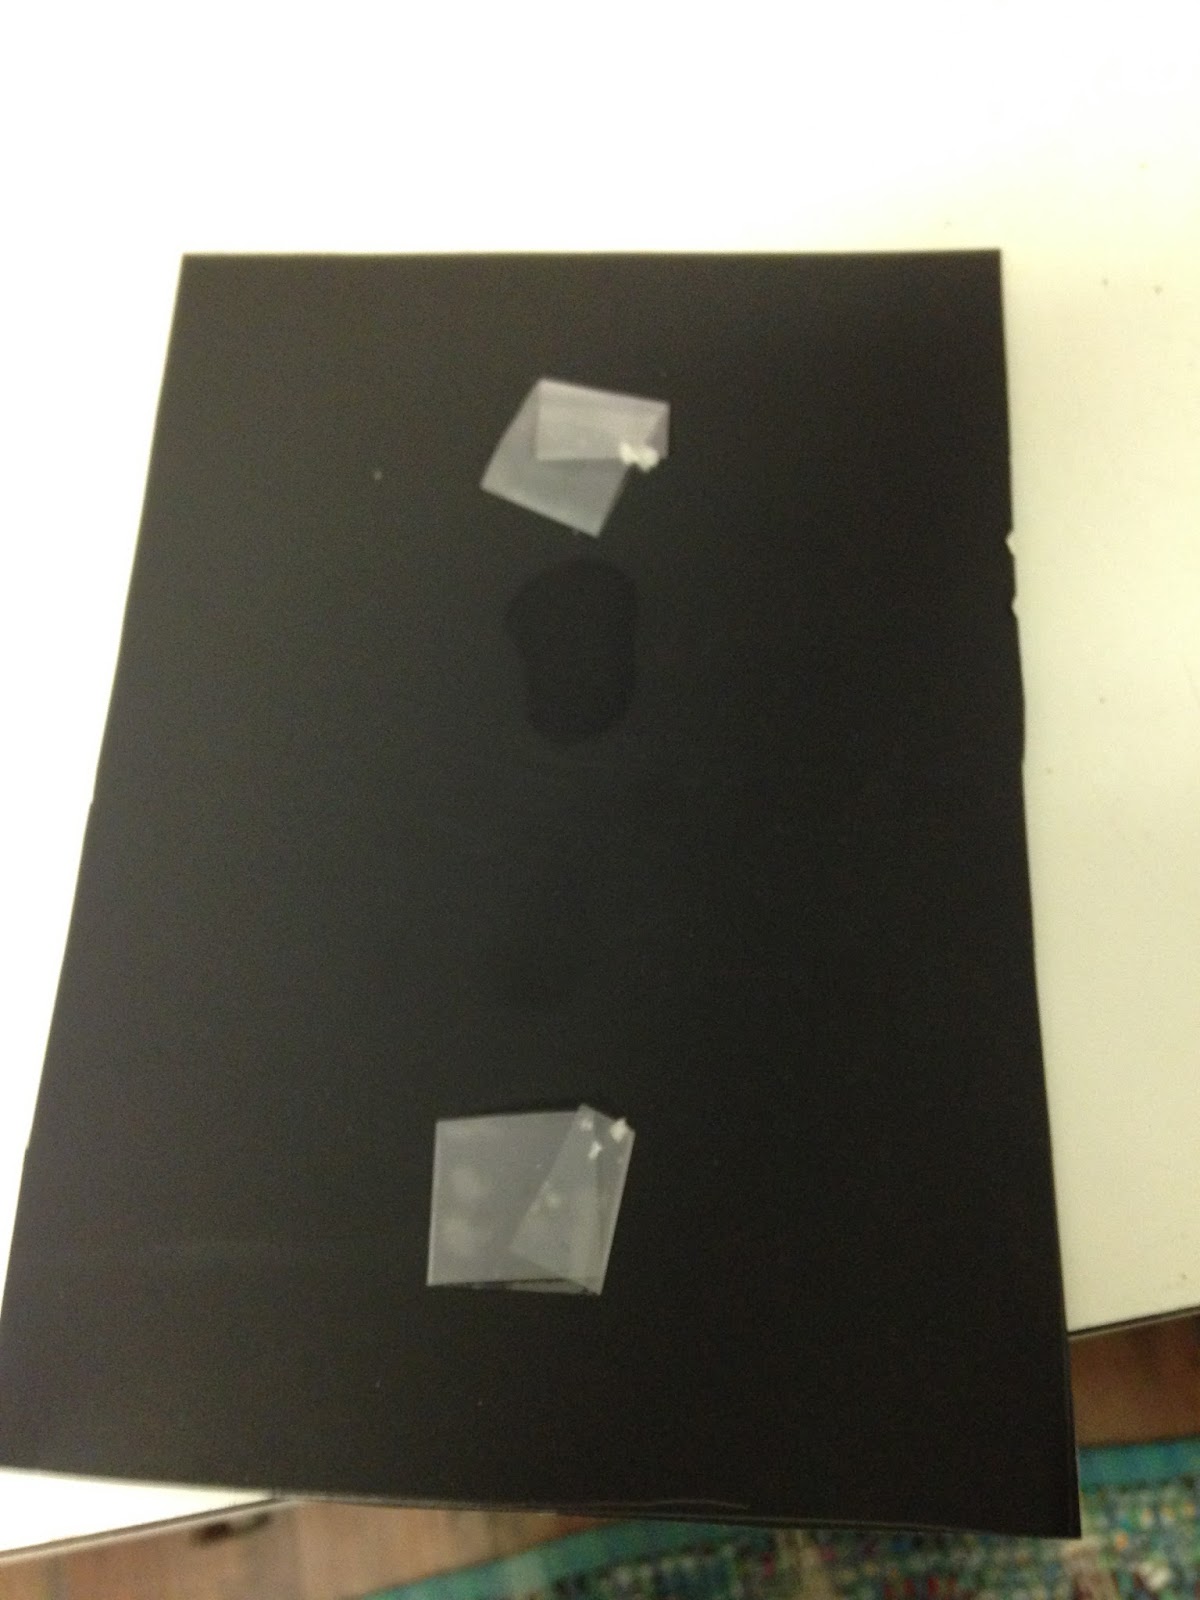 |
| I forgot to take the picture before I added tape. Oops! :-) |
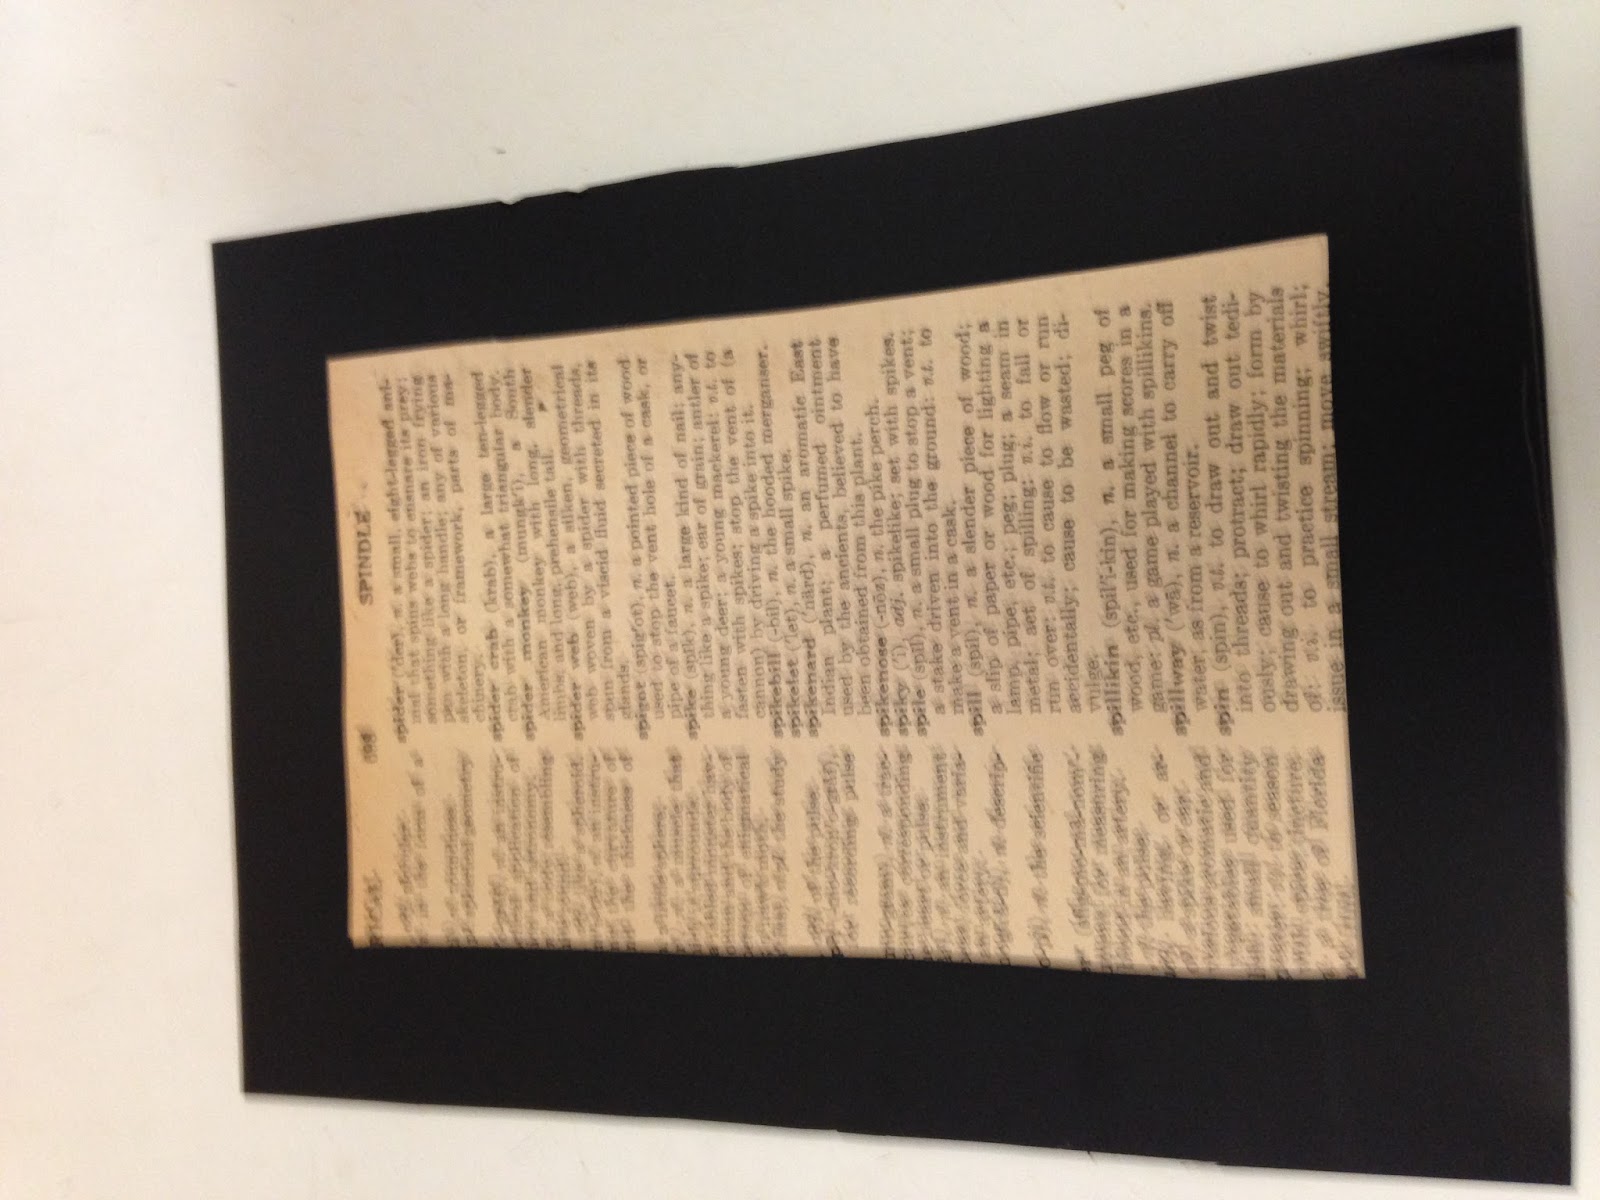
3. If you are using dictionary pages, choose which pages you wish to use as the backgrounds for your insects. I used an old vintage dictionary that was falling apart and was being thrown away by my place of employment. Old dictionaries are pretty easy to find inexpensively as they are considered sort of an obsolete item in today's time with the internet and you can find them for mere cents at used bookstores. If you have a vintage dictionary, your pages are going to be fairly thick. If your dictionary is a "newer" dictionary your pages will be thinner and you should glue them to white poster board to make them thicker and keep them from buckling.
I like to choose pages that are in some way related to what I am gluing on them. Some ideas for pages that you can look for depending on the insects that you have are:
Insect
Entomology
Beetle
Roach
Scarab
Spider
Bug
Centipede
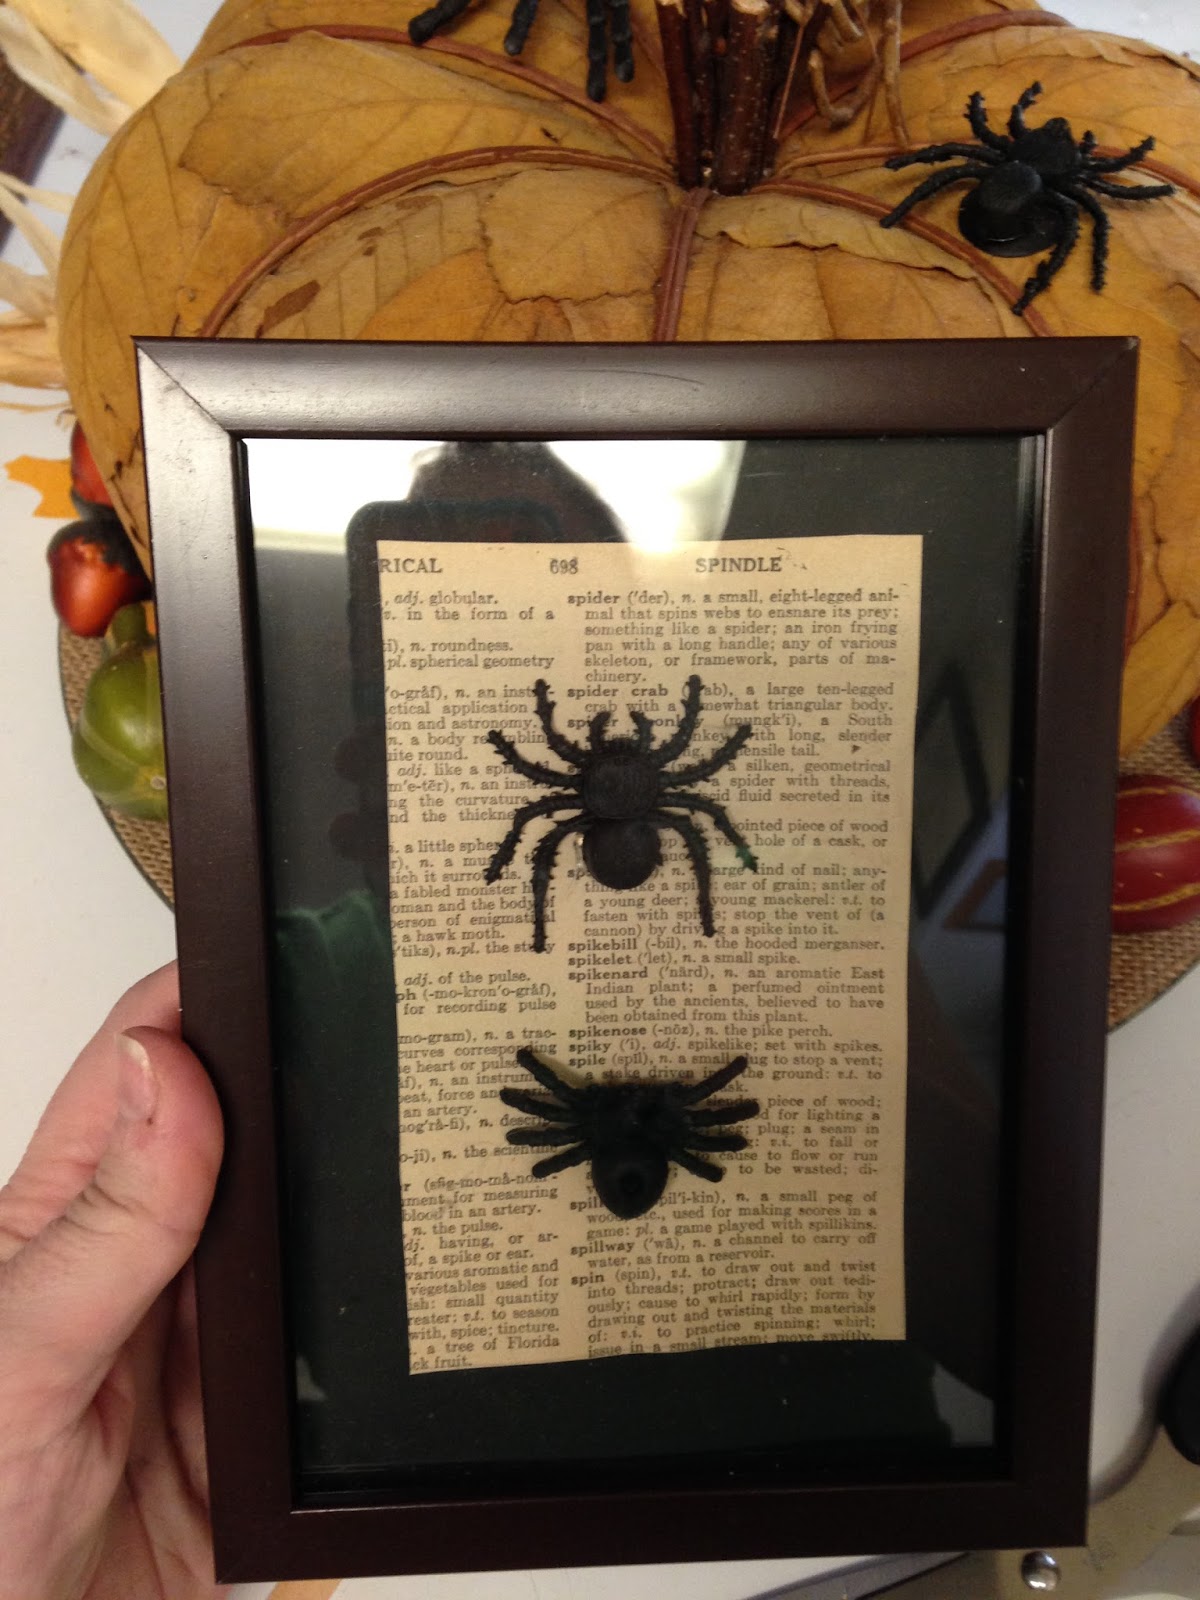
4. After you have chosen your pages, figure out how big you would like your background to be - I wanted my black poster board to look like matting, so I cut my dictionary pages so that they left an inch of black around the pages making it look like my bugs were professionally framed. I cut mine at 3.25 in. wide and 5.25 long. But remember, this is completely dependent on the size of your frames. My frames said they were 5x7, but when I measured them, they were actually 5.5 in. wide and 7.5 in. long, thus my measurements were a little longer than you might expect. Once you determine what size you would like your background to be make yourself a template.
5. Place your template on the dictionary page and determine where you want you main word to show. This depends on the size of your insect and where the word you are wanting to make certain is visible is located on the dictionary page. You are going to center you insect in the center of the page, so you do not want your word to be in the center of the page or it will be covered by your insect. Once you have determined where on the page you want your template to be, trace around your template and cut out with scissors.

6. Center the cut dictionary page on the black poster board you have cut out using your template and center the cut dictionary page so about one inch of the black is showing on all four sides.
7. Tape or glue the dictionary page to the cutout black poster board. (If you do not want to use dictionary pages, you can use plain white poster board or you can use a patterned scrapbook paper. I think that scrapbook paper with a damask pattern looks awesome behind the insects, but you use whatever inspires you and fits your decor.)
8. Place your black insect in the center of the dictionary page. Once you have determined where you wish to place your bug, hot glue the back of the insect with hot glue and carefully place the insect in the center.
9. Give the glue a few moments to cool and then reassemble your frames placing your insect mounted on its paper first and finishing with the back of the frame last.
10. Mount or place the frames anywhere in you house you would like. I have put mine on the hallway wall, on my mantel and on the hallway side table. The options are endless.
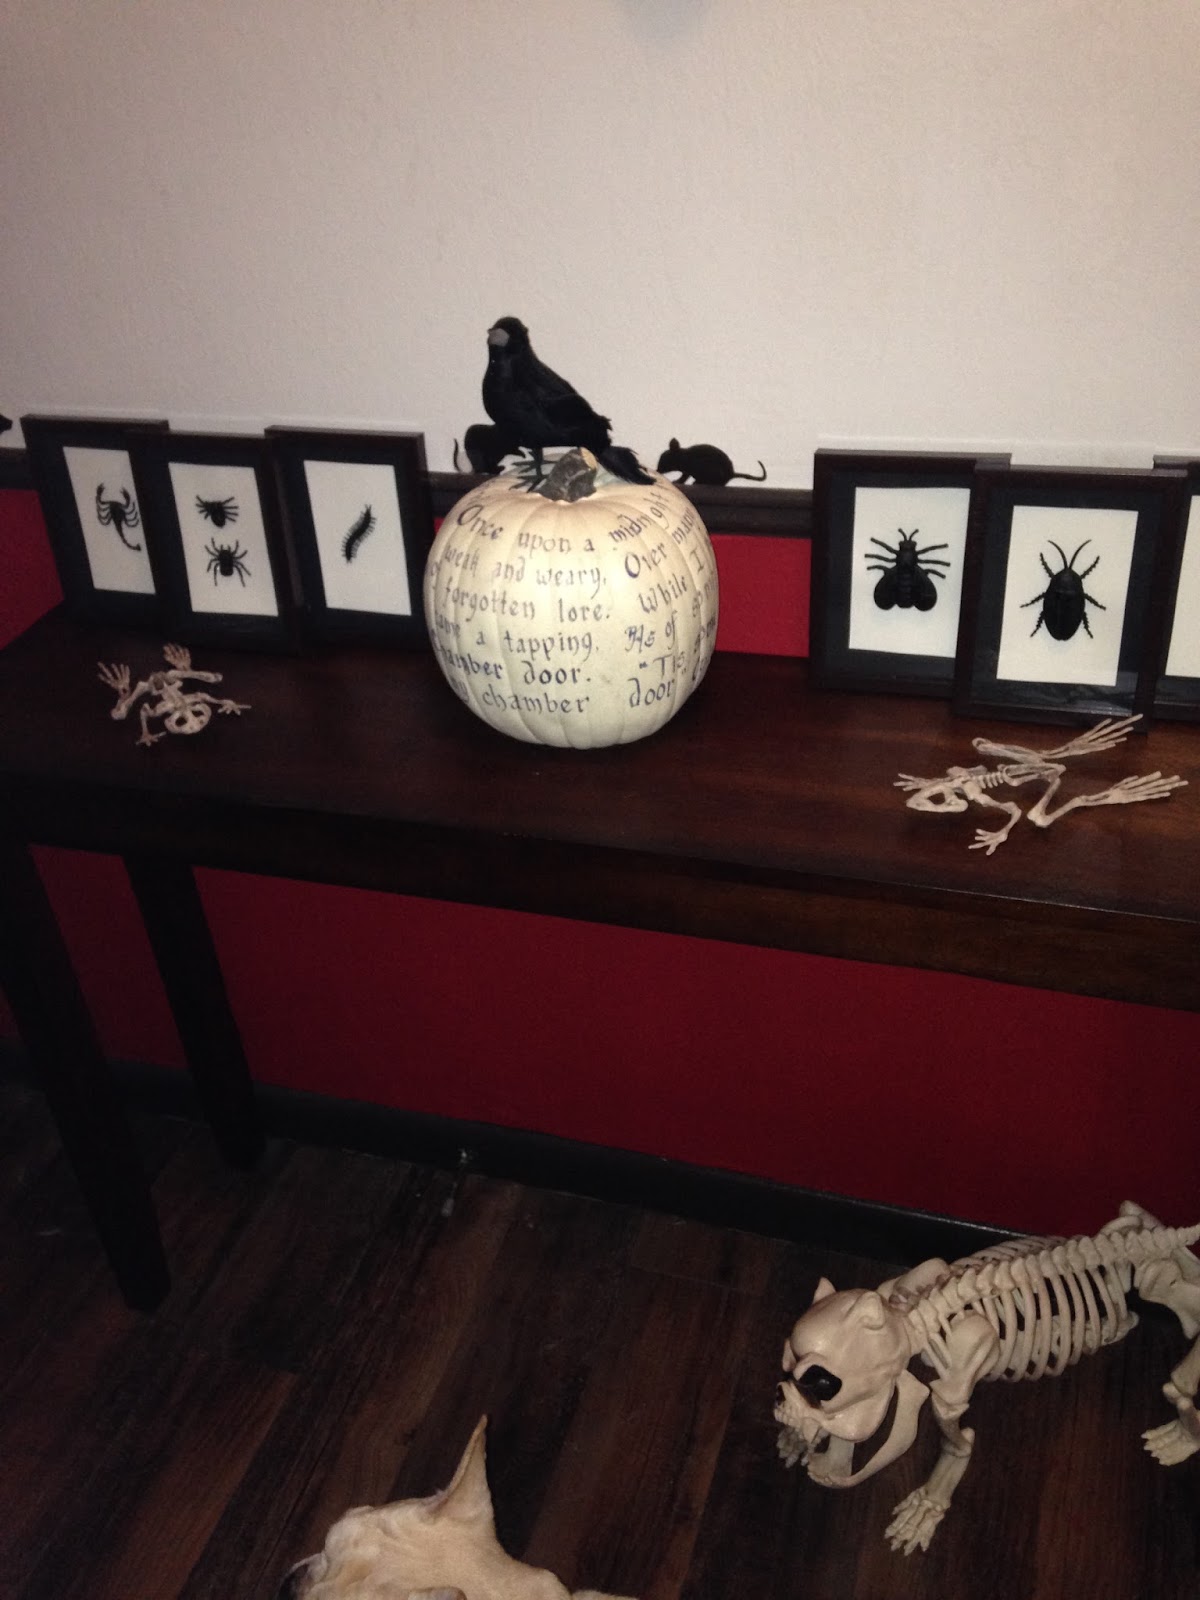 |
| I took this picture of my entryway before I switched out the background to dictionary paper on my insects. So you can see what they look like if you want to use plain white poster board. I am going to show you how to make The Raven pumpkin in another post. |
These really do look very elegant. They don't have to be just for Halloween. If you have a library or a study in your house, this project works very well in those rooms. To make them look more decorative and less spooky, you can hand write in calligraphy, or type if you don't do calligraphy, a label with the insects scientific name and place it under the bug. Voila! It now looks very studious.
That is it for today's post, but I still have a few more crafts and ideas to help you get your house ready for the year's scariest holiday so please check back in!
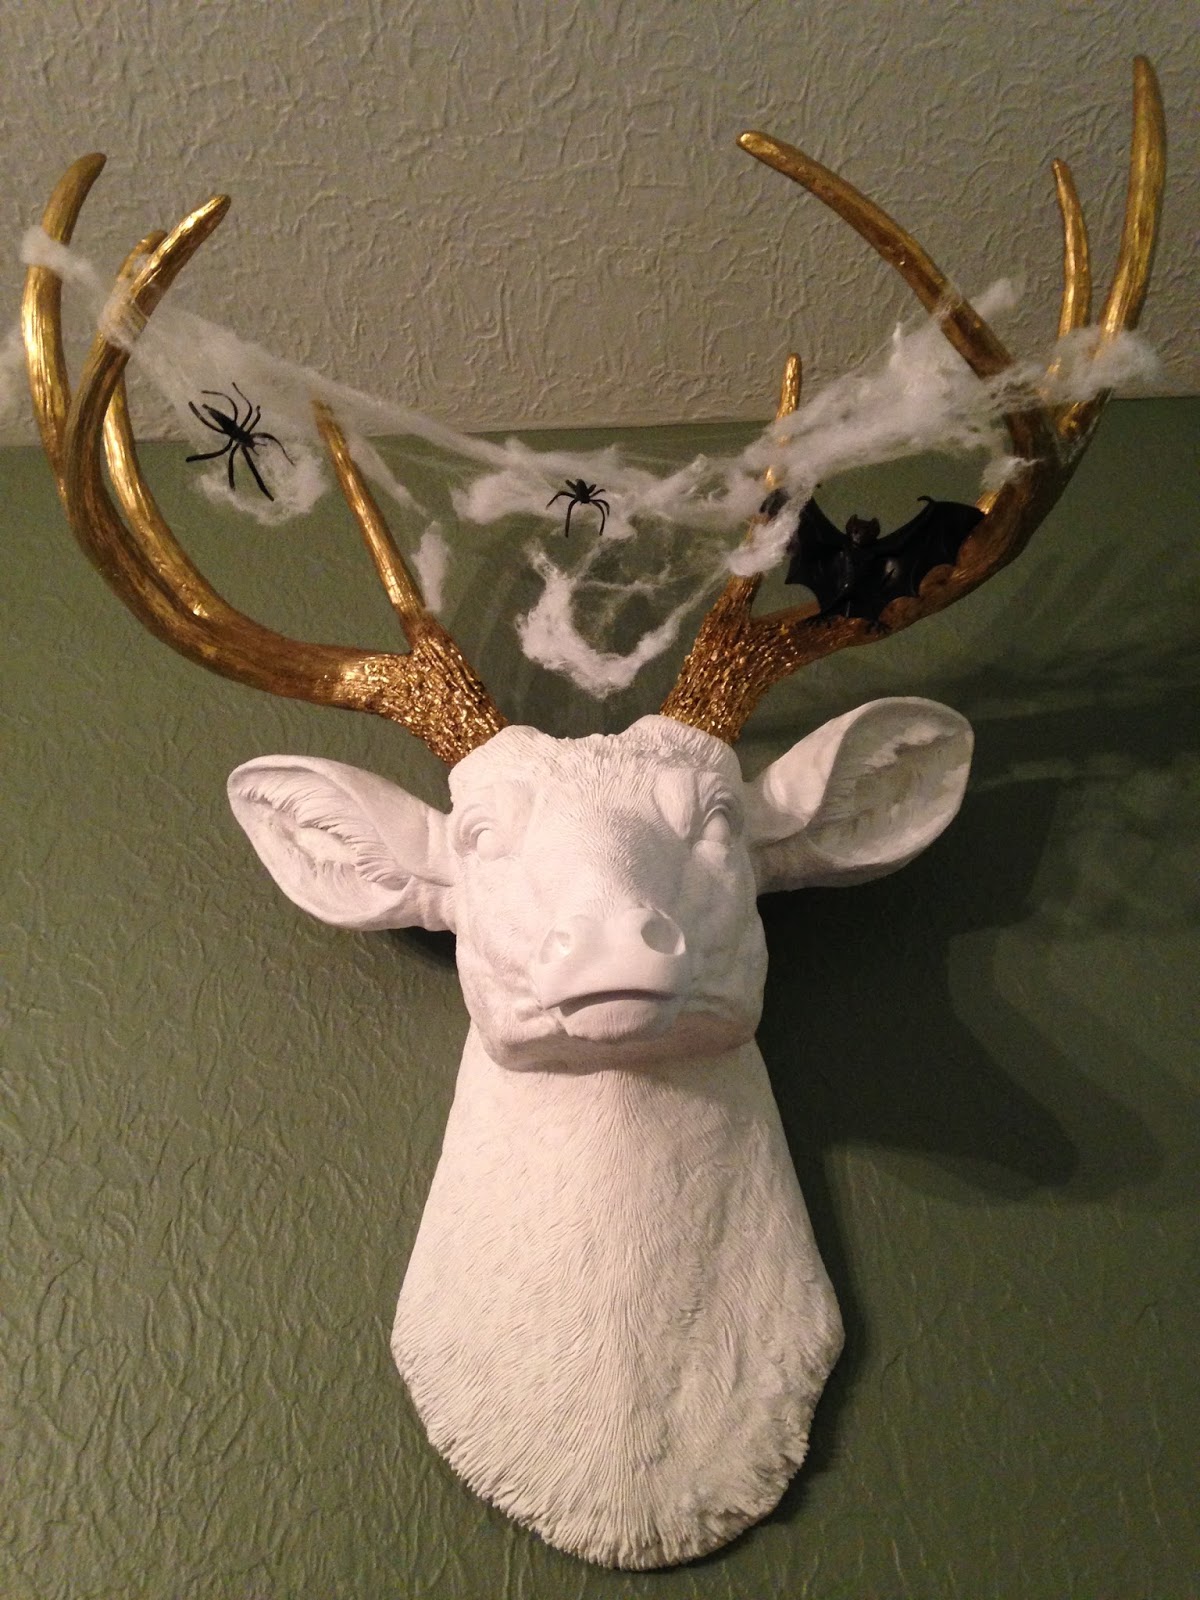 |
| Abercrombie, my pub's mascot, decked out for the Halloween season. |
No comments:
Post a Comment