Wednesday, September 2, 2020

Getting My Ducks in a Row...or Not. A tale of trying and failing with a recipe at the end.

 Hello Everyone!

Today's Frugal Femme is a post about failure and a recipe.  Don't worry, the recipe is not the failing part of the story.  The recipe is actually very simple yet delicious.  No, the failure part is about me and some metal/wooden ducks.


When I was a child my sister, cousins, and I used to play in my great grandmother's basement.  This was a win situation for everyone as it kept us kids out of our grandmother's hair,   (In case you were wondering, yes, this is the same grandmother that was the inspiration for my vintage skin regime.) and allowed us to feel like we were not being constantly supervised.  Which we loved.  To make the basement more interesting (and, yes, this was before home video games were really a thing and VHS tapes weren't around yet, let alone dvds or home computers) my great grandmother stocked the basement with items that she thought kids would have fun playing with.  We had empty spice tins and pots and pans that were no longer used in the kitchen to pretend like we were cooking.  There were boxes filled with vintage clothing (some that I would kill to own today) that we could play dress up in.  There were vintage board games, card games, and Twister and my mother's Barbie, Skipper and Scooter dolls complete with pink case and outfits on tiny hangers that grandma had pulled down from storage for us to play with.

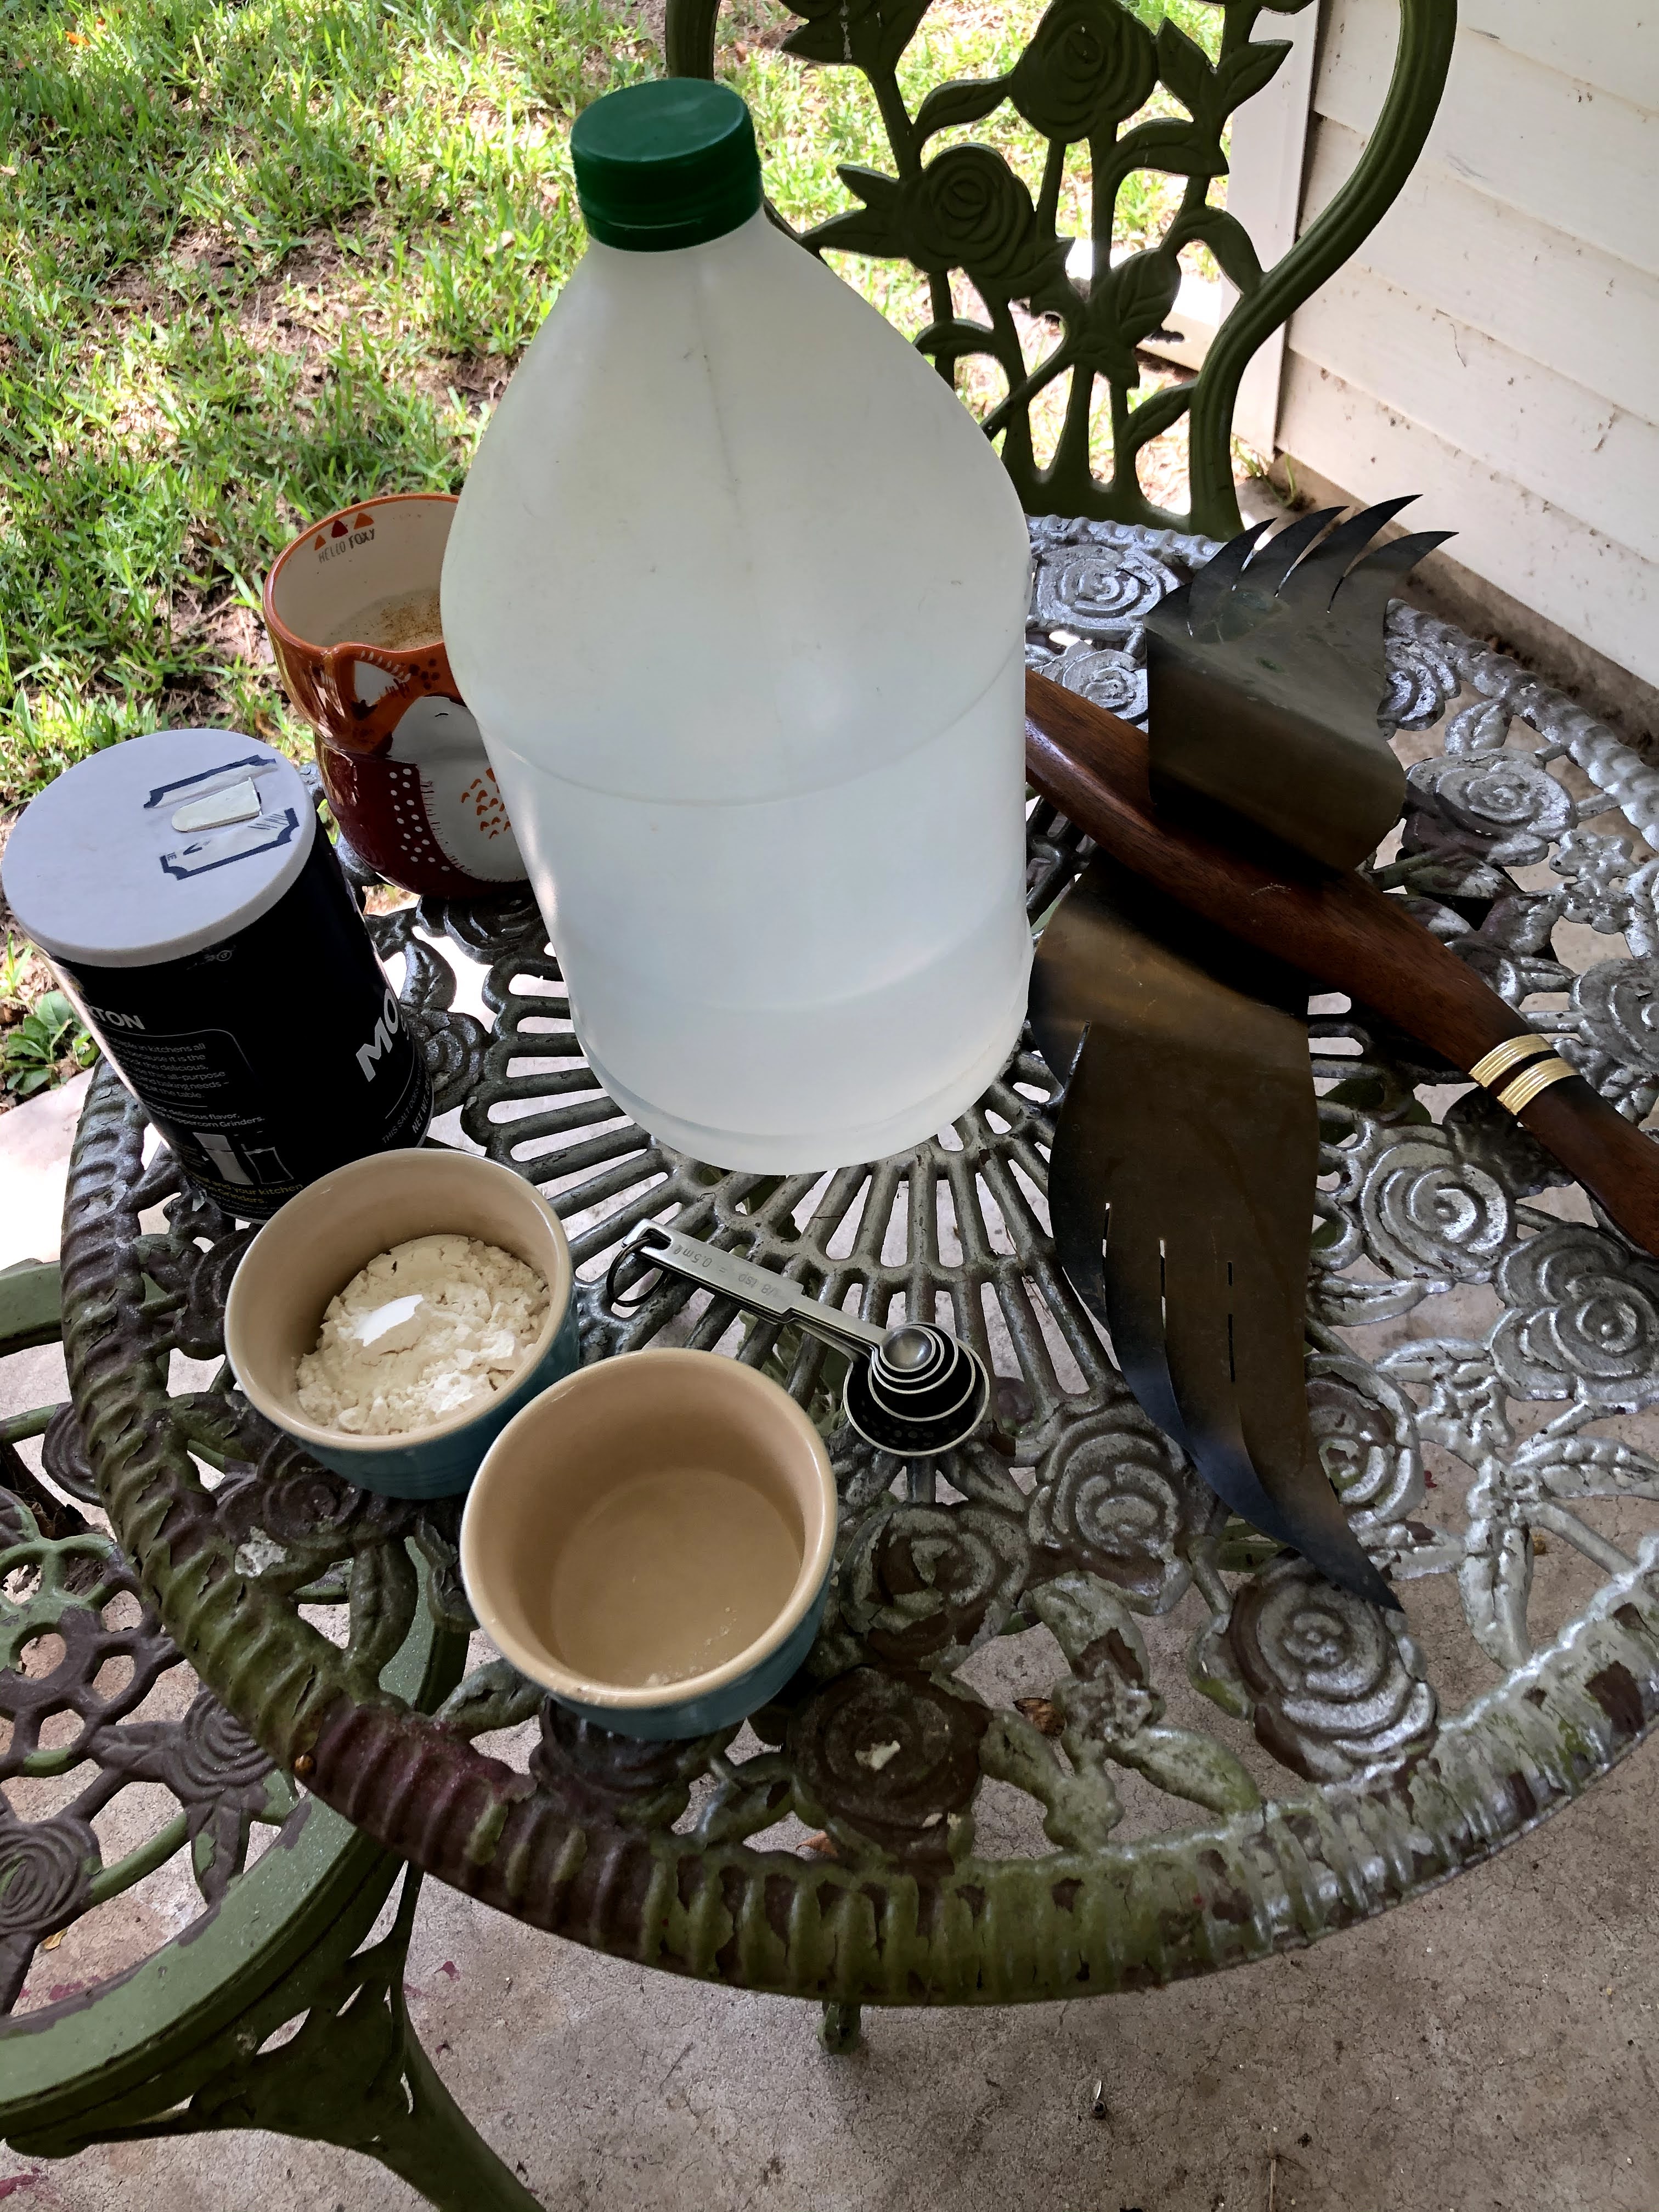
I remember this had a place for Skipper and Scooter on either side of the box and, in the middle, they each had their own closet and drawer so that you could hang their clothes and store their accessories.  It was a
little girl's dream.


What strikes me now is ALL of this was vintage - even then.  It came from the 50s and 60s and were items that she had held on to from two generations of children (my grandmother and mother) and were now being played with by a third generation of kids.  And the basement was decorated in the same style.  All of the furniture, including the television was from the 1950s with some throw-ins from the 60s and I WISH I had it now.  But one of the things that stuck in my memory the most from the decor of this room was the ducks.  
Along one of the walls were three wooden ducks flying along the wall - each with a different wing design.  I loved these ducks!  And I decided, recently, that since I live in a home built in 1965, it would fit right in if I could find those ducks.  They couldn't be that expensive right?  WRONG!
I don't know why these ducks are so much, maybe their age, but if I had to make a guess, I would say that it is because they were featured in Mad Men. (A show that I still need to watch.  I haven't seen even one episode.)
Here are the ducks of my childhood as seen in the show Mad Men.  Apparently, that is Herman "Ducks" Miller on the phone.

Being on a limited budget, I couldn't afford the ducks that looked like new and were already refurbished- those cost $200-$350 - so I decided to look for some fixer uppers and hope with a little elbow grease I could make the turn out alright.
So here are my ducks.


They didn't look too bad and, after reading a post on fogmodern.com's blog on the restoration he did on his ducks, I felt I was prepared to try it myself.

Taking his suggestion to use Brasso, I dug through my cabinets and found some Brasso.  Unfortunately, my Brasso was about fourteen years old and it did nothing.  You would think that my next thought would be to get some new Brasso and try that.  No friends.  That is not how my mind works.  It is how my mind should have worked but I decided to do another homemade way to clean brass that I found online from Bob Vila.  He said to clean brass, use one part salt, to one part flour, to one part white vinegar and this will clean your brass.  Eureka! 
So I set to work.
I decided that I didn't want to overkill on the cleaning agent so I mixed one to two tablespoons at a time of each of the ingredients.  Always making certain to keep a one to one ratios of all the products. For example, I would use 1 tbsp flour, 1tbsp salt, and 1 tbsp white vinegar.             


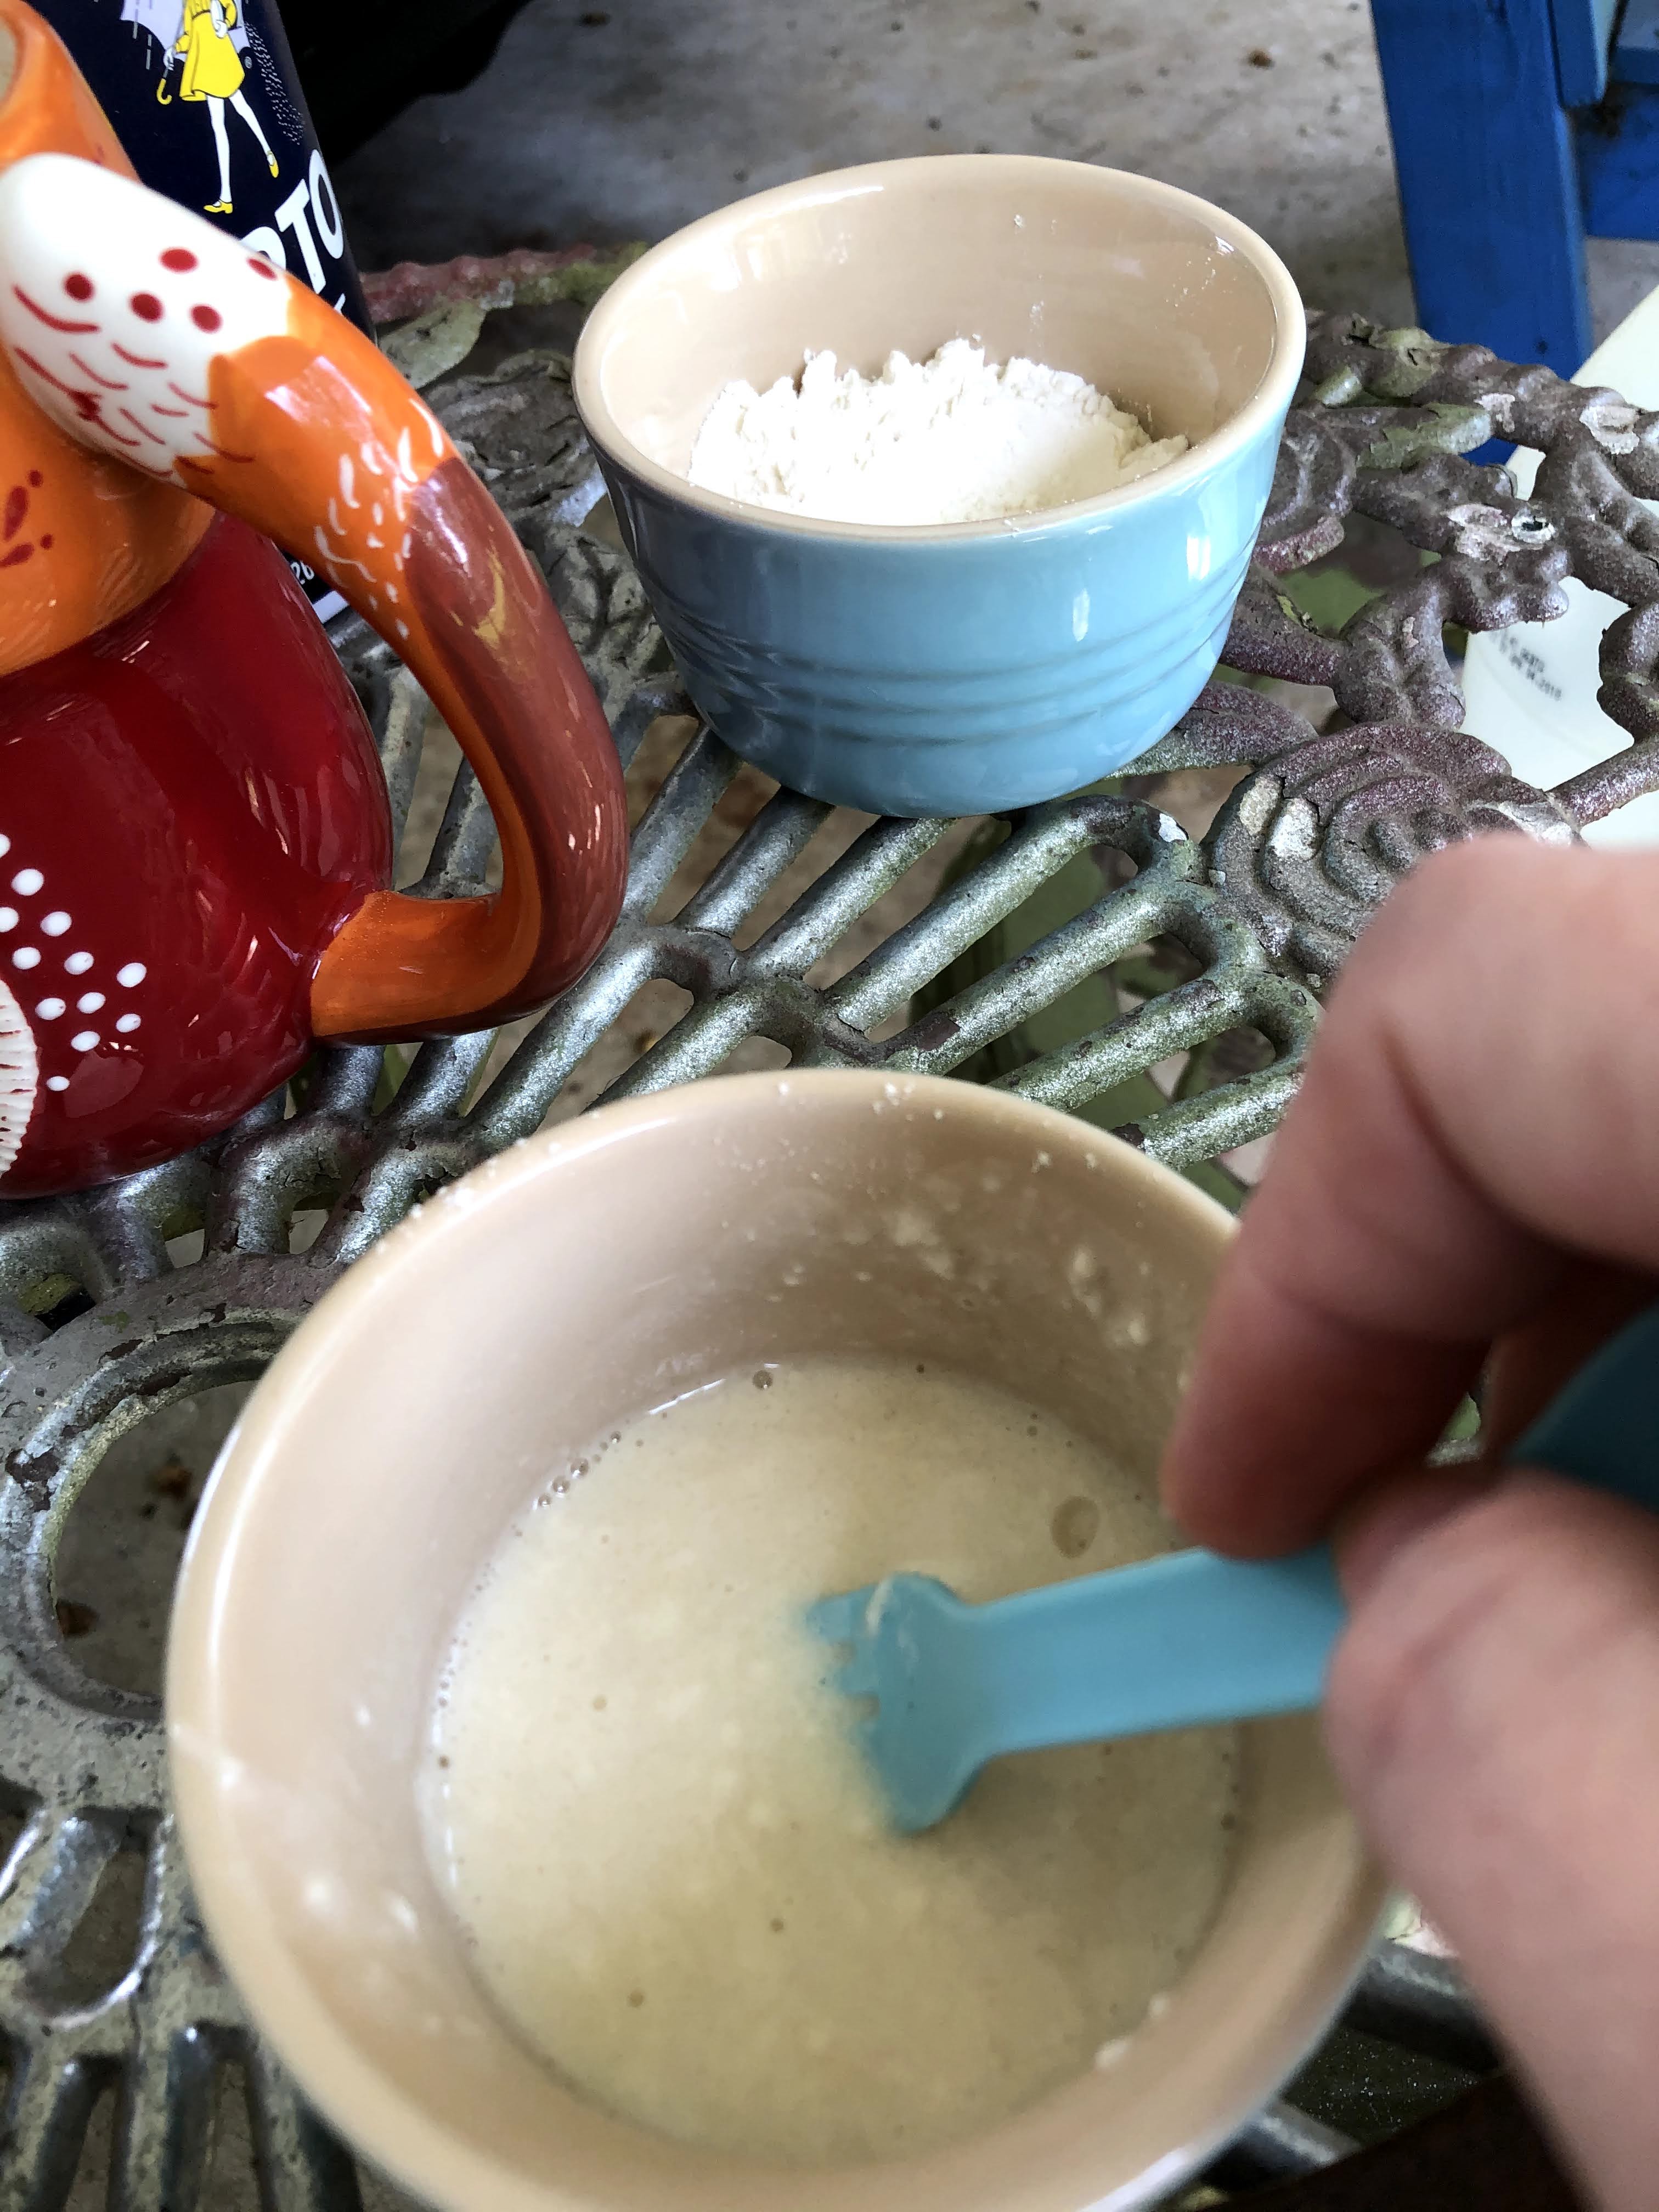
I then slathered that all over the wings of my ducks and, per his instruction, left the concoction on their wings for an hour.  


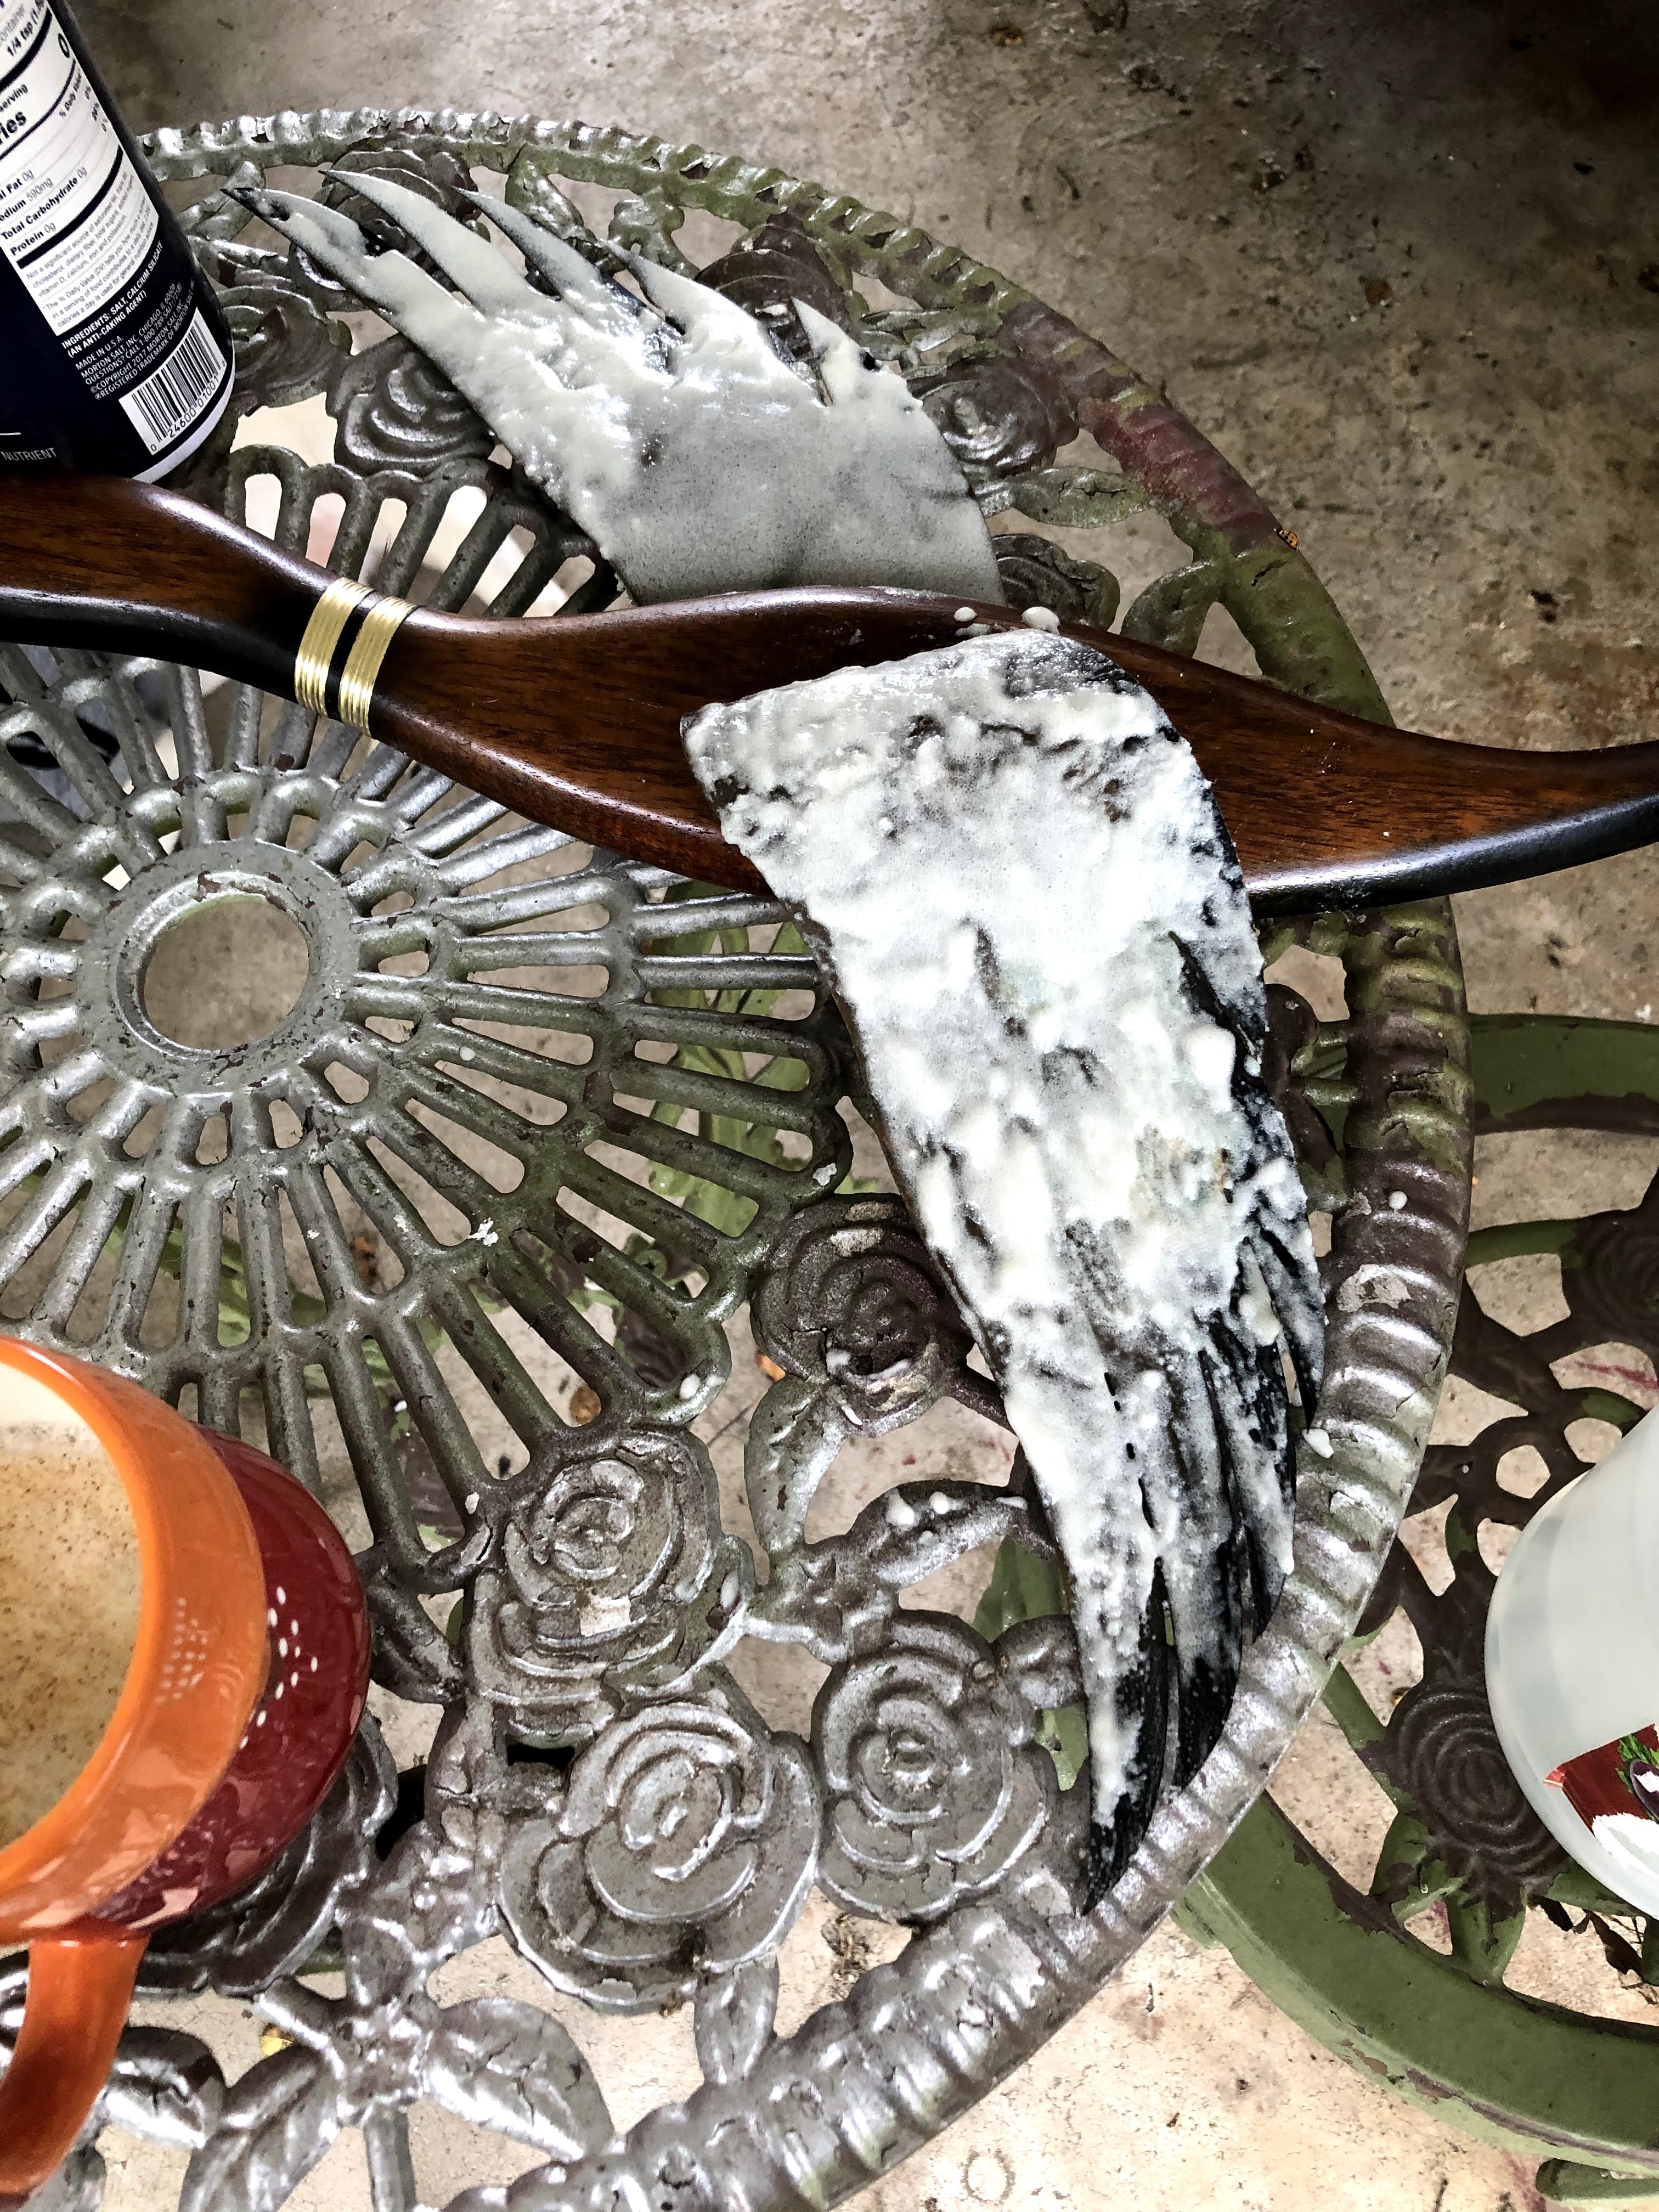
He then said to rinse with warm water and your brass would be clean.
Ummmmmm....  That is not what happened for me.
They did get cleaner but they looked worse!
One of the ducks even had an area on his wing where there was a circle of bright brass and then there was a black spot.  It looked terrible and stood out even more than it did before the ducks were cleaned.

Here is a close-up of my problem wing before the cleaning - that dark circle is where disaster struck.


I'm not going to lie.  I panicked.  I should have purchased new Brasso and tried seeing if that would have fixed the problem.  Instead, I decided to paint them.
DON'T DO THIS!!!!! 
 In general, you shouldn't paint vintage things.  It just isn't something that you should do.  If you learn nothing from Antiques Road Show you learn this mantra - don't paint vintage and antique items.  But, in panic mode, I decided to paint them.  
And I don't regret the decision, but....... yeah.    
They look.......meh.  Not horrible.  But not great.


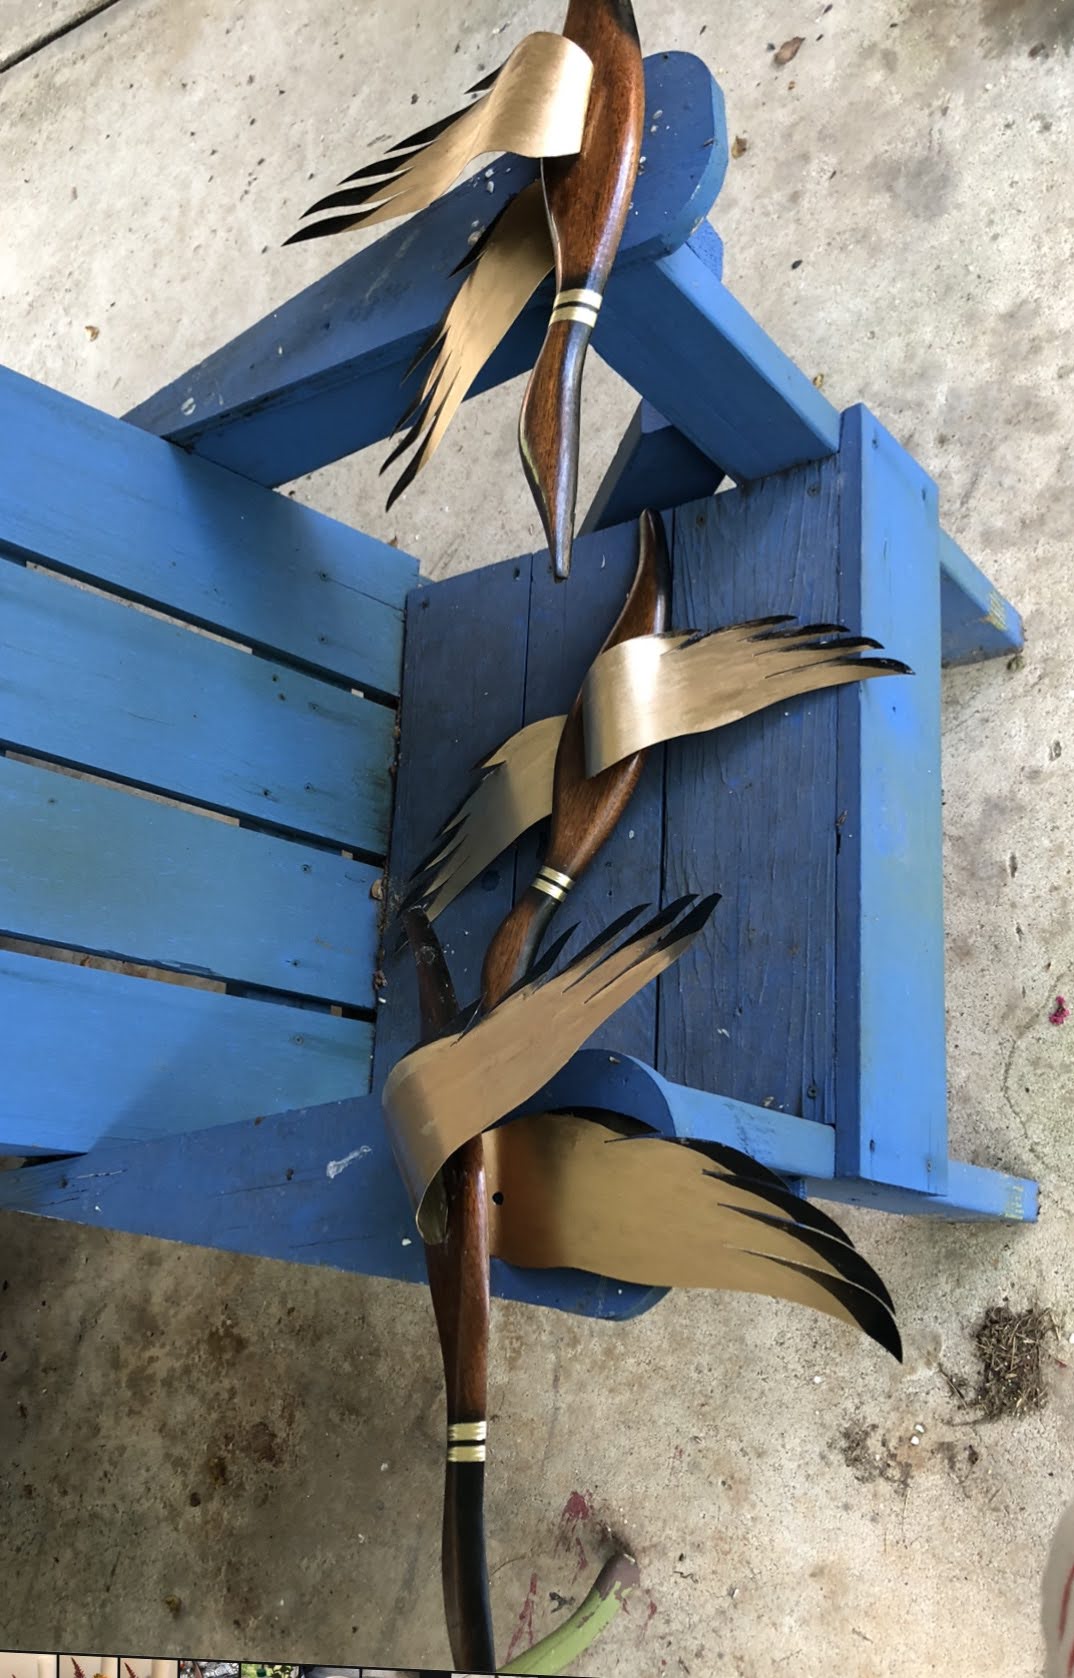
I have decided that I am going to put them up as they are for right now.  I just don't have the willpower to sand the paint off and try Brasso on them.  I'm sure they will start irritating me within a month and I will sand them and try to polish them again.  And the good thing about that is, that it should be cooler by then and I can work on them outdoors without dying from heat stroke.  So, if that happens, I will post those pictures for you.


But, since I am doing a post about mid-century ducks, I thought why not do a classic recipe that involves chicken?
So the promised recipe from last post is going to Chicken a'la King - For Two.

Chicken a'la King - for Two


Most Chicken a'la King recipes call for heavy cream and are for four or more people.  I almost never have heavy whipping cream in my house- unless its a holiday, and I am only feeding two people, so I decided I needed to modify this classic recipe a little.  Also, I thought it was a little bland, so I changed that a little too.

Chicken a'la King has been around since the 1880s, but it really grew in popularity during the mid-century.  Although no one is sure who invented the dish and many claim the honor.  Some of the old recipes have sherry and truffles in them.  A far cry from the dish seen in 1950s cookbooks, but a variation I definitely have to try - but not in this recipe.  It can be served on pasta, rice, bread or biscuits and also usually has peas in it.  I hate peas.  My husband isn't too fond of them either.  So we nix the peas in this recipe, but if you love peas, feel free to add them back in.

Ingredients
2 tbsp. onion, diced or minced (can substitute shallots)
1 tbsp. celery, diced or minced
1 clove garlic, minced
1/4 cup butter cubed
2 tbsp. seasoned flour (recipe for flour below)
Sprinkle of Creole seasoning to taste
1/2 cup chicken broth
1/2 cup sour cream mixture (instructions below)
1 cup cubed or shredded cooked chicken

Instructions
1.  If you don't already keep this in your pantry, as I do, prepare your seasoned flour.  This can be a mixture of any herbs and spices that you like.  I usually make more than I need for a recipe and then store it for things like breading pork chops, etc. but you be you.  Here is what I make:
         1 cup flour (sometimes 2, it depends on my mood)
         1 pckg. (envelope) Lipton's Garlic and Herb Mix
         1/2 tsp. black garlic powder
         1 tsp. dill
         1/2 tsp. Trader Joe's 21 Seasoning Salute
         1 tsp.  onion powder (optional - depends on my mood)
         1/4 tsp.  Creole seasoning
Put that all in a bowl and mix with a fork until it is all combined.  Will store for several months in an airtight container in the cabinet.
Set your flour mixture aside for later.
2.  In a medium to large skillet melt the butter over medium high heat.  When butter is melted, lower the heat to medium and add the onions and celery.  Saute until crisp tender, usually about 5 minutes.
3.  While the onion and celery is cooking, prepare your sour cream mixture.  In a measuring cup, measure out slightly less than 1/2 cup of sour cream.  Add about 2 tbsp. milk or water.  What you want to end up with is 1/2 cup of sour cream that is the consistency of heavy cream.  You may have to add more milk/water but do it slowly in small increments and remember that you only want to use 1/2 cup of the mixture in the recipe.  Set aside.
4. Stir flour mixture and garlic into the pan and stir constantly for about 5 minutes.  (You want to almost make a light roux, basically you are trying to cook out the raw flour taste.)
5.  Gradually stir in the chicken broth and sour cream mixture, using a whisk and making certain everything is smooth before adding more liquid.  Once everything is combine raise the heat to high and add the chicken.
6.  Bring mixture to a boil and then reduce to medium heat and simmer until sauce has thickened to desired consistency and chicken is heated through.  (This is usually between 10 and 15 minutes but could take more or less time.  Go by how thick you want your sauce.)
I sometimes add about a half tsp. dill and about 1/4 tsp. freshly ground black pepper at this stage, but sometimes I don't.  It depends on my mood.
I have never had to add flour to make it thicker, but if you need to, make sure that you use it sparingly to get the consistency you want.  A little will go along way.
7.  Once sauce is the desired consistency, remove from heat and serve.
Serve over whatever you would like.  My husband likes toast or biscuits.  I like pasta or egg noodles.  Its your choice really.

Well, there you have another easy Frugal Femme recipe.  Like I wrote in the previous post, I am going to try to post more regularly so, hopefully, you will be seeing Frugal Femme posts at least every other week.
Bye for now!


Monday, August 10, 2020

Just "one thing" sewing project and room make over.


 Hello Everyone!

I know that I said that I would try to post a recipe this weekend, but I got caught up in a project.  Unlike many people who have spent the pandemic being creative and productive, I have spent most of my time working looooooong hours trying to keep the theatre that I work for operational during a time when a live theatre can't do live performances.  (Can anyone say virtual performances and Zoom Meetings?)  So, when I wasn't working, I spent my time face down in my pillow.  My craft room became a storage room.  My guest room became the most unorganized closet you have ever seen as I just piled things on the bed.

It was disheartening.

Alberto Vargas 1920. I chose this picture because of the vase. And because she looks a little down or pensive.


Then my husband gave me a piece of advice to try and it started to turn my attitude around.  He told me "Just do one thing.  It doesn't matter how small it is.  If you get one thing done, that one thing is done and you have accomplished something."

At first I thought that he was crazy.  Could he not see the mountain of things that needed to be done in our house?  There were rooms that needed to be reclaimed.  (Pretty much all of them but the living room and kitchen.)  Crafts that needed to get done that were just piling up everywhere.  Mending to be mended.  Piles of laundry to be cleaned.  And much, much more...... I needed to make lists of what needed to be done!  Then, from there, I had to figure out what was most important and do that first.  But it was all so overwhelming.  Some things were equally important.  And the important things weren't the fun things that I would rather be doing if I got the energy.  So instead of doing anything, I did nothing and got more and more unsettled as my life around me seemed to be slowly degenerating into messy chaos.


With something that sort of resembled panic, I thought that I would try my husband's advice.  I mean, it couldn't hurt anything.  More importantly, he didn't CARE what my one thing I got done was.  Did I do a load of laundry?  Great!  Did I make a craft project that I wanted to make?  Well, that was fine too.  Did I just clear off a table in one of the rooms that needed reclaimed?  Wonderful!  I got one thing done.  And then something amazing happened.  As I started to do "just one thing"  I found myself doing one small thing,  And then moving on to another small thing.  And then another.  Until I was actually tackling big things again.

And they weren't all things that I felt I should do.  In fact, the first thing "one thing" that I decided to start was the first step in a sewing project that I wanted to do.  I have wanted to learn to sew from a pattern for ages.  But they always seemed like Greek when I read the instructions and I never had the time to get together with my friends who sew so they could teach me to read the pattern.  Even though several of them were willing to do so.  I watched YouTube videos on how to sew the way other people watched Grey's Anatomy.  Relentlessly - over and over.  I had the basics of sewing - my grandmother had taught me that.  I knew to backstitch to secure my stitch.  I knew to follow the lines on the guiding plate of my sewing machine to sew a straight line.  I had made pillows and curtains.  Just not an article of clothing.

Then the pandemic hit and Gertie from Charm patterns started putting out daily videos.  And then she put out a free pattern to make Harlow Pajamas.  

https://charmpatterns.bygertie.com/shop/harlow-pajamas-free/


Vintage inspired lounge wear for people who were staying mostly in their houses.  And the pattern was appropriate for beginning sewers.  But most importantly?  She put out a video on YouTube that STEP BY STEP walked you through how to make the pajamas.  From laying out the pattern on your fabric to the final stitch.  It was like having my own beginners sewing class!  And if now wasn't the perfect time to be alone in your home teaching yourself a new skill, then I didn't know when would be a better time.

So I downloaded the pattern.  Which I guess is technically a "one thing".  But my first "one thing" in my eyes was to put the pieces I had printed together to make a pattern.  I sat on my floor - because I didn't have a table big enough-- and I cut and taped for hours.

This is me putting the pattern together.  As you can see, the pets were very helpful.

The pattern ready to become a garment.


It wasn't something practical, like laundry, but it was "one thing" done and I was proud and happy.  And inspired to move on to the next step the following weekend.  I had decided the next "one thing" was going to be laying out the pieces on the fabric and cutting them out.  With YouTube tutorial on my laptop, I ventured forth to sew.      

https://www.youtube.com/watch?v=1HhEwFVjWJQ&t=5613s


And I did it!!!  It took me three total weekends because I was only doing a little at a time, but it was done.  And I felt amazing.


And I even made a "scarf" so that I could tie a turban so that I didn't have to worry about doing my hair when I was wearing the outfit - yeah, that's quarantine fashion for you.


And after that it was like I was on a roll.  I started doing "just one thing" a day.  Sometimes I would just sew on a button for Mending Mondays.  Sometimes I would work on a craft project.  Or start reading a book that I put aside.  And slowly, my just one things, started looking like completed big things.

And one of these big things made of "just one little things" was what I was wrapping up this weekend.  

Before the pandemic, I had started redesigning my guest room because I HATED it.  I had the idea that I was going to have rose gold/pale copper walls as accent walls and instead, it just looked like..... well my husband and I called it baby puke orange.  

It wasn't a bad room. (In fact some of you may remember me showing you the decorations for this room years ago.)


 It just was one that hadn't turned out the way that I wanted it to and it never felt right.  My husband and I would joke that it didn't have any feng shui  (We don't know feng shui, we just knew the room wasn't working.)  Plus, going in it made me sad because it was the room my dad stayed in to visit me right before he passed away.  Memories were great, but wanting to cry every time I went in - even after two years- was getting to be a bit much.  So I had decided I needed a change.

To start off (again pre-pandemic and before I started doing things "one thing" a day), I decided the orange had to go and the layout needed to change.  (I had firmly decided the bed needed to go under the window instead of at right angles to the widow and that the tall dresser needed to be moved out of the closet because I needed the closet to hold my fall/winter wardrobe.)  I also have always wanted vintage Hollywood glam mirror furniture, so I thought I would do some research and see if I could make that happen.  AND, I am the Frugal Femme here, I wanted to change the whole room for $200 or less.

And I got sooooooooooo far before the pandemic hit.  I really did.

First I replaced the ceiling fan with a chandelier - which was purchased for $25.  (I say I replaced it.  This was actually done by my husband as he does all the electrical stuff in our house.)

Here, as you can see, I have moved the bed, and piled it high with clothing and items that needed to be put in the room, but the wall is still orange.
Got rid of the orange and got a Frenchie to help me.

The next step was to paint the accent wall a metallic turquoise and do antique gold accents to match the chandelier on the trim.  The paint for this cost $40.00.
Then it was time to try to turn the golden brown furniture you see above into the inspiration furniture pictured below.  I already had the paint for this because I had purchased it years earlier to do the trim in the bedroom so my bedroom looked more like Dita von Teese's.  This was yet another project I had not got around to doing yet, but I had the paint and thought that I would use it.


The mirror came out of the main bathroom when we first moved into the house.  It was too big for what we had in mind for the bathroom, but it seemed a shame to throw away a perfectly good mirror, so my husband had stored it in his shop for me until I found a place for it.  So the mirror cost me nothing.
I put on some bedding that I had in my apartment before I got married.  It was silk and I loved it, but it had stayed in a drawer for over a decade.   It was too small for the bed I shared with my husband and it didn't go with the room when it had orange walls.  I took it out of storage, ironed for what felt like ages and put it on the bed to see if it would go with the color scheme I had chosen--- because I REALLY didn't want to purchase bedding because that would have just blown my budget to smithereens.
I thought it looked great despite the quilt like aspect of it.

Keep your eye out for the faux fur blanket.  It was falling apart as a blanket, so I repurposed it.  Which you will see in later pictures..

Then it was on to curtains.  I cheated with curtains.  I couldn't find any pre-made that I liked that were in my budget and we have an interior designer that donates unused fabric to the theatre where I work.  I got to choose fabric I wanted for curtains (that the theatre could afford to let go) in exchange for doing tasks that our costumer didn't want to do. (So many buttons...........)  The cream, gold and silver fabric I adored did not have enough yardage to make curtains that covered the windows.  So I had to carefully measure the fabric and the windows and create panels in grey to "frame" the fabric and extend it enough to cover the windows.


I wish the picture did these justice.  They are gorgeous in real life.

I got a set of ornate vintage light switch and electrical outlet covers for $20.  But I thought they were missing something, so I painted some of the filigree antique gold.  


And then pandemic and quarantine happened and I stopped working on the room.  Even though I only had the trim around the closet and putting away the items on the bed left to complete.

I did, however, decide to try to raise my spirits during quarantine by making my own version of a Gerda Wegener painting.  

I didn't have a large canvas, but I did have six small square canvases that I had got for $7.00.   So I spaced them as one large canvas, changed some of the color schemes to match my room better and began creating.

The painting as a work in progress.
The painting completed.

The original and then mine.  I'm no Gerda, but I still like it.

And then for months....   NOTHING.  I did nothing.  I pretended that the room didn't exist.

But, last weekend, I decided my "one thing" would be to finish painting the closet trim.

 And because I had to wait for it to dry, I put away the items on the bed.

Then I hung the curtains and started decorating and, before I knew, the rooms was done!

The sheepskin rug on the floor, that's the faux fur blanket that was on the bed in the previous picture.
And so is the sheep skin rug on the opposite side of the bed.
The feather fans I got for $1.00 each at the theatre a few years ago and had hidden in a closet.  The plan, at the time, was to bling up the handles a little bit, and I probably will still do that once I figure out how I want to bling them, but for now they go on the wall for a touch of glamour.  (I was going to try to be a toned down Dita von Teese for Halloween one year.)

For those of you who were wondering, I got the rug on clearance on eBay for $25
The Closet curtains were $10.
The mirror accent night stand came out of my craft room to make space for my sewing table, so I already had it.
The bird painting was one I had done for the original room and I thought it worked in the new room.

For those of you wondering about the artwork by the Gerda painting.  No, I did not paint those.  Those are images taken out of an eight year old calendar that I kept because I liked the artwork.  To frame them, I used two of the frames that were previously in the room, but I spray painted them antique gold.  (It was some spray paint I had left over from spray painting pine cones for Christmas one year.)  Then to "matte" them I used the same wallpaper matte that I used for the other photos, but this time I painted them metallic turquoise with some of the paint left from the wall.

The grey rabbit throw I purchased for $15 and then lined with a silk sari throw rug that my dog had chewed a hole in, and I had saved thinking I could use it to make pillows.

And I decided I needed a touch more silver blue on the bedding to match the curtains and the rug more strongly and I got those pillows on clearance at Marshall's for $20.


I did this before I saw the Vargas picture, but don't you think the trees look similar?


The decorations by the closet are baskets that I was already using to hold my tights and some sweaters.  

In the vase are floral bead things that  I purchased for Mardi Gras about two years ago for a center piece at a ball. 
The vase someone was throwing away and I asked if I could have it.

The branches came from my yard and the birds I use for different mantle piece "scenes" I do throughout the year.  So that little area cost me nothing except a walk around my house.

Then there were the 1930s vintage lamps.
SQUEEEEE!!!!!

I was still in budget, so I splurged and spent $40 for the pair of these lamps that were still in working order and that I love!

And I accomplished this simply because of deciding to do "one thing" that then cascaded into finishing a big thing without me even thinking about it.

I adore this room.  Since I basically use it like a closet, my husband teases me and says that it is one of the fanciest closets he has ever seen.  Although not all of it is glamorous.  I mean, I am using it like a closet.  I thought about hiding those pictures from you, but then I thought, how fair is that?

Yup, that is a basket holding shoes that didn't make it into the closet or the shoe rack.  
The rod is a towel rod that I put shower rings that have the clips on on them and I have put my scarves through the rings and the clips hold my hats and belts.  Not very swanky I know, and if my closet was big enough to hold it that is where it would reside.  But it isn't.
And speaking of closets, I know y'all are saying "Yeah, those curtains are nice, but how does the closet look?"
Well.......Like this!

I had to get a rack that hangs from the closet rod so that I would have a place to put my pants.  I had purchased that and installed it preCovid-19 for $15.00.
AND, you may have noticed I am not done labeling my shoe boxes yet.  So I guess, technically the room isn't complete quite yet.  But I still thought it was close enough to share.

For those of you keeping tally wondering how much I spent on the room renovation.......
$192!!!!

Which i don't think is too shabby for a whole room renovation.  But it did help the pocket book that it took months to get done.  I could purchase things about once a month without it hitting the pocket wallet too bad.

So like Design on a Dime, I'm going to show the before and after pictures together.

And that, dear friends, is why I did not post a recipe this week-end.  But my "one thing" includes this blog and I want to start getting back to my regular weekly posts, so the next post that I do will, hopefully, be soon and will be a recipe post.  
See ya soon.
Bye!