Hello Everyone!
We are going to continue on with decorating the guest bedroom. In my previous post I had solved the problem for one wall – the wall above the bed – but I had not solved the problem for the wall directly across from the bed. And I had decided with a travel poster theme for the art so, whatever I did had to stay in that theme. Again, I had a budget of $0.00 and, again, I went into my craft room to see what scraps and remnants that I could dig up from previous projects.
 |
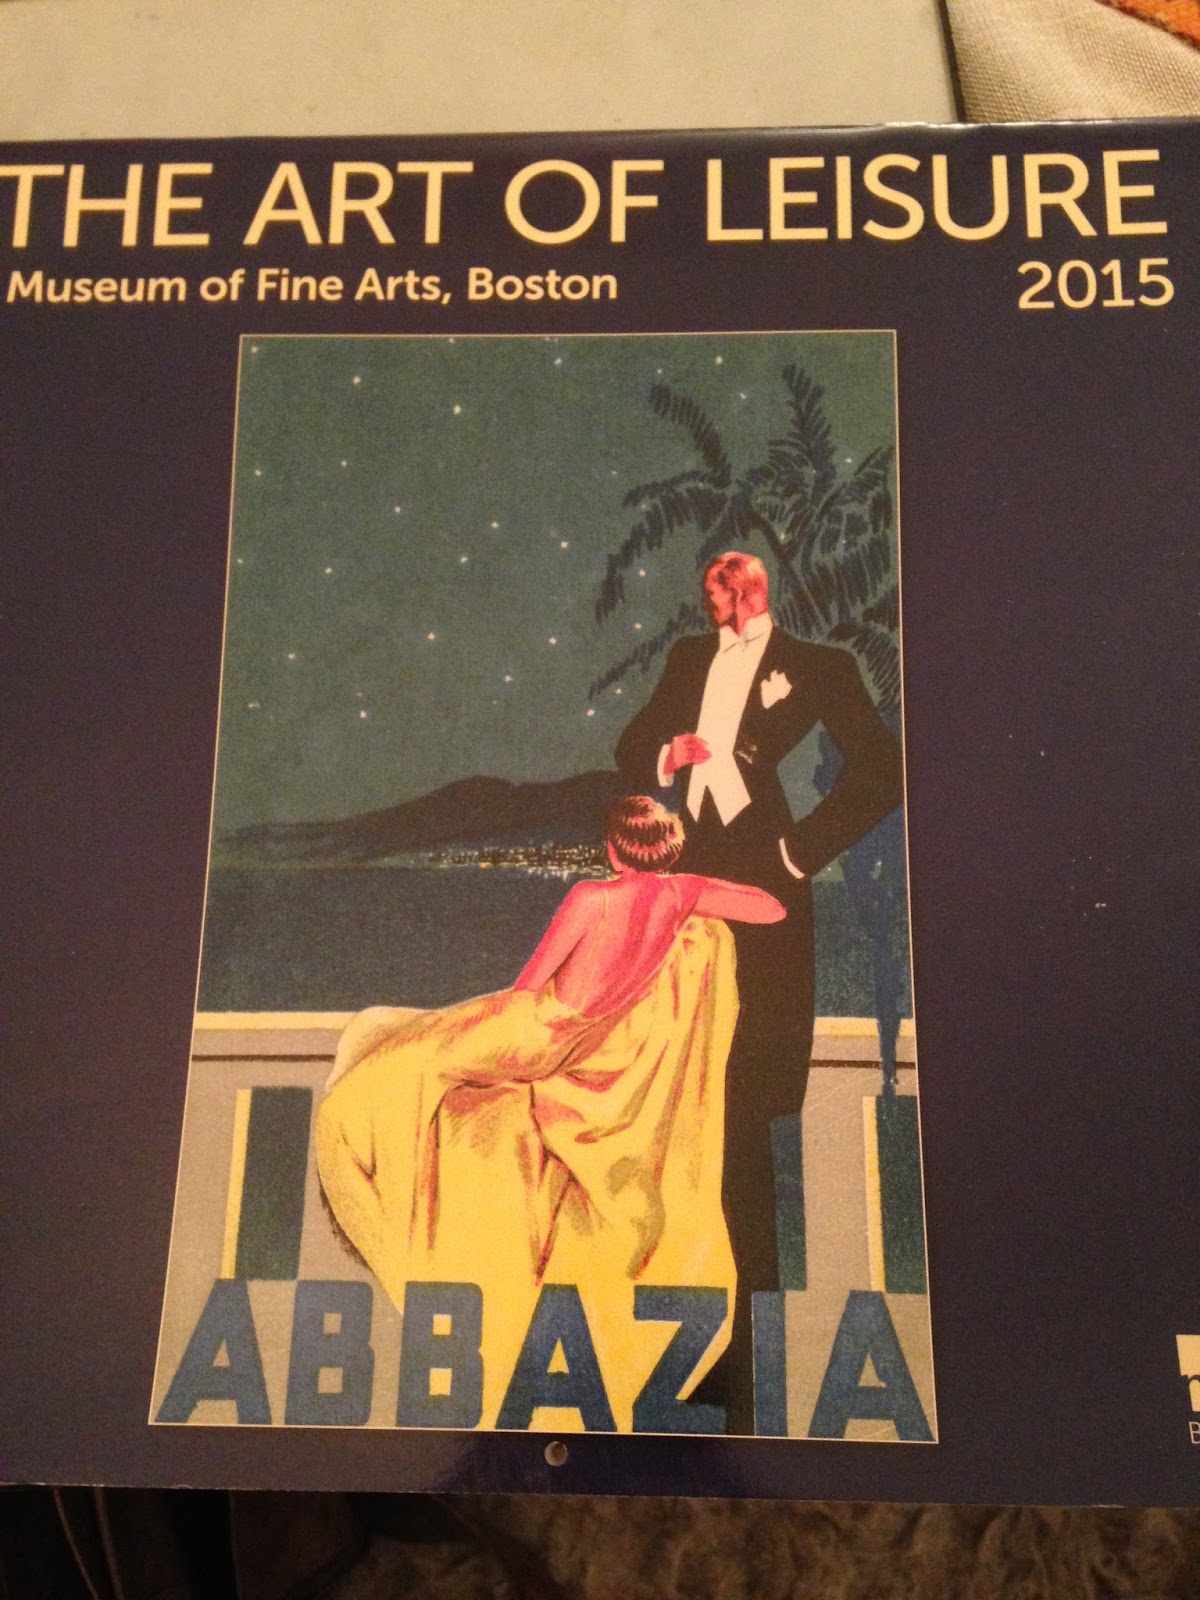
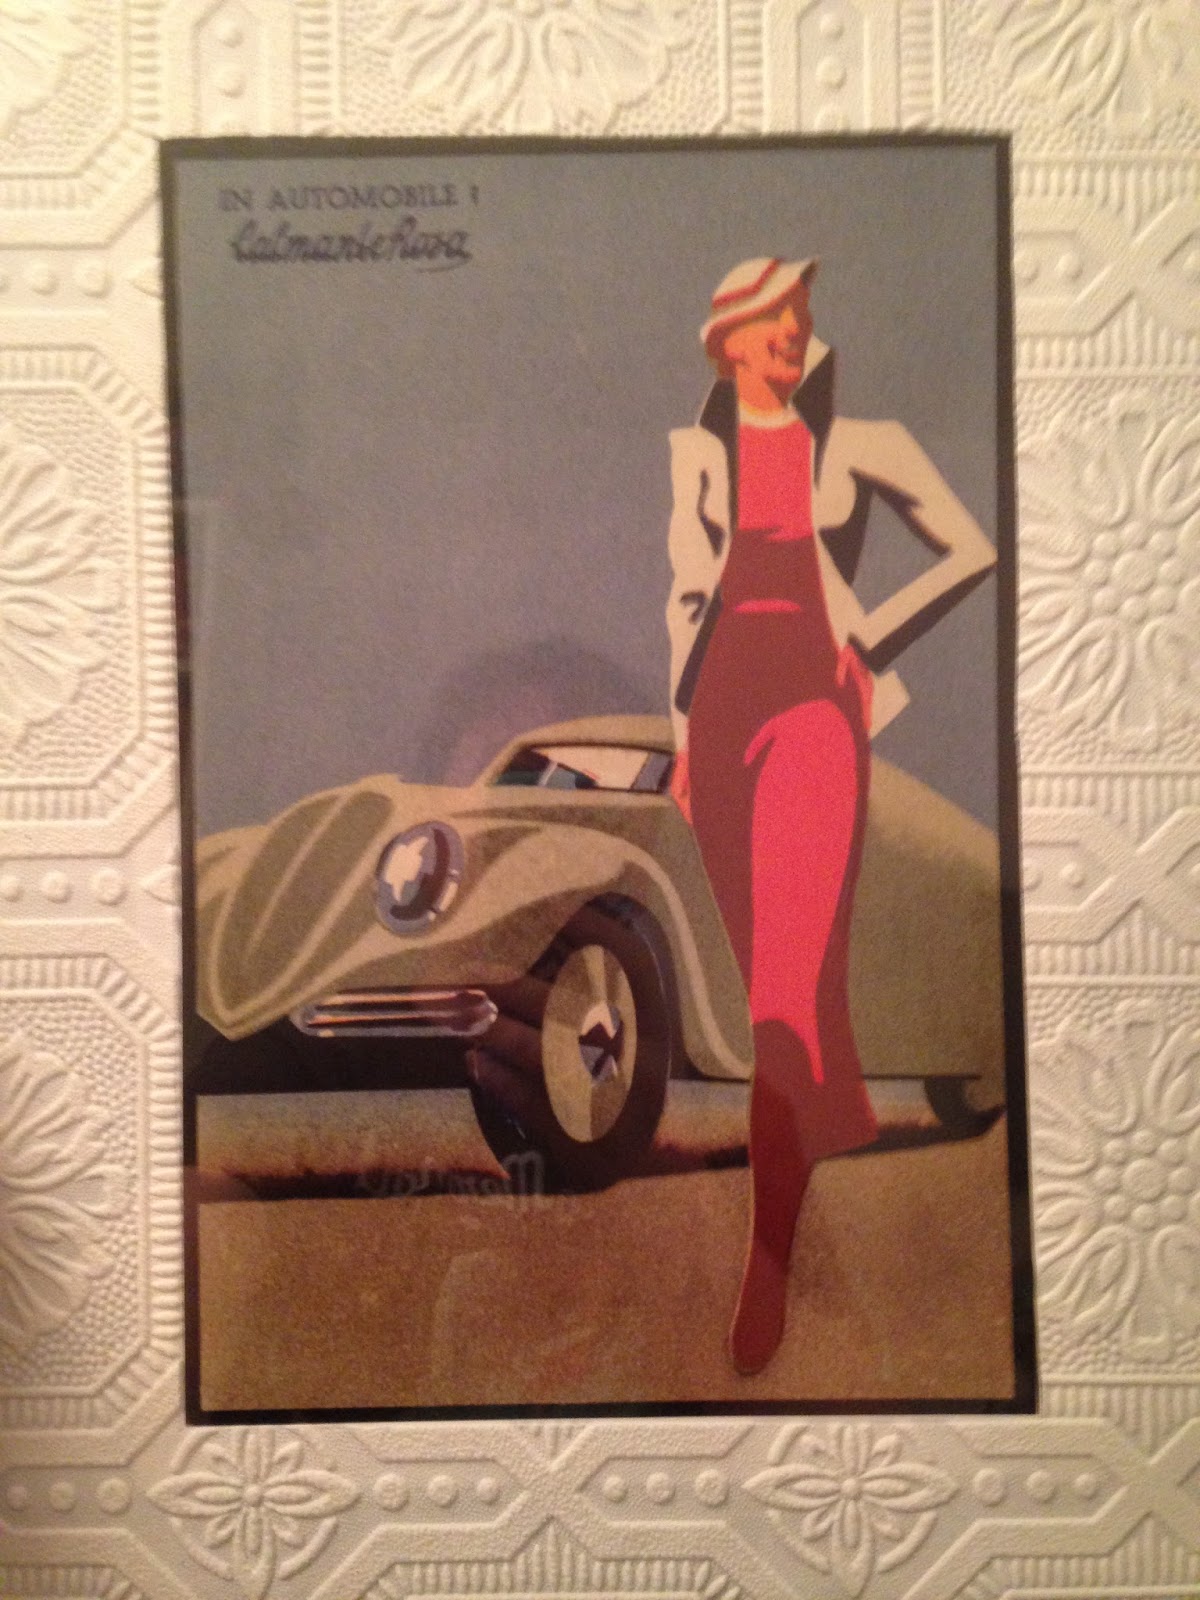
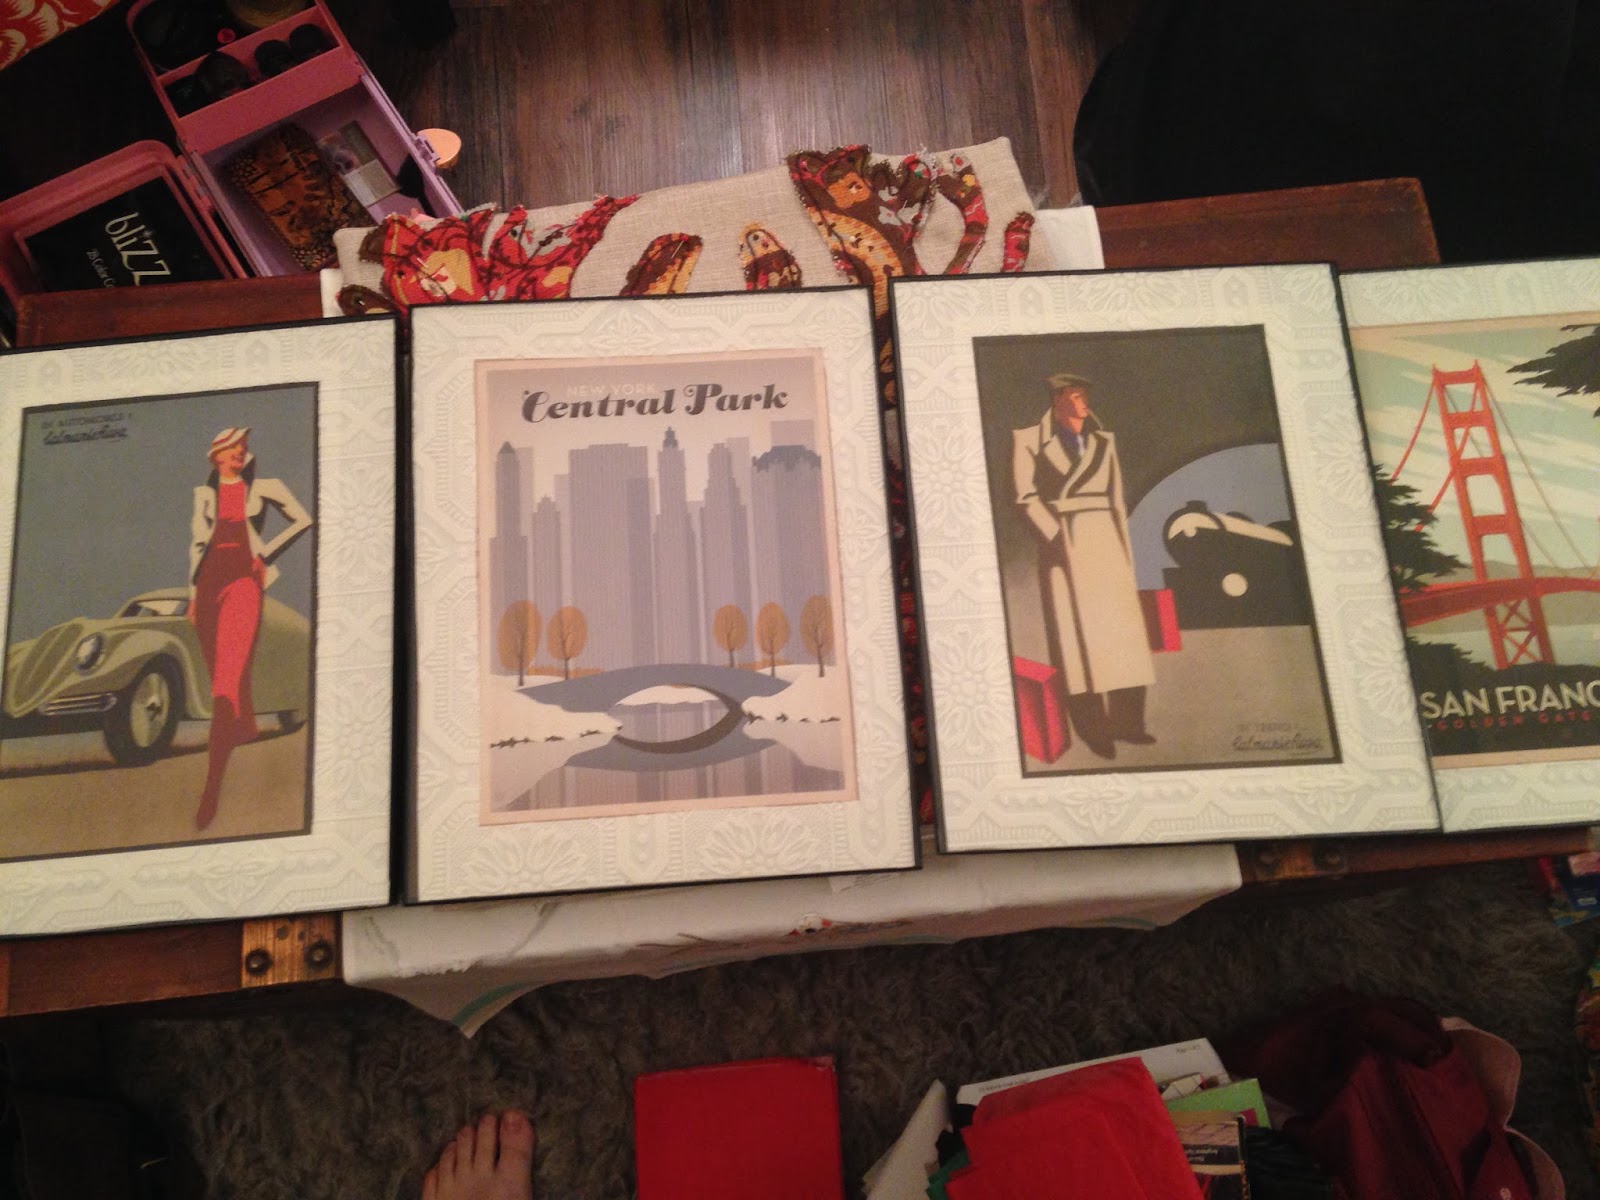
| I'm in love with this travel poster. Notice the seagull with the wine glass. I also think I want that suit. |
What I found were the leftover “travel stickers” that I had printed years ago for a hat box project. I had printed way more of those than I needed. But the remaining ones were still neat looking and I thought that I might be able to find another hat box and decorate it the same way so I had kept them. I still have not found a hat box within my budget, but I did still have the “stickers” and I thought that I would use them to come up with an idea for the second wall. For those of you who do not have stickers already printed, you can buy them. But you can also get them online for free, if you have access to a color printer. I just went to Google, Images, and typed in Travel Stickers and a plethora of options came up. Quite a few of them you do have to pay for, but there are complimentary ones out there, so just keep looking until you find them.
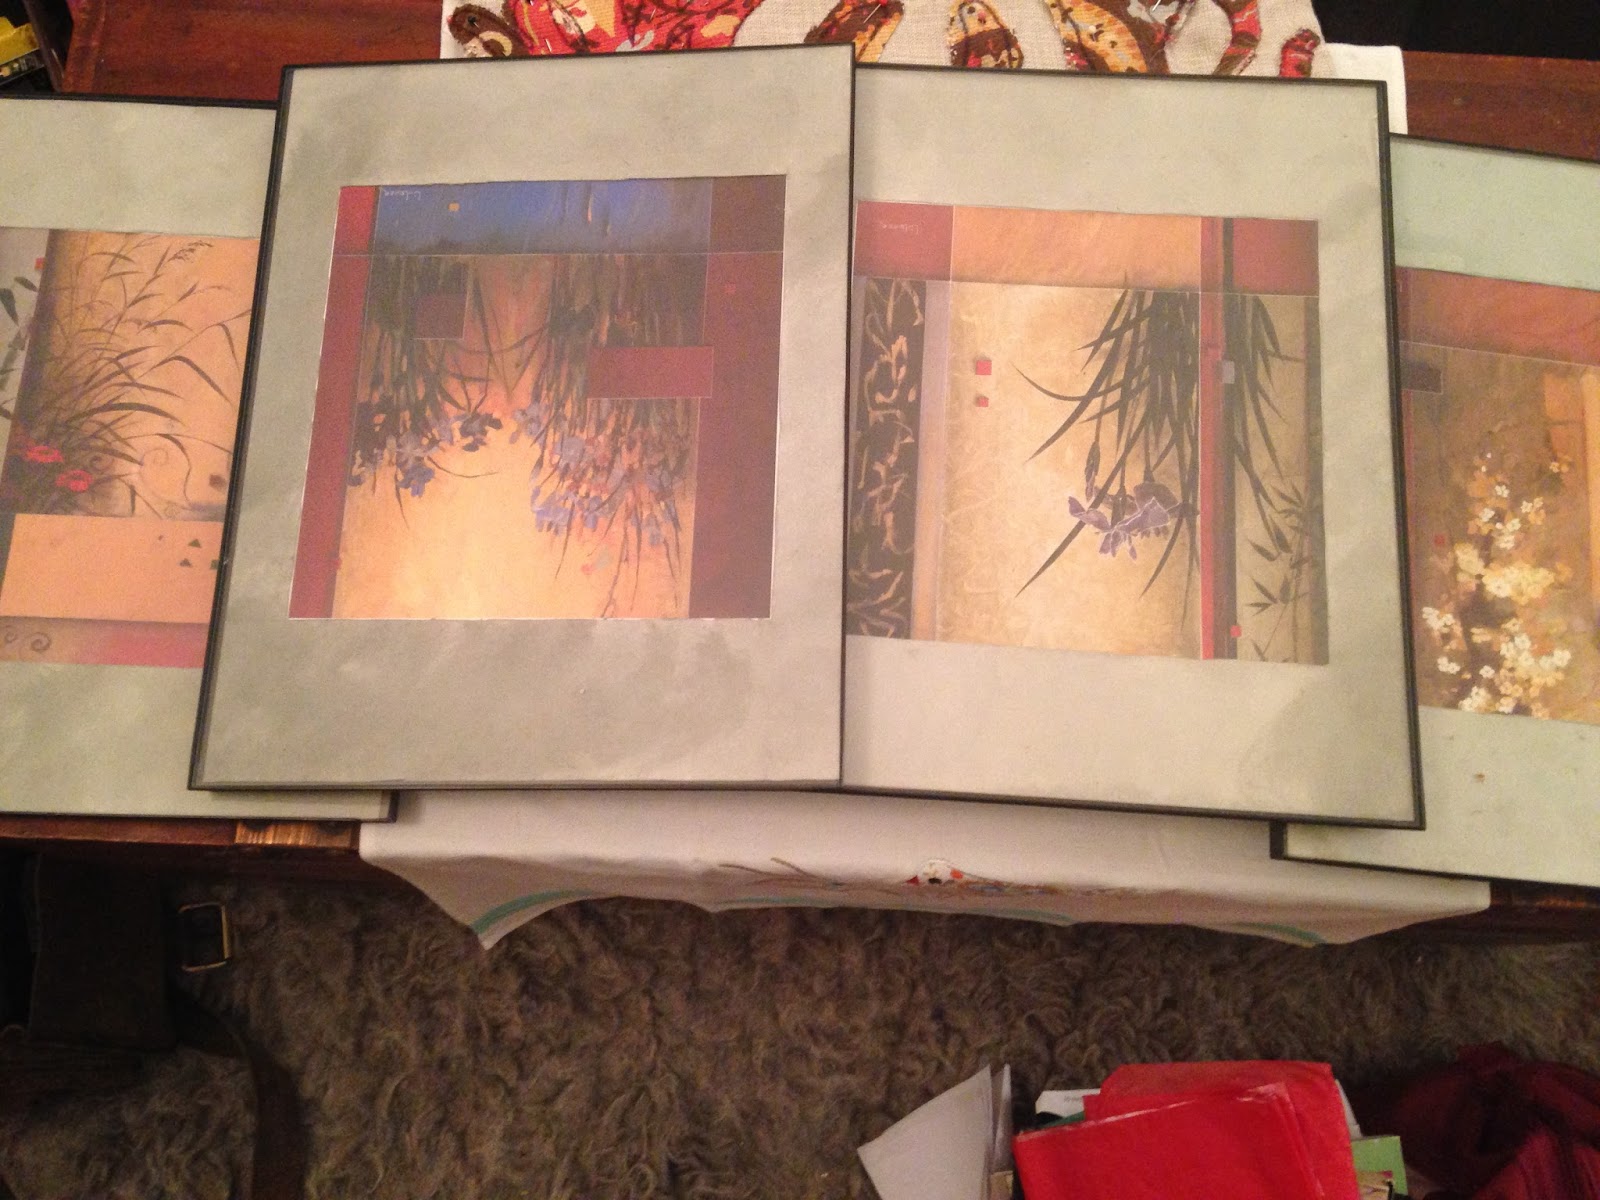
I had the stickers, now I had to figure out how I would use them. I thought of doing a collage and plastering them all over a large piece of canvas that I had, but that looked too jumbled to me. So I kept digging. Eventually, I came up with some foam board that I was planning to use on a project - that ended up not working for that project- that I had stashed way for another day. I had two un-opened packs of four so I had plenty to use. I also found 6 small stretched canvases that were about the size of postcards. It was then that inspiration struck! I decided that I would make a vintage looking “suitcase” out of the foam board and I would use the canvas as “shadow boxes” for some of the small travel posters that I had printed along with the travel stickers.
How I made a “Vintage Suitcase” out of Foam Board and Scraps
 |
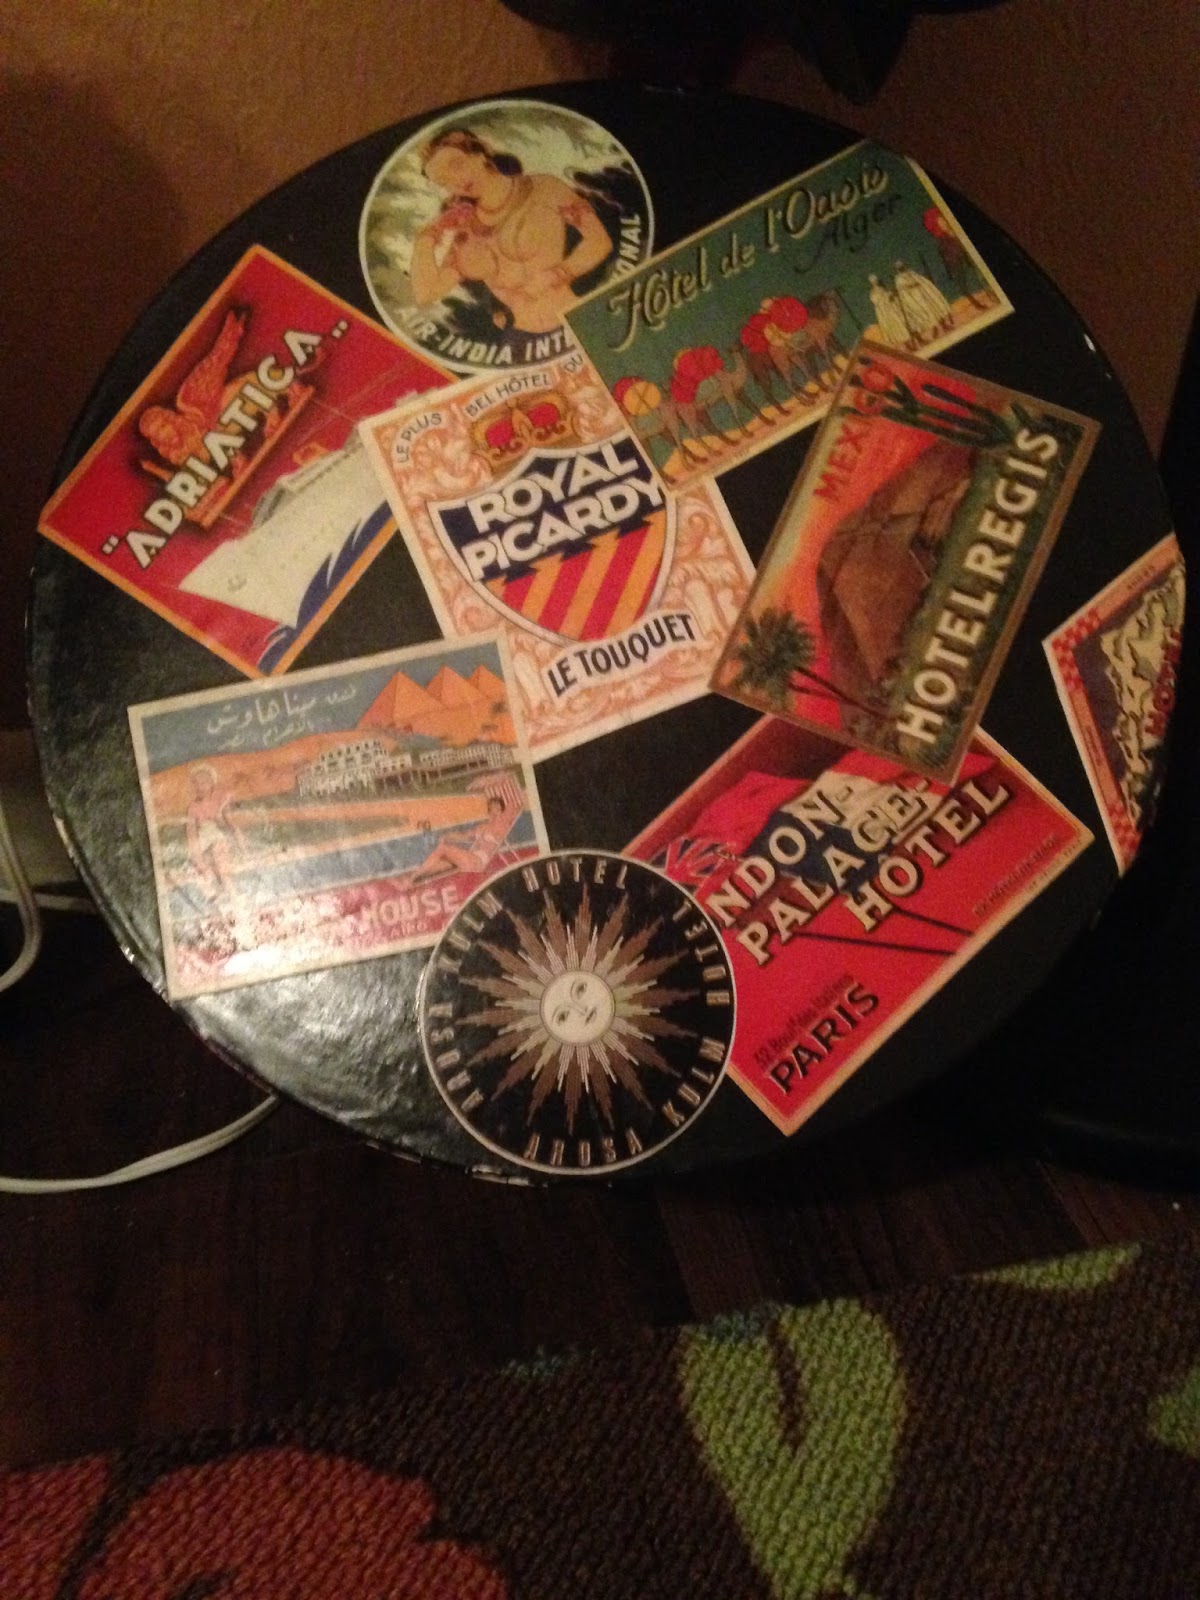
| I used these suitcase as my inspiration for my "suitcase". |
First, I had to decide what I wanted my suitcase to look like, so I did some research online. I decided that I wanted it to be cream with leather straps. I had the body of the suitcase – that I was going to make out the foam board – but I had to come up with “leather” corners, straps and hinges. I still had scraps left over from the wall paper that I had used for the previous project. (The white wall paper that was embossed to look like a tin ceiling.) To see this project in its entirety go click: http://frugalfemmecarole.blogspot.com/2016/07/part-i-guest-room-needs-some-help.html
I decide that, if I used the flat side, it would be nice and flexible like leather and I could paint it brown. I thought about making the straps of the same material, but decided that, to look realistic, I needed something smaller. So, I had some Christmas wrapping paper from last Christmas that was nice and thick that had foil reindeers on one side but looked like a brown paper back on the other. I thought this would make perfect straps! To make the metal grommets that would keep the leather attached to the suitcase I thought of buttons at first. But then I thought, foam board, use thumb tacks! And VOILA I now had everything that I needed to make a “vintage suitcase” wall art piece.
Materials
Foam board
Wall paper scraps
Wrapping Paper or Brown Paper Bag
20 plain thumb tacks
Cardboard
Brown Paint (I used acrylic in Burnt Umber)
Cream/Tan Paint (I used acrylic and did Metallic taupe)
Scissors
Ruler
Glue (Spray glue is good but a glue stick or Elmer’s Glue would work)
Wall paper scraps
Wrapping Paper or Brown Paper Bag
20 plain thumb tacks
Cardboard
Brown Paint (I used acrylic in Burnt Umber)
Cream/Tan Paint (I used acrylic and did Metallic taupe)
Scissors
Ruler
Glue (Spray glue is good but a glue stick or Elmer’s Glue would work)
Duct Tape
Twine
Instructions
1. Glue two of the foam boards together and let dry. (I used clothes pins on the corners to clamp them together, but you can also put them somewhere flat and put something heavy on them.
 |
| I had Elmer's Foam Board Multi-Pack in 14 in. x 11in. But you can use any size that you would like. |
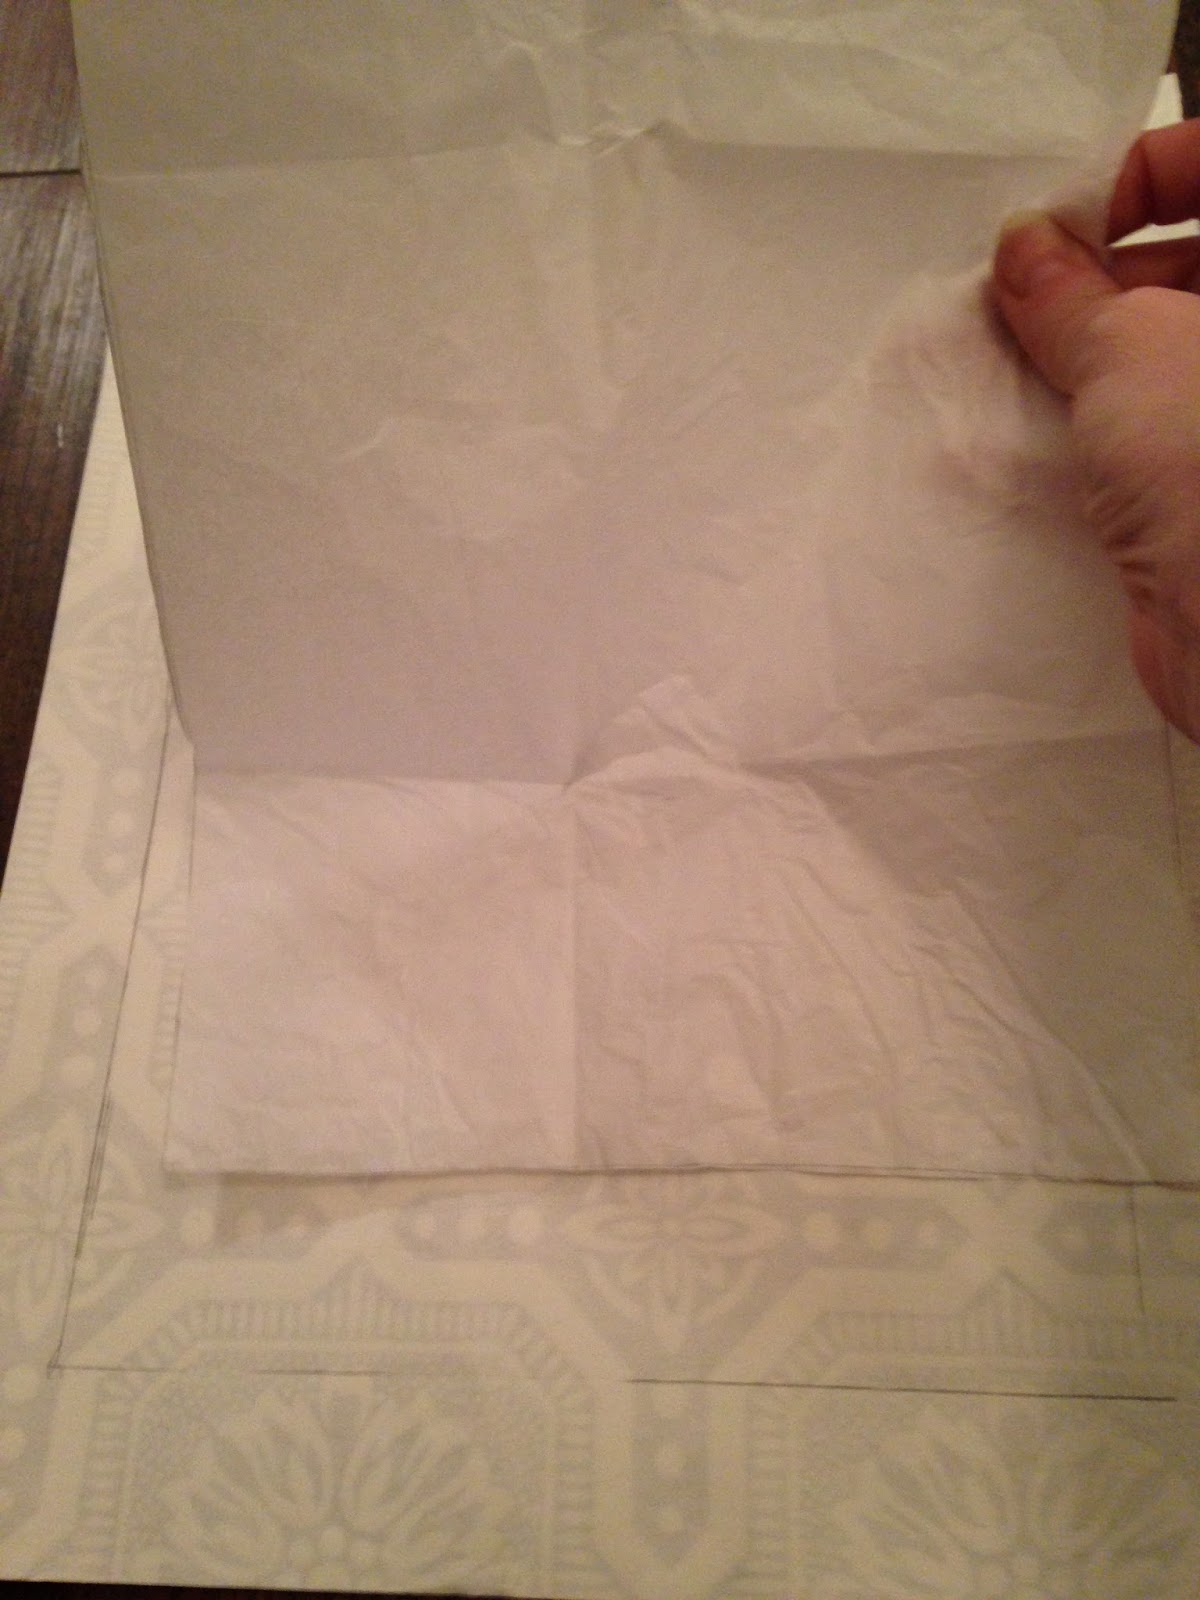
2. Once the glue is dry, paint the foam boards your primary color. In my case, this was Metallic Taupe. I did not have a large enough paintbrush to make the effect that I liked, so I actually applied the paint with a wadded up paper towel. Let the paint dry enough to handle and paint the sides of the boards.
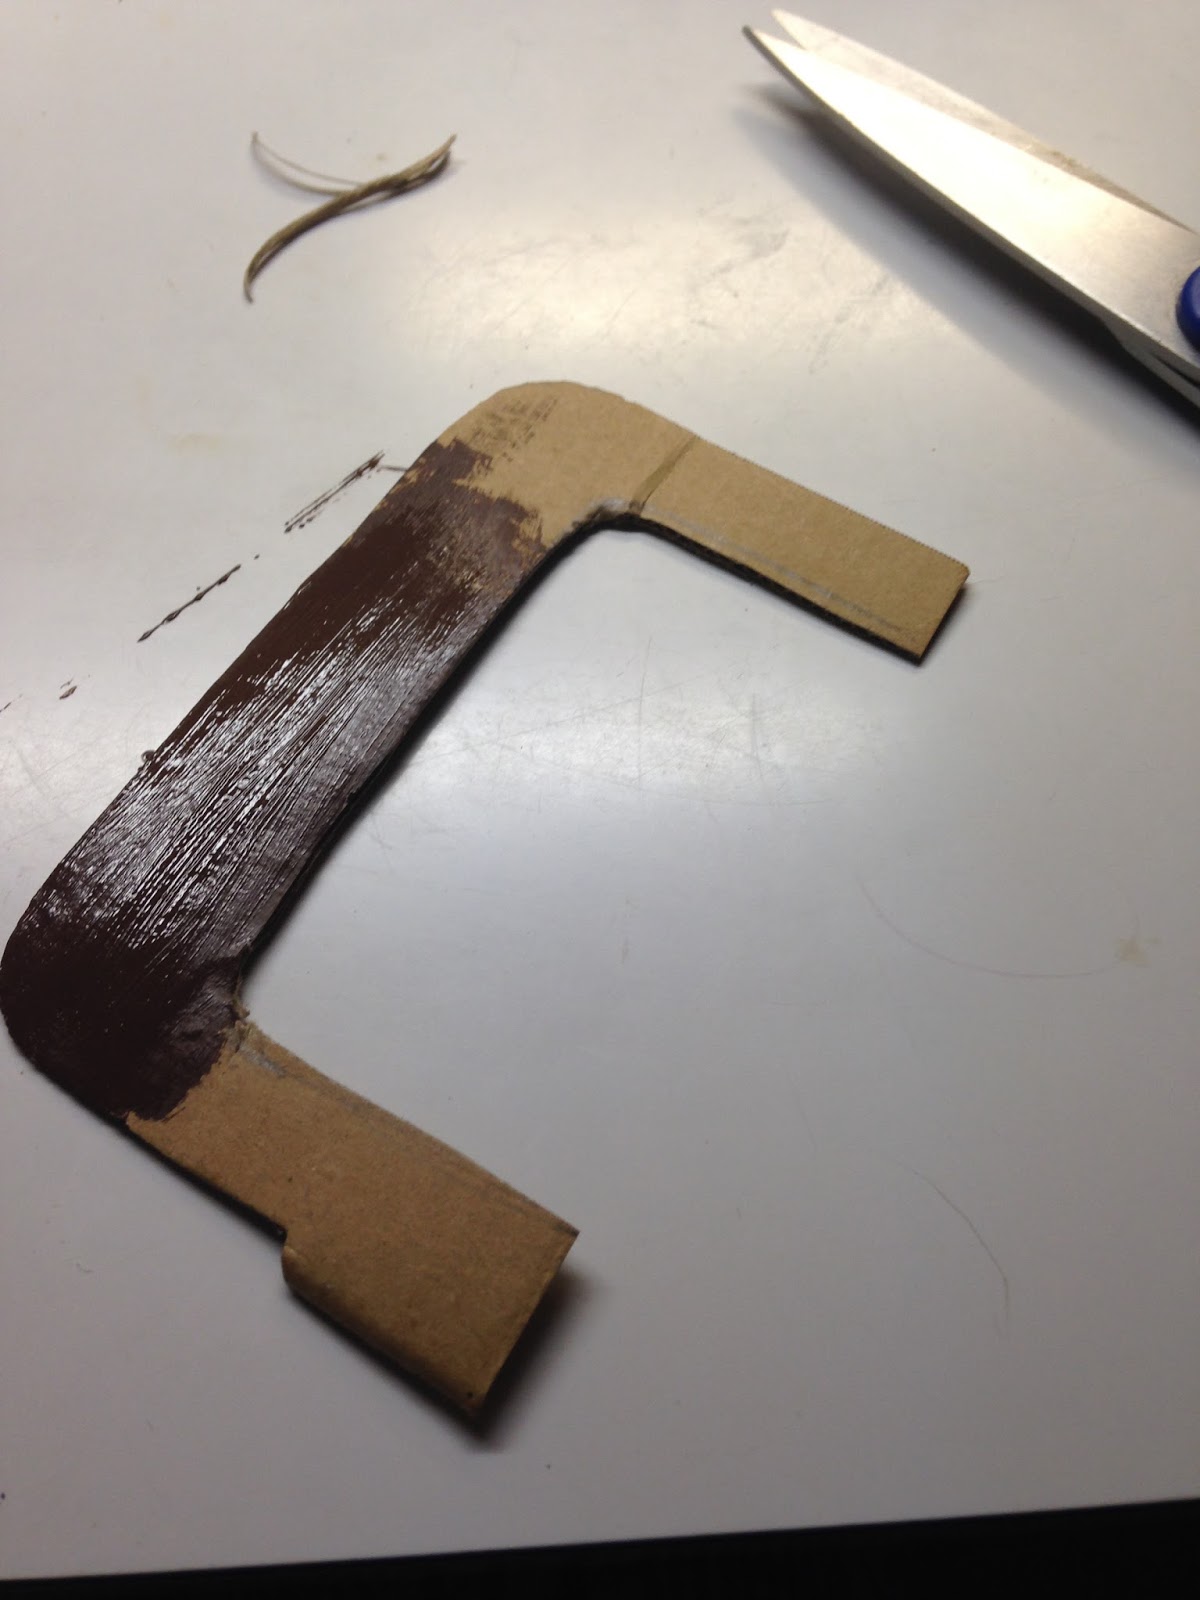
3. While your paint is drying, you can make your “leather” corners, straps and hinges. I made the corners first, but which ones you do first really does not matter. As I have told you in another post, I do not like to measure things. So, to make the leather corners, I took a corner of my wallpaper and laid it over the corner of my foam board and eyeballed how much of the corner I wanted to cover. I then drew a straight line to make a triangle and, using my scissors cut one of my corners. I then used this triangle as a template for my other three corners. Paint all the corners burnt umber.
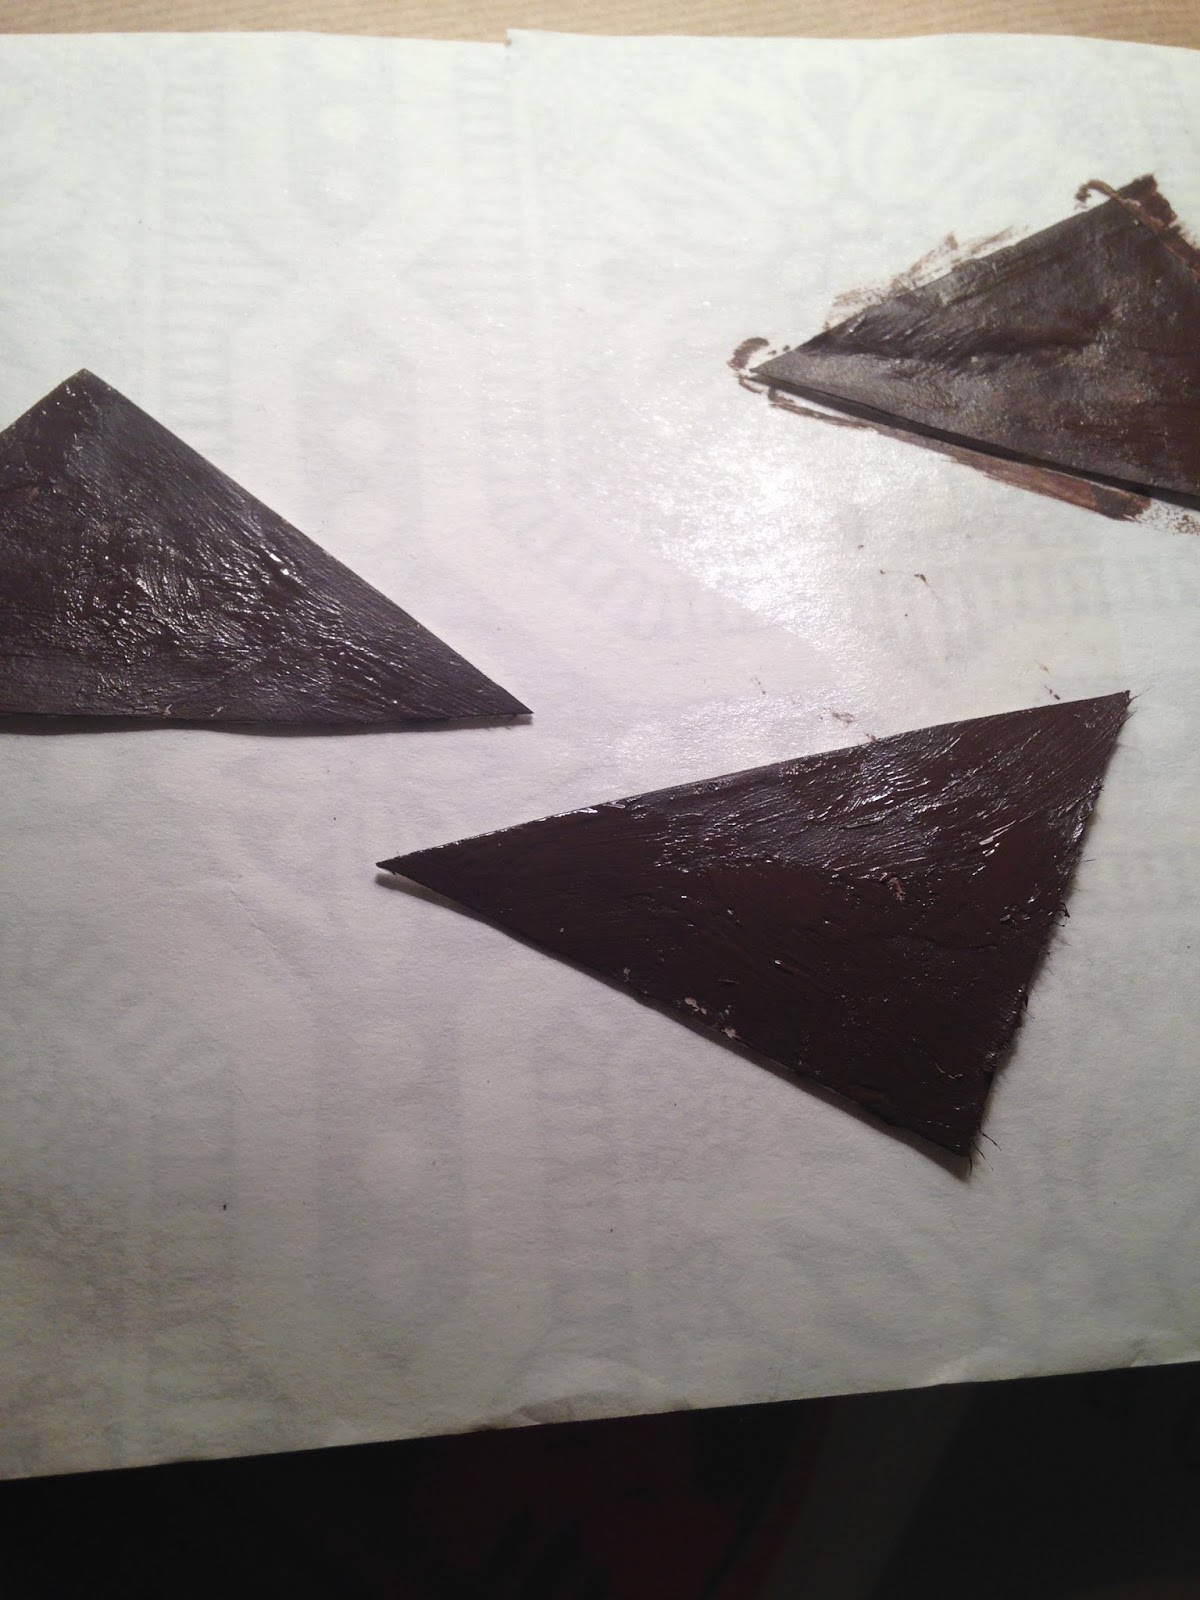 |
| I used the flat side of the wallpaper. You can see the shadow of the pattern on the white in the background. |
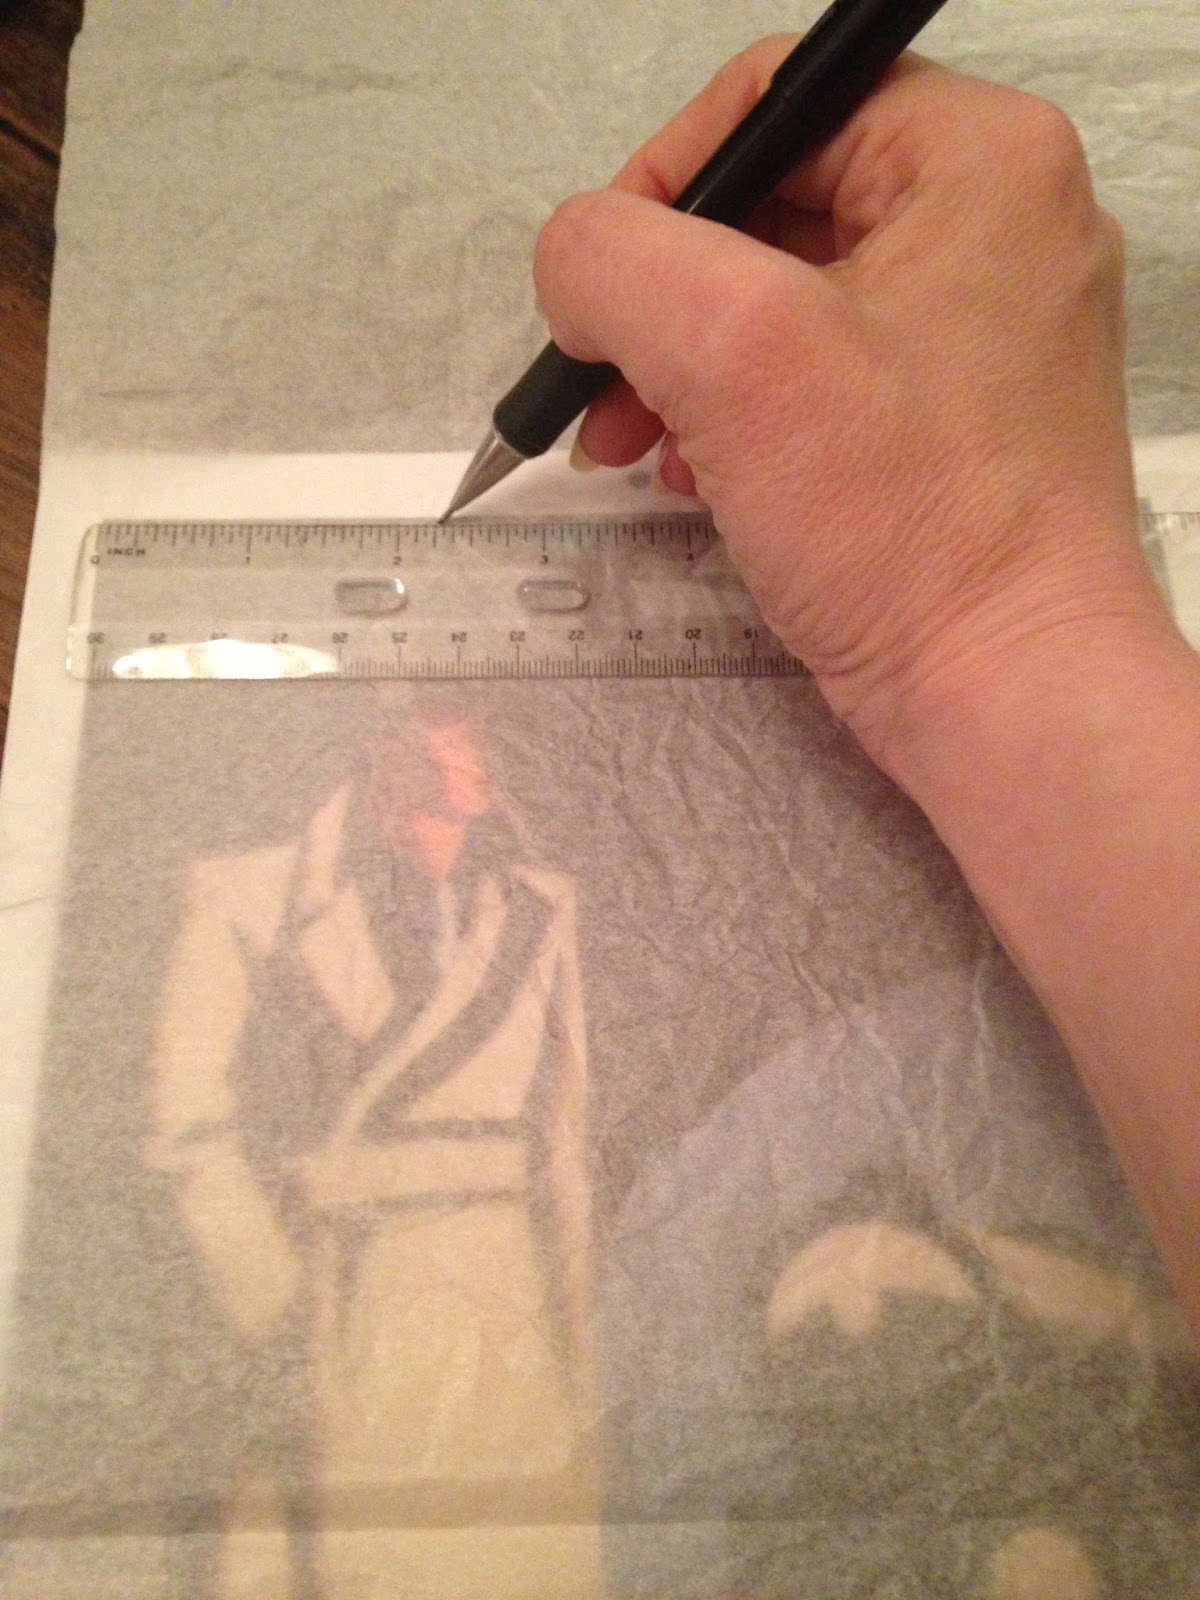
To make the “hinges” I decided to go for an oval shape rather than the slightly figure eight shape you see on some luggage. To get this shape, I traced around the bottom of my Elmer’s Glue bottle onto another scrap of wallpaper. The bottle was the exact shape and size I wanted. After tracing, cut them out. I painted all of my wallpaper triangles and hinges with the burnt umber acrylic paint.
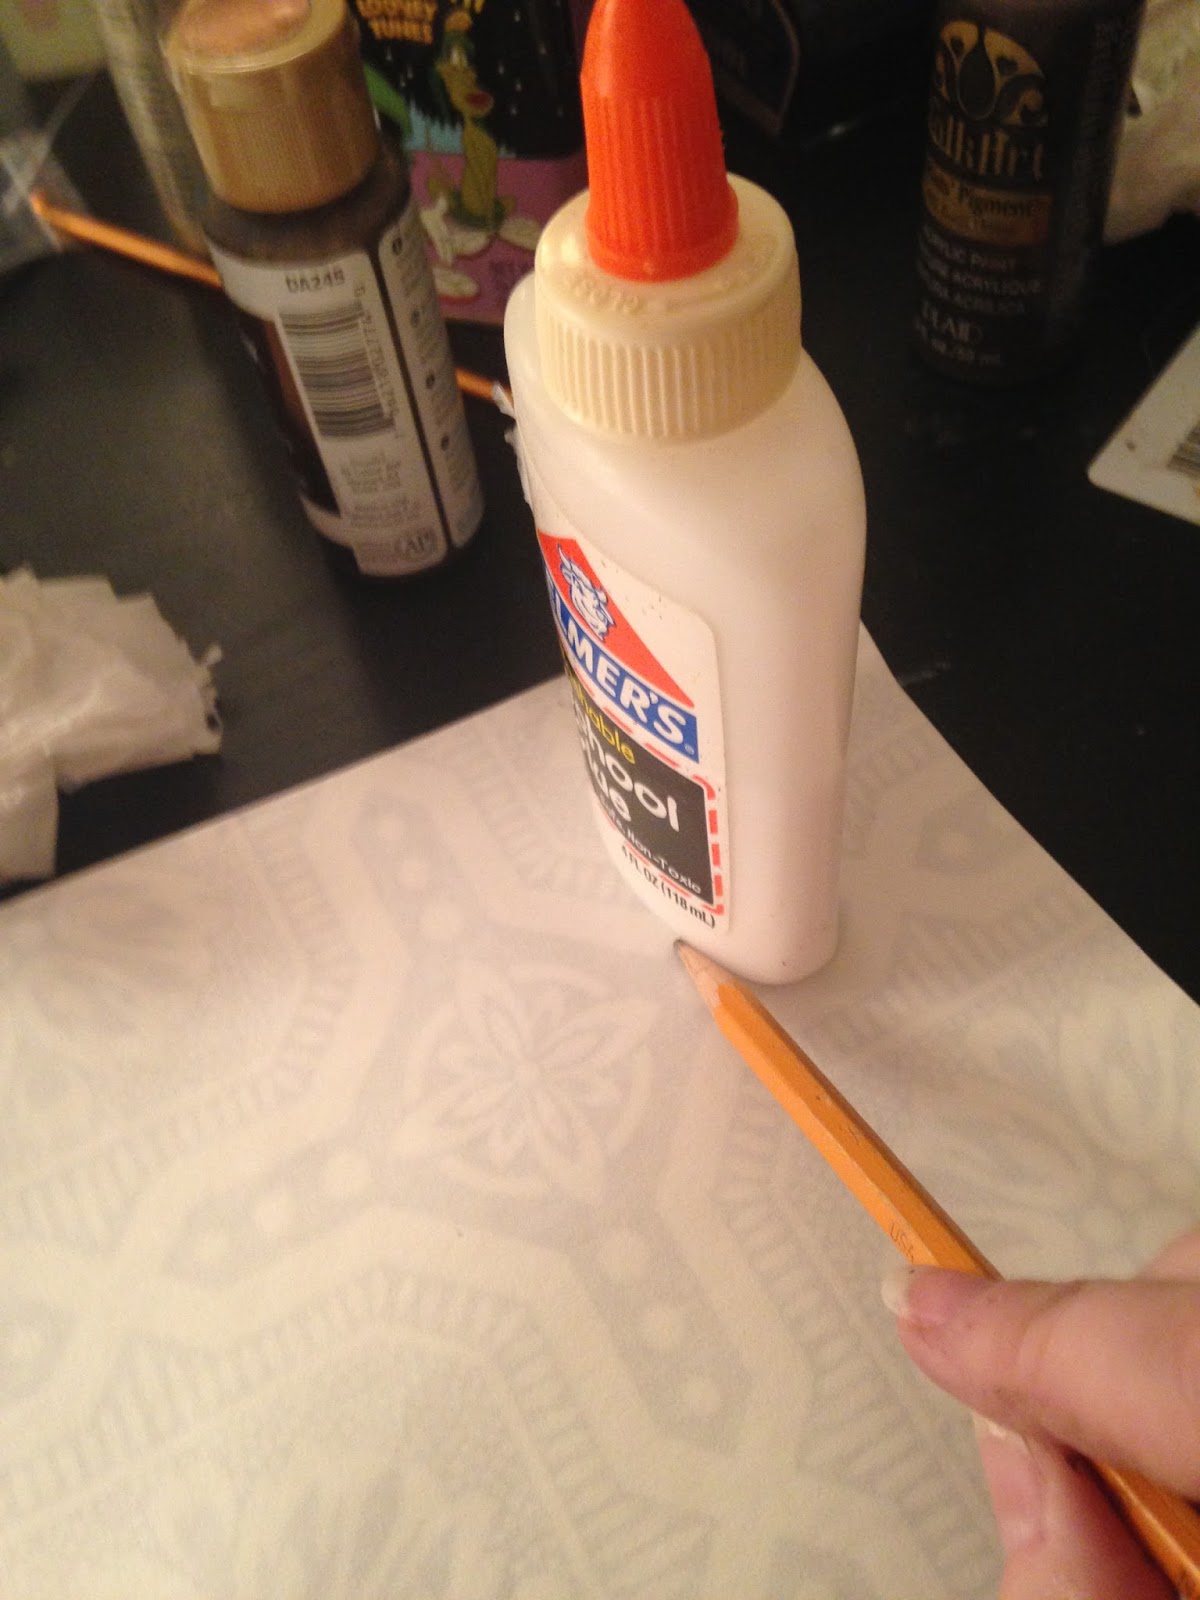 |
| I'm lazy when it comes to things like this. If I can trace, I will. This is a full sized bottle of glue, not a mini size. |
 |
| This is what the "hinges looked like before I cut them out and painted them. |
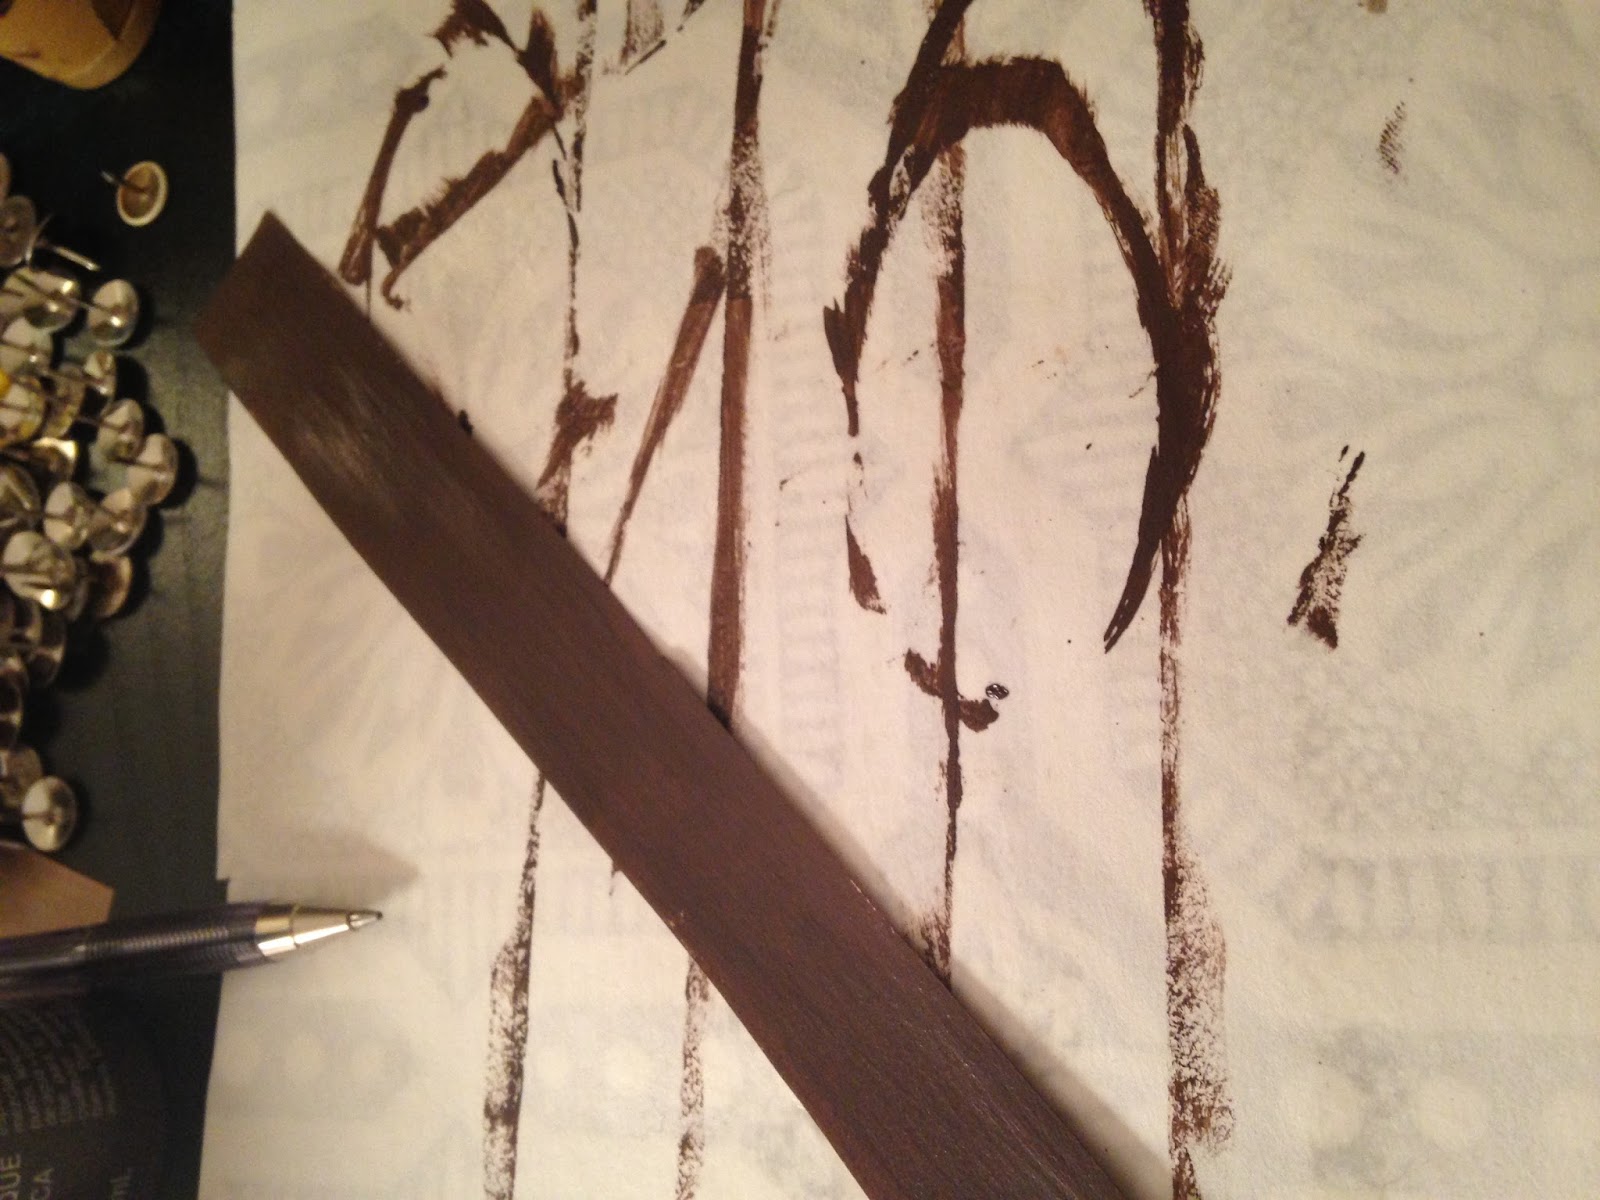
For the straps, I laid my “hinges” over my wrapping paper to determine how wide I wanted my straps to be. Fortunately for me, because it was wrapping paper, the side that I wanted to use had straight lines going down the paper.
 |
| Backside of my wrapping paper. |
 |
| Front Side of wrapping paper. |
 |
| I had trouble seeing the lines when I started cutting the paper, so I traced along the line that I wanted to cut along to make it easier to see. |
So all I had to determine was how many lines thick I wanted it to be and then cut with my scissors in as straight a line as possible. (I actually have a scrapbooking cutter that does straight lines for you, but, I thought, more people would have scissors and so that is what I used.) Once the strips are cut, paint them with the brown umber acrylic paint.
 |
| My paper strap painted brown to look like a leather strap. |
(Again, I know I am not giving measurements, but this was not a precise project. You can make your straps and hinges as big or as little as you want depending on the size of your foam board.)
Allow the paint to dry until you can handle the cut pieces without having paint stick on to your hands.
4. Once everything is dry, start piecing together your suitcase. Glue each of the triangles to a corner of the foam board. Push three thumb tacks into the bottom of the triangle, as If you are pushing in your grommets. Try to push down so the “leather” kind of dents around the thumbtack. This will make it look more like leather. Also, don’t worry if your triangle wrinkles a little. This also makes it look more real. Do this step for all of the triangles.
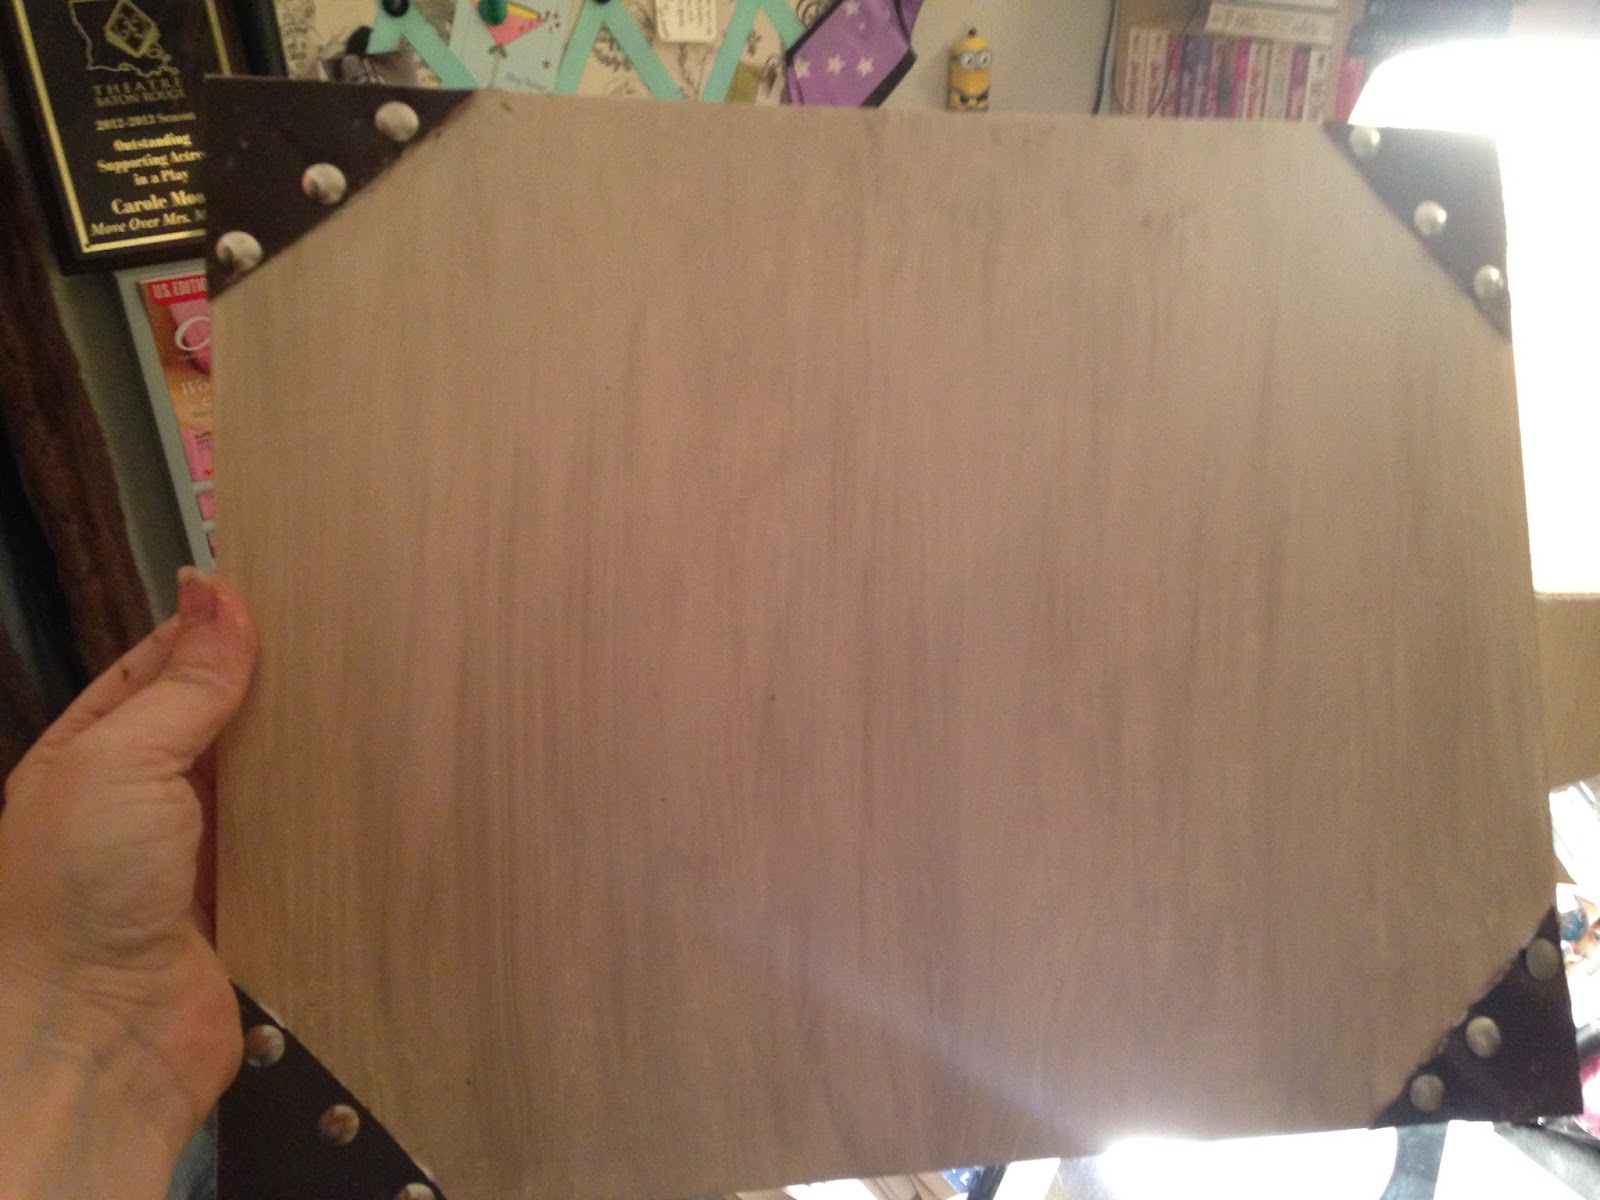 |
| Here you can see how the metallic taupe paint looks on the board. At this stage, it still looks nothing like a suitcase. |
5. Paint the sides of the corners of the foam board by the corners so that it looks like the “leather” goes over the sides of the “suitcase”. Let the paint dry enough that you can start handling the board again without getting paint all over yourself.
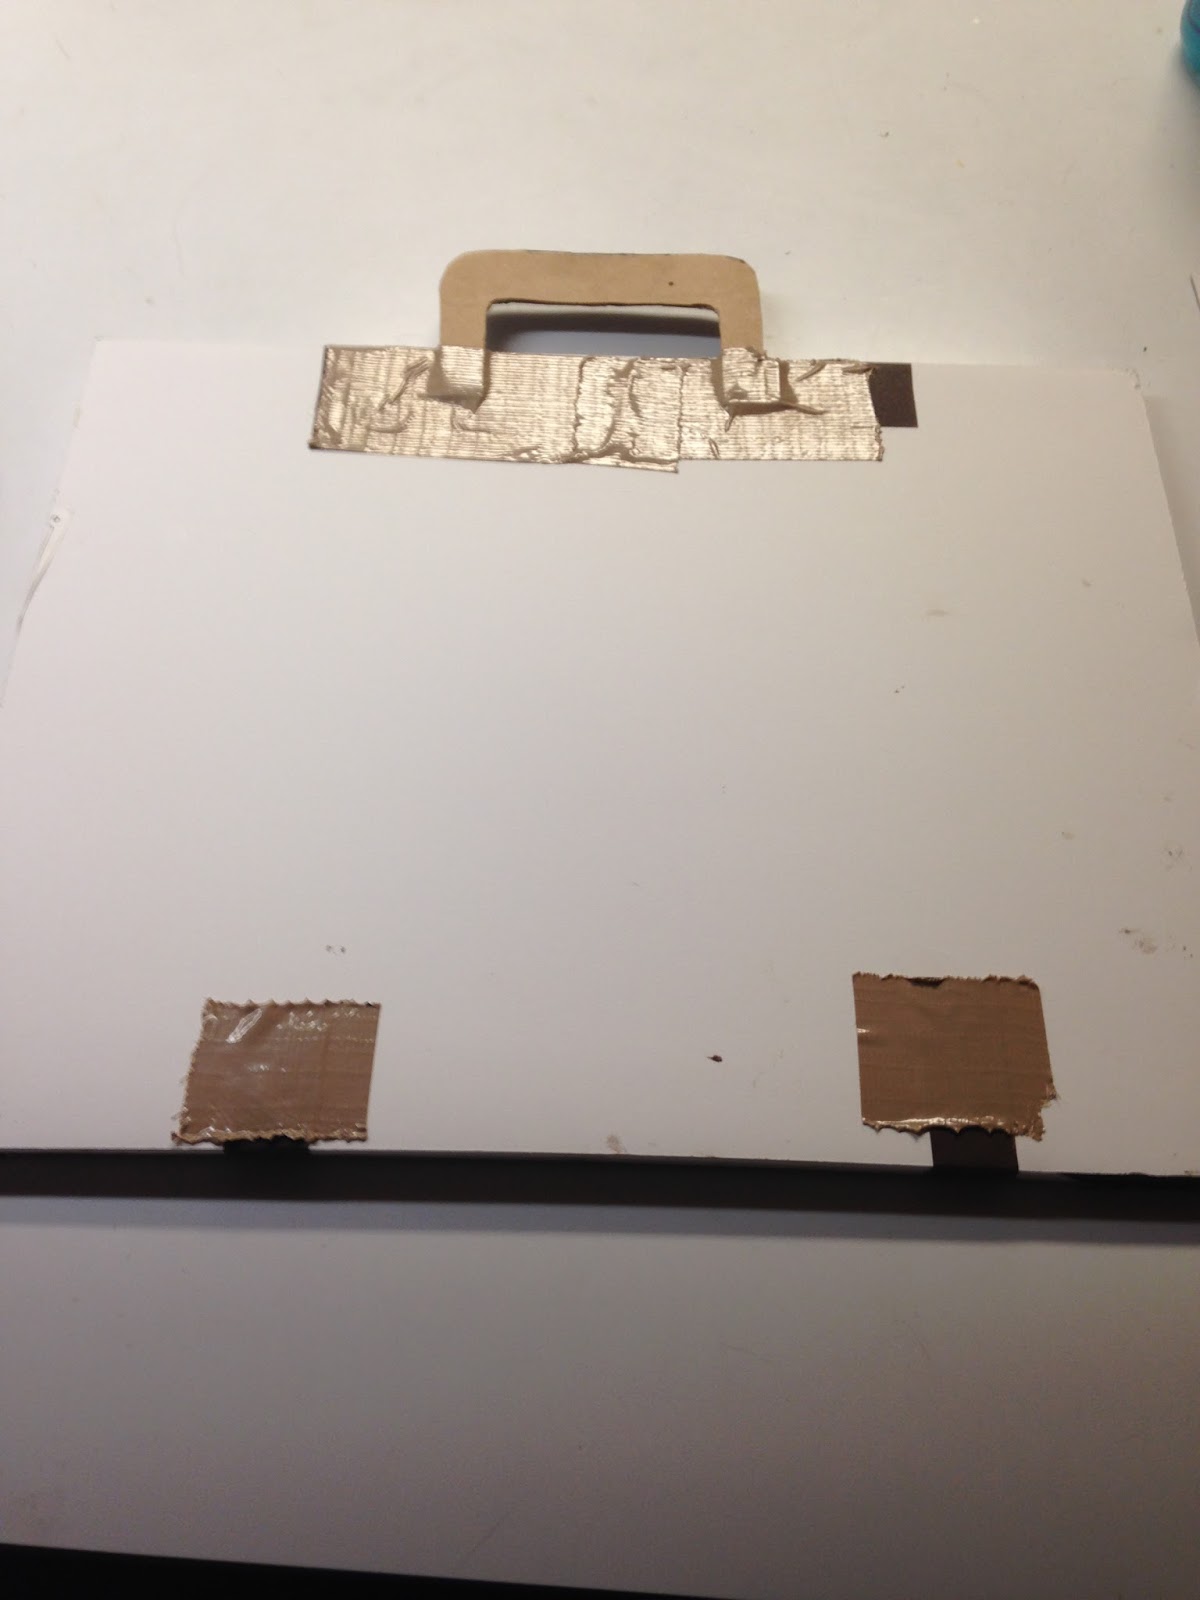
6. Glue the back of the “leather” straps and place them on the “suitcase”. Again, where the straps are placed depends all on the type of vintage suitcase you want to make. I wanted one where the leather straps go down each side and buckle in the front, but you may have something different in mind. Make sure the straps are long enough so that that then can go around to the back of the “suitcase”. This makes the straps look as if they are going over the top of the “suitcase”. Let the straps dry. (Spray adhesive is good for this because there is almost no drying time.)
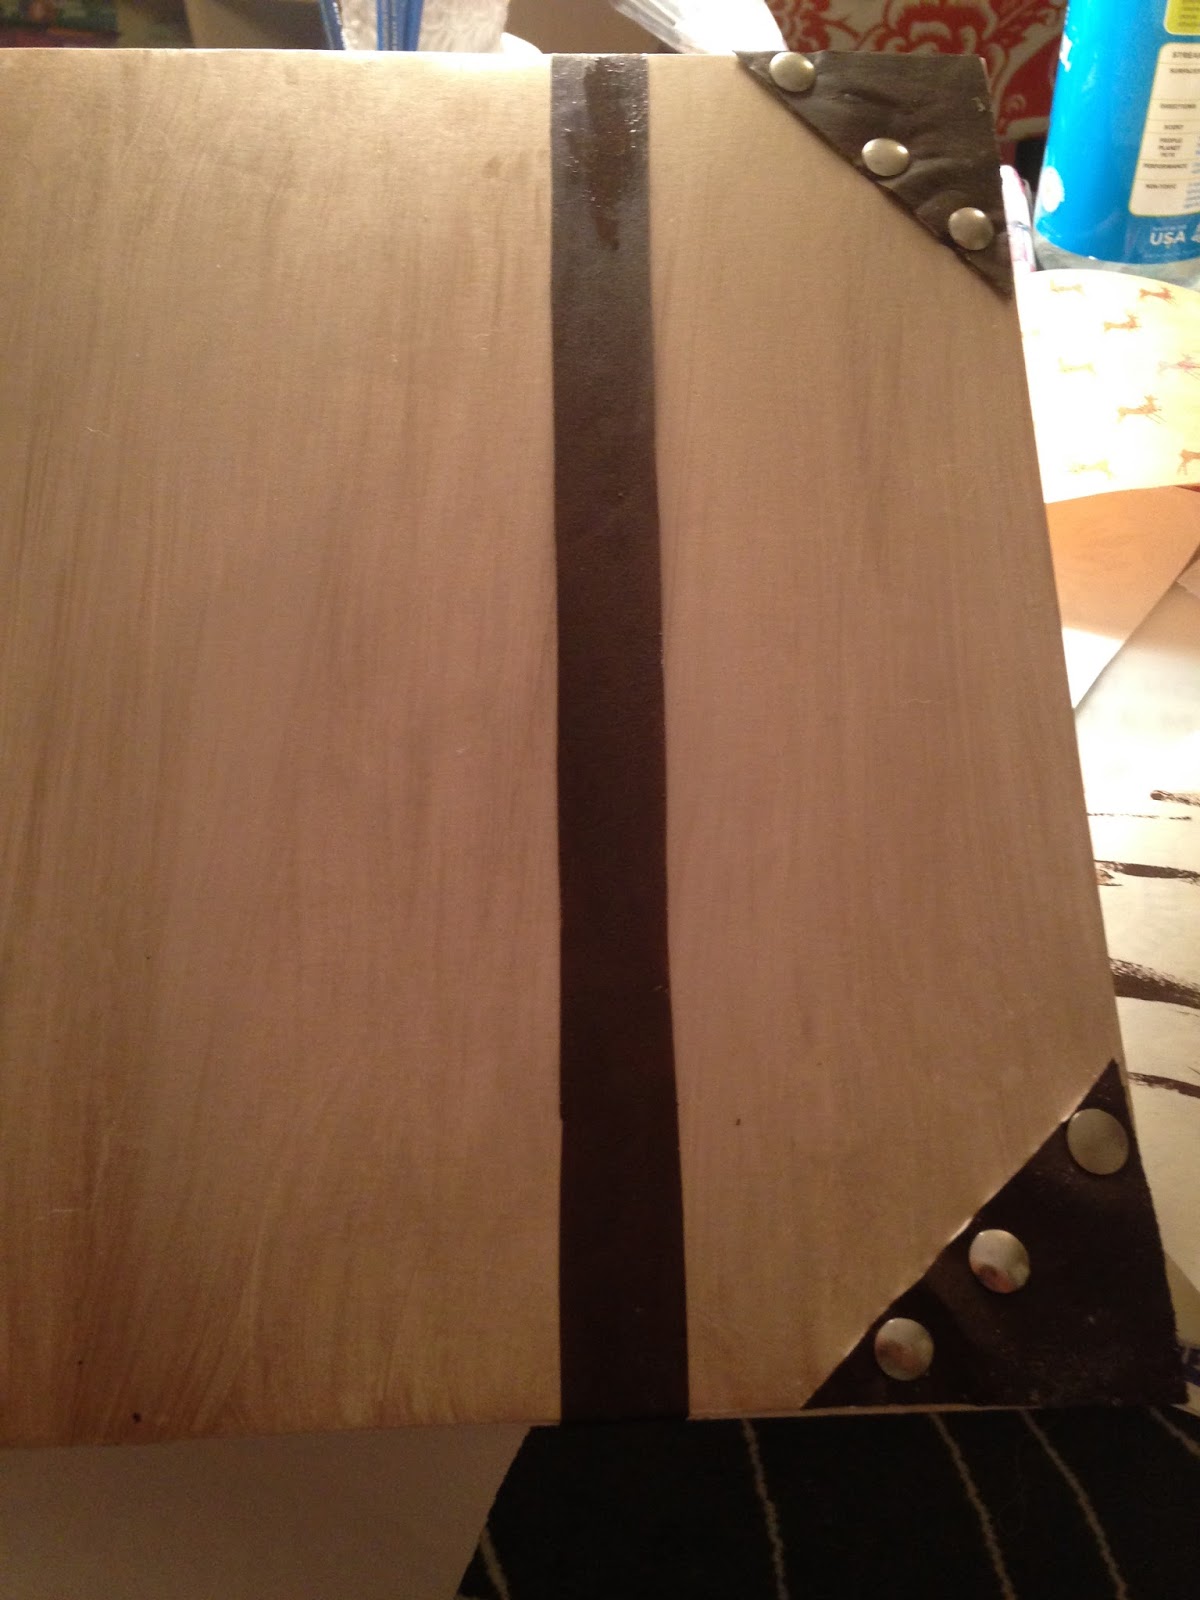 |
| I spray glued the strip to hold it to the board. But on the back side of the board, I also used duct tape to secure it. I did not worry about making the back of the project look pretty. |
7. Once the straps are dry figure out where you want your “hinges” to be. Again, this is all up to you. Just make certain that, if there are two straps, the hinges line up with one another. Glue the hinges on to the case over the straps.
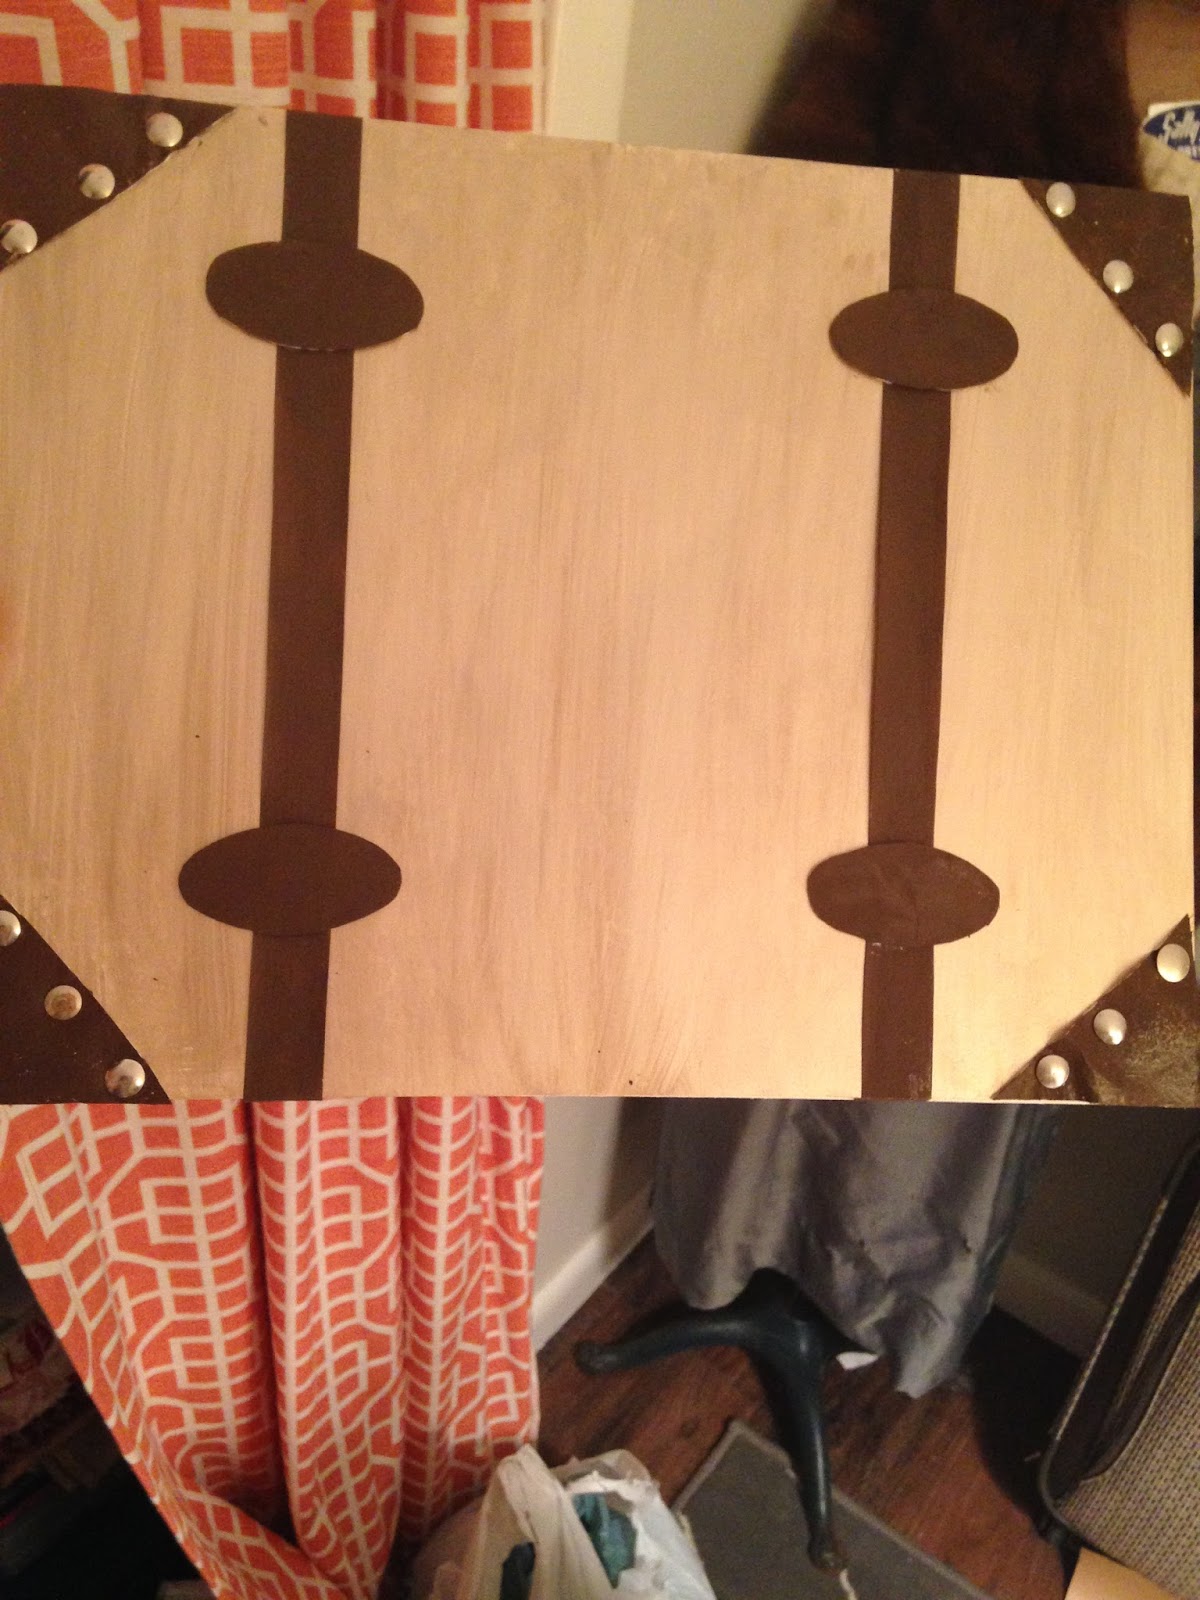 |
| It was at this point I thought: "This might not work. This is still looking a little cheesy and nothing like a vintage suitcase." |
8. Let the glue dry for a few minutes, until it gets tacky and then add a thumbtack on the side of each “hinge”, to the side of the straps.
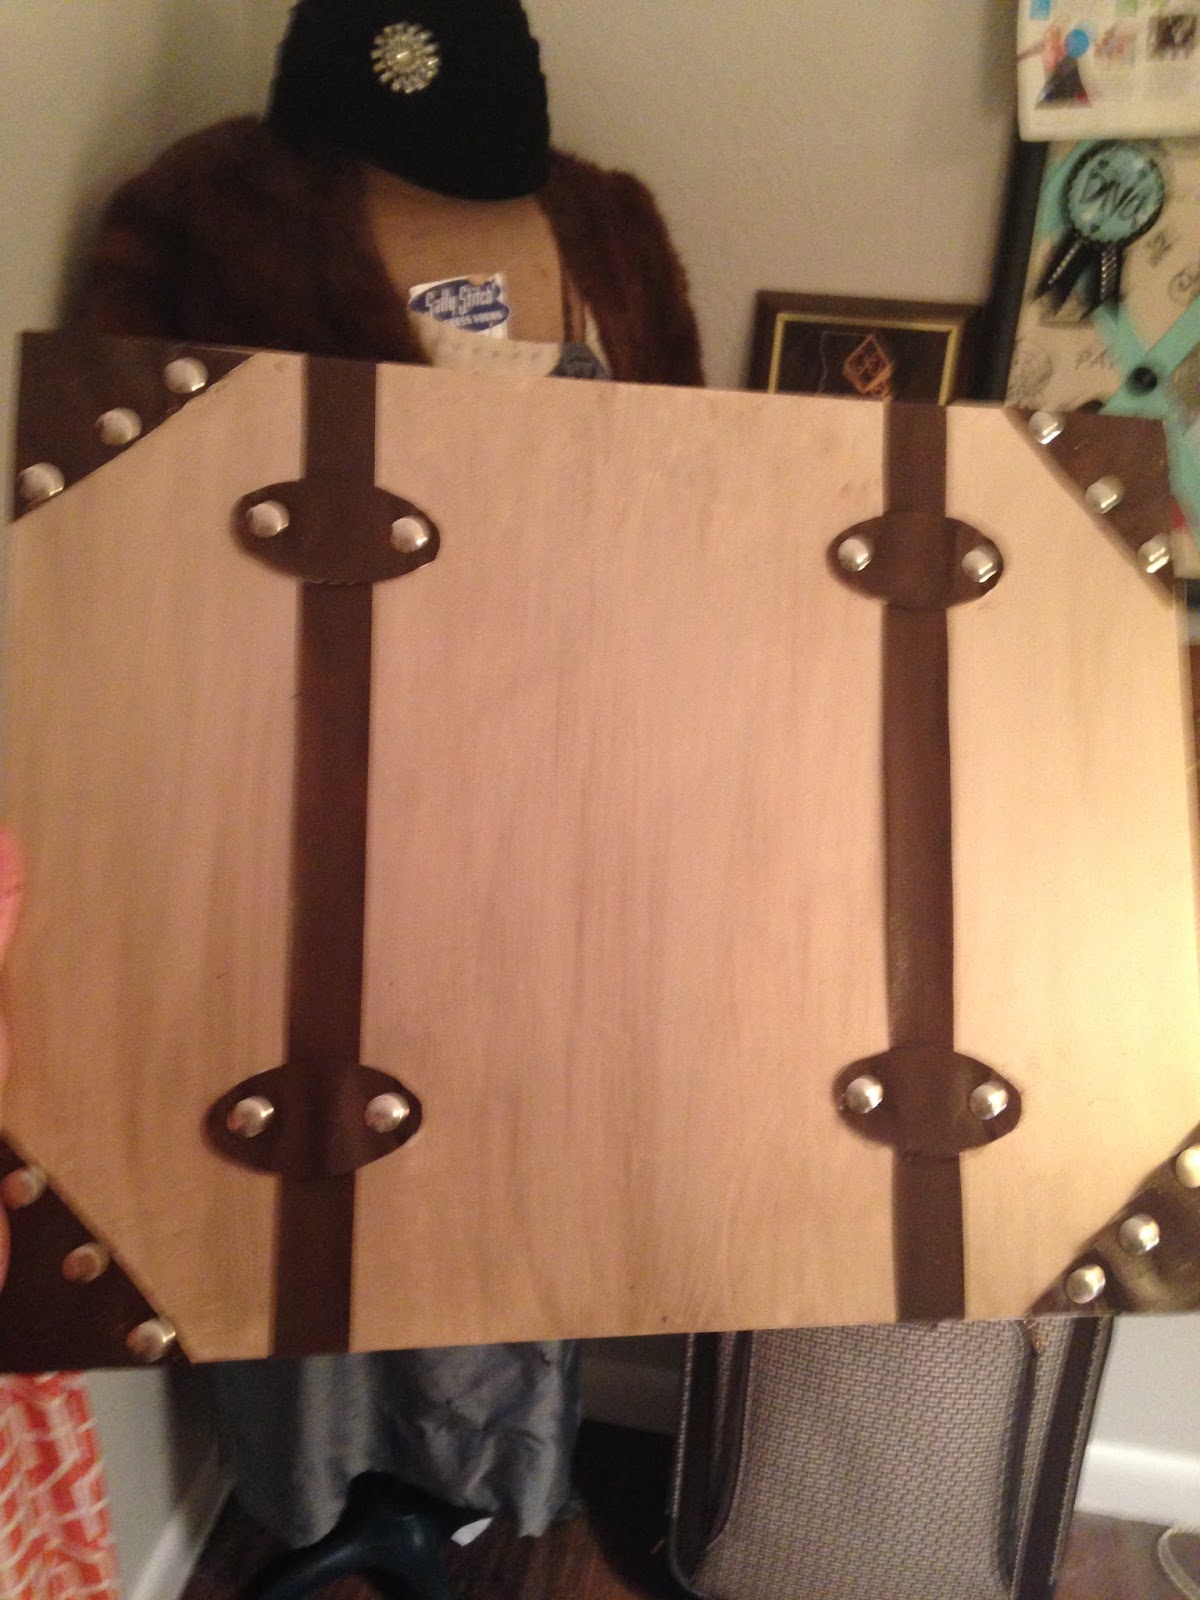 |
| What a difference thumbtacks make! This looks more like a suitcase. |
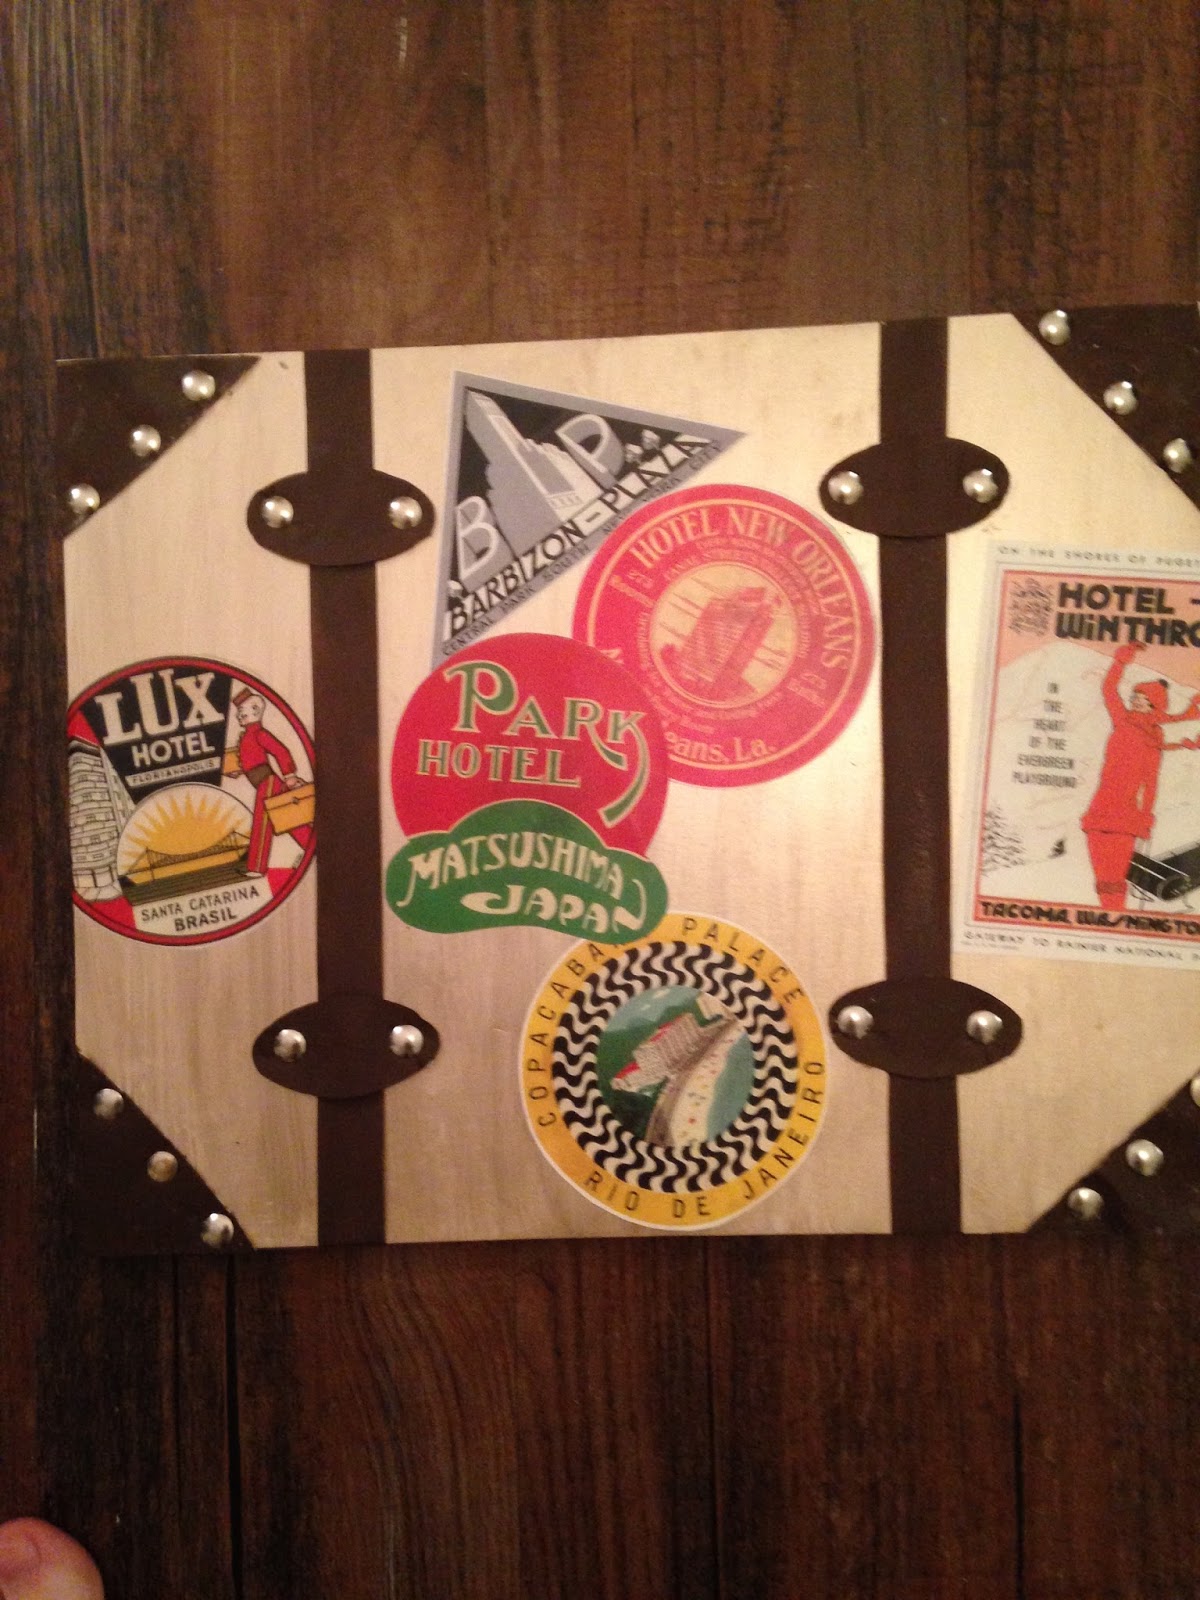
9. You should now have something that looks like a vintage suitcase without the handle. This is where the fun part starts and you can start putting on your vintage travel stickers. This truly is the most creative part of the project, so it truly is up to what type of stickers you have and where you want them to be. Glue the stickers on to the “suitcase”.
 |
| At this point, I am starting to finally like this project and feel that it may turn out alright. |
like suitcase handles. I did not. So I decided to draw the handle onto cardboard. Any
type of card board will do.
If you don’t have cardboard, you can use one of the leftover foam boards in your pack
of four. I wanted to save mine for later projects, so I went with cardboard. Again, the
type of handle that is drawn is dependent on the type of suitcase you chose. Once
the handle is drawn, cut around it with scissors and glue to the back of the “suitcase” on
the top of “suitcase”. If you are worried that glue won’t hold, use duct tape.
 |
| I used cardboard from an old shoe box. |
 |
| This is the back of the "suitcase". I used duct tape to secure anything that I felt my glue might not be powerful enough to hold together. |
11. To hang the piece, simply attach string and hang to the wall in your normal fashion.
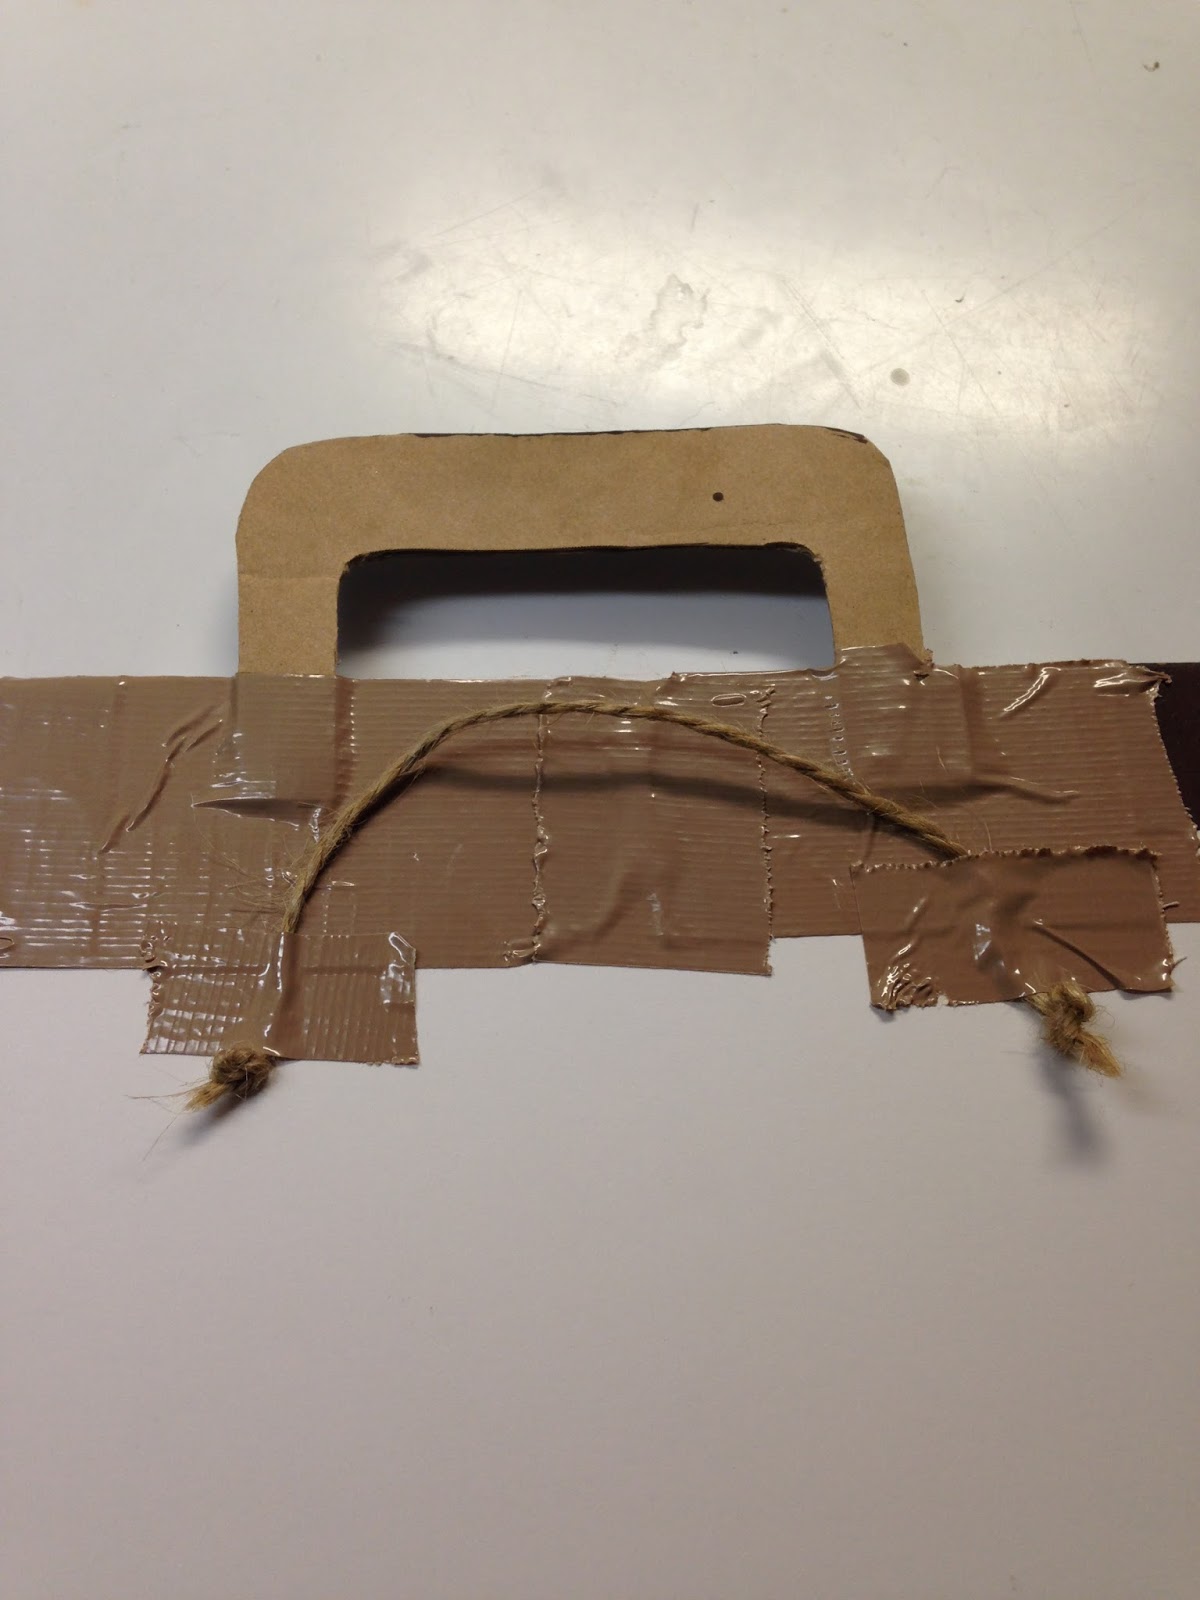 |
| I cut a piece of twine about six inches long and knotted both ends. I then put duct tape right over the knots to hold the twine in place. |
The final project should look something like this:
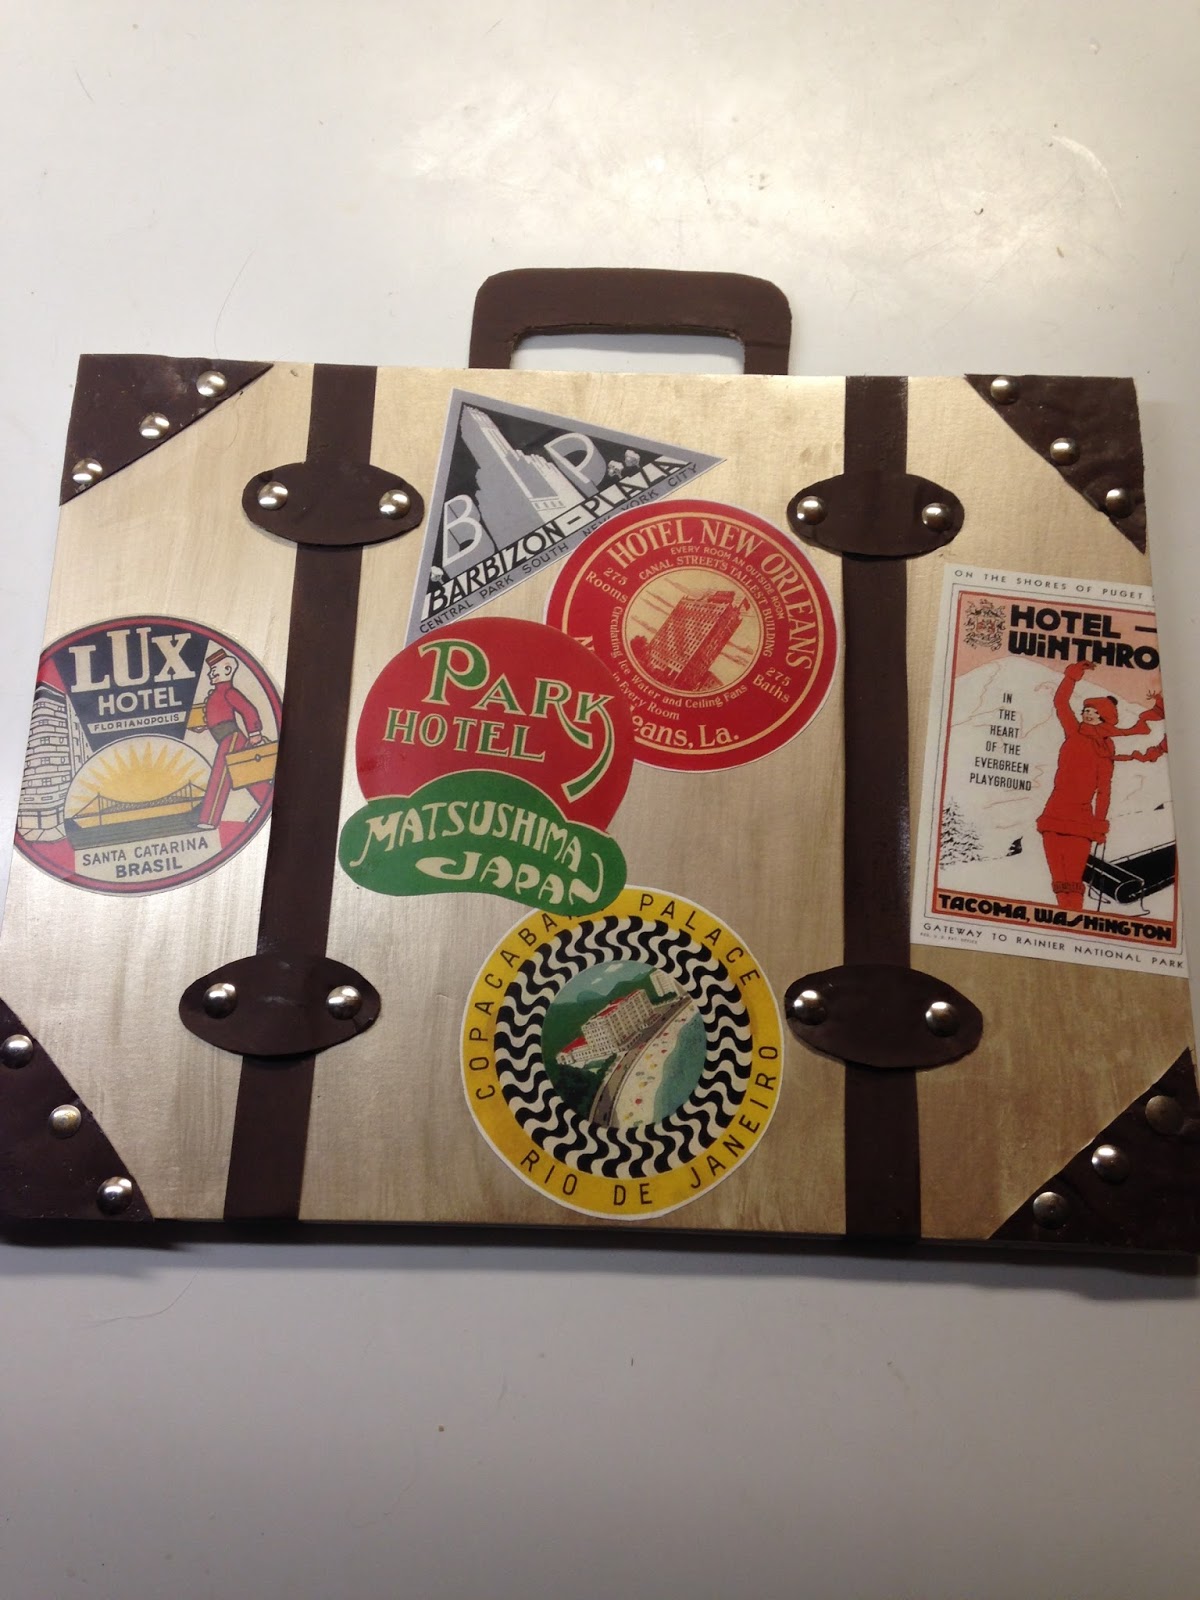 |
| You can kind of see it in the picture, but because I used the wallpaper and it was a three dimensional wall paper, it caused my "leather" bits to have depth and make my "suitcase" look more genuine. |
The “shadow boxes” with the mini travel posters were much easier. I just painted the canvas and waited for it to dry. Then I sprayed some glue on the back of one of the mini posters and centered it onto the canvas. Done! Instant art. You can use Mod-Podge over it if you want to make it last longer, but I thought I might be reusing the canvas so I decided not to seal it. I will show you those pictures when I show you the final project.
Again, I am not going to show the room pictures until after I am done. I still have a few more things up my sleeve to get ready for my guest