Showing posts with label recipe - chicken. Show all posts

Wednesday, September 2, 2020

Getting My Ducks in a Row...or Not. A tale of trying and failing with a recipe at the end.

 Hello Everyone!

Today's Frugal Femme is a post about failure and a recipe.  Don't worry, the recipe is not the failing part of the story.  The recipe is actually very simple yet delicious.  No, the failure part is about me and some metal/wooden ducks.



When I was a child my sister, cousins, and I used to play in my great grandmother's basement.  This was a win situation for everyone as it kept us kids out of our grandmother's hair,   (In case you were wondering, yes, this is the same grandmother that was the inspiration for my vintage skin regime.) and allowed us to feel like we were not being constantly supervised.  Which we loved.  To make the basement more interesting (and, yes, this was before home video games were really a thing and VHS tapes weren't around yet, let alone dvds or home computers) my great grandmother stocked the basement with items that she thought kids would have fun playing with.  We had empty spice tins and pots and pans that were no longer used in the kitchen to pretend like we were cooking.  There were boxes filled with vintage clothing (some that I would kill to own today) that we could play dress up in.  There were vintage board games, card games, and Twister and my mother's Barbie, Skipper and Scooter dolls complete with pink case and outfits on tiny hangers that grandma had pulled down from storage for us to play with.

I remember this had a place for Skipper and Scooter on either side of the box and, in the middle, they each had their own closet and drawer so that you could hang their clothes and store their accessories.  It was a
little girl's dream.


What strikes me now is ALL of this was vintage - even then.  It came from the 50s and 60s and were items that she had held on to from two generations of children (my grandmother and mother) and were now being played with by a third generation of kids.  And the basement was decorated in the same style.  All of the furniture, including the television was from the 1950s with some throw-ins from the 60s and I WISH I had it now.  But one of the things that stuck in my memory the most from the decor of this room was the ducks.  
Along one of the walls were three wooden ducks flying along the wall - each with a different wing design.  I loved these ducks!  And I decided, recently, that since I live in a home built in 1965, it would fit right in if I could find those ducks.  They couldn't be that expensive right?  WRONG!
I don't know why these ducks are so much, maybe their age, but if I had to make a guess, I would say that it is because they were featured in Mad Men. (A show that I still need to watch.  I haven't seen even one episode.)
Here are the ducks of my childhood as seen in the show Mad Men.  Apparently, that is Herman "Ducks" Miller on the phone.

Being on a limited budget, I couldn't afford the ducks that looked like new and were already refurbished- those cost $200-$350 - so I decided to look for some fixer uppers and hope with a little elbow grease I could make the turn out alright.
So here are my ducks.


They didn't look too bad and, after reading a post on fogmodern.com's blog on the restoration he did on his ducks, I felt I was prepared to try it myself.

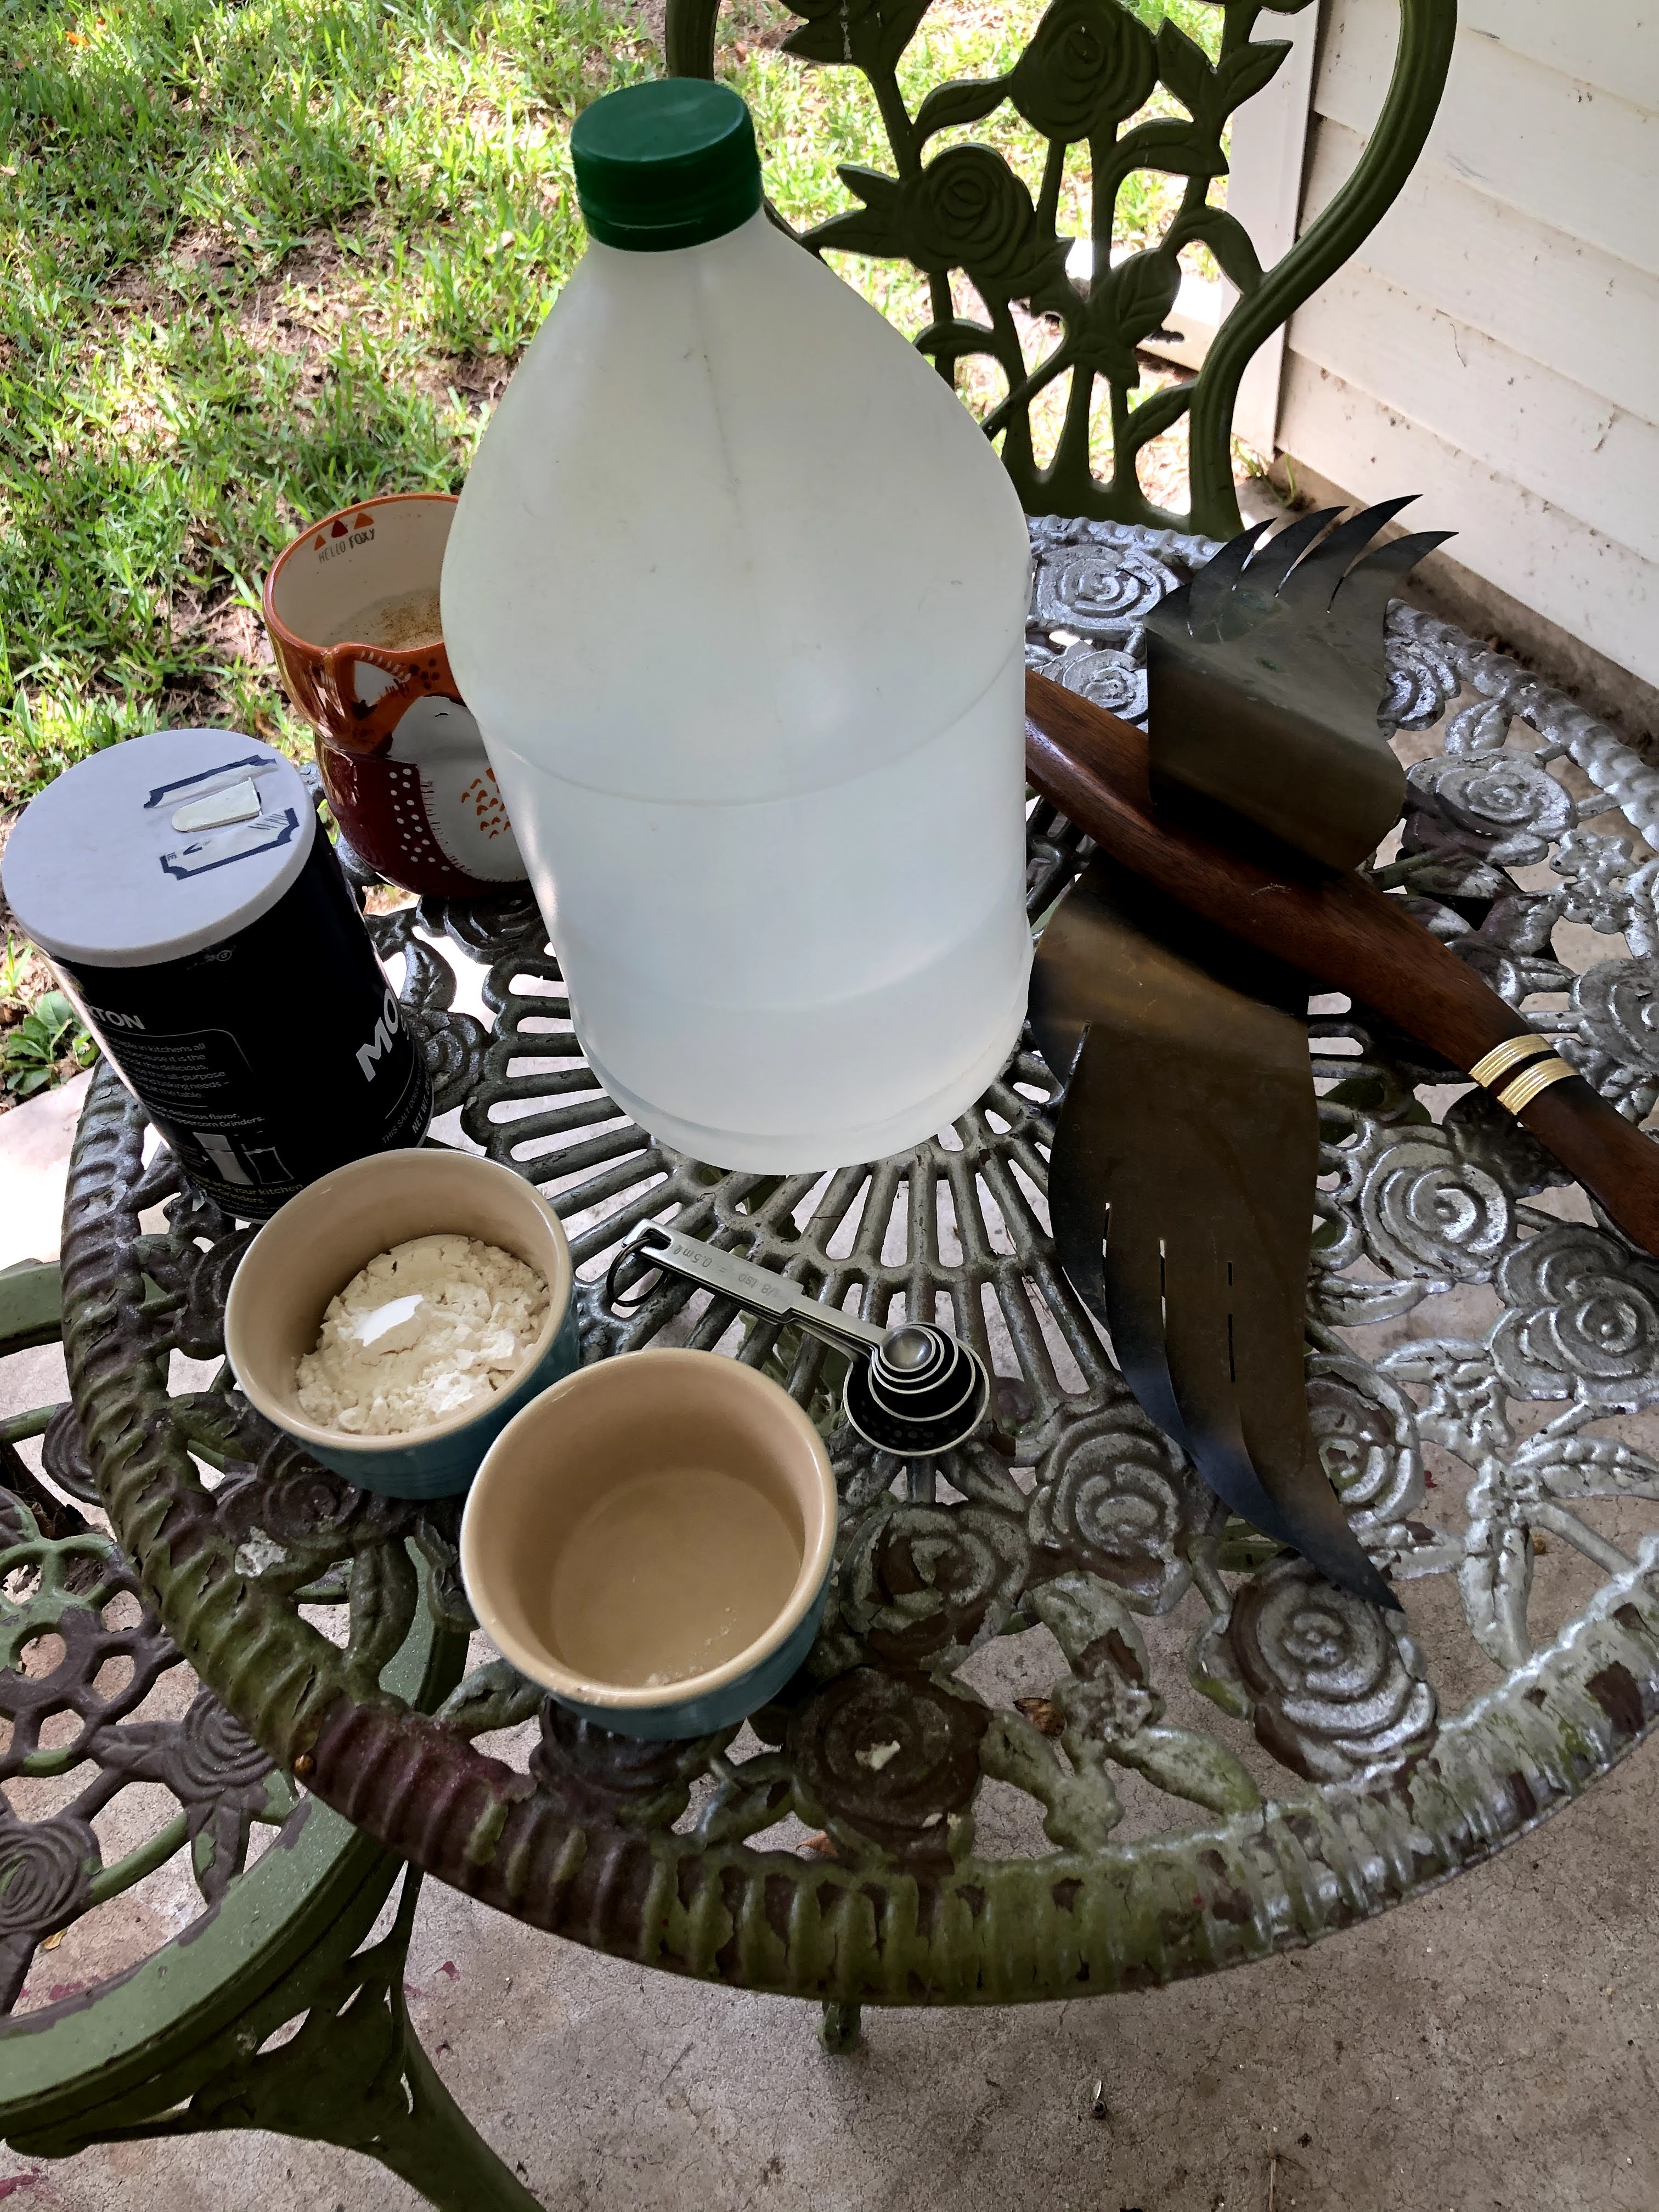
Taking his suggestion to use Brasso, I dug through my cabinets and found some Brasso.  Unfortunately, my Brasso was about fourteen years old and it did nothing.  You would think that my next thought would be to get some new Brasso and try that.  No friends.  That is not how my mind works.  It is how my mind should have worked but I decided to do another homemade way to clean brass that I found online from Bob Vila.  He said to clean brass, use one part salt, to one part flour, to one part white vinegar and this will clean your brass.  Eureka! 
So I set to work.
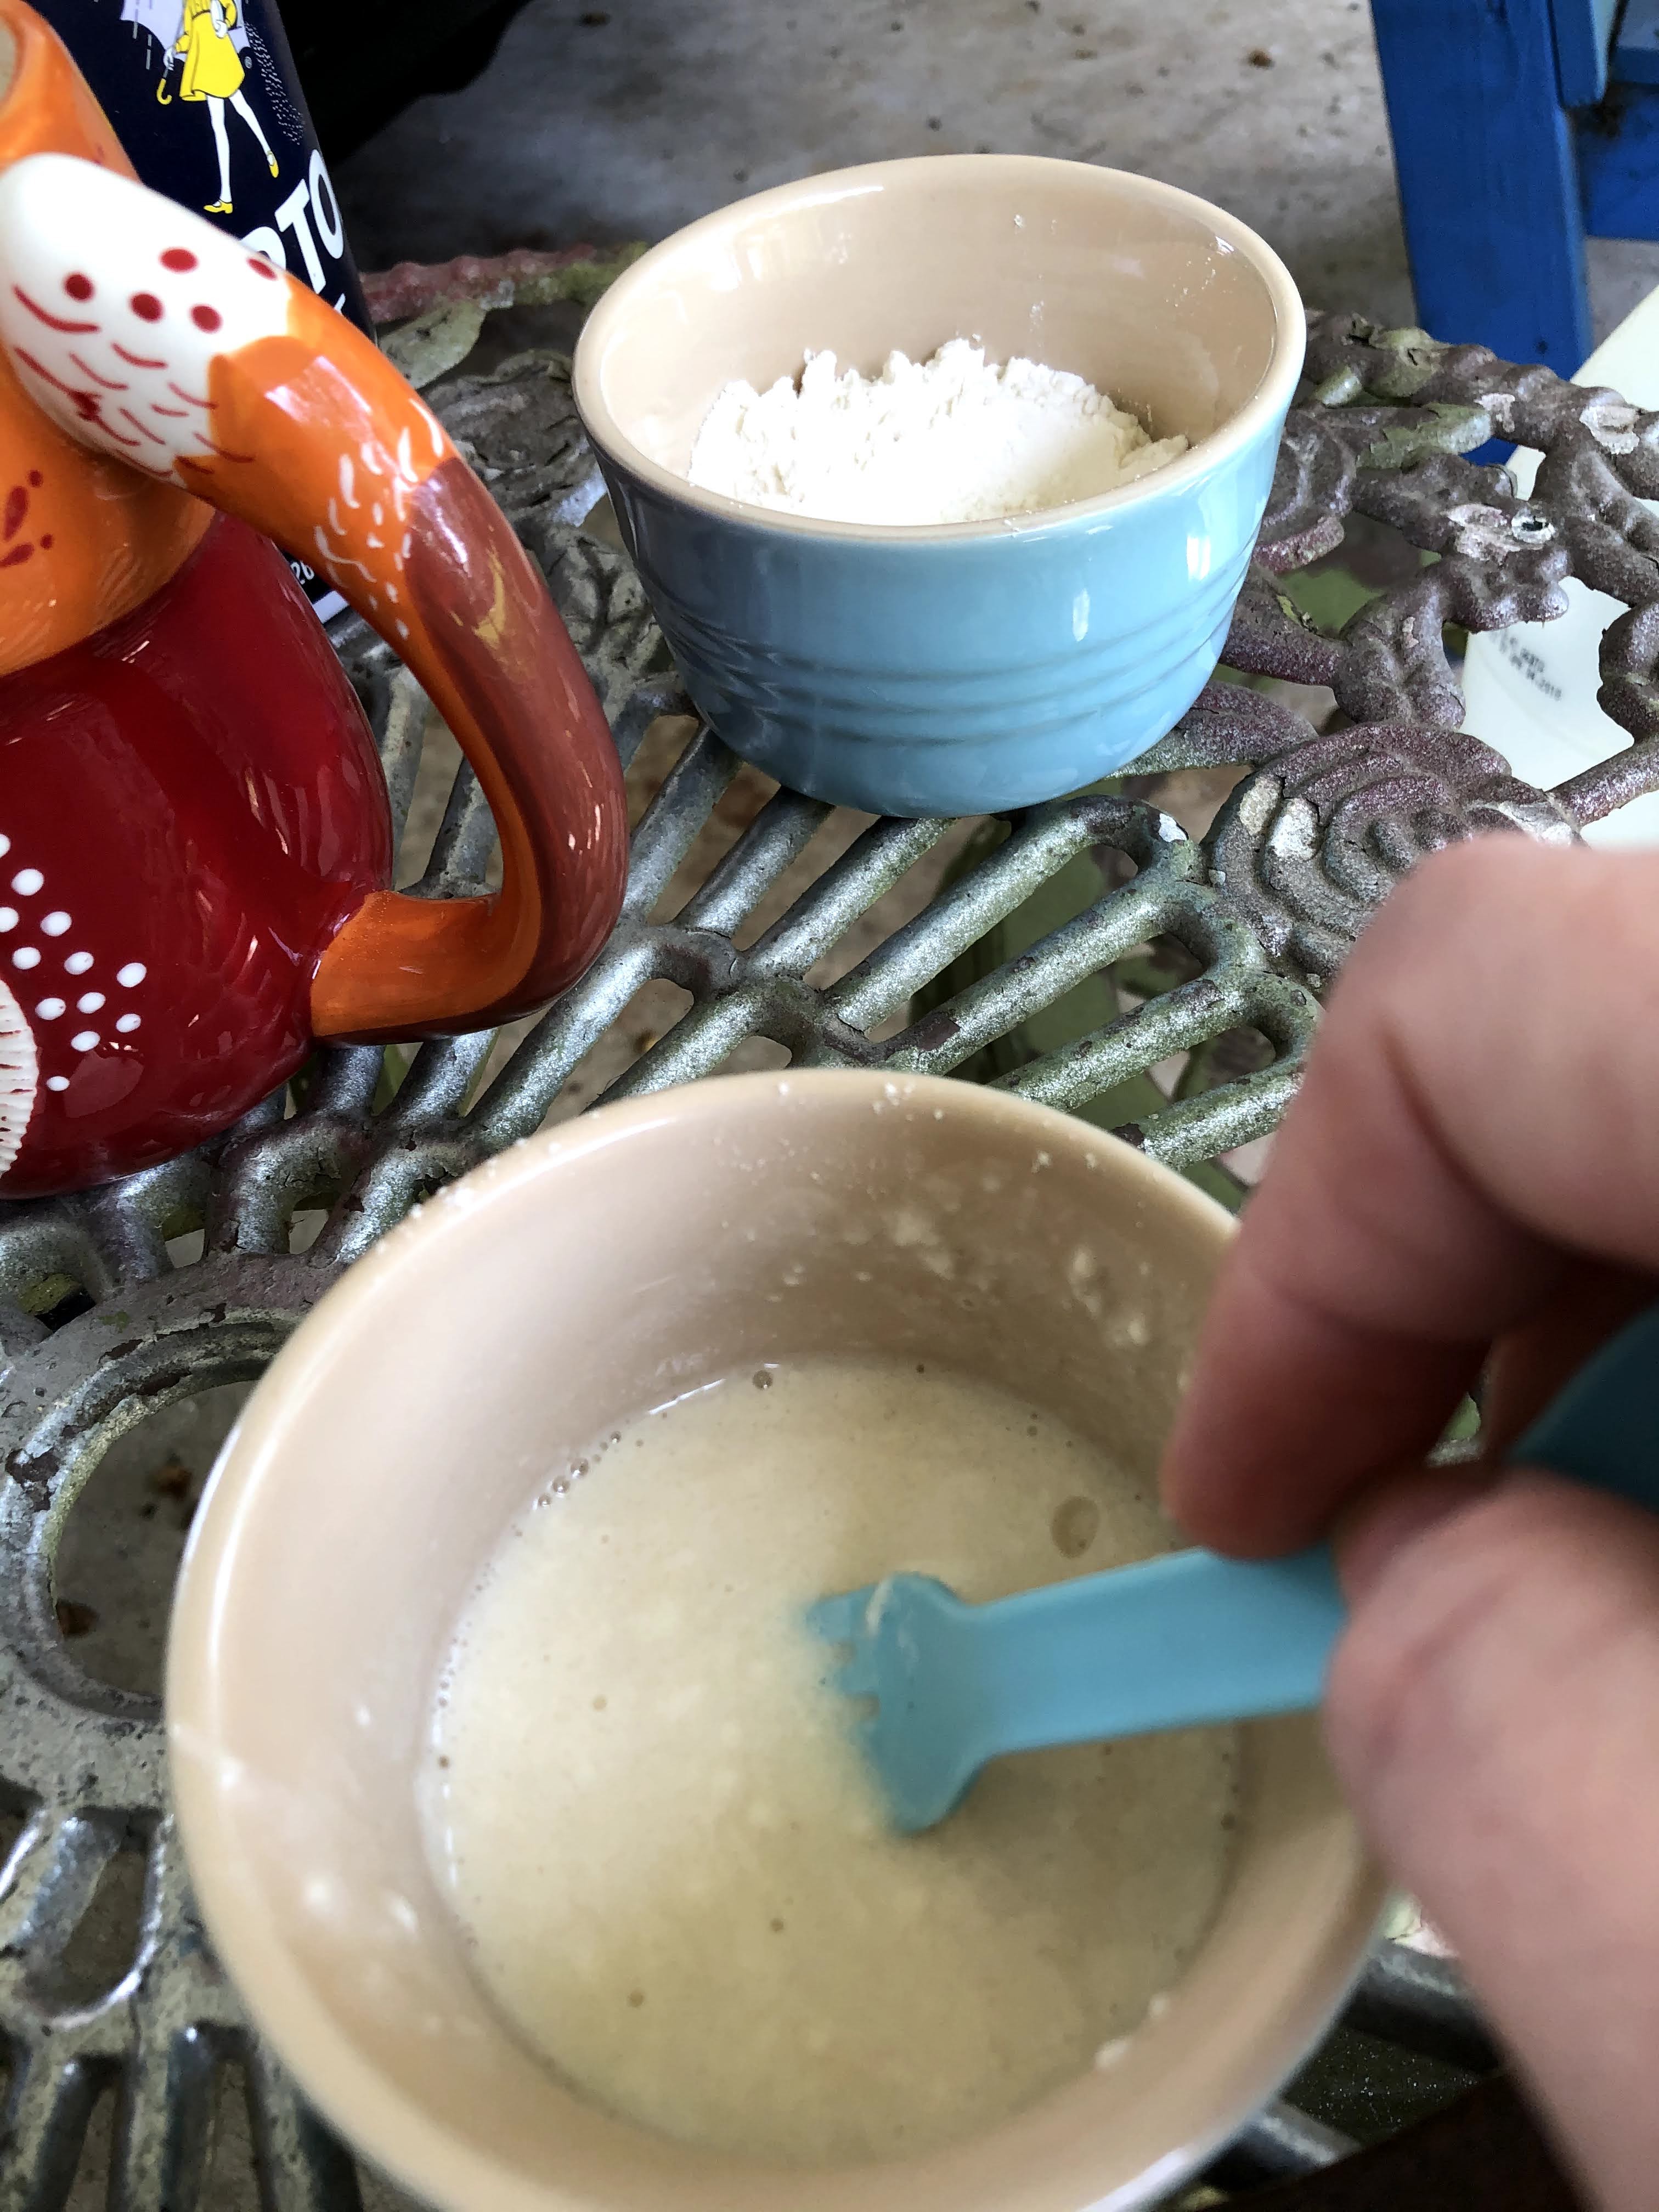
I decided that I didn't want to overkill on the cleaning agent so I mixed one to two tablespoons at a time of each of the ingredients.  Always making certain to keep a one to one ratios of all the products. For example, I would use 1 tbsp flour, 1tbsp salt, and 1 tbsp white vinegar.             


I then slathered that all over the wings of my ducks and, per his instruction, left the concoction on their wings for an hour.  
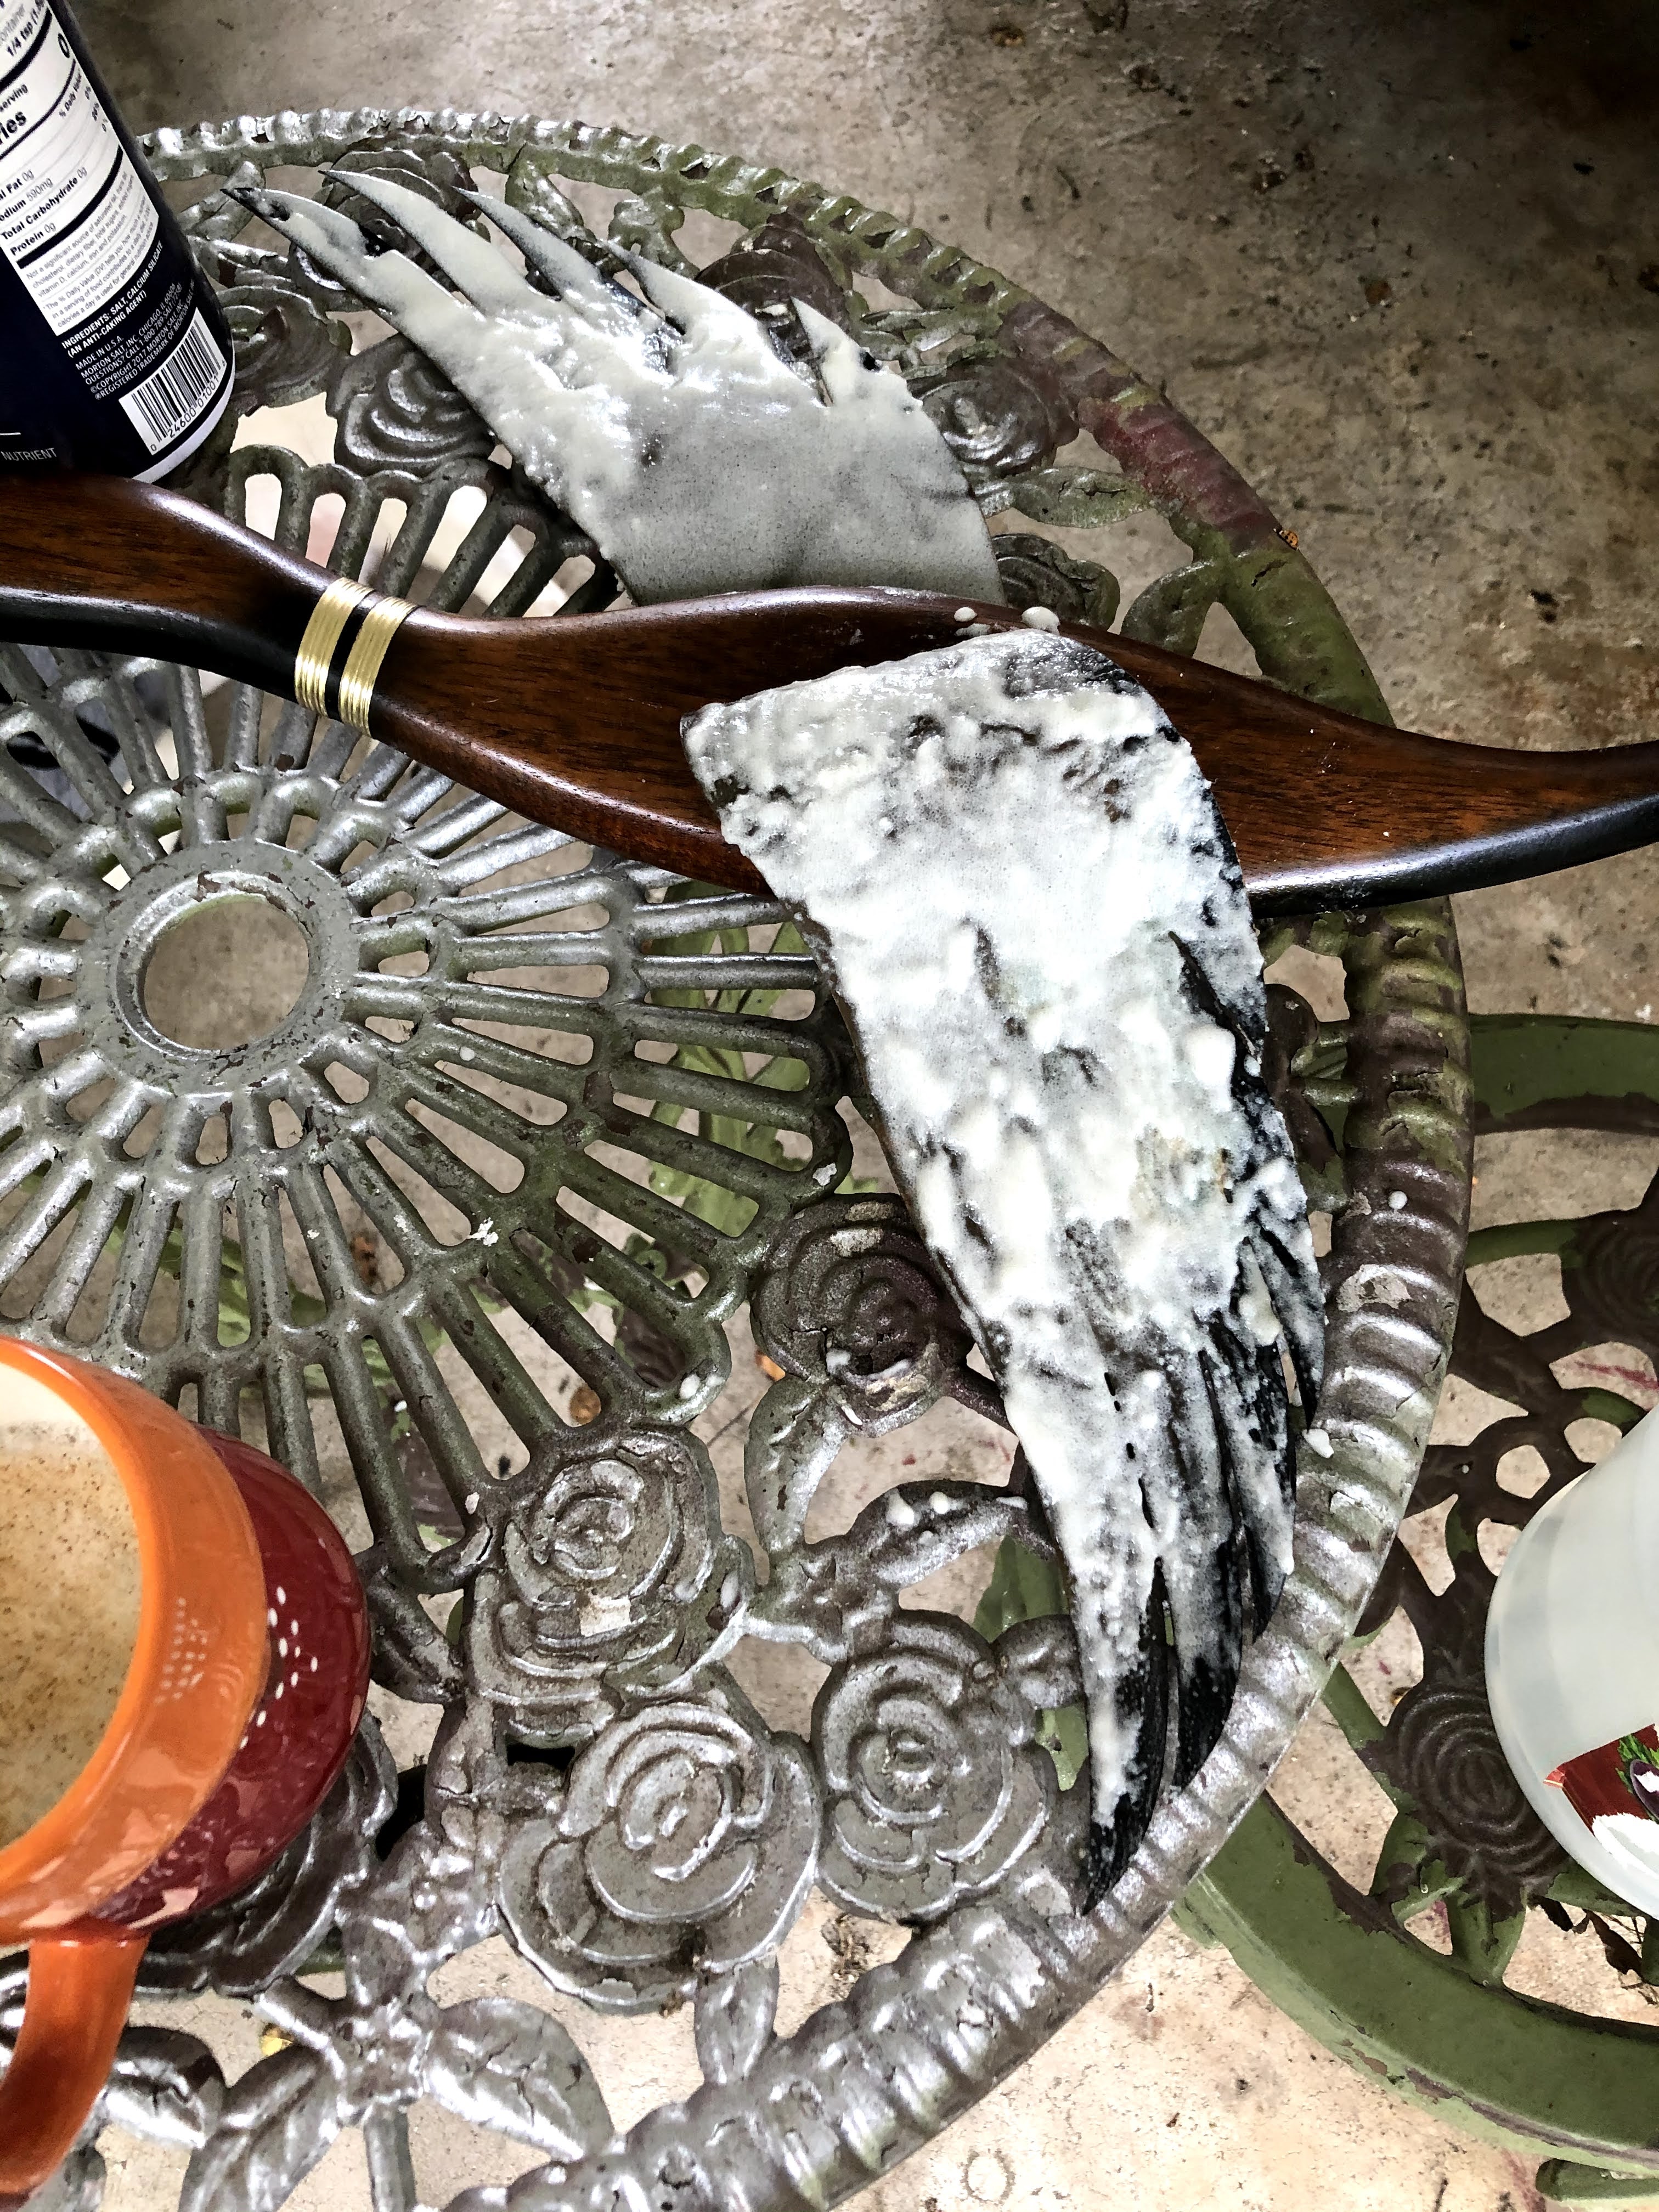

He then said to rinse with warm water and your brass would be clean.
Ummmmmm....  That is not what happened for me.
They did get cleaner but they looked worse!
One of the ducks even had an area on his wing where there was a circle of bright brass and then there was a black spot.  It looked terrible and stood out even more than it did before the ducks were cleaned.
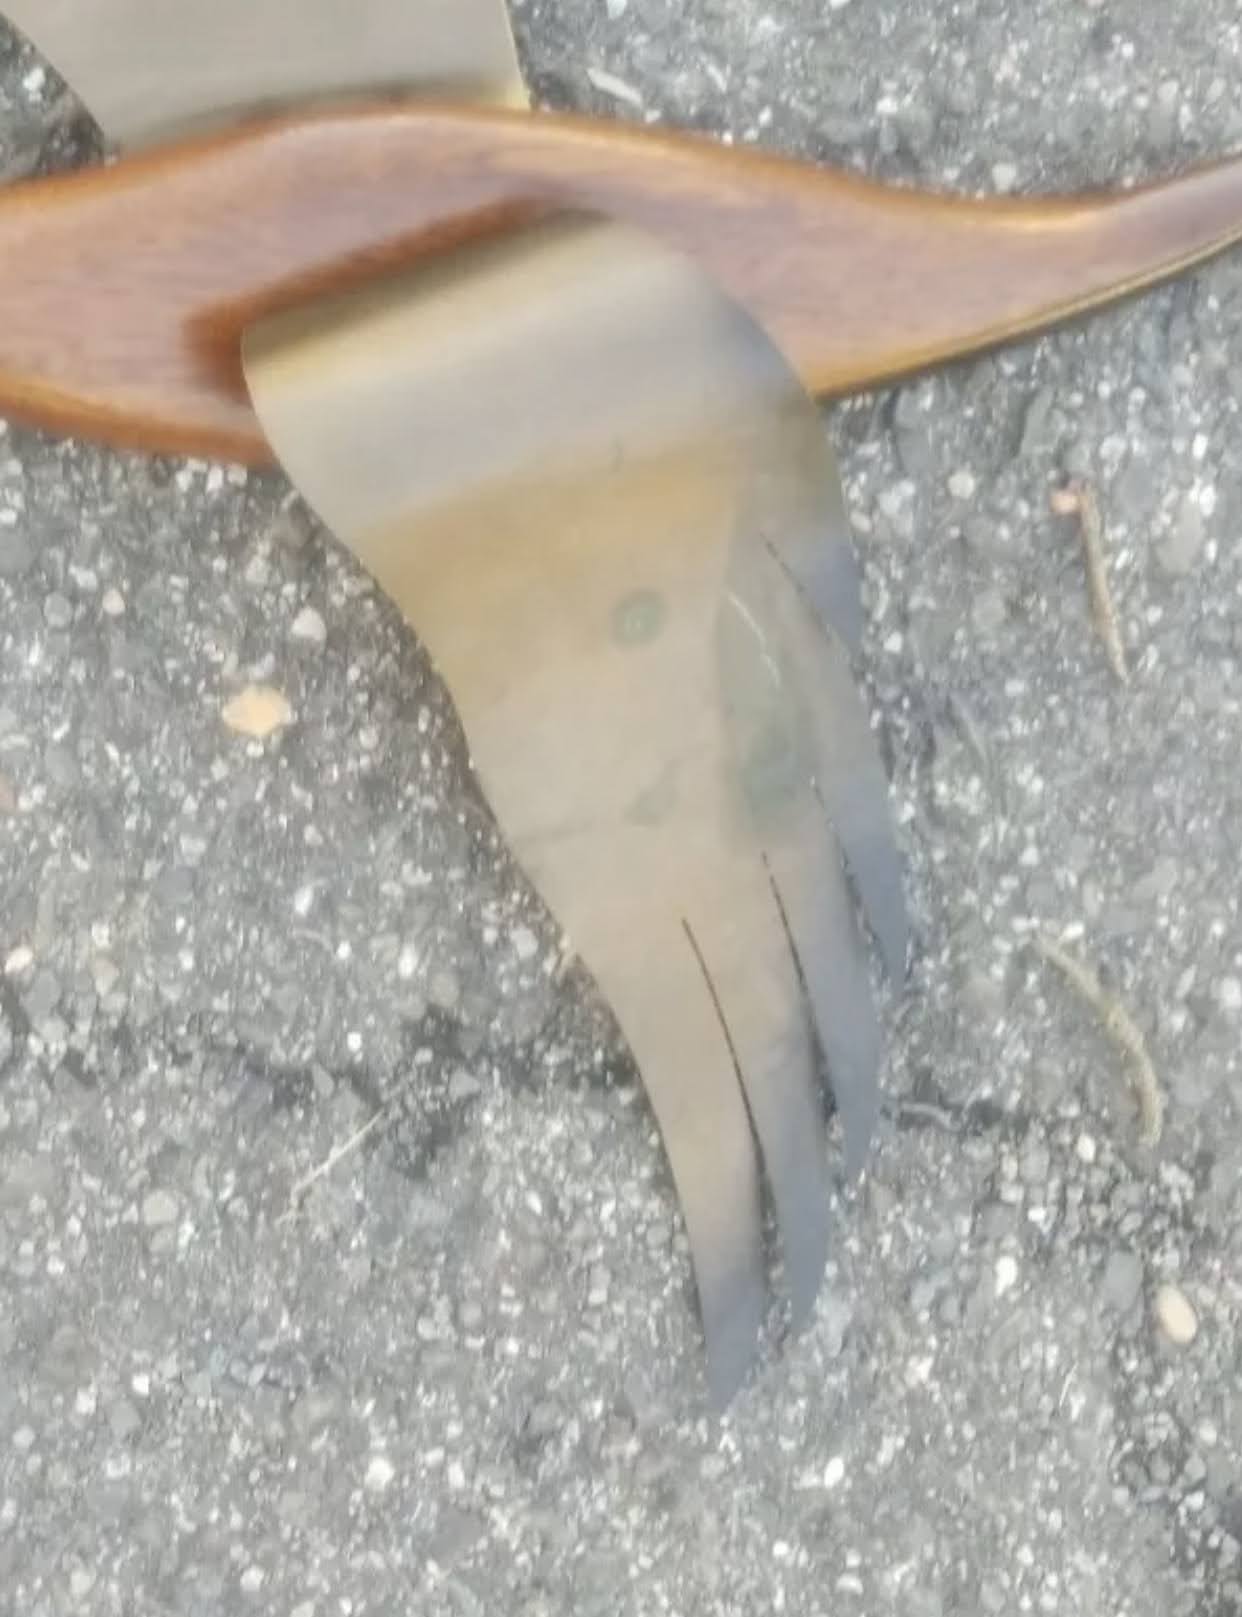
Here is a close-up of my problem wing before the cleaning - that dark circle is where disaster struck.


I'm not going to lie.  I panicked.  I should have purchased new Brasso and tried seeing if that would have fixed the problem.  Instead, I decided to paint them.
DON'T DO THIS!!!!! 
 In general, you shouldn't paint vintage things.  It just isn't something that you should do.  If you learn nothing from Antiques Road Show you learn this mantra - don't paint vintage and antique items.  But, in panic mode, I decided to paint them.  
And I don't regret the decision, but....... yeah.    
They look.......meh.  Not horrible.  But not great.
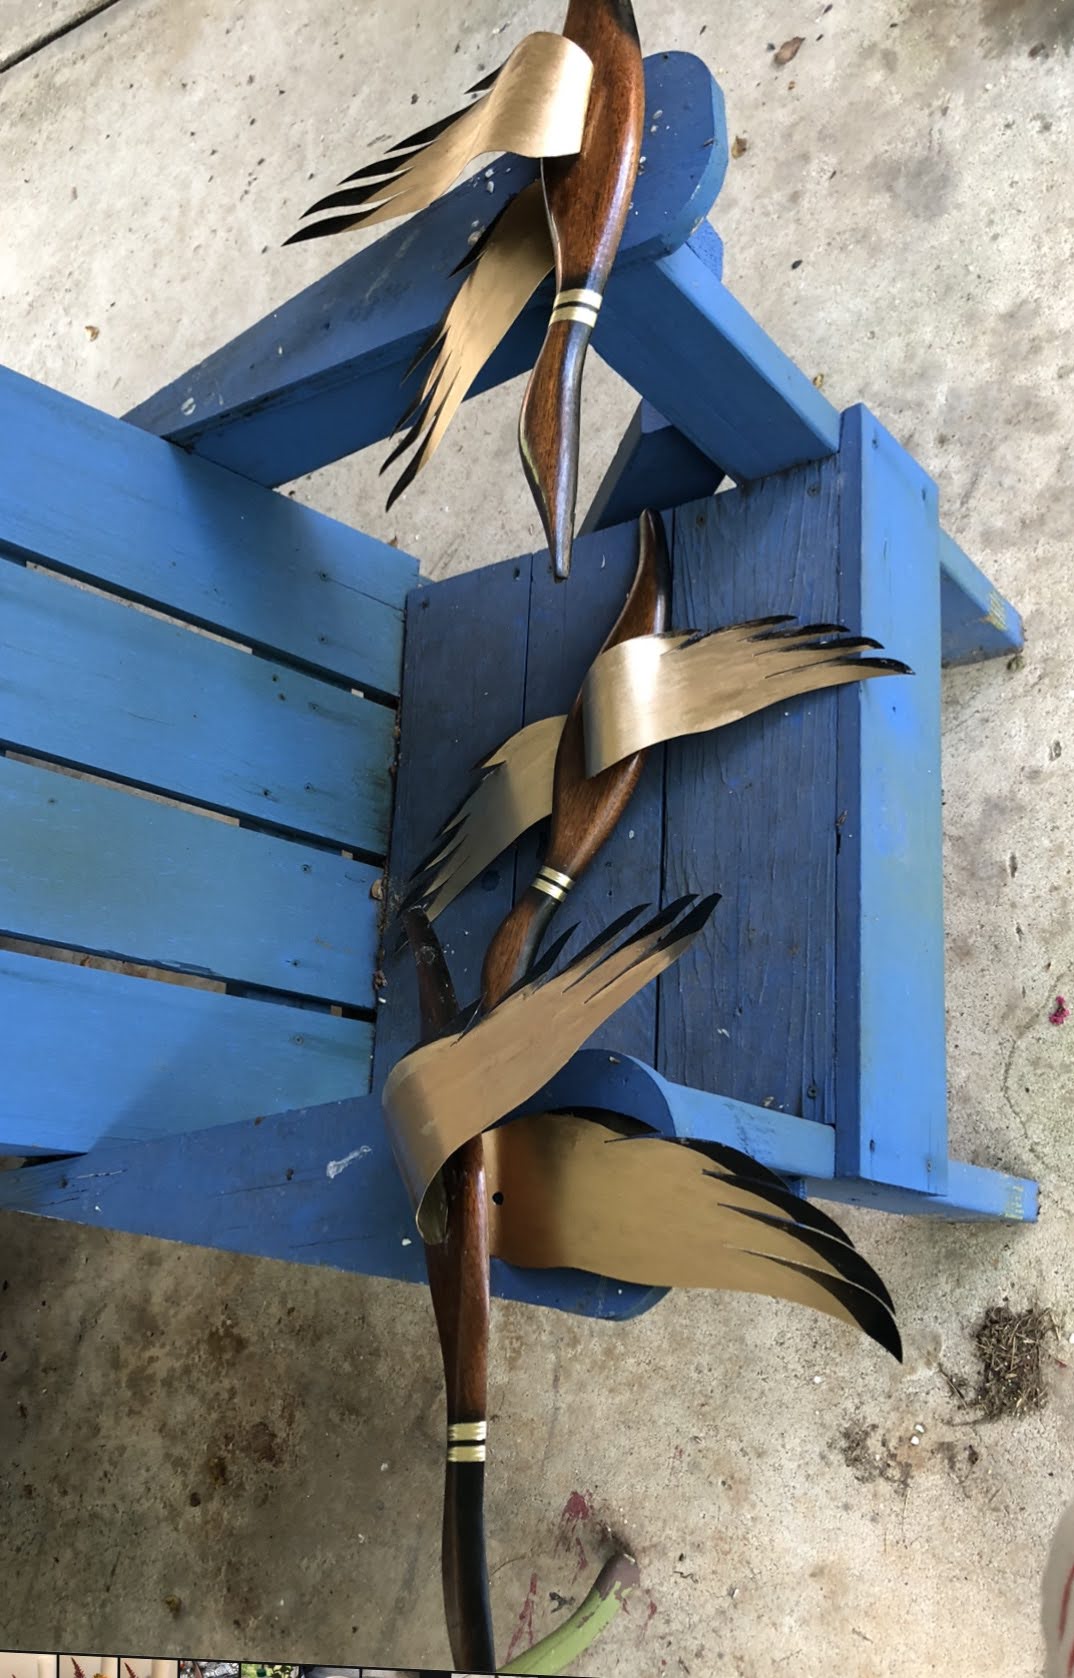


I have decided that I am going to put them up as they are for right now.  I just don't have the willpower to sand the paint off and try Brasso on them.  I'm sure they will start irritating me within a month and I will sand them and try to polish them again.  And the good thing about that is, that it should be cooler by then and I can work on them outdoors without dying from heat stroke.  So, if that happens, I will post those pictures for you.
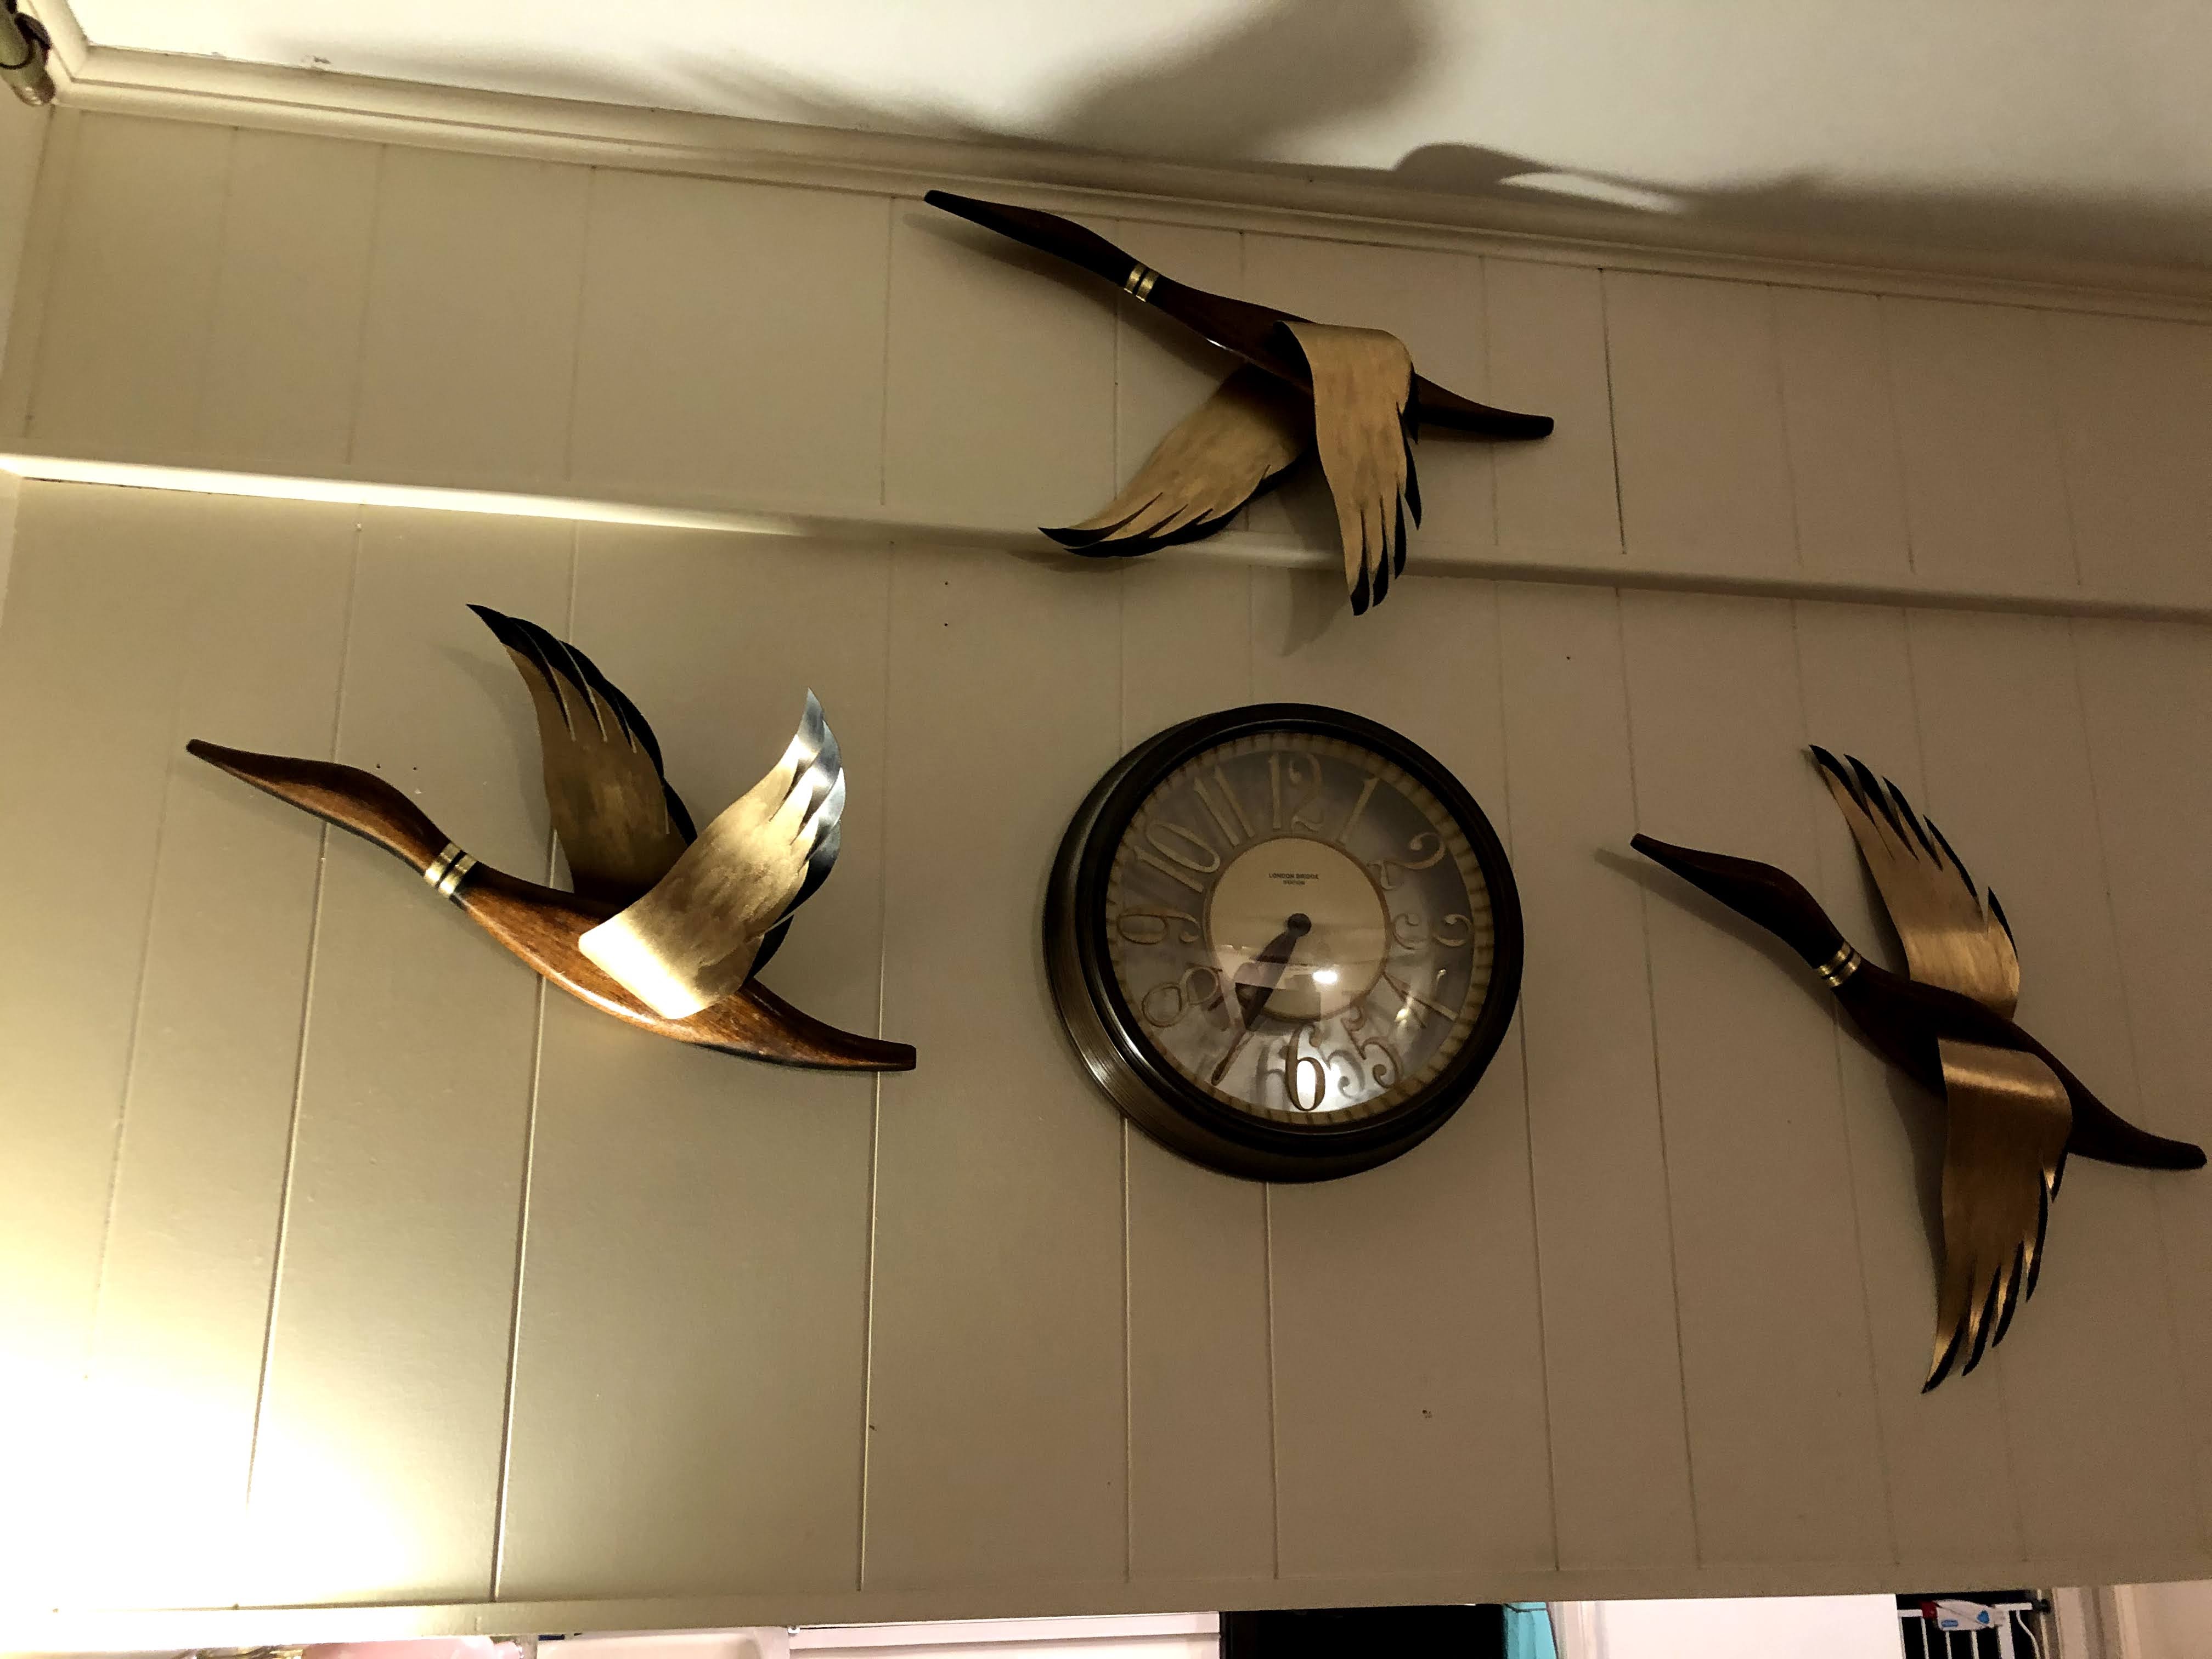


But, since I am doing a post about mid-century ducks, I thought why not do a classic recipe that involves chicken?
So the promised recipe from last post is going to Chicken a'la King - For Two.

Chicken a'la King - for Two



Most Chicken a'la King recipes call for heavy cream and are for four or more people.  I almost never have heavy whipping cream in my house- unless its a holiday, and I am only feeding two people, so I decided I needed to modify this classic recipe a little.  Also, I thought it was a little bland, so I changed that a little too.

Chicken a'la King has been around since the 1880s, but it really grew in popularity during the mid-century.  Although no one is sure who invented the dish and many claim the honor.  Some of the old recipes have sherry and truffles in them.  A far cry from the dish seen in 1950s cookbooks, but a variation I definitely have to try - but not in this recipe.  It can be served on pasta, rice, bread or biscuits and also usually has peas in it.  I hate peas.  My husband isn't too fond of them either.  So we nix the peas in this recipe, but if you love peas, feel free to add them back in.

Ingredients
2 tbsp. onion, diced or minced (can substitute shallots)
1 tbsp. celery, diced or minced
1 clove garlic, minced
1/4 cup butter cubed
2 tbsp. seasoned flour (recipe for flour below)
Sprinkle of Creole seasoning to taste
1/2 cup chicken broth
1/2 cup sour cream mixture (instructions below)
1 cup cubed or shredded cooked chicken

Instructions
1.  If you don't already keep this in your pantry, as I do, prepare your seasoned flour.  This can be a mixture of any herbs and spices that you like.  I usually make more than I need for a recipe and then store it for things like breading pork chops, etc. but you be you.  Here is what I make:
         1 cup flour (sometimes 2, it depends on my mood)
         1 pckg. (envelope) Lipton's Garlic and Herb Mix
         1/2 tsp. black garlic powder
         1 tsp. dill
         1/2 tsp. Trader Joe's 21 Seasoning Salute
         1 tsp.  onion powder (optional - depends on my mood)
         1/4 tsp.  Creole seasoning
Put that all in a bowl and mix with a fork until it is all combined.  Will store for several months in an airtight container in the cabinet.
Set your flour mixture aside for later.
2.  In a medium to large skillet melt the butter over medium high heat.  When butter is melted, lower the heat to medium and add the onions and celery.  Saute until crisp tender, usually about 5 minutes.
3.  While the onion and celery is cooking, prepare your sour cream mixture.  In a measuring cup, measure out slightly less than 1/2 cup of sour cream.  Add about 2 tbsp. milk or water.  What you want to end up with is 1/2 cup of sour cream that is the consistency of heavy cream.  You may have to add more milk/water but do it slowly in small increments and remember that you only want to use 1/2 cup of the mixture in the recipe.  Set aside.
4. Stir flour mixture and garlic into the pan and stir constantly for about 5 minutes.  (You want to almost make a light roux, basically you are trying to cook out the raw flour taste.)
5.  Gradually stir in the chicken broth and sour cream mixture, using a whisk and making certain everything is smooth before adding more liquid.  Once everything is combine raise the heat to high and add the chicken.
6.  Bring mixture to a boil and then reduce to medium heat and simmer until sauce has thickened to desired consistency and chicken is heated through.  (This is usually between 10 and 15 minutes but could take more or less time.  Go by how thick you want your sauce.)
I sometimes add about a half tsp. dill and about 1/4 tsp. freshly ground black pepper at this stage, but sometimes I don't.  It depends on my mood.
I have never had to add flour to make it thicker, but if you need to, make sure that you use it sparingly to get the consistency you want.  A little will go along way.
7.  Once sauce is the desired consistency, remove from heat and serve.
Serve over whatever you would like.  My husband likes toast or biscuits.  I like pasta or egg noodles.  Its your choice really.

Well, there you have another easy Frugal Femme recipe.  Like I wrote in the previous post, I am going to try to post more regularly so, hopefully, you will be seeing Frugal Femme posts at least every other week.
Bye for now!


Monday, April 16, 2018

Balsamic Chicken and Bacon Pizza

Hello Everyone!
It Sunday night and the final night before my husband and I (again) start our regime to eat healthier.  We let things go a little - what with all that is going on in our lives - and we have been comfort eating.  So I look like I might be two/three months pregnant and my husband is not happy at his current weight.  But, before we start to eat spaghetti squash and kale - not in the same dishes mind you, but they are on the menu for this week, I thought that I would make a pizza.


I have actually made this pizza a couple of times and it has always come out delicious, so I thought that I would share it with you.

Balsamic Chicken and Bacon Pizza


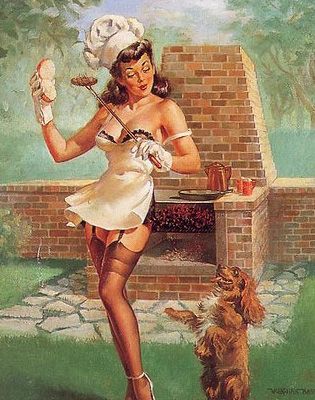
I actually had a picture of my pizza, but I accidentally deleted it.  So you get the little pizza Valentine chef and his French bulldog.

Ingredients
1 Pillsbury Original Pizza Crust
1/2 jar Progresso Pizza Sauce
1 chicken breast, thinly sliced and cut into 1 inch pieces (If this is the one of the large, mutant, chicken breasts, then you can just use half the breast)
3 slices bacon, finely chopped
Scallions, finely chopped
Red Onions, finely chopped
1/2 container Ricotta Cheese
1/2 cup to 1 cup assorted shredded cheeses (I use what I have in the fridge, which is usually from Trader Joe's and is an assortment of truffle cheese, creamy Toscano cheese soaked in Syrah, and sharp cheddar cheese.)
1/4 cup fresh parmesan aregiano, grated
1- 2 tsp. balsamic vinegar
Herb de Provence to taste
Creole Season, to taste
Fresh oregano
Fresh basil

Instructions
1.  Precook the crust according to the package directions. 
2.  While the oven is preheating and the pizza crust is cooking prepare your toppings.
3.  In a small, non-stick pan, cook the diced bacon until it is cooked all the way through but not crunchy.
4.  While the bacon is cooking, prepare the chicken. Thinly slice the chicken into one inch pieces, sprinkle with Creole seasoning and Herb de Provence and toss with your fingers to cover all of the chicken with the herbs and seasoning.
5.  Using tongs, place the cooked bacon in a small bowl and set aside.
6.  Drain most of the bacon grease but leave about 1 tsp. of the bacon grease in the bottom of the pan.
Place the sliced chicken in the pan with the bacon grease and toss constantly using tongs about 30 seconds.  Add the balsamic vinegar and  toss for about another 30-45 seconds. Drain the chicken and any remaining vinegar into a small bowl and set aside.  (Don't worry that the chicken may not be fully cooked, the chicken will finish cooking when you bake the pizza, but this is why you slice the chicken so finely.)
7.  Shred the various cheeses and put in a small bowl, mixing the various cheeses together.  Add the parmesan cheese and toss to mix.
8.  Assemble the pizza.
       - Spread the pizza sauce on the pizza crust, leave about one inch of crust on all sides.
       - Sprinkle the chicken breast pieces, trying to space as evenly as possible. (Reserve the chicken
         juice and the balsamic vinegar.)
       - Sprinkle the bacon bits, trying to space as evenly as possible.
       - Sprinkle the red onion/scallion, trying to space as evenly as possible.
       - Using a spoon, dollop the Ricotta cheese on the pizza, trying to space the cheese as evenly as
         possible
       - Sprinkle the cheese over the pizza, leave about one inch of crust on all sides.
       - Pour the chicken juice/balsamic vinegar over the pizza
9.  Place in the oven and cook according to the crust directions.
10.  Once the pizza is done cooking, remove from the oven.
11.  While the pizza is cooling, sprinkle with the fresh oregano, basil and Herb de Provence.
12.  Let the pizza cool slightly.  Slice and eat. Yum!


Thursday, October 12, 2017

Autumnal Pizza - A Fall Pizza Recipe

Hello Everyone!
As I sit here typing I am asking myself, do I acknowledge that I have not done a post in a whole month, or do I just ignore it and go on with the post as if nothing has happened?  Obviously, by the subject of the first sentence I have decided to acknowledge it.  You see friends, every once in a while, I suffer from mild depression.

No, I am not disrespecting depression by using this picture, but it seemed like the perfect depression picture to use for the month of Halloween.  Even beautiful, sad clowns are creepy.

Fortunately, it doesn't happen very often and, even more fortunately, it doesn't last for long.  But, last month, I had a bout and didn't/couldn't do anything.  And I do mean anything - cleaning, cooking, crafts, my blog, they all went to the wayside as I could only sit in my house and read or watch television.  It was awful.  A part of me wanted to do other things, but I just couldn't. I am happy to say that it has passed, and I am back to living my regular life with a vengeance and trying to catch up on all of the stuff I fell behind on.

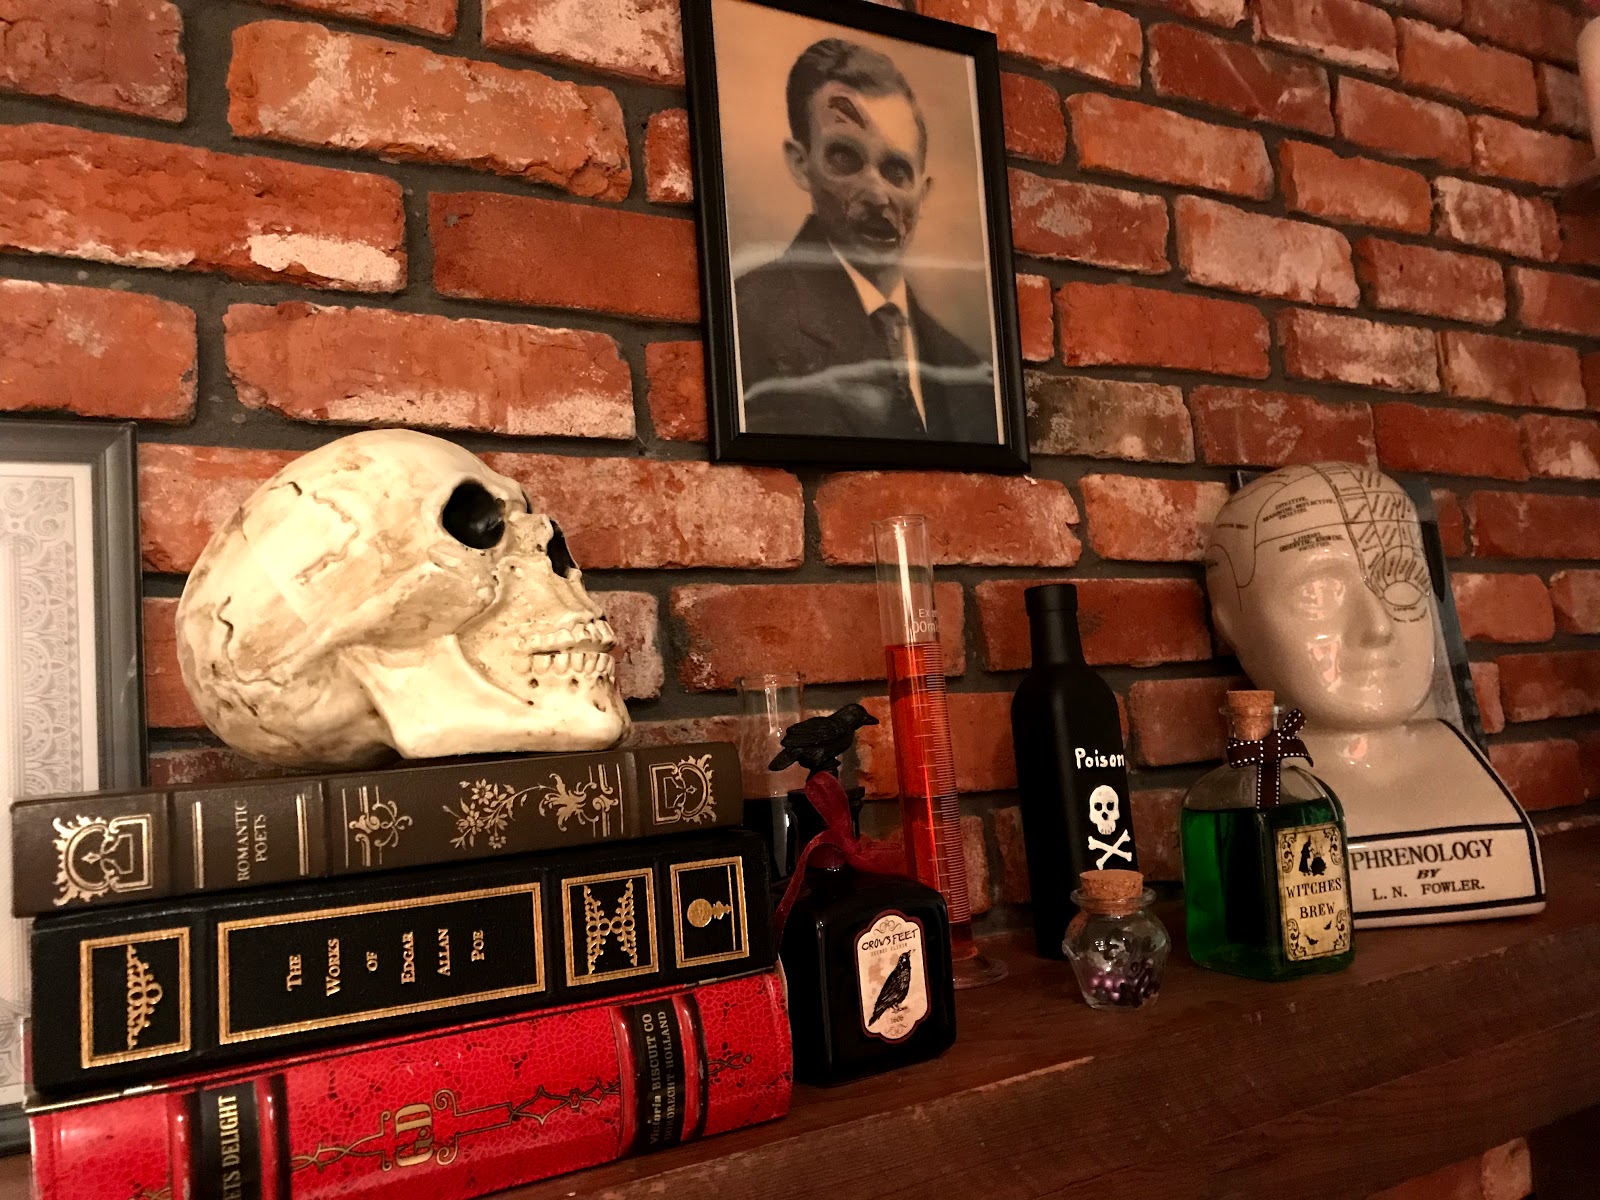
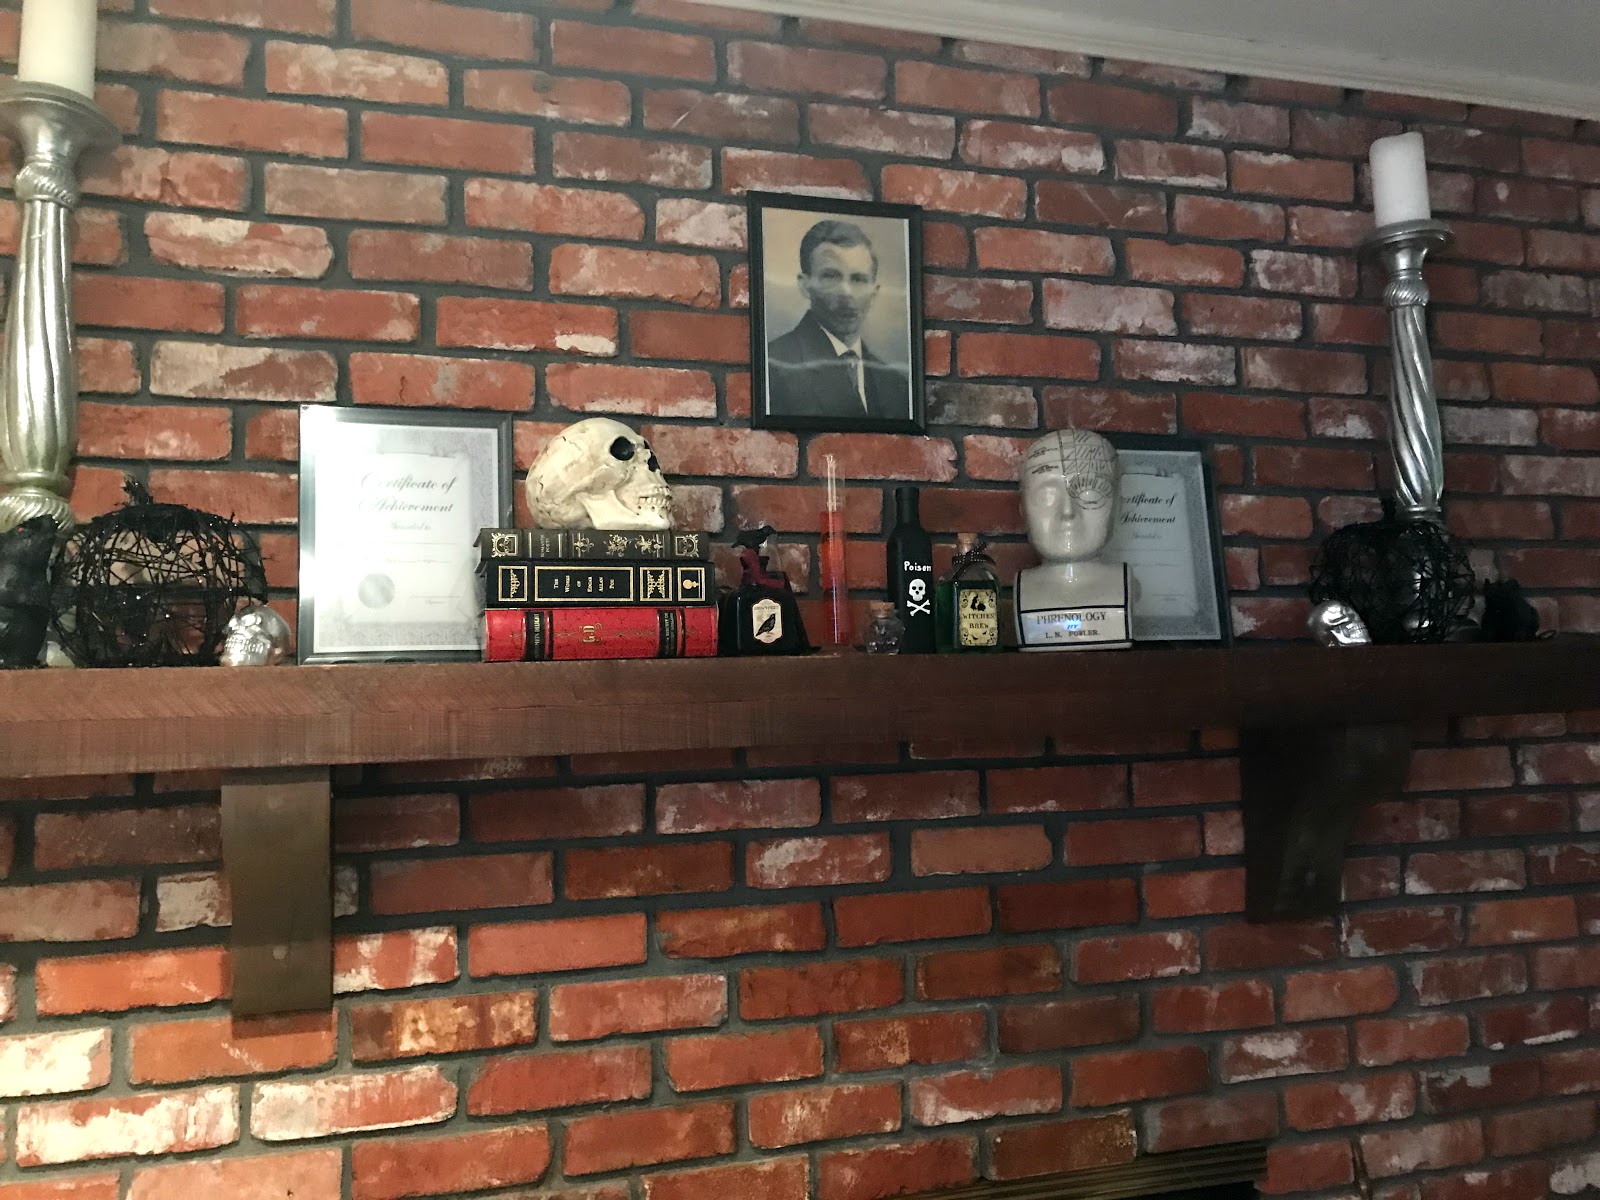
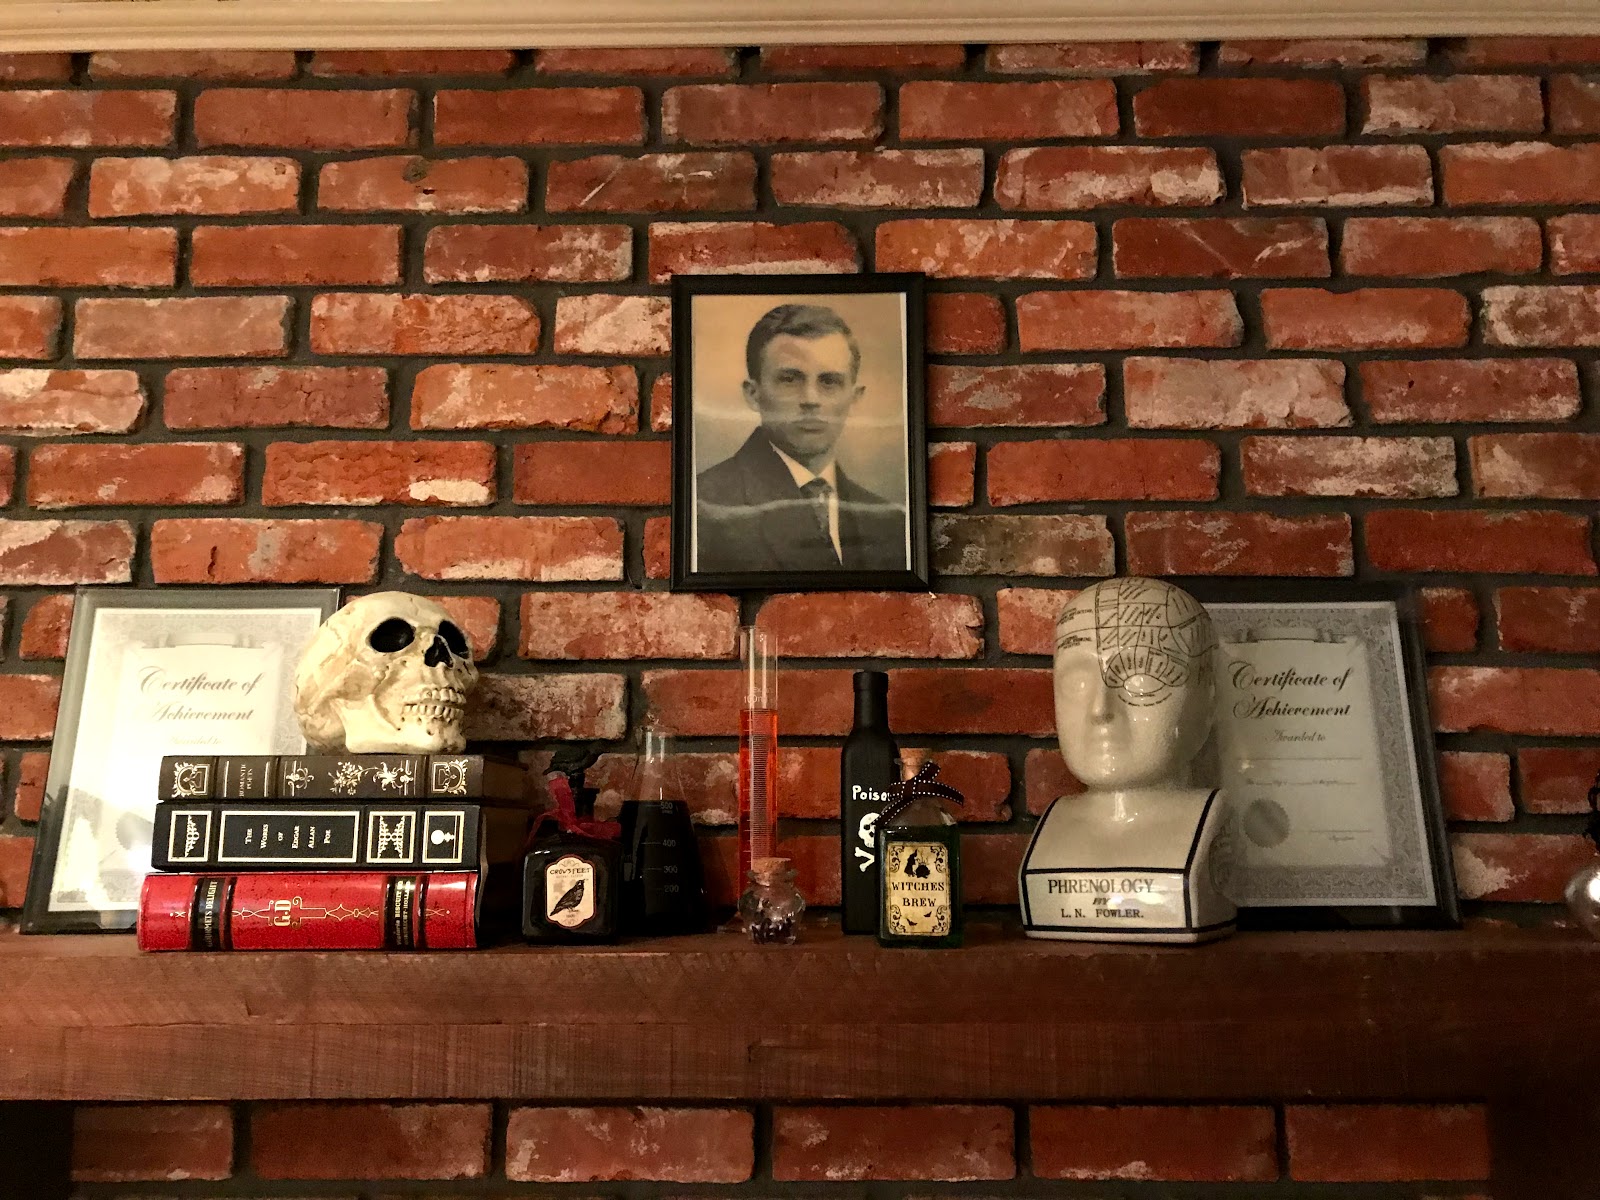
The first step back to claiming my life and my space was to decorate my living room and mantle.  I still had the summer decorations up.  Which, I understand that Louisiana is hot, but that is still no excuse to not try to bring in the season with fall decorations.  This year I decided to go with a Dr. Jekyll type theme for my Halloween decorations.  It was all inspired by my husband's Phrenology bust.


He has it in his Murder Shop for most of the year, but I decided that it would be awesome to use it as the inspiration for Halloween decor this season.  Yes, you read that correctly, we call my husband's shop the Murder Shop.  This is not because my husband is a serial killer who performs mutilations in his shop, it is because, when we bought our house, the gentleman who owned the house before us was a master electrician.  So there was a large amount of hooks and wires hanging all around the workshop. There were hooks on the ceiling and hooks on the walls it was really kind of disturbing.  When a friend of ours came over to see the new house and shop, she said that the shop was kind of creepy and looked like a murder shop.  And the name stuck.

Here is a another angle of the close up of the mantle.  As you can see, I stole books from the pub library.  I tried to keep with the theme of a 1800's doctor so one is a book of poetry and the other is collected stories and poems by Edgar Allen Poe.  I don't know if I have told y'll this or not, but I read a collection of Poe cover to cover every year during October.  It is a Halloween tradition for me.


Last year, I did a lot of cobwebs, so this year I decided to go for a different approach.


Most of the decorations I got from  Dollar Tree so they were only a dollar.  The frames are going to hold medical diagrams that I have yet to print.  I promise I will post another picture once I have them done.  I love that most of my Halloween decorations could be bought with just $20 total!


Did you notice the guy in the picture is handsome in this one and kind of looks like a zombie in the other picture?  I got one of those holographic pictures for $1.00 and then put it in a certificate frame, also for $1.00.


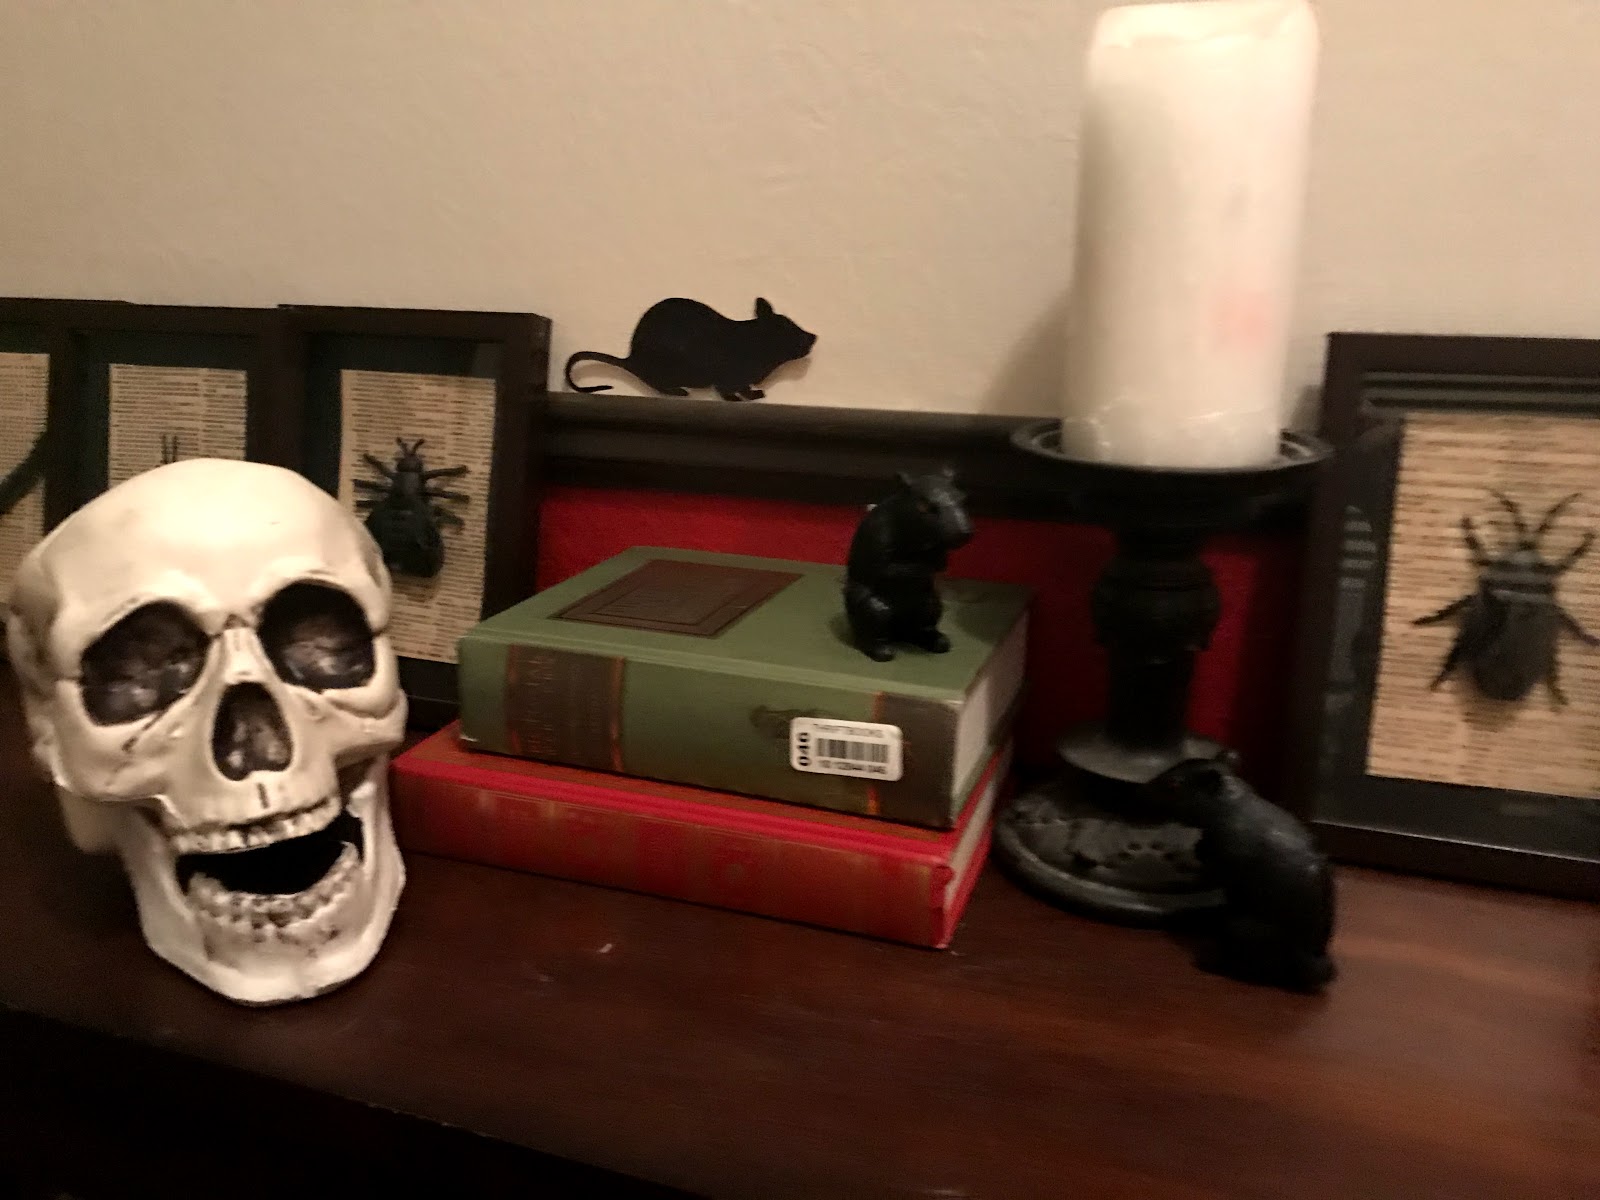
I didn't change up my entryway table up much this year.  I still used my framed insects.  My one difference this year is that I added some books and some mice figurines along with the paper mice that I always put up.  I also moved the Edgar Allen Poe pumpkin with The Raven poem on it to the pub library.  What more perfect Halloween decoration for a library than a pumpkin with poetry on it?   I didn't take a picture of that, but if you want to see what it looks like, or see instructions for making your own then here is the link:

http://frugalfemmecarole.blogspot.com/2016/10/edgar-allen-poe-raven-pumpkin.html

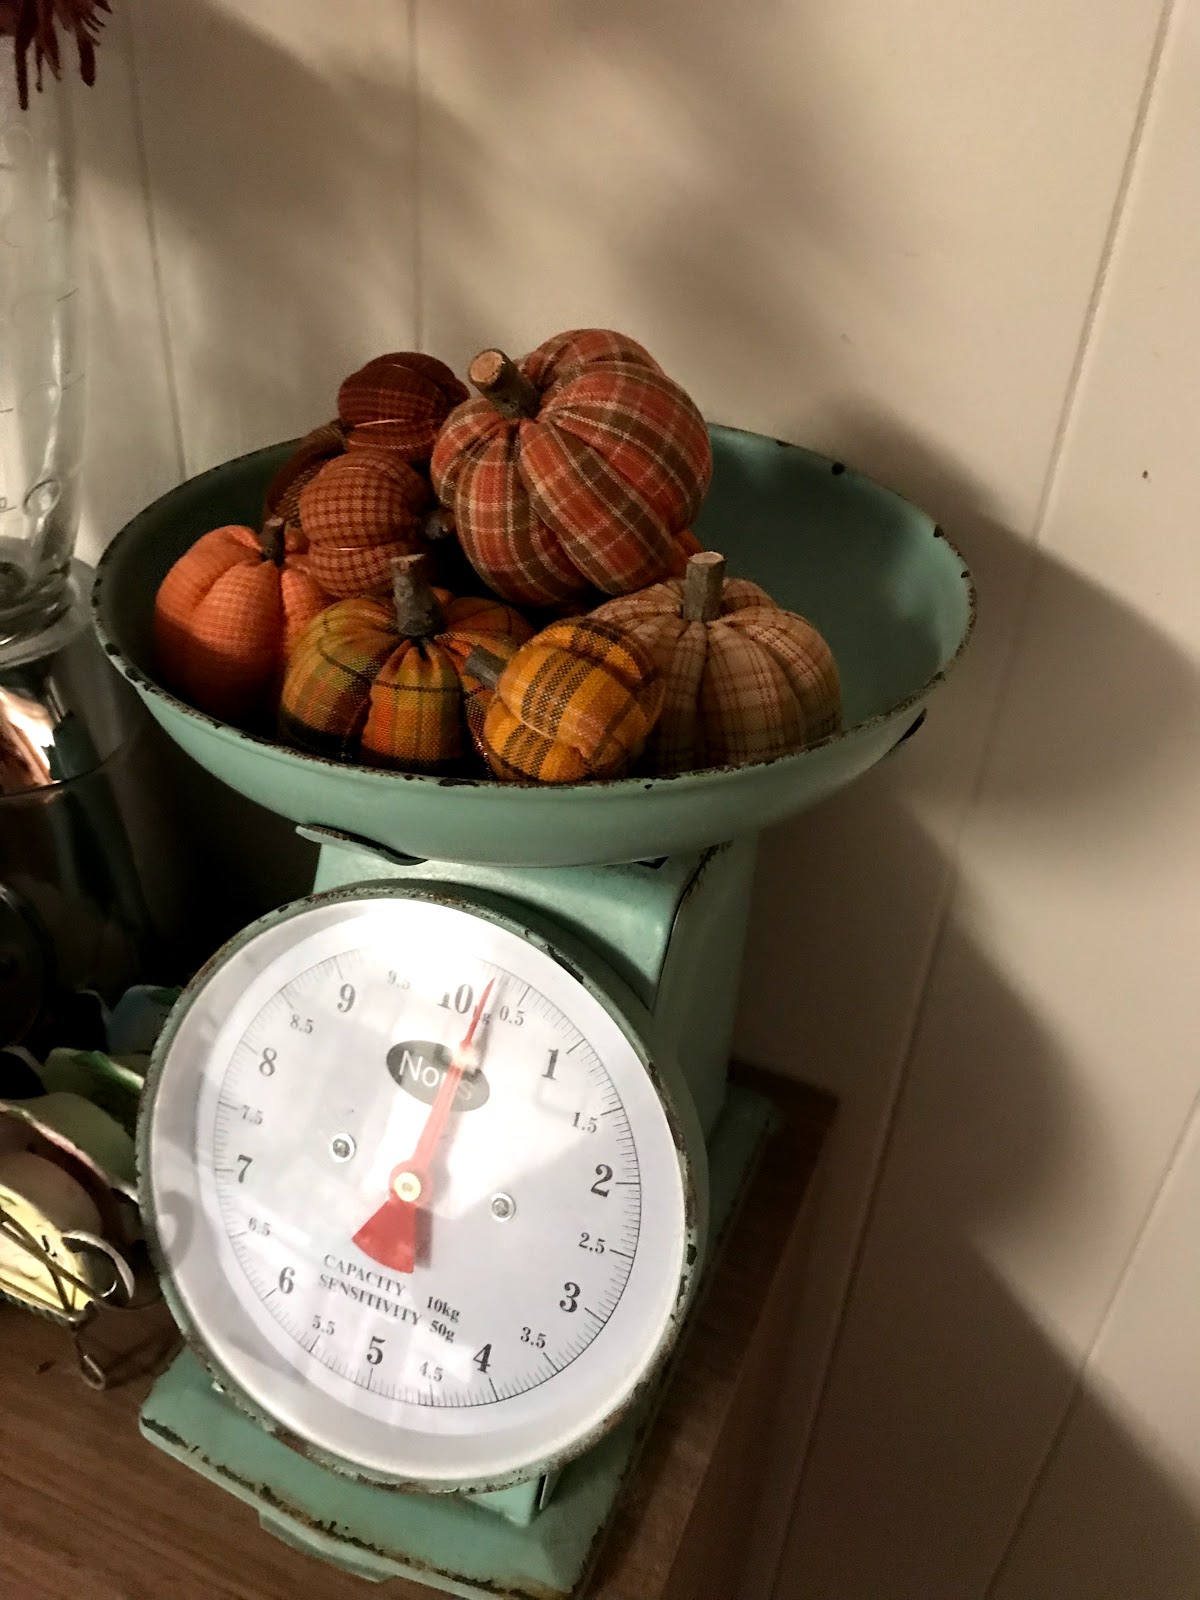
For the kitchen I went for a more country theme.  But not too country because I have an open space floor plan and I wanted the decorations to still blend with one another.

This may be my favorite use of an actual practical kitchen appliance as decoration.

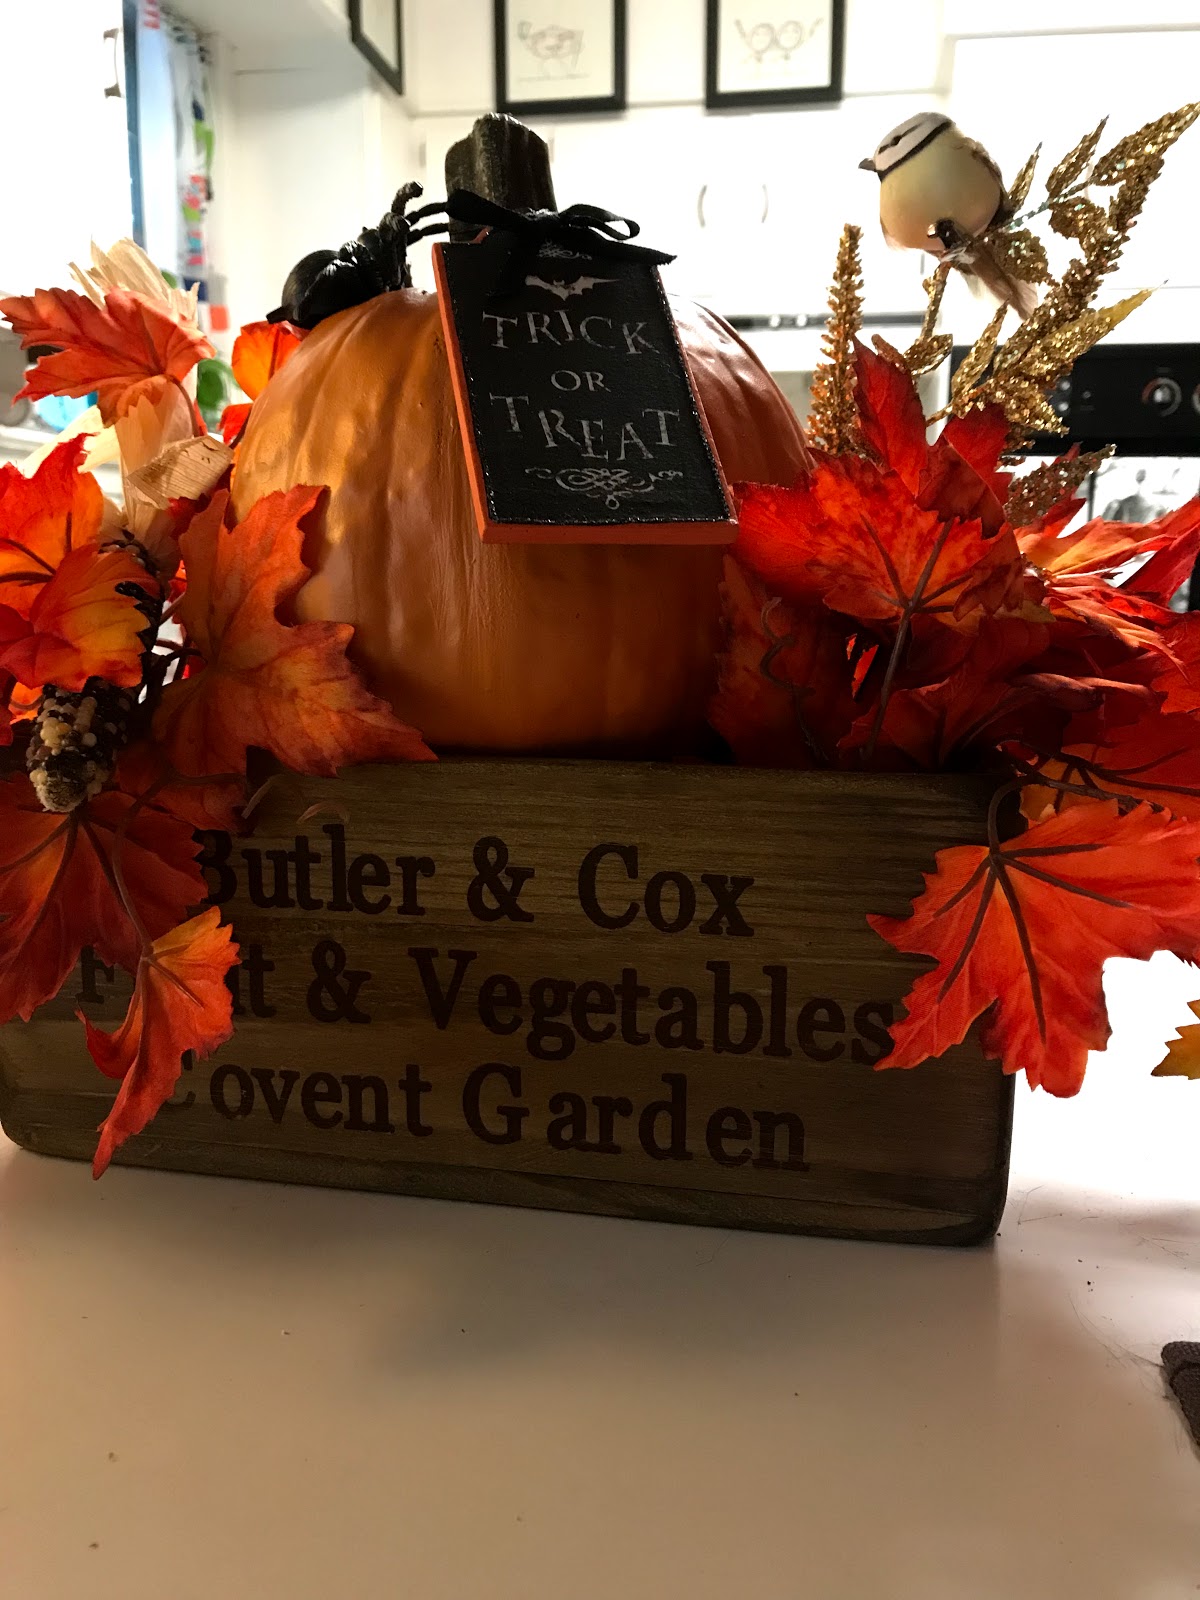
And this is on the counter top.
Yay!!!!  Halloween and fall is now present in my house.

Which meant that it was now time for me to start cooking some Fall foods.  And what says Fall more than pizza?

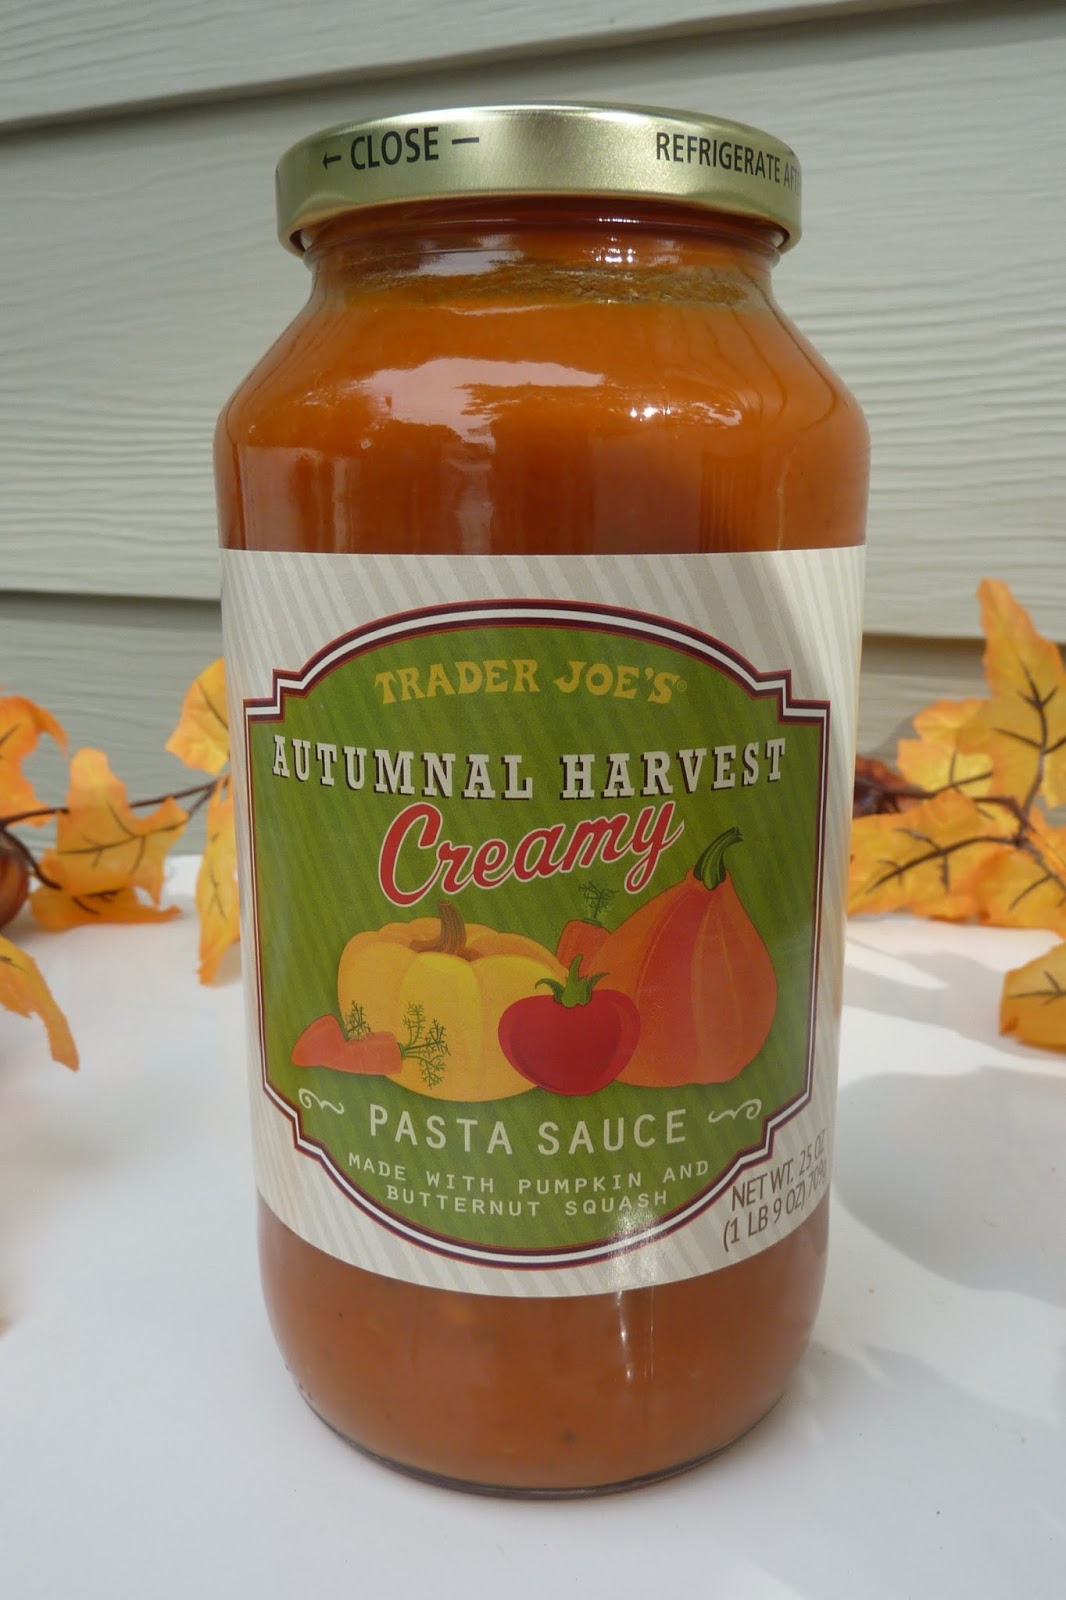
No seriously.  Thanks to Trader Joe's I have come up with a pizza specifically for Fall.  When I was in Trader Joe's getting my inexpensive cheese and wine, I came across a sauce that intrigued me.


This sauce is a combination of tomato, pumpkin and butternut squash.  I thought that it was either going to be very, very good or very, very bad and I had to try it.  So I took it home and made the most plain pasta that I could to see how it would taste and what it would taste good with.  After making the pasta, I still had half a jar left, and it was delicious, so I was inspired to make a pizza using the sauce.

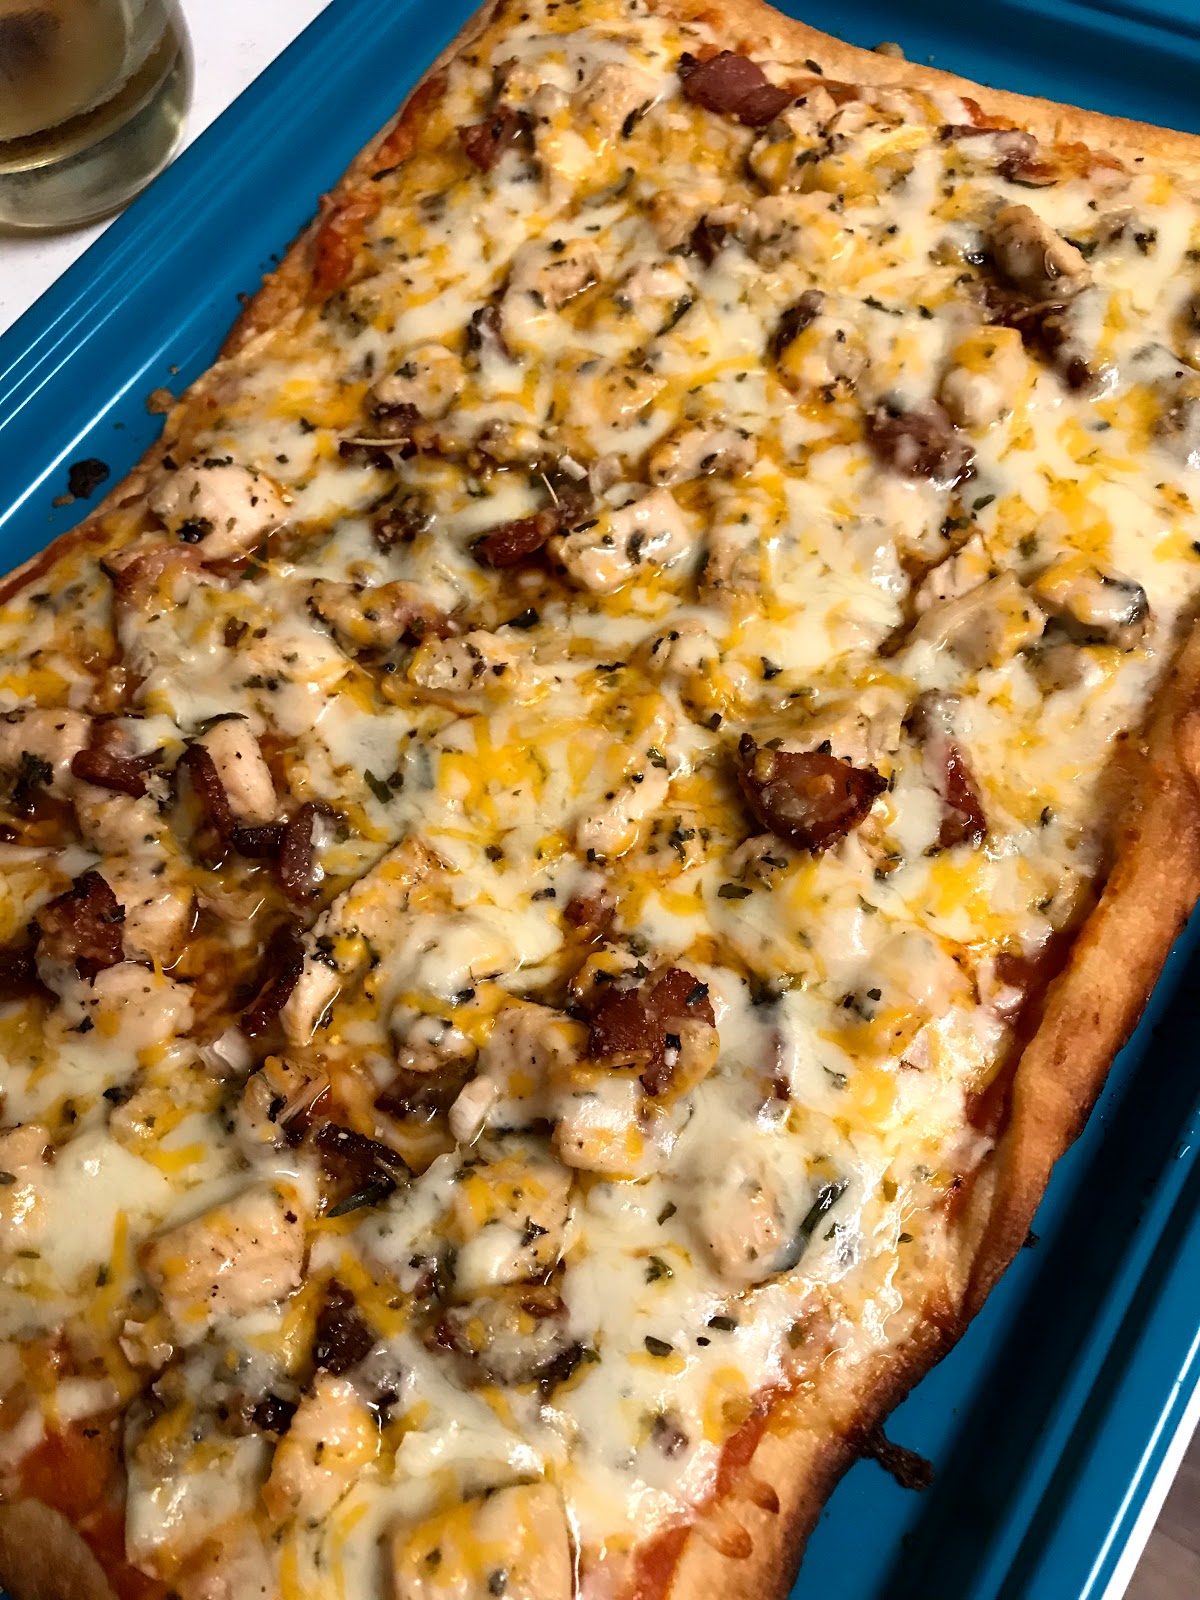
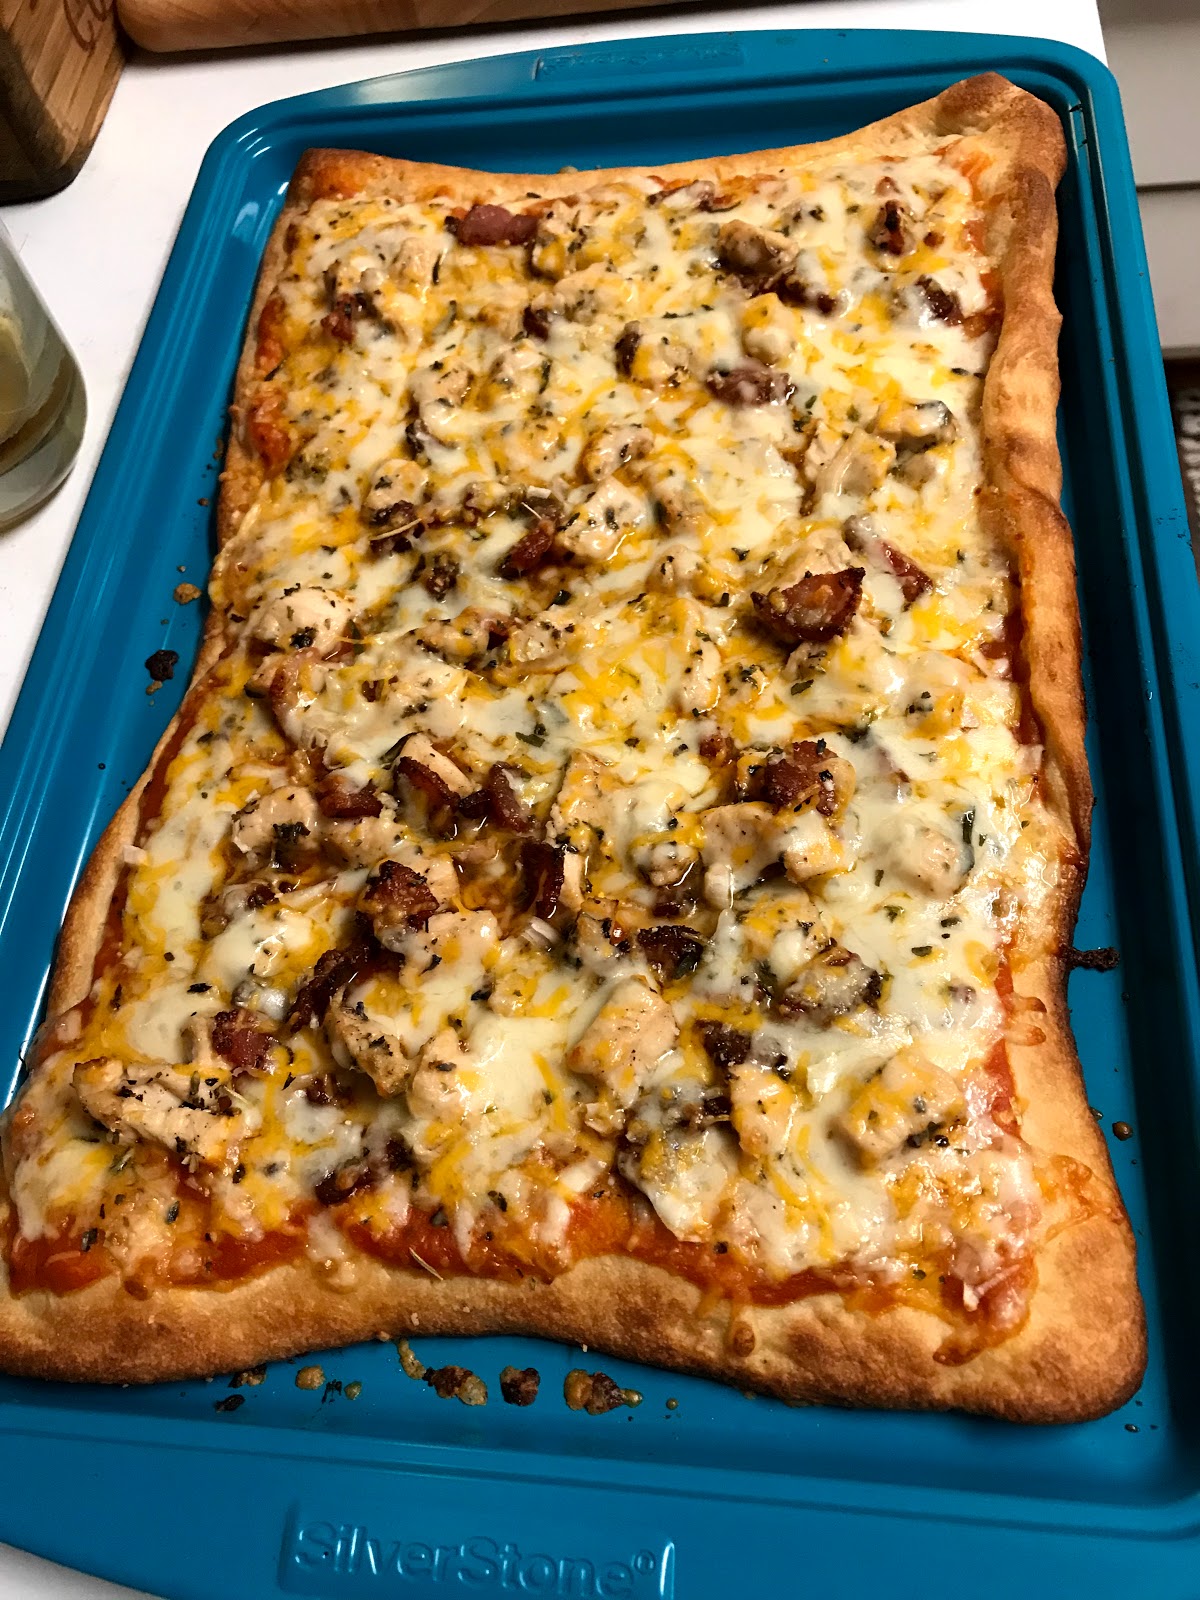
Autumnal Harvest Pizza


Okay, so you are going to notice in this recipe that I don't have set in stone measurements.  This is because I think of pizza a bit like I think of smoothies, you should put as much or as little of an ingredient as you think would be delicious.  But I am giving you some measurement simply as a guideline.

Ingredients
1 pizza crust of your choice (I used the Pillsbury pizza dough you get in the can)
2 - 3 tbsp. Autumnal Harvest Sauce (If you like more sauce, then do it!)
2 slices thick cut bacon, diced
1/2 chicken breast, diced
2 scallions, minced
1 tsp. Herb de Provence, split
1 tsp. White Balsamic Vinegar
salt and pepper to taste
The following ingredients you can use in increments of your choosing, as long as they equal about one cup of cheese.
Shredded Mozerella
Shredded Sharp Cheddar Cheese
Shredded Truffle Cheese
Freshly grated Parmesan Cheese

Instructions
1.  In a small frying pan cook the diced bacon over medium-high heat until the bacon is crisp but not cooked the entire way through.  Using tongs, remove the bacon from the pan and place in a bowl lined with paper towels.
2.  Drain all but about 1/2 tsp. of the bacon grease out of the pan.  Lower the heat to medium and add the diced chicken, the white balsamic vinegar, 1/2 tsp. Herb de Provence, and salt and pepper.  Cook until chicken is cooked through but not dry, about 3 minutes.
3.  Remove the chicken from the pan and place in bowl until you are ready to assemble your pizza.
4.  Shred and grate all of your cheeses onto a large plate.  Once cheese is grated, add 1/2 tsp. of Herb de Provence.  Using your fingers toss the herbs into the cheese until it has been well mixed.
5.  Prepare your pizza crust according to package directions, this will let you know what temperature you should set your oven and how long you should cook your pizza.  The Pillsbury dough that I used has you cook your dough in a preheated 400 degree oven for eight minutes, remove from the oven and then add toppings.
6.  Assemble your pizza in the following order:
    Using the bowl side of a spoon, spread the sauce onto the pizza crust.
    Sprinkle diced chicken evenly over sauce and crust
    Sprinkle bacon evenly over sauce and crust
    Sprinkle minced scallions evenly over sauce and crust
    Sprinkle Cheese mixture evenly over sauce and crust
Make certain that you do not spread your sauce and ingredients to far to the sides.  You want to leave about one inch of naked crust all the way around the pizza dough so that you have a crust "handle" to grab on to once you are eating your pizza.
7.  Bake pizza according to dough directions.  I cooked mine for 8 minutes.
8.  Remove from the oven and enjoy!


This pizza is delicious and is a way to enjoy pumpkin without falling into the pumpkin spice craze.  (Although, I won't lie to you, I love pumpkin spice.)  Keep checking back with the blog and I will give you more craft ideas and recipes for Halloween and the Fall season!