Happy Holidays Everyone!
I hope that everyone has all their holiday gifts and decorations done but, if you are like many people, you may be rushing down that home stretch to Christmas. I have a friend that is so behind that she just went out to get her tree yesterday. Fortunately, she already has her ornaments for the tree, which is a good thing. When I went into the stores yesterday, all of the Christmas stuff was picked clean.
This post is for those of you who don't have a Christmas tree up and are in desperate need of ornaments.
In the last post, I showed y'all how to make elegant cookie dough ornaments and fancy glitter ornaments out of toilet paper rolls. Although those are beautiful, they take more time than you may have if you are just now putting up your tree. In this post, I am going to show you how to make some beautiful Christmas ornaments out of wrapping paper and scrap book paper. Both of these are not expensive and you can still find them in the stores. Best of all, these are quick and easy to make and look fantastic on the tree.
 |
| Tree done by Betther Homes and Gardens, I don't know who took the picture |
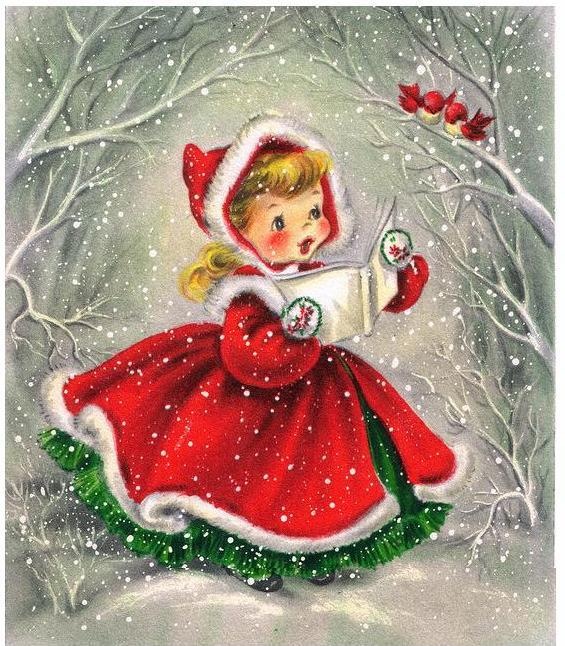
The tree above was my inspiration. When I saw this tree, I thought that the ornaments and the star on top of the tree looked remarkable like the ornaments my dad had taught me how to make when I was small. It also made me think that it would be the most cost effective way to decorate my vintage aluminum tree and be able to do the colors and the vintage look that I so deeply desired.
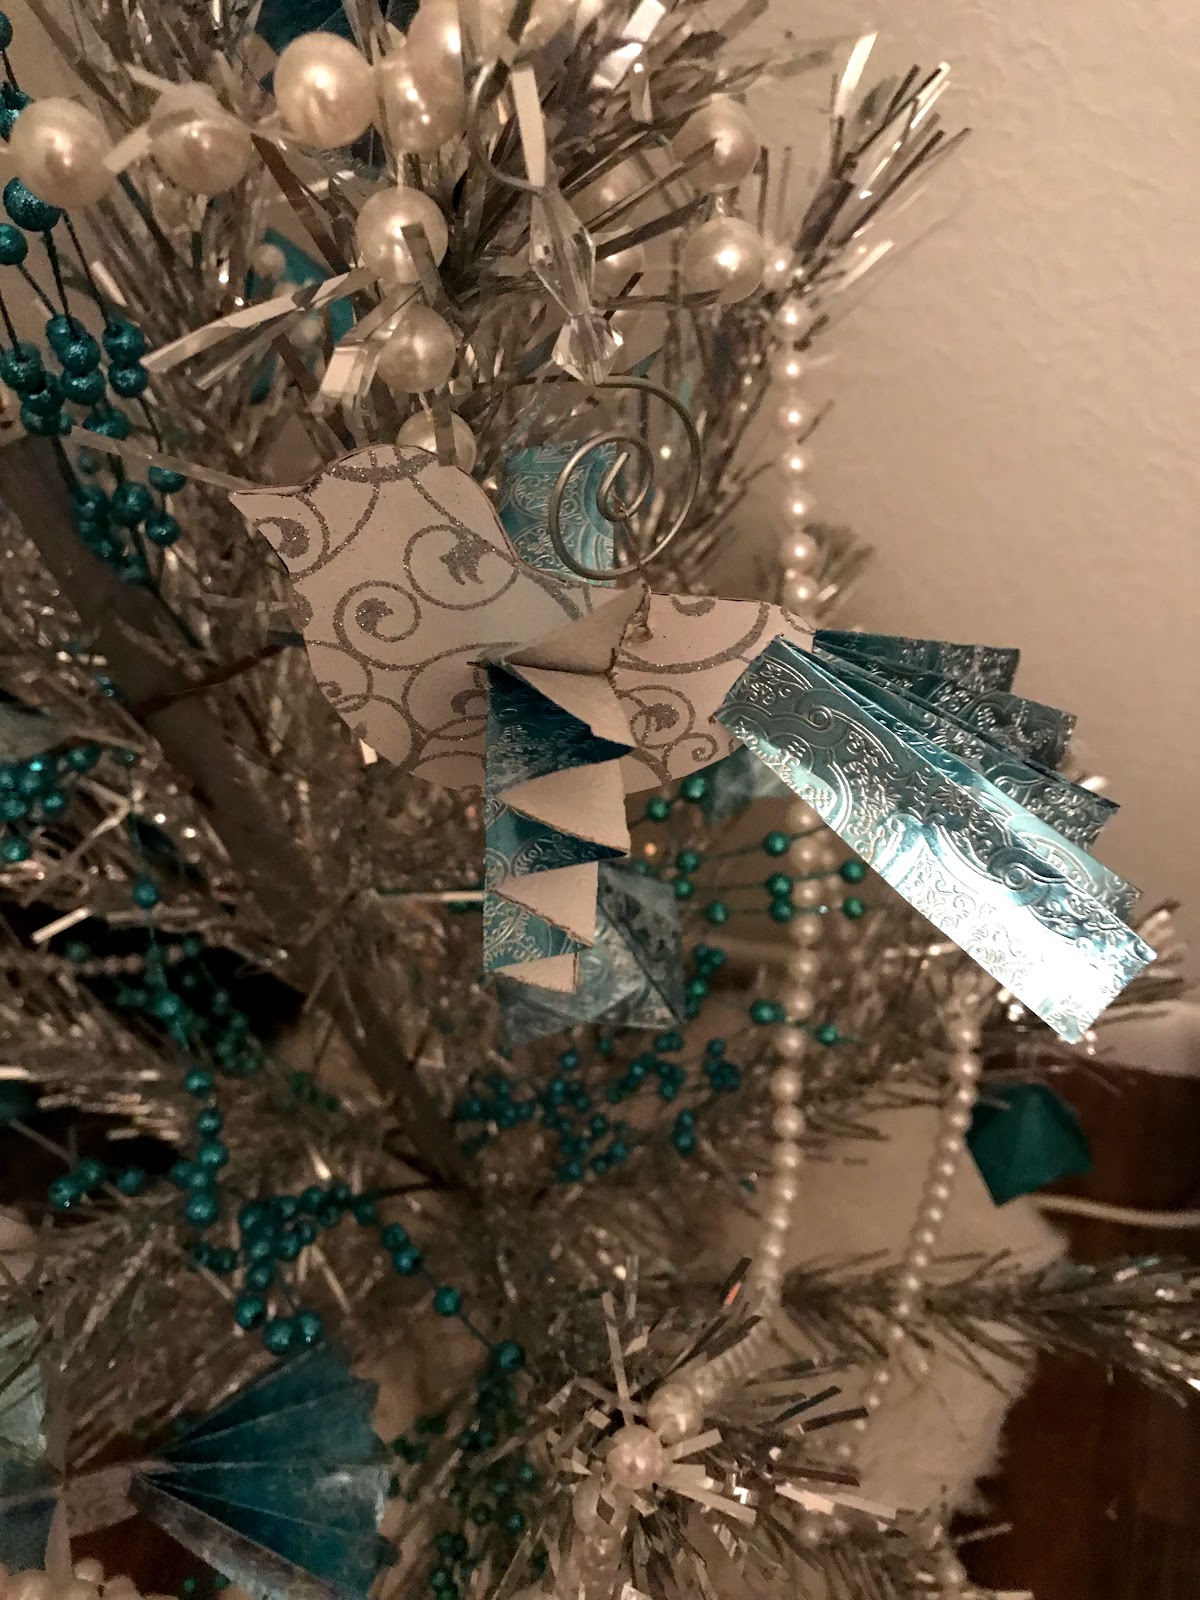
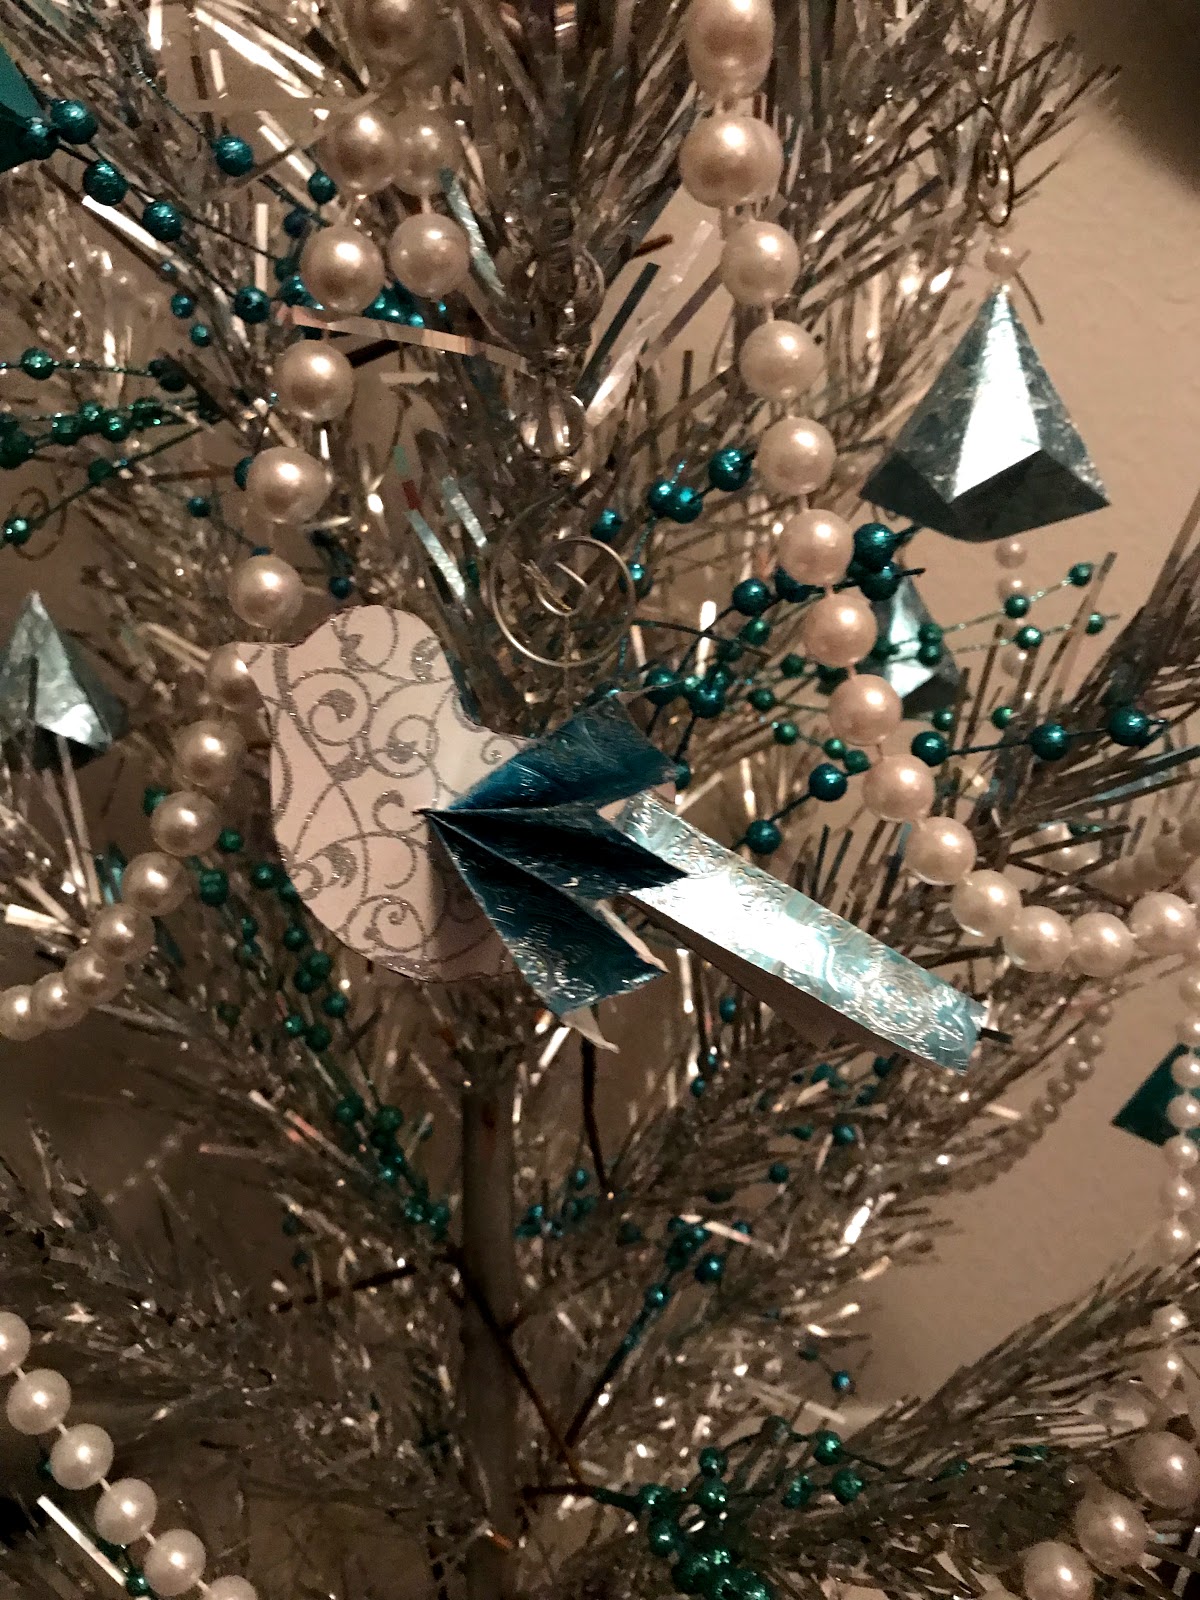
Here is my little aluminum tree with my take on the ornaments from the inspiration tree.
 |
| All of the ornaments on this tree are hand made, even the tree topper!!! |
 |
| Doesn't this ornament look like a less fat version of the ornaments on the inspiration tree?!?!?! |
This is going to be one of the most frugal craft projects that I am ever going to post. The total cost for my ornaments and garland was under $5.00. Now, I have to be honest here- for these ornaments, I used two types of color coordinated wrapping paper, I only used 6 inches down the length of each roll, which I have averaged used about $.25 of my wrapping paper. Since most of my paper is being used to wrap my presents, I don't really consider the ornaments I made to be a part of the expense of my wrapping paper. But if I did, that would make the cost of all of my ornaments under $10 for the whole tree.
Price breakdown:
Wrapping paper $.25 or $6.00 (If you have to buy rolls)
Scrapbook Paper $2.00
Teal Floral Garland "Berries" $1.30
Pearl Garland $0.00
I also used bamboo skewers and hot glue. Since I had them on hand, I am not including them in the pricing.
Teal/Turquoise Floral Garland "Berries
I found these beautiful, turquoise, glitter "berries" at Michael's in the floral wreath knick knacs aisle and they were 75% off! Of course, that was back in November, so I don't think that you can find them now, but you might get lucky.
I just set them on the branches toward the base of the tree for some added color. I sort of thought of them as taking the place of lights since everything I have ready says not to put lights on an aluminum tree.
Mardi Gras Bead Garland
If you live in Louisiana, this tree decoration will cost you nothing at all and may give you something to do with all of your extra Mardi Gras beads. I love the Mardi Gras beads that look like pearl necklaces as I have found that I can use them in many different craft projects. To used them for garland, I took a necklace and made one cut with a pair of scissors so that it made a string of pearls. I then looped it on the tree. For my six foot tree it took me three strands to completely wrap my tree.
Wrapping Paper 3-D Ornaments
As I wrote earlier, my dad taught me how to make these ornaments and I have used this technique to decorate many a tree. In fact, the first Christmas tree that I ever had up in my own apartment only had these paper ornaments. Made of of gold metallic paper, bronze metallic paper, and red metallic paper I carefully stored them every Christmas and they actually survived for almost a decade. These ornaments are super easy to make, once you get the technique down.
Items Needed
Wrapping Paper or thick paper that keeps a fold
Ruler
Pencil
Hot glue
Scissors (To cut the wrapping paper)
String/ Embroidery Thread
Instructions
1. The first step is to figure out how big you want your ornament to be. For my six foot tree, I decided that six inches was the perfect size for my ornaments. I figured this out by very scientifically making sample ornaments of different sizes out of sales flyers and seeing which size I liked better for the tree.
2. Unroll the wrapping paper and mark your measurements down the length of the wrapping paper. For my ornaments that was six inches. You need a perfectly square piece of paper so you will measure six inches long by six inches wide. Using a straight edge you will make squares all down the length of your wrapping paper.
3. Cut the squares out of the wrapping paper so that you have several individual squares.
4. Now we are ready to fold. Below is a diagram of all of the folds that are made to make this ornament.
Don't be afraid!!! I will walk you through all of these, step by step.
5. With the white side of the paper facing up, fold the paper in half horizontally, forming a half of a square. (Just an FYI all of these folds are done on the underside/white side of the paper.)
 |
| I did my folding on a Vogue coffee table book. Isn't that picture stunning? |
Unfold the paper, rotate the paper and fold the paper in half again, forming another half square.
6. Still with the white side up, fold your paper in half diagonally so that you have matched the paper corner to corner forming a triangle.
Unfold the paper, flip it around and repeat the step on the other diagonal creating another triangle.
7. Following the folded line you have made down the center, fold the paper in at the corner to the fold, as you would when making a paper air plane.
Repeat the step on the opposite side, again folding long the center as if you are making a paper airplane. If this sounds confusing, just look at the pictures.
8. Repeat Step 7 on all four corners of the square.
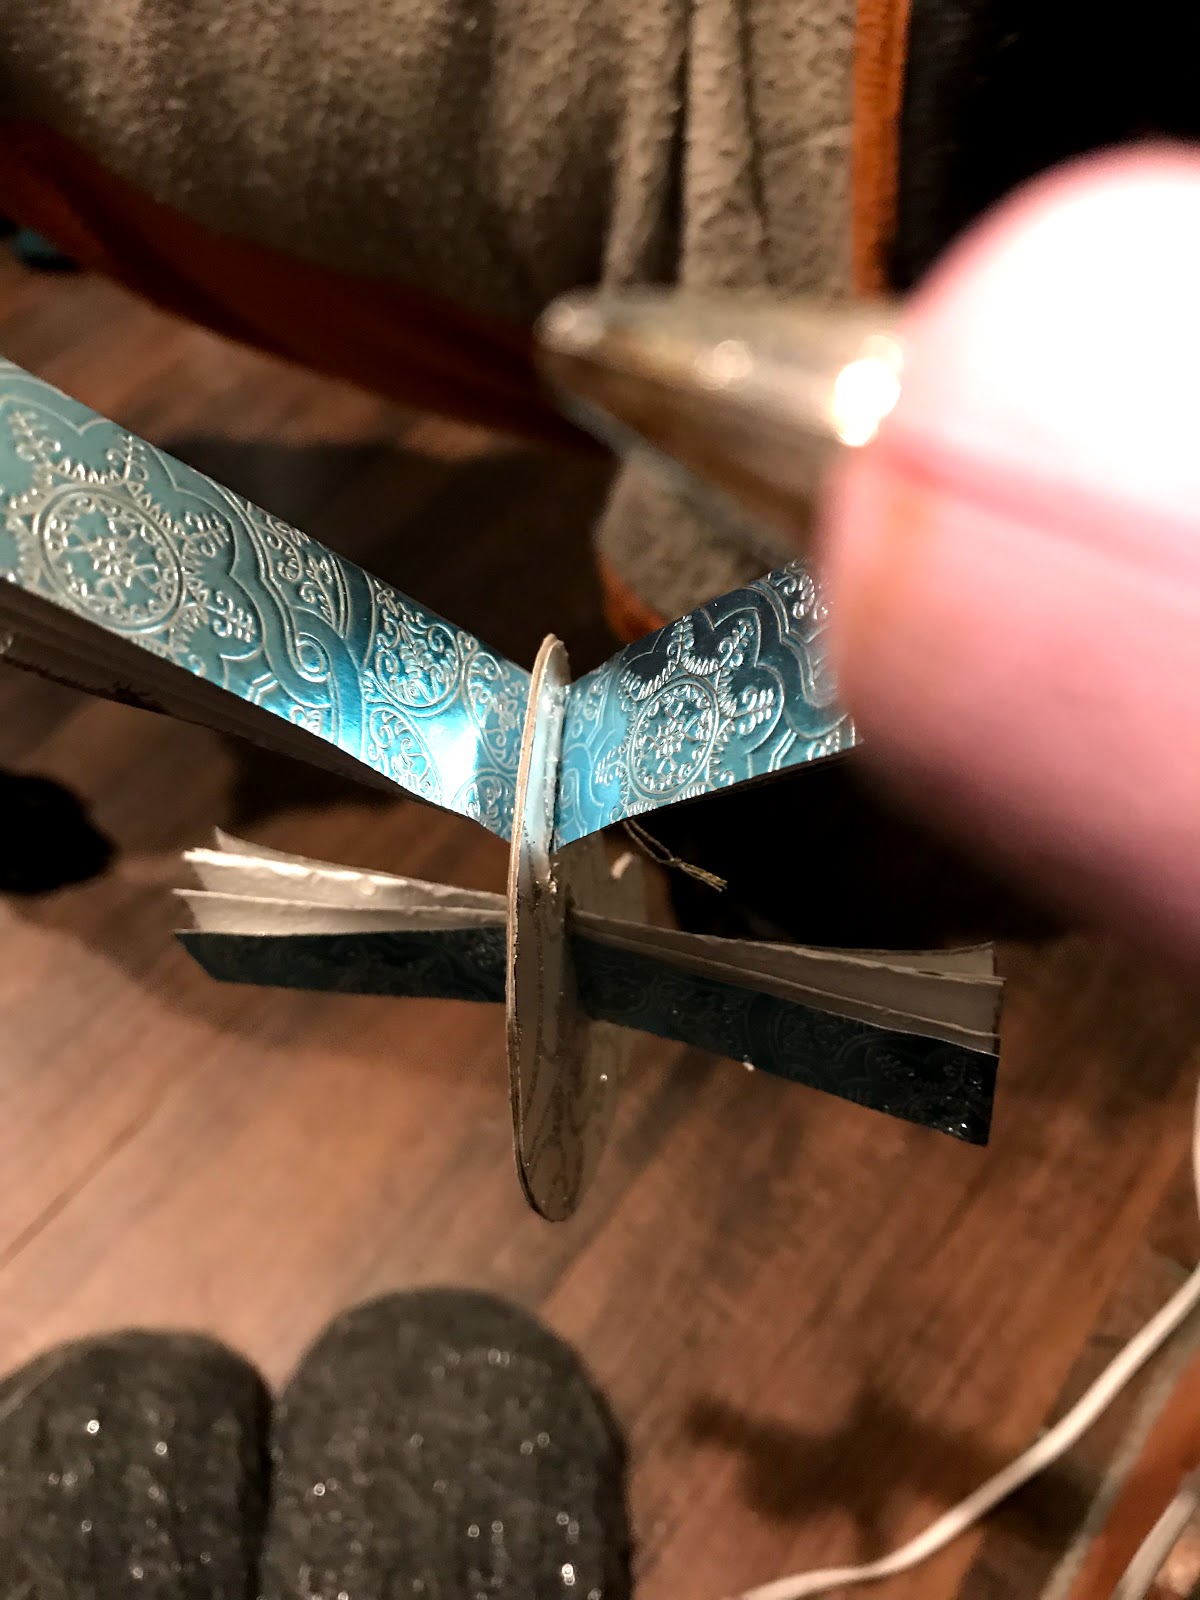
9. Now you have a thoroughly folded square. This next step is the hardest step of the process depending on the paper you are using. Using your finger, gently push down on the center of the square and fold the paper so that two corners lie against one another. With some paper, this will be enough to start making the shape that we are working for, for others, we will have to help it along. Some paper you will have to try to gently push together the corners.
For some reason, I didn't take a picture of this when I was making ornaments from my pretty paper, so I had to get a sales flyer to show you this step. Sales flyers are a great way to practice your ornaments so that you are an expert when you are ready to start folding your fancy wrapping paper.
10. Glue the edges of the two pieces together with hot glue gun.
11. Follow Steps 9 and 10 for the next corner.
This will give you an ornament that looks like the one below.
12. Cut a piece of thread and loop it so that it forms a circle. Tie the thread together in a knot. Glue the knotted part of the thread to the inside of the glued corners. This will form the loop for you to hang your ornament.
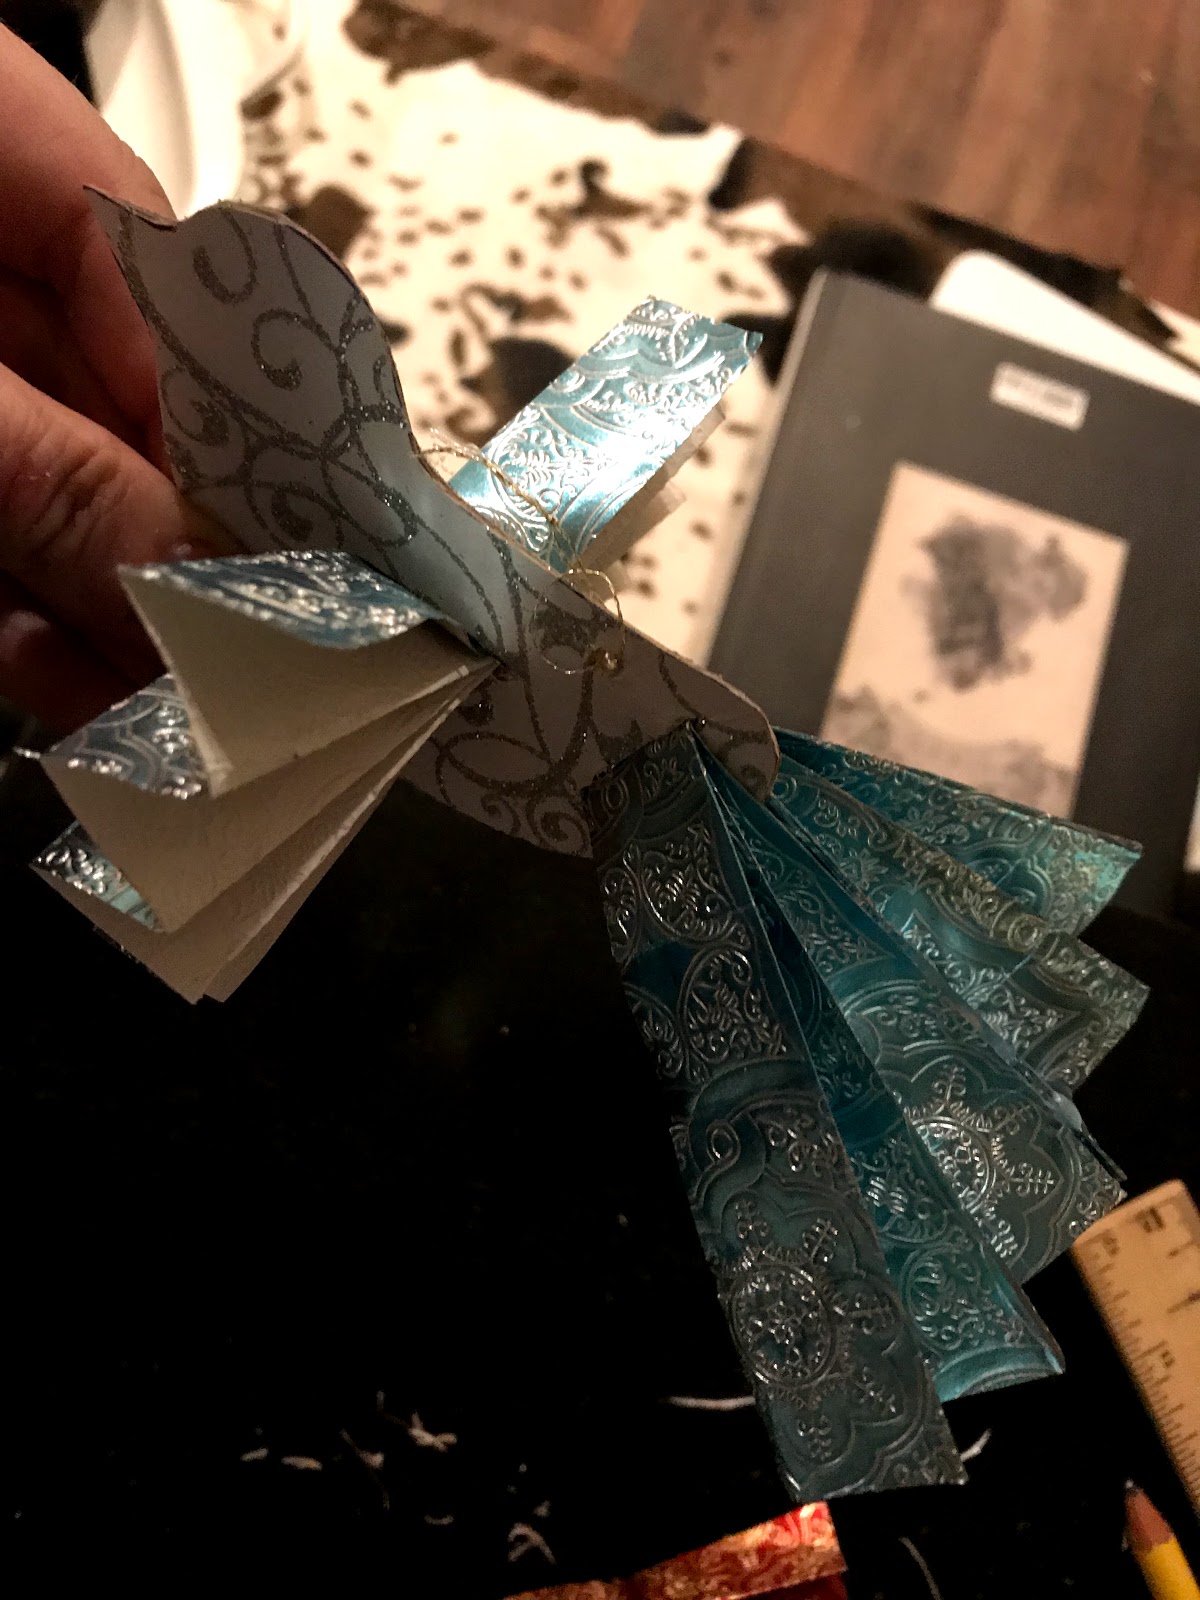
13. Glue both sides of the ornament triangle and gently fold the last folded piece up so that all of the corners are together and form an arrow. Make certain to press the tip together.
If done correctly, your ornament will look like the one below.
Hang on your tree.
Paper Tree Topper
I know they look completely different, but the same technique that was used to make the paper ornaments is used to make the paper star. And, in many ways, the star is easier than the ornament.
Items needed
Scrapbook Paper
Ruler
Scissors
Hot Glue Gun
Bamboo Skewer
Acrylic Paint (Optional
Instructions
1. I decided that I wanted my tree topper star to be six inches. I honestly did this because the scrapbook paper that I had purchased was 12 x 12 paper. I could make one star and, if I messed up, I would still have enough paper to make another star as each star only needs two paper squares to be created. This actually worked perfect for a six foot tree. If you have a bigger tree, you may want a bigger star. So I cut my scrapbook paper in four squares that were 6 x 6. For a bigger tree, you may want to do 10 x 10 or 12 x 12 but then you will need two squares of scrapbook paper rather than just one.
2.With the white side of the paper facing up, fold the paper in half so that it makes a half a square.
Rotate the paper and fold in half so that it creates another half square. This will make a what looks like a cross on your paper.
3. Here is where the steps differ slightly from the ornament directions above. Take a ruler and measure along both the horizontal and the vertical lines going slightly less than halfway down from the center Since my star was six inches, half of my star was three inches, so slightly less than half of that would be 1 1/4 inches so that is what I measured on all four sides.
When you are finished, your square should look something like the picture below.
4. With the white side of the paper face up, fold the square in half diagonally so that the corners touch and create a triangle.
Rotate the paper and fold the paper in diagonal again creating another triangle.
5. Using a pair of scissors, cut along the horizontal land vertical lines up to the mark on the paper.
Do this for all four of the marks.
6. Fold the paper at the corners as if you are making a paper air plane. Make certain the edge lines up with folded center line.
Repeat the step for the other side. This will give you a triangle.
Repeat both of these steps on all four corners. Once you have finished, the paper should look like the picture below.
If you turn the star around, your star should look like the picture below.
7. Repeat Steps 2 - 6 for the other square.
8. Using a glue gun, glue the outside edge of one star arm flap and the inside edge of the opposite star flap. You should place the glue depending on which flap is going to be the bottom flap and which flap is going to be the top flat. The bottom flap should be glued on the glitter side, the top flap should be glued along the white edge.
Repeat this step for all four star arms. Then do it again for the second star piece. When you are done you should have two identical four point stars.
* NOTE* The width/narrowness of your star arms is determine by how far you glue them together. If you glue them so that the cut edge goes to the folded edge you will have a narrower star than if you glue the edges closer to themselves and farther from the folded edge. Neither way is incorrect, it just depends on how narrow you want your star arms, although, if you do not line up the edge to folded edge, you need to be careful that you glued all of the arms approximately the same width.
9. There are two different ways that you can glue the star pieces together. If your tree is against a wall and you do not need it to be seen from all angles, you can put both front pieces of the star together.
If your tree is seen from many angles, you will want a more three dimensional star. If that is the case, you will want to glue the starts back to back to create the star.
As you can see, either way is very pretty. For my tree, I did the the three dimensional star, but for the purposes of this post, I did the one direction star. (Mostly because it was easier to show you what the steps looked like.)
Once you have decided whether you want front to front or back to back use a hot glue gun to glue the star pieced together.
10. Cut the bamboo skewer into equal halves. For my tree star, I painted my skewers to match my tree and my star. The parts of the skewer that are part of the star I painted a metallic turquoise to blend with the star. The parts that were away from the star I painted silver so that they would blend with my aluminum tree. If you have a green tree you can paint them green. For the purpose of these pictures, I have left them unpainted so they are more easily seen.
There are natural holes created between the two star pieces. This is where you want to glue the skewers. I like doing two so that the star can kind of clip onto the top branch, but you can also just use one skewer and just poke it down into the tree top.
Voila! It is done. In the picture below you can see how the two types of stars look. The one on the left is front to front and I glued so that they star arms would be wider. The one on the right is glued back to back and I glued the arms so they would be narrower. I did this so that it would be next to impossible to see the edges of the folded star since this way of gluing shows the back of one of the stars.
*NOTE* You can actually add another step to create another three dimensional star if you desire. Basically, you make the front to front star as described above but do not put in the bamboo skewers. Then make another front to front star. Make certain the width of the star arms are the same as the first star created.
Glue the bamboo skewers on the back of one of the stars.
Glue the arms of the bottom star of one of the front to front stars, press the other front to front star to the back so that both of the front to front stars are glued back to back. You want all of the edges to line up perfectly. This will create an epic three dimensional star that no one will guess was made out of paper. And, if you make the star six inches by six inches, then you can make the epic three dimensional star out of one piece of 12 by 12 scrapbook paper and your tree topper would have cost you slightly more than a dollar.
Less if you use good wrapping paper rather than scrapbook paper.
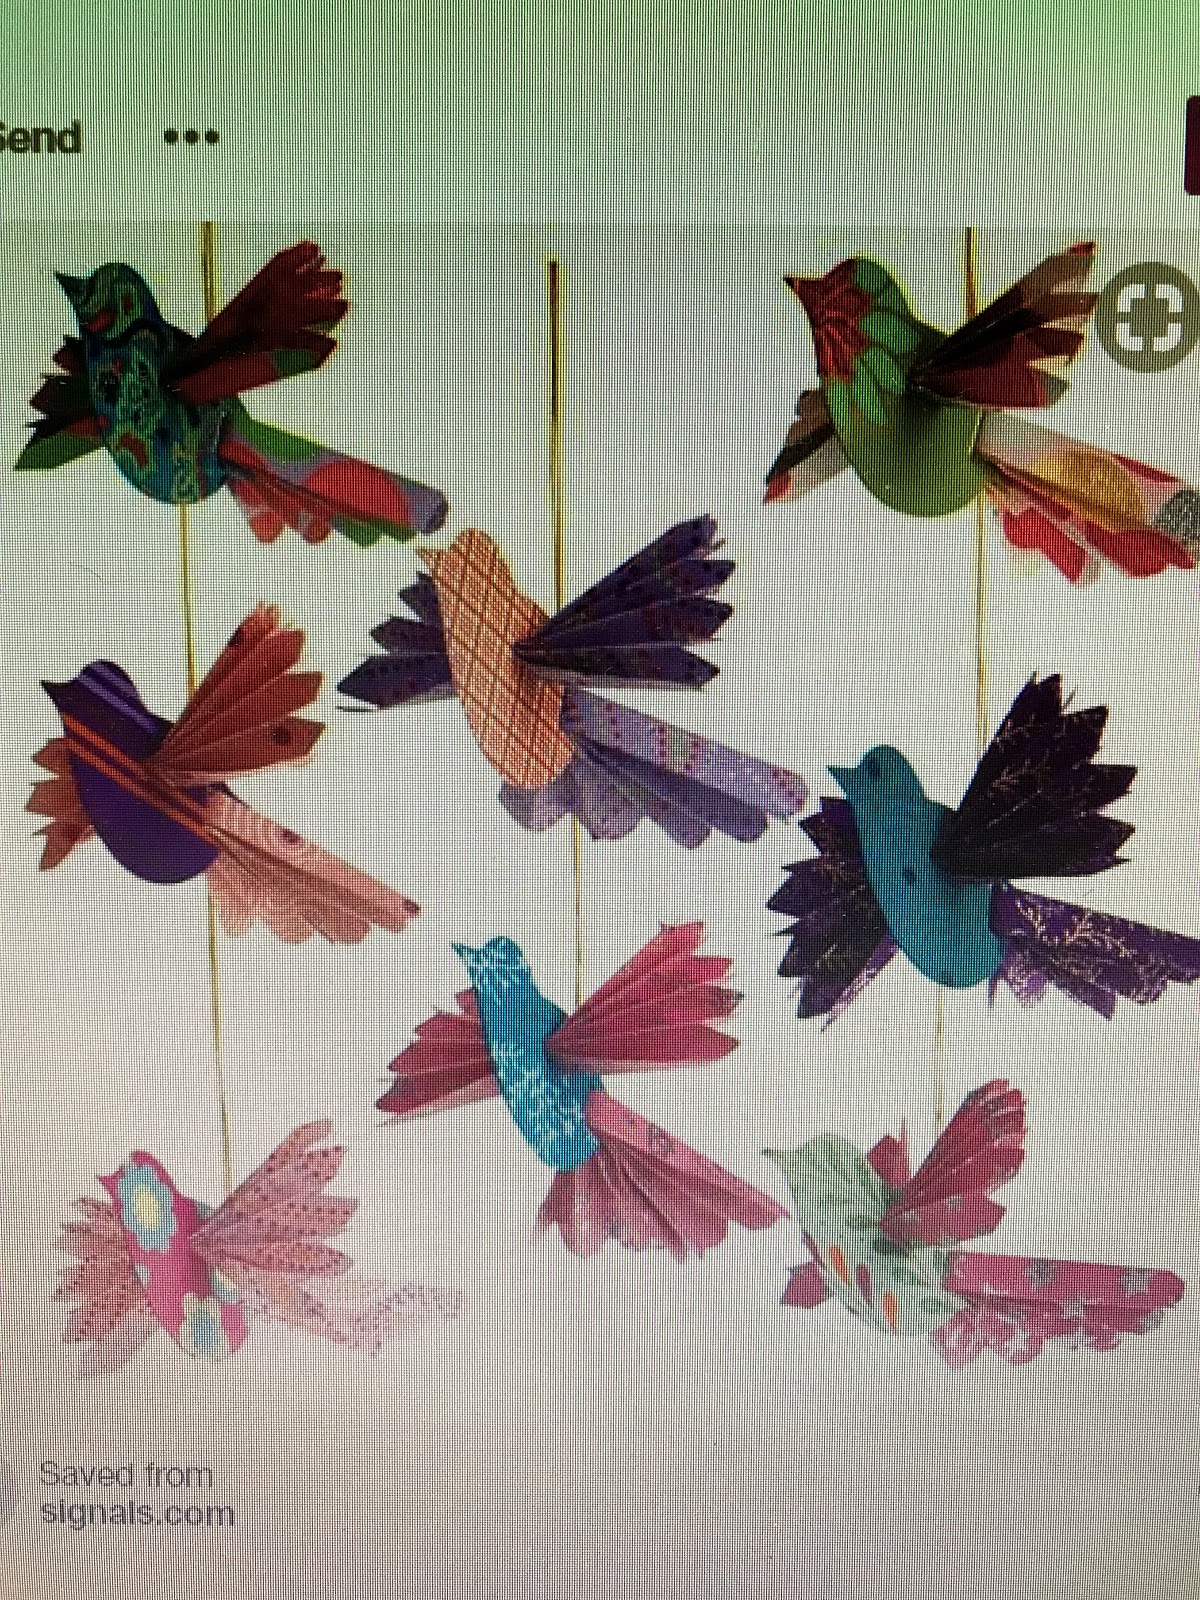
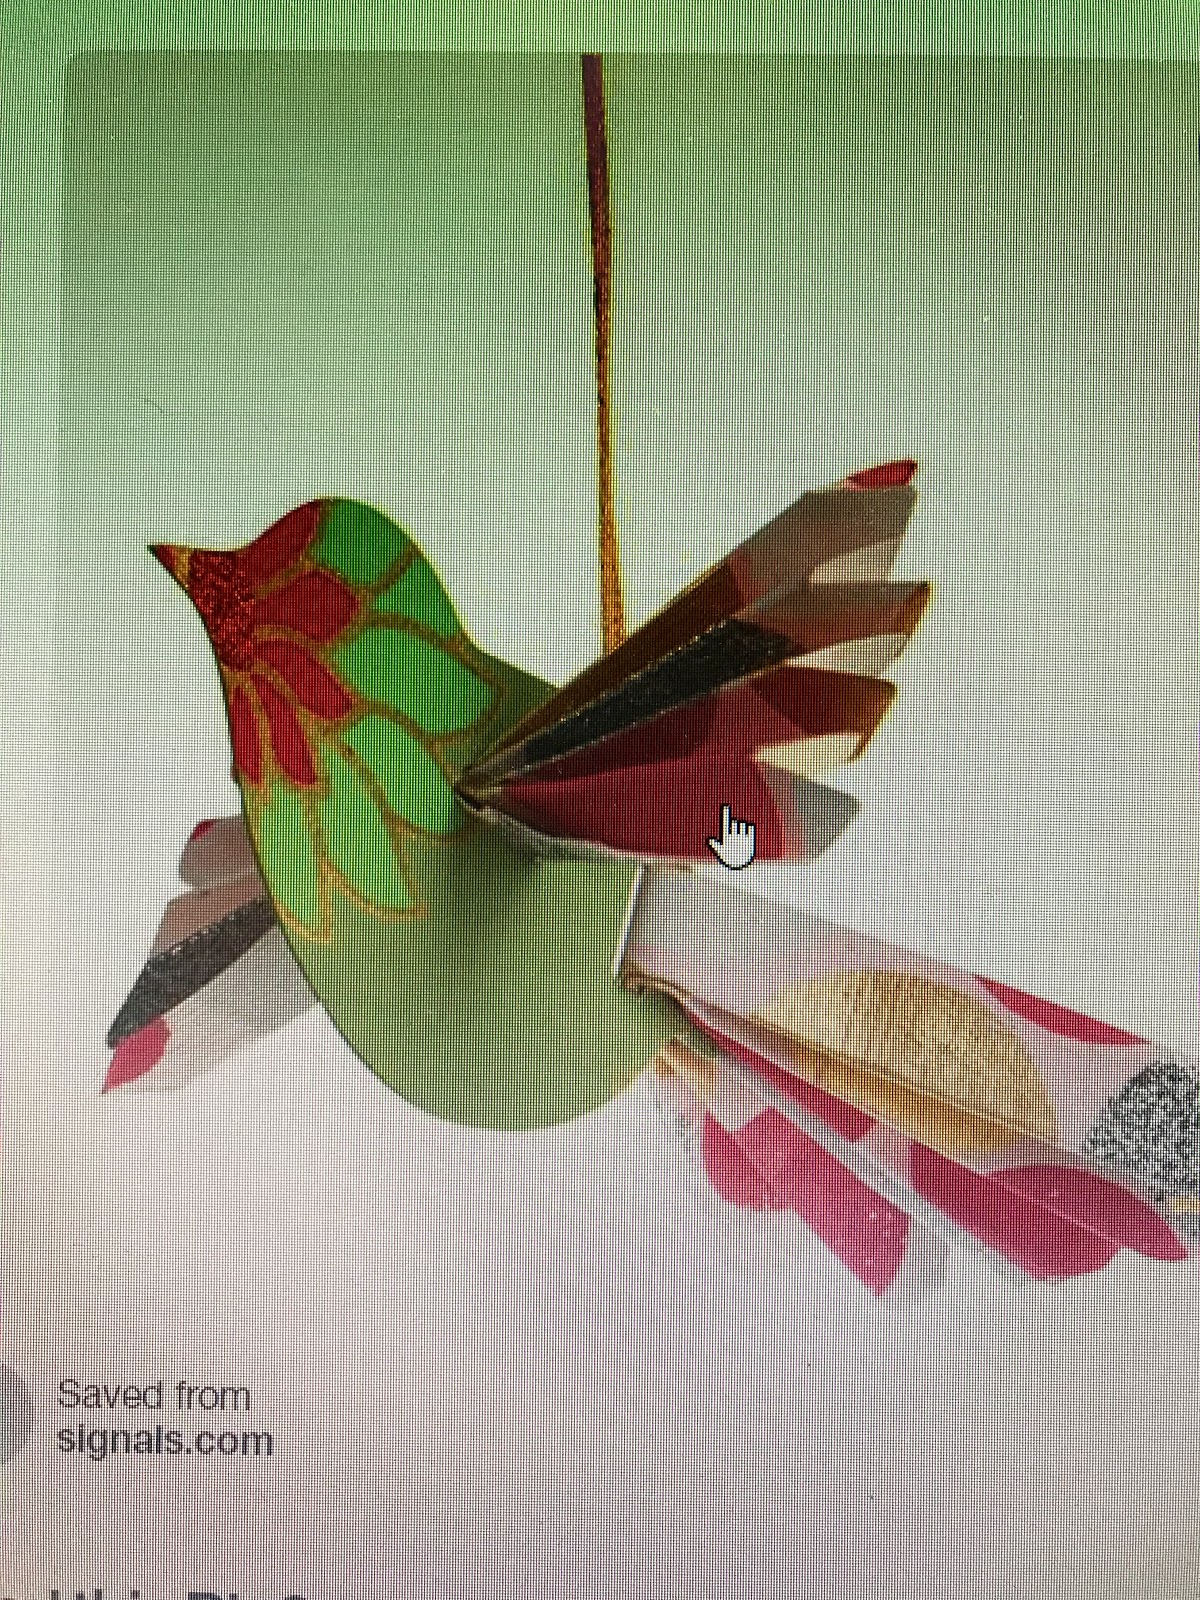
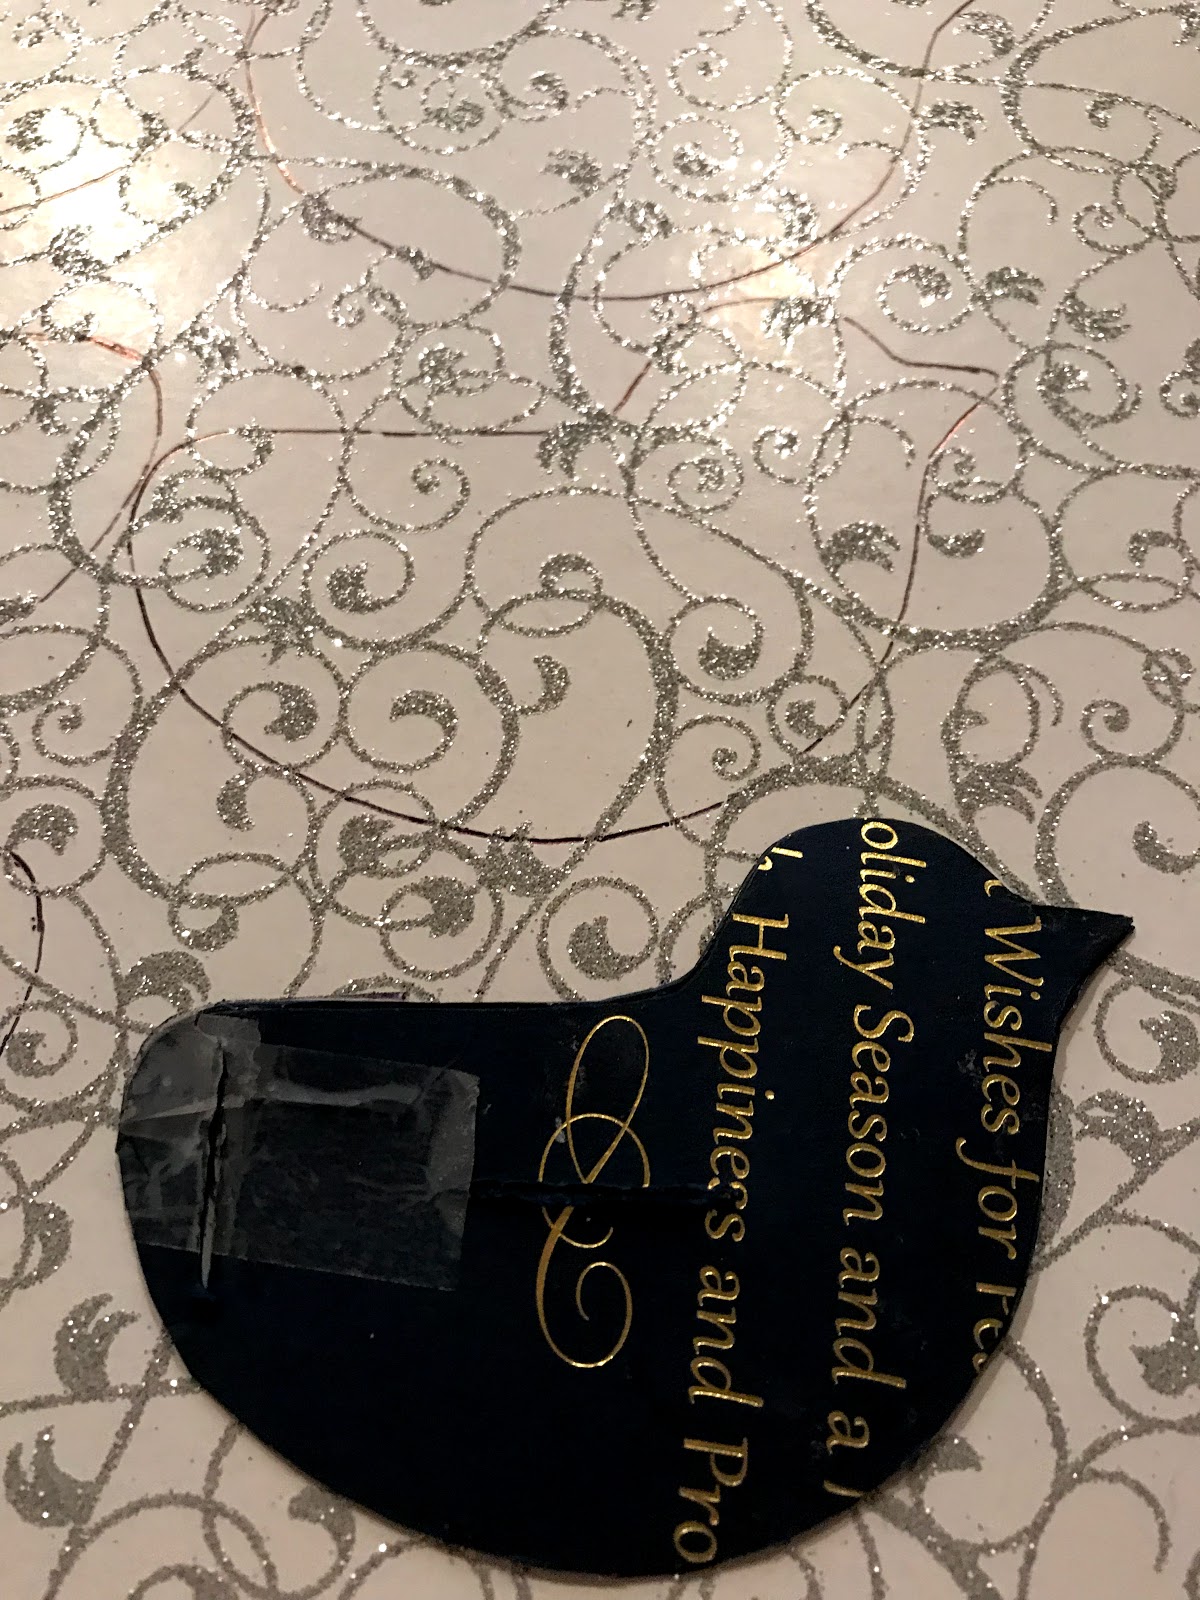
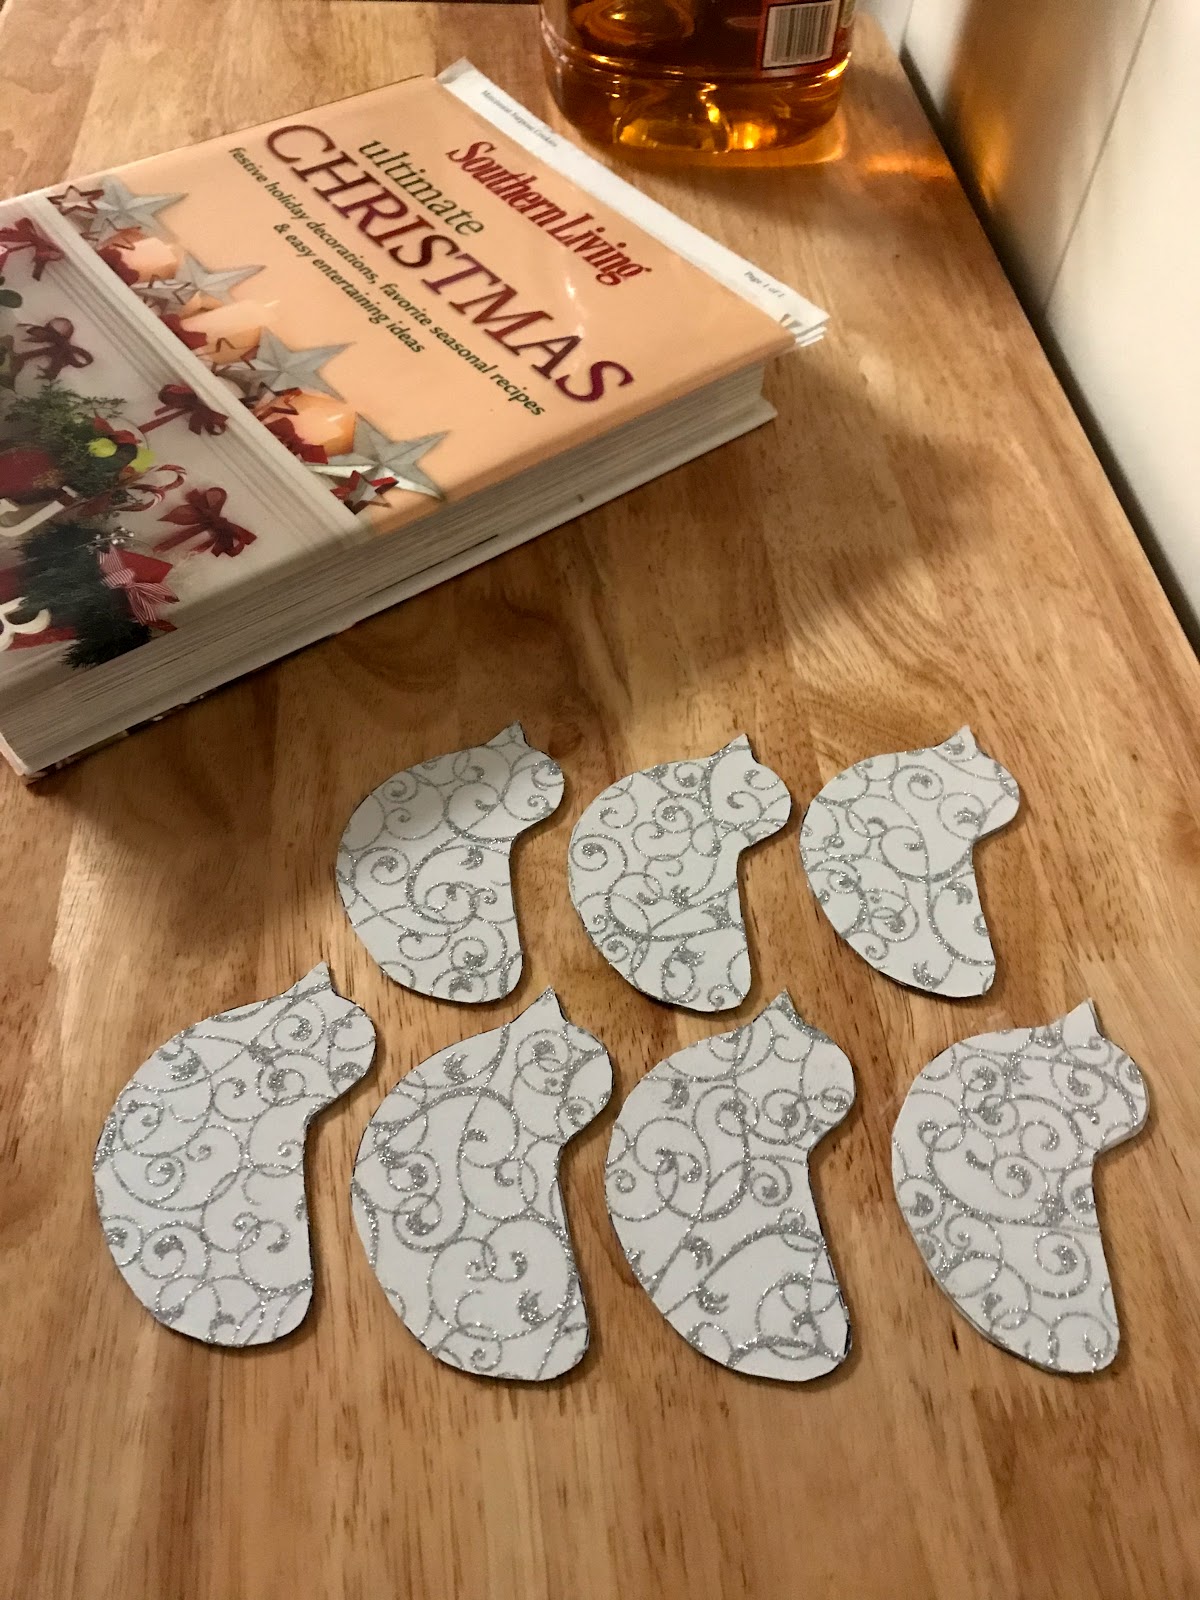
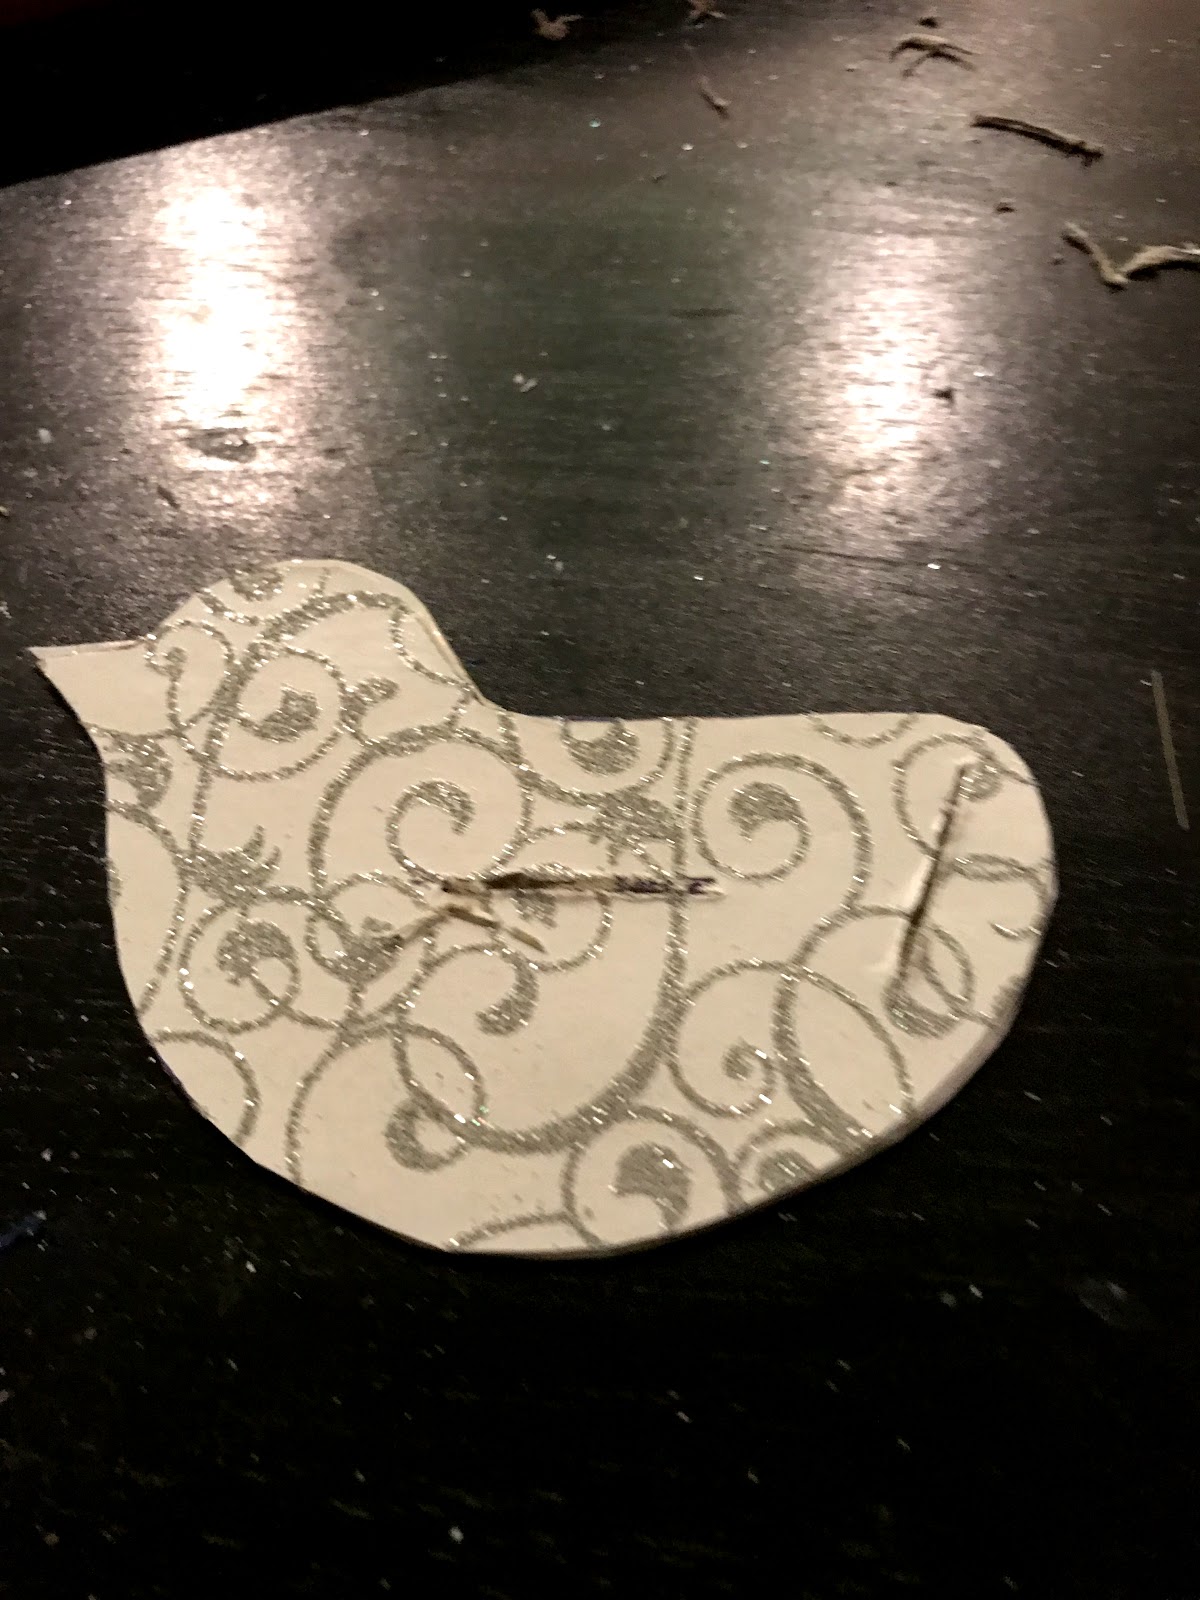
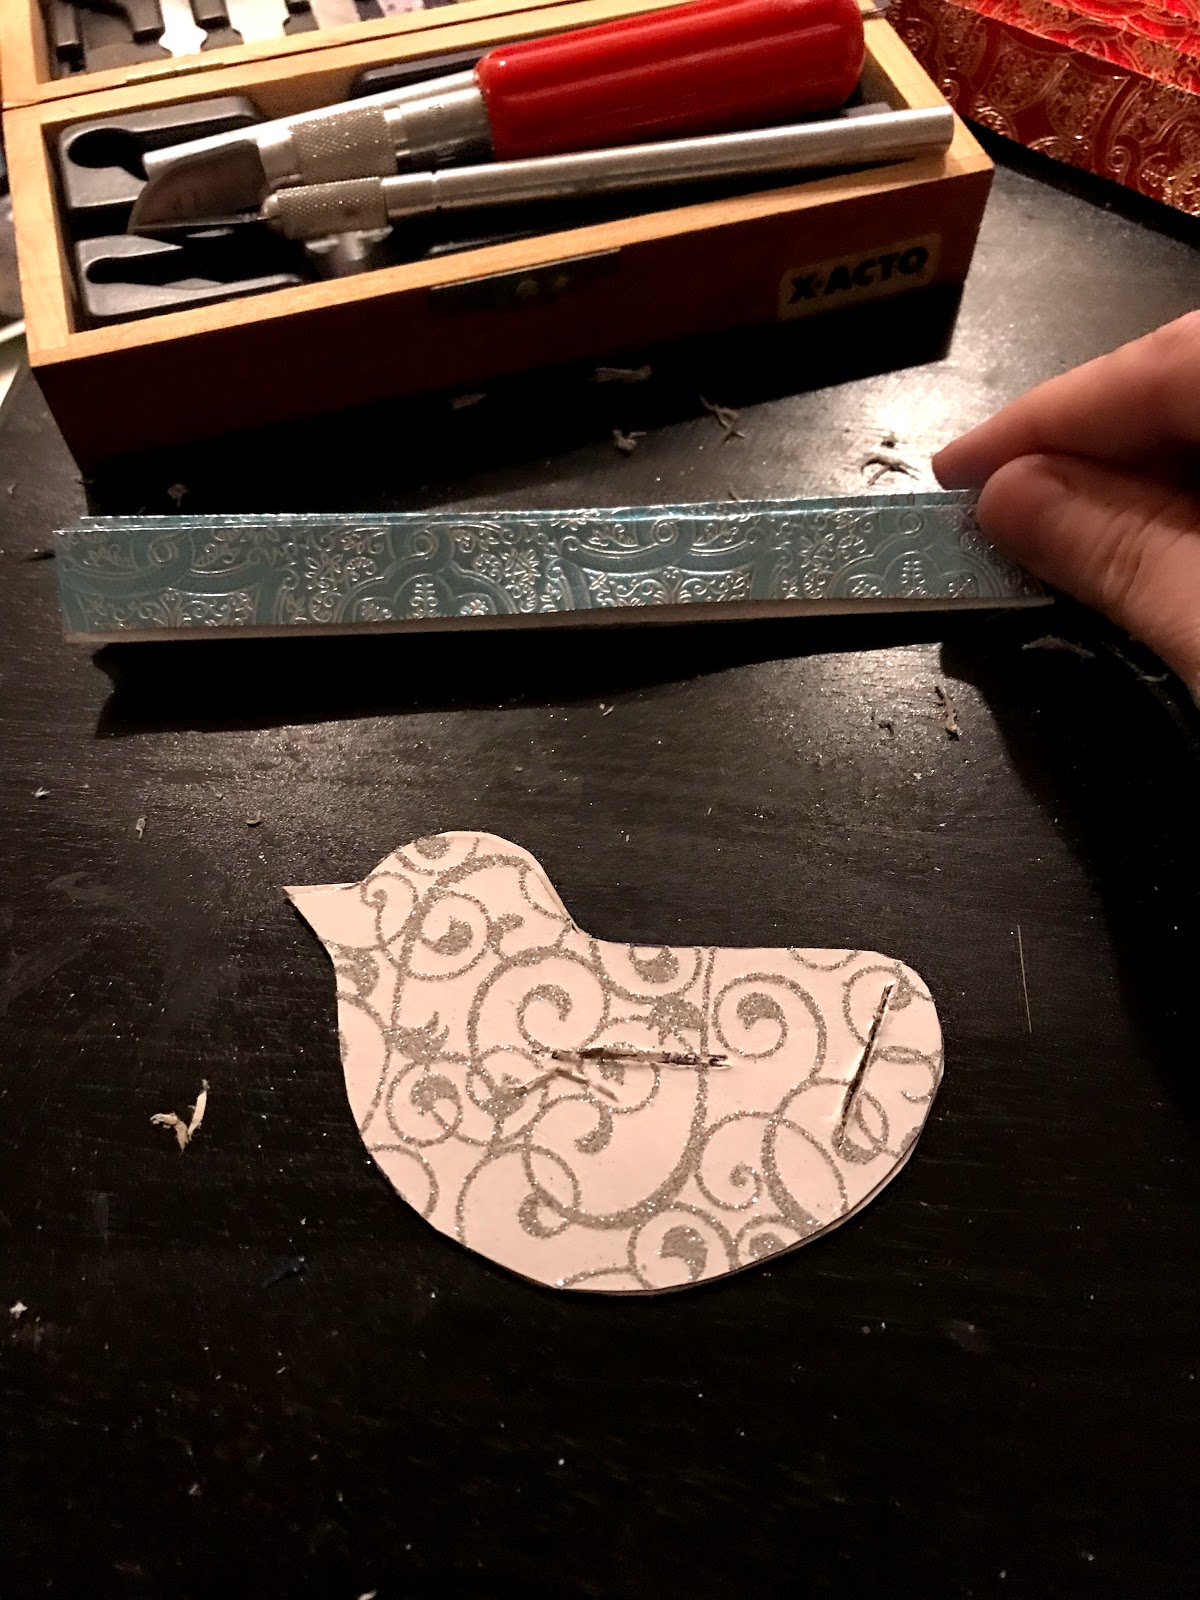
I have one more paper ornament to show you how to make, but this post has already been long enough. So I will show you how to make the paper bird ornaments in a post tomorrow and maybe include a recipe too!
Happy Holidays!