
Hello Everyone!
Can we say burrrrrrrrrrr? On February 2, of this year, Punxsutawney Phil predicted three more weeks of winter.

Who knew that is prediction would be so spot on and brutal?.
This winter has been cold - even for Louisiana. This week we had an ice storm. An ICE storm! Now, for those of you who live up north, this is no big deal. For Louisiana, I think the last major ice storm we had was in 1995. We may have had snow a few times (once every three years or so) but we haven't had an ice storm in a while.


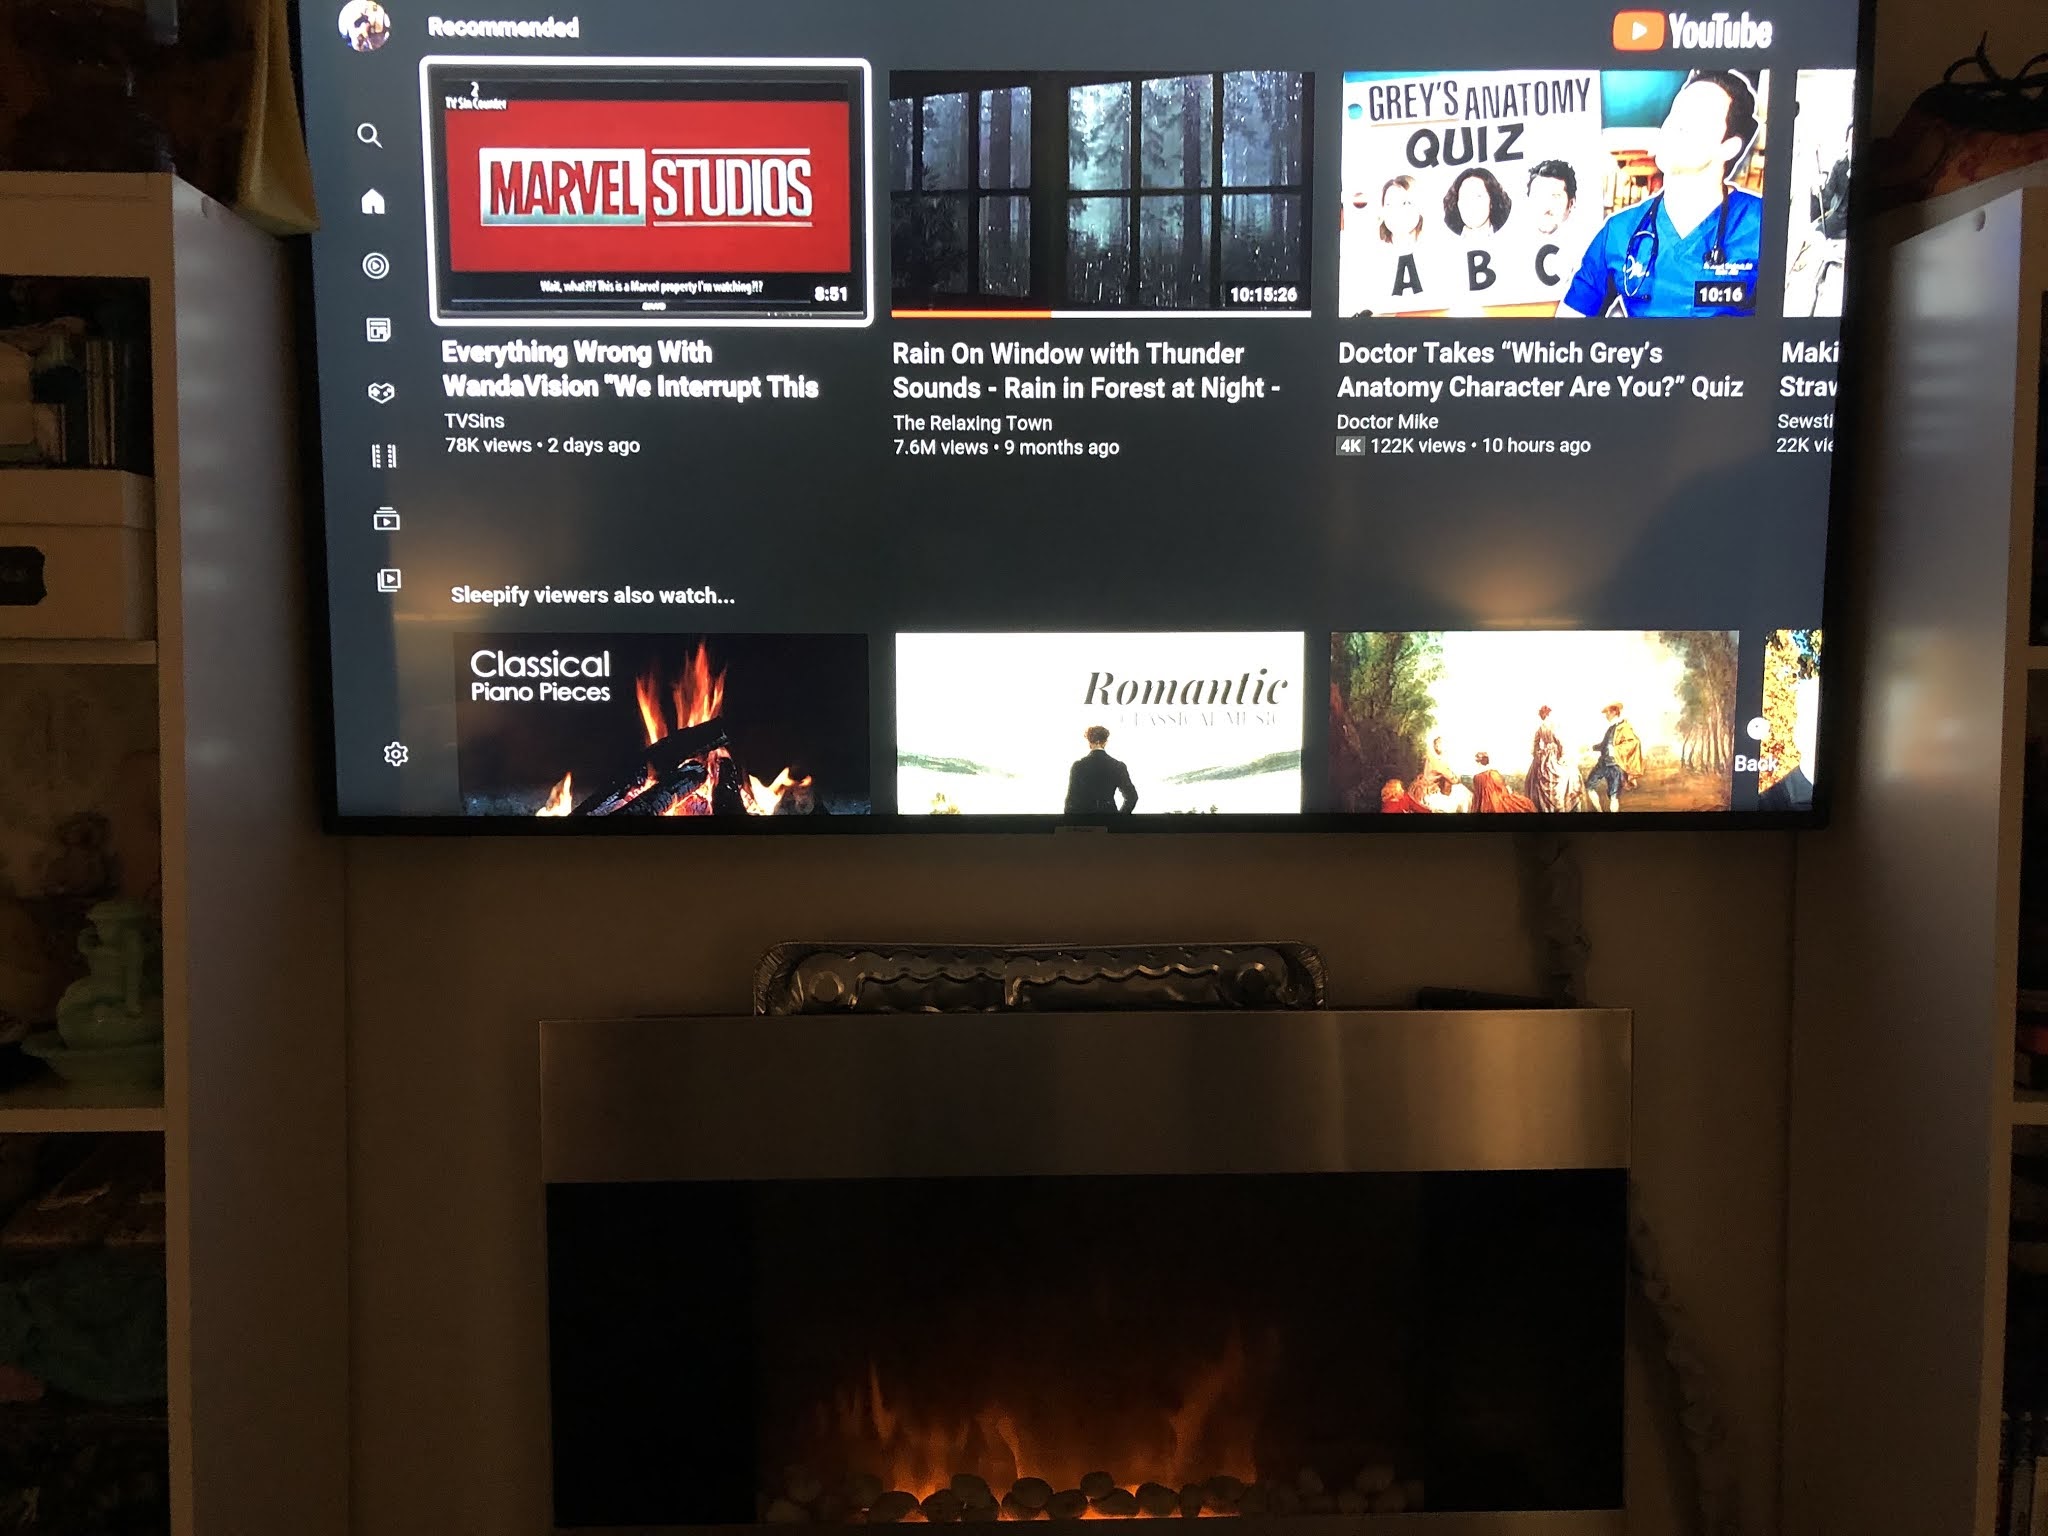
 |
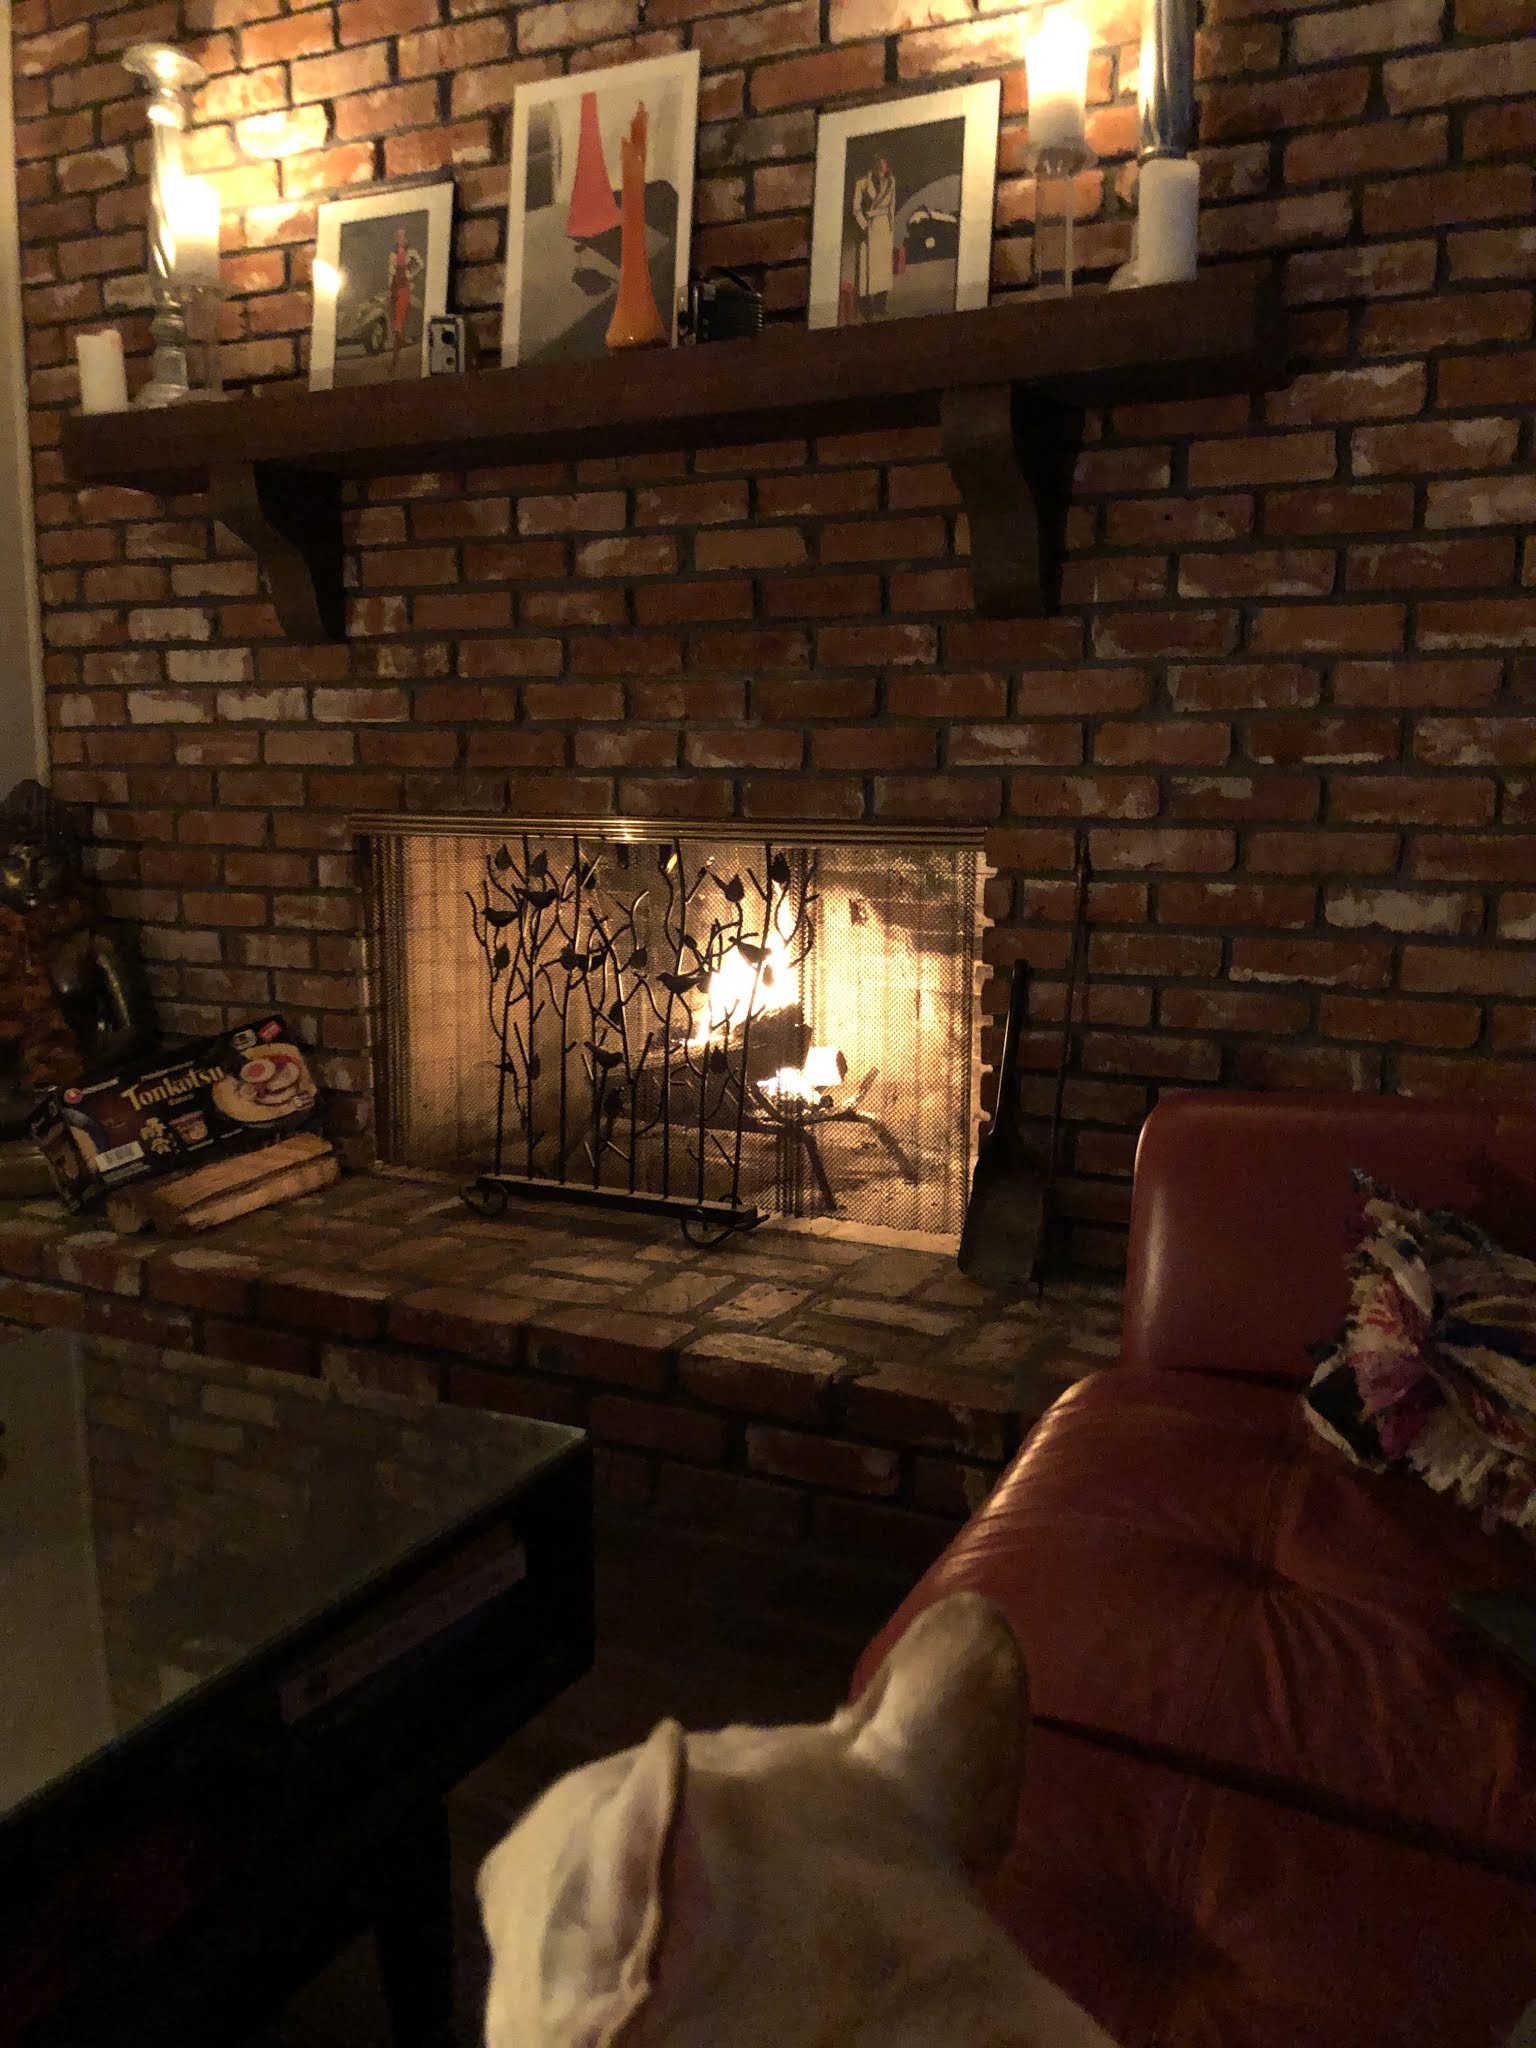
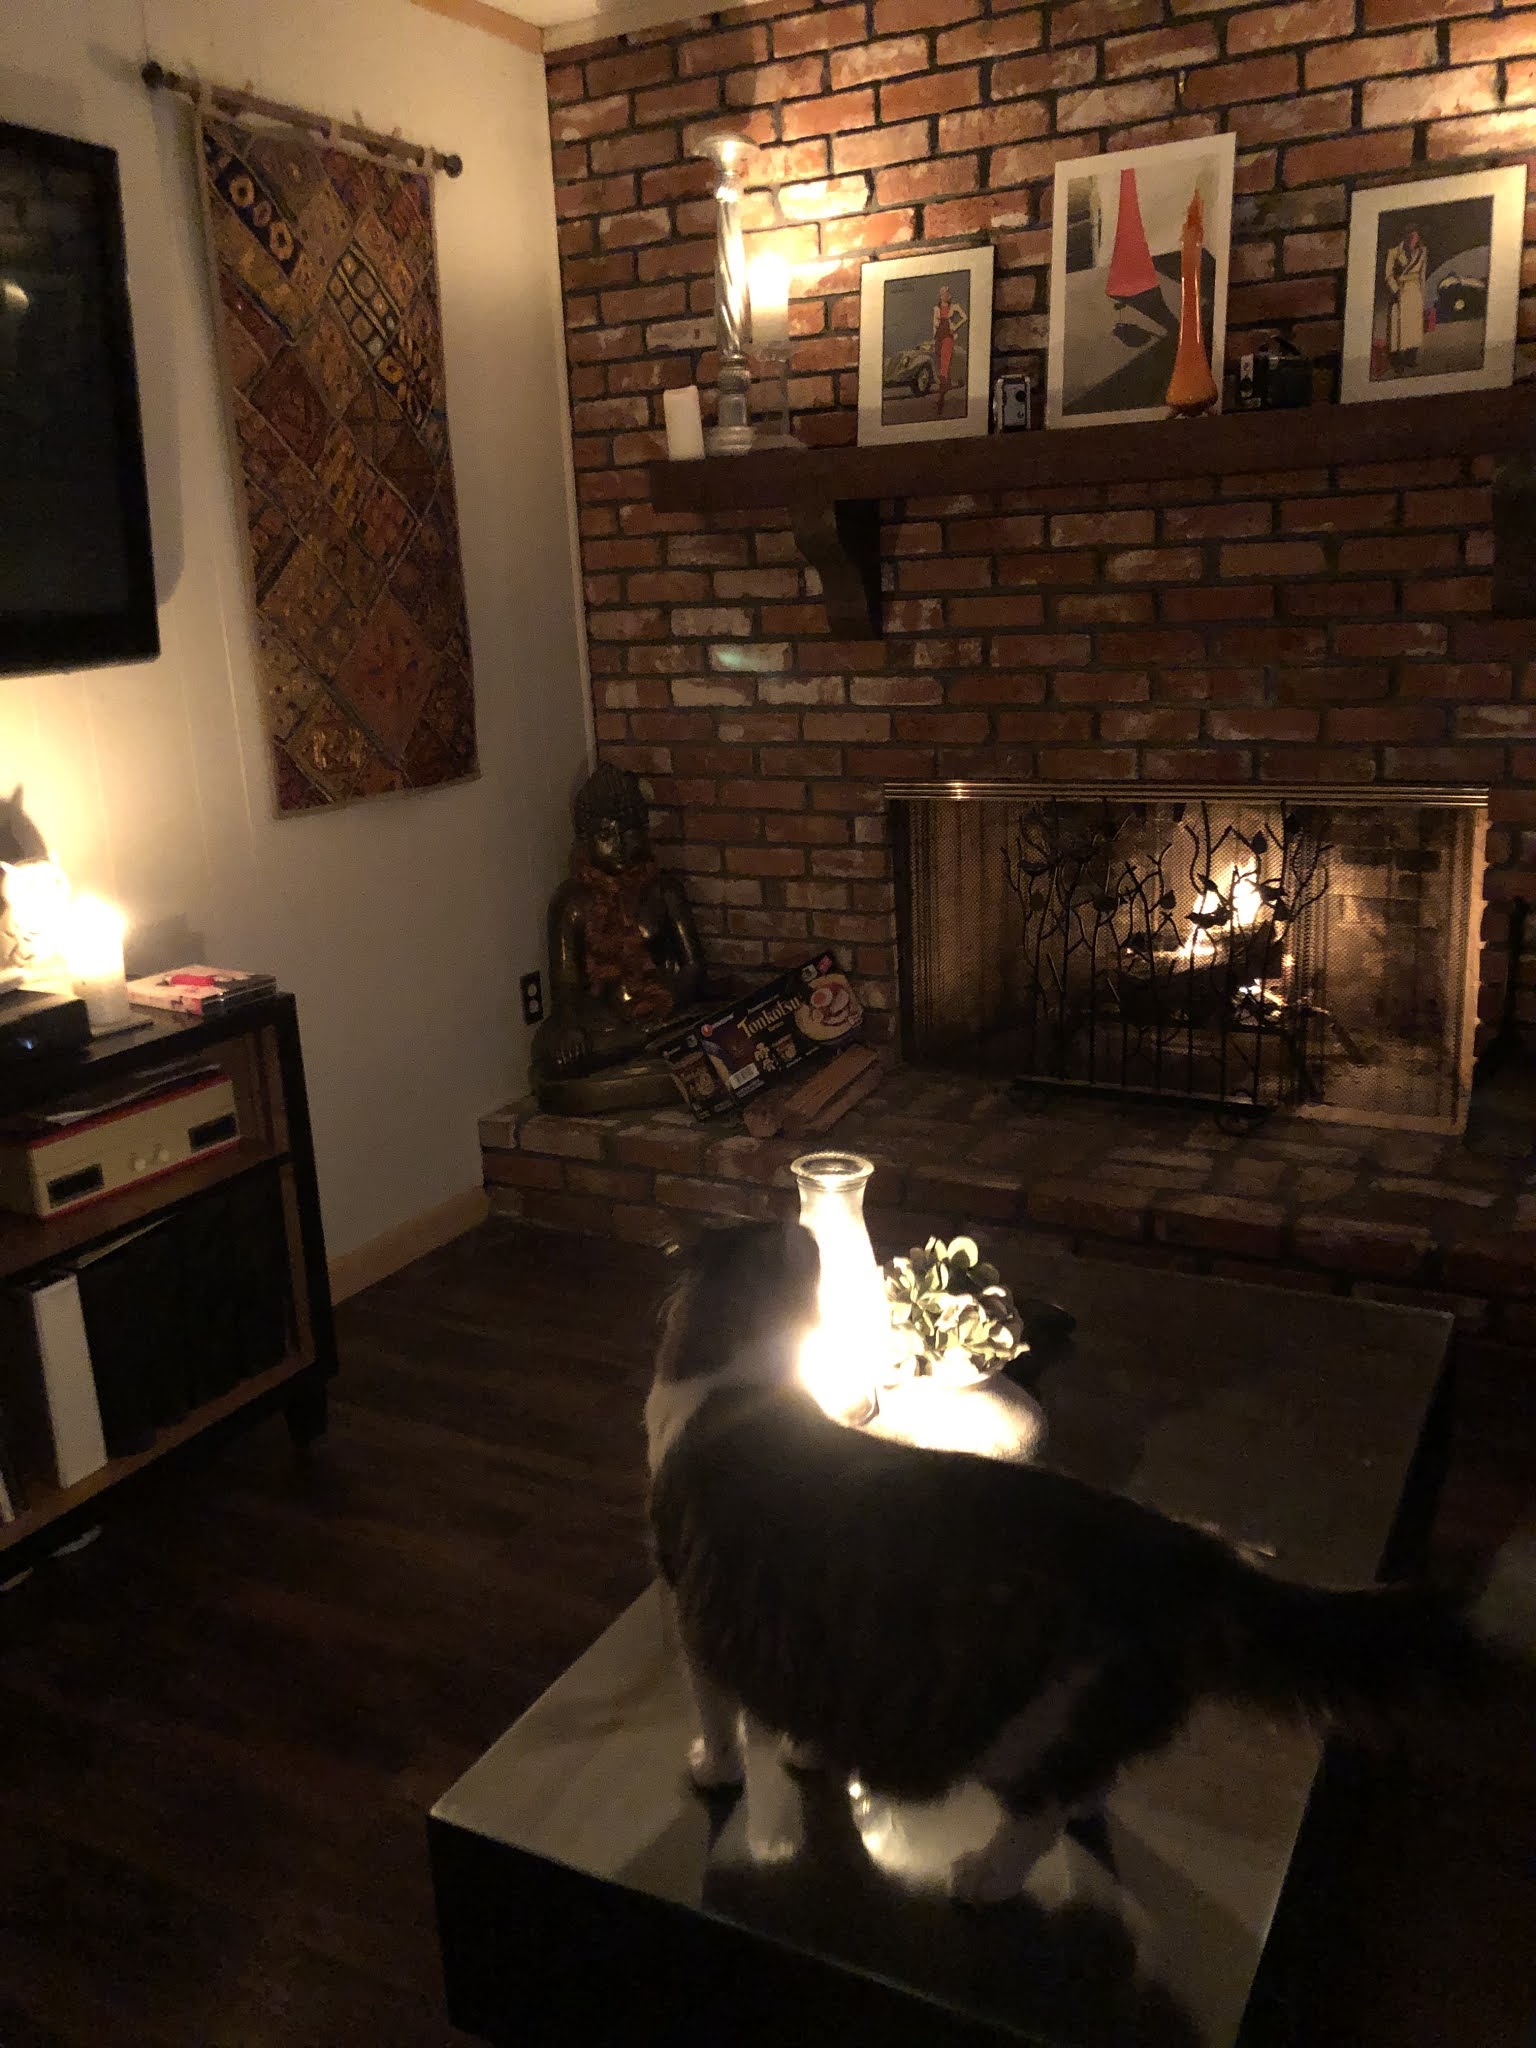
| Its so wrong to see this is Louisiana. And not one snowflake!!!! I protest. |
In my house, the power went out, the fireplace was quickly loaded with firewood, thick alpaca sweaters were dug out and donned (along with thermal underwear and thick woolly socks) emergency candles were lit and I dreamed of cooking warm cozy food to help warm us up once I could cook again. And this cold front is the inspiration for this post. I thought that I would share some of my Frugal Femme ideas for staying warm in the cold.

Electric Fireplace Hack

I am a lover of fireplaces. In fact, when my husband and I were searching for our house one of the requirements that I had - and this was not negotiable - was that our house would have a fireplace in the living room. My dream is to one day have a house with a fireplace in the bedrooms and study as well, but that will, most likely, never happen. UNLESS, I put electric fireplaces in various rooms. And this is what I have proceeded to do. I now have three electric fireplaces in my home. One in the pub library, one in my craft room, and one in the bedroom. Two of these fireplaces are under televisions and are wall mounted fireplaces - and this is where my problem began.
As many of you who own wall mounted fireplaces are probably already aware, there is a heating unit in the fireplaces so that you can use them a bit like a space heater. This is all well and good except, for some reason, several wall mounted fireplaces have the heating vent on the top of the fireplace so that the hot air goes directly up. This is potentially disastrous if you have anything above the fireplace - such as a television or a shelf because these items can get hot and I mean HOT.
You can purchase "vents" for the fireplace specifically for the purpose of the directing the hot air out instead of up, but these vents run about $100 and my cheap little heart just couldn't bare to spend that much money on a heating unit that, although I am very much using like an addict this week, will not get a great amount of use because Baton Rouge is very rarely cold enough to warrant a space heater along with central heating running at the same time. My solution?
Going to my grocery store, spending $5.00 on a package of turkey roasting pans and then rigging a "vent" out of turkey roasting pans and magnets. As amazing as this sounds, it works!!!!
This is how we (meaning my husband) did it. I was entitled to watch since it was my idea.
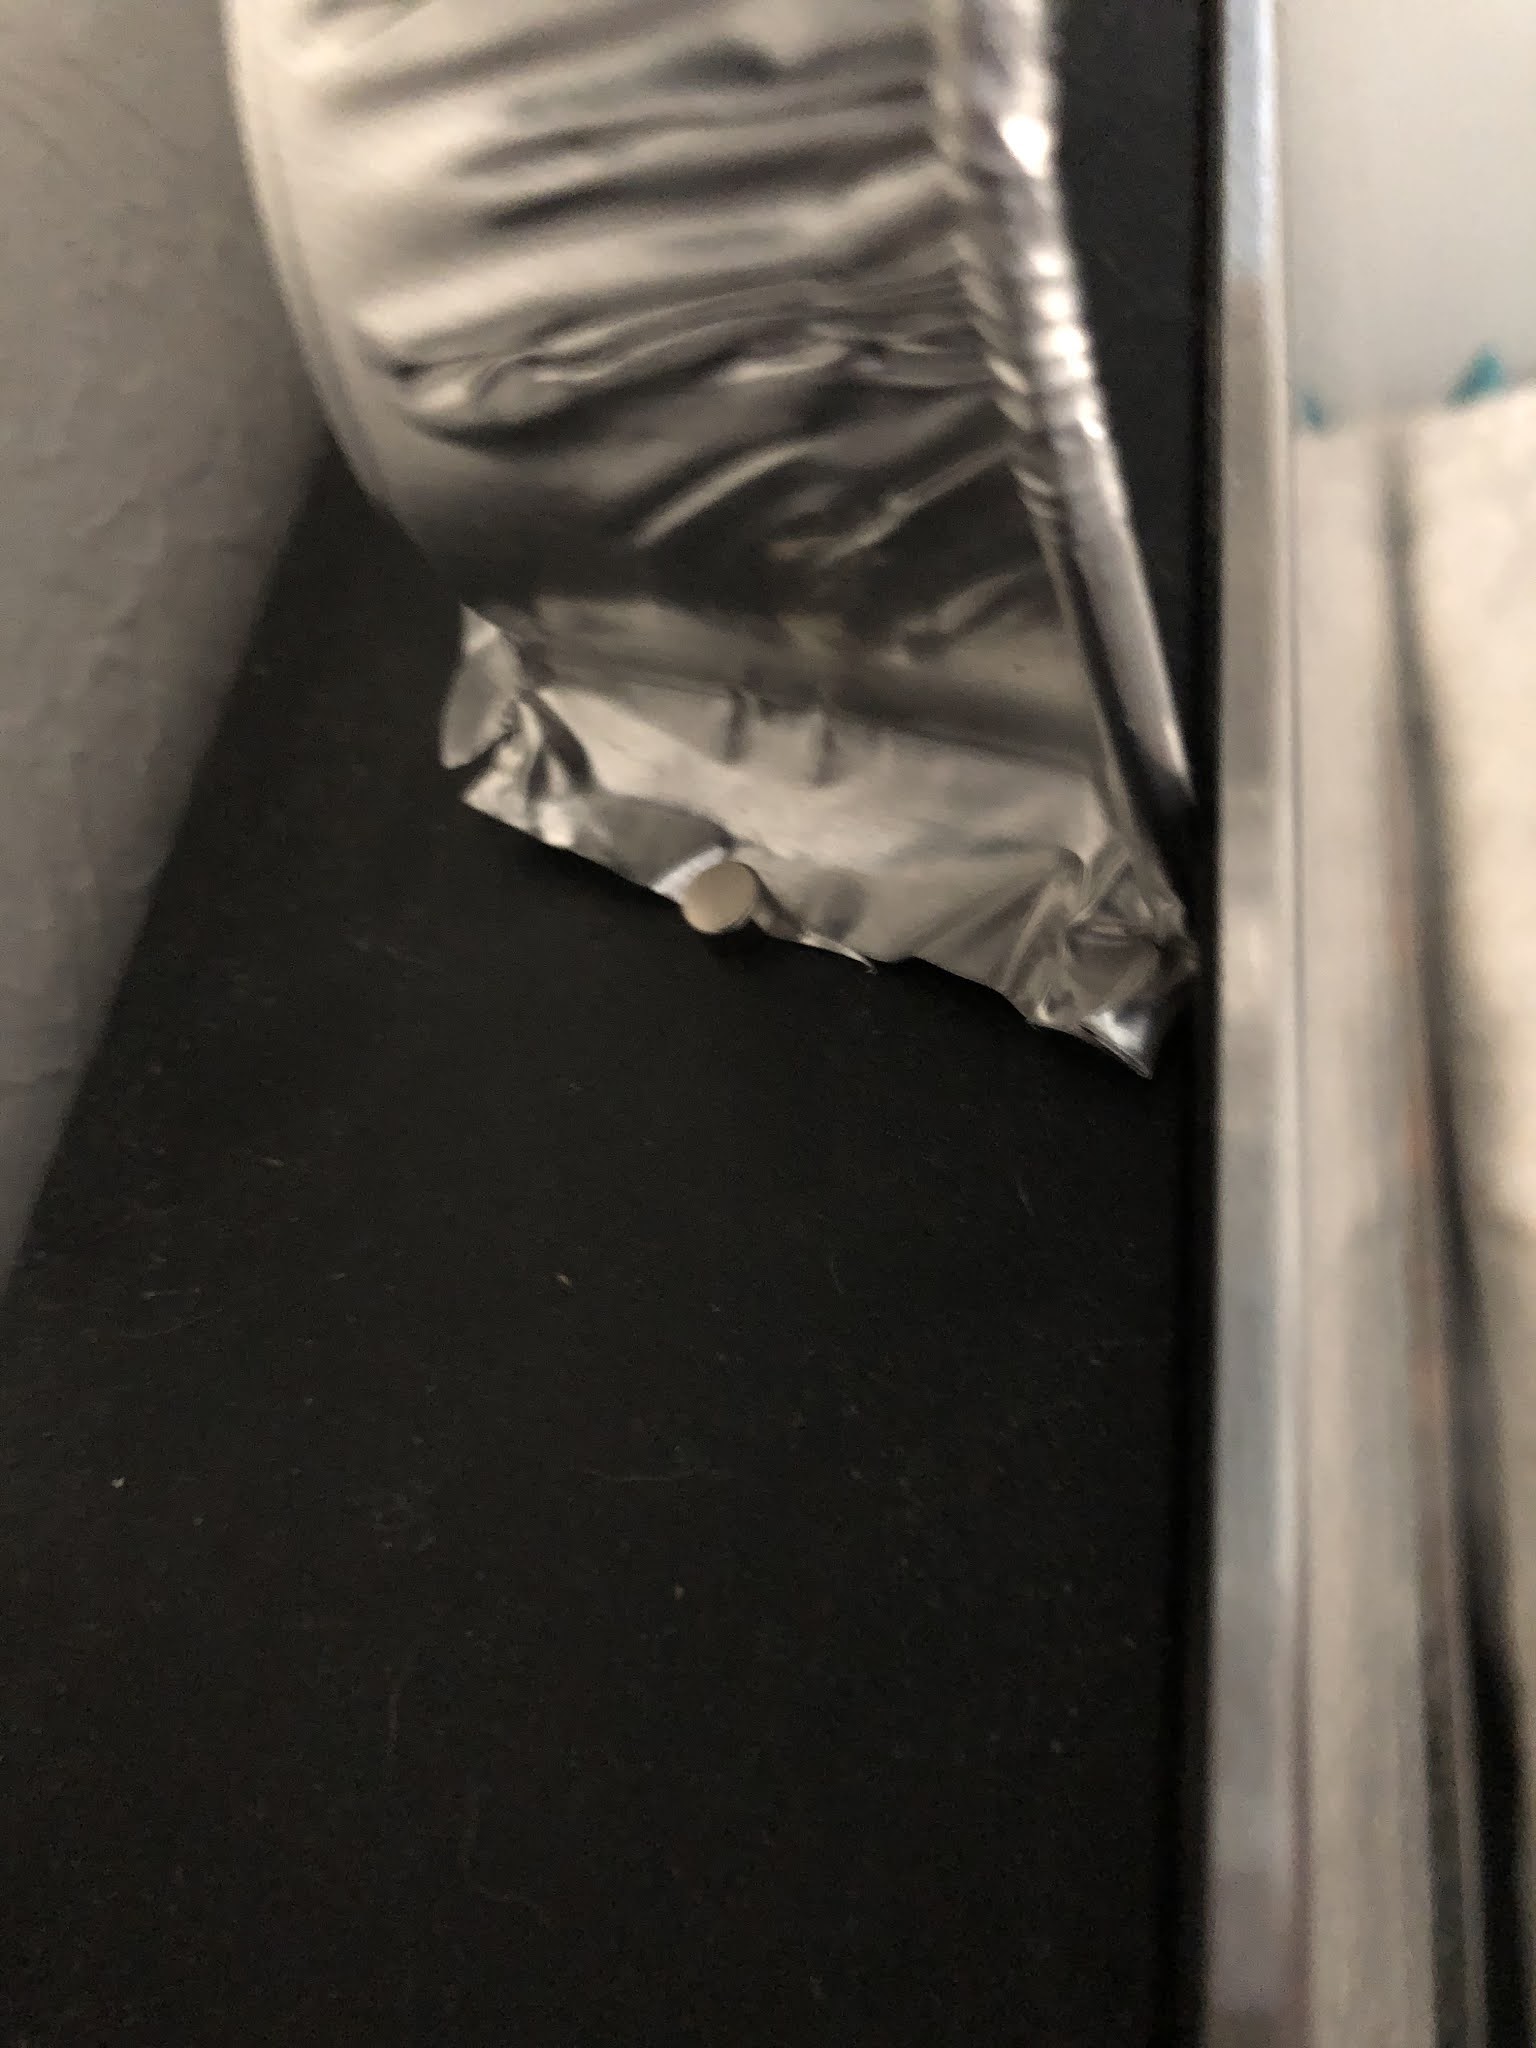
1. Cut the roasting pan, lengthwise about the width of 4 or five inches. Honestly, we didn't measure this, we just kind of eyeballed what we thought would work.
2. Using a pair of pliers, bend the cut edge of the roasting pan about 1/2 inch, creating a lip around the bottom of the roasting pan. This will be the base of the magnets and will be what keeps your "vent" on the fireplace.
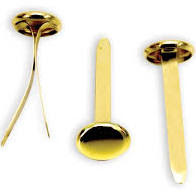
3. Using the length of the heating vent on your fireplace measure if you need to shorten or lengthen the cut edge of the pan. We needed to lengthen our pan, so we had to bracket the two pans together to keep heat from escaping out of the seams. My husband actually had super tiny, super strong magnets that he had pulled out of obsolete computers and he used two of these, one on the outside and one on the inside keeping the seams together. As I do not expect most people to have tiny, super strong magnets, you could use brass paper fasteners to "weld" the pieces of the roasting pan together.
4. Using magnets, you can now "mount" the vent you have created by placing the magnets on the bent lip of the roasting pan. You really don't need a lot of magnets, just enough to hold the pan to the fireplace and to keep the lip flush so that heat does not escape out of the seams.
There are several reasons why I love this life hack.
1. It is way cheaper than $100. At most you will spend $20.00 and that is only if you don't already have
magnets.
2. It is easily removable. You can keep it on your fireplace year round, but if you want to stash it in a closet
or shelf until winter comes again you can.
3. It, surprisingly, doesn't look bad. The moldings in the pan almost look like art deco decorations.
In fact, if you wanted to get fancy, you could probably find a heat safe gold paint and paint the moldings
and it would look almost Gatsby-esq. (In fact, I may have to do that over the summer.)
4. The redirected air works amazing well at warming up a room. When the heat goes straight up, it doesn't
heat up the room, once it goes out, it does. I don't know the science, so I don't know why, I just know it
works.
5. Because the air is directed out, you can put things above the fireplace.
I have my television above the fireplace. I have used the heater with the turkey pan vent for twenty four hours, non-stop, for several days, and my television has never gotten warm.
So, there you go, a Frugal Femme life hack for electronic fireplaces.
But you can't just warm yourself up from the outside, you have to warm yourself from the inside too. And my favorite way to do that is with food!
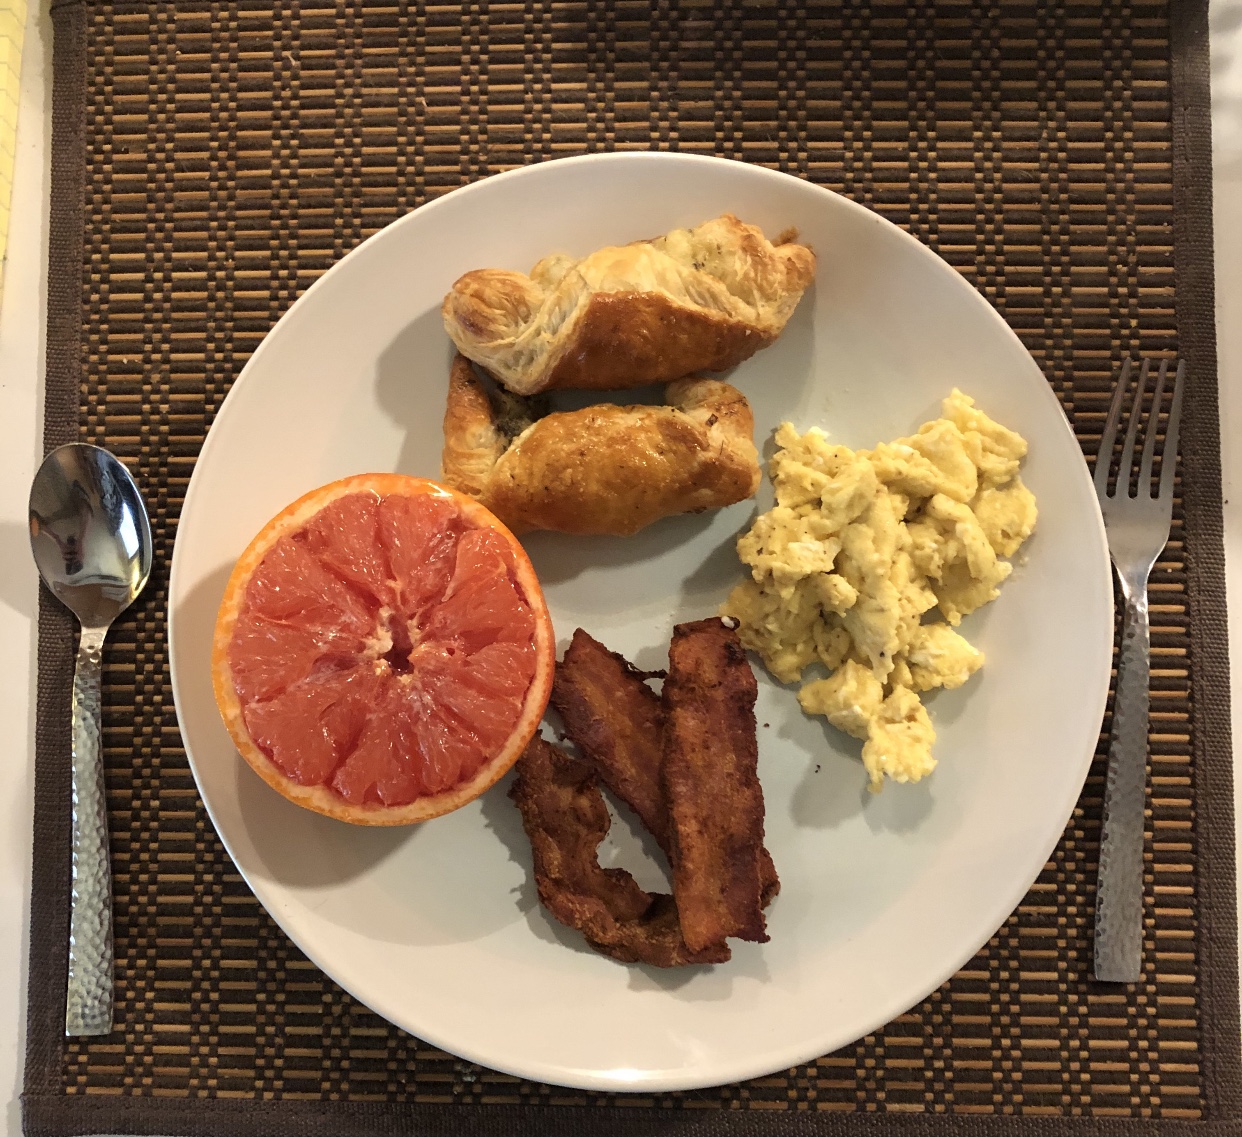
Baked Grapefruit

Okay, I know! I know! This does not sound promising. In fact, to many, this probably sounds disgusting. Especially if, like me, you do not like grapefruit. But trust me on this and try it. This is one of those foods that I tried on a whim and has, literally, changed how I eat breakfast. Now, when I make breakfast over the weekend, I always include a baked grapefruit.
Full disclosure, this recipe is not mine. This recipe is from a book that I have had for years called The Vintage Tea Party.
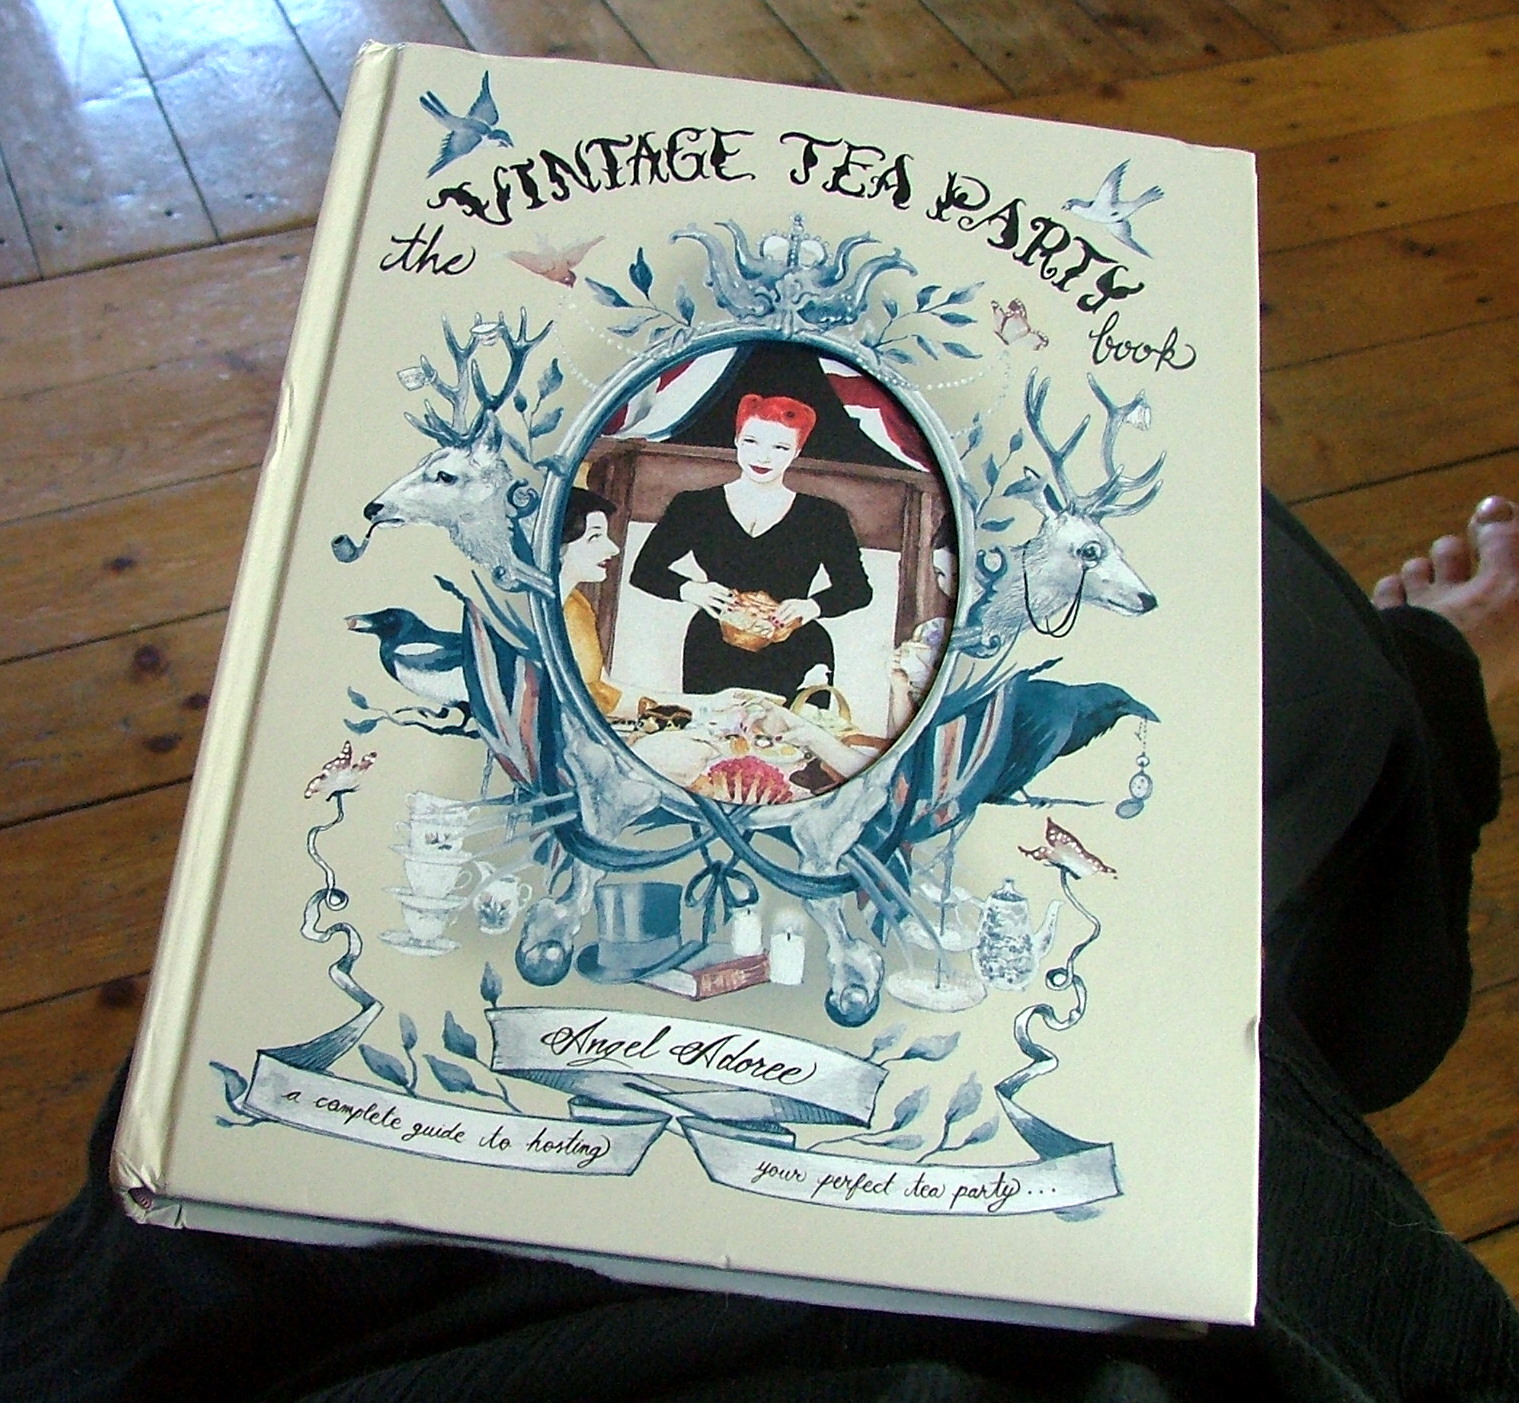
This book is delightful! It contains many delicious recipes and the illustrations are eerily charming.

The book also includes directions on how to make vintage style (forties style) half aprons, hats, and hairstyles. Needless to say, several of my loves in one book. However, as you can probably tell from the picture above, which was taken from the book, the book is from Great Britain and the recipes are done with British units of measure, terms for ingredients, and uses cooking instructions in Celsius. Thanks to the interwebs, this is less of a problem than it used to be, and I highly recommend purchasing the book.
I normally would not post a recipe that was not mine on this site. But, because I had to do some translating, and it is so good, I am including it on the blog.
The recipe below is for two grapefruits. If you would like to make the recipe for one grapefruit, just half all of the ingredients.
Ingredients
2 grapefruit1/4 cup (2 fluid ounces) good sherry
2 tsp. butter (this is an approximate measure you can use more or less)
4 tbsp. raw sugar (If you don't have raw sugar I would recommend using light brown sugar rather than plain sugar.)
4 tbsp. creme fraiche
2 tbsp. honey
4 sprigs of fresh mint (to decorate)
Instructions
1. Preheat oven to 400 degrees Fahrenheit.
2. Cut the grapefruit in half and loosen the segments by sliding a sharp knife between the peel and the pith
and between each segment, leaving the flesh in the skin,
3. Arrange the grapefruit halves on a roasting pan or a baking tray with sides (you do no want to use a totally flat tray as the juices will run a little as the grapefruit bakes), cut side up.
4. Spoon sherry equally over each half.
5. Sprinkle each grapefruit half with 1 tbsp. sugar. (I know this sounds like alot, but I never said the recipe
was healthy, just delicious.)
6. Place a small pat of butter on each half.
7. Place baking pan in the center of the oven and bake for fifteen (15) minutes.
8. Remove from the oven and spoon over any juices remaining in the tray.
9. Serve at once.
The grapefruit is amazing just like this, but if you want to kick it up a couple notches, you can add the following steps.
10. Top each grapefruit half with a tablespoon creme fraiche and a drizzle of honey to taste.
Decorate each with a sprig of mint.
You can purchase creme fraiche but, if for some reason you cannot find creme fraiche, you can make your own creme fraiche.
Homemade Creme Fraiche

Ingredients
1 cup heavy cream2 tbsp. buttermilk
Instructions
1. In a screw top jar, combine heavy cream and buttermilk.
2. Cover and shake well.
3. Let stand at room temperature for 2 to 5 hours or until thickened.
Will store in the refrigerator for up to three weeks.
I know it sounds odd, but try this recipe. You won't regret it.
During the winter months you want food that will heat you from the inside and stick to your bones. THis next recipe definitely fits that definition. I was going to post this recipe for New Year's because it is one of the foods that you eat for good luck, but I did not get the chance. So I figure now is the perfect time to post this recipe as it is an amazing food to have when it is cold.
Hoppin' John

Full disclosure here. I hate black eyed peas. I, in general, hate peas and beans period. Its a texture thing for me. Because of this, each year I try to find a recipe that I can tolerate to eat black eyed peas for the New Years day. This recipe is a combination of recipes that I found that not only could I tolerate but I wanted to eat again! The one major difference that I do in this recipe is the thickness of the dish. Traditional Hoppin' Jack is almost a soup and is served over rice. I like a thicker "sauce" having more of the consistency of a thick red beans or baked beans. I do not like it very liquid-y. If you like it more liquid and would like it over rice, by all means do it.
Like most of my recipes , this is a meal for two people, so you do not want to make this recipe if you are feeding a crowd or you can double the ingredients to feed a group of about four to six people.
Ingredients
2 tbsp. butter
1/2 large onion, diced
3 cloves garlic, minced (or two large cloves)
1/2 green pepper, diced
2 cups soaked black eyed peas OR (because ain't nobody got time for that)
1 can (15.8 ounces) black eyed peas, drained
2 1/2 cups reduced sodium chicken broth
(I usually use homemade chicken broth. Also the 2 1/2 cups is more liquid than I use. I have put this
measurement if you want to make a more traditional Hoppin' Jack. I usually only use about a cup and
a half of broth, but keep an eye on it and do what you like.)
3 slices thick cut bacon, diced
Salt and Pepper to taste
Cayenne pepper to taste
Smoked (Hot) Paprika to taste
(I like to use 1/4 tsp. cayenne pepper and 1/4 tsp. paprika but sometimes I use less and sometimes
I use more.)
1 tbsp white wine vinegar OR white balsamic vinegar
Dill, dried (optional)
Black garlic powder (optional)
Instructions
1. If using dry black eyed peas, soak black eyed peas in cool water for at least six (6) hours.
Rinse before using.
2. Heat butter in a large pot over medium high heat. If you have a Dutch oven, now is the time to use it.
3. Add diced bacon and cook for about one minute to let some of the fat render out.
Add onion, green pepper, and celery and stir.
Cook for three (3) to four (4) minutes until vegetable are tender and bacon is slightly crisp.
4. Stir in soaked or canned black eye peas.
Add chicken broth. Add salt, pepper, cayenne pepper, and paprika to taste.
5. Bring to a boil, then reduce heat and cover pot with lid for 30 minutes.
6. After thirty (30) minutes check the liquid level; if it is too soupy, cook with the lid off for fifteen (15)
minutes or so.
If it is too thick, add in a little more chicken broth until it is the consistency you desire.
7. Once desired consistency is reached, stir in vinegar and then taste for seasonings.
This is delicious right here with no other seasonings added,,,,,, but, at this stage, I sometimes add about 1 tsp. dried dill and 1/2 tsp. to 1 tsp. black garlic powder. Whether I do so or not is really dependent on my mood.
If you liked this soupy you can serve it over rice. If you are like me, and you like it thick, serve it with a nice, crusty bread and a side salad.
Well, I think that is it for this post. I hope you try the recipes and they help keep you warm during this very cold winter.
Hope to post again soon!
