Showing posts with label recipes - pork. Show all posts

Sunday, April 21, 2019

Easter Dinner for Two - Grand Marnier Spicy Ham, Cheesy Potato "Souffles", Tropical French Island Carrots, and Pear Salad

Hello Everyone!
Happy Easter!
As I promised, just yesterday, if my ideas for Easter recipes turned out, I would post them on the blog.  So here they are!  I know they are too late for Easter, but they would be good as a Sunday dinner as well, and the side dishes could be good for a week-night meal, so I decided to go ahead and post the meal anyway.
Before I start the post, I just want to give you a quick update about my post from a week or so ago when I said that I was going to start my great grandmother's beauty regime, I am still working on the series and will have part two of the series up shortly.  I know that most of you prefer posts about the recipes and crafts, but I enjoy the vintage fashion/beauty posts, so I am going to keep making them but I, of course, will keep doing the recipes and frugal tips.  I mean, its what this site was created for in the first place.

Starting from the bottom left, there is the salad, carrots, and potato "souffle", and the ham is in the background there.
Also, before I start with the recipes has anyone ever heard of decorating Paskris Trees for Easter?  It is a tradition that has been around for a very long time and today was the first day that I heard of it.  Thank you Instagram.

How cute and precious is that?!?!?!  

This is a tradition that I need to begin doing at my house.  I love the idea of decorating a tree with eggs and feathers.  This is something that I will definitely be trying next year.

Want to know a little more?  Then just click on the link below.
https://www.womansday.com/home/crafts-projects/g18203689/easter-egg-tree/
This link gives a quick history of the tradition and shows some trees, with instructions that you can make for yourself.

Of course, I worry that, if I use real feathers my cats, and possibly my dogs, may loose their minds and kill the tree, so I really love the idea of doing a tree a little more like this:


The feathers are made out of paper!!!  I am going to have to ponder and see what I would like to do for next year and make an Easter tree craft project for a post next season.  If you would like to see how to make this tree, just click the link below.
http://thehousethatlarsbuilt.com/2016/03/diy-paper-swedish-easter-tree.html/

But now, on with the recipes.

Cheesy Potato "Souffles"


Ingredients
1 large Idaho potato, peeled and cut into one inch cubes  (I used one that was slightly smaller than two of my combined fists.)
1/2 cup shredded cheddar cheese
1/4 cup shredded Gruyere cheese
2 eggs
1/2 tsp. black garlic powder (can use regular garlic powder)
1/8 tsp. Zatarain's Creole seasoning (Can put more if you like potatoes a little saltier)
1/8 tsp. Cayenne pepper (Can do more if you like things spicy)
1/2 tsp. dried dill
Freshly ground black pepper (to taste)
Sour Cream (garnish)
(This list of ingredients is just what I did to go with a ham dinner.  So I kept it kind of simple.  But other items can be added.  For example, if you are serving steak it would be delicious if you added two or three slices of finely chopped, cooked bacon, and fresh chives to the other ingredients in this recipe.  Or if you are serving chicken, you could add about 1/4 cup of chopped ham and garnish with a bearnaise sauce instead of sour cream and have it be sort of like a play on Croque Monsieure with a potato dish. Or, with a roast chicken, add some rosemary.... You get the drift.)

Instructions
1.  Preheat oven to 400 degrees fahrenheit.
1.  In a medium sized sauce pan, put enough water to cover potato cubes and add salt.   Bring water to a boil.  Boil potatoes for twenty minutes.
2.  Strain potatoes and put them in a medium sized bowl.
3.  Add the two eggs to the potatoes and mash the potato and eggs until potatoes are a creamy consistency.
4.  Add the cheddar cheese, Gruyere cheese, black garlic powder, Zatarain's Creole season, Cayenne pepper, dry dill, and freshly ground pepper and mix with a fork to combine the mixture. (The cheese will melt, but if it does not, that is not an issue.
5.  Spray two ramekins or cocottes generously with non-stick cooking spray. (I like butter flavored, but you do you.
6.  Divide the potato mixture evenly between the two ramekins/cocottes.
7.  Bake in the preheated oven for 25 minutes.
8.  Remove from the oven and let cool slightly before serving.

If your ramekins are pretty, you can keep the potatoes in the ramekin.  But you can also let the souffle cool slightly and then remove from the ramekin before serving.  (Usually they just pop out, but you can gently run a knife along the rim to loosen the souffle from the ramekin if they don't come out on the first try.)


Tropical French Island Carrots


The idea behind these carrots was inspired by what I wanted to do with my ham, or, more precisely, what I didn't want to do with my ham.  I did not want the typical sweet ham with the pineapple rings and the cherries in the center.  (I like the recipe, and it is vintage, which we all know I love, but I wanted something different.)  So I wanted to do a sweet vegetable dish since I wasn't going to have a sweet ham, and came up with this carrot and pineapple dish.  I named it Tropical French Island Carrots because of the Herb de Provence combined with the pineapple.  I just thought if seemed like a dish a french person would come up with if they moved to a tropical island.

Ingredients
4-5 ounces baby carrots  (about one cup)
1 (8 ounce) can pineapple chunks, drained and juices reserved
Zest of half of one large orange (about one heaping teaspoon)
1 tsp. lemon juice (Do yourself a favor, buy a lemon and freshly squeeze this OR use lemon flavored balsamic vinegar.)
1 tsp. honey
1 tbsp. unsalted butter
1/4 tsp. or 1/2 tsp. Herb de Provence

Instructions
1.  Steam carrots 8-10 minutes until tender.  (If you don't have a steamer, then boil the carrots for 8 minutes.)
2.  In a small bowl or ramekin, mix the following ingredients:  orange zest, lemon juice, and honey.  Set aside.
3.  Put drained carrots in a sauce pan.  Add the pineapple chunks and the lemon juice mixture.  Simmer over a low heat stirring frequently until pineapple is heated.
4.  While carrots and pineapples are simmering, combine cornstarch with pineapple juice in a small bowl or ramekin.  Stir into carrots and pineapples.
5.  Add the Herb de Provence, stirring until thoroughly distributed.
6.  Simmer, stirring constantly, until mixture is thick and all carrots and pineapples are covered in the glaze.


  7.  Remove from heat and place in small serving bowl.

Pear Salad


This is the easy part of the meal.  I did not make the dressing for the salad, but it is a delicious combination, so I thought I would tell you about it.  It is very easy to make this salad look fancy merely by spending a little extra moment on the presentation.

Ingredients
Raw Spinach
Red or Green Pear,  thinly sliced (for two people, I only needed to use half of the pear)
Feta Cheese
Marzetti Simply Dressed Pomegranate Vinaigrette
Candied pecans

Instructions
1.  In a shallow bowl, put a handful of spinach.  (This will be a serving for one person, so if you are making dinner for two, grab another bowl and put a handful of spinach in that bowl.  The rest of the instructions are for one bowl only, so just copy and do for both bowls if you are making two salads.)
2.  Slice pear along the center making certain to avoid the core.  Thinly slice the pear.  (This amount of pear will be enough for two bowls.)
3.  Place the pear slices on the spinach in a star pattern.
4.  Sprinkle the pears and spinach with 1-2 tbsp. feta cheese.
5.  Dribble two teaspoons of vinaigrette over salad in a spiral pattern.
6.  Sprinkle with candied pecans.


See!  Very pretty, and can be made right before the meal is to be served.

Grand Marnier Spicy Ham


Okay, I'm not going to lie.  This recipe was created out of sheer desperation.  I had a ham recipe that I had found online that I wanted to try and, if I liked it, I was going to link the recipe for y'all and then write down the adjustments that you needed to do to make it a ham for two people......But I didn't pay attention to the recipe and missed a crucial step - and that step would be that, after covering the ham with the paste in the recipe, the next step was to cover the pan the ham is placed in tightly with foil and refrigerate for 12 to 24 hours.  Crap!  I was making dinner to eat in about 45 minutes when I read that.  I did not have one hour let alone 12 to 24 hours.  Time to come up with my own recipe for a glaze, based on things I had in the kitchen that I was using for the other dishes.  Thus this glaze, and ham recipe was born.

Ingredients
1 small ham (Mine was a half ham that I got at Costco for around $8.00 and I think it was about 2 lbs.)
Juice hand squeezed from a half of a lemon
1 tsp. white balsamic vinegar
2 tbsp. Grand Marnier  
(I know that Grand Marnier is expensive, here is my frugal tip.  Since I only use it for cooking, I always keep an eye out for Grand Marnier in mini bar sized bottles.  When I find them, I purchase one or two.  They usually run about $5.00 a bottle and it is far less expensive than getting whole bottle, gives me plenty for my recipes, and is small enough to keep in my spice cabinet.)
1 1/2 tsp. spicy brown mustard
1/2 tsp. Herb de Provence
1/2 tsp.- 1 tsp. Cayenne pepper
1 tsp. - 2 tsp. Sriracha sauce
1/4 tsp. - 1/2 tsp. black garlic powder  (Can substitute regular garlic powder but you will lose the smokey flavor.)

Instructions
1.  Preheat oven to 350 degrees fahrenheit.
2.  In a large ramekin, combine all of the ingredients except for the ham and set aside.
3.  Place the ham, fat side down, in a medium large baking/roasting dish.
4.  Score the ham with cuts one inch apart and about 1/4 inch deep.  You want to do this in a grid pattern going in two directions. First going diagonally one way and then going the opposite way so that you create "squares" over the entire surface of the ham.  See the picture above if this description does not make sense.
5.  Brush half of the Grand Marnier glaze onto the surface of the ham.
6.  Place ham in the oven and cook for 10 minutes.  Brush ham with half of remaining glaze mixture. rotate the pan in the oven and cook for another 10 minutes.  Brush ham with the remainder of the glaze mixture, rotate the pan, and cook for another 10 minutes.
7.  You will know the ham is done when the exterior is dark and the ham is heated all the way through and a meat thermometer reads 140 degrees.
8.  Remove from the oven, let cool slightly, and slice thinly to serve.


This glaze was so good, my husband wants me to come up with other meats to use this on.  So I am currently brainstorming ideas for how else I can use this glaze.

So here are some pictures of the final products.

You can see the ham sliced in the background behind the carrots.

These are my sized portion, so it doesn't look like a full plate.  I usually serve my portions on a salad plate.  Its my secret to being skinny.  I eat what I (mostly) want, but I eat small portions and I eat about every four hours.

Well, that is it for the recipes.  I hope you try them and enjoy them.
To end, here are some pictures of my Easter - which I spent cleaning and cooking. :-)

Me in my bunny slippers, apron, and fancy rubber gloves cleaning the kitchen before I started preparing Easter dinner.

These gloves only have a "ring" on the left hand.  I guess single ladies don't get bling on their cleaning gloves.

A close up of my bunny slippers.  I have another pair where the bunnies are grey with turquoise bottoms and the eyes have eyelashes.  Because, you know, I am an adult.

I cleaned and put away my Great Grandma Vucic's kitchen storage containers in my vintage, metal, pantry.  As large as the set currently is, I know that it is missing some pieces and it has now become my goal in life to try to complete the set.

As you can see, the lids are missing from two of these containers.  I put these and the spice containers on the kitchen counter.

These  spice containers are, obviously, not airtight.  But I love them, so the red you see is the top of the spice, still in the screw top container, placed inside the pretty container.  Problem solved.

I hope to bring y'all another post soon.  Bye!


Thursday, April 7, 2016

Frugal Femme Two Week Menu #2: Week One, Thursday - Fried Ham, Angel Hair Pasta with Cherry Tomotoes and Chopped Salad

Hello Everyone!
Tonight was a late night at the Frugal Femme household, Nicholas had rehearsals and I went to go watch high school drama. Literally.  I went to go see two of the young actors that I know, from the theatre where I work, perform a Tennessee Williams drama.  They did a really good job, but I still don't like Tennessee Williams. The man is a genius, but all of his plays, or at least all of the ones that I have seen, are so depressing.  So I got home late and needed a palette cleanser and a super quick meal.  Fortunately for me, the meal I had planned for this evening was a quick one and I own the Looney Toons Golden collection Volume 1-5.  So I popped on some "What's Opera Doc" and started this evening's Frugal Femme.  Sorry for the lack of pictures, but I didn't have the time to take pictures and add them to this post.  I will add pictures for a later time.

Fried Ham

This main dish really doesn't even need a recipe, but I am including it here as a super quick way to add protein to a dinner.

Ingredients
Ham, sliced into 1/4 inch "steaks"
1 tsp. olive oil
1 tsp. butter

Instructions
1.  Cut a ham into 2-3 slices of 1/4 inch "steaks".
2.  In a heavy bottomed skillet, heat olive oil and butter over medium heat.  Once the olive oil begins to "glimmer" and the butter has melted and begun to sizzle, carefully place the ham in the skillet.
3.  Cook for about 3 minutes and turn. Continue cooking until heated through, about 2 minutes.
4.  Remove from skillet and place on a paper towel covered plate to drain.

Angel Hair Pasta with Cherry Tomatoes

This dish can should be made the night before, or in the morning before you leave for work so that it can sit in the refrigerator for at least 6 hours allowing the flavors to blend.

Ingredients
1 tbsp. olive oil
2 cloves garlic, minced
1/2 cup cherry tomatoes, sliced in half
1/4 cup fresh basil, chopped or 1 tsp. dried basil
1 1/2 tbsp. red wine vinegar
dash salt
angel hair pasta  (about two handfuls dry or about 1/2 pound)
black pepper, freshly ground, to your personal taste
Parmesan cheese, freshly grated (as topping, to your personal taste)

Instructions
1. In a small, heavy bottomed skillet, heat olive oil over medium low heat.
2.  Add garlic and stir for three minutes.  Do not brown the garlic and be careful not to burn. Transfer to a small bowl. Mix in tomatoes, basil, red wine vinegar, salt and pepper.
3.  Cover with plastic wrap, place in the refrigerator and let sit for at least 6 hours.
4.  When you are ready to eat, cook angel hair pasta according to package directions. 
5.  Drain well and place in a large bowl, pour the sauce over the pasta and toss.
6. Sprinkle with parmesan cheese.

Chopped Salad

This is another recipe that I feel a little silly including because it is so simple, but this is a simple meal night.

Ingredients
1 handful romaine lettuce
1 handful iceberg lettuce
1 handful spinach leaves
1 carrot
1/2 small red Vidalia onions
1 cluster broccoli (optional)
1 celery rib
1/2 red bell pepper
1/2 cucumber
1 handful shredded cheddar cheese

Instructions
1.  Pull all ingredients, except for the shredded cheese,  into a large plastic bowl and toss to combine. 
2. Using a dough cutter, "chop" the salad into small pieces about one inch in diameter.  If you do not have a plastic bowl or a dough cutter,  combine the ingredients in bowl and then pour them onto a large cutting board.  Using a large chef's knife, chop the salad but by cutting straight down repeatedly on all of the ingredients until they  are about 1 inch in diameter.
3.  If chopping on a cutting board, put chopped ingredients back into bowl.
4.  Add shredded cheese.
5.  Toss with your favorite dressing and serve.

I know this was a very simple meal, but sometimes you got to go with quick and easy. 

Sunday, April 3, 2016

1st Meal of Another Two Week Menu - Pork Chops with Apples and Onions, "Mock" Garlic Mashed Potatoes, and Tossed Salad

Hi Everyone!
Its time to begin posting another round of two week menus.  My husband is currently rehearsing for a show, so the meals will be posted late as I will preparing them late so he has something to eat when rehearsals are done.   Why do I have to wait?  Because this time around I am going to include pictures!
Per some advice from some of my friends, I am going to try to do this differently.  The first change is that one of my friends asked me to put the two week menu into more of a grid.  Another asked me to include a grocery list with as many of the ingredients on the list as possible.  I tried to do this, but I know there are still some ingredients that I am missing.  Also, I did the grid.  I hope this was what she had in mind.

Sunday
“Pork chops” with Apples & Onions
 
“Mock” Garlic Mashed Potatoes
 
Tossed Salad
 
Monday
Asian Chicken Lettuce Wraps
Tuesday
Pork Steaks with curried peanut sauce
 
Roasted Garlic Cauliflower
 
Ramen Noodle Salad
Wednesday
Country Style Casserole (Chicken)
 
Julienned Carrots and Onions
 
Thursday
Fried Ham
 
Angel  Hair Pasta
 
Chopped Salad
Friday
Pan Sauteed Chicken with Vegatables and herbs
Saturday
Roast Chicken
 
Feta and avocado with red onions (Caprese Salad)
 
Stuffing Bread
 
Peaches  and Apples  with Peanut Butter Honey Dip
Sunday
Beef Roast
 
Potatoes
 
Salad
Monday
Chicken Salad
 
Roasted Tomatoes
 
Stuffing Bread
Tuesday
Beef Stew for Two
 
Strawberry Salad with Poppy Seed Dressing
 
Country Herb Croissants
Wednesday
Grilled Chicken
 
Curried Carrot Soup
 
Scallion Pancakes with apple chutney
Thursday
Muffuletta  Pasta Salad
Country Herb Croissants
Friday
Greek Meatballs in wine sauce
 
Herbed basmati rice
Saturday
Steak
 
Savory Grilled Corn
 
Twice Baked Potatoes
 
Fruit Salad Dressing & Fresh Fruit
Grocery List
Meats
Vegetables/Fruit
Pasta/Rice
Dairy
Staples (Items Already in Pantry)
Canned Foods
 
Pork Roast (from Costco)
Chicken Breasts
1 Whole Chicken
1 (3-4lb beef roast)
Ham (Cut into quarters and frozen)
Salami
Gold Potatoes
Apples
Onions (1 white and 1 red)
Cauliflower
1-2 Cloves Garlic
Green Onions
Bibb Lettuce
Romaine Lettuce
Iceberg Lettuce
Peach
2 Lemons
Frozen Shredded Hashbrowns
Carrots
2 ears corn
Strawberries
Cherry Tomatoes
 
Tri Colored Pasta
Angel Hair Pasta
Milk
Cream Cheese
Mayonnaise
1 tube refrigerated crescent rolls
Sour Cream
Parmesan Cheese
Hoisin Sauce
Soy Sauce
White Rice
Honey
Smooth Peanut Butter
Dijon Mustard
Chicken Boullion
Yeast
Bread Flour
1 (8 ounce can) water chestnuts
2 cans pineapple juice
1 can frozen orange juice concentrate
2 cans cream of chicken soup
Chicken Broth
Olive Salad


And now for the first meal of the week!!!

Pork Chops with Apples and Onions

Ingredients
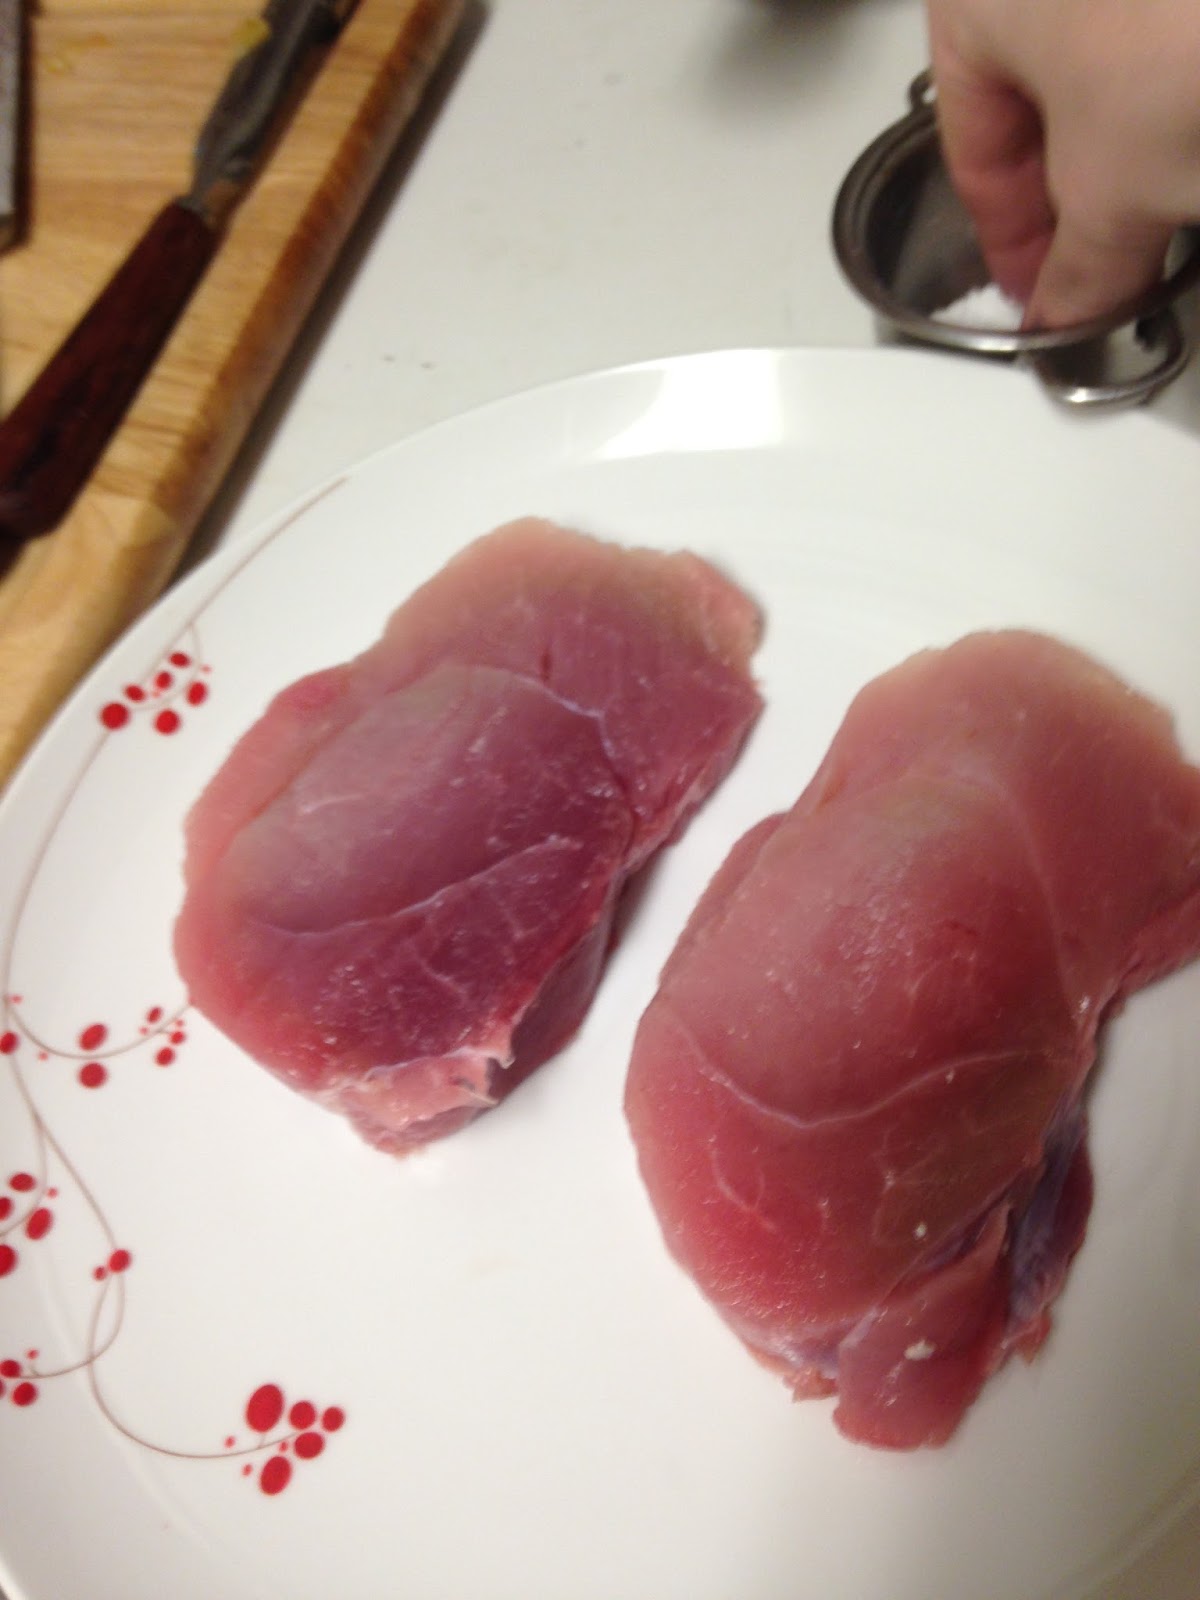
2 "pork chops"  (these are two "chops" that I cut from the pork roast about 1 inch thick each)
Kosher Salt
Freshly Ground Pepper
1 tbsp. extra virgin olive oil
2 tbsp. unsalted butter
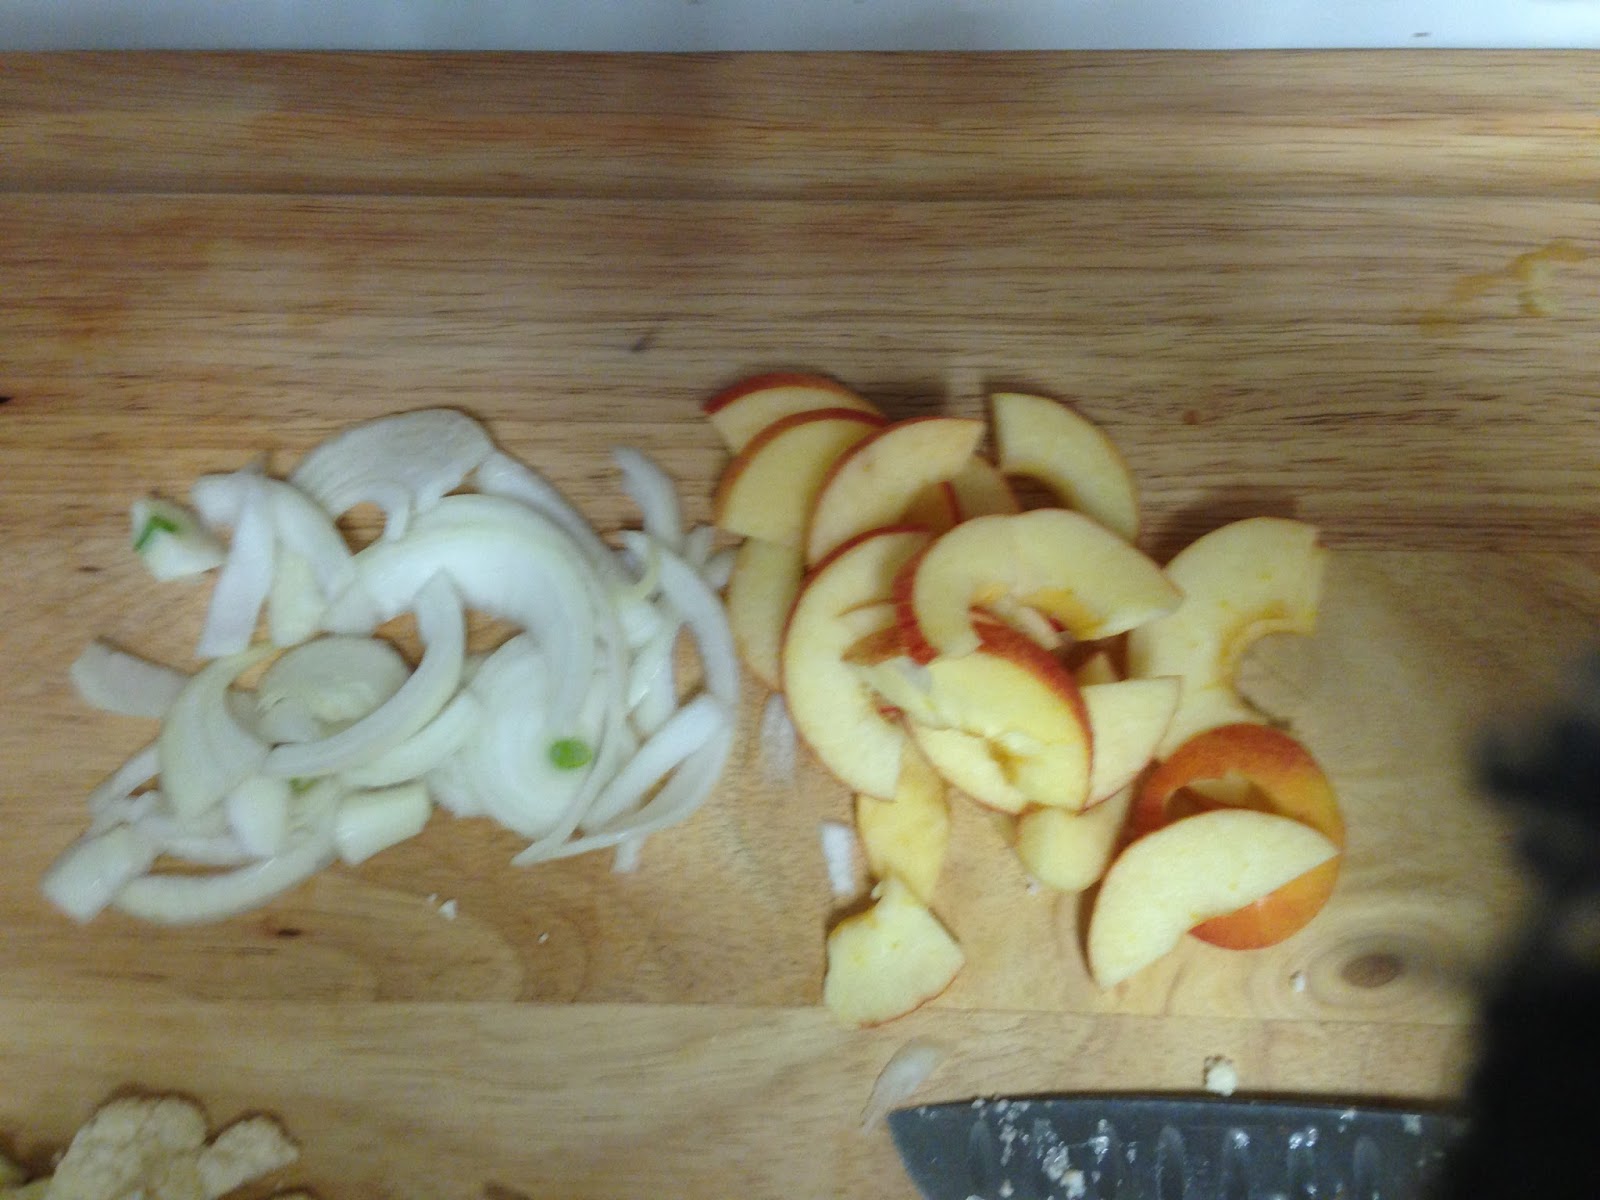
1/2 one white onion sliced
1 large apple or 2 small apples sliced
1/2 cup sherry

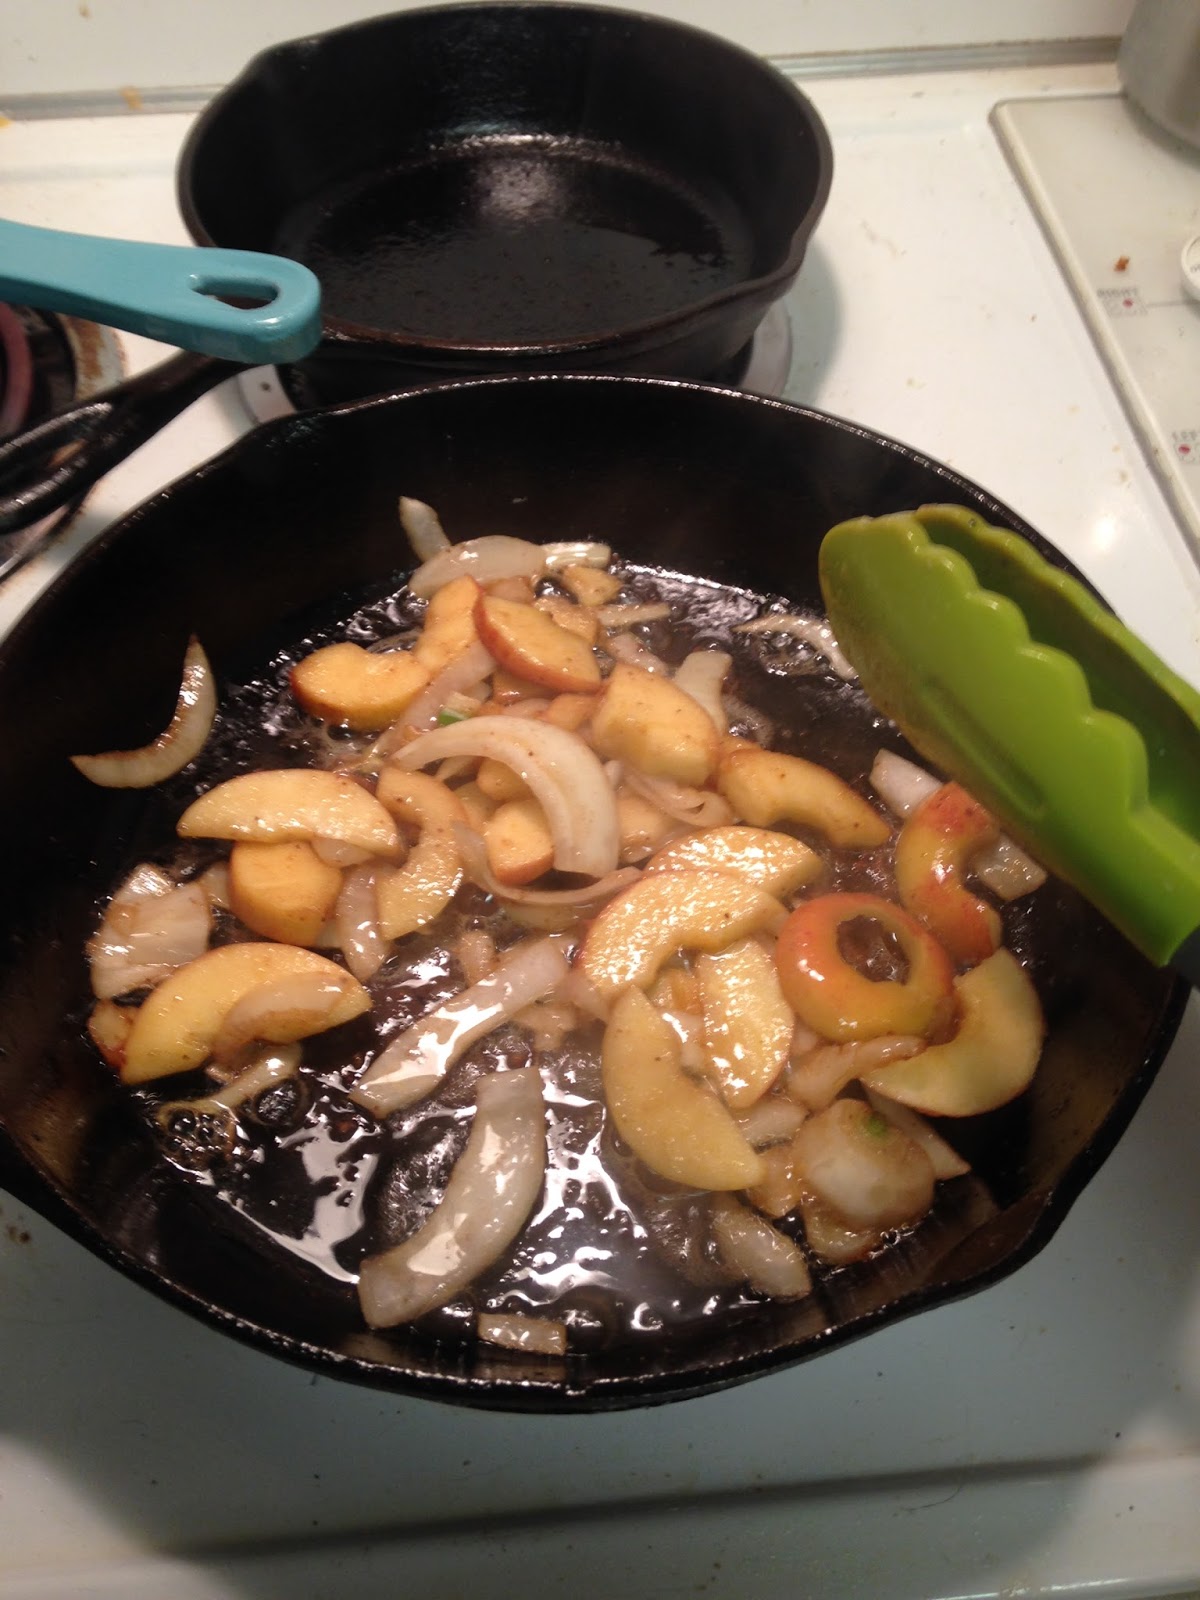
Ingredients sliced and ready to go

Instructions
1.  Sprinkle chops generously with salt and pepper on both sides.


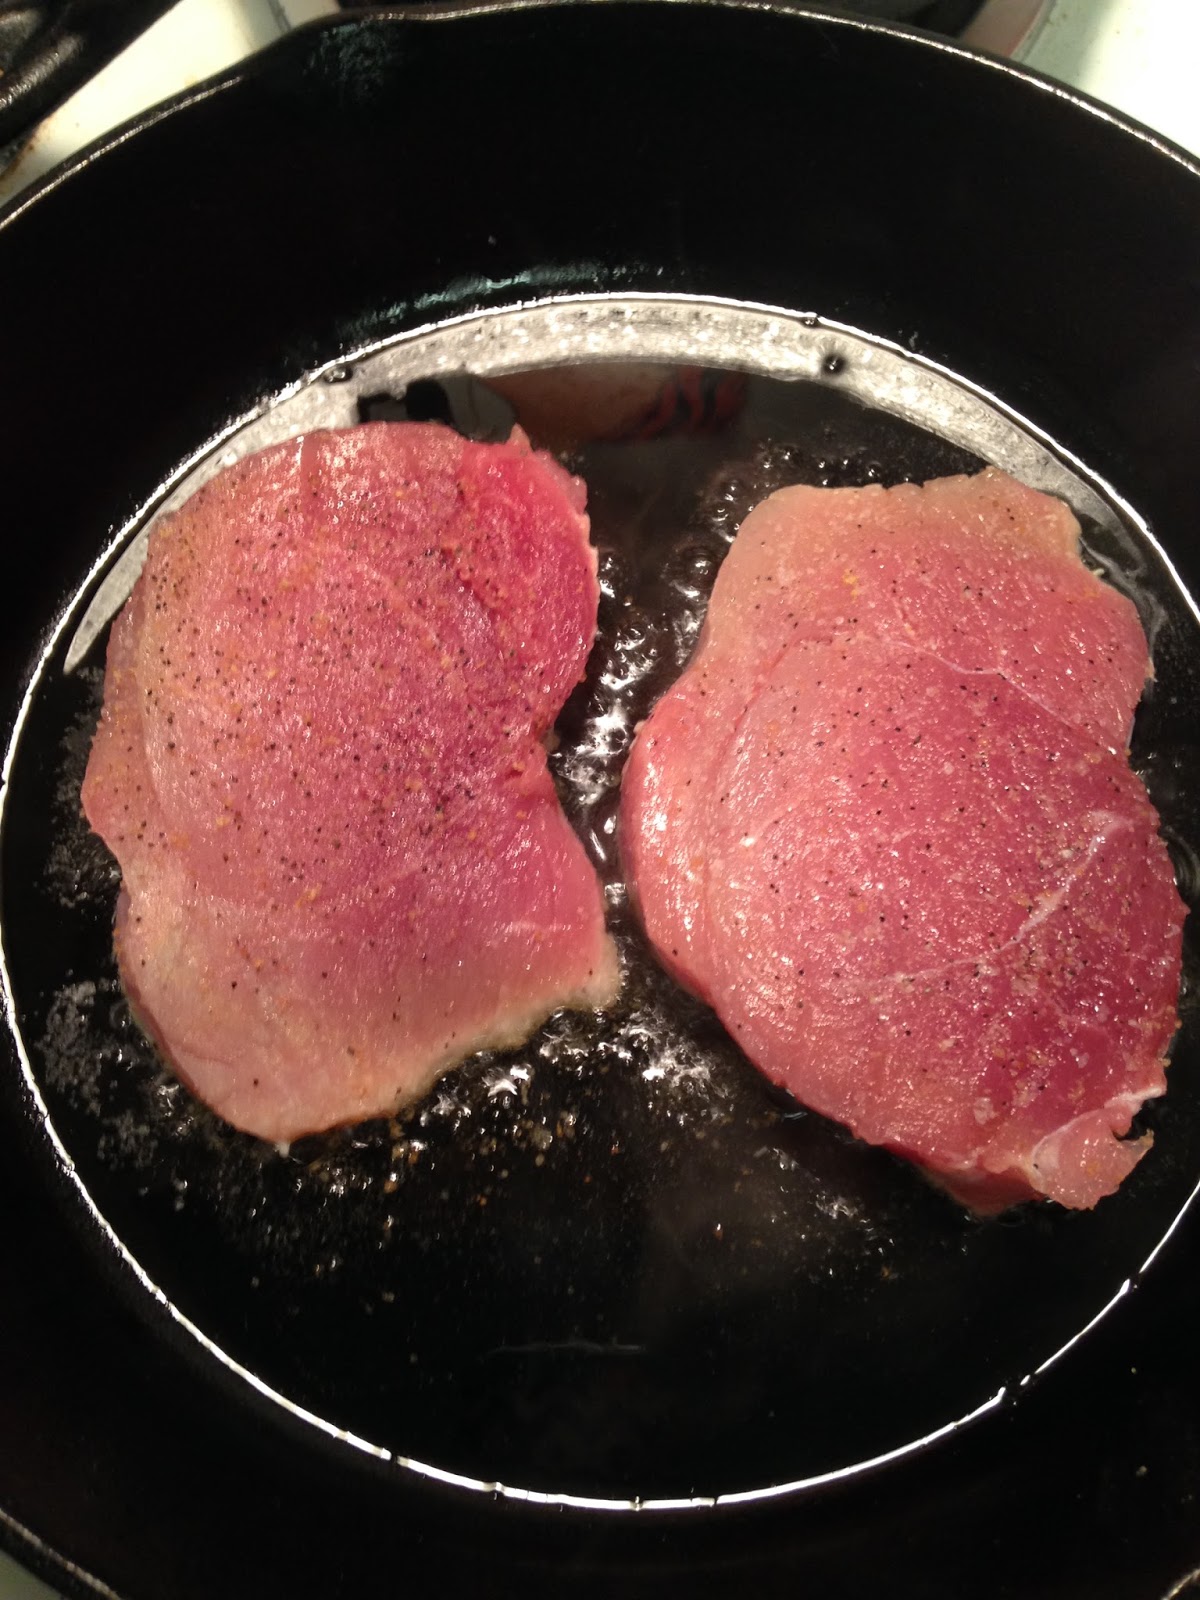
2.  Heat a large cast iron skillet over medium high heat and swirl in the olive oil.  Once olive oil begins to "gleam", lay the pork chops in the pan and don't move them for a few minutes, to assure that a good golden sear forms.  Turn and brown well on the second side for a total of about 3 to 4 minutes per side.  Transfer the chops to a warm plate.


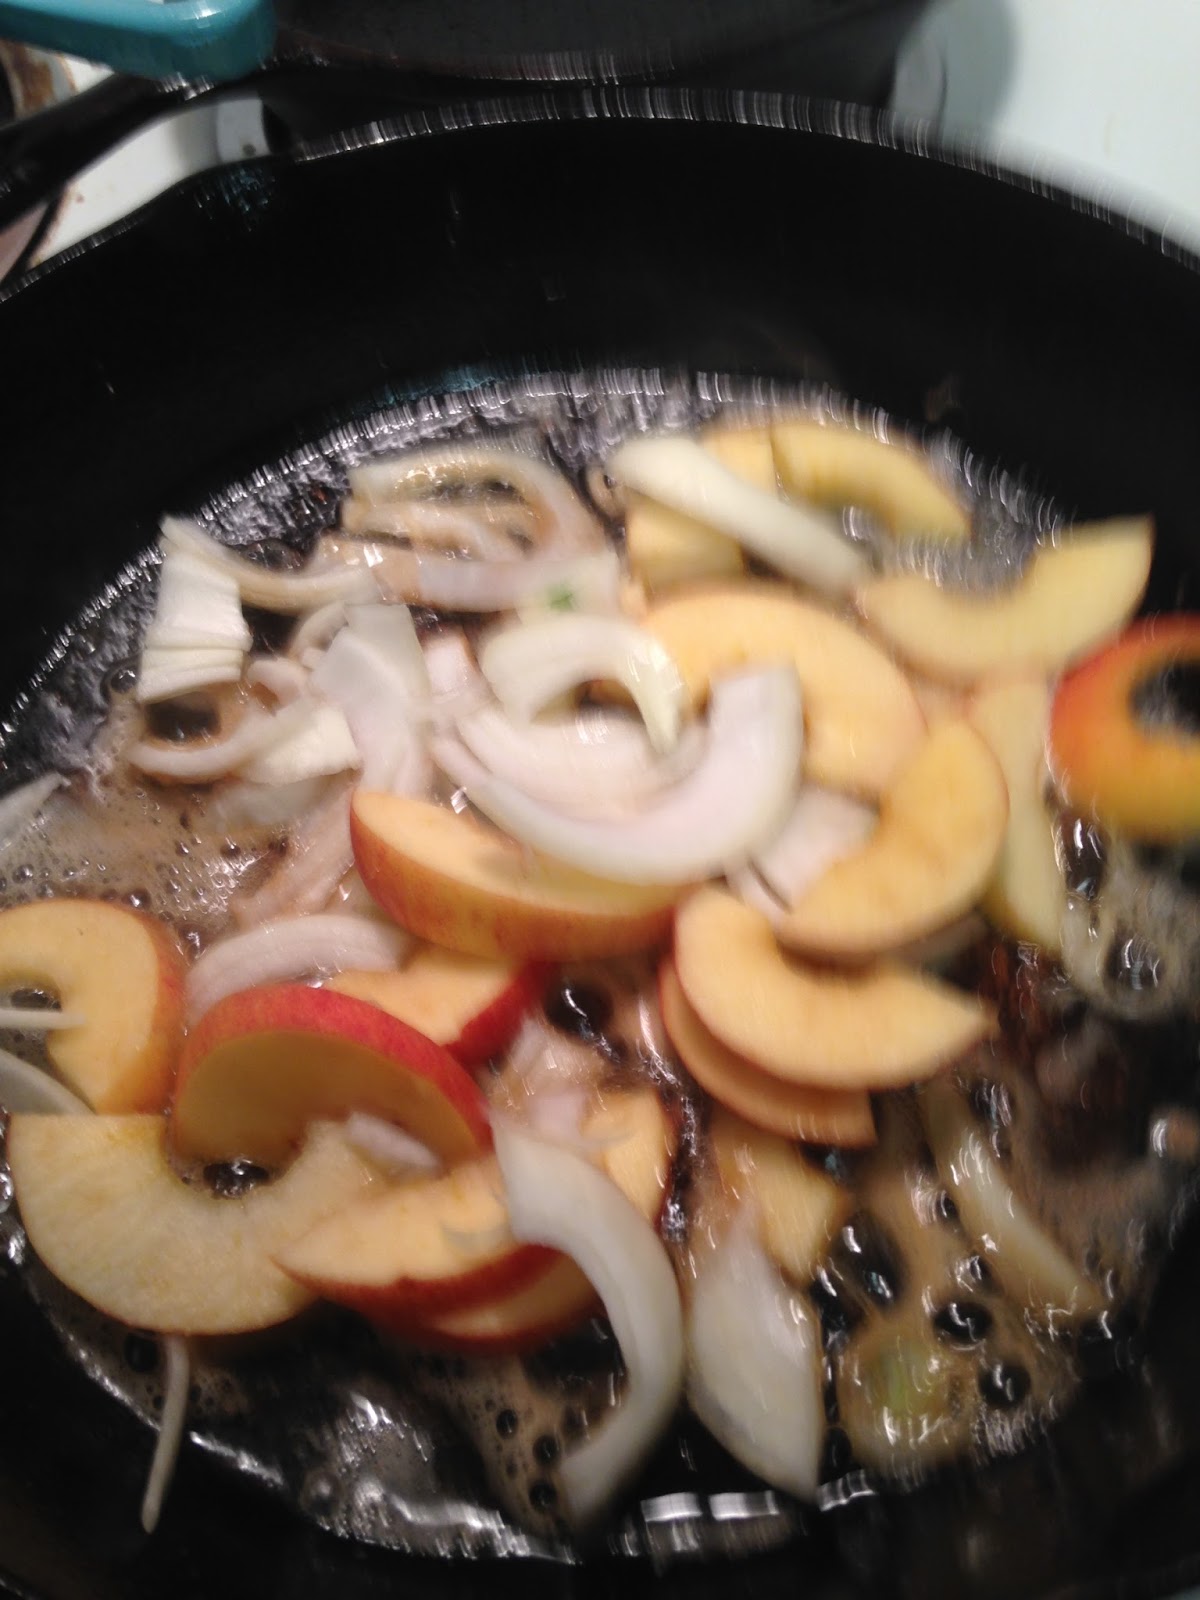
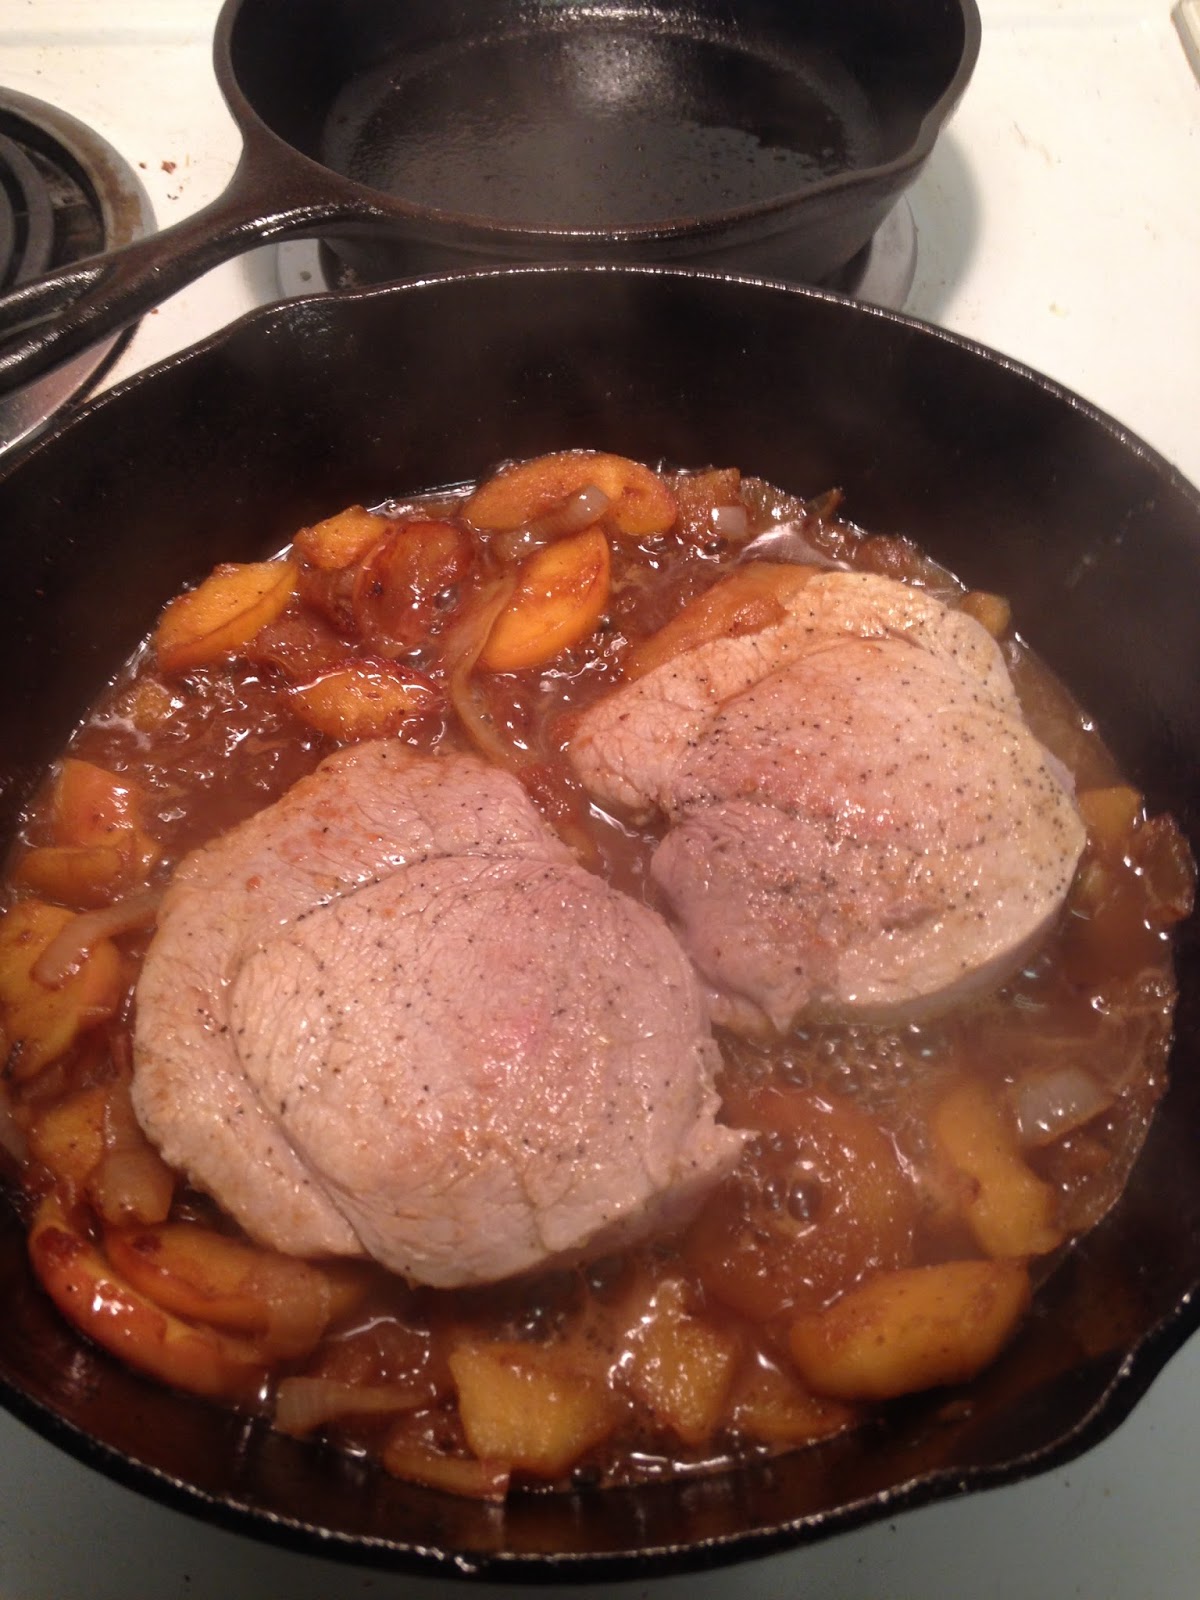
3.  Lower heat to medium.  Swirl the butter into the pan. Add the onions and the apples. Saute until the onions are lightly caramelized and that apples have begun to soften, about 8 minutes.  Stir in the sherry.  Return the chops to the pan.


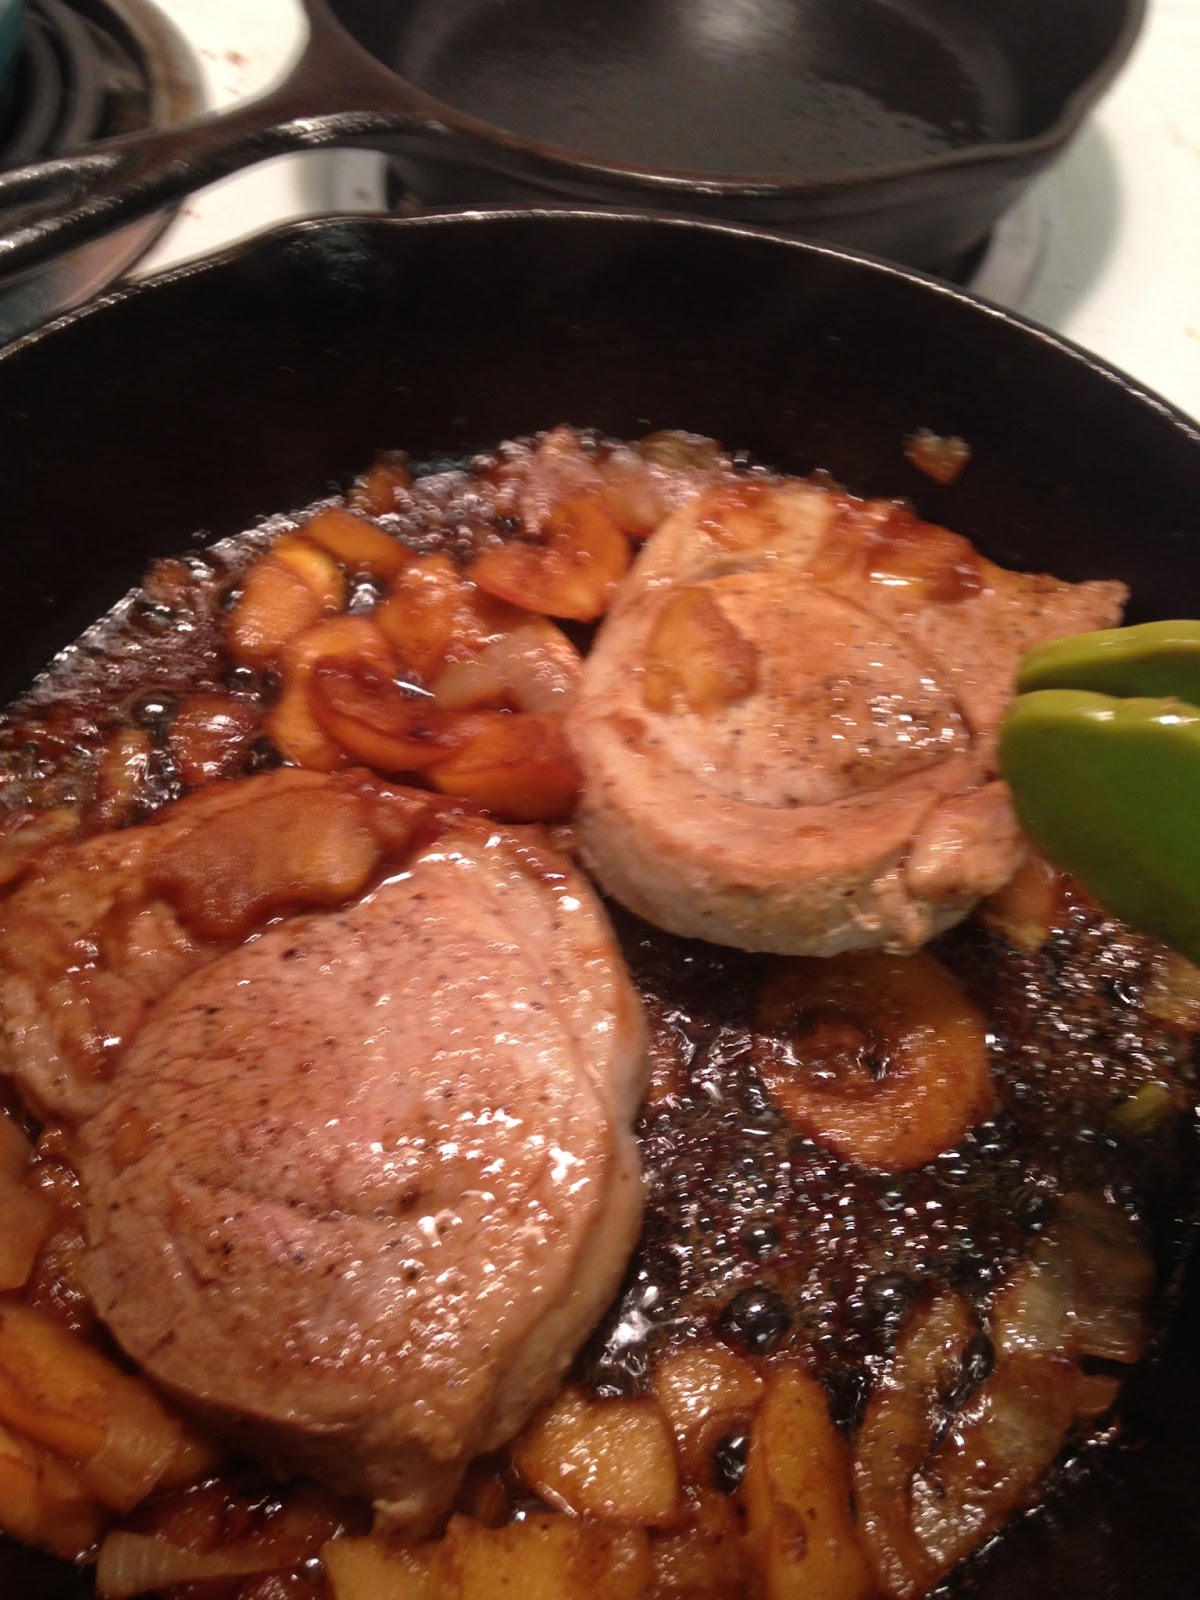
4.  Cook until the pork is tender and cooked all the way through, about 4-5 minutes per side.

Serve the chops with the apple onion mixture over the top.

"Mock" Garlic Mashed Potatoes

Ingredients
1 head cauliflower
1 tbsp. creamed cheese
1/4 cup grated parmesan cheese
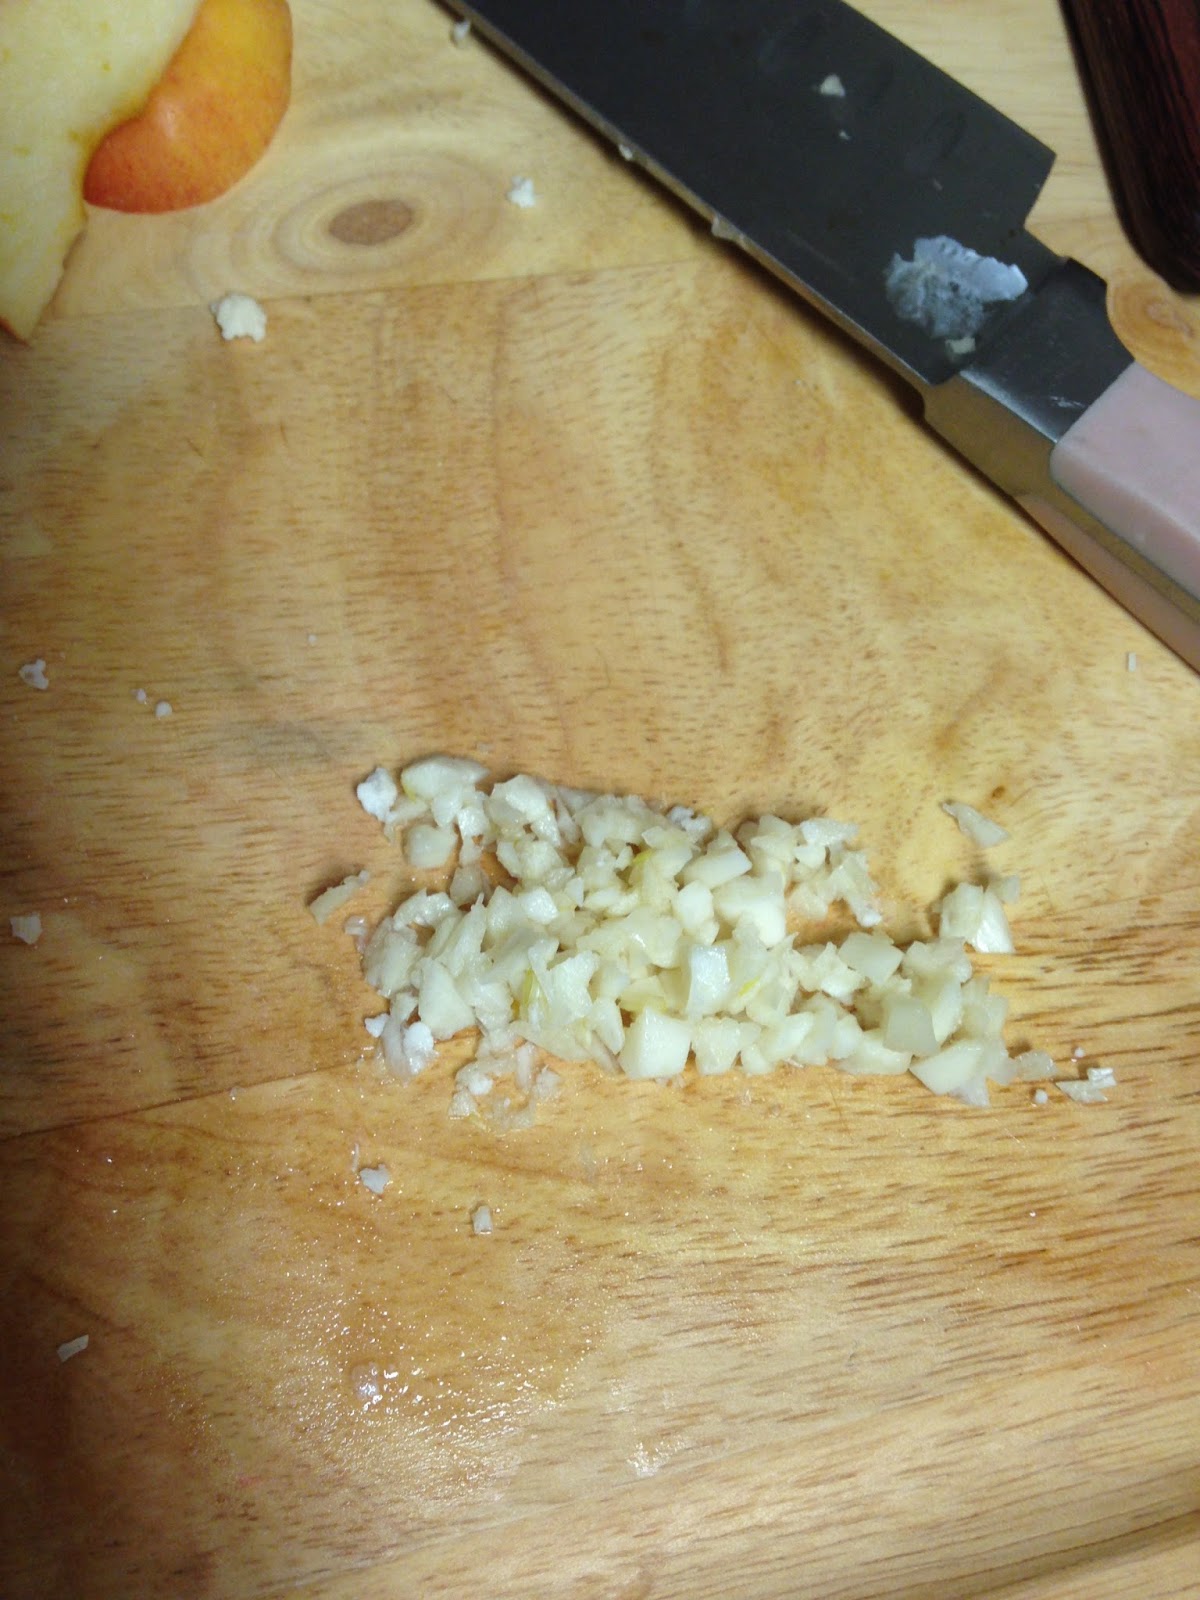
1/2 tsp. minced garlic
1/8 tsp. chicken bullion (I like Better than Bullion.)
1/8 tsp. freshly ground black pepper
Chives ( for garnish)


Instructions
1.  Set a medium size pot of water to boil over high heat.
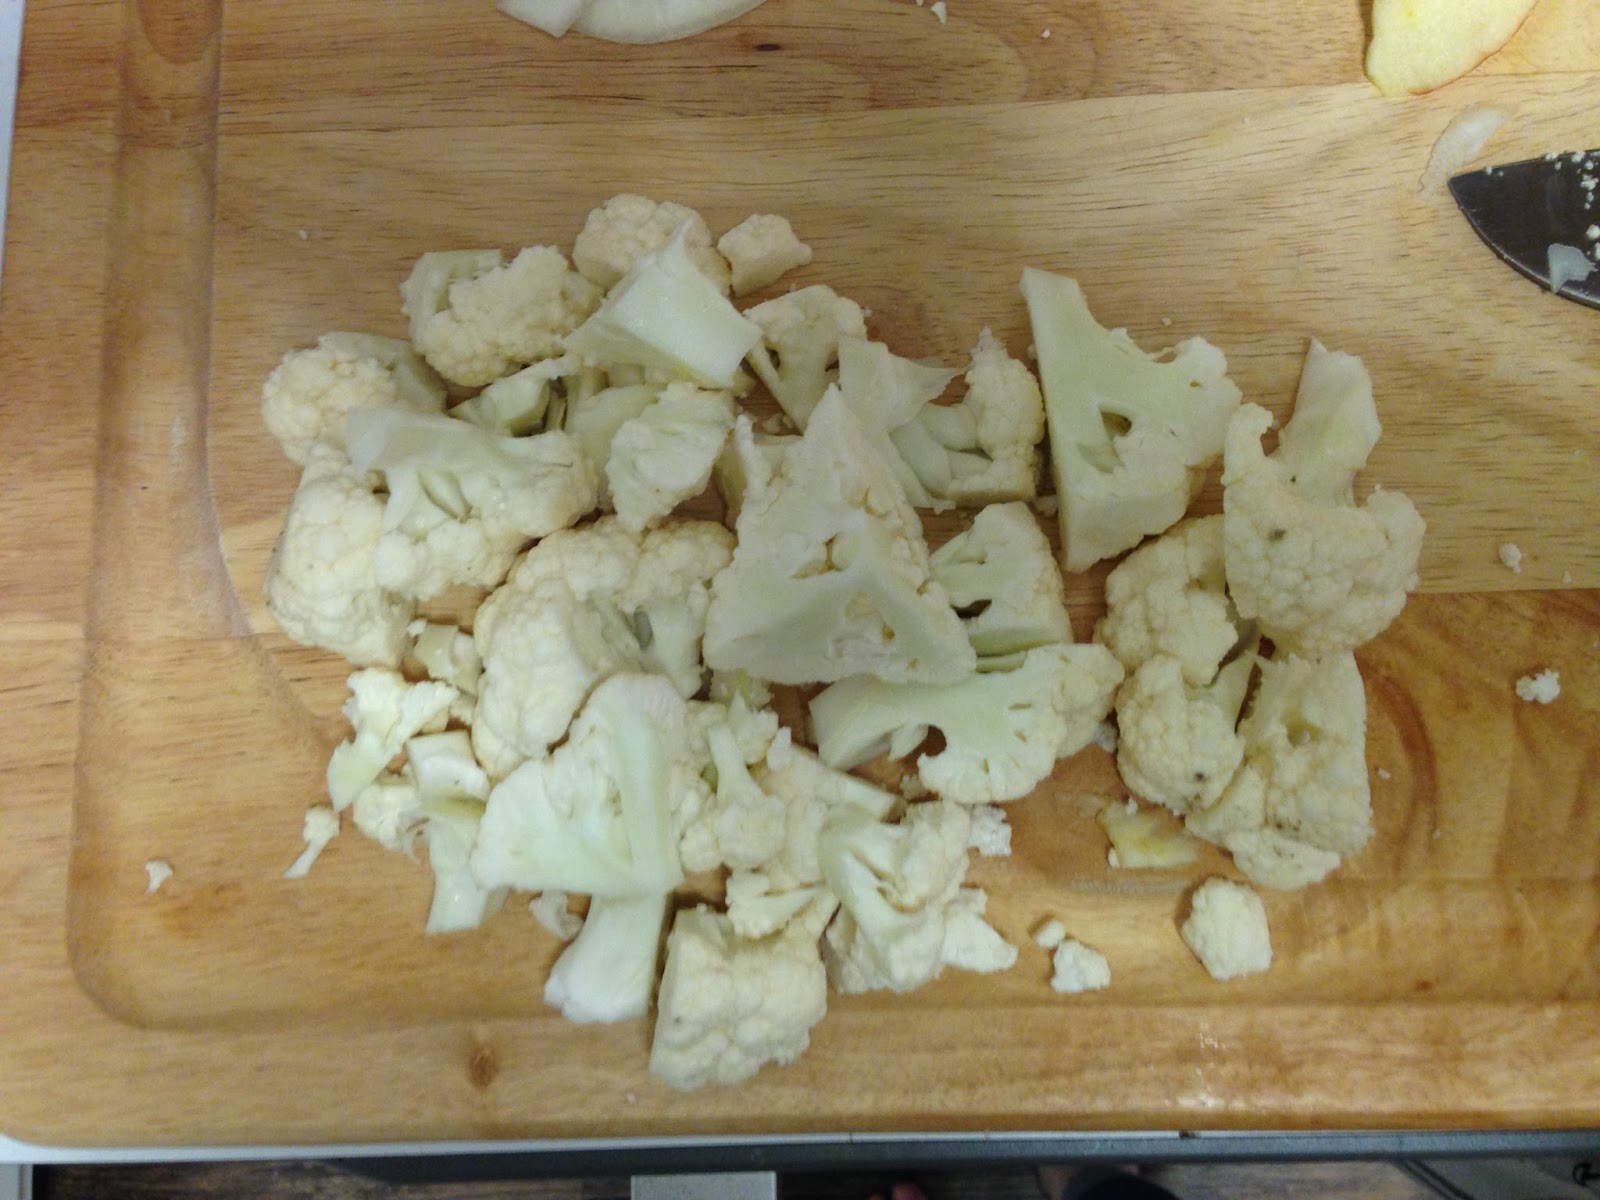
2.  Clean and cut the cauliflower into small pieces.  (I only used about a half of the head of cauliflower.)
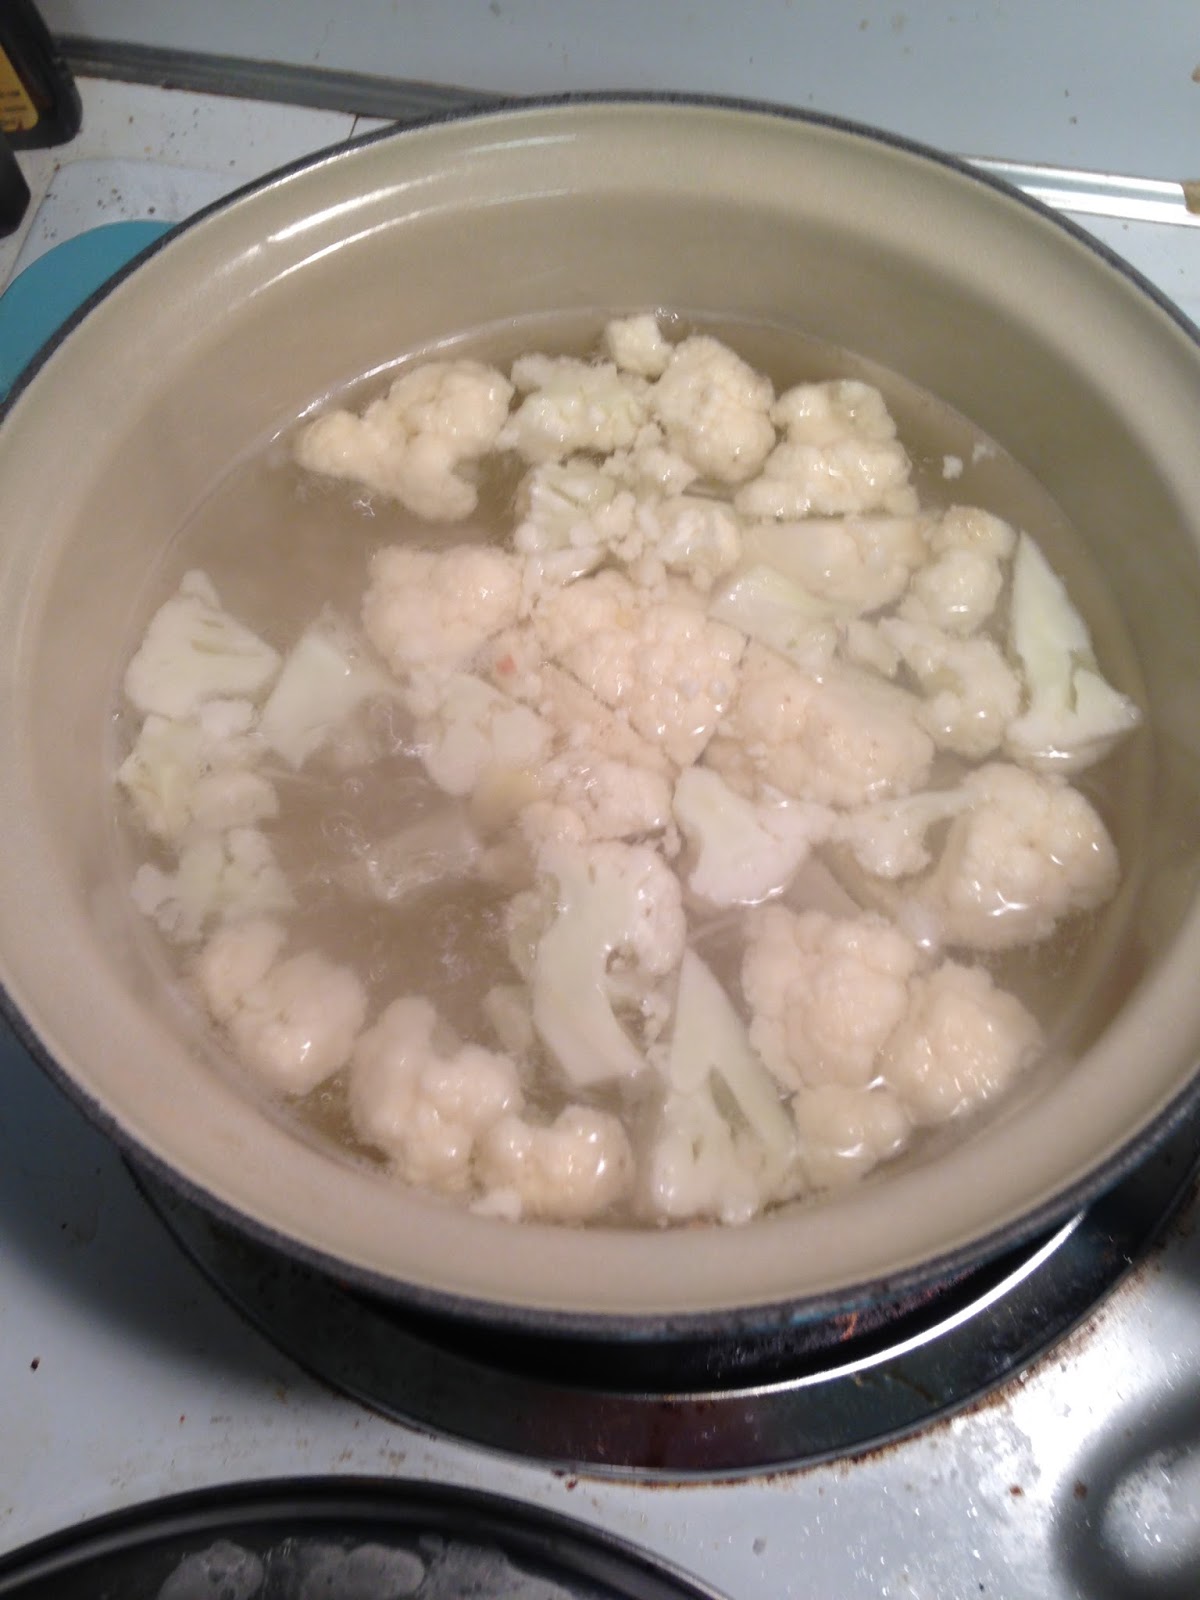
3.  Place in water and boil for about 6 minutes, or until well done. 


4. Drain well, do NOT let cool.  Pat cooked cauliflower dry between several layers of paper towels.
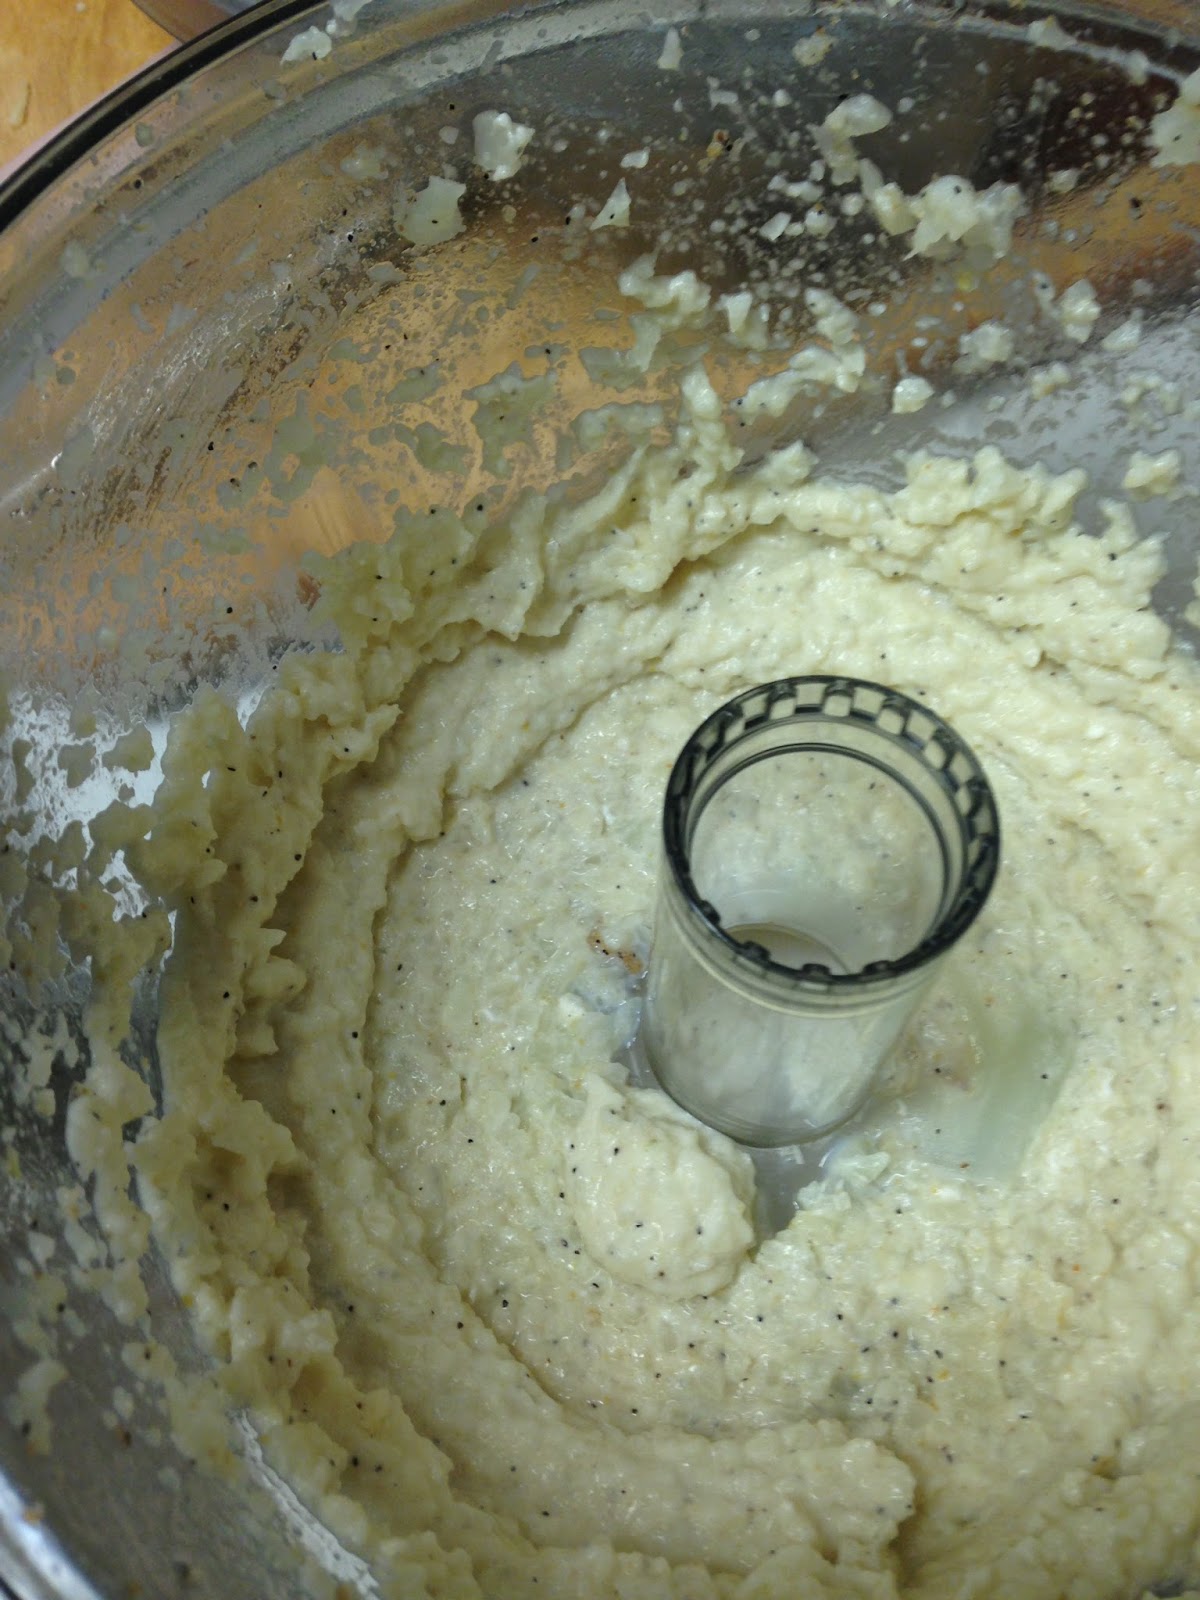
5.  In a food processor, puree the cauliflower with the cream cheese, Parmesan, garlic, bullion, and pepper until almost smooth.


Garnish with chives.

Y'all are on your own for a salad with the one.  I just did lettuce, carrots, chives and a vinaigrette dressing.

Hope y'all enjoy and I will post the next recipe tomorrow.


Sunday, January 24, 2016

Barbeque Pork Sandwiches and Pasta Salad

Hello Everyone!
I know that I have been a bad blogger and have missed two posts on the two week menu. For this, I apologize.  In my defense, it is Mardi Gras Season in Louisiana.  For those of you who do not live in Louisiana, I know that Mardi Gras is not even a blip on the radar, but down here, it can get busier than Christmas with the different balls and functions that you attend.
This weekend I went to the Apollo Ball on Friday, left the ball and started preparing food for my friend whose daughter was having her first birthday, and was up until 3am preparing food.  I woke up at 7:30am to finish preparing the food and then was at the party til 3pm.  By that point I was dead on my feet and I went home and took a nap. I had every intention of posting when I woke up, but my brain had decided that it was done functioning for the day and I just couldn't write.
So, I have been spending the morning trying to figure out how I should do the two posts.  I thought about doing one long  post, but that seemed a little too much. So I decided that I would post the two blogs that I missed today and then post what I was planning for today sometime later this week.
I do not plan on blogging every day except for when I am doing the two week menus, and I plan on spreading them to about one two week menu per month as I figure out better ways to present them to y'all and make them more enticing and interesting to view.
For now though, I will continue on as I have been doing the past two weeks. Today We are doing Barbeque Pork Sandwiches and Pasta Salad. The sandwiches are made using the last bit of meat that you have left over from when you cooked the pork tenderloin.  They are super easy and super fast to make and are perfect for those nights where you have somewhere to be and you know there will be no food served.  For me, that would be when I have rehearsals for a show so, for those of my friends who are in the theatre, this is a good rehearsal night meal.


Barbeque Pork Sandwiches

To be honest, I do not have a set recipe for this.  It is one of those meals where I throw in a little of this and a little of that and let the spirit move me.  Which I only realized when I sat down to write this recipe.   So, if you want to add things or take things out of this recipe, go for it!  (I know I do.)
Here is a tip for when you are putting in a little of this and a little of that, I learned this from my best friend, Chris,  years ago and it stuck with me--along with her recipe for a homemade breakfast sandwich that kicks all of the restaurant chains breakfast sandwiches in the butt.  If you are putting in all kinds of different herbs and not following a recipe, do the smell test.  Open up the bottles of herbs and smell them along with your main ingredient.  The rule of thumb, which I have found to be usually true, is that they smell good together, they will taste good together.

Ingredients
1-2 cups shredded pork (depending on how much is left over from your roast.)
1/4 cup chicken broth
1/2-1 cup barbeque sauce (do this per your preference depending on how much you like barbeque sauce, I usually like Sweet Baby Ray's Barbeque Sauce but you can use any kind you like--including one you made yourself!)
1/2 cup sherry (or chicken broth/stock)
1 tsp. Worcestershire Sauce (optional)
1 tsp.  onion powder (optional)
1 tsp. garlic powder (optional)
(I do not usually add salt to this recipe as I find that there is plenty in the barbeque sauce.  However, if you are using a homemade barbeque sauce, you may want to add a pinch of salt.)
Hamburger bun (Can be put on bread if you don't have any hamburger buns.)

Instructions
1.  Using a fork, shred the pork roast. You can do this using one fork or two forks.  I usually start with one fork and then work my way up to two.  If shredding is too much work for you, and I have had nights where it has been for me, you can take a knife and chop the pork roast into small pieces, or you can use the food processor to "shred" the pork, making certain that you only pulse a few times or it turns into a weird consistency.
2.  In a large cast iron pot or heavy skillet, put in your shredded pork and 1/4 cup chicken broth.  Since your pork is already cooked, you can lose some moisture when you reheat it, adding the chicken broth will help to keep the meat moist, it will also help keep your meat from sticking to the pan.  Cook on medium heat.
3.  When the liquid in the pan starts to simmer, add all of your remaining ingredients to the pot and stir until combined.  Continue cooking on medium heat until the liquid has reduced and the barbeque pork has reached the desired consistency, usually about 15 minutes.  I like my barbeque pork to slightly thick, so when I put it in the bun, it doesn't run or soak through to the bottom of the bun. (Think of the consistency that you like for sloppy joes and apply the same rules here.)
4.  Put on a bun/bread and serve warm.

Pasta Salad

This is a recipe that I came up with when I could no longer find the Italian Pasta Salad that I loved that Betty Crocker put out.  I don't know if they stopped making it because it wasn't a top seller, or if my local grocery stores stopped carrying it, but I made it my mission in life to try to come up with one similar myself because I loved it so much.  After many experiments, this is the recipe that I came up with.

Ingredients
2 cups tri-colored pasta
1/2 package of Good Seasons Zesty Italian Salad Dressing Mix
1/2 cup mayonnaise
1/8 tsp. truffle oil (optional--but this one ingredient really takes the recipe from something ordinary to something delicious.)
2 tsp. Progresso bread crumbs (I like the Italian or garlic and herb)  This is to taste, if you want to add more, please do.
2 tbsp. freshly grated parmesan cheese (Again, add more or less per your personal taste.)

1.  In a medium sized pot, cook the pasta according to the package directions.  ( I always add about a teaspoon of butter and a teaspoon of kosher salt to my pasta water, bring it to a boil and then add my pasta.  I find it helps keep the pasta from sticking and adds a little flavor.)
2.  While the pasta is boiling, in a medium/large bowl  combine the Italian Dressing seasoning mix, the mayonnaise and the truffle oil.  Set aside.
3.  When the pasta has reached your preferred pasta consistency, I like mine a little al dente, drain the pasta in a colander.  After the pasta has drained, run cold water over the pasta, mixing/folding with a spoon until all of the pasta becomes cool to the touch. Shake the pasta until most of the moisture is gone.
4.  Pour the pasta into the bowl with the mayonnaise mix and stir until all the pasta is coated.  
5.  Shake bread crumbs over pasta.
6.  Grate the parmesan cheese over the pasta and bread crumbs.
7.  Cover with plastic wrap and keep in the fridge for no less than 15 minutes allowing the pasta to cool even more and the flavors to combine.)

TIP:  I usually make the pasta first and allow it to cool in the fridge while I make the barbeque pork.

Monday, January 18, 2016

Pan Fried Ham, Potato Latkes and Roasted Tomotoes with Basil

Hello Everyone!
On Mondays, my husband records his podcast.  Since he normally records these in his shop after he gets off work, dinner gets delayed a little.  For me that means, if I am not tired after work, I will do a more elaborate dish that takes more time, OR (and this is what happens most often)  I choose a dish that I can quickly make and then do something else. (Most often watch a cooking show on Create TV.)  Tonight's dinner is one of the easy night dinners.

Pan Fried Ham

I get my ham from Costco.  It costs about $20.00.  Which is a lot. But I then divide that ham into one pound sections and put those sections in the freezer.  Depending on the size of the ham,  I  end up with four to six sections.  One section of ham can make two or three dinners depending on what I am cooking that week.  So, when you divide it that way, one ham, cut into four sections,  makes about 12 meals (feeding two people) which means that your meat is costing about $1.67 a meal.  That's $0.84 per person.  How awesome is that!!!! 
You may have noticed, as we have gone through these meals, that many of my recipes call for less meat than what the average American usually eats at dinner time.  However, the portions that I cook are the meat ratios recommended by dieticians.  I read somewhere that your meat in a meal should be no larger than a deck of cards or the width and depth of the palm of your hand.  Either way that you measure it, hat is not a lot of meat!  I usually do more than that, but not by a lot.  When you follow this rule, it makes it much easier to save on your meat budget for groceries.

Ingredients
1 tbsp. olive oil
2-3 slices ham cut about 1/4 to 1/2 inch thick (depending how you like it)
1-2 tbsp.  chicken broth or apple juice  (I prefer apple juice, but I almost never have it.)

Instructions
1.  Heat olive oil in a large cast iron skillet (preferred) or heavy base frying pan on medium high heat.  When cool water droplets flung on the pan "dance"  the skillet is warm enough. Place ham slices in frying pan and cook for about 3-5 minutes.  Turn and cook on the other side for about 3 minutes.
2.  Add 1 tbsp. chicken broth or apple juice to ham about 1 minute through cooking the first side of ham.  Add the remain tbsp. once ham has been turned.
3.  You will know the ham is done when the meat has a lovely golden brown color.  Although you can fry it as little or as long as you want depending on your preference.  (Think about bacon,  if you like your bacon crispy, you cook it longer than you do if you like it chewy.  The same concept with frying ham applies.)
4.  Serve warm.

* Note:  This goes really well served with apple sauce as a "gravy".

Potato Latkes

I love latkes. But every single recipe I came across used one pound of potatoes.  This is way too many potatoes for two people for a week-night meal.  So, after much experimentation I have come up with this recipe.

Ingredients
2 medium size russet potatoes, peeled and shredded
1 tbsp. onion, finely minced  (can substitute onion powder as well)
1 egg
1-2 tbsp. flour
1 tsp. kosher salt OR Creole Seasoning  (I prefer Creole seasoning)
1 tsp. freshly ground pepper
1-2 tbsp. olive oil

1.  Peel the potatoes.  Shred the potatoes using a cheese grater.  When the potatoes are shredded put potatoes in a paper towel or clean dish towel.    Squeeze the potatoes in the towel over the sink trying to remove all of the liquid.  You will be amazed how much liquid will come out of the potatoes.
2.  Place squeezed potatoes in a large bowl. Put in 1 tbsp. finely minced onion, 1 egg, 1 tbsp. flour and the salt or Creole seasoning and pepper.  Mix together.  The egg may have caused the mixture to become more liquid-y than you would like.  To test consistency, take about a tablespoon, of the prepared potato mixture and squeeze it with your hand, if it doesn't form a small, compact ball, but sort of falls apart, put the other tablespoon of  flour in and this will eliminate some of the moisture and help it to bind together.
3.  Once the potato mixture has reached the desired consistency, divide the potato mixture in half.  Using your hands, form each half of the potato mixture into a ball.  Put the balls back in the bowl while you heat up your oil.
4.  Put oil in a small cast iron skillet (preferable) or heavy bottom frying pan.  Heat oil on medium high heat.  When cold water droplets flicked on the pan "dance" the skillet is warm enough.
5.  Form both of your potato balls into patties and gently place into the hot oil.  Cook in hot oil until brown and crisp, usually about 3-5 minutes per side.
6.  When both sides are cooled, place them on a paper towel lined plate to drain.

NOTE:  These are really good with a dallop of sour cream on top.  But, if you look at traditional latke recipes on the internet, these are also traditionally served with apple sauce.


Roasted Tomatoes with Basil

This is one of my favorite vegetable dishes and it totally isn't mine.  This is a recipe by Ina Garten.  I first saw it in her cook book Back to Basics when I was housesitting for my in-laws.  The day I saw it I had to make it and it has been in my dinner rotations ever since.
I would feel guilty about putting this in a post, but I found the recipe on www.foodnetwork.com for free, so I feel it is okay to put it in this blog. 
I have modified this recipe just slightly, but I have notated the changes that I make in parentheses.

Ingredients
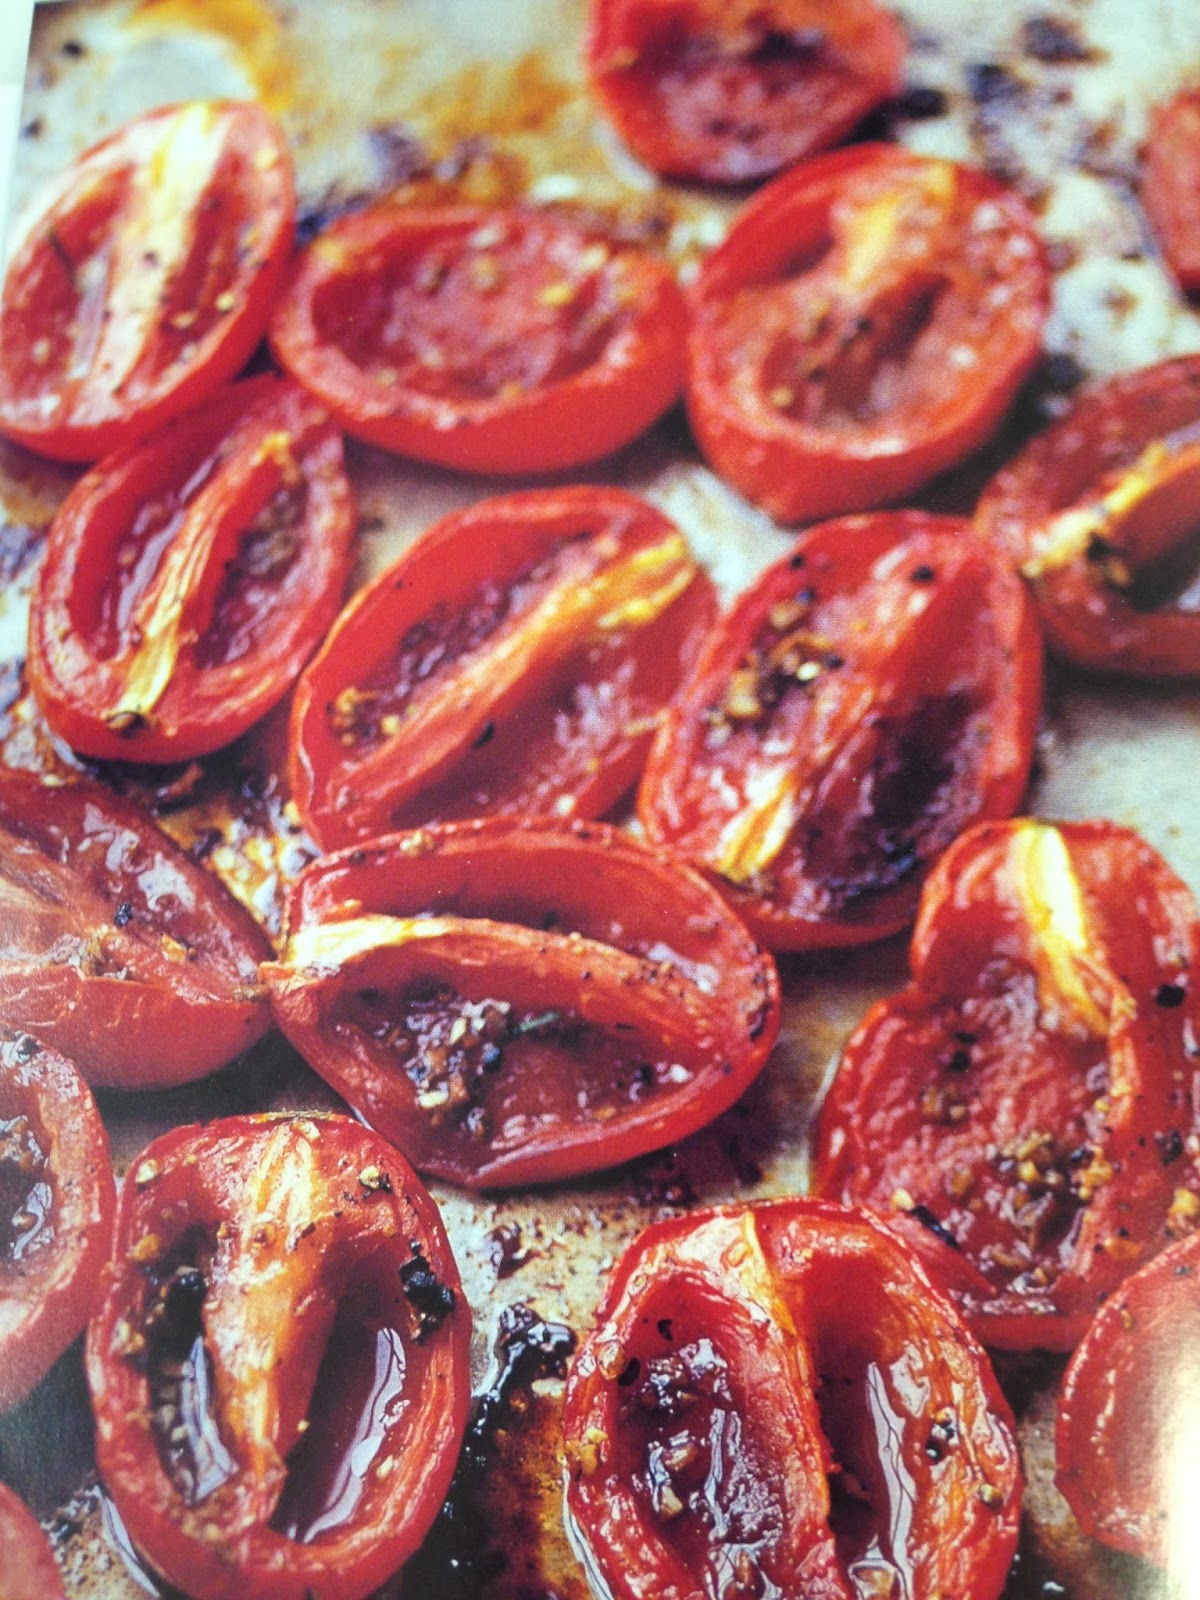
12 plum tomatoes, halved lengthwise, seeds (not cores) removed -- I almost never have plum tomatoes.  I substitute about 24 cherry tomatoes, cut in half lengthwise, and I don't worry about seeding.  (They're too tiny to seed.  I don't have the patience for that.)
1/4 cup good olive oil
1 1/2 tbsp. aged balsamic vinegar
2 large cloves garlic, minced
2 tsp. sugar
1 1/2 kosher salt
1/2 tsp. ground black pepper
10 large fresh basil leaves, julienned  (I use fresh whenever I can, but in the winter my basil dies and I am left with dried basil.  I use  1-2 tbsp. of dried basil - depending on my mood  and it still tastes delicious.)

Instructions
1.  Preheat oven to 450 degrees.
2. Cover the bottom of a cookie sheet with parchment paper.  (The cookie sheet should be large enough to hold all of the tomatoes in a single layer.)  Believe me, you do not want to skip this step.  If you do, you will be scrubbing your cookie sheet for what feels like hours.
3.  Arrange the tomatoes on the cookie sheet, cut sides up, in a single layer. Drizzle with the olive oil and balsamic vinegar.
4.  Sprinkle with the garlic, sugar, salt and pepper.  (If using the dried basil, also sprinkle the dried basil.)
5.  Roast for 25 to 30 minutes, until the tomatoes start to caramelize and the flavors are concentrated.
6.  Remove from the oven and sprinkle the basil on top.  (Skip the sprinkling part of this step if using dried basil as you have already done this earlier in the recipe.)
7.  Serve warm or at room temperature

Well, there you go, another meal done.  Tomorrow, we make stir fry using some of the leftover pork from our pork tenderloin!

Sunday, January 17, 2016

Week Two Frugal Femme Recipes - Roast Pork Tenderloin, risotto and salad

Hello Everyone!
I don't know about you, but I love to use my slow cooker.  Especially on Sundays.  There is something so cozy about having something cooking in the slow cooker during the day while you putter about the house in your comfy clothes, read the funnies and do the Sunday paper cross word puzzle. Although, now that I no longer get a paper, those activities have been replaced with reading on my Kindle and playing Candy Crush.  Although, I alternate those with coloring in the coloring book my husband gave me for Christmas and working in a cross word puzzle book (also a gift from a couple Christmases ago.)  You can see one of my incomplete masterpieces below.
My husband's efforts to make me relax because I can't just sit still and do nothing.
 
So, this is why tonight's main recipe is going to be a slow cooker recipe.

Balsamic Pork Tenderloin

Ingredients
1 pork tenderloin (about 2-3 pounds)
1 cup chicken broth
1/2 cup balsamic vinegar
1 tbsp. Worcestershire sauce
1 tbsp. soy sauce
1 tbsp. honey
1/2 tsp. red pepper flakes
2 cloves garlic, chopped

Instructions
1.  Place pork tenderloin into slow cooker.
2.  In small bowl, whisk together all of the remaining ingredients and pour over pork.
3. Cook pork for 6-8 hours on low heat setting of slow cooker.
4.  Once pork is done (meat thermometer should read 160 degrees), remove from slow cooker with tongs and put onto cutting board.  Break apart lightly with two forks and ladle about 1/4 - 1/2 cup of gravy over pork tenderloin and serve

NOTE: You should have remaining pork and gravy.  Store each in a separate container in the refrigerator as you will be using both of these in other dishes later this week.

Faking It Risotto

I love this recipe.  Purists are going to tell me that it isn't really risotto, but it's delicious and it's easy.

Ingredients
1 cup white rice
2 cups chicken broth or stock 
1-2 tbsp. Boursin Cheese, or more to taste (I like the garlic and herb Boursin for this recipe)
1-2 tbsp. milk (I use 2 percent), or more to achieve desired consistency
pinch of salt to taste

Directions
1.  Put rice and chicken stock in a rice cooker or heavy pot with a lid.  If using a pot, cook rice until all liquid has been absorbed.  If using a rice cooker, follow directions for your cooker.
2.  When rice is finished cooking, add Boursin cheese and milk to rice and stir with non-metal spoon. Add more milk or Boursin, if needed, to reach desired consistency.  Rice should be the consistency of risotto or thick rice pudding.

Salad
I don't really have a plan for a salad recipe for this meal.  I usually just make a basic salad with Ranch dressing.
Basic Salad Ingredients
Iceberg Lettuce
Carrots, shaved
Green Onion
Shredded Cheddar Cheese

Mix all ingredients above with Ranch dressing.  The amount of each ingredient is dependent upon your personal tastes.

NOTE:  I like to use the packaged Ranch dressing rather than the bottled, I feel it tastes better.  Although, it doesn't last as long in the fridge.  So the choice is yours.