
Well, its January - the time to make New Year's resolutions. Which, if you live in Louisiana, is just an evil joke. Because, right after Christmas, we have Mardi Gras - and that's the season of king cake. I have been doing theatre all month long, so I haven't sat down to think about what my resolutions are going to be - but I have eaten king cake. Several different king cakes. No, I have no shame.

Tonight is the first time that I haven't had rehearsals in weeks..... But my husband did. Which meant, I had an evening off, but it was going to be an evening alone. So I spent the day/night doing stuff I have wanted to do but haven't found the time to do. Was it the stuff that I should do? NOPE! Instead I practiced tying vintage style turbans with scarves, painting a vintage inspired hat head, and now I am watching RENT live on Fox. Not because I particularly like the musical, because I don't , but because I promised a friend that I would watch it and live chat with him about the performance. I just like the characters so much better when they're in La Boheme.
So, while I'm watching, I thought I would share pictures of my craft project of the day. Its not really a how to so much as a step by step documentation of the project.
For those of you who read my blog or follow my Instagram you know that I love vintage or vintage style clothes. And this love includes vintage hats. I am almost obsessed with hats. And since I can't seem to say no when I see a cute vintage hat at a good price, I am constantly looking for ways to store them and display them. I love the vintage milliner heads, but I can't afford them. So I thought that I would take a stab at making my own.
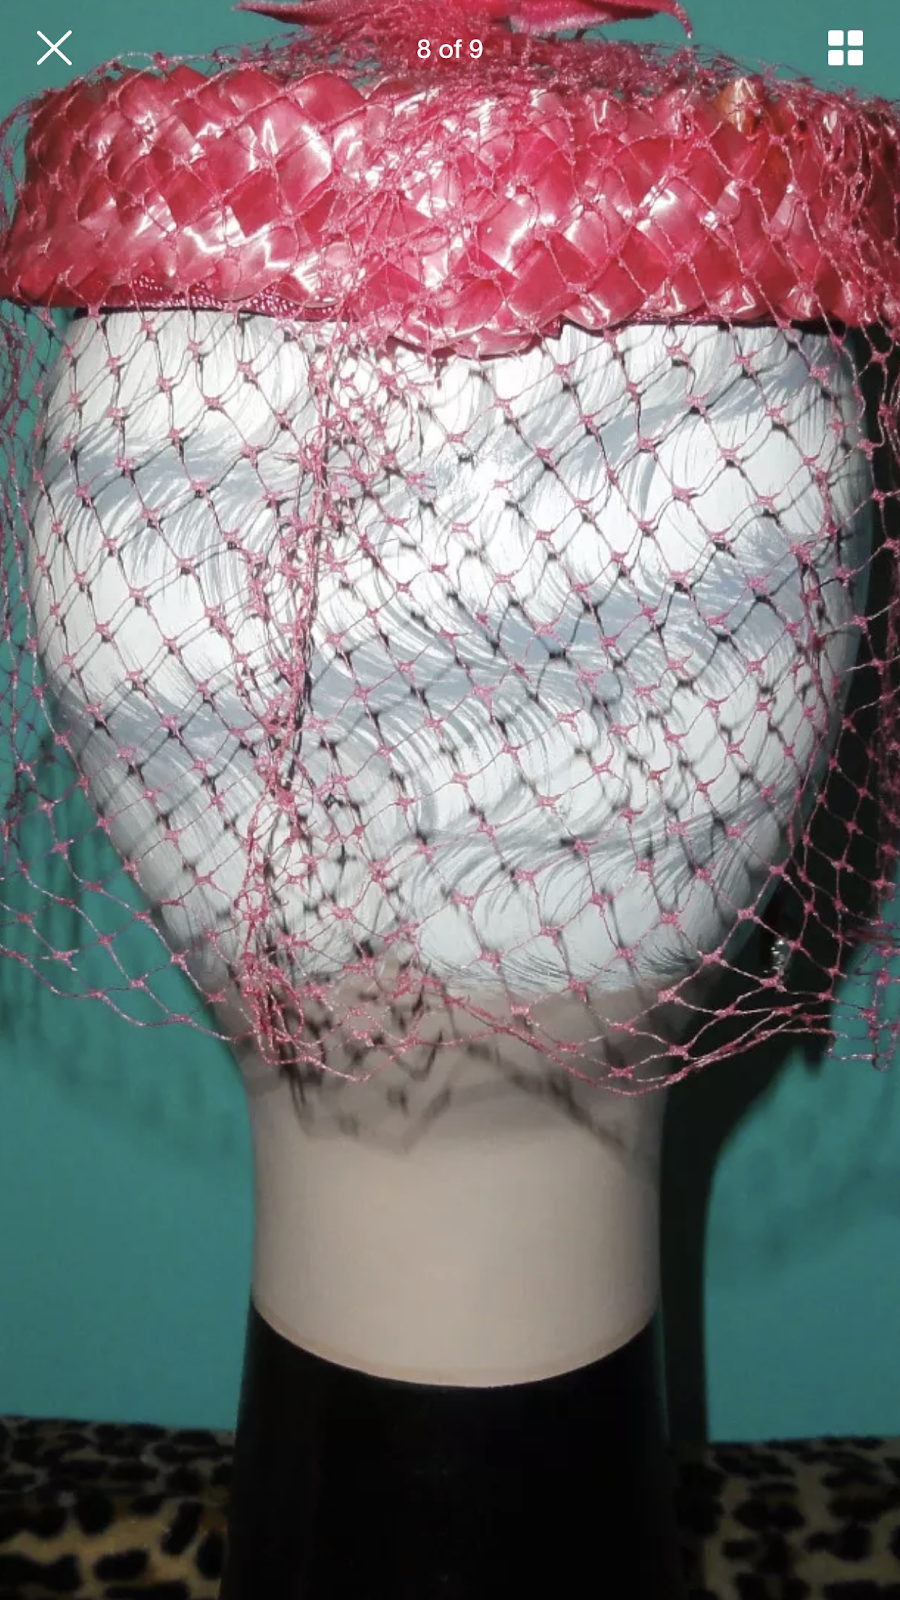
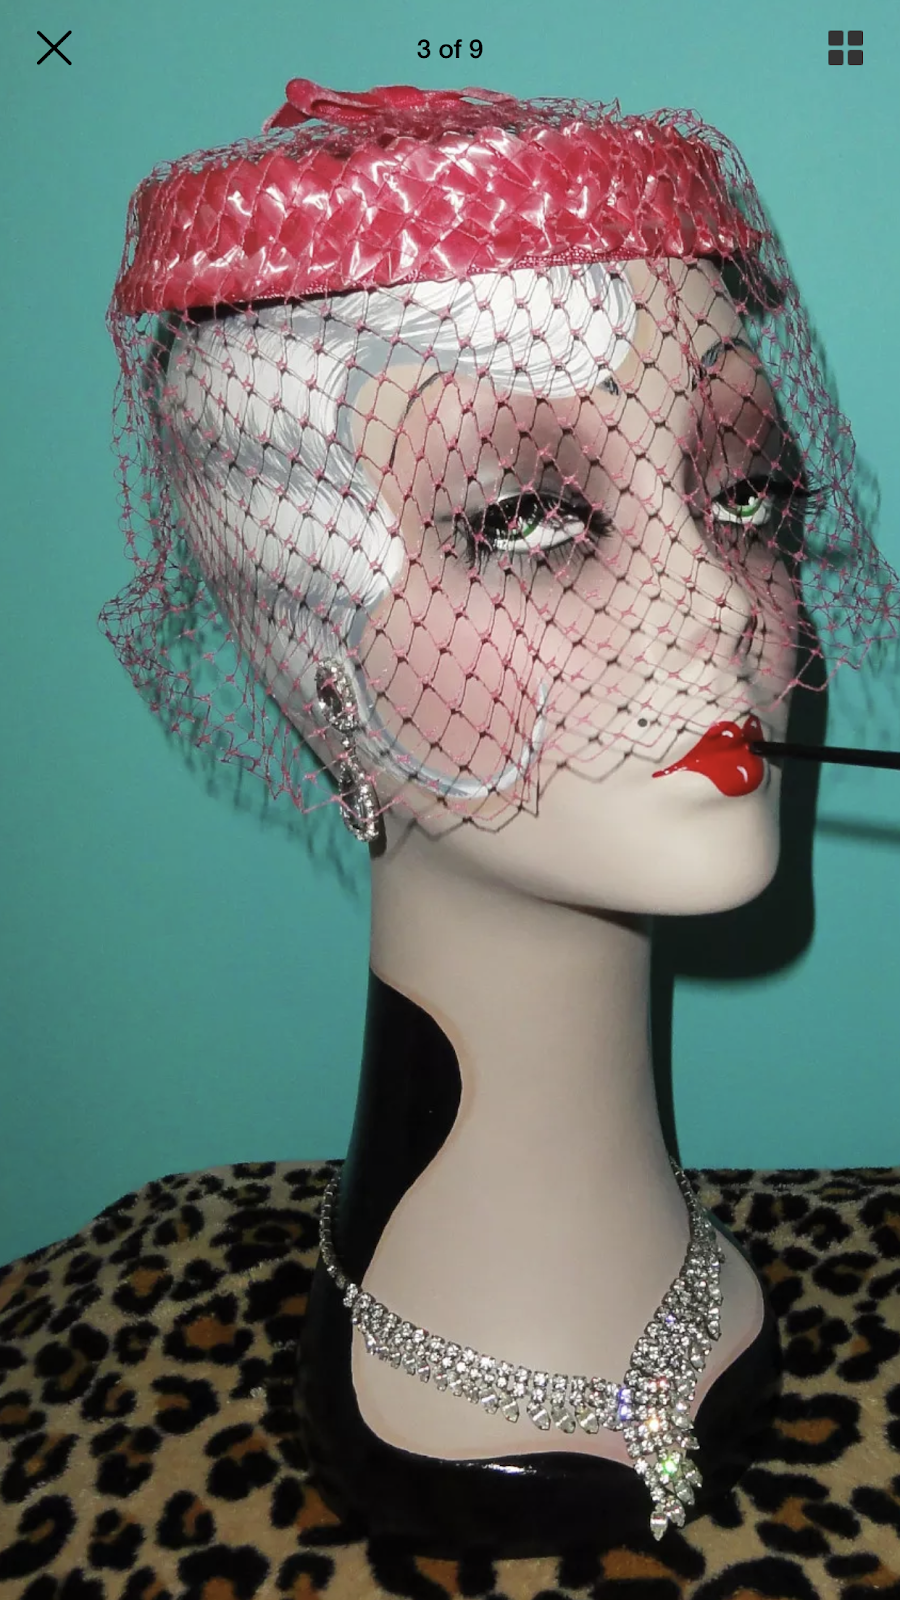
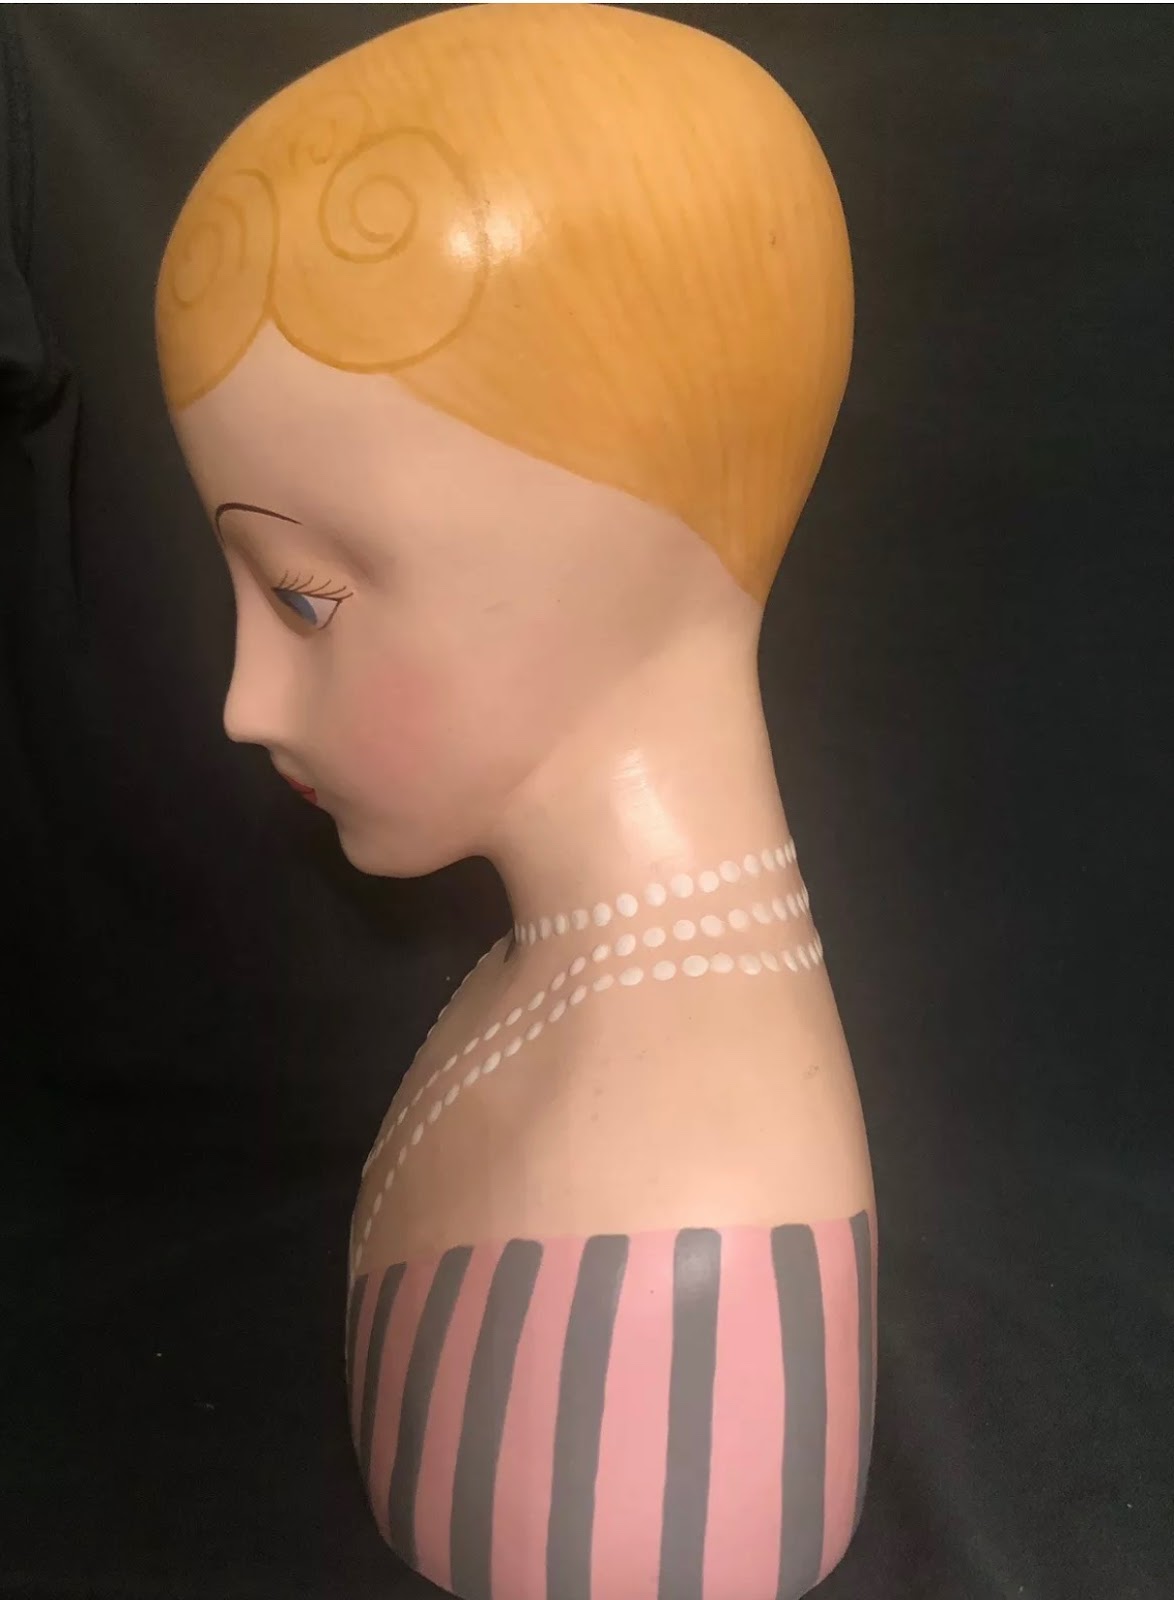
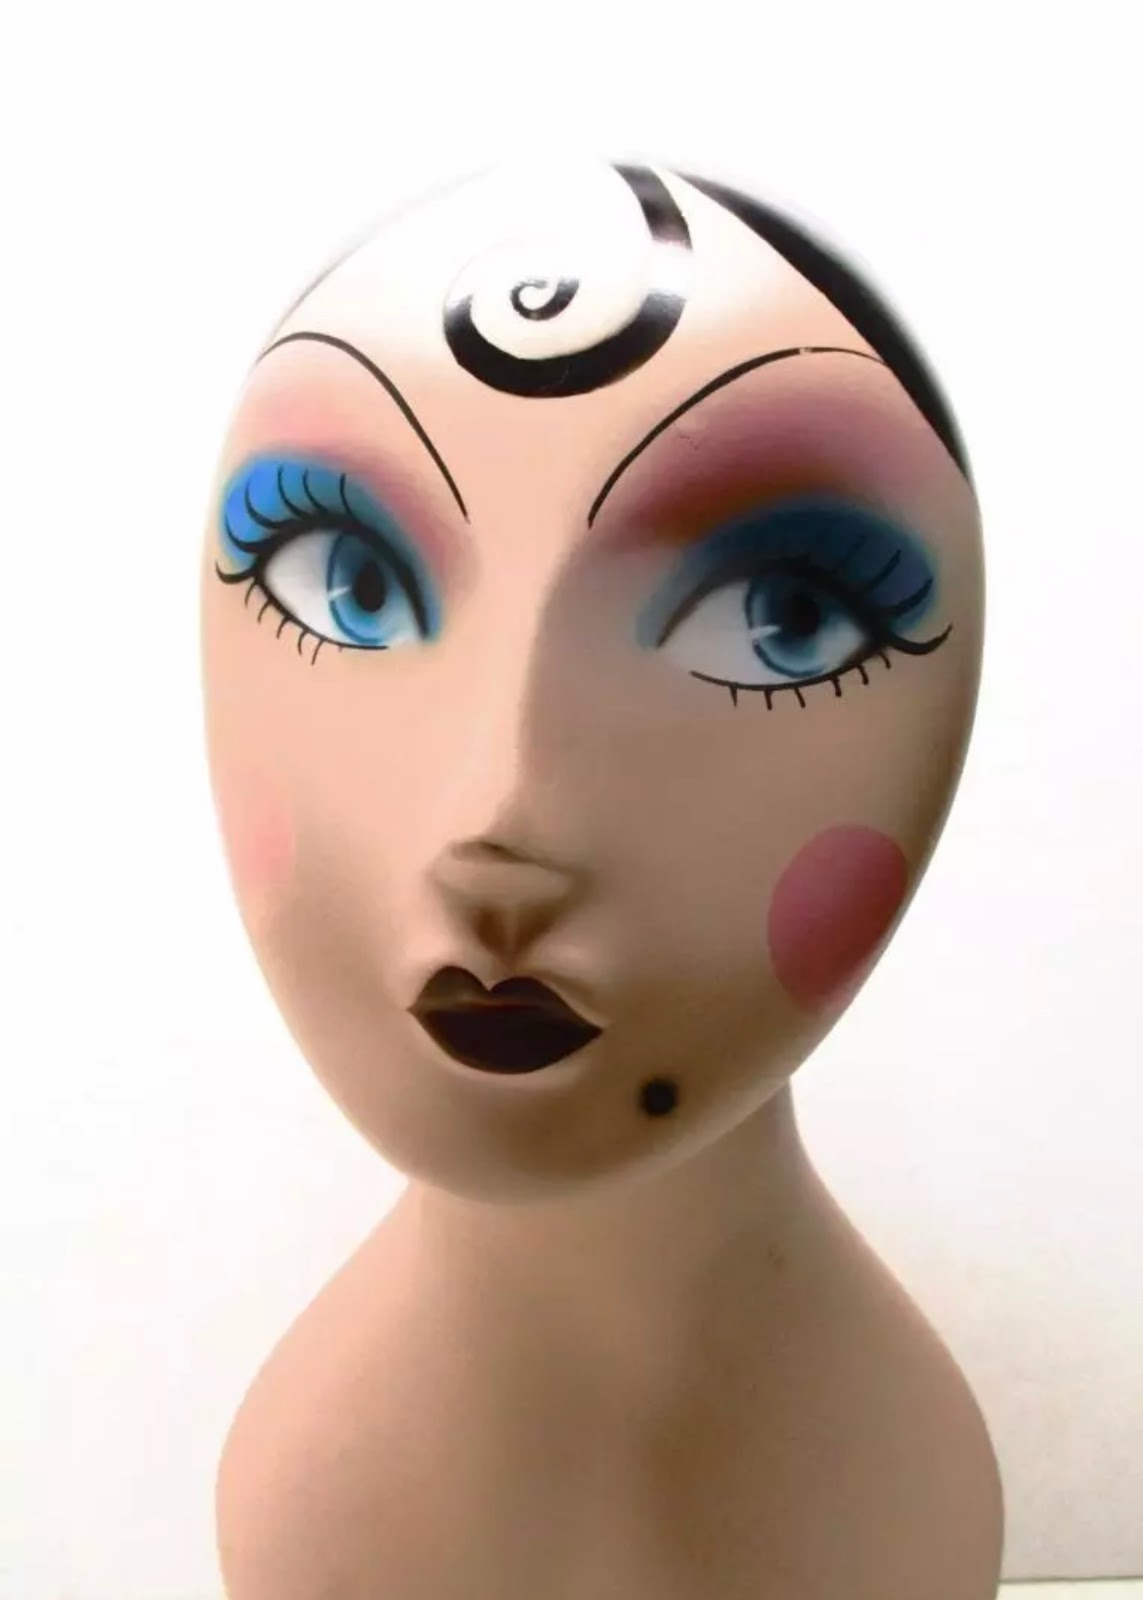
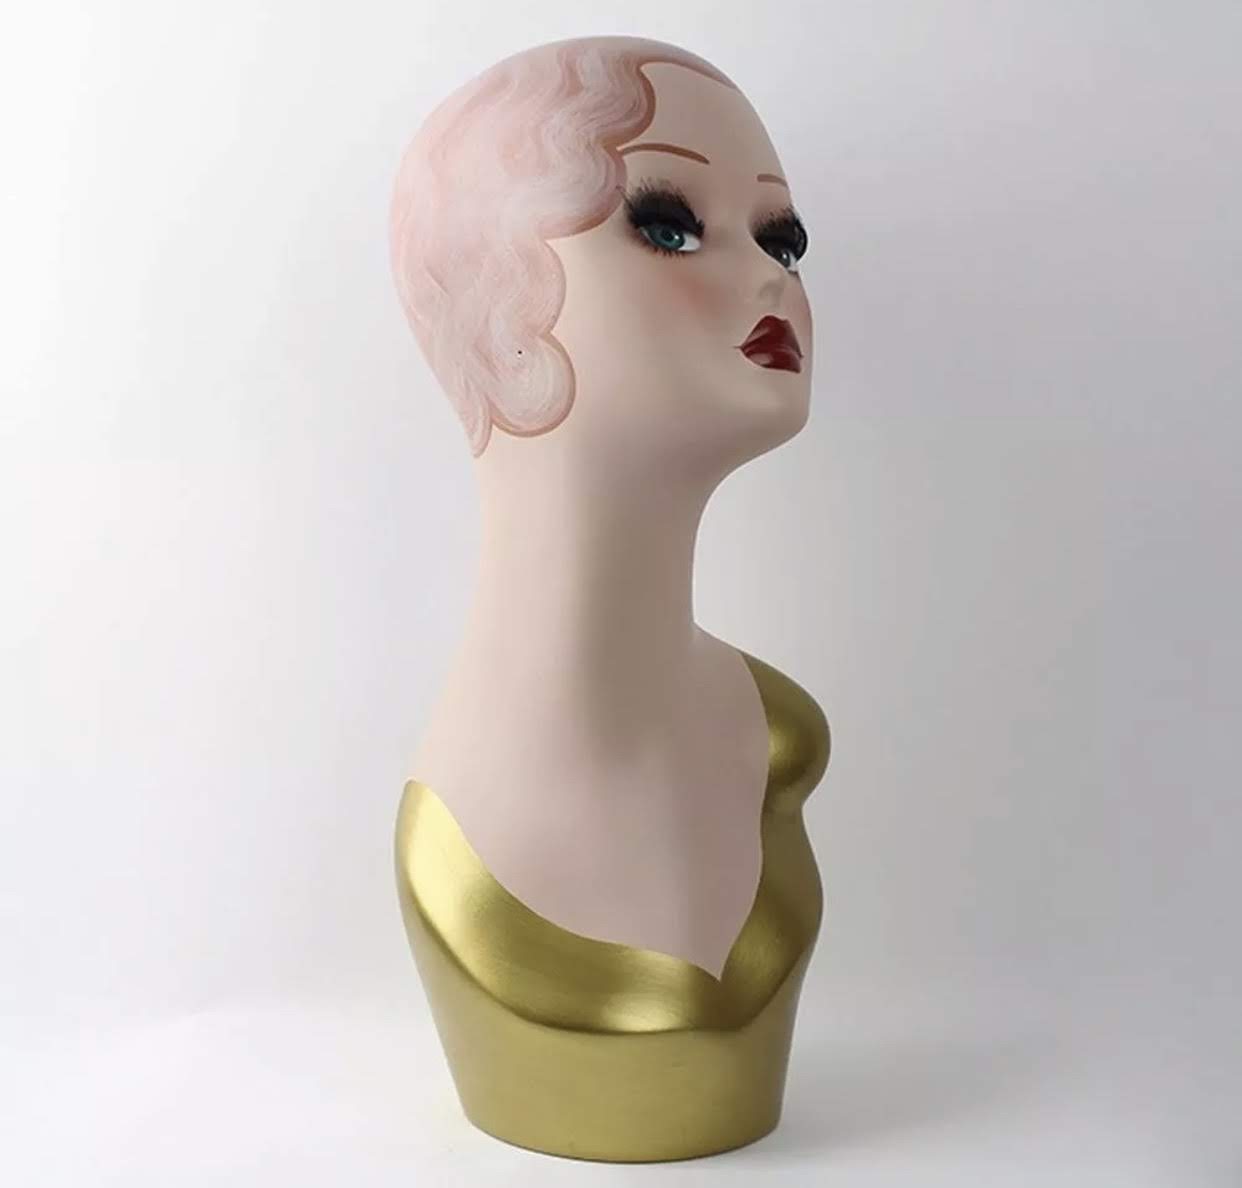
So here are some of my inspiration photos. All of them on eBay and all of them priced at over $100. Some of them over $200.
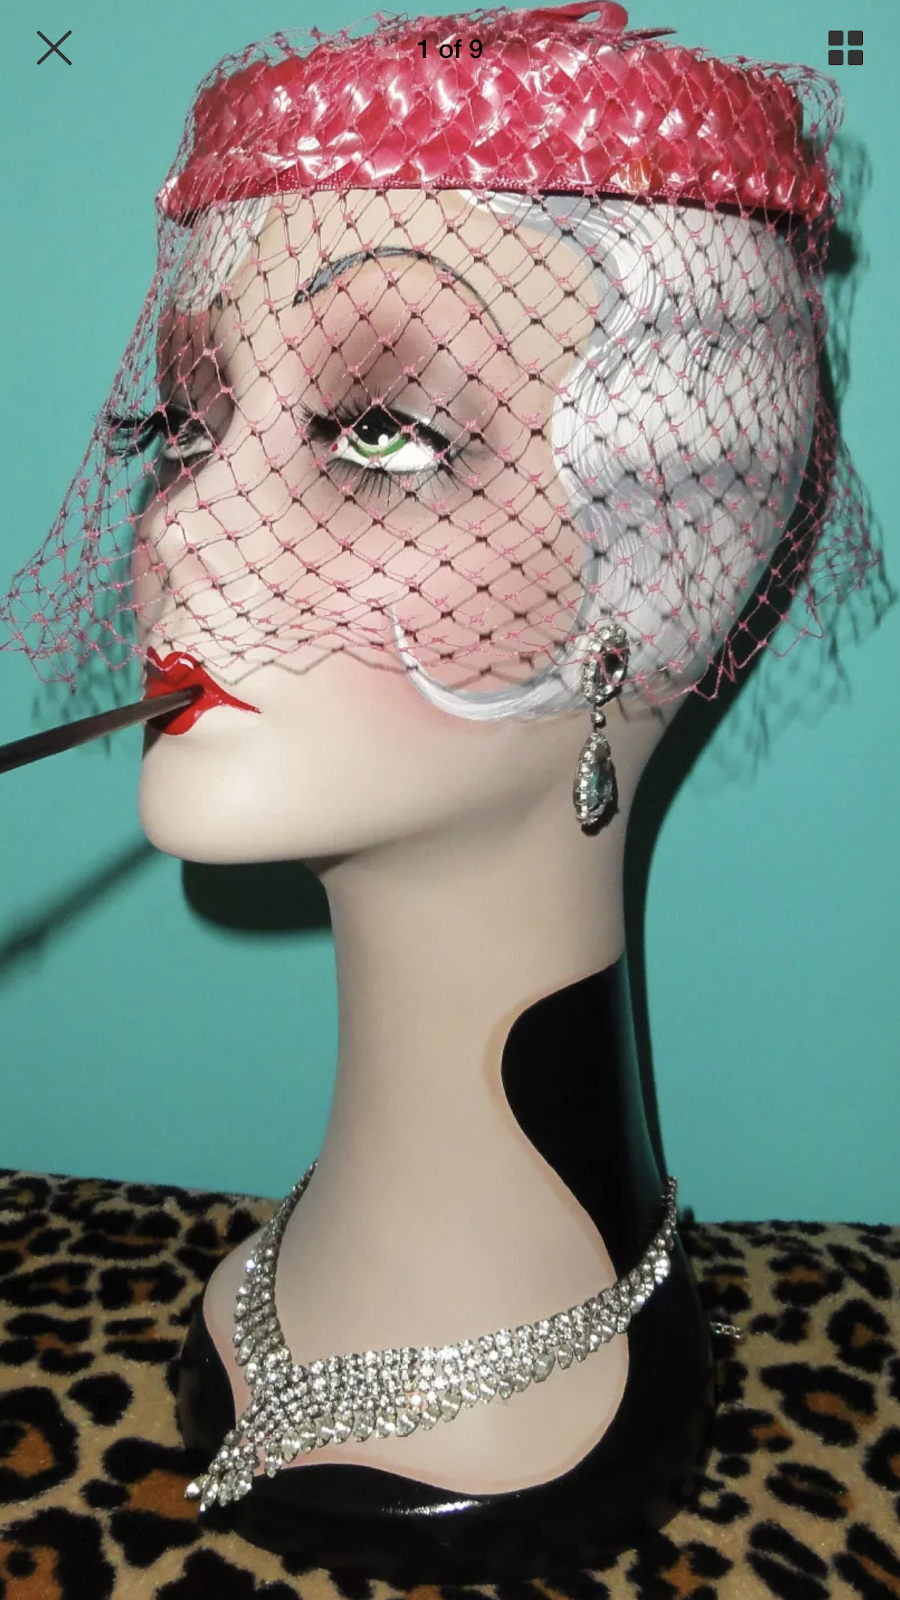 |
| I love the long neck and sheer snobby elegance of this one. I actually saw this one when searching for a hat to buy. |

 |
| And if you want something a little more demure. |
 |
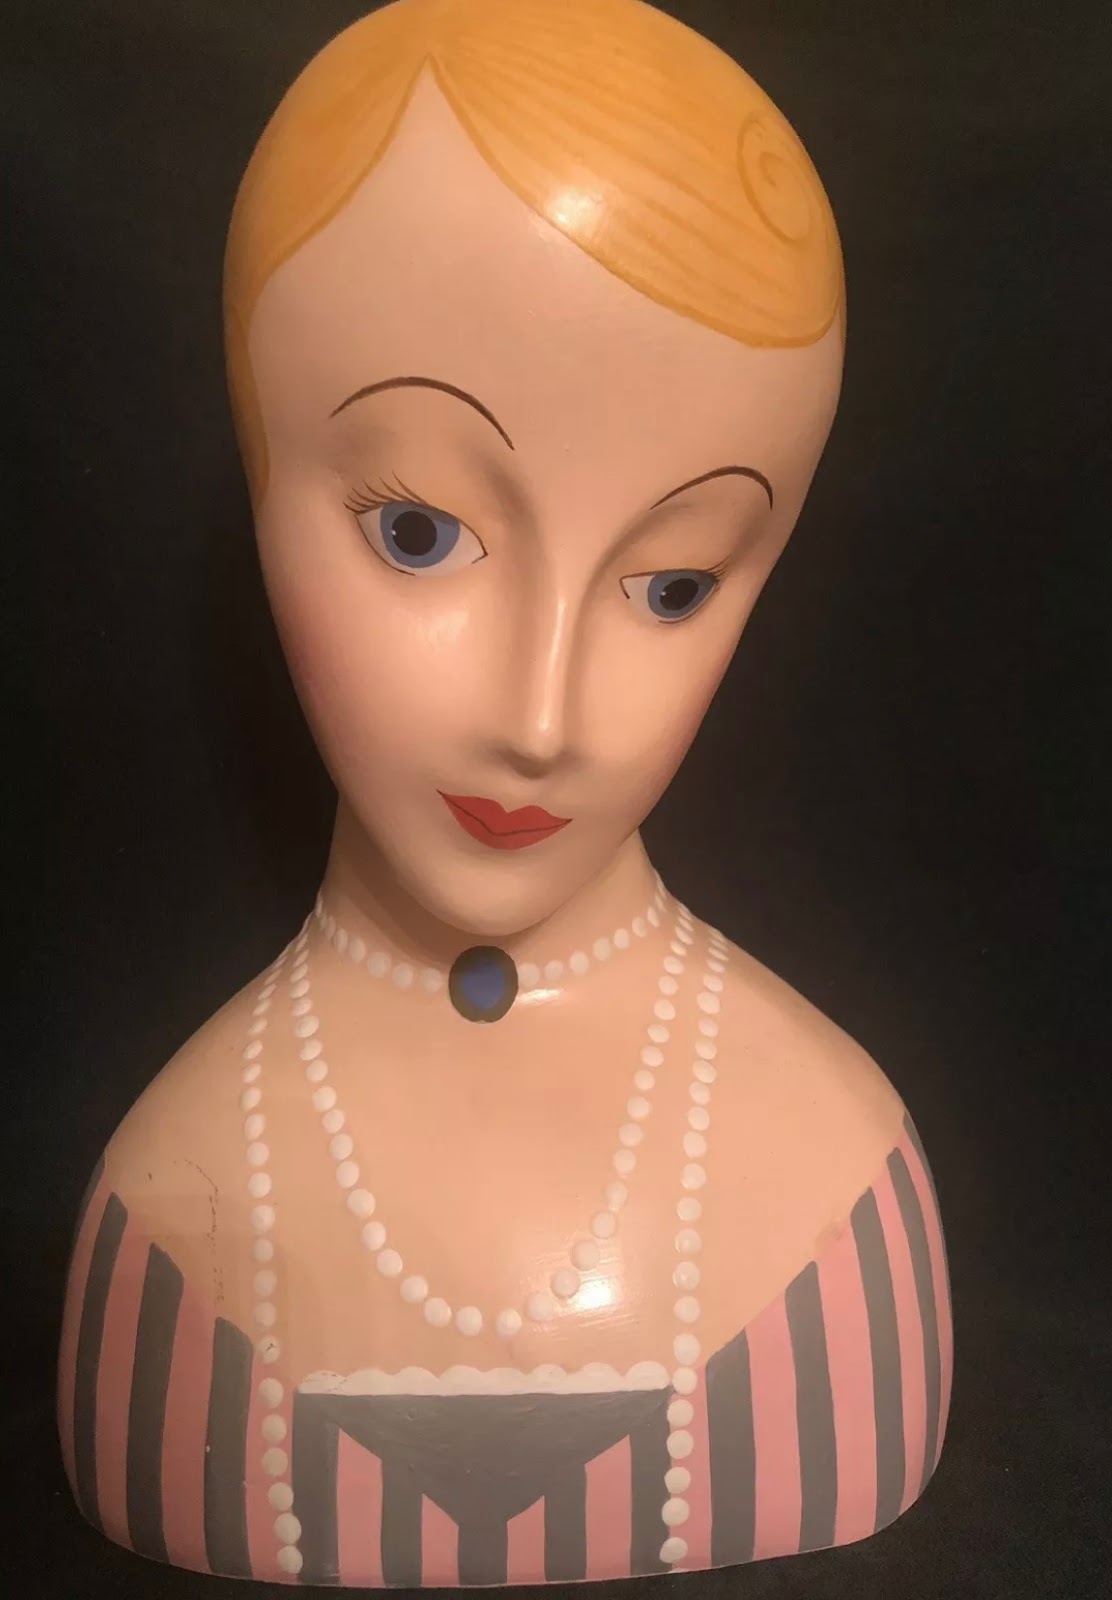
| She has one of my favorite faces that I have seen. And the next time I make a head, I may try to add fake eye lashes. |
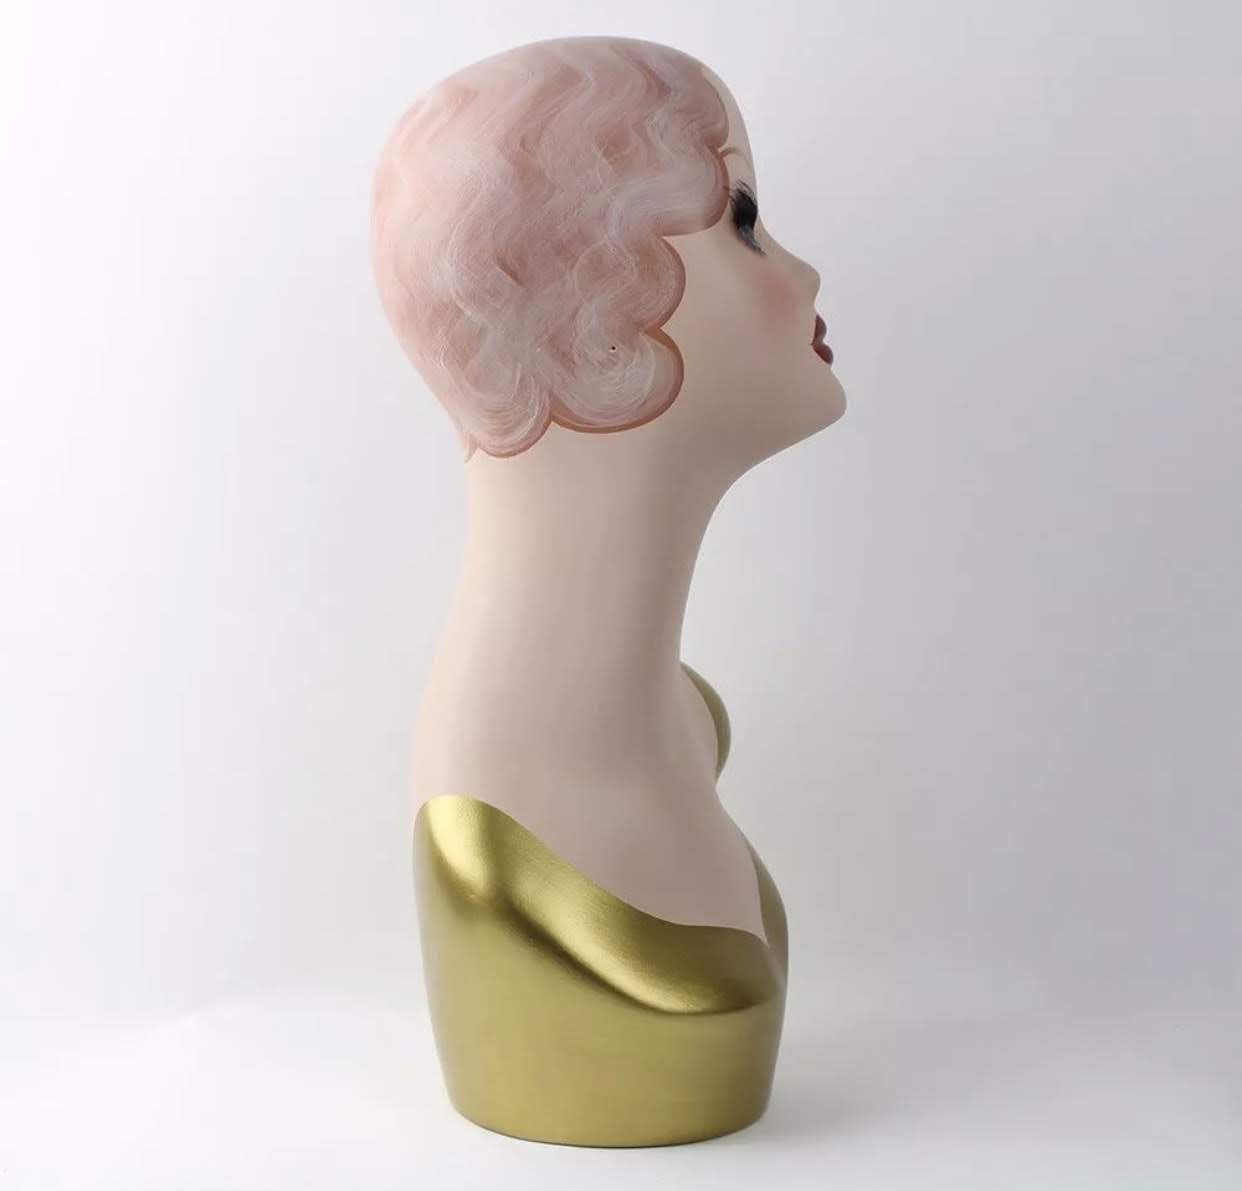 |
| Plus I love this gold dress. I am going to make one with this gold dress. |
The Project
First I started with a styrofoam head that I got at Hobby Lobby for $3.00 because I had a coupon - but they usually only run for $5.00 - so even at full price still very affordable.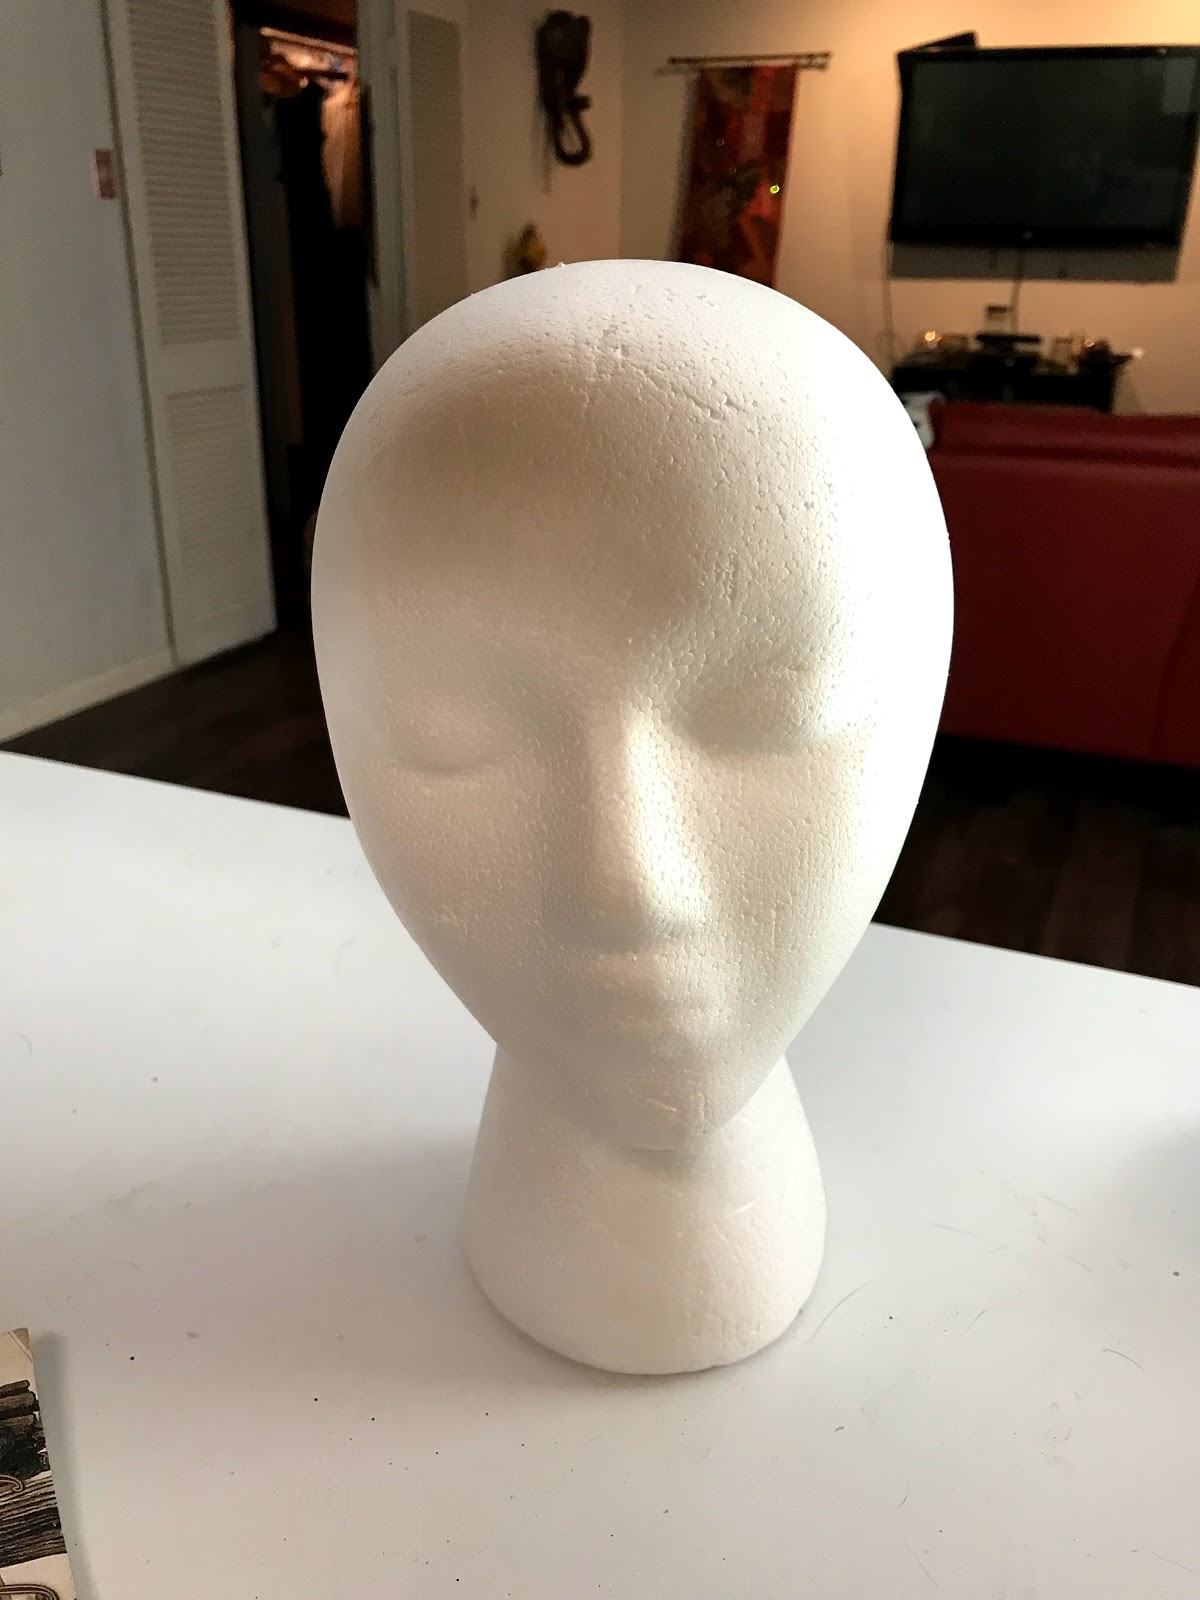
I looked at this for a while trying to determine my first step. The perfectionist in me thought that I should use paper mache to make the surface of the head smoother. But I wanted to see what it would look like painted. And I didn't feel like dealing with the mess of paper mache. So, I decided my girl would just have big pores.
I painted the entire head with an acrylic paint from Folk Art called Skintone. After one coat it was a terrifying shade of orange and it dried streaky.
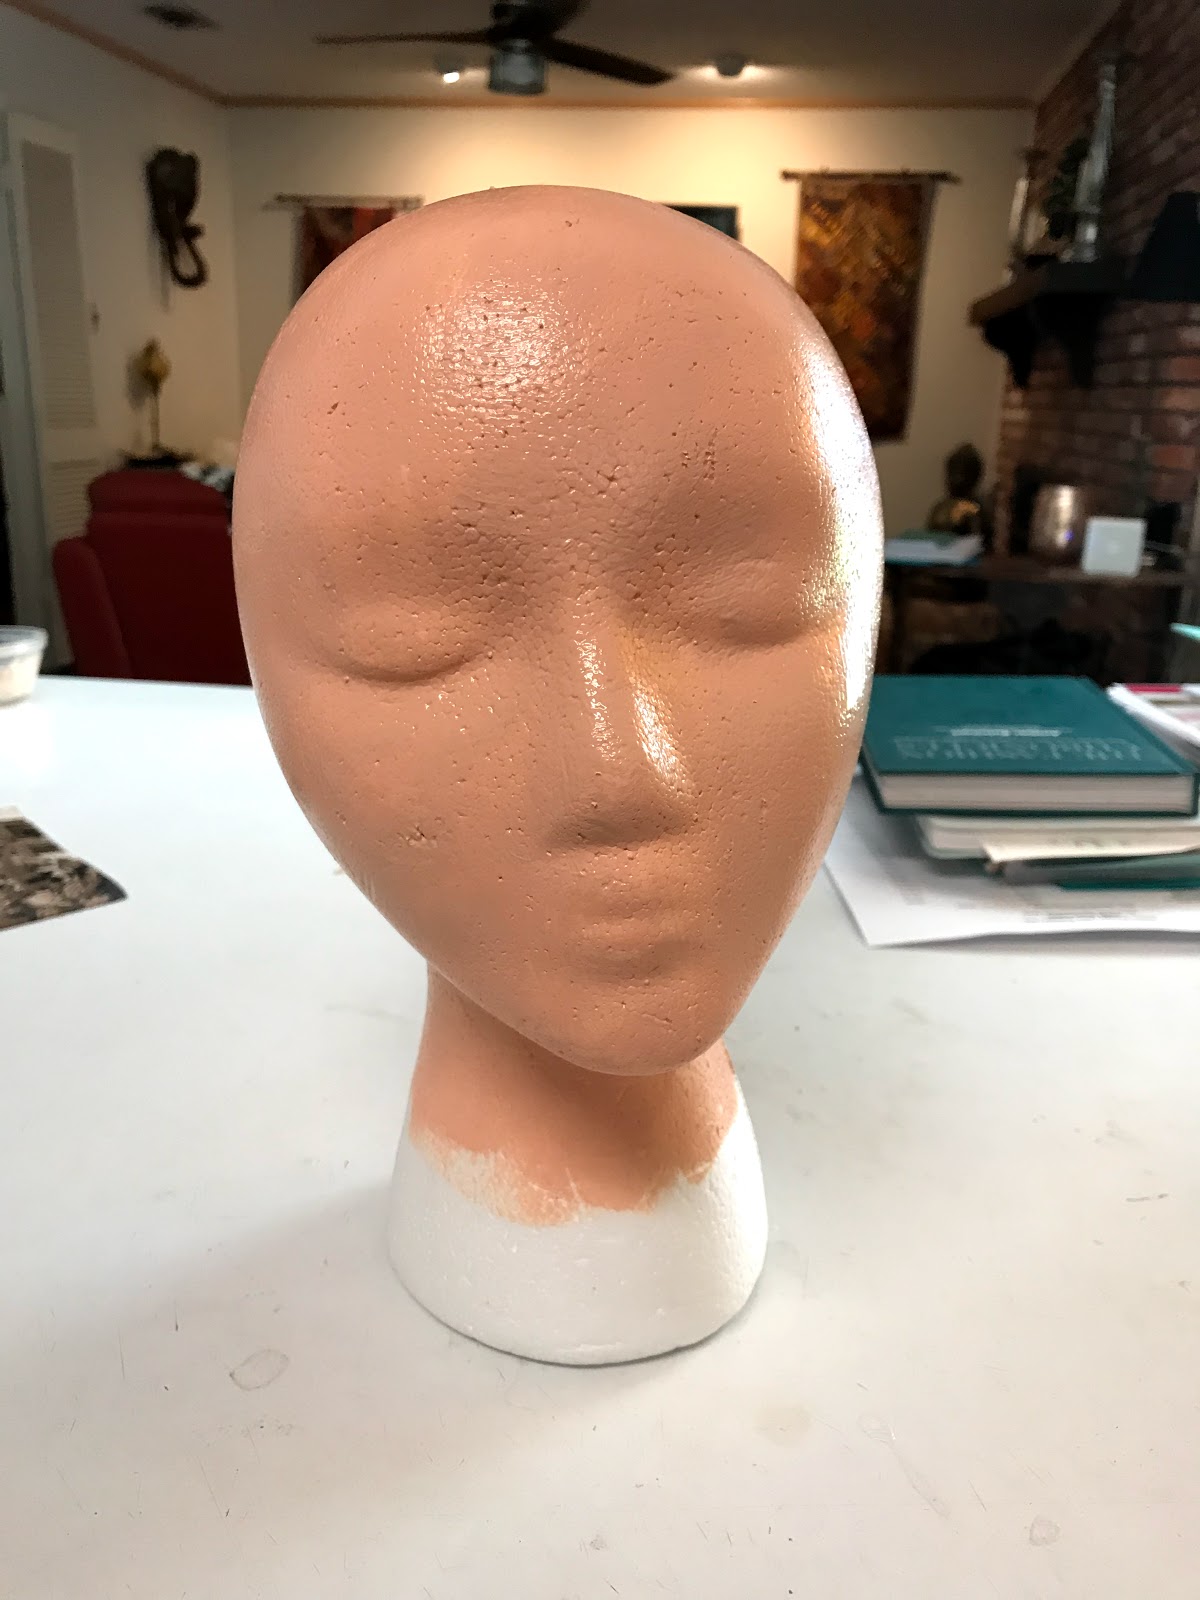 |
| The picture does not portray how very orange this looked in person. |
 |
| Second coat of paint. |
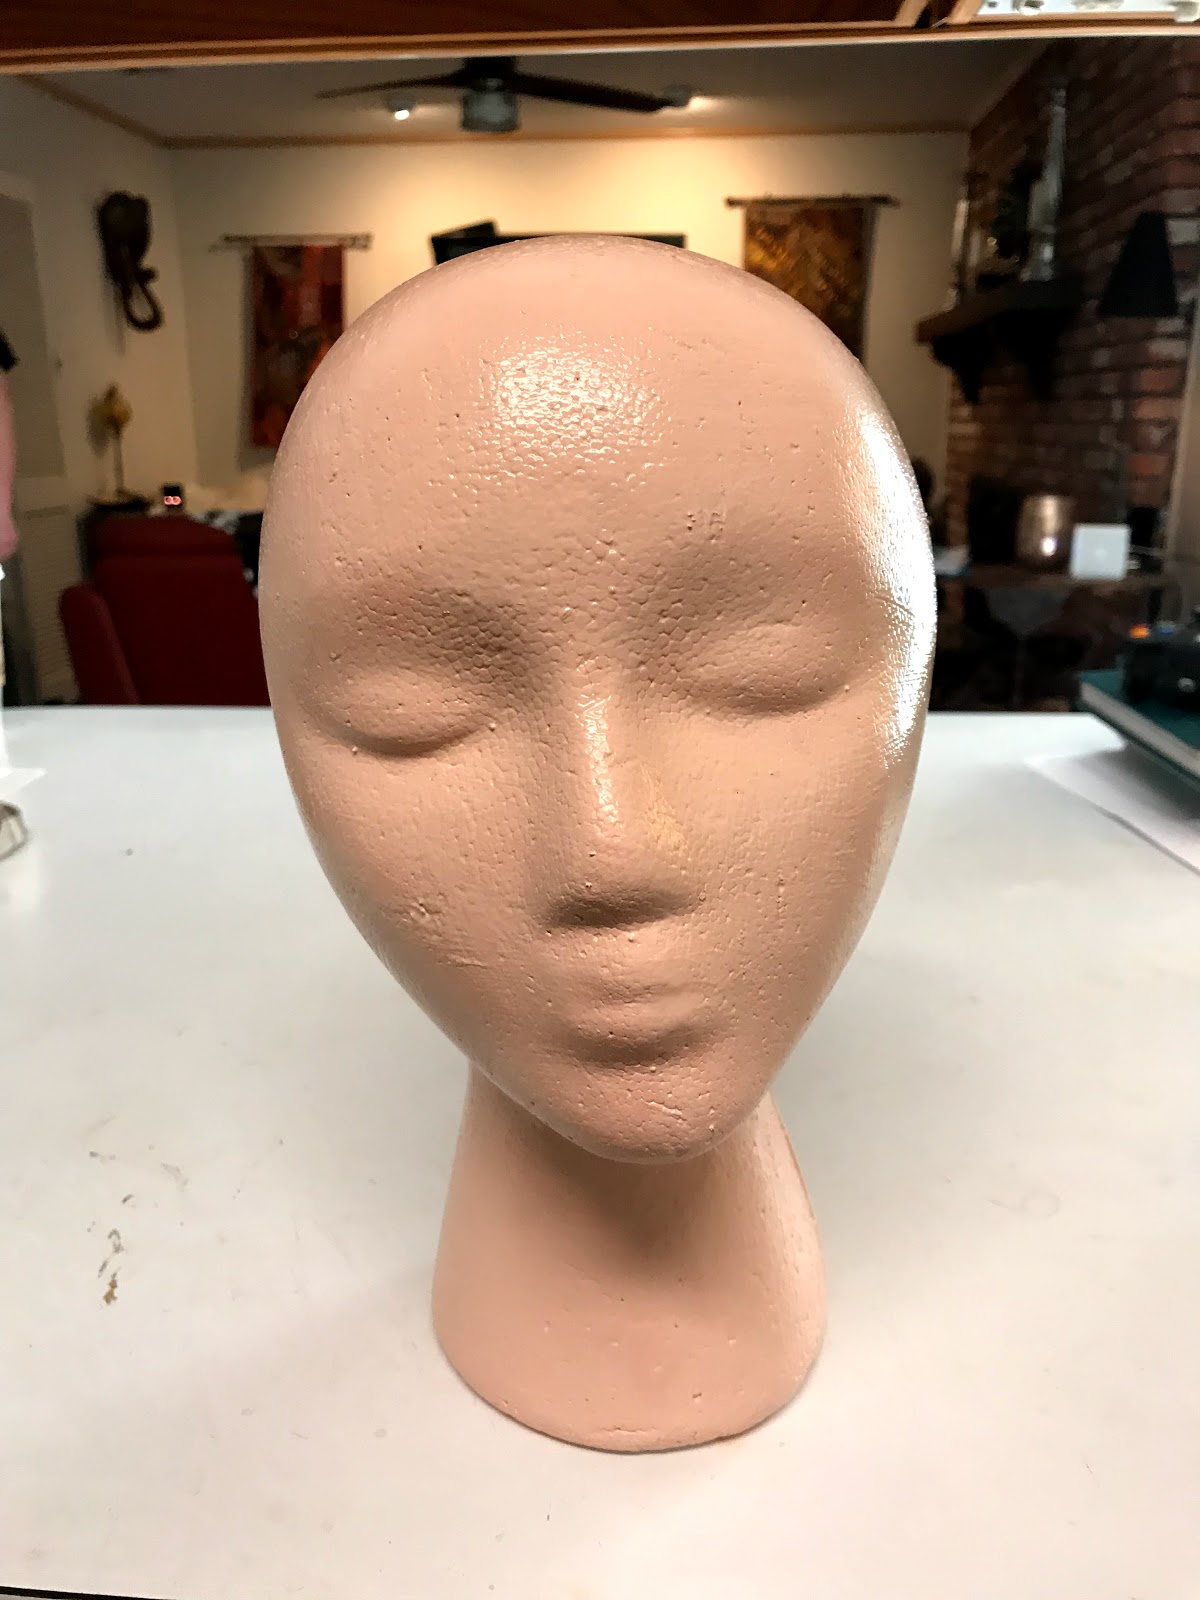
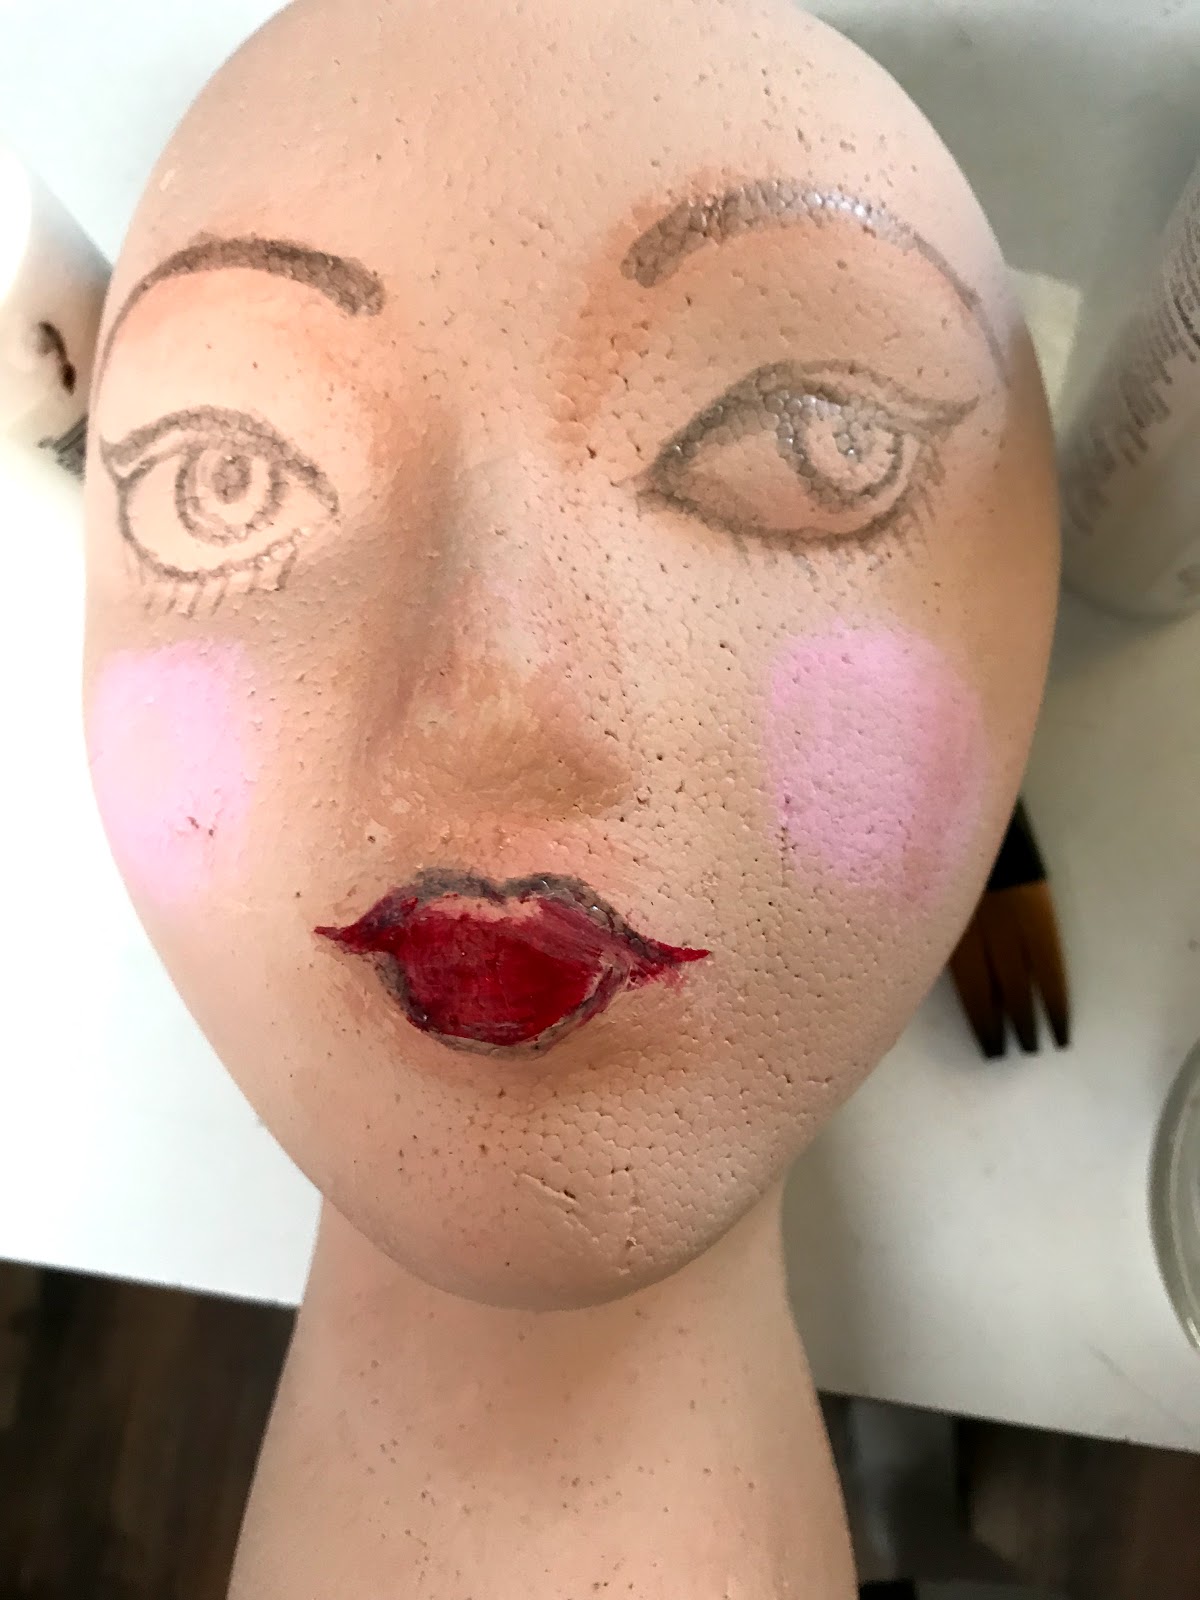
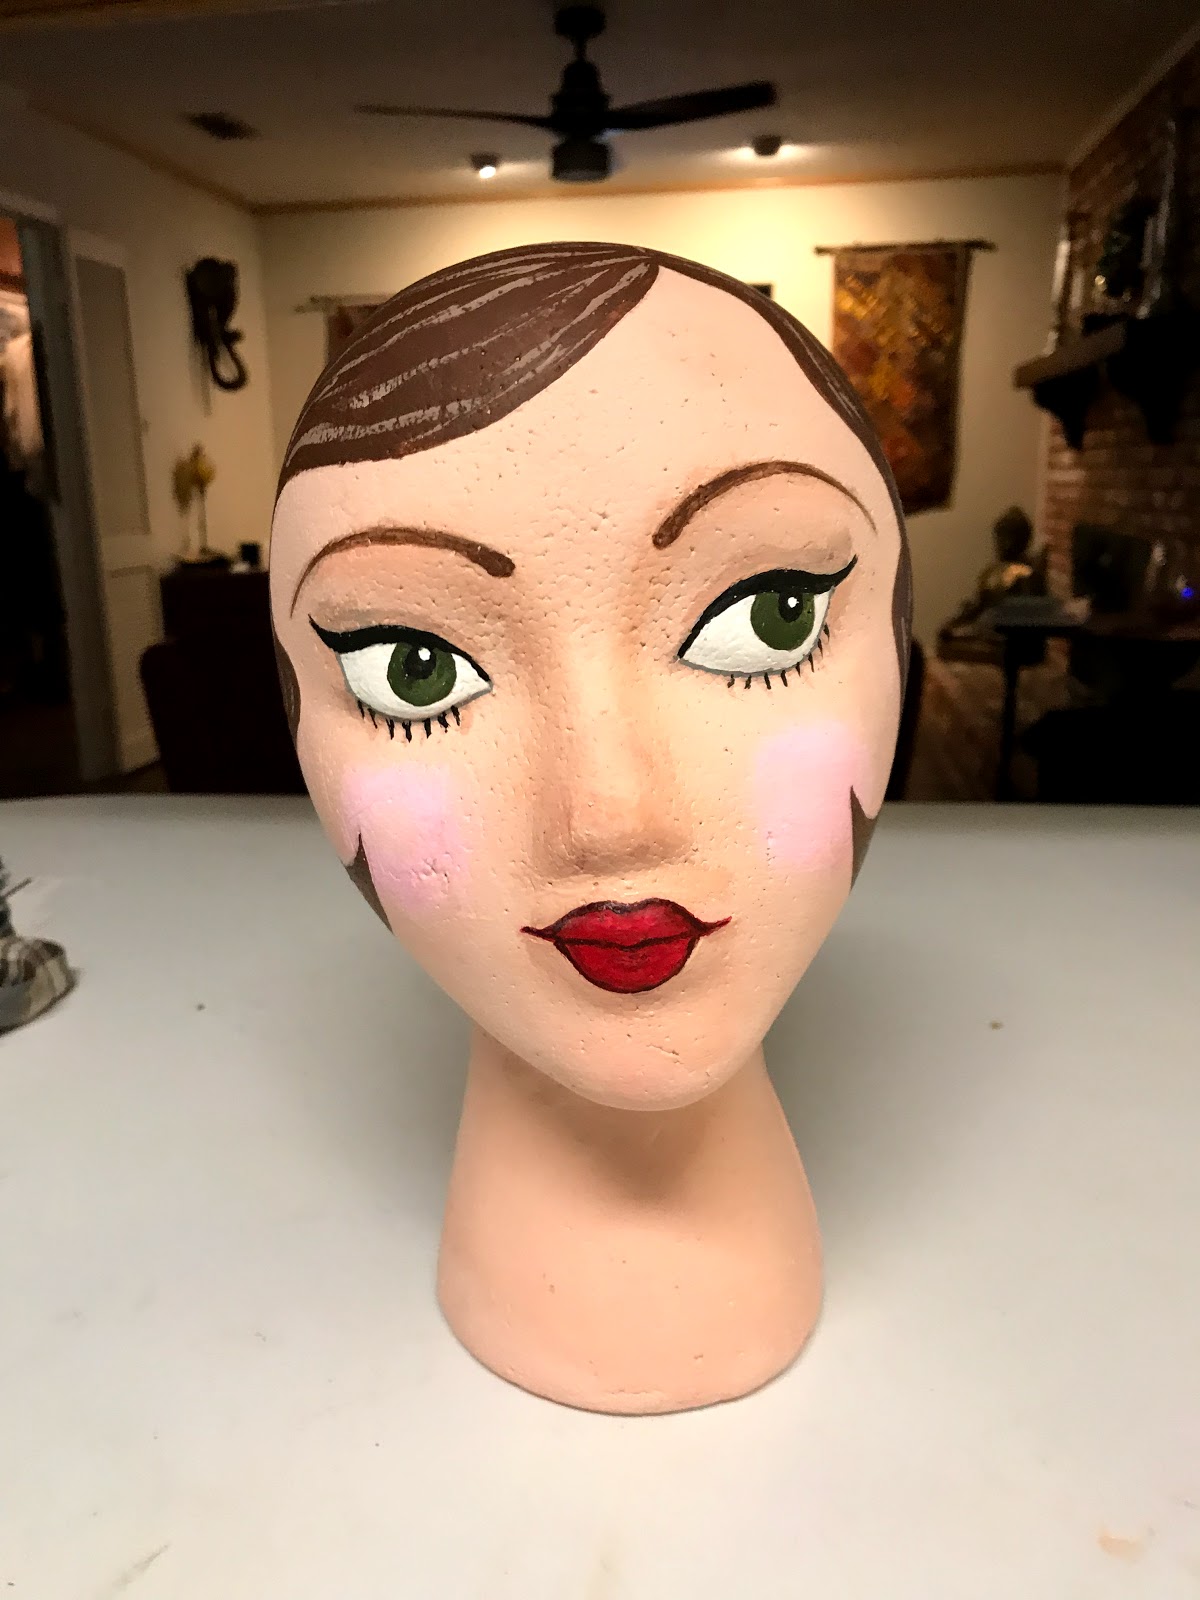
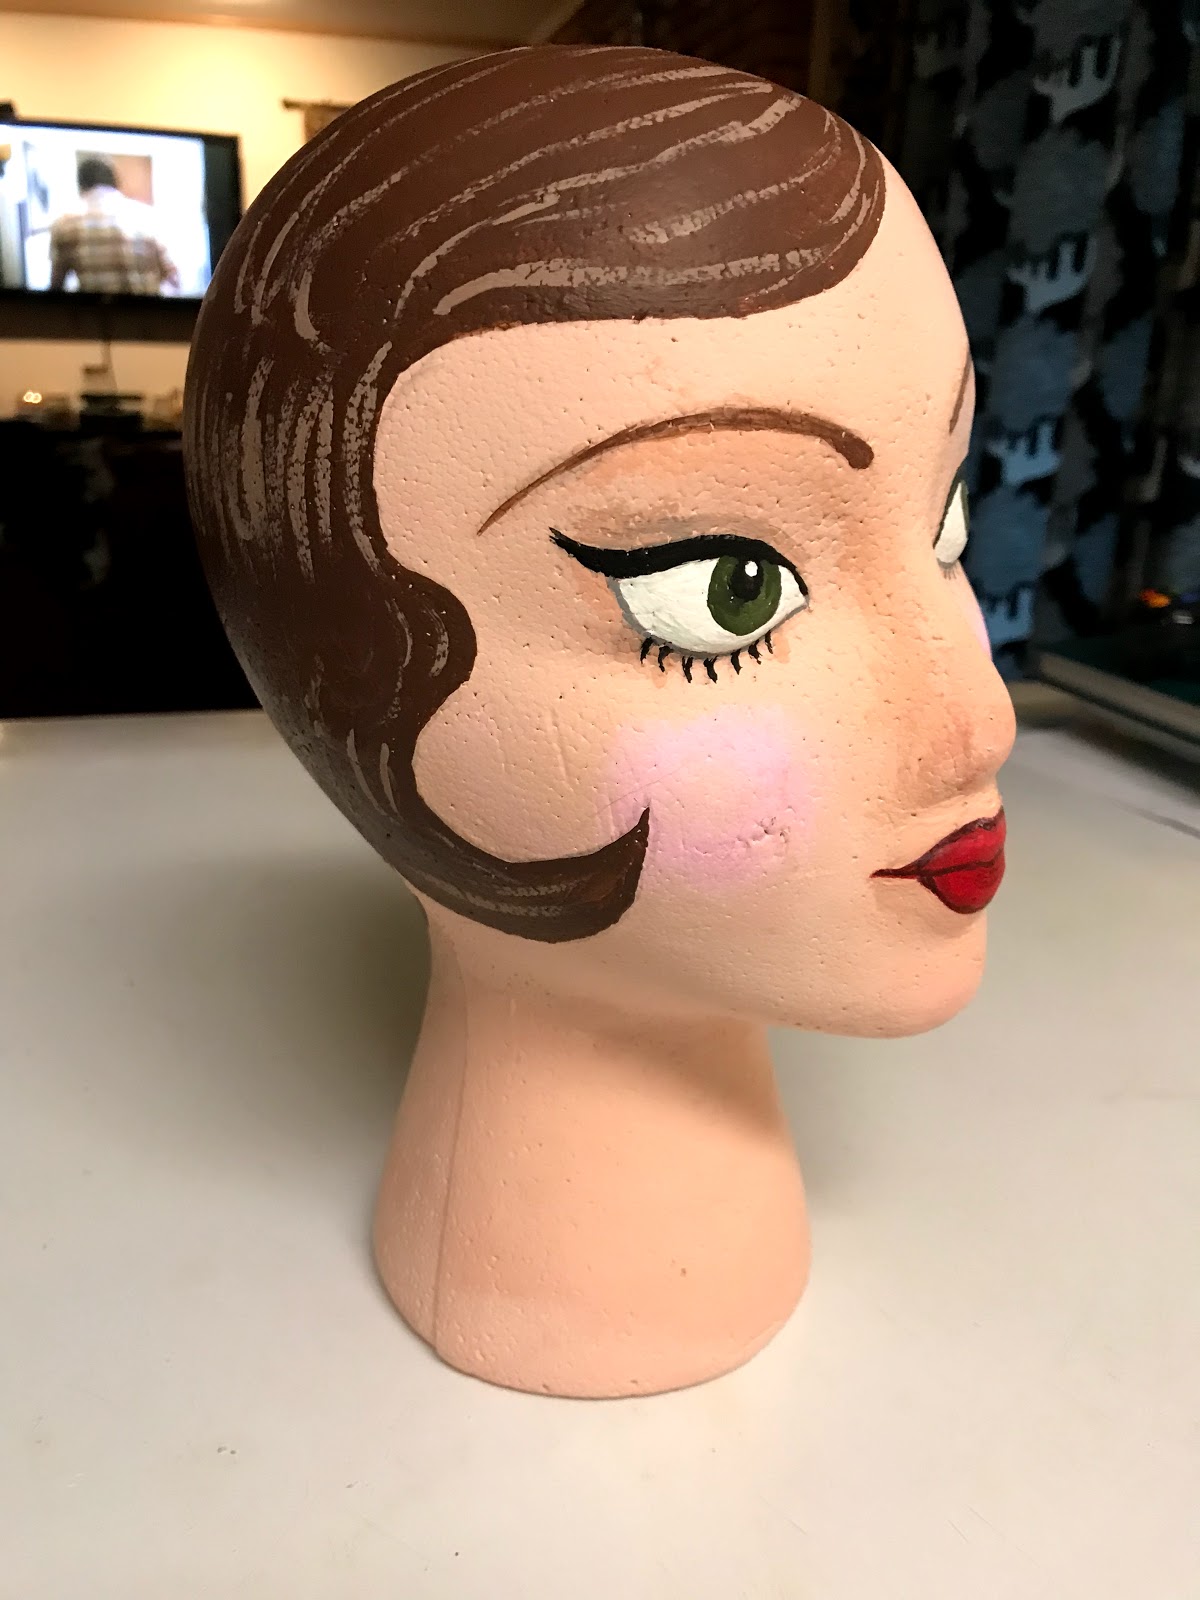
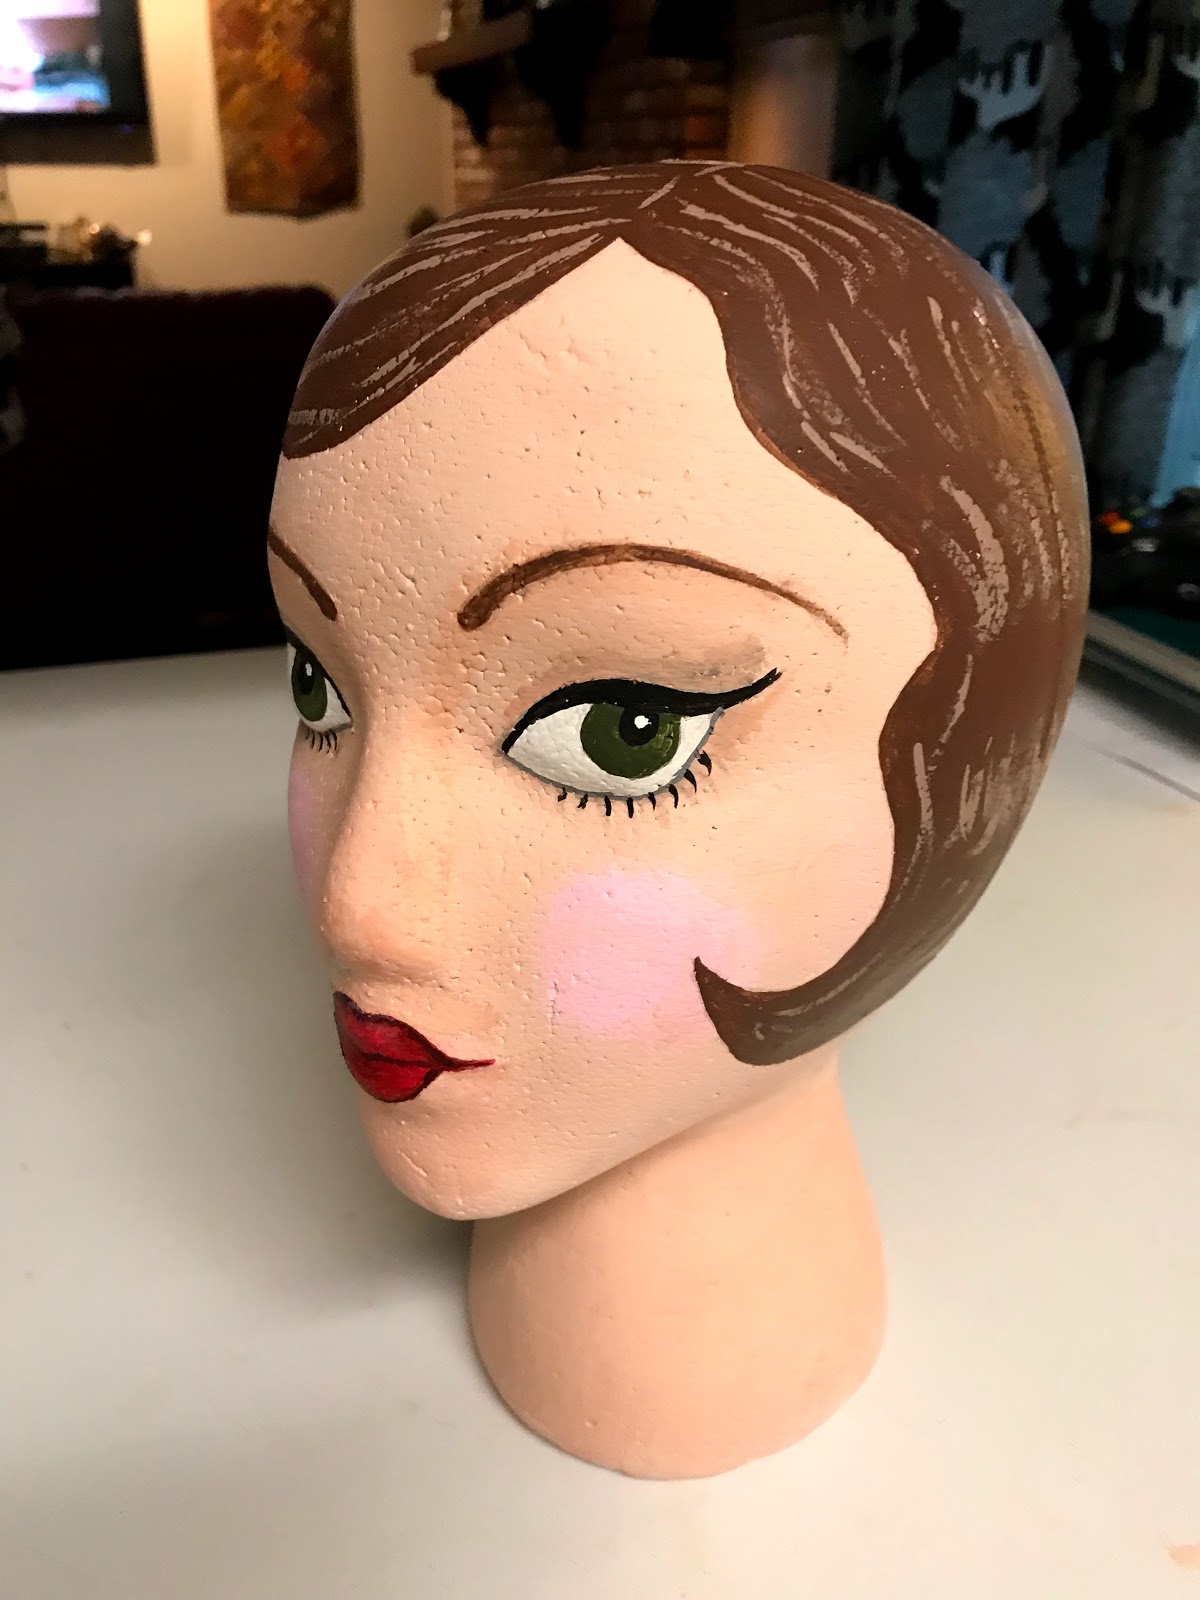
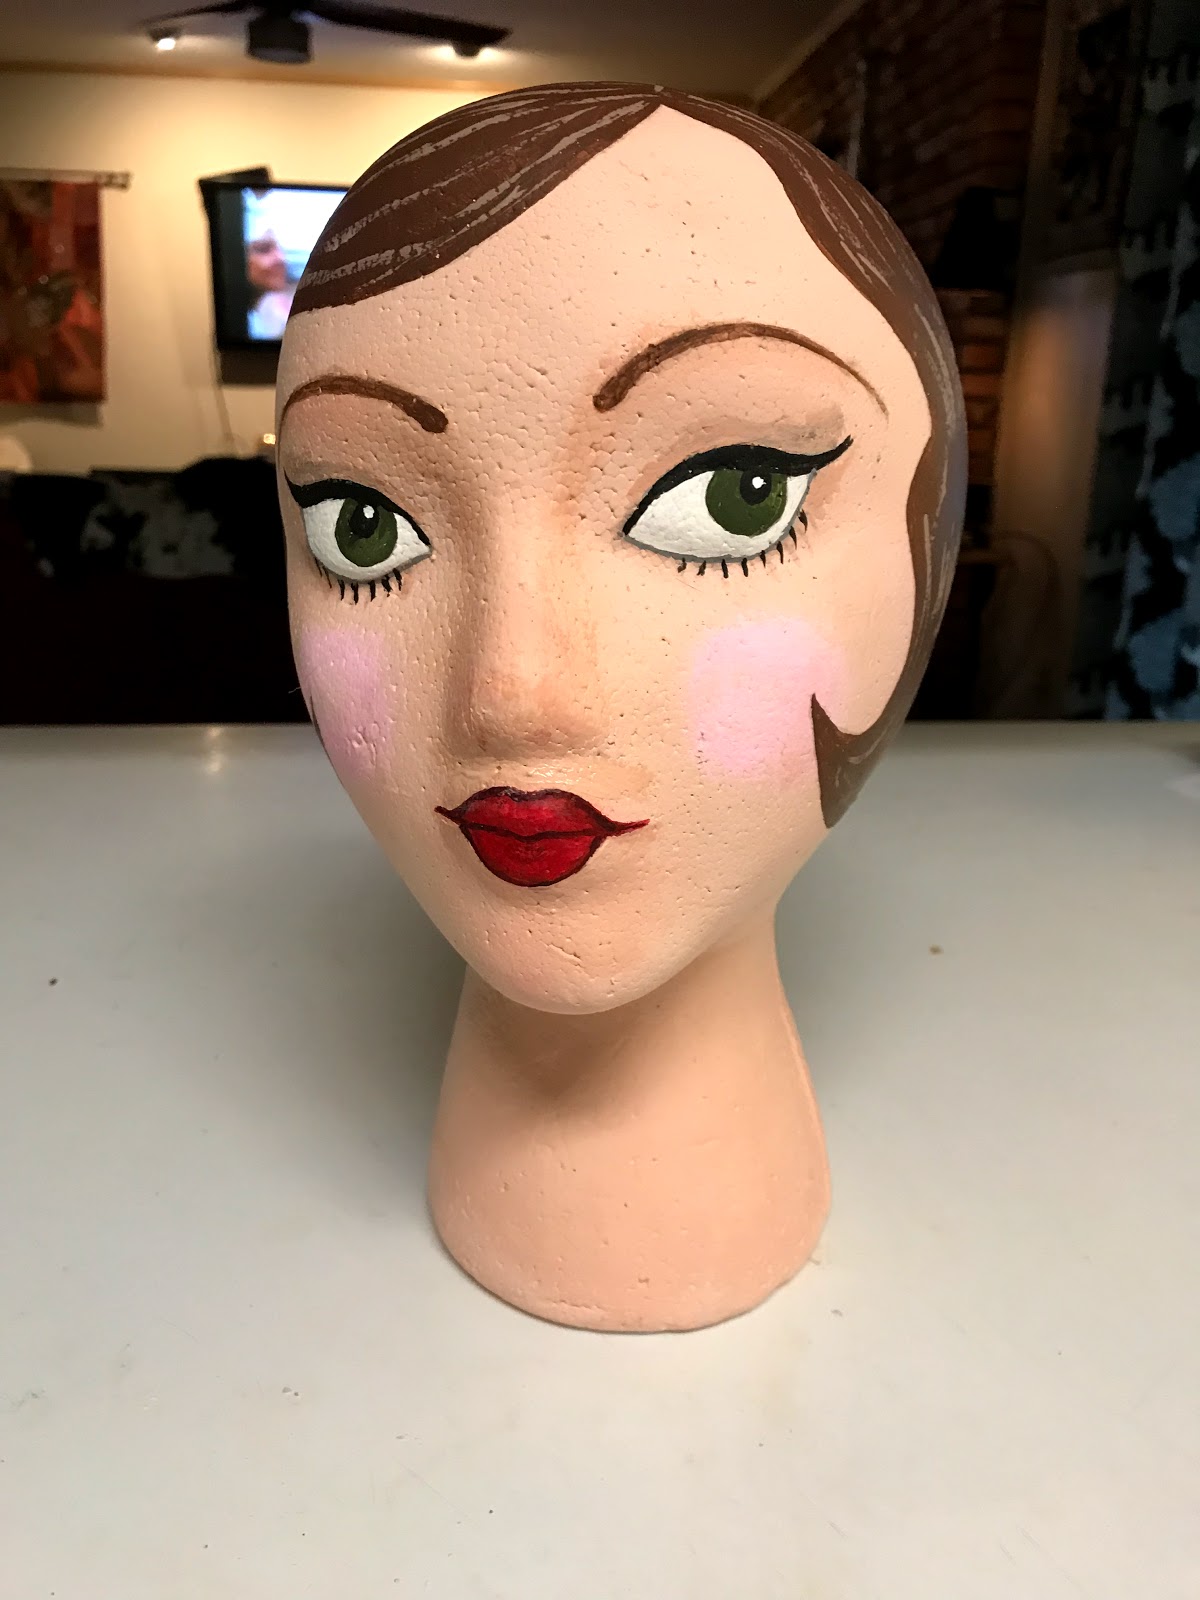
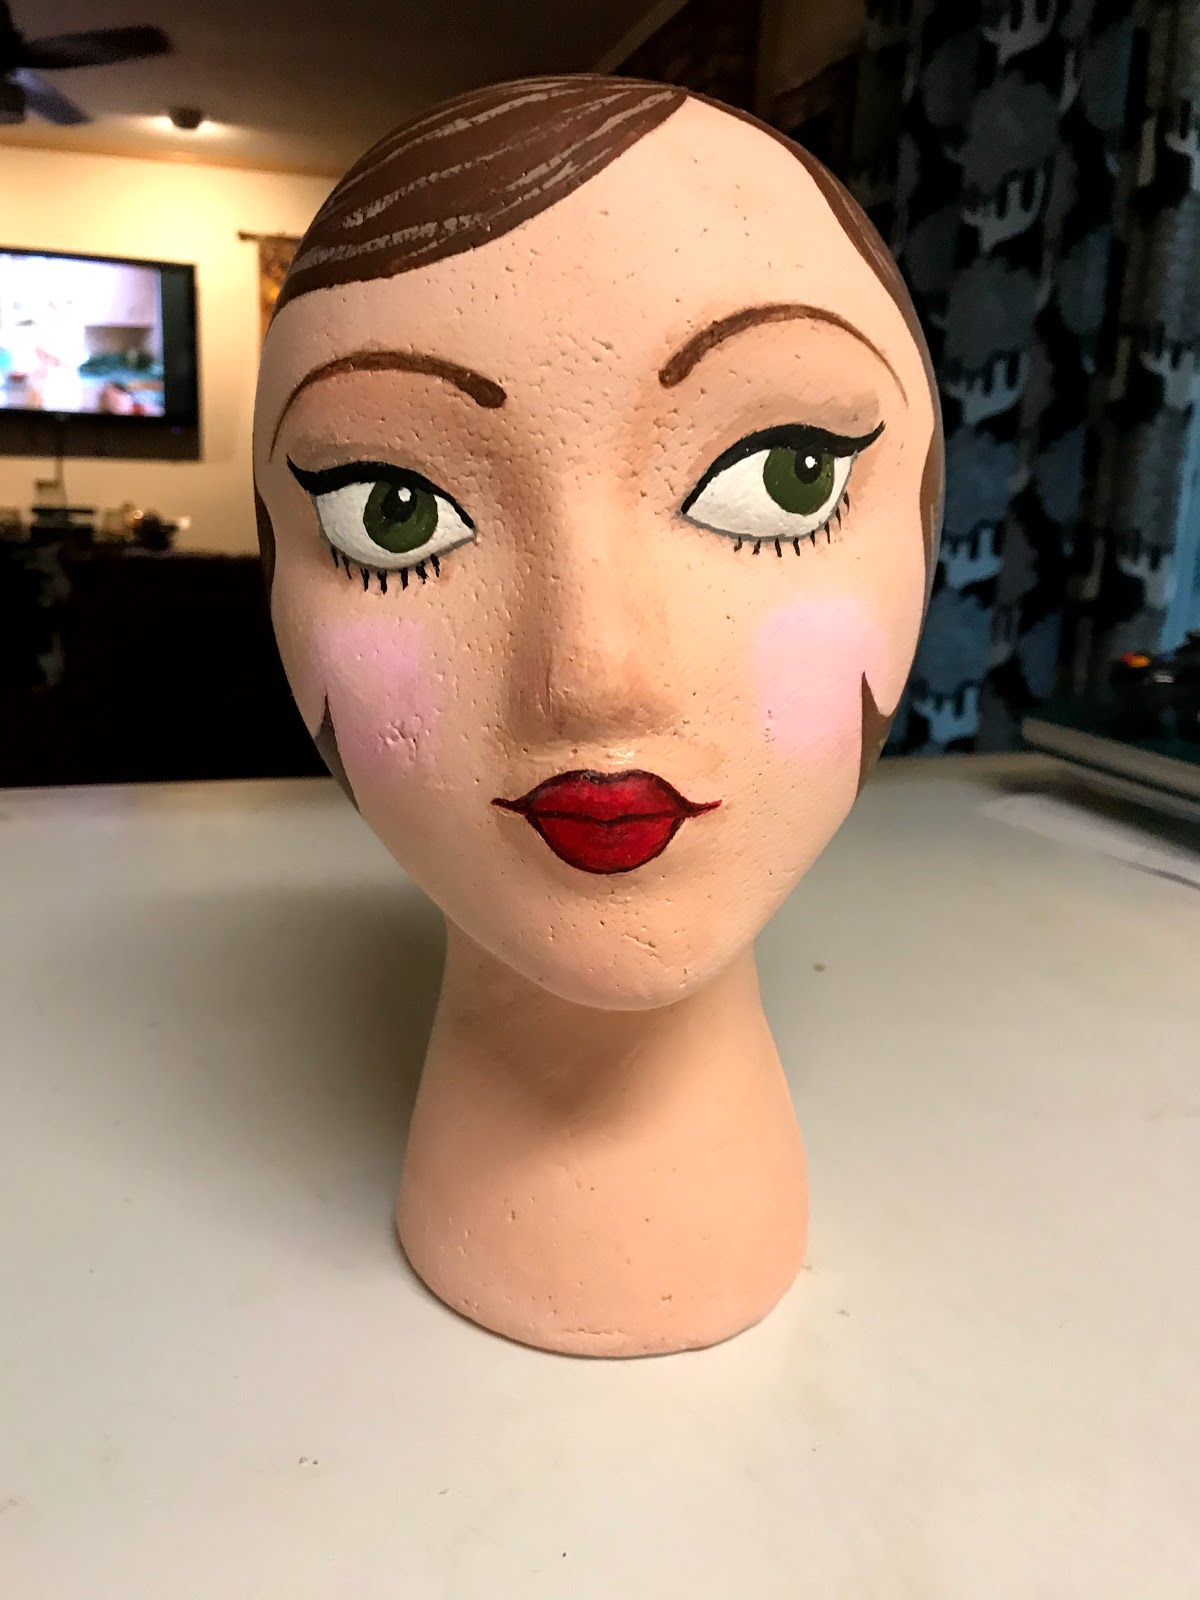
Once the base was dry, it was time to start painting the face. First, I tried free hand painting the face. And though the lips looked good, they weren't the vintage shape that I was looking for.
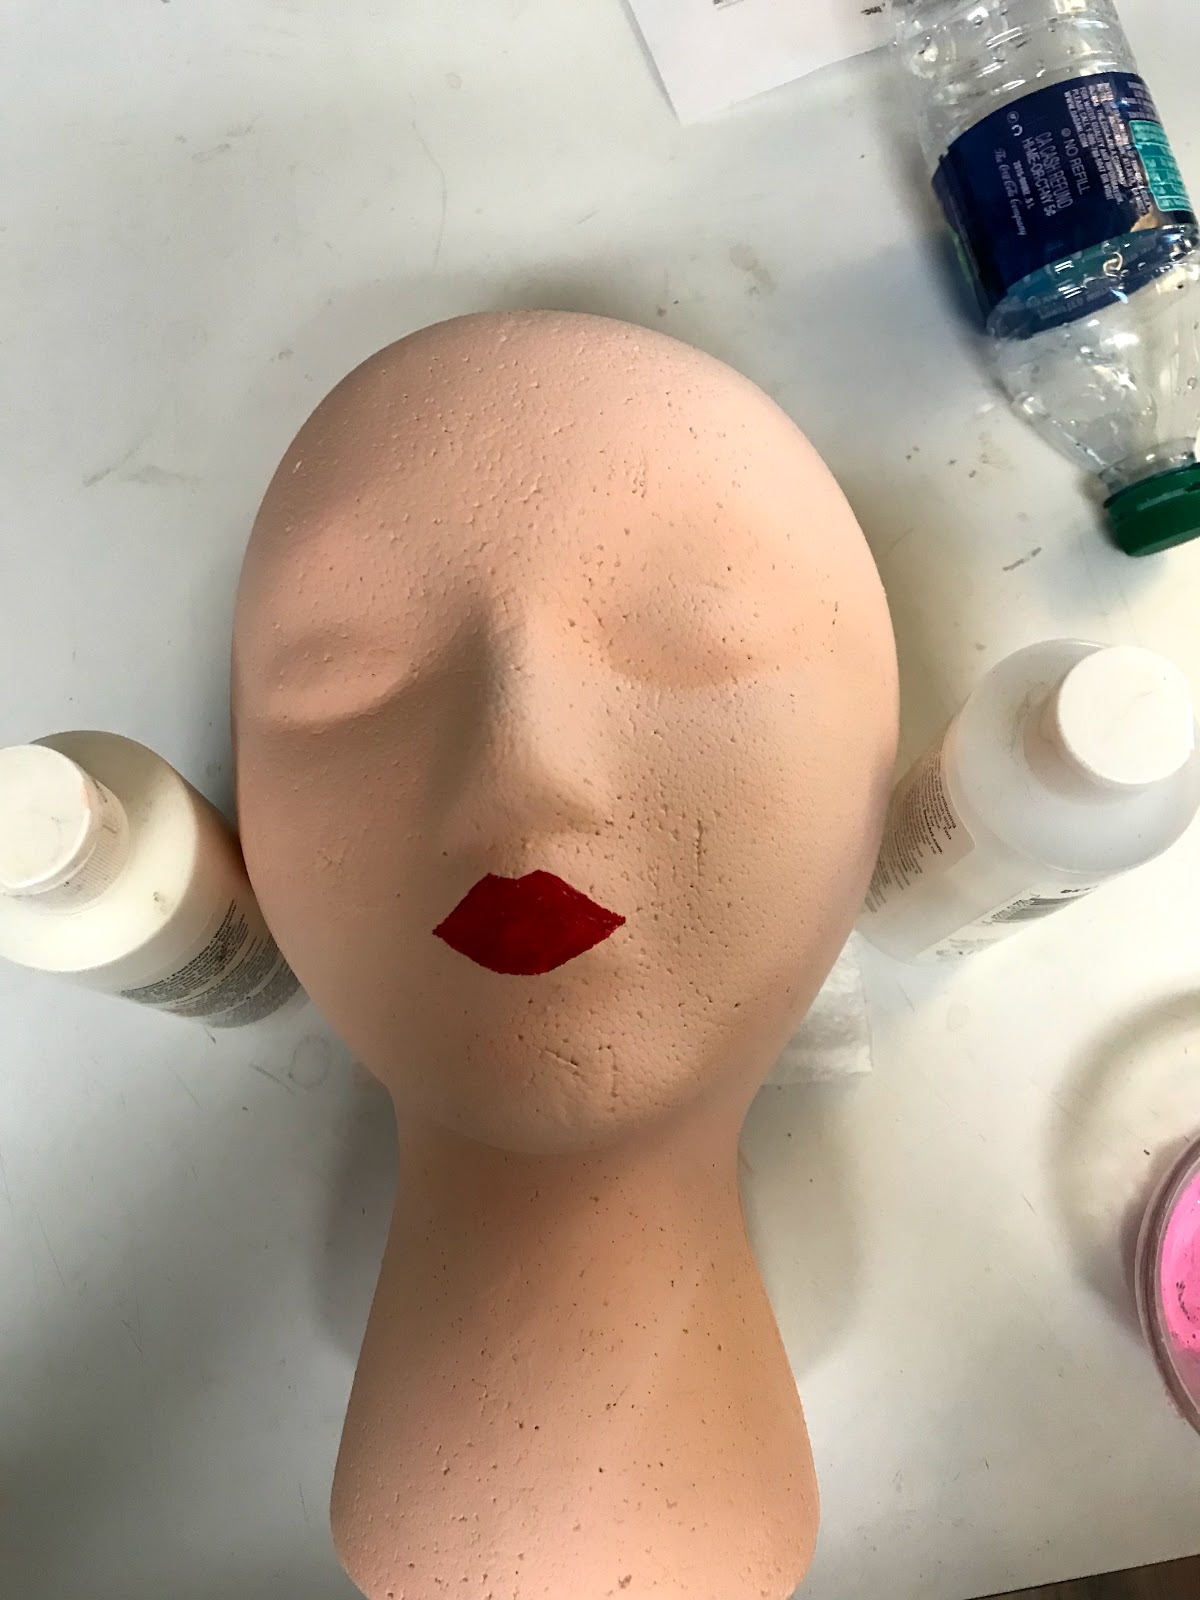 |
| This lip shape wasn't the one that I wanted this time, but definitely is one that I will do for another head. |
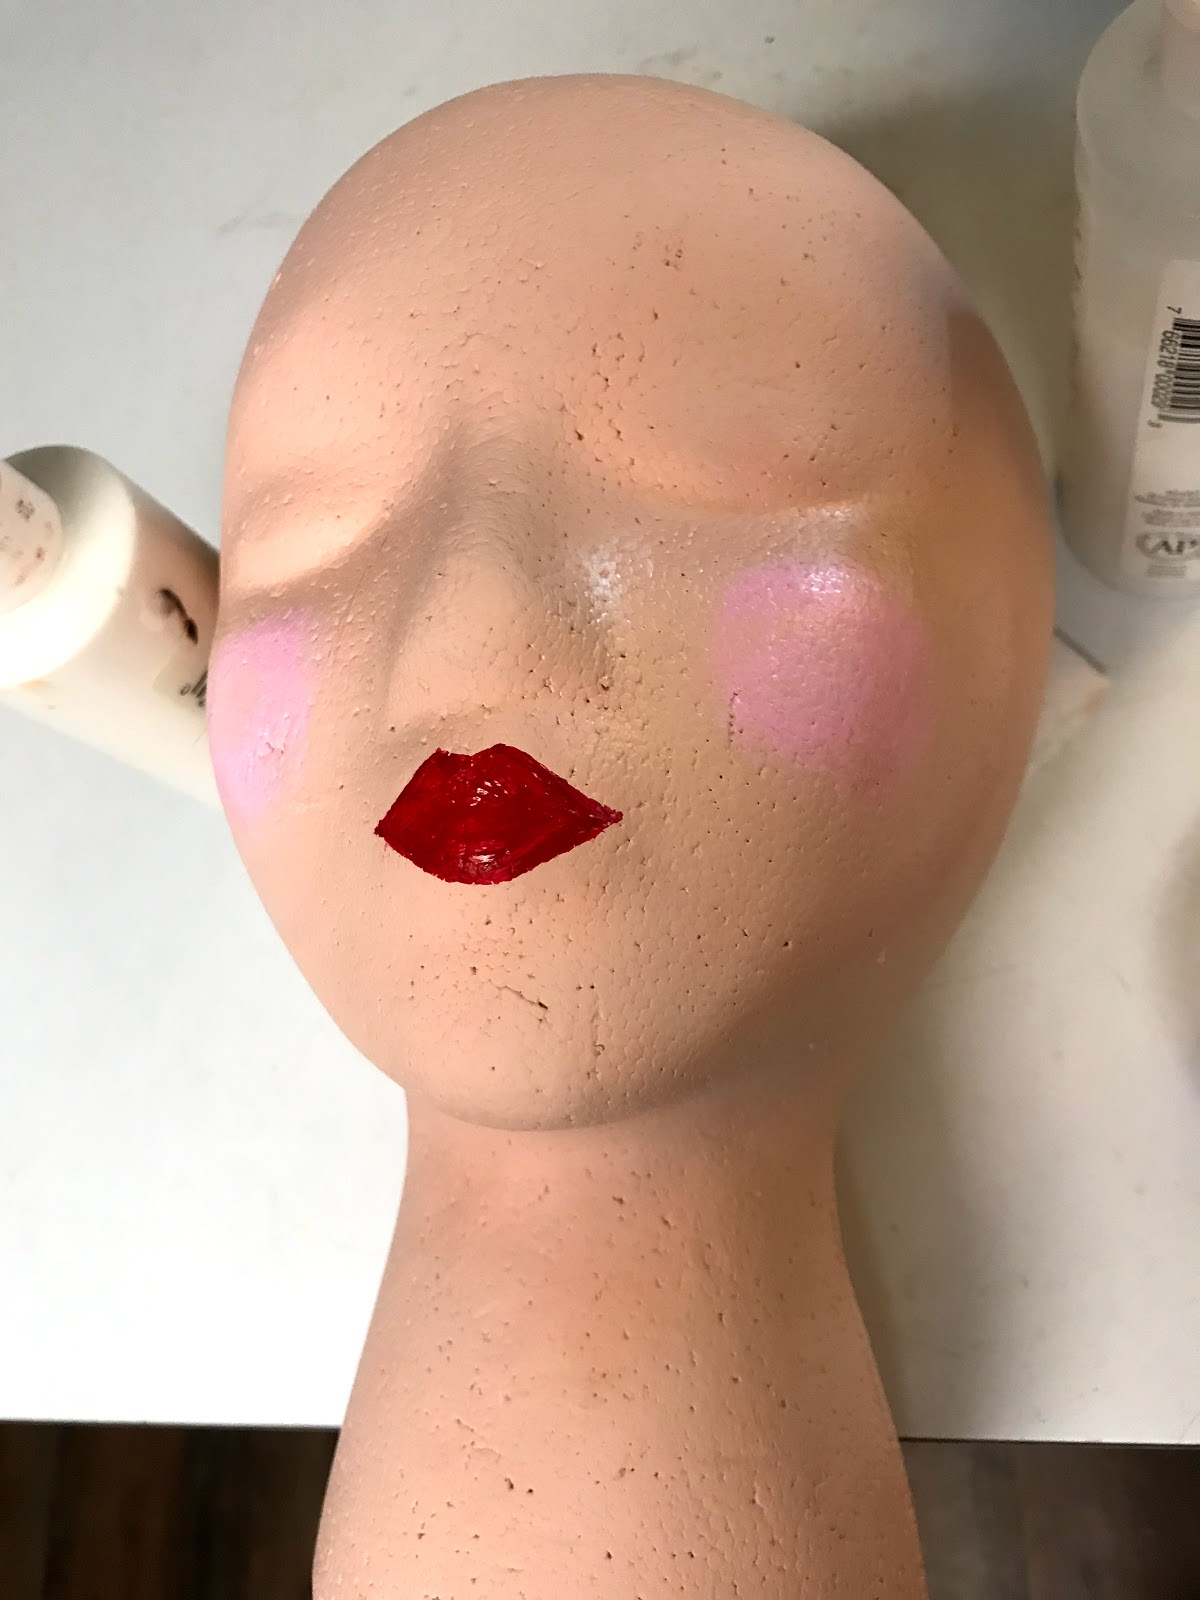
Then I repainted the lips red.
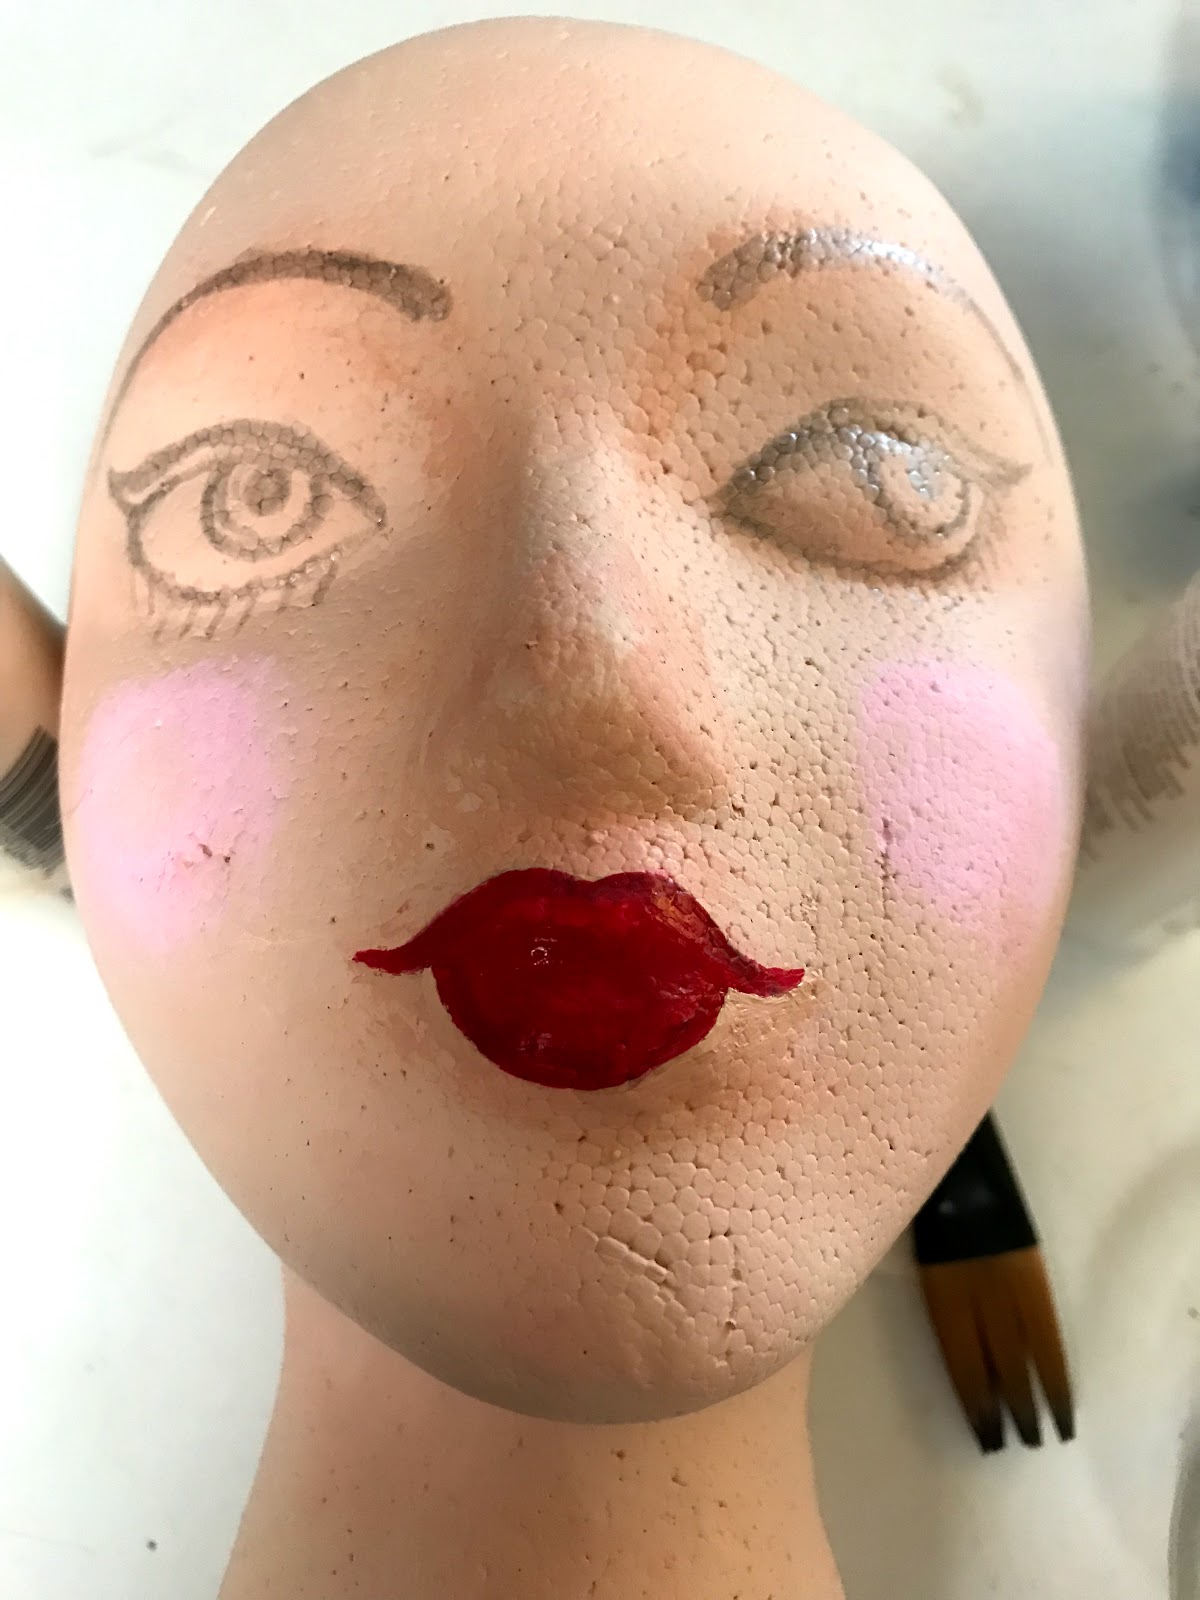
That's better. A little bit.
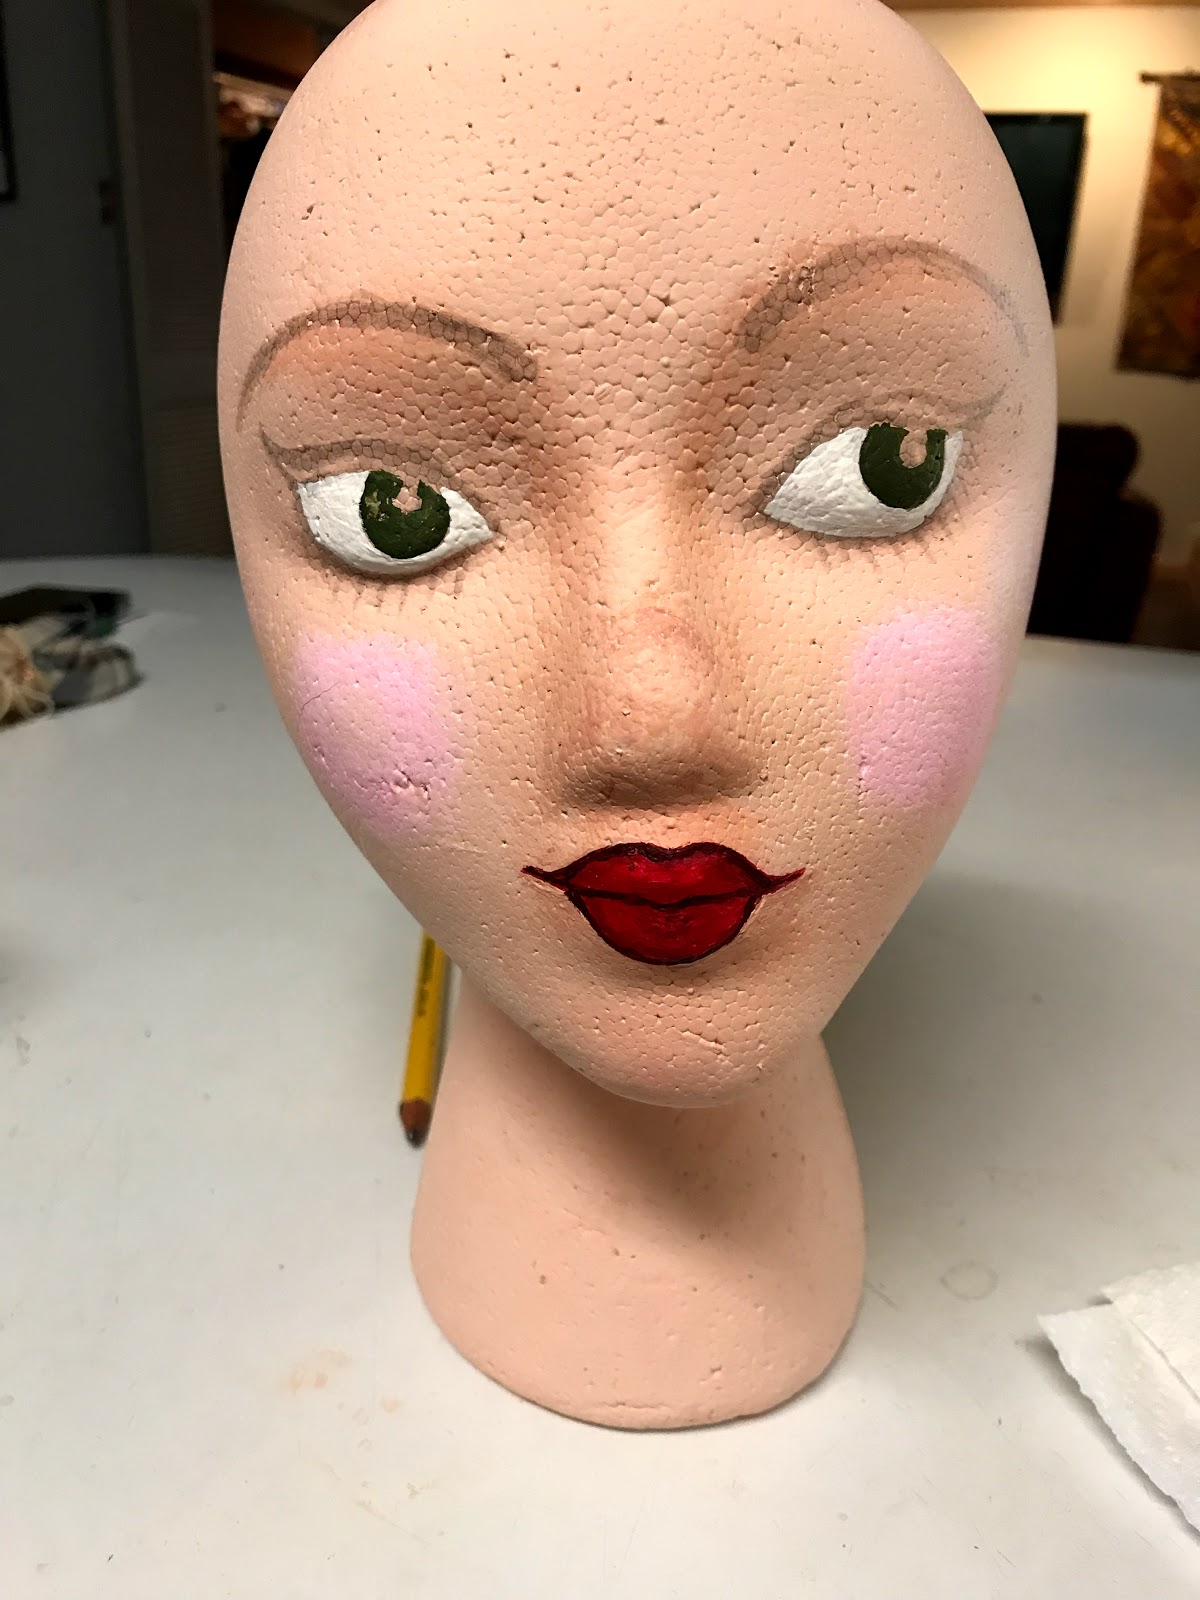

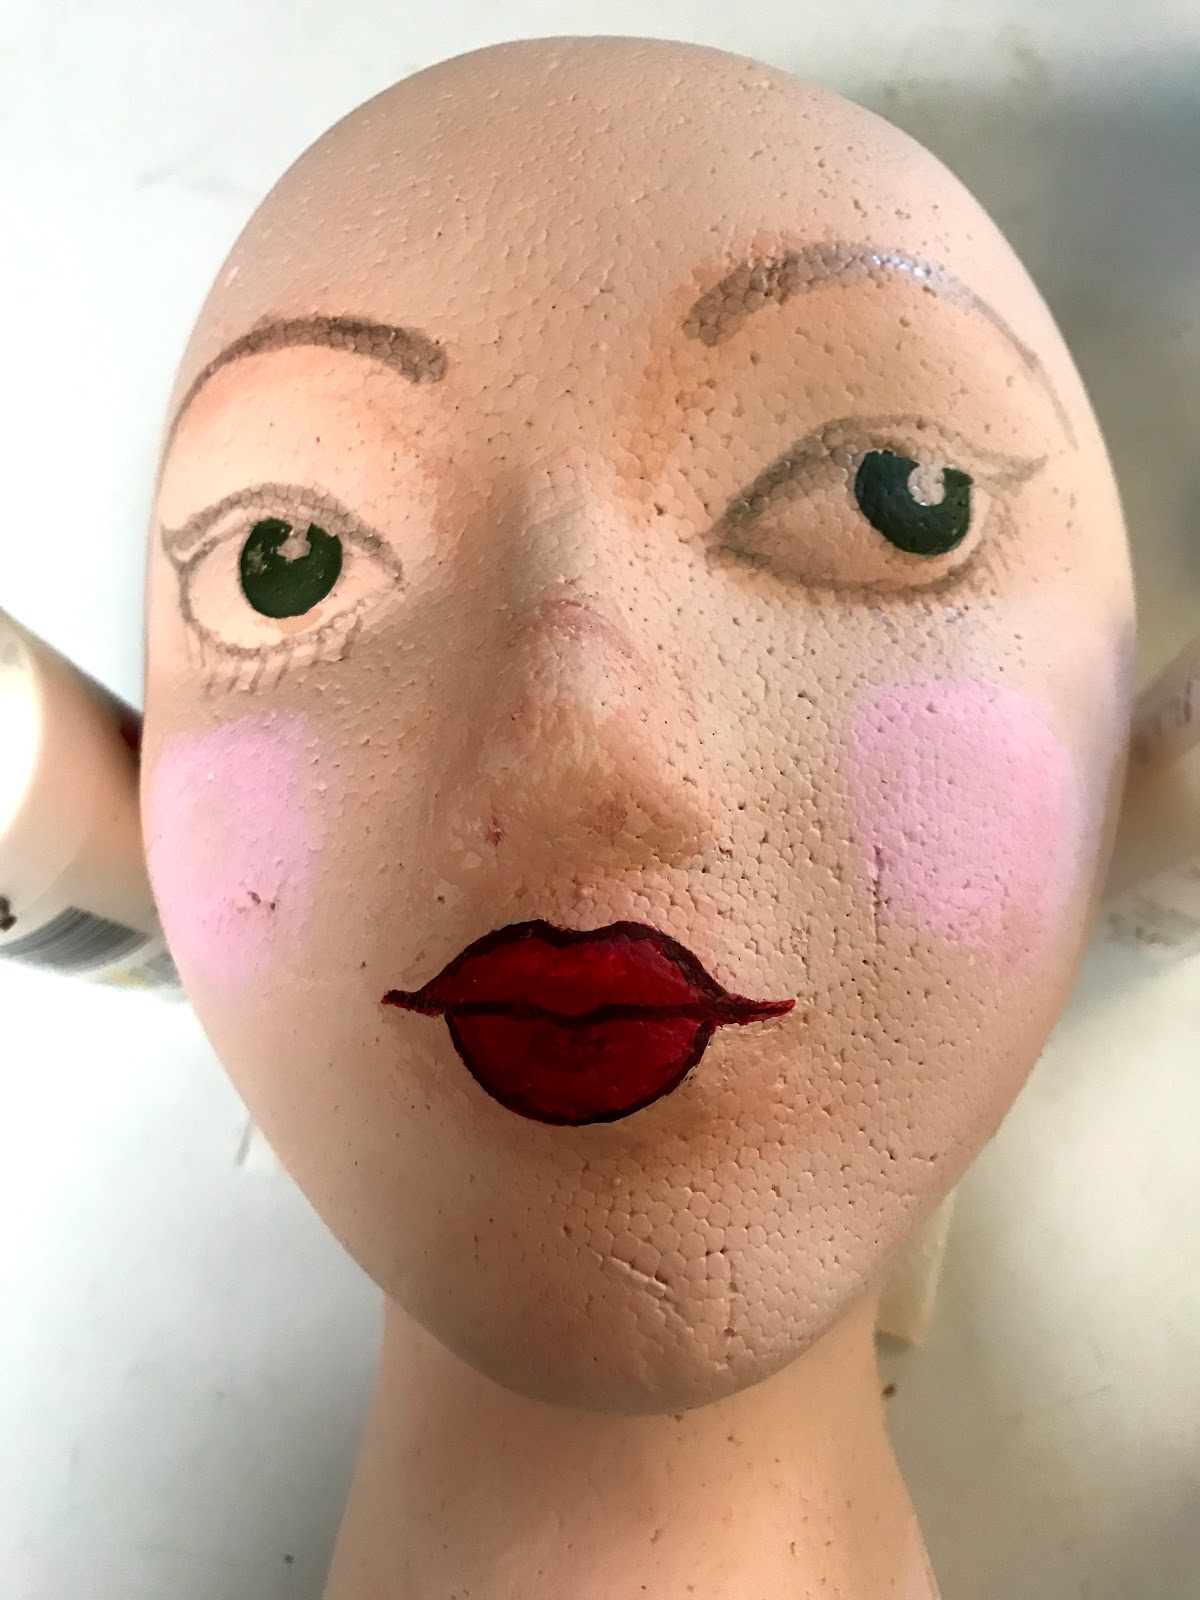
I decided to do an almost not there shadow. So I took the skintone color I had originally used for the face that had been too orange, but used my paint brush that I had not completely cleaned free of the black plaint. This little bit of black in the brush, combined with the fleshtone, gave me a very subtle grey color. I thought it kinda looked like shadows caused from her lashes and gave it a little depth.
And then came the brows. I extended past her natural brow bone and lowered the outward tip closer to the eye than we would style brows today to give her a retro look. (Although don't ask me what decade I am going for at this point, it is sort of a mishmash.)
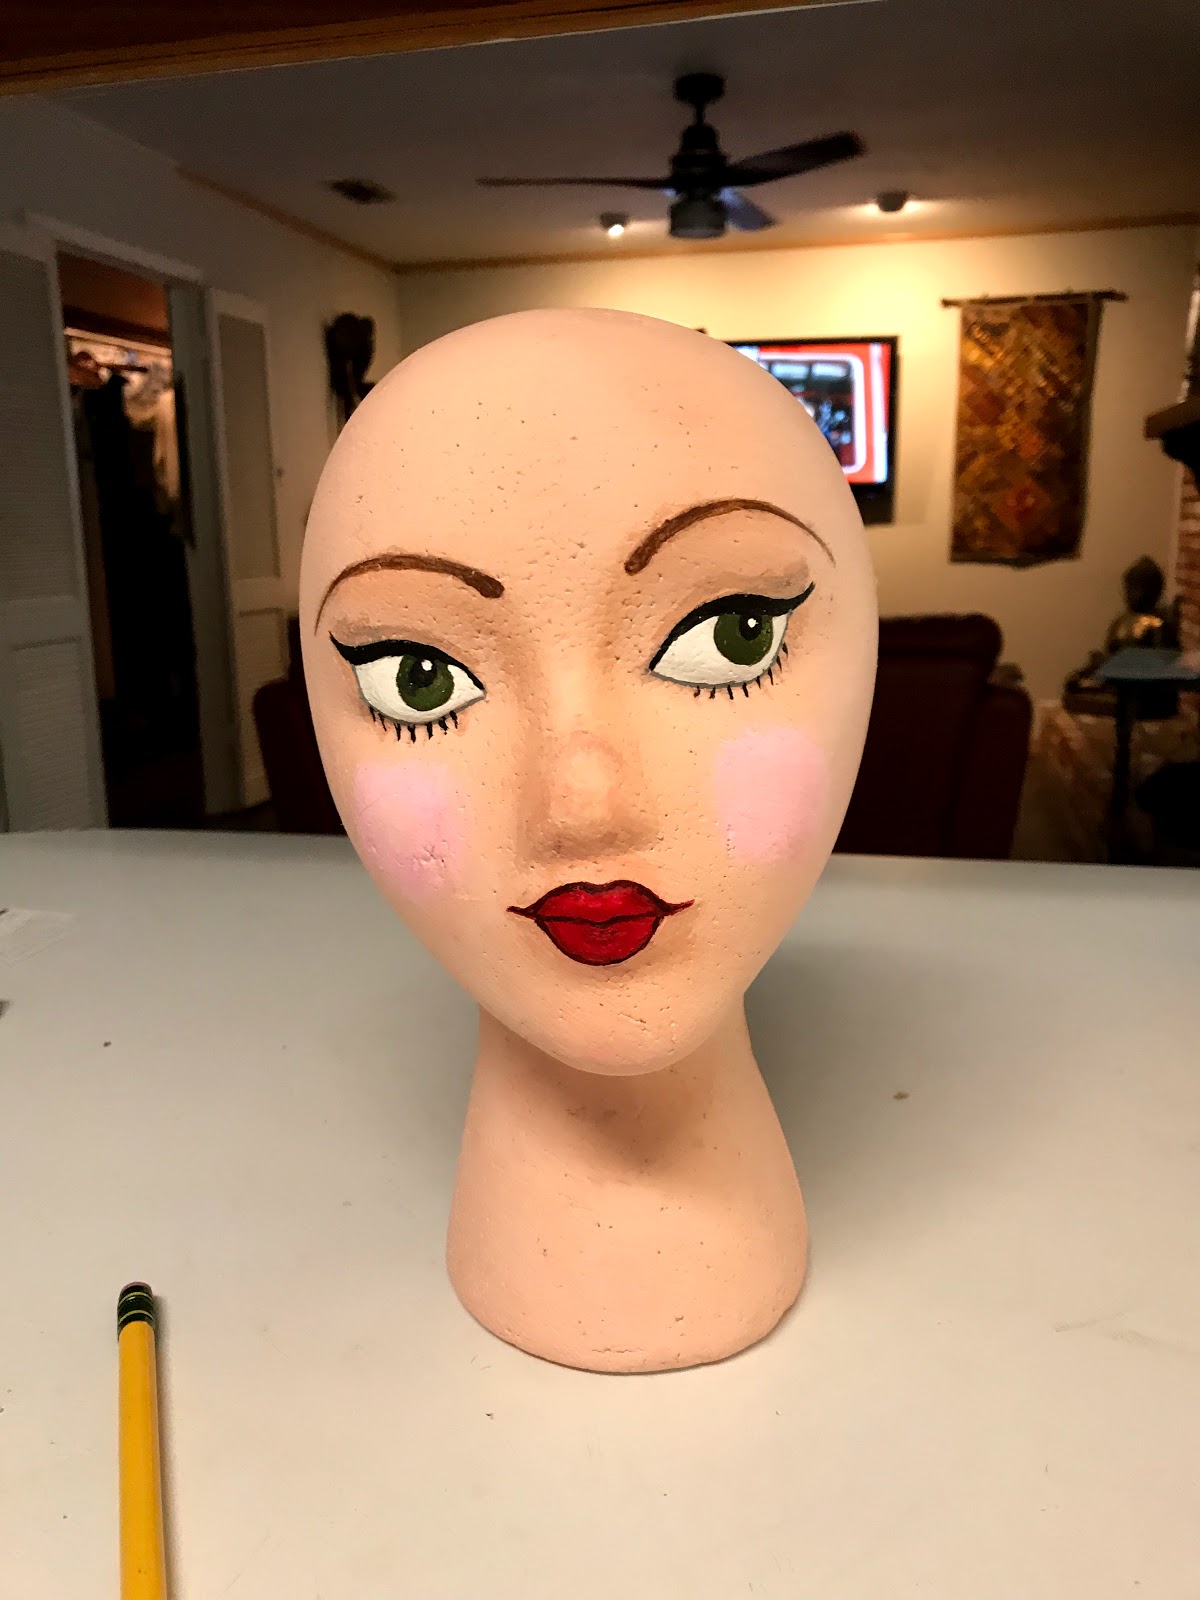
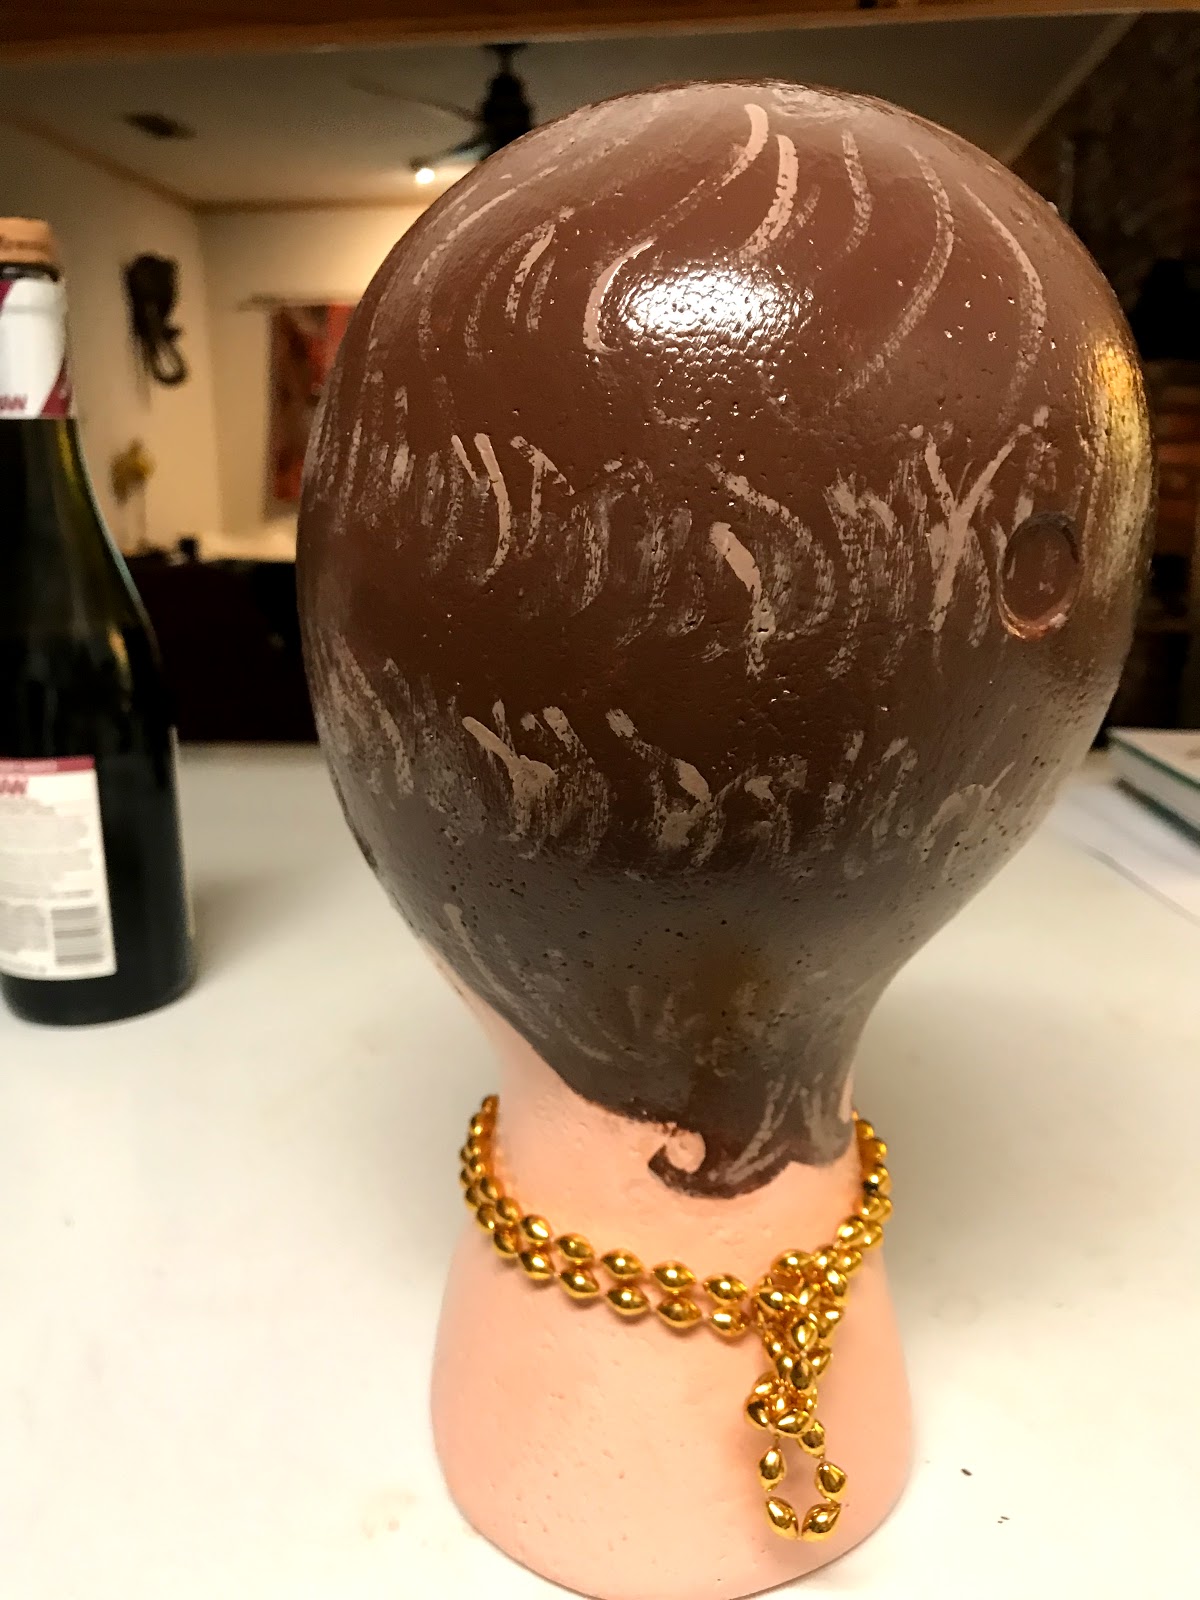
So, onto her hair.
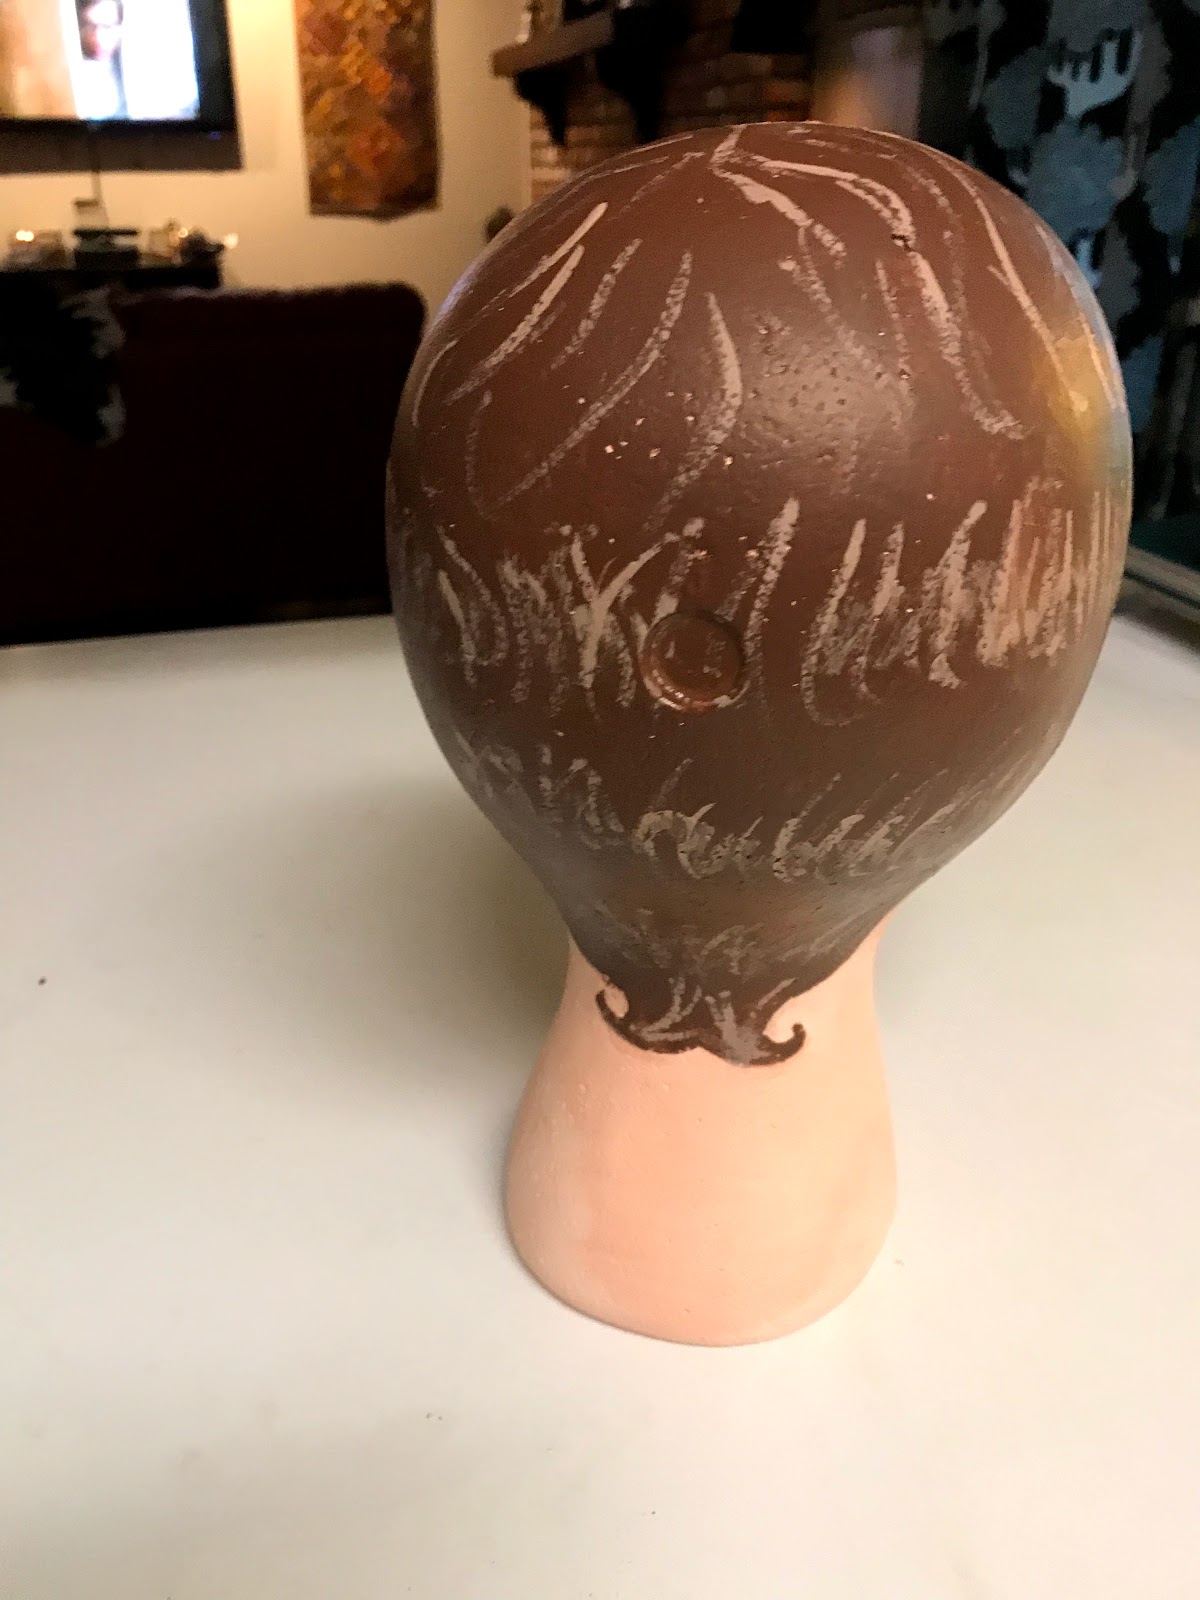
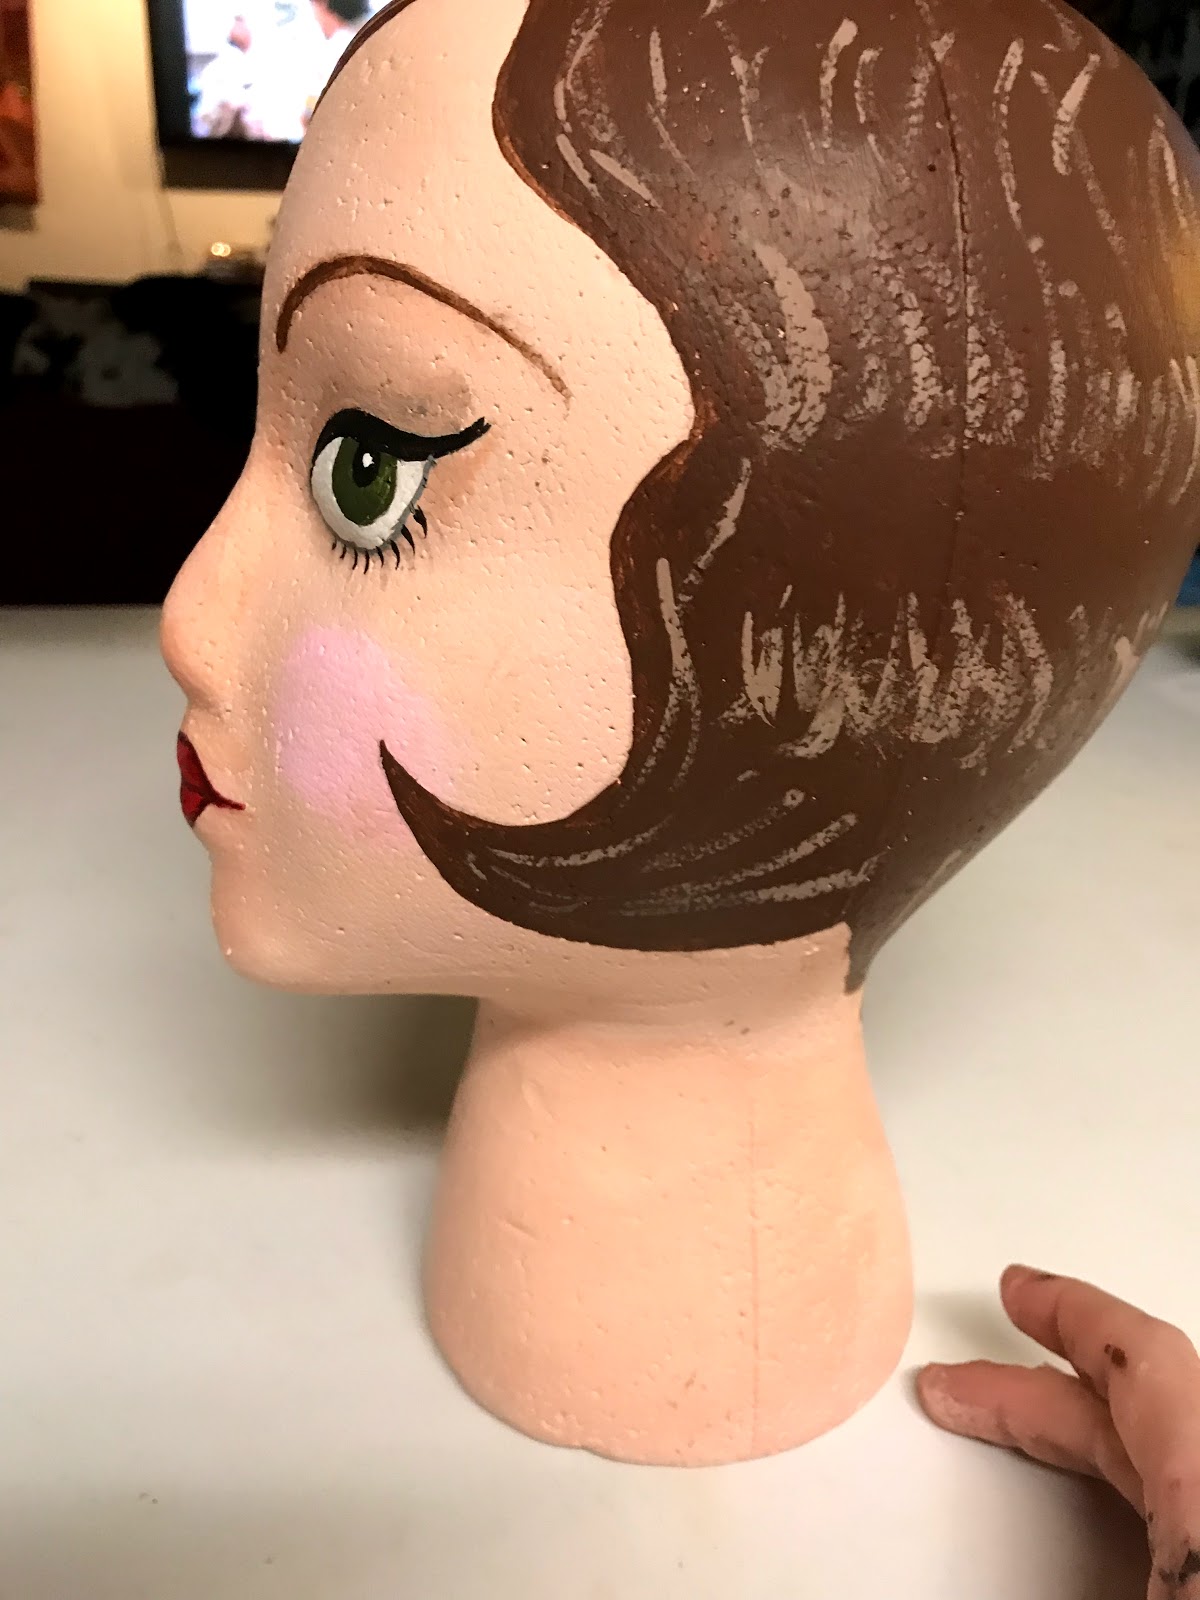
I did the outline of her hair in pencil first. And then started painting the outline in brown. I wanted to make her a red head, but I didn't have the right color orange paint in my collection, and I didn't want to mix things to try to get the right shade, so a brunette she is.
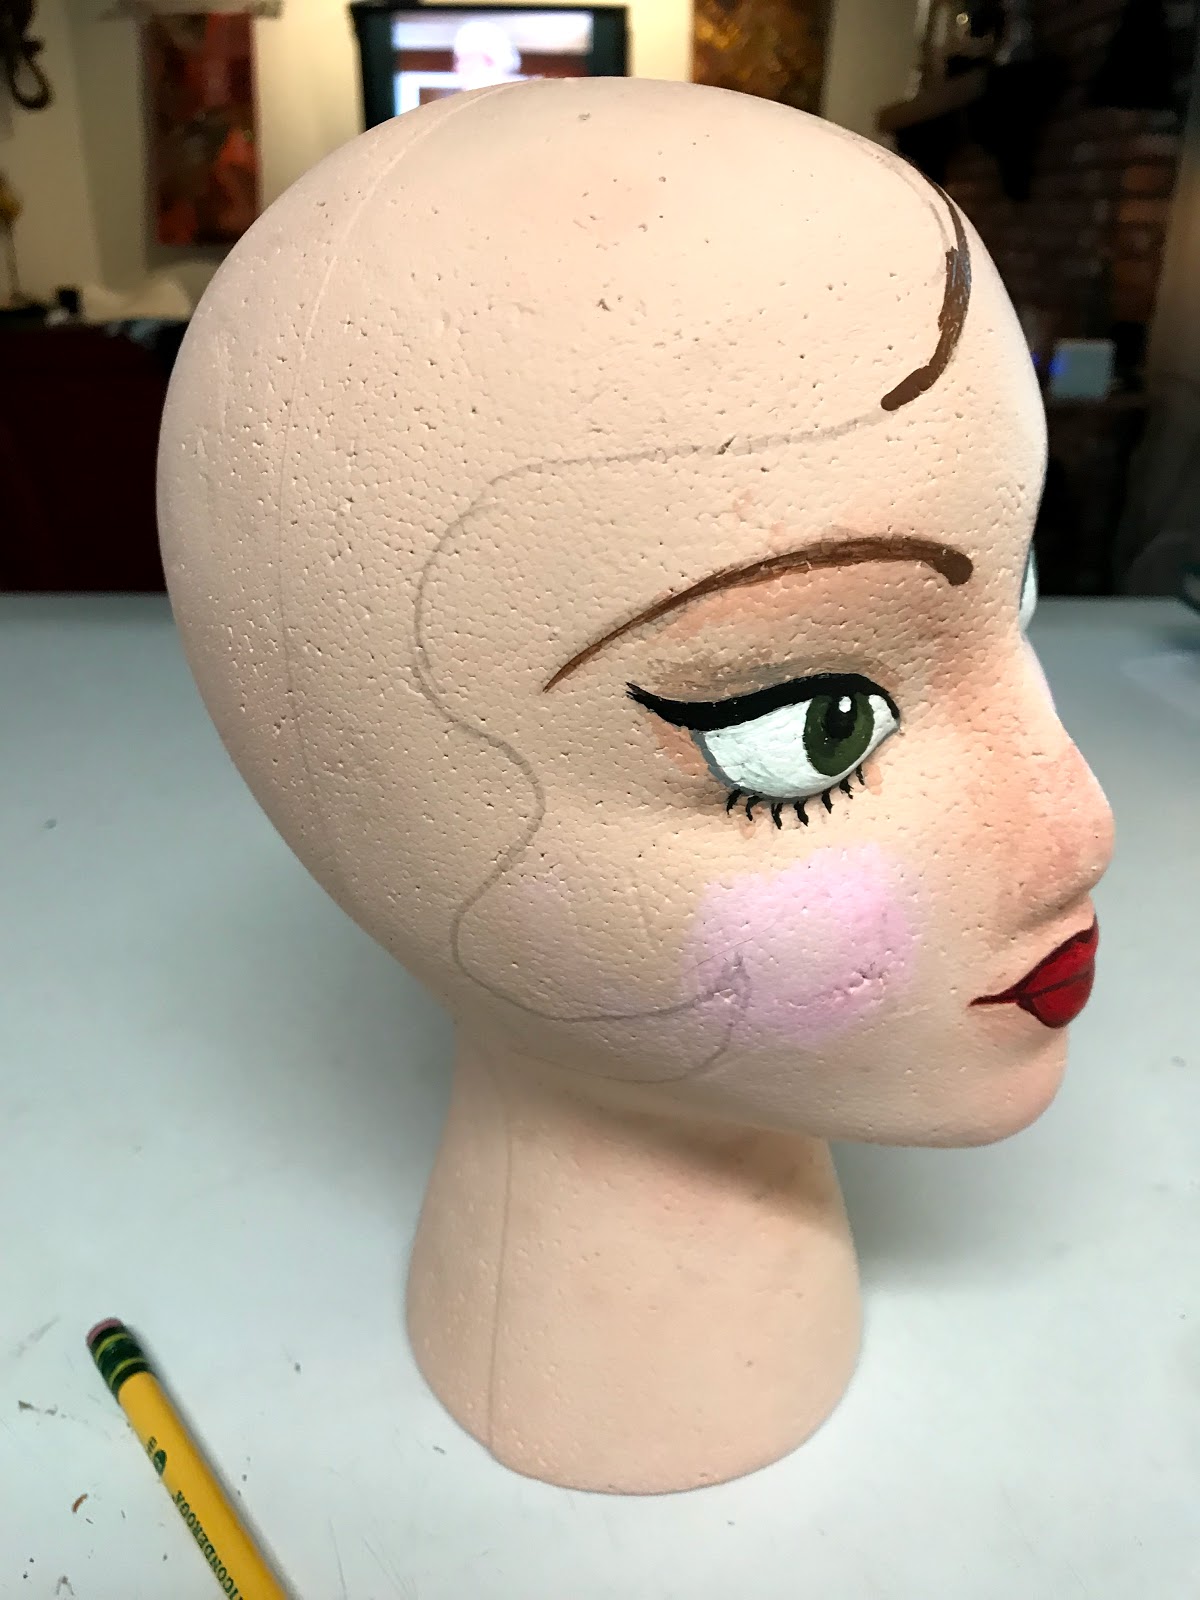
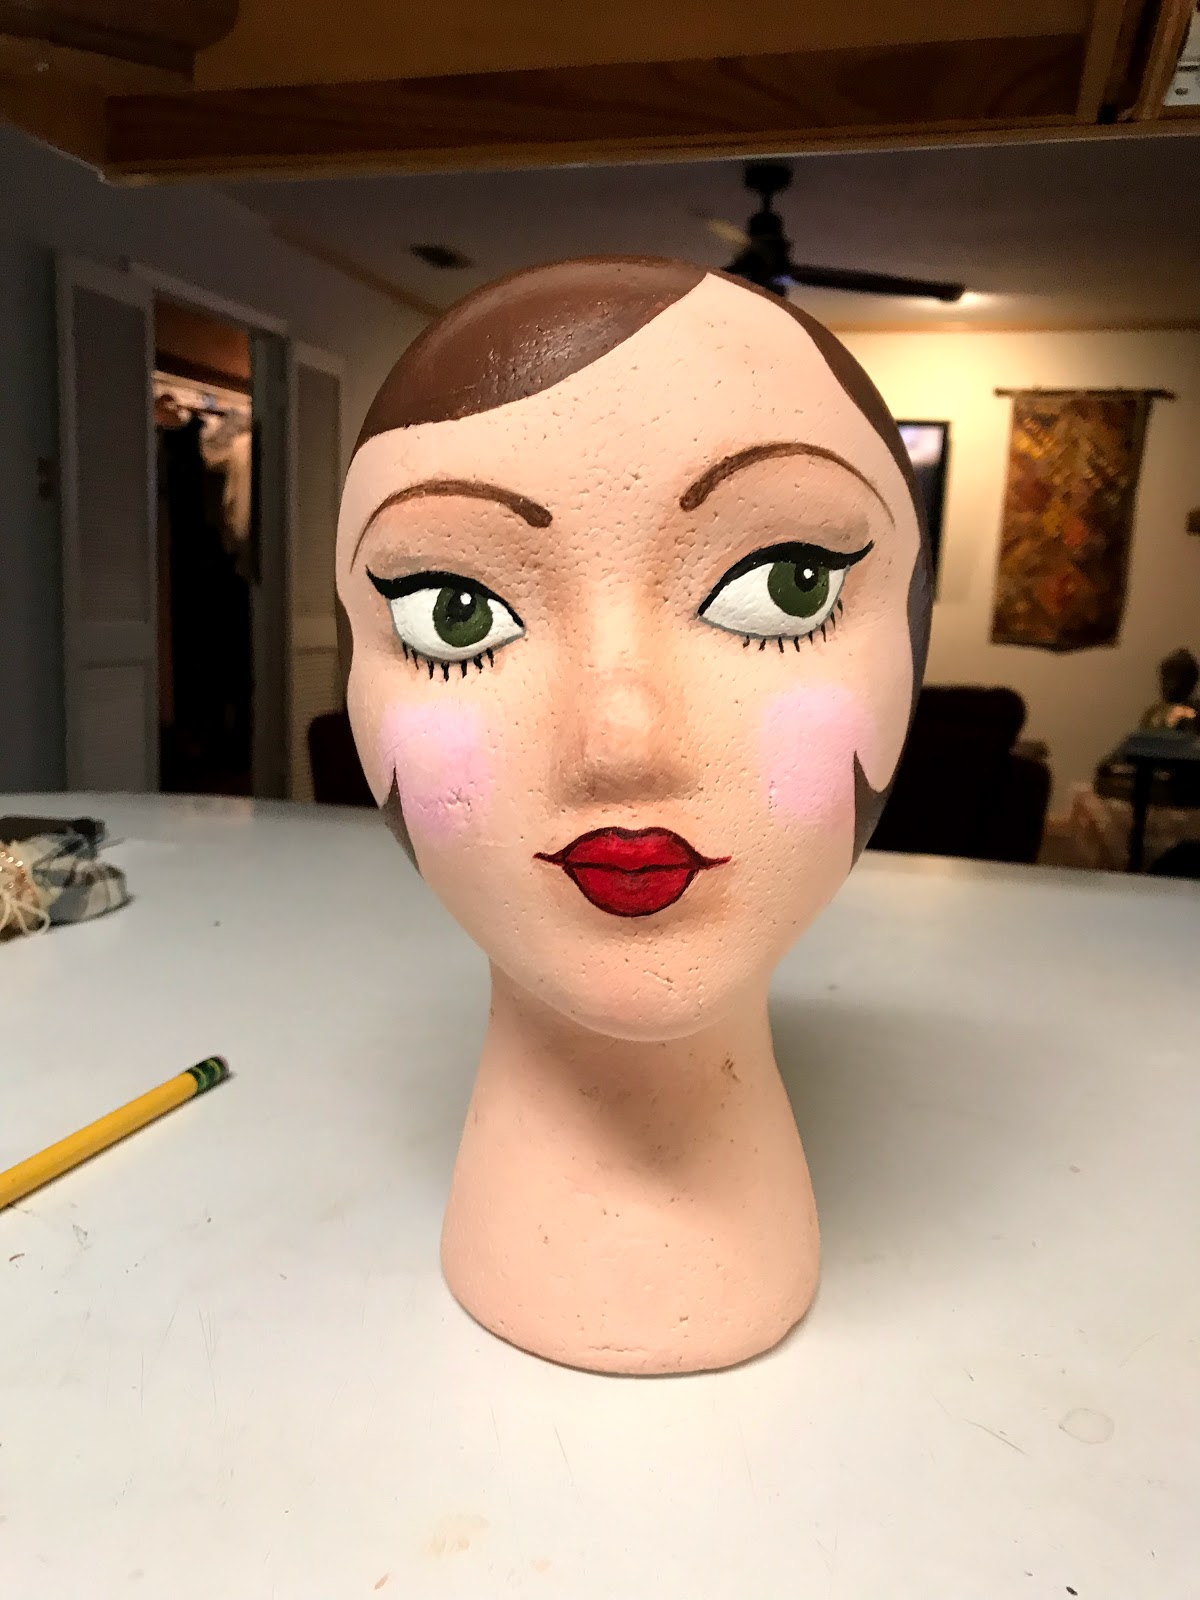
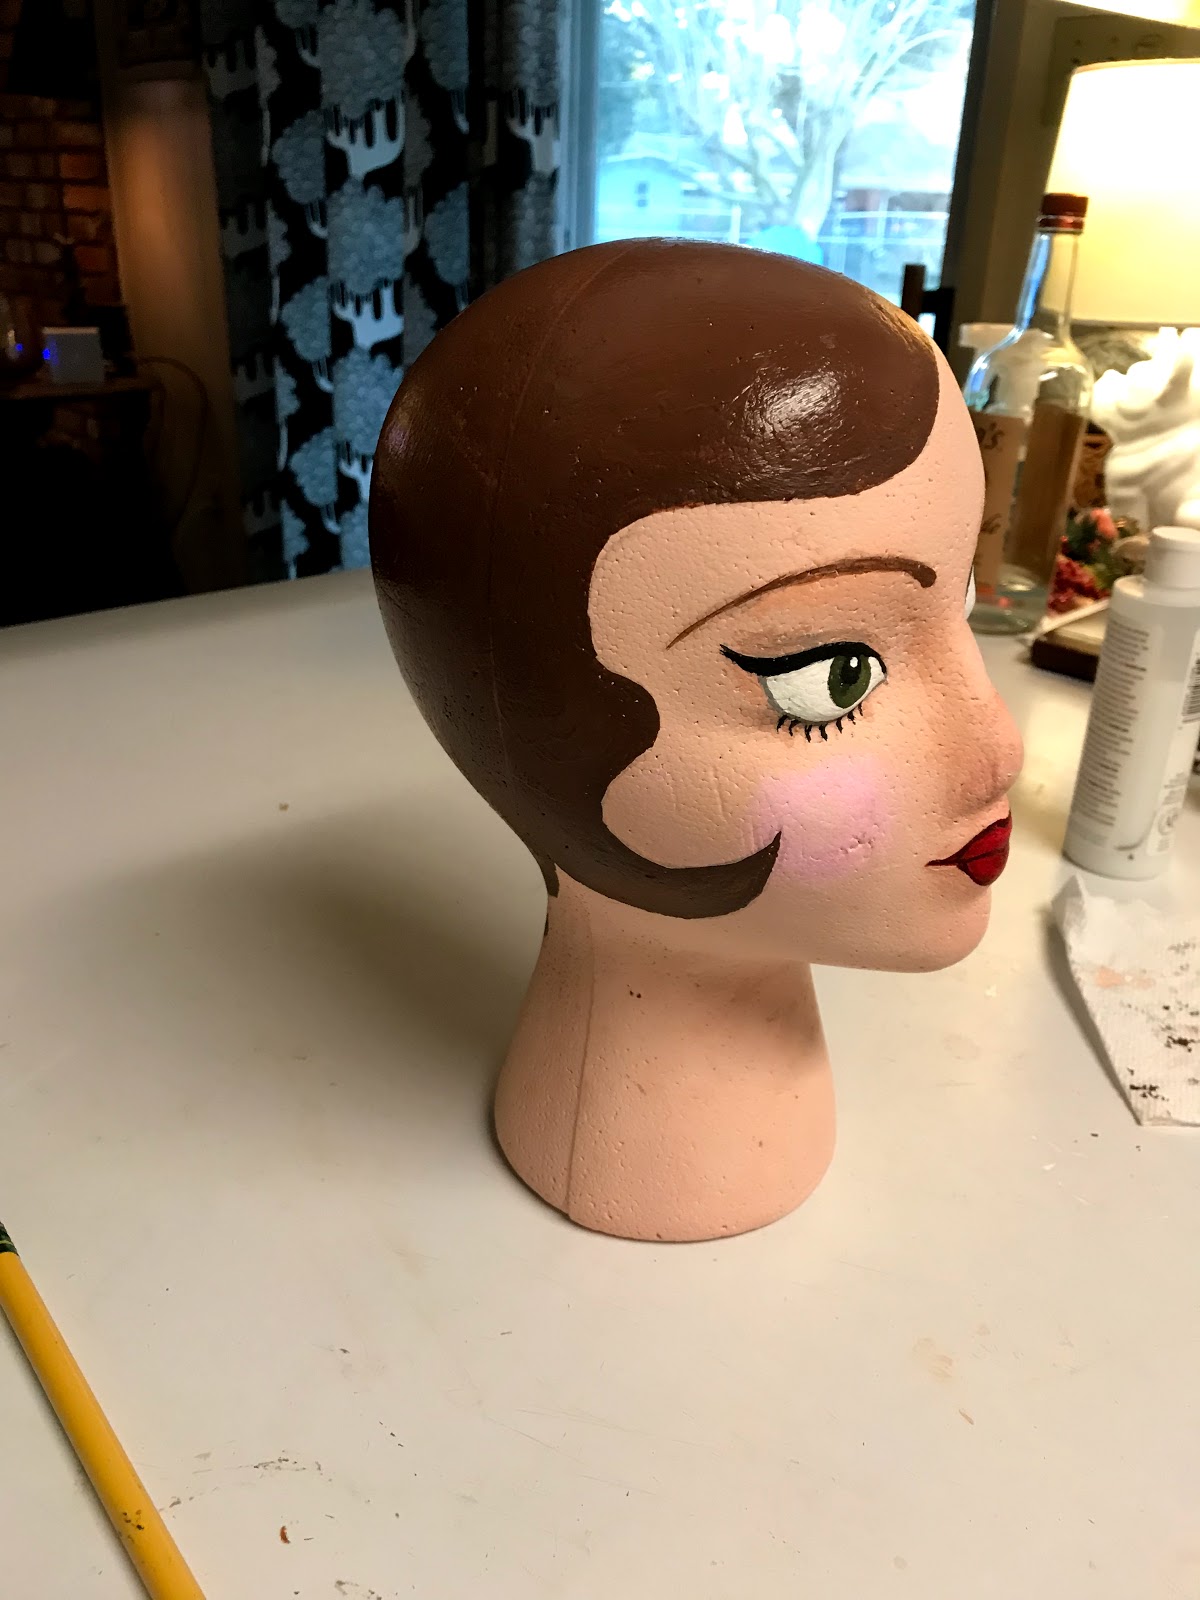
To paint the waves, I took the same brown color and mixed it with white to get me a paler shade of brown in the same color palette.
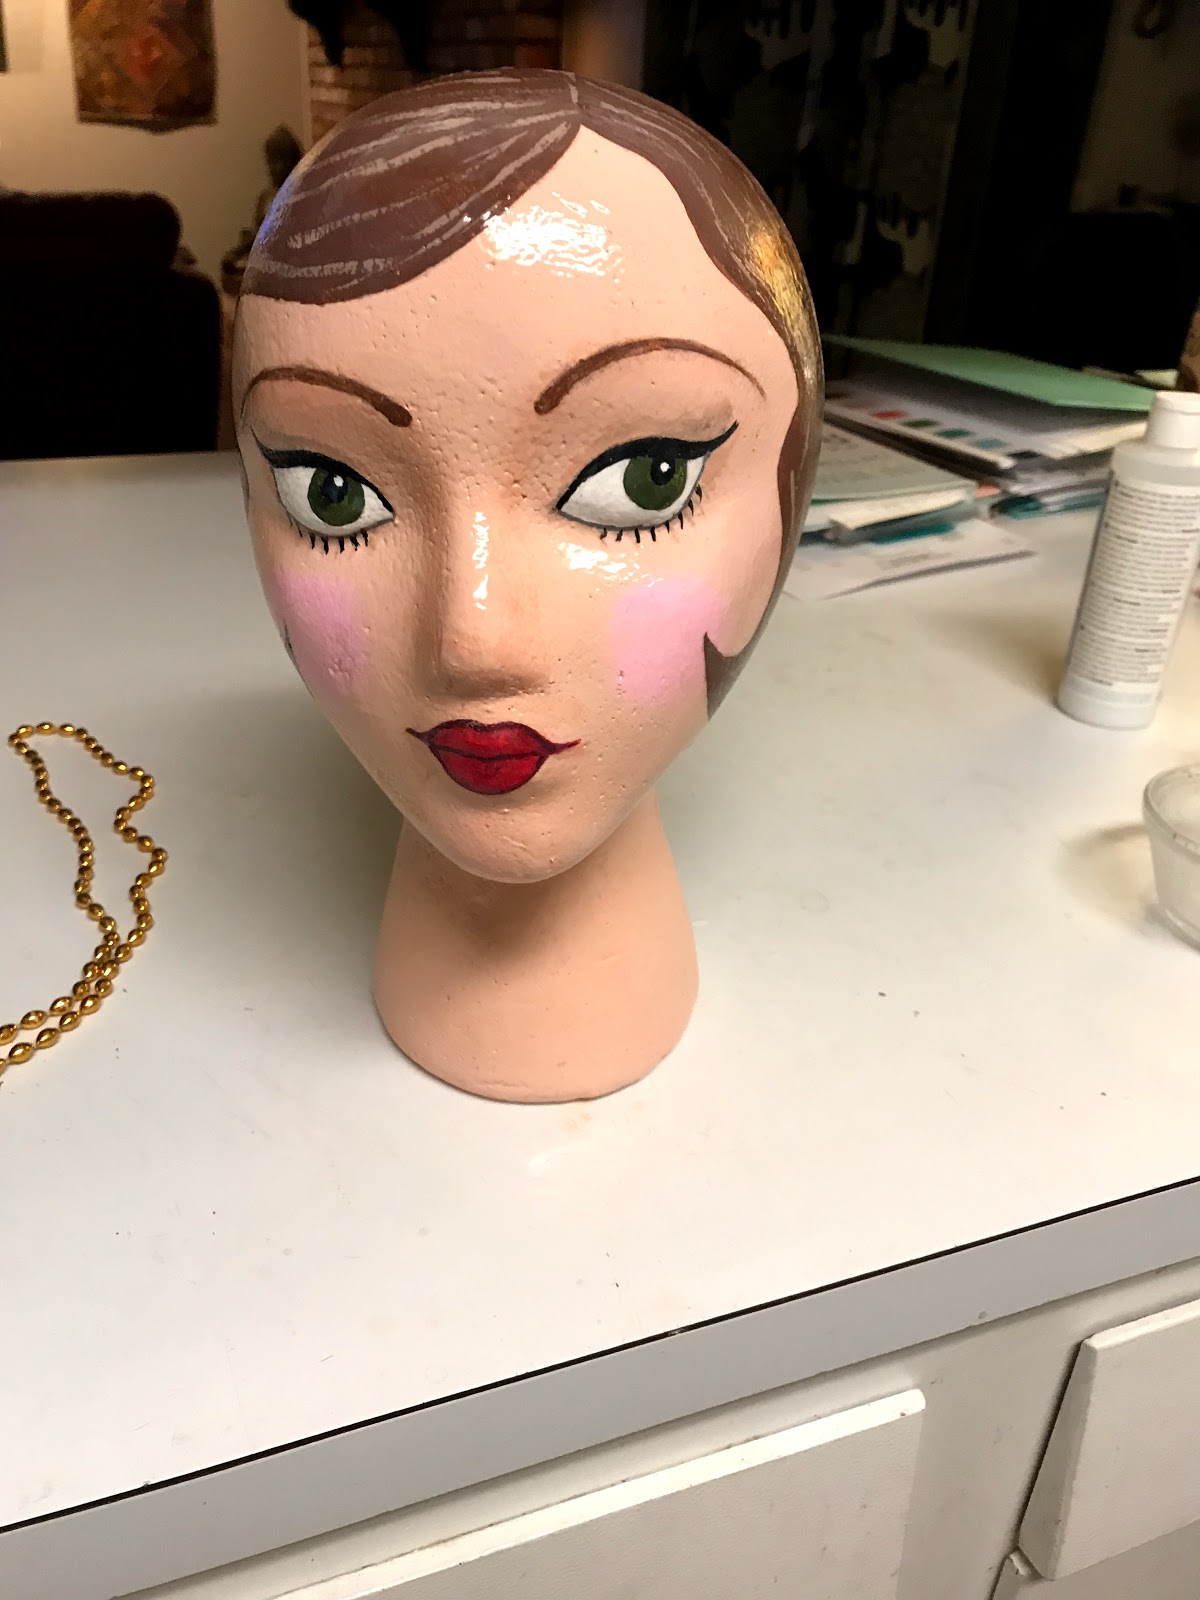
And then I waited, for what felt like forever, for the clear top coat to dry.
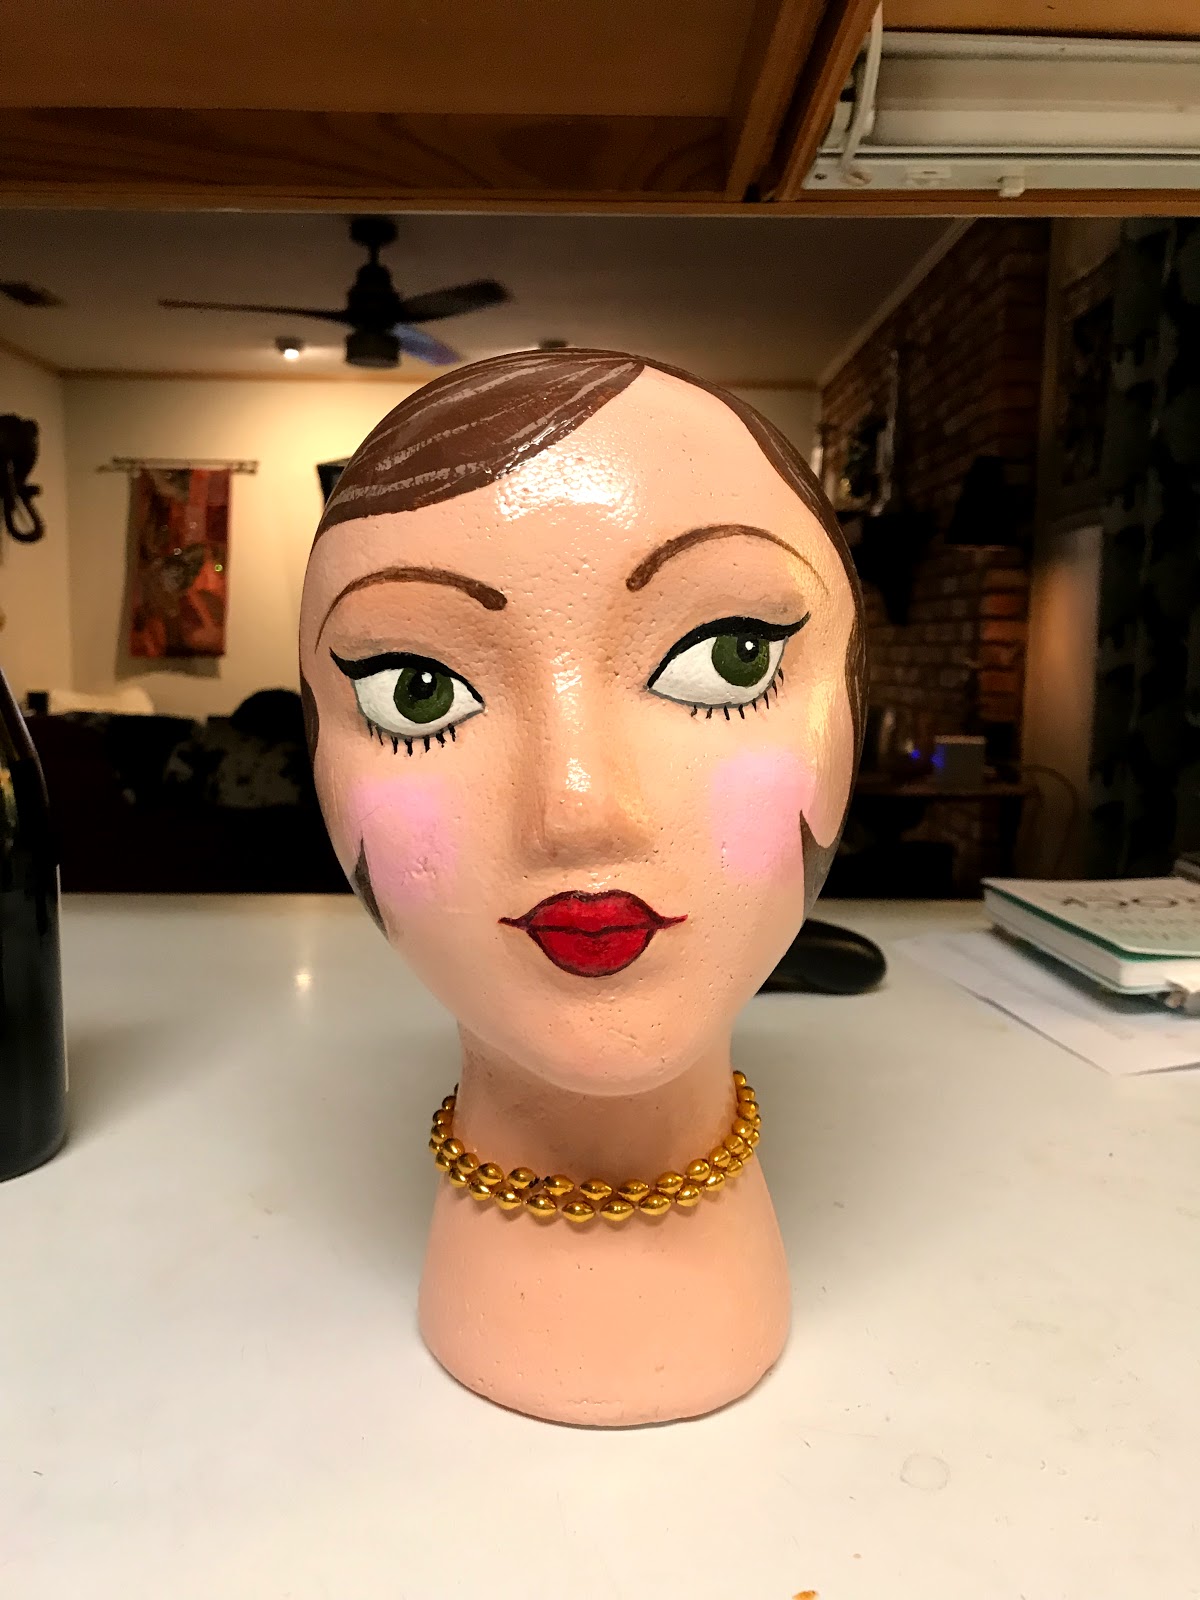
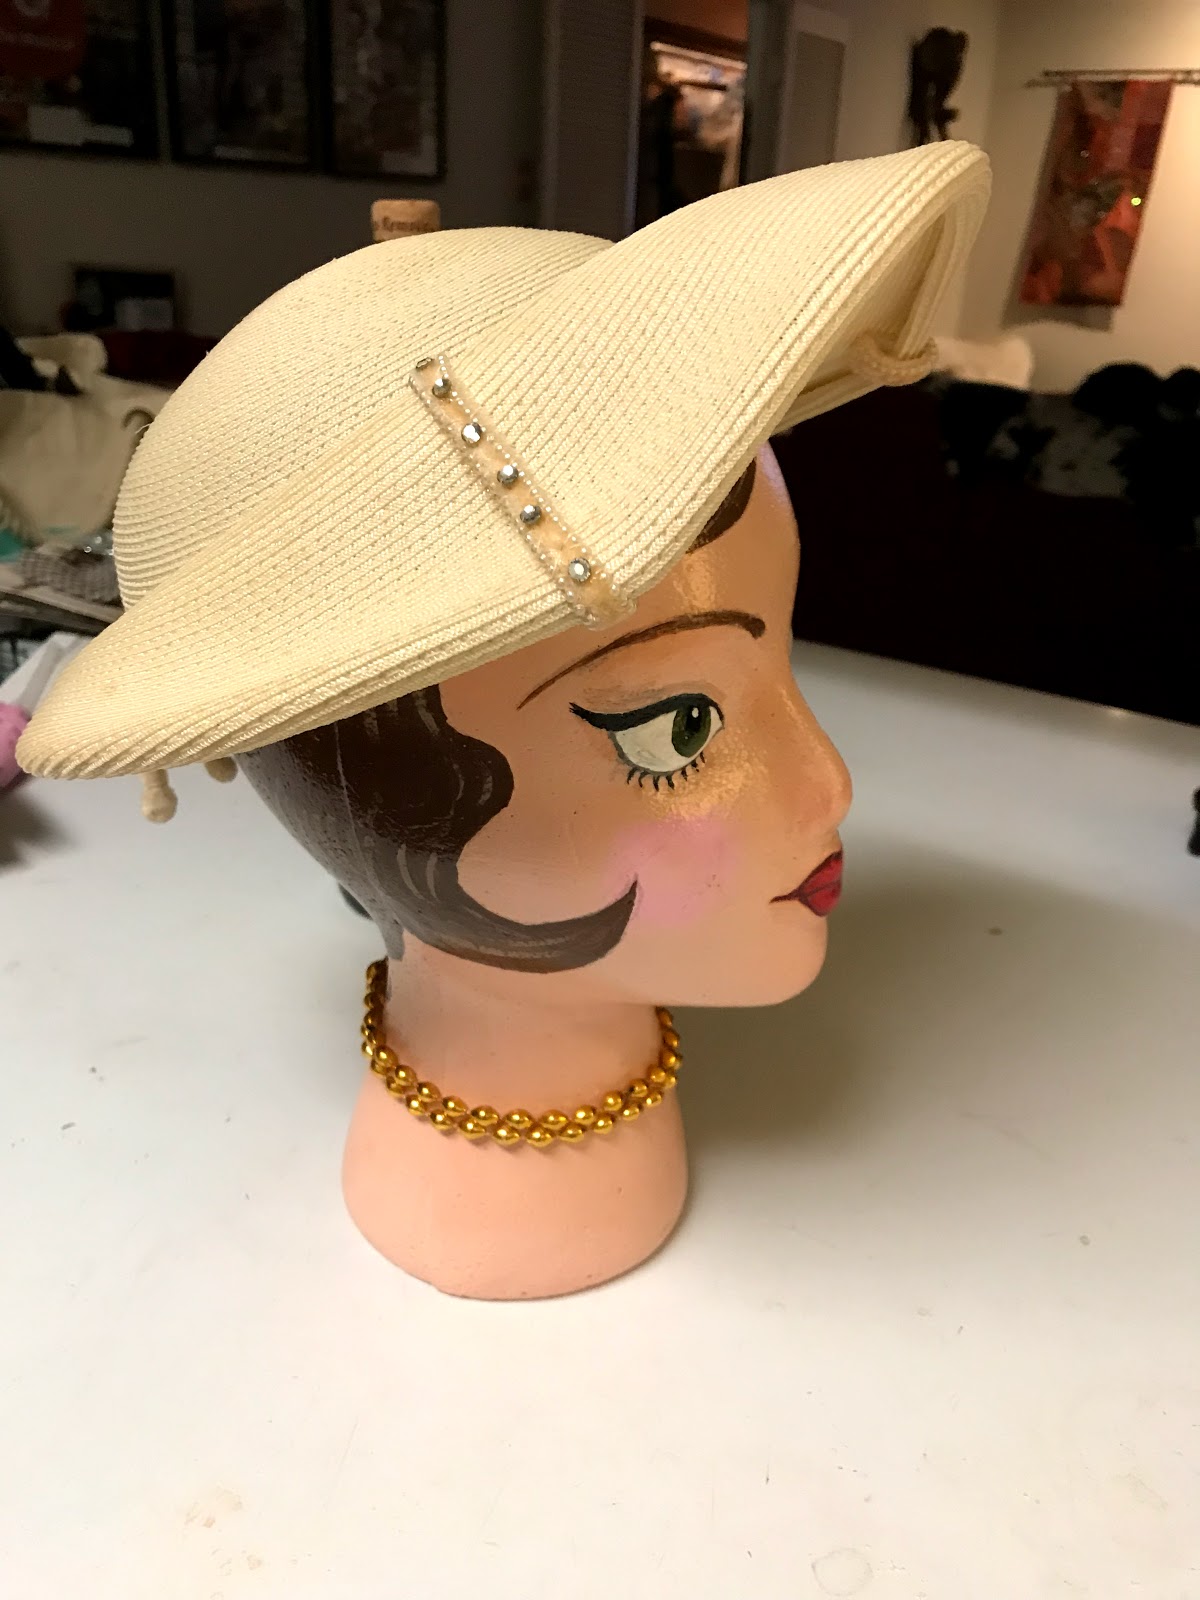
Once she was dry, I tied on some gold Mardi Gras beads to give her a necklace. (See, this does tie in with the Mardi Gras season.)
I did this for two reasons. One, I wanted her to have a necklace, but I didn't feel like painting it. And two, I wanted her to have a little more weight on the bottom to counter balance the hat.
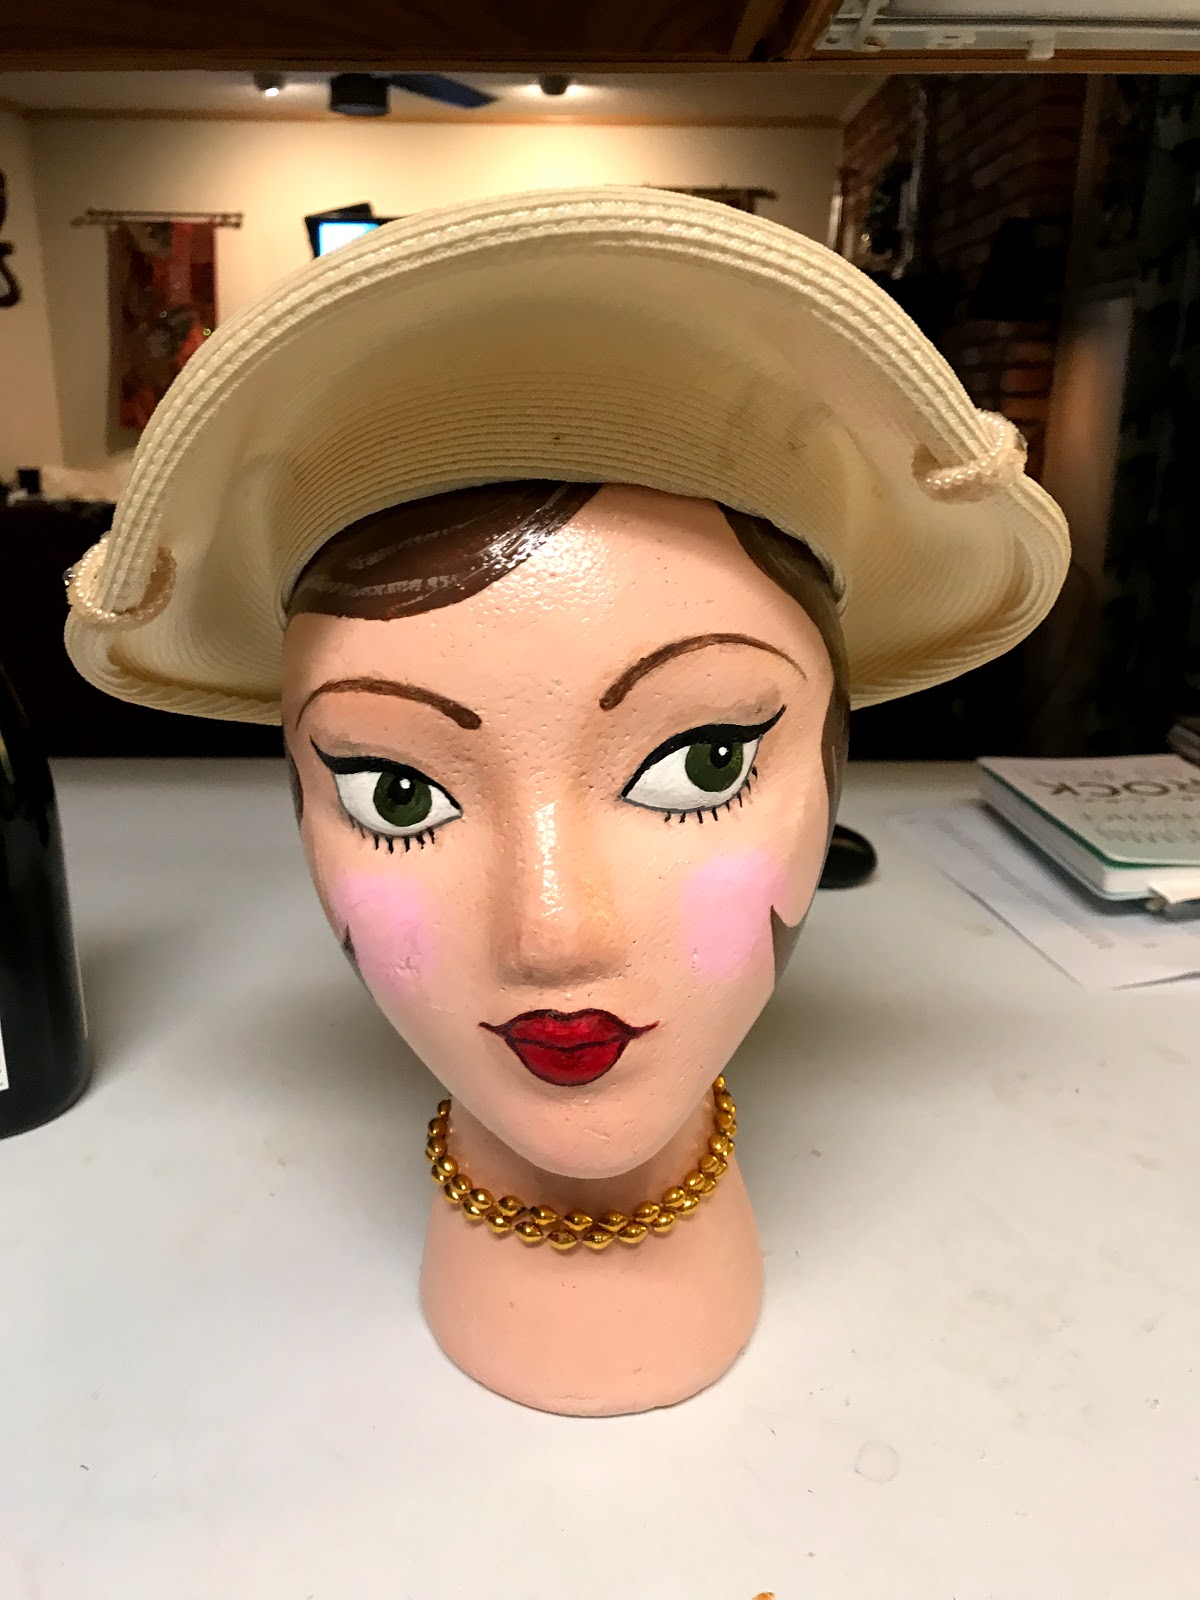
Then I put this gorgeous hat on her.


Well, I feel kinda bad because I haven't posted in so long and then, when I finally do, I don't give you a recipe or a how- to craft project. That just won't do at all.
So, here is a link from last Mardi Gras season on how to make King Cake Smoothies. It is delicious.
http://frugalfemmecarole.blogspot.com/2017/02/king-cake-smoothies-and-some-other.html
I should have more posts soon!
