
I am done with the show that I was in at the theatre where I work and just in time for my birthday!
Since I have been at the theatre non-stop for almost three months, the things that I most wanted to do for my birthday were the things that I enjoy but that I just didn't have the time for when I was working on a show.
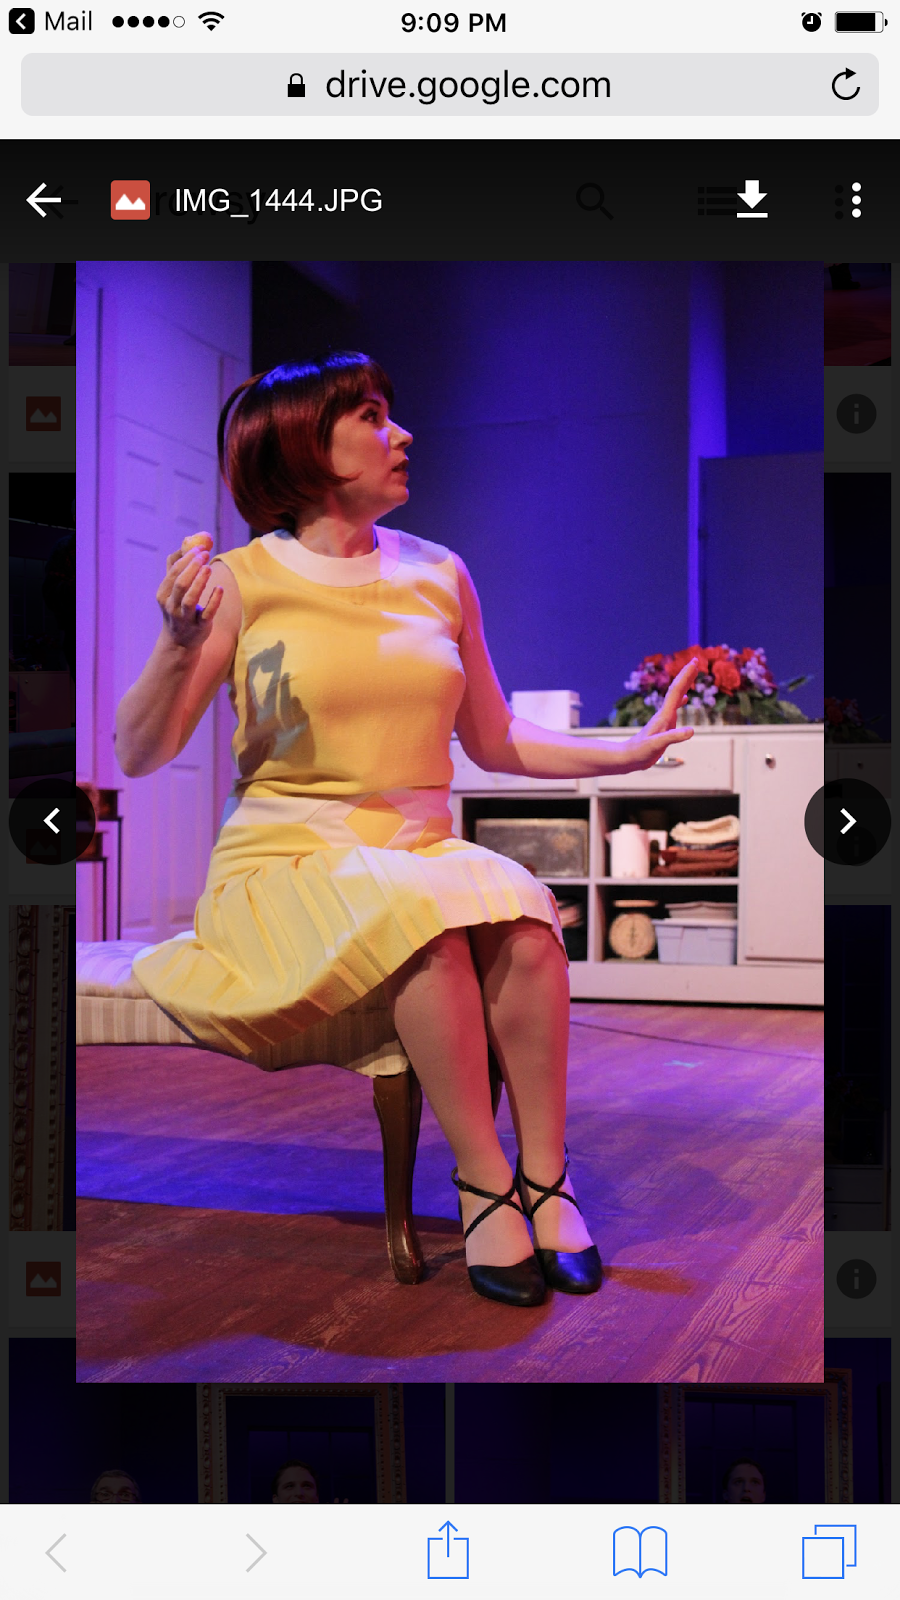 |
| This is me playing Kitty in The Drowsy Chaperone. I LOVE this wig! My friend Haley Schroeck took the photo. I had to capture it on my phone from Google drive and I haven't figured out who to crop yet on blogger, so sorry for the "frame". |
So,by most people's standards my plans were not very exciting, but to me, wonderful. I took off from work and I had a whole day to myself. I woke up at 9am and started the day off doing some yoga.
 |
| I found all of these photos of Marilyn Monroe doing yoga. I don't know who took them, so I don't know who to give credit to, but they are an awesome set of photos. |

Then, I had the longest, hottest shower that I could stand and didn't worry about the water turning cold because it was just me in the house and I could use all the hot water I wanted.

I then went and used a gift certificate that I gotten for Christmas to go get a manicure and a pedicure, picked up my free birthday gift from Sephora, got lunch and some new herbs for my garden from Whole Foods and came back home and started to work on some crafts for my mantel for the spring. Ahhh bliss.

The following day I spent with my honey getting some more items for the garden, such as tomatoes and cucumbers, and then trying to fix all the damage that happened to my herb garden over the winter.

Despite my best efforts yesterday, my garden is not very happy right now. I transplanted everyone and gave them new dirt and went to bed with both my baby plants and me happy. Then I woke up this morning, after my husband had let out the dogs and almost all my poor delicate babies were uprooted. I think one or two of my doggy babies went in and tried to eat the new soil (Which is very stinky.) which they seem to have a fascination with that they have not had in previous gardening seasonings. Its the same gardening soil that I have used before, but it smells stronger now and my dogs want to eat it, so I am thinking that maybe they changed the formula. So all my hard work may have been for nothing with some of the herbs. I may have to get some more sweet basil, Itallian oregano, mint and dill. Grrrr..... Gardening is only sometimes relaxing.
But, gardening is an indicator, along with sandals on women and Cadbury chocolate eggs that Spring is here.

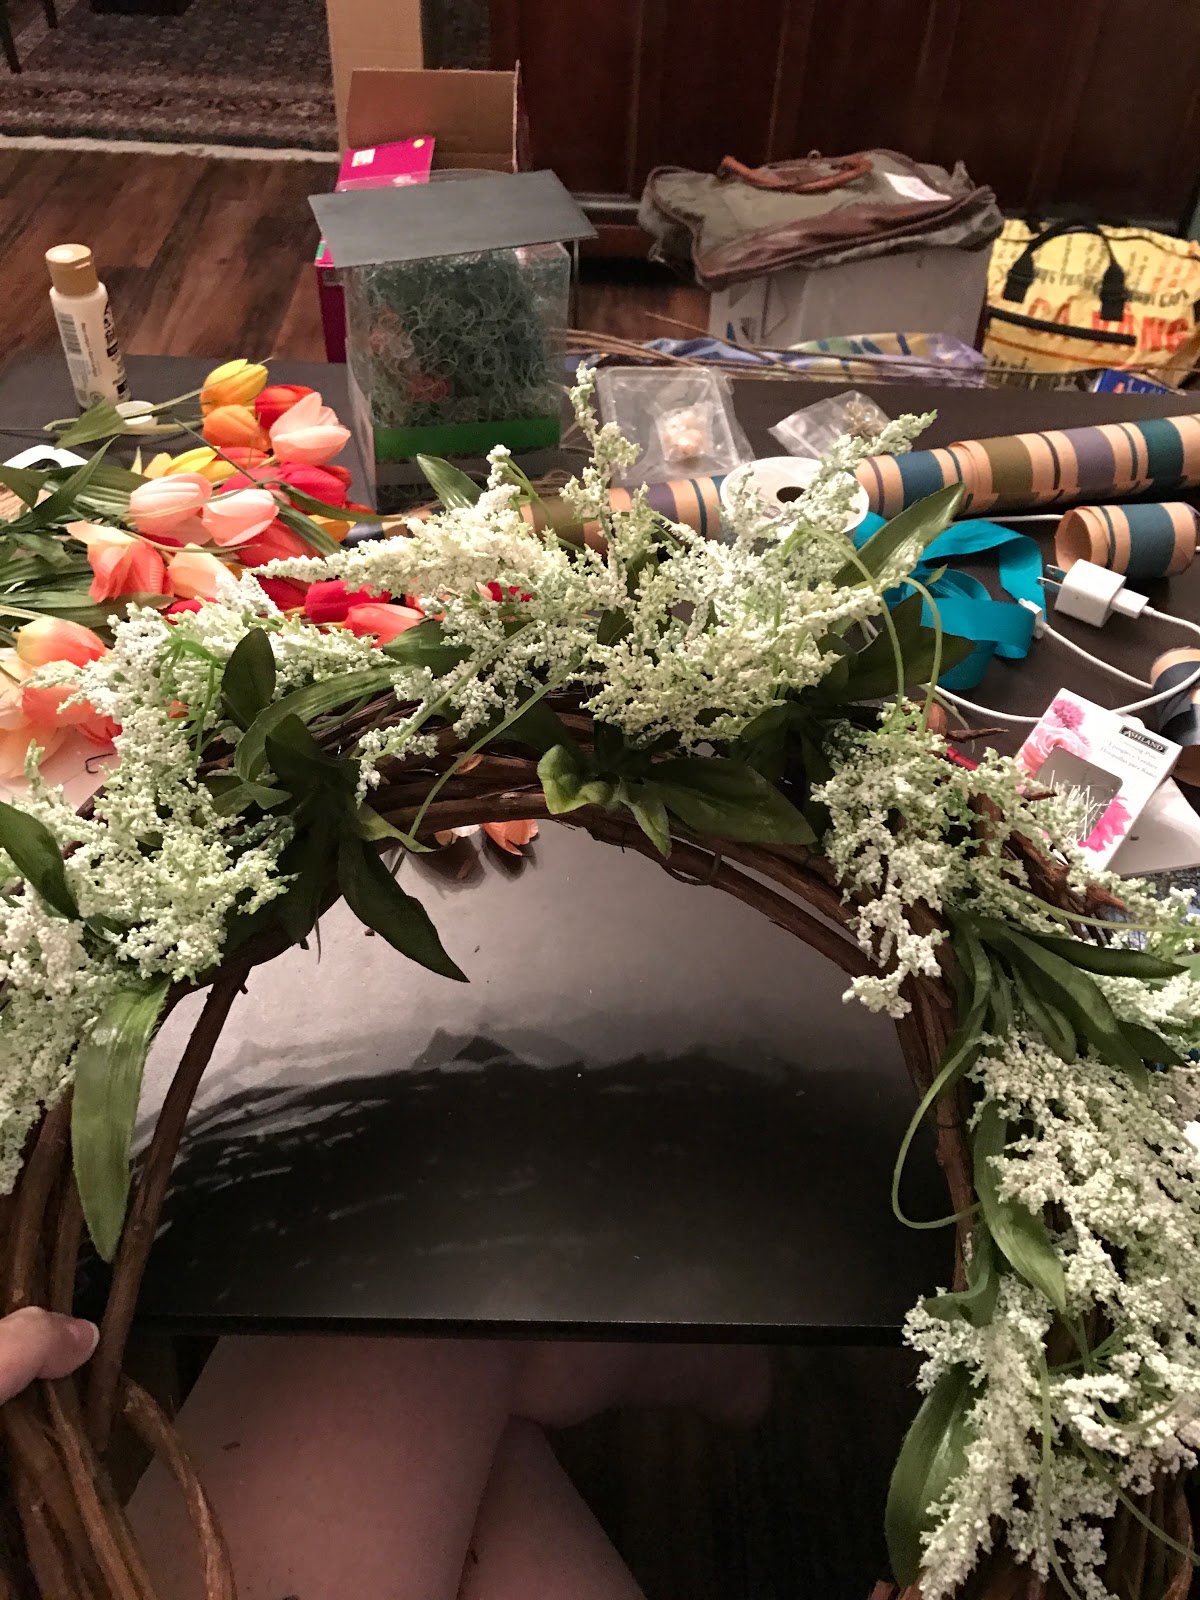
I decided that I wanted to bring some of the outdoors inside and make some Spring wreaths to go on my mantel and front door. These wreaths were pricey for me, as they each cost about $17.00 a piece to make, but they were pretty and I used the supplies to make mantel decorations. Still, together they cost less than one of my inspiration wreaths.
 |
| I think of tulips as the ultimate Spring flower, so I wanted to have tulips in my wreath, but I wasn't sure I wanted one completely made of tulips. |
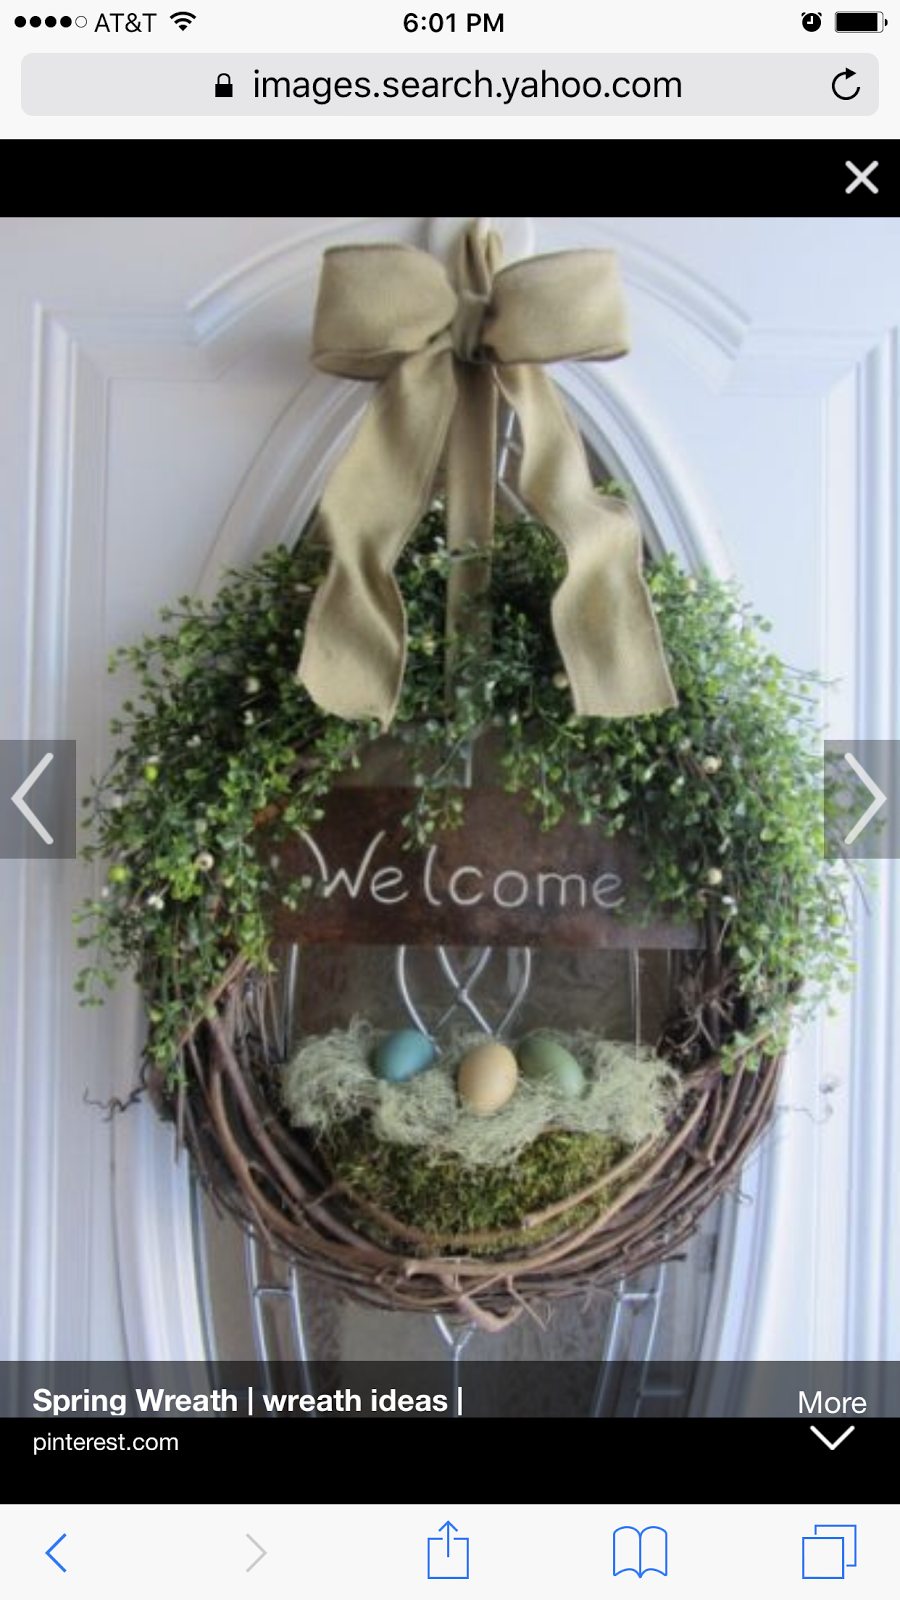 |
| So then I found this wreath, but I didn't think there was enough color. |
How to Make a Spring Tulip Wreath
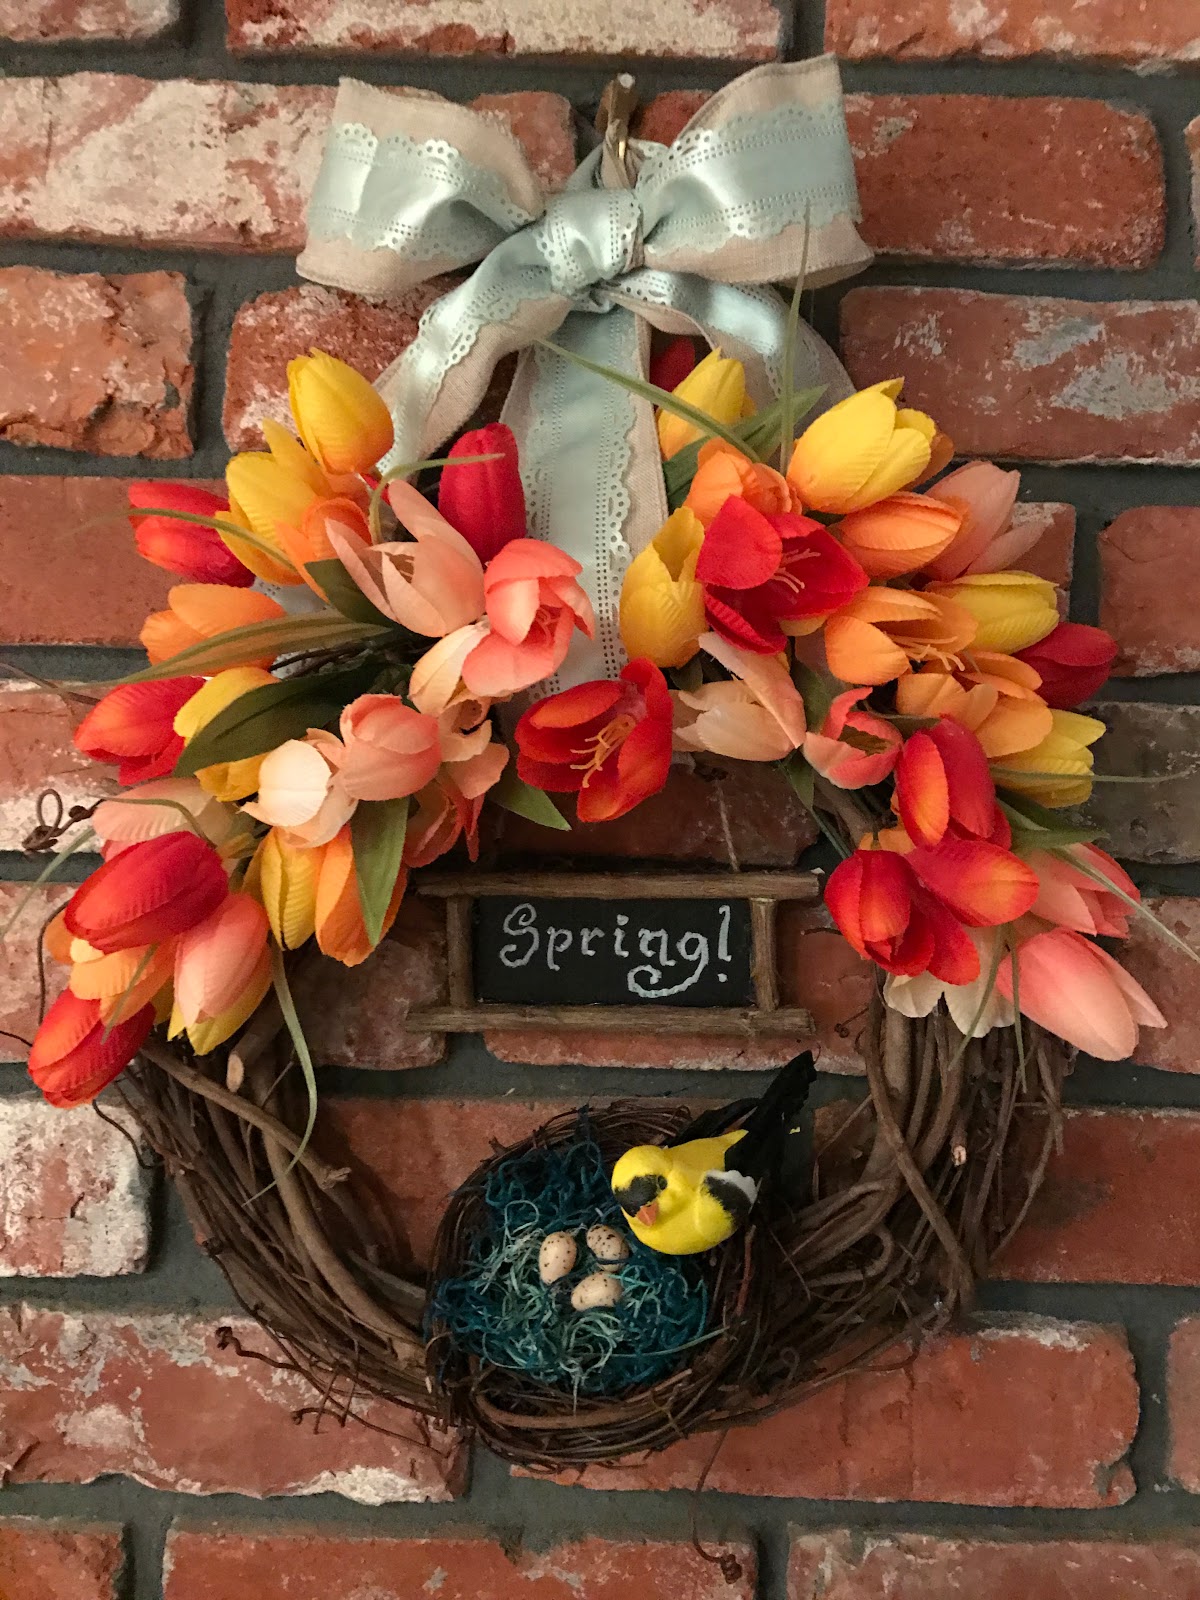 |
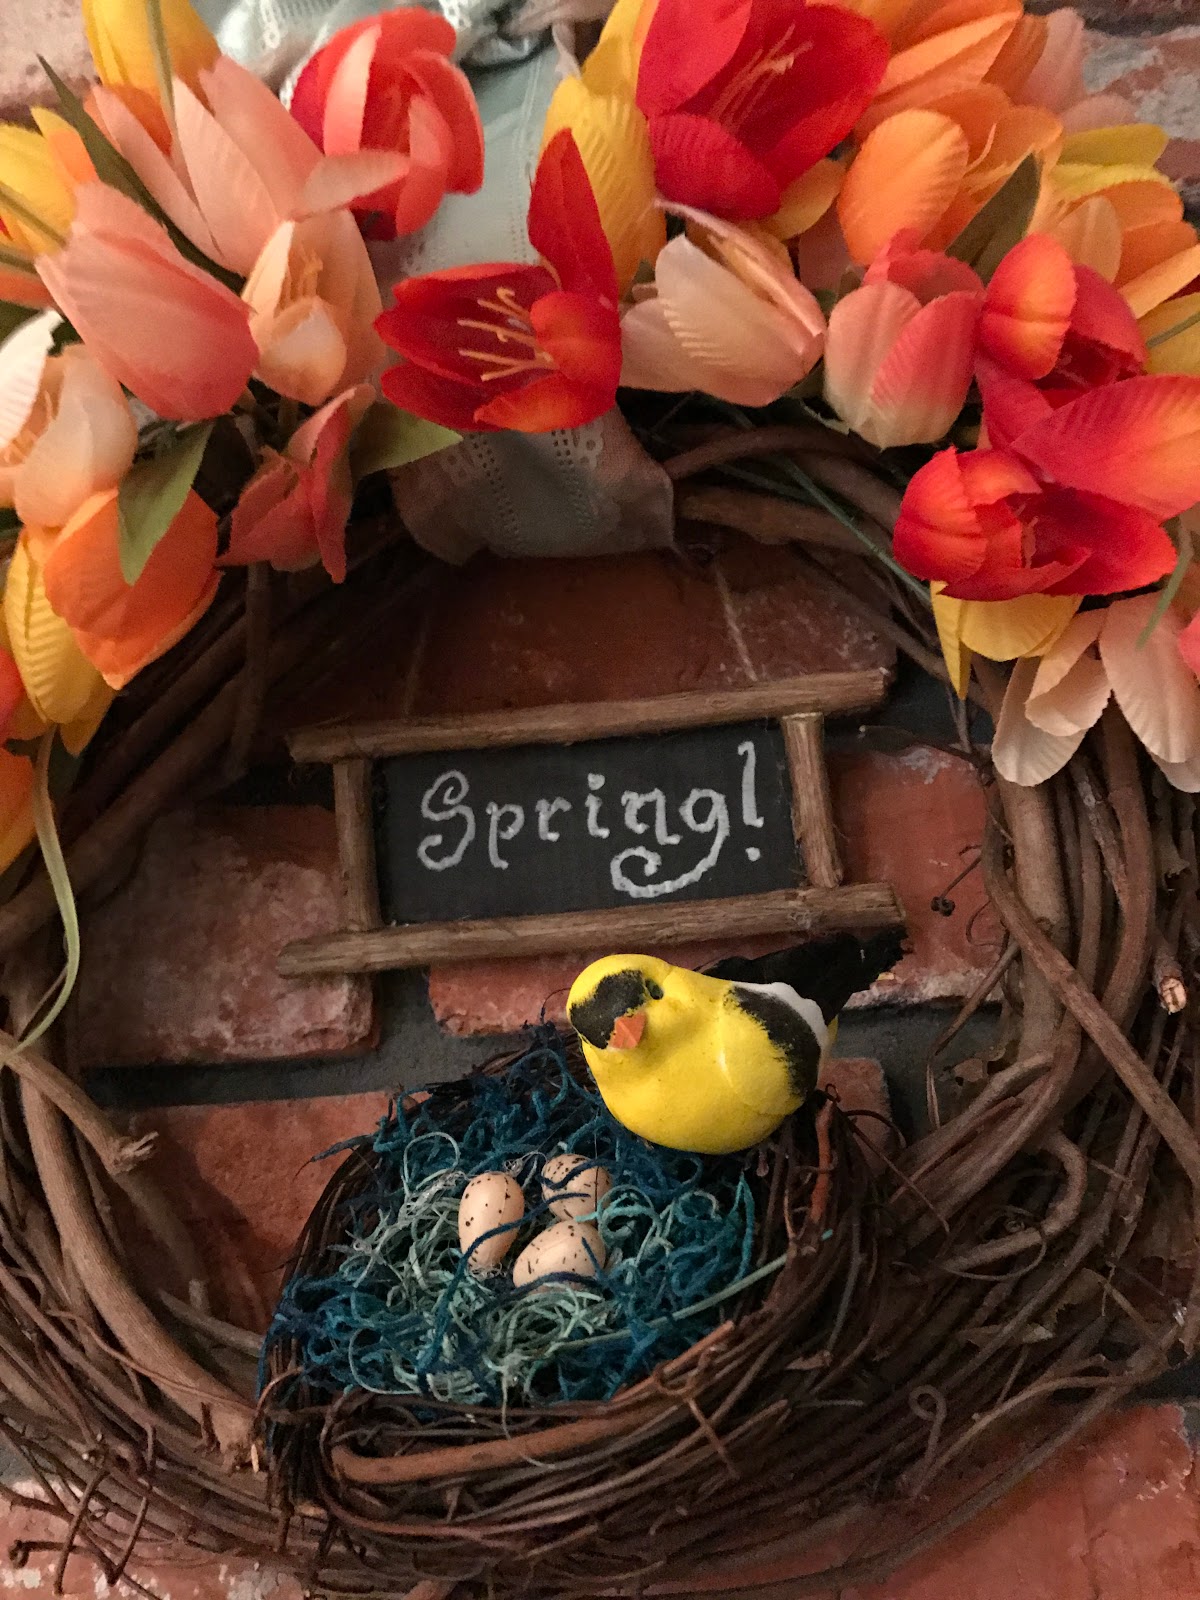
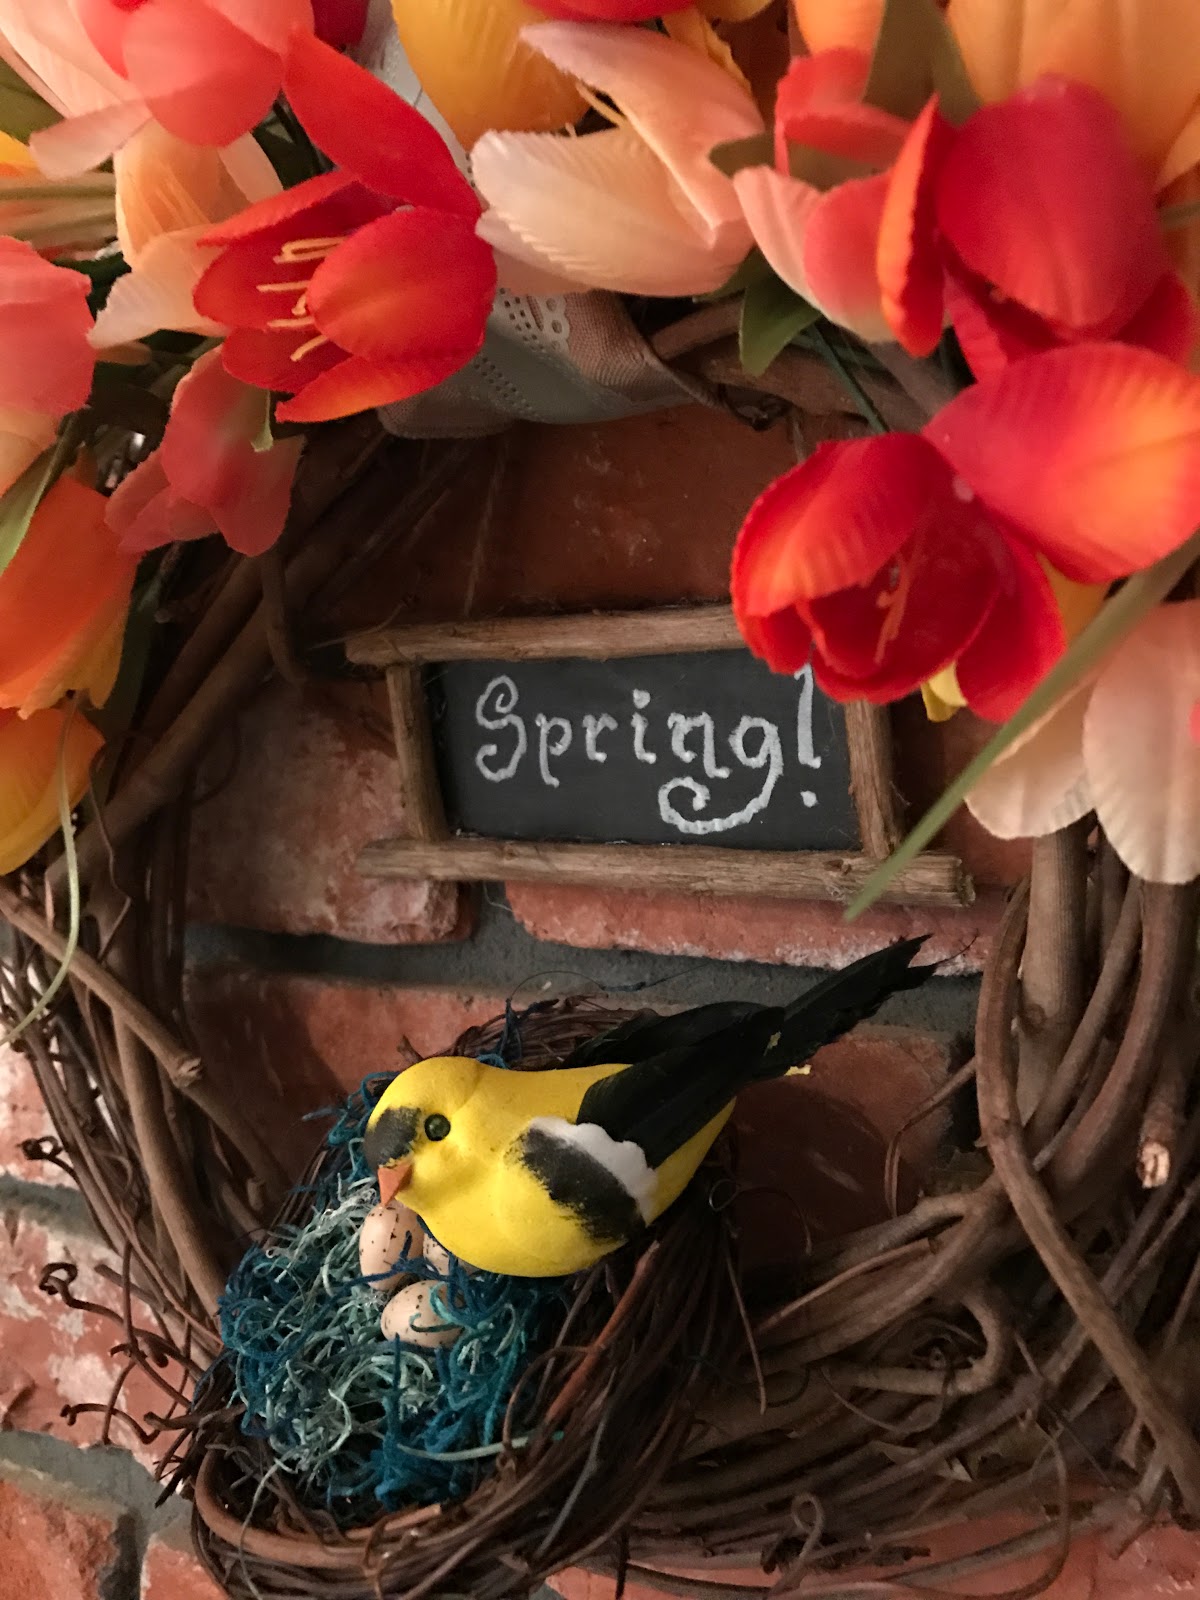
| This was the wreath I made for the mantel. As you can see, I went more for the tulip look in that one and went with less greenery. I also added a bird, |
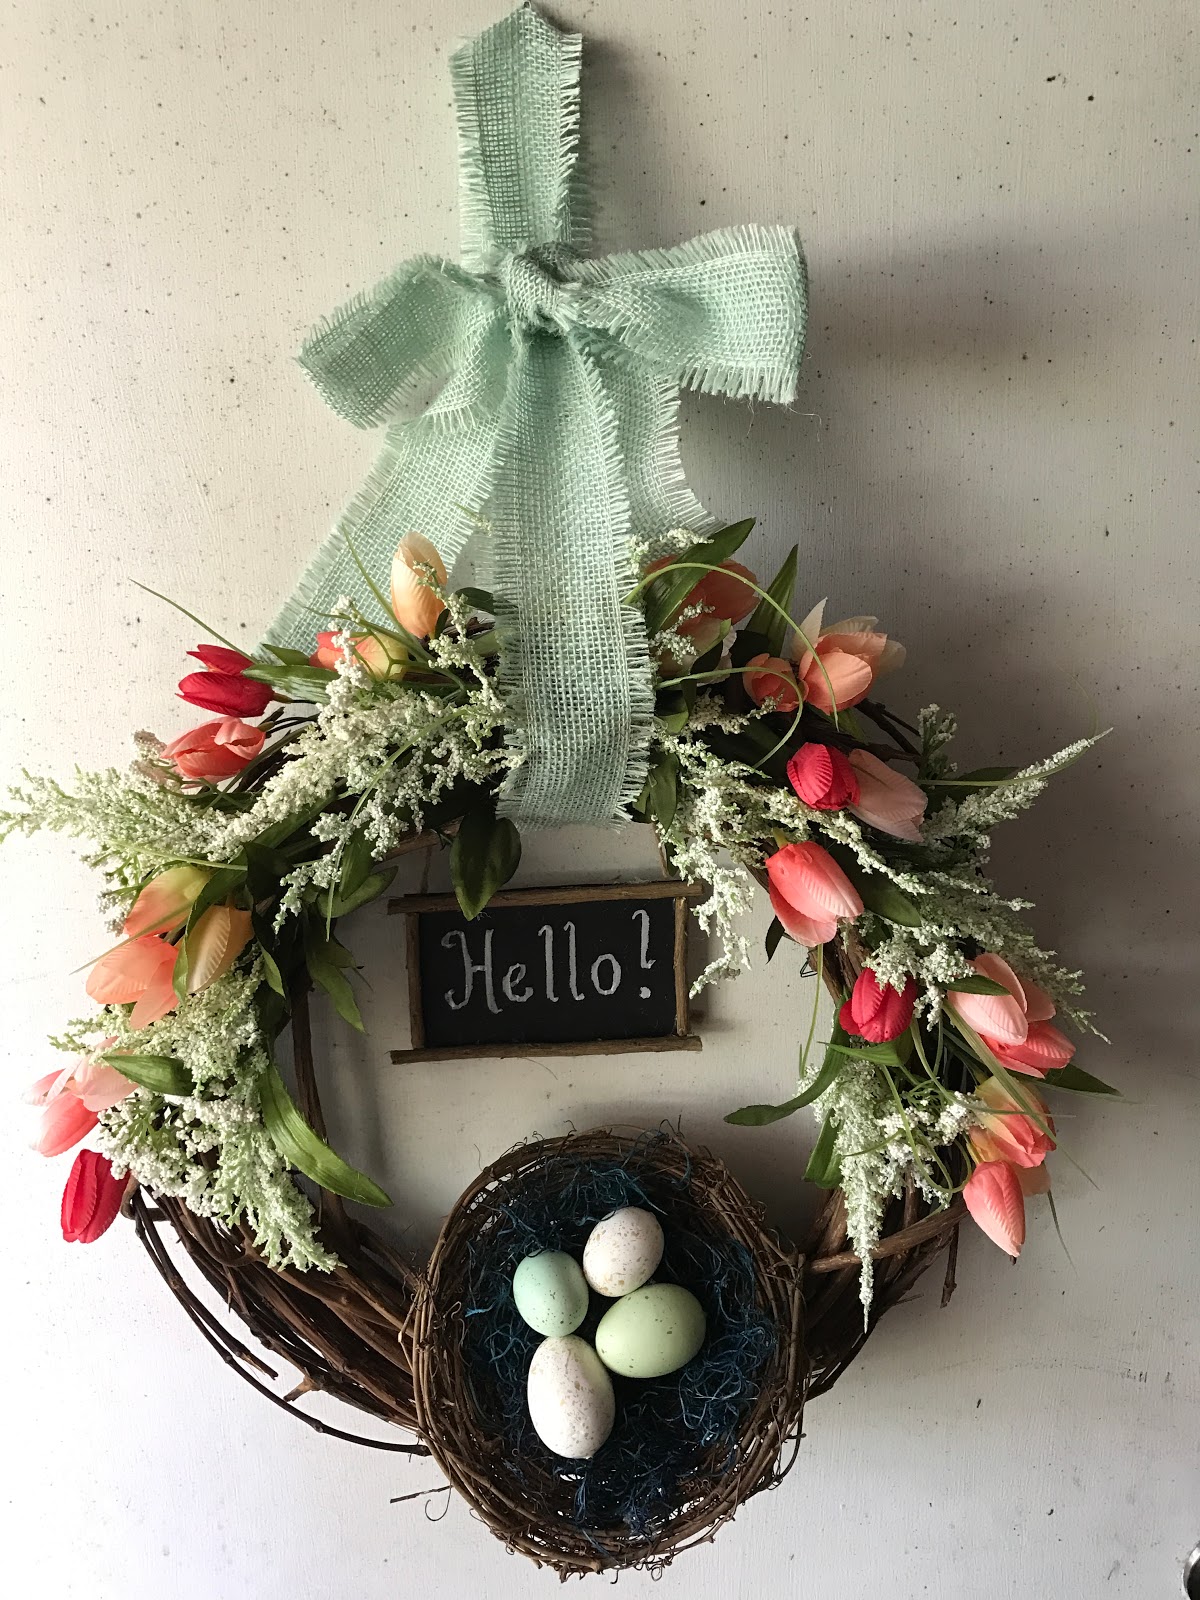 |
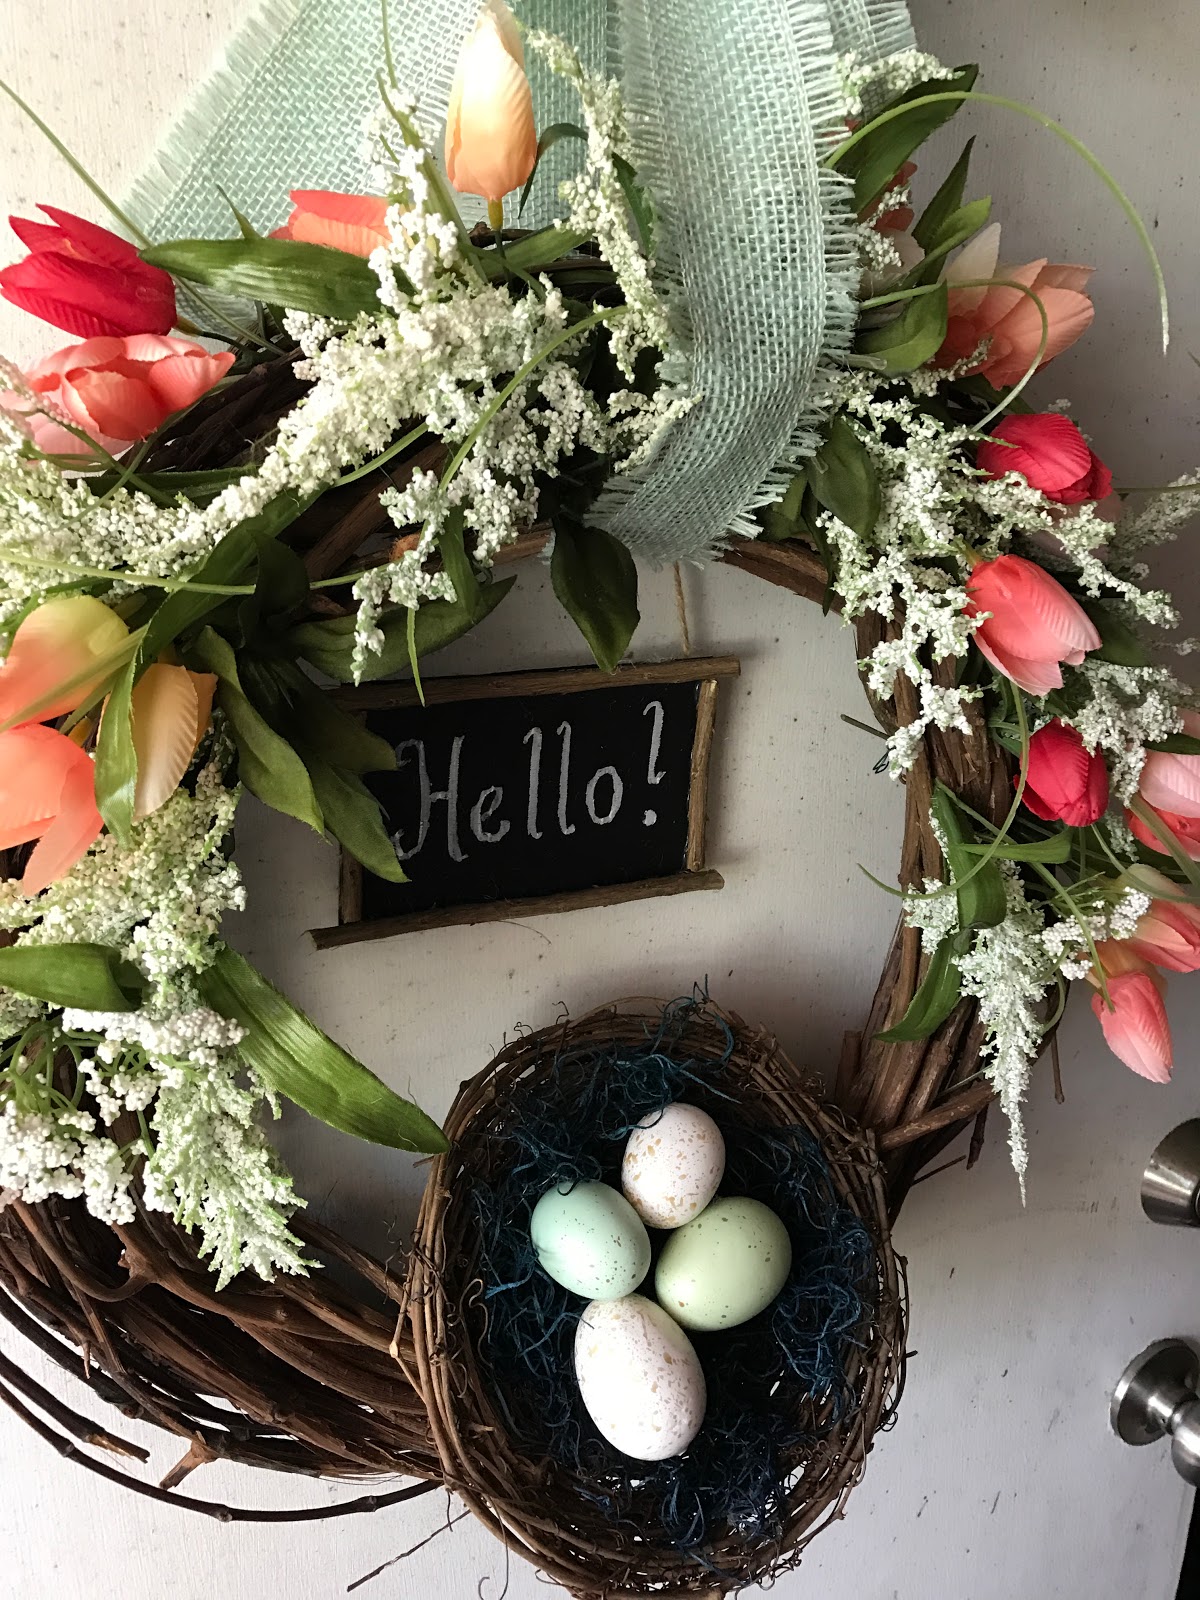
| This one is more similar to the second inspiration wreath. I couldn't find greenery, so I used this greenery that looks more like heather. |
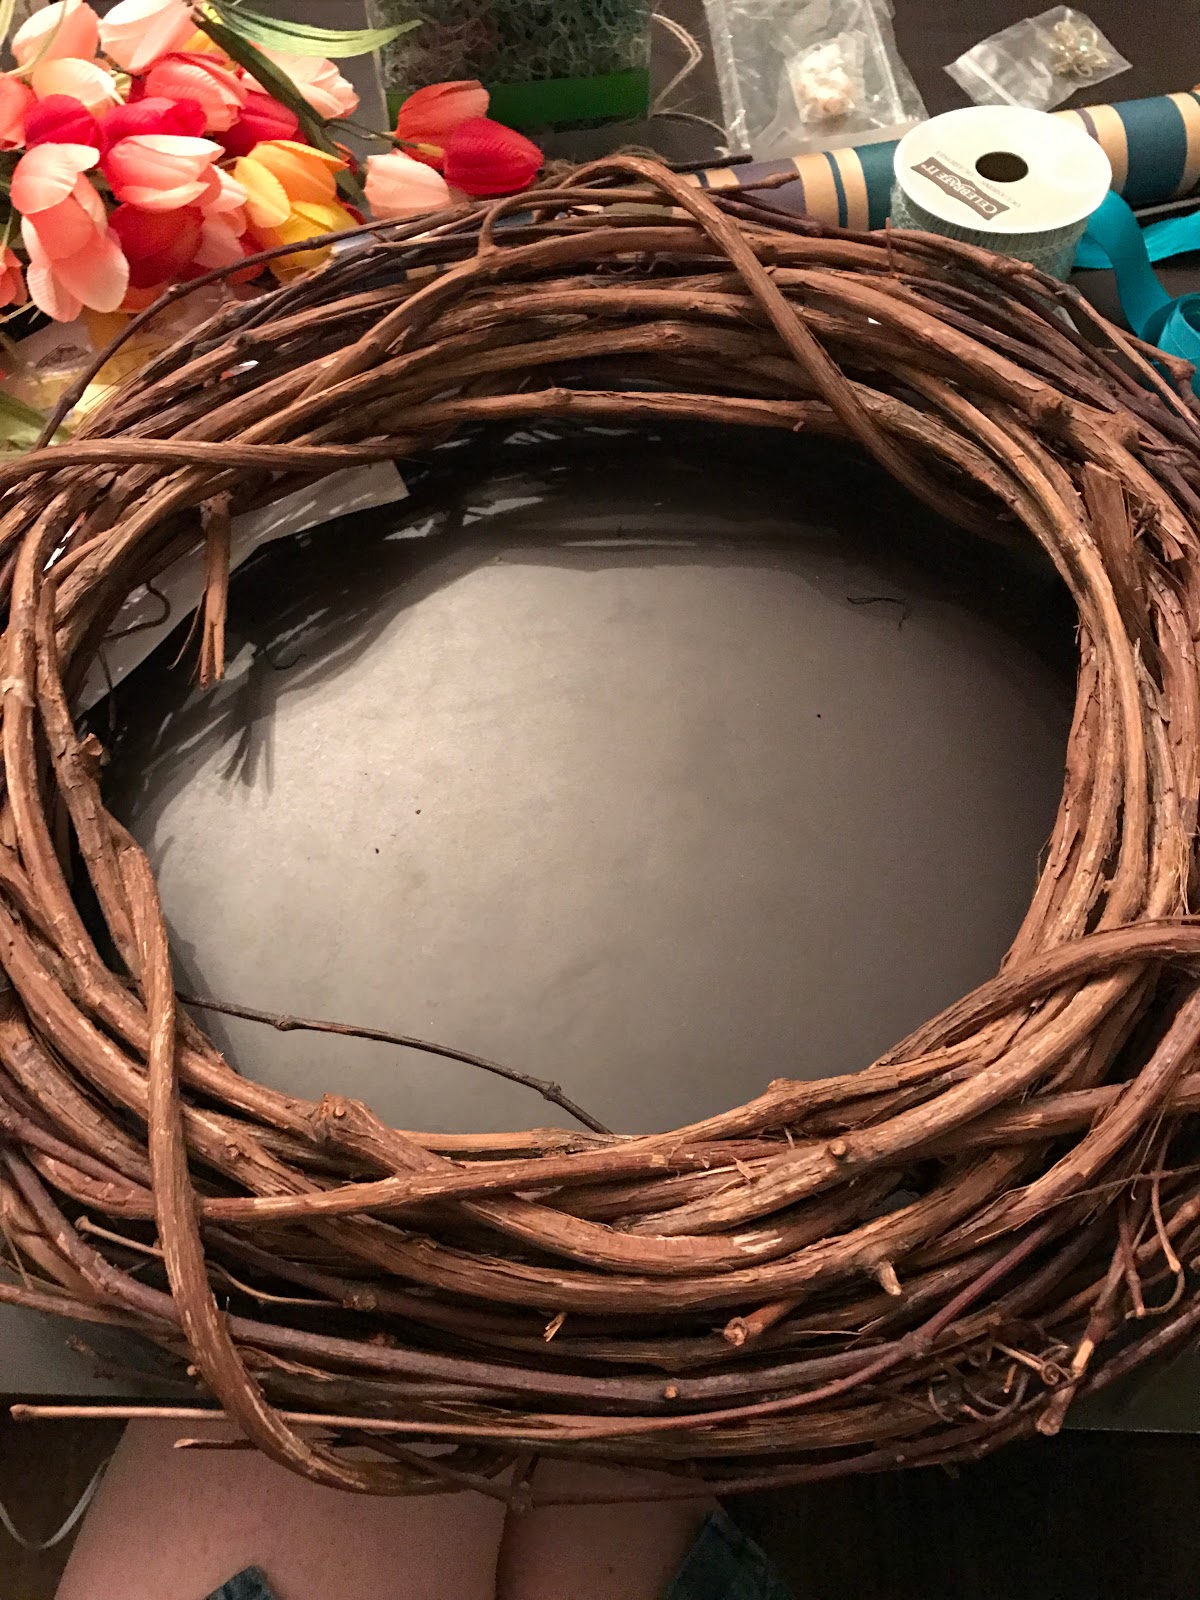
Wooden/ Branch Wreath Form
Nest
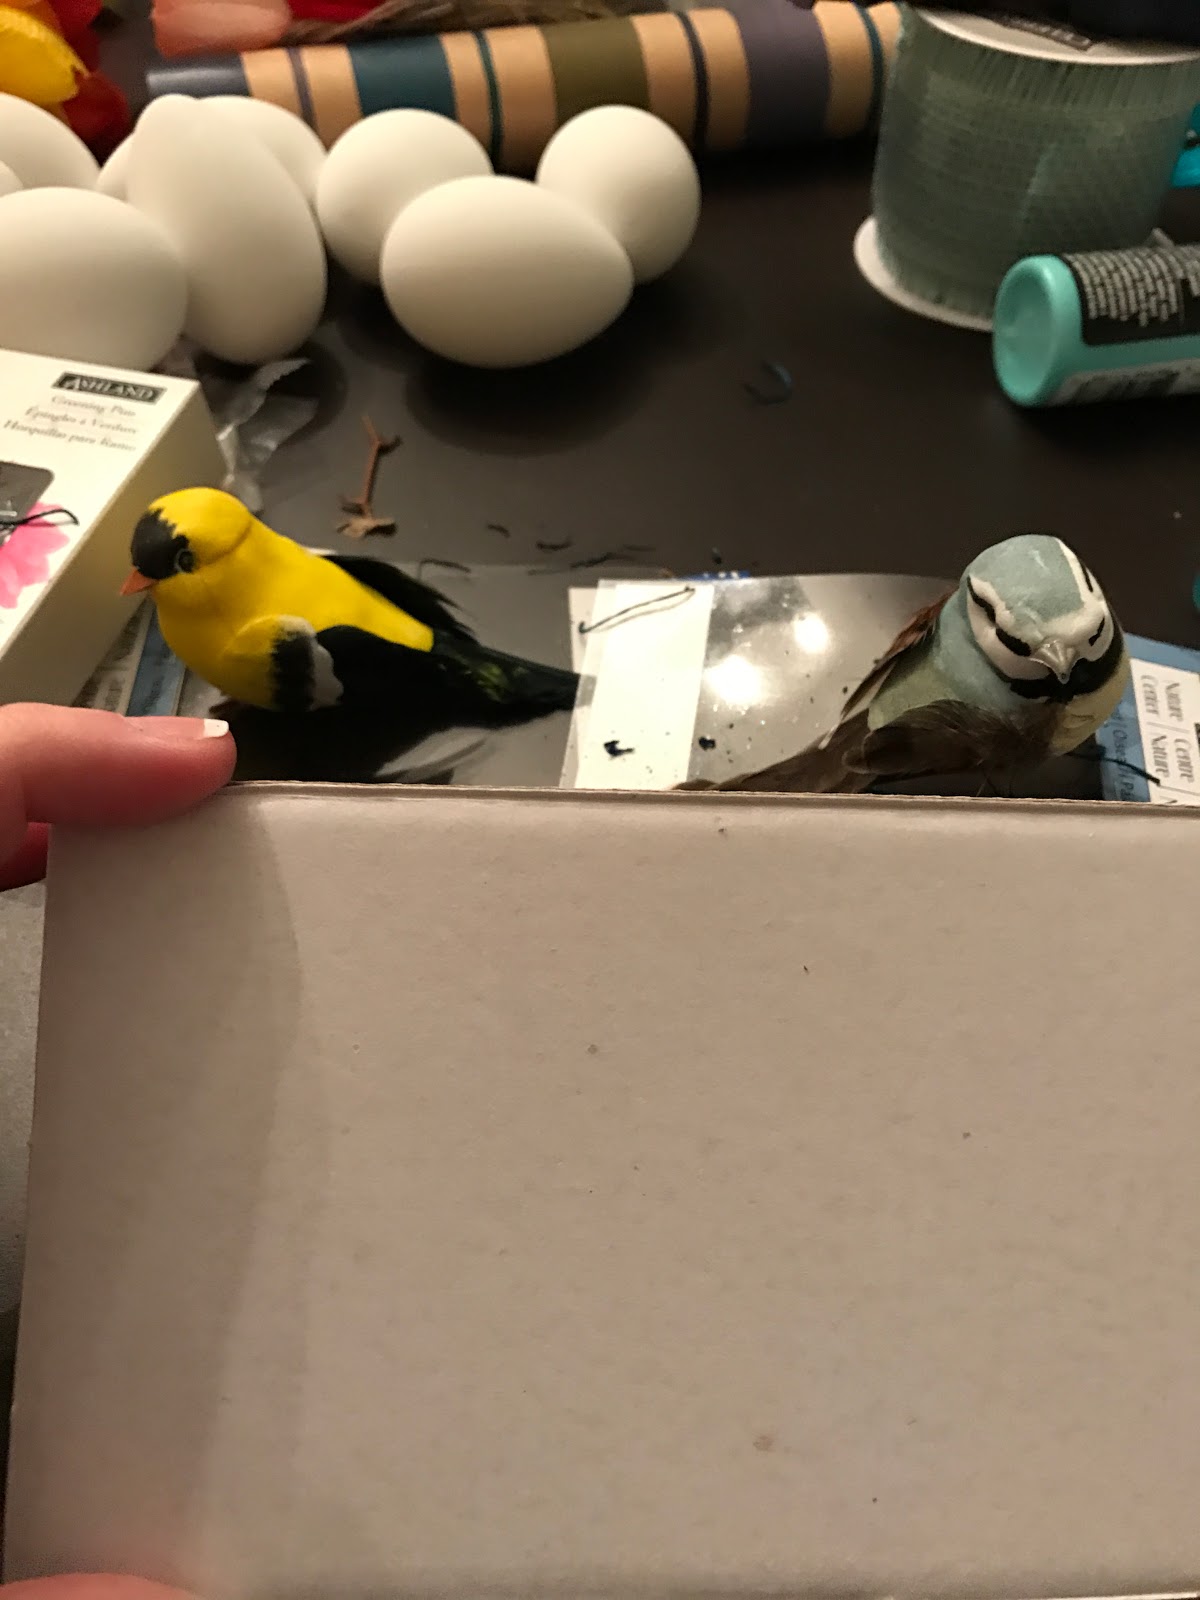
Faux Eggs
Small Feather Birds
Cardboard
Branches
Chalk Board Paint
Chalk
Faux Tulips
Faux Greenery
Faux Moss
Hot Glue and Glue Gun
Wire
Wire Cutters
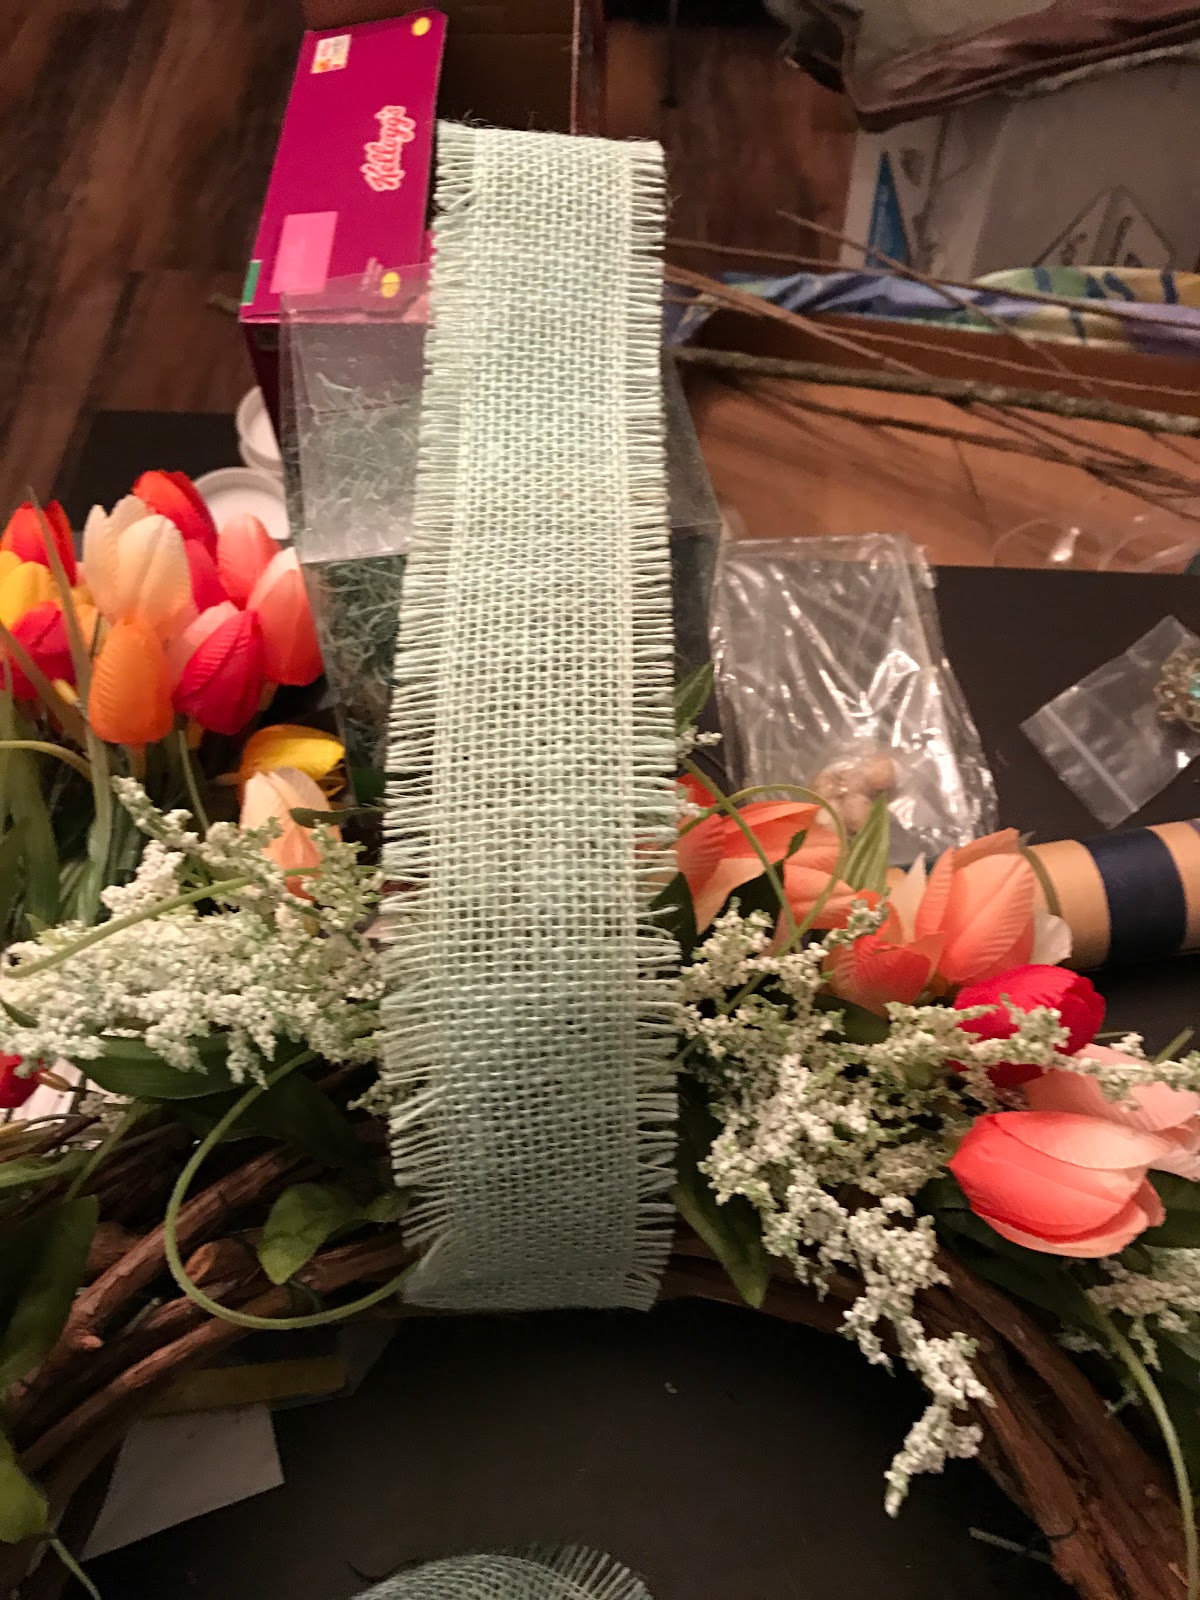
Ribbon
Twine
Tape
Instructions
These instructions will include both sets of directions for each wreath since they are very similar in construction. I will notate when one set of instructions does not apply to both wreaths.
1. Get all of your supplies together in a place that you can sweep or vacuum easily as these supplies will make a mess all over your table and floor.
2. Using the glue gun, glue the moss into the nest.
 |
| This is a picture of the larger nest. The little bird almost looks like he is looking on curiously doesn't he? |
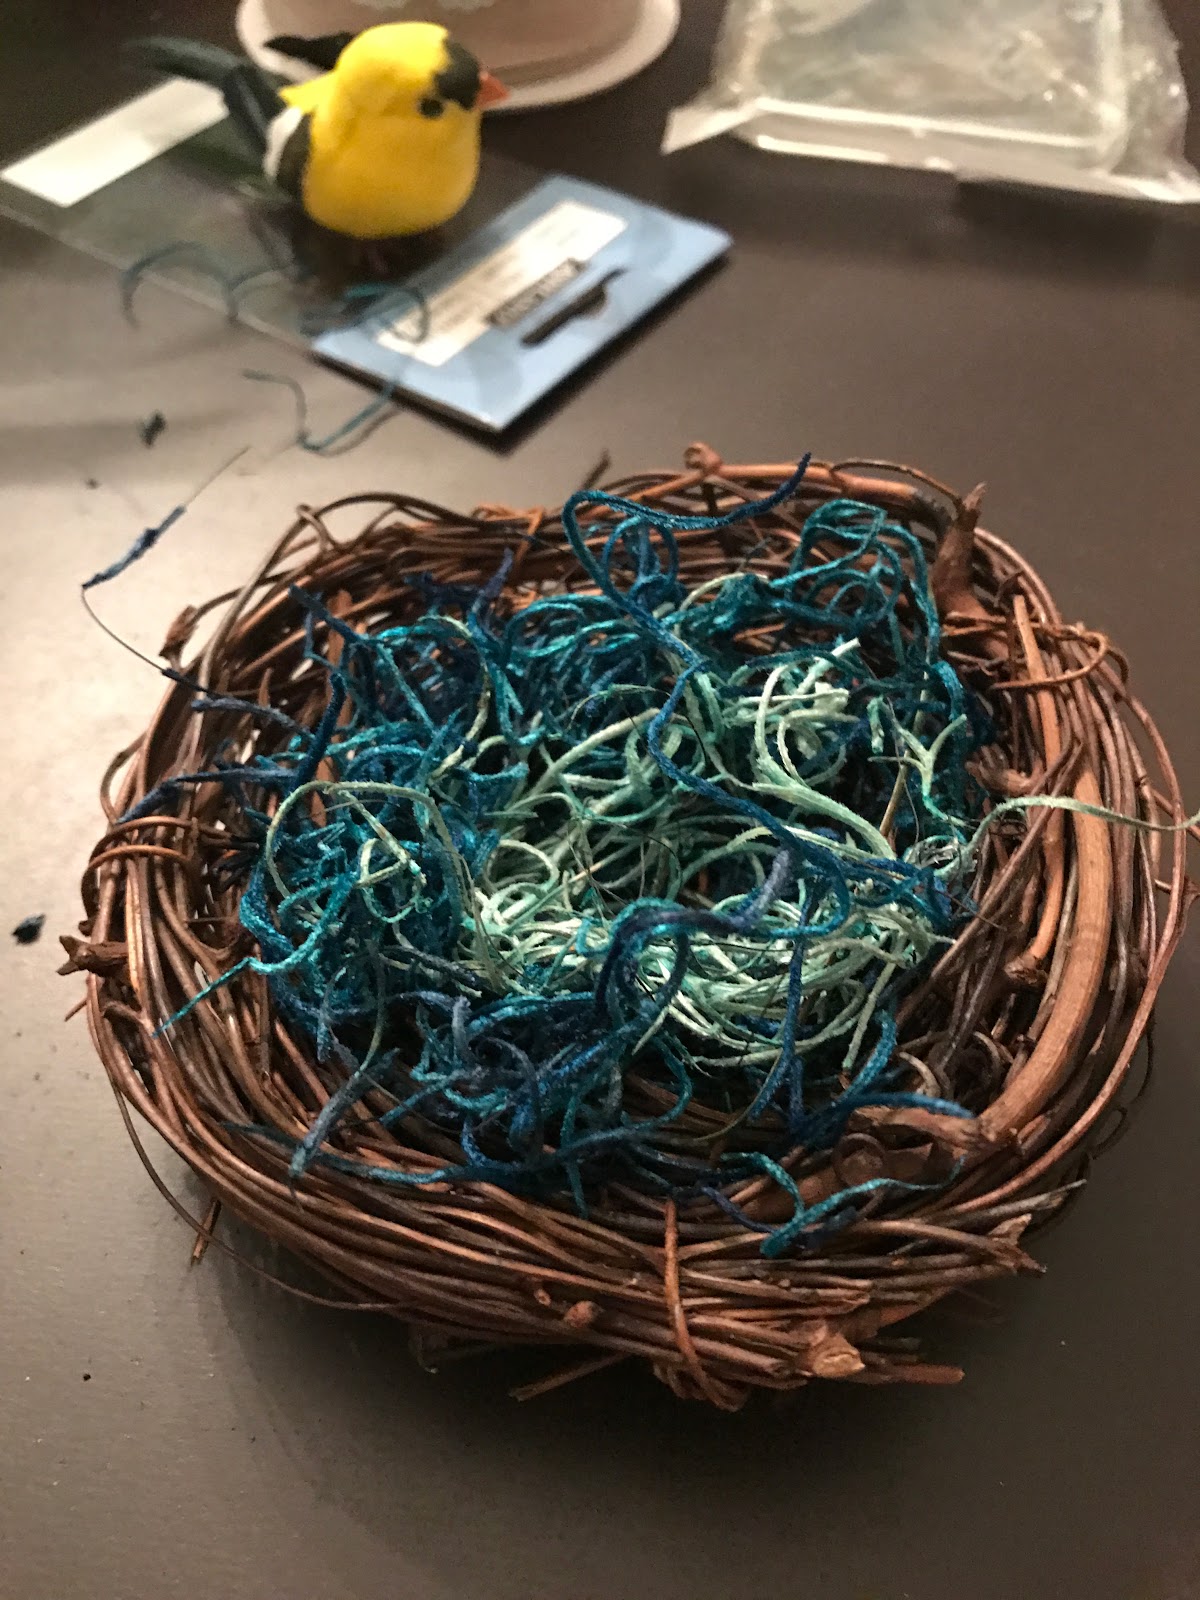 |
| I used two colors of moss, because I had two for a mantel project that I am going to share in a post soon. But I think it would look just as good with one color of moss. |
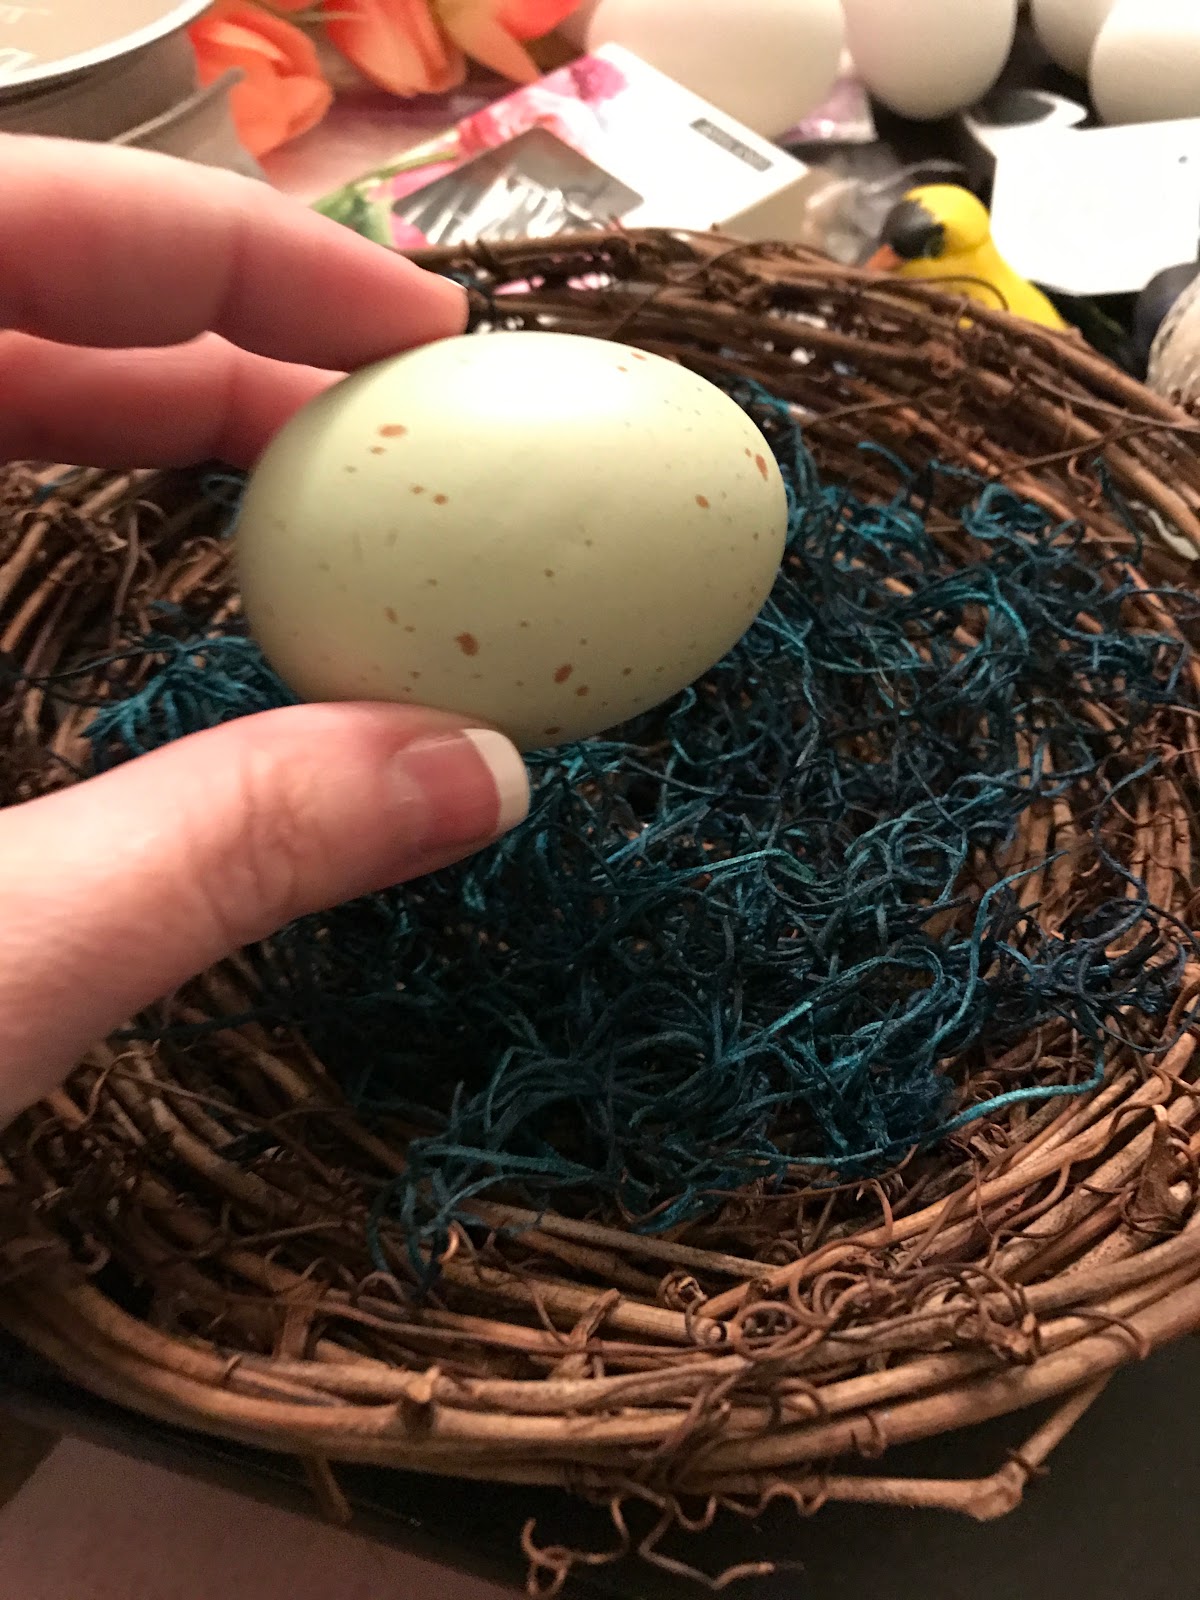
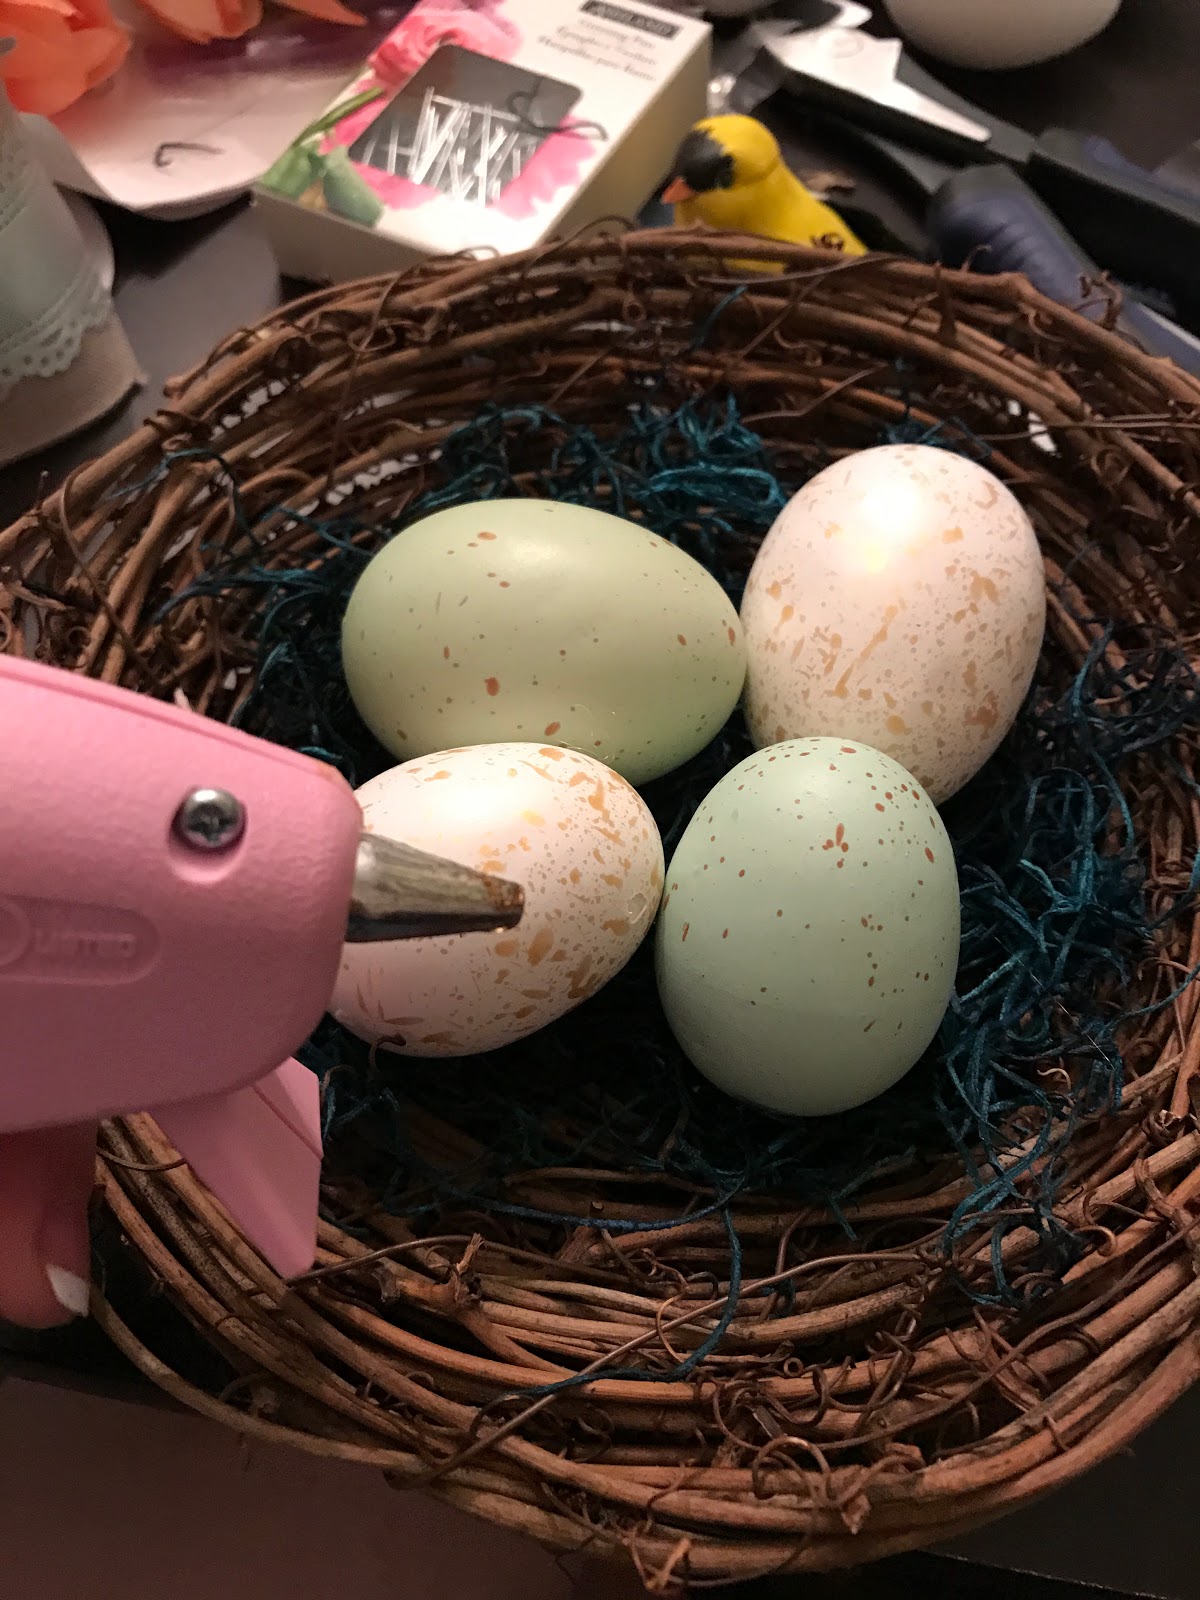
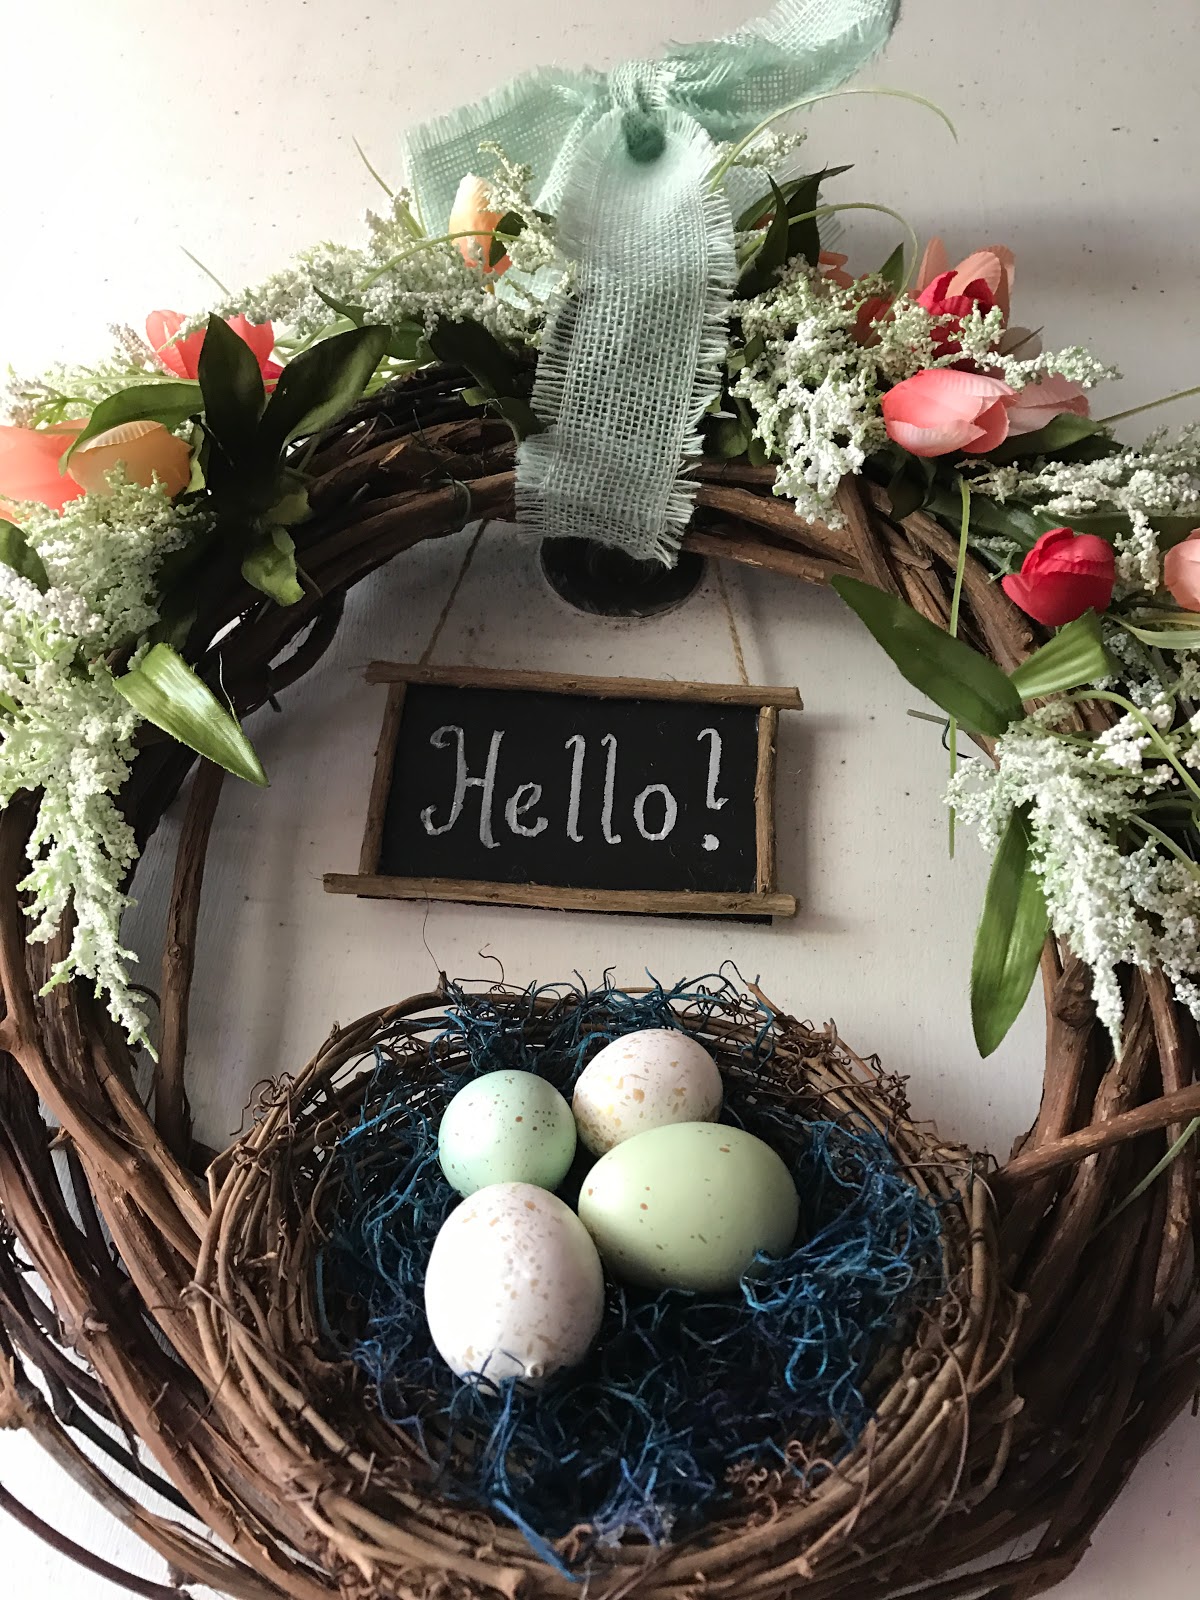
3. Glue the eggs into the nest. You can put as many as you want, but I felt that most birds only have about three or four, so those were the numbers that I went with.
4. If you are adding the bird to you nest, attach it to the nest along the edge. My bird had a wire for "feet" so I just wrapped the wire around a branch of the nest until it was secure.
5. Set the nest aside and allow it to cool.
6. Look at your wreath and determine what you would like to be your top and bottom of the wreath.
7. Once you have decided, start weaving your greenery and flowers into the wreath. For the tulips, I just wrapped the "stem" of the flower around branches found in the back of the wreath. The greenery "stems" were harder to bend so I attached those to the back of the wreath with floral wire.
 |
| This is the wreath with just the greenery. It needed color, so I added the tulips. |
 |
| Much better. |
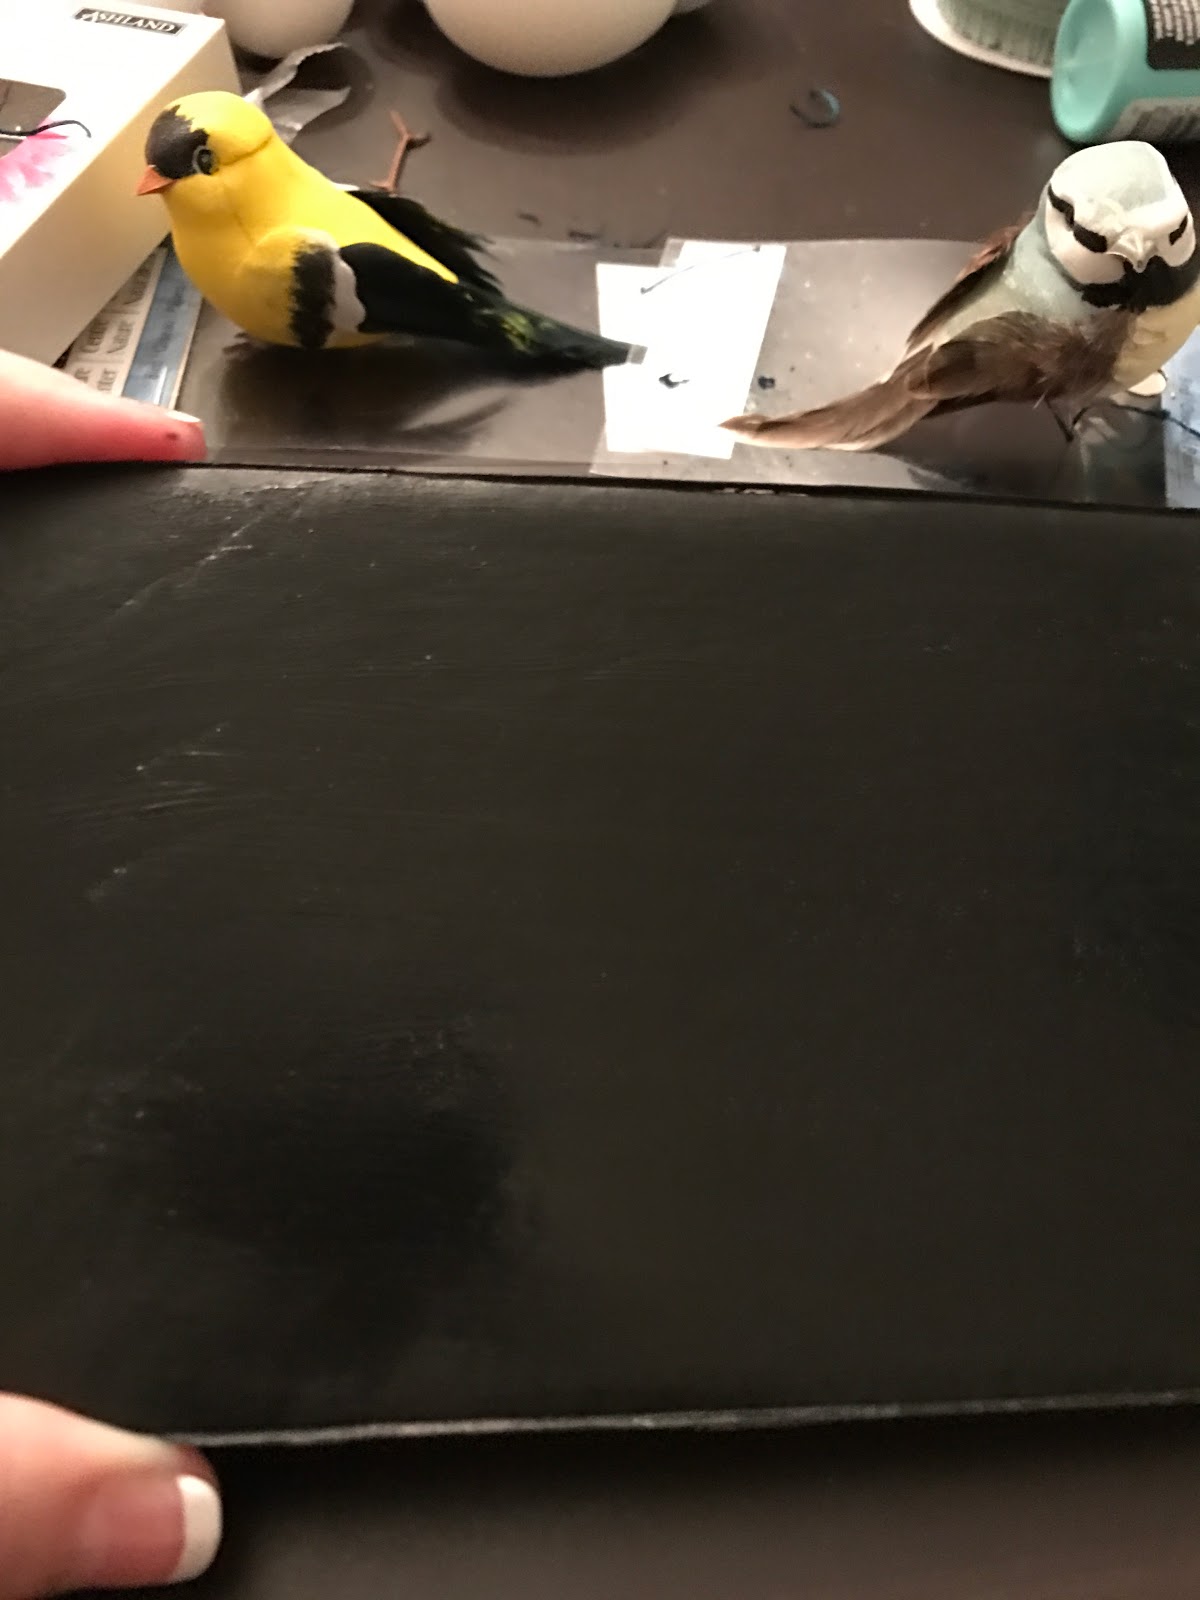
8. Now it is time to make the sign. I used a piece of cardboard that I found inside the Nellie's Dryer Balls that I had purchased recently and saved because I thought it would work for the wreath signs. You can use any piece of cardboard that you want, but I would suggest that it be the thickness of a shipping box rather than a cereal box so that it is stiff enough to not wave with the chalk board paint.

9. Cut the cardboard to whatever size you want to use for your wreath. You can make it as large or as small as you want.
 |
| The eggs in the back ground are actually a project that I am working on for Easter based on something that was published in Martha Stewart a few years ago. |
10. Paint the sign with cardboard paint. I got mine for $.99 from Tuesday Morning that I have plans for with several craft projects.

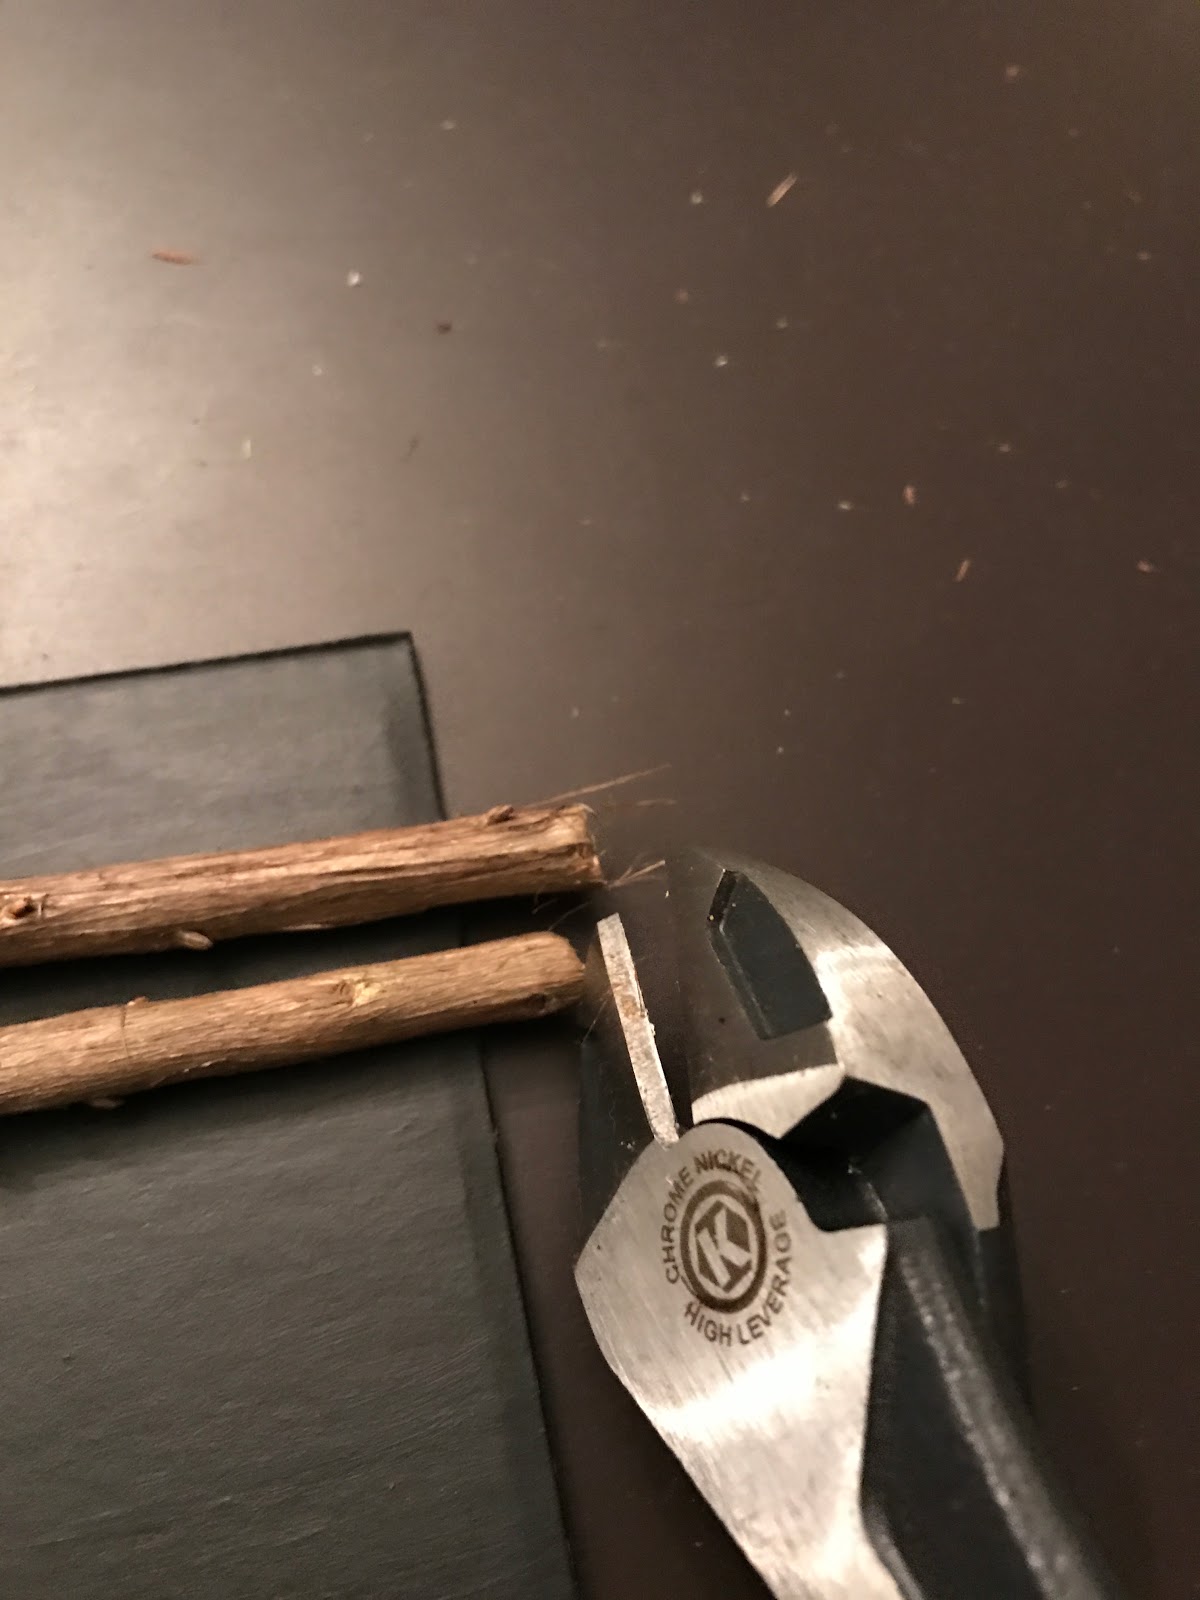
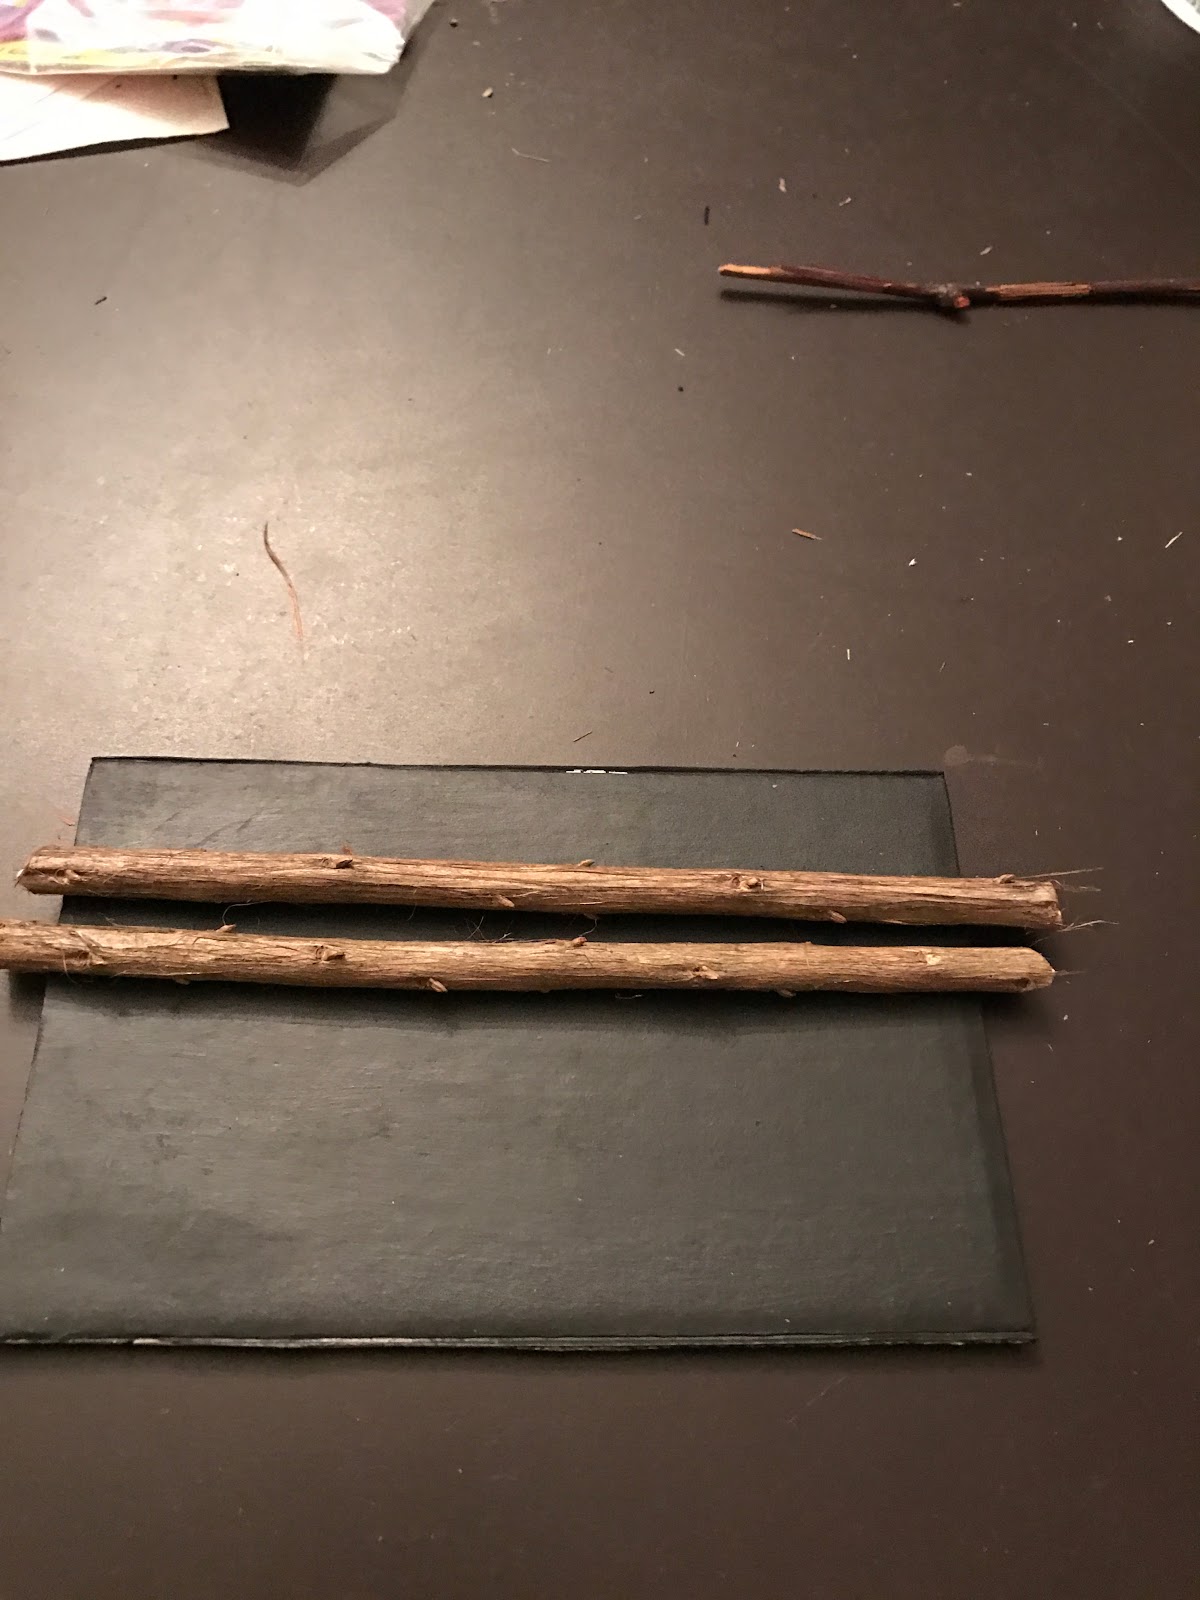
11. Allow the paint to dry. (It shouldn't take long, but if you want, you can do this step before you start adding the floral items to your wreath and it can dry while you are adding the floral.) Measure branch against the sign and cut with heavy duty wire cutters so that it makes the components of a frame. I got my branch from trash branches that my neighbor had put out to the side of the road to be picked up by the garbage man.
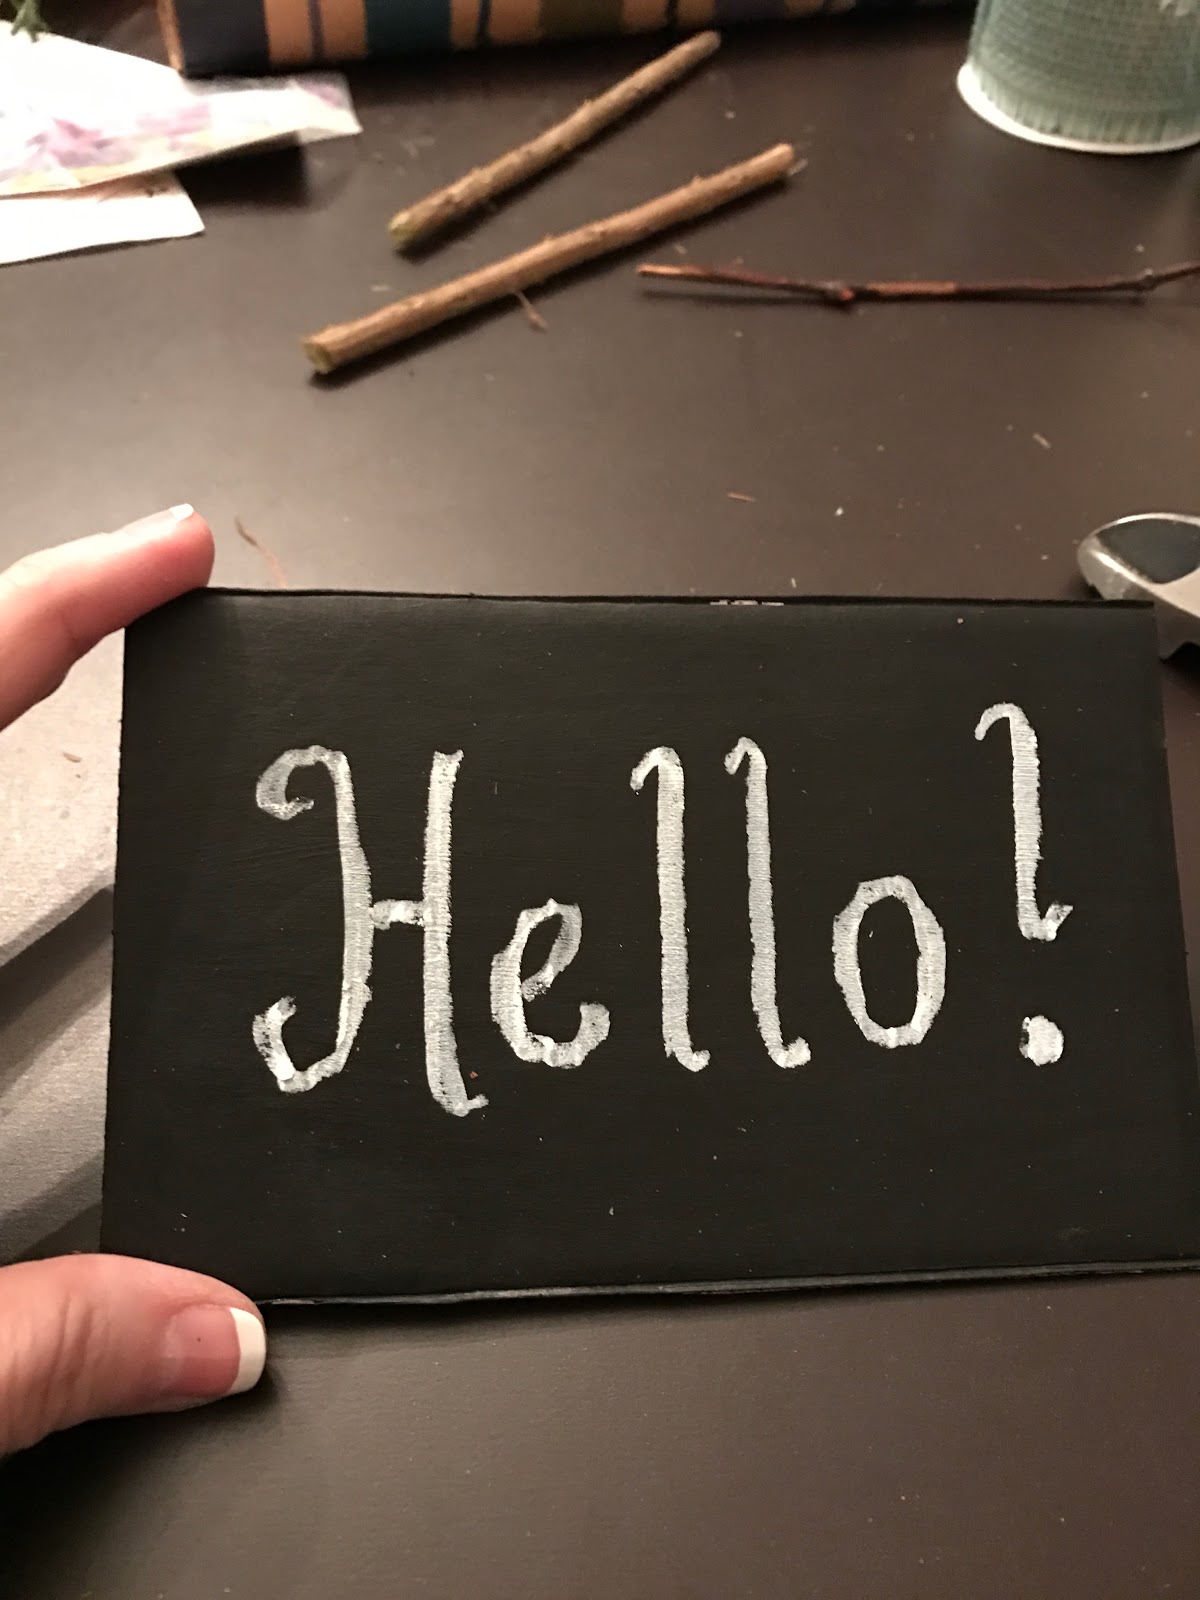
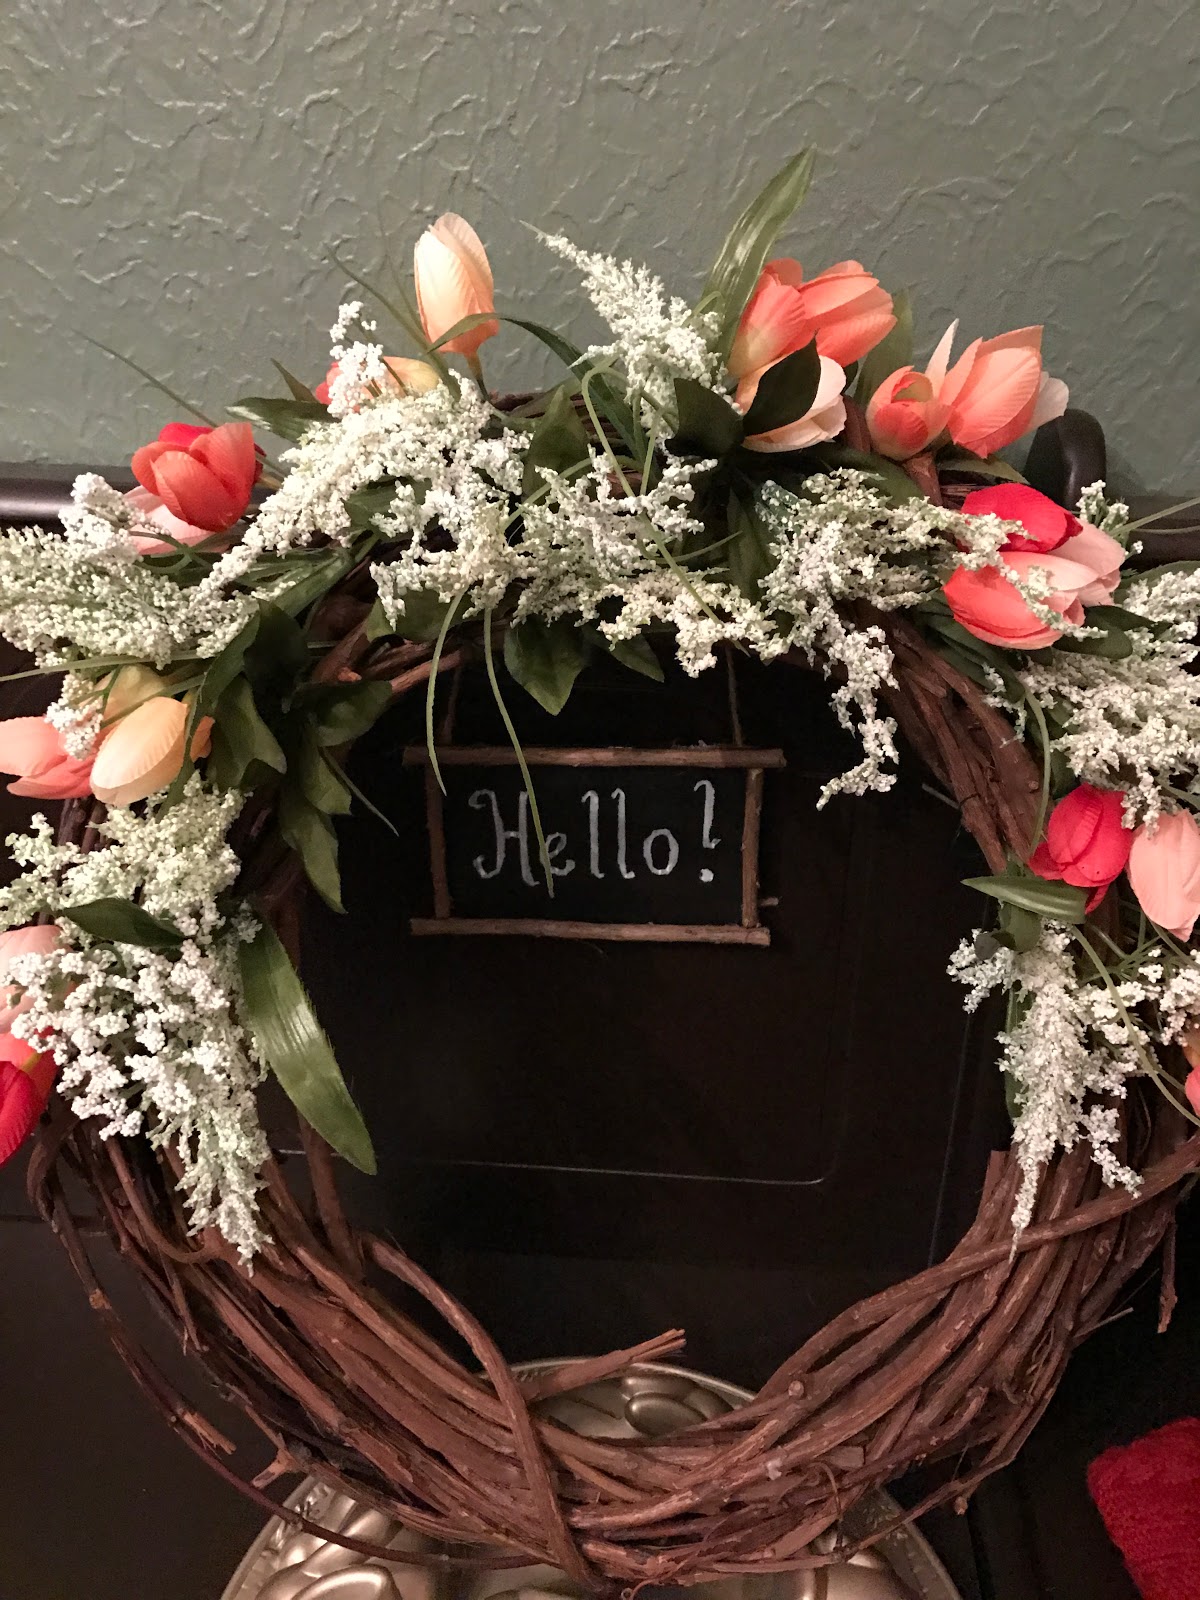
12. Write your greeting on the sign using chalk or a chalk pen. For my mantel wreath I wrote Spring! and for my front door wreath I wrote Hello!
13. Using the glue gun, glue the cut branches to all four edges of the sign.
 |
| Isn't that cute and cheerful? |
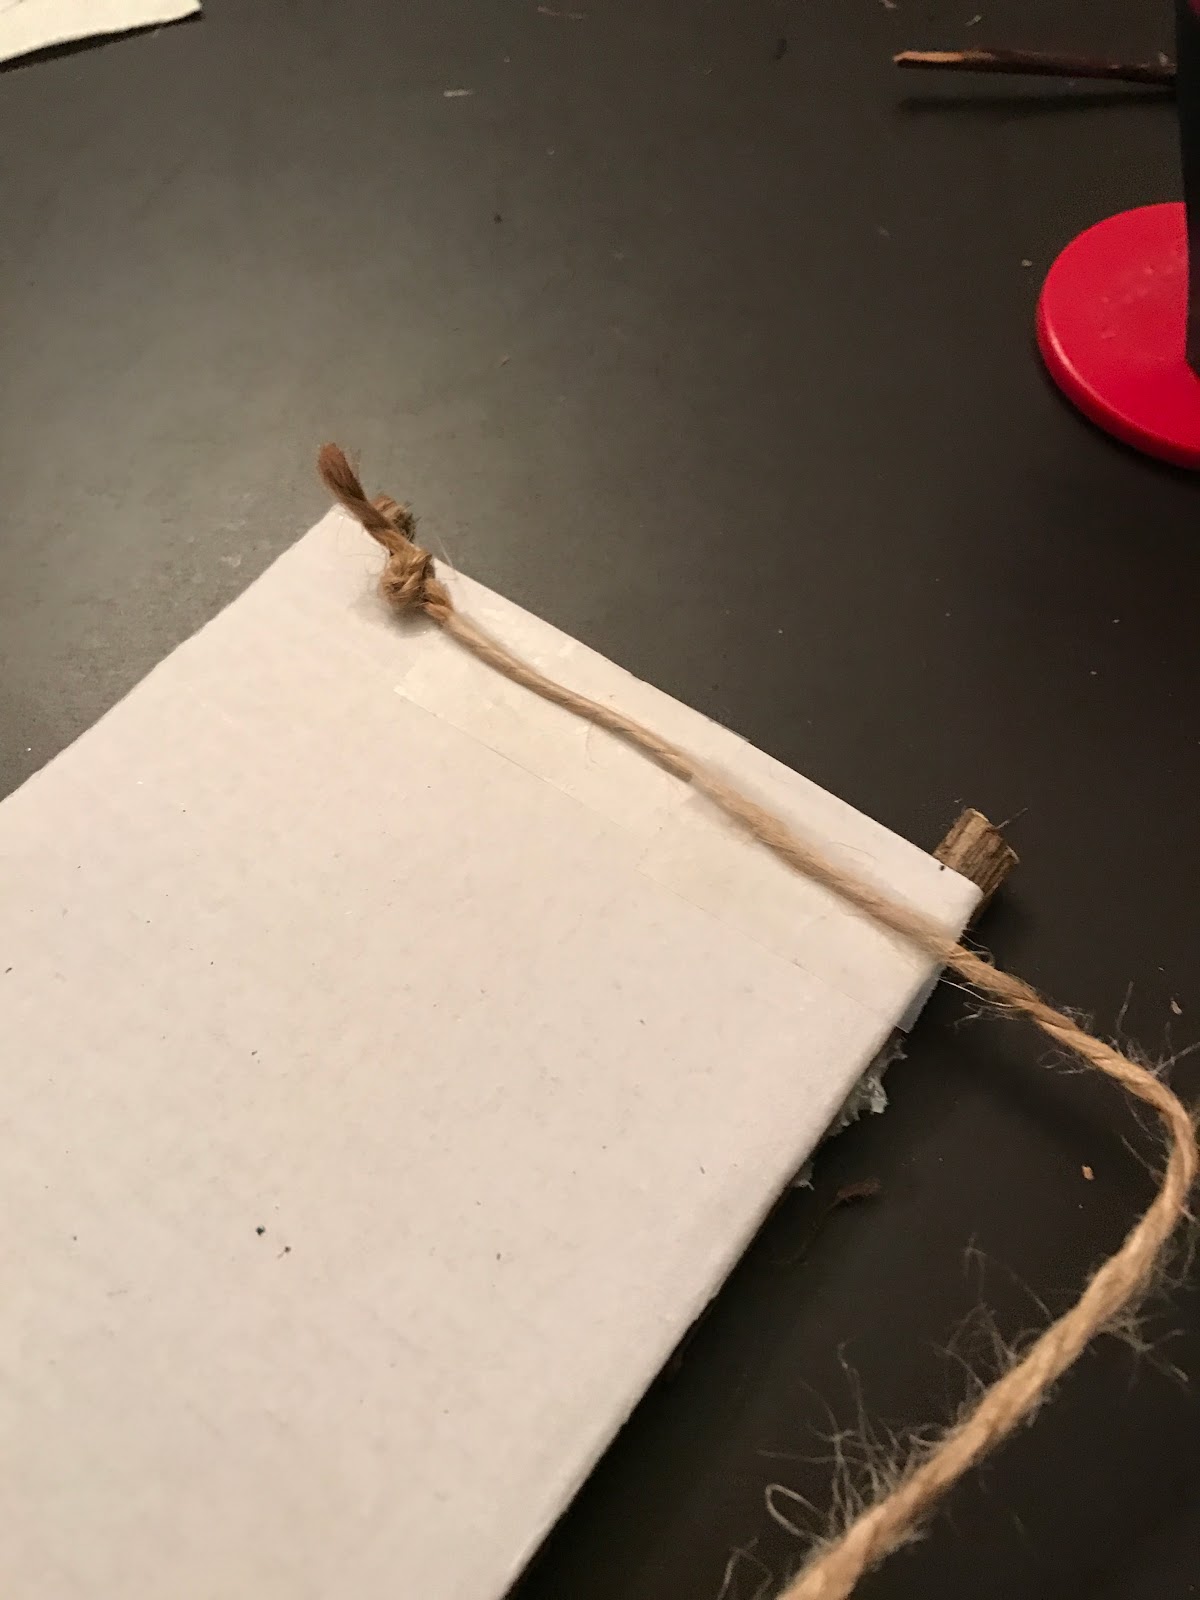
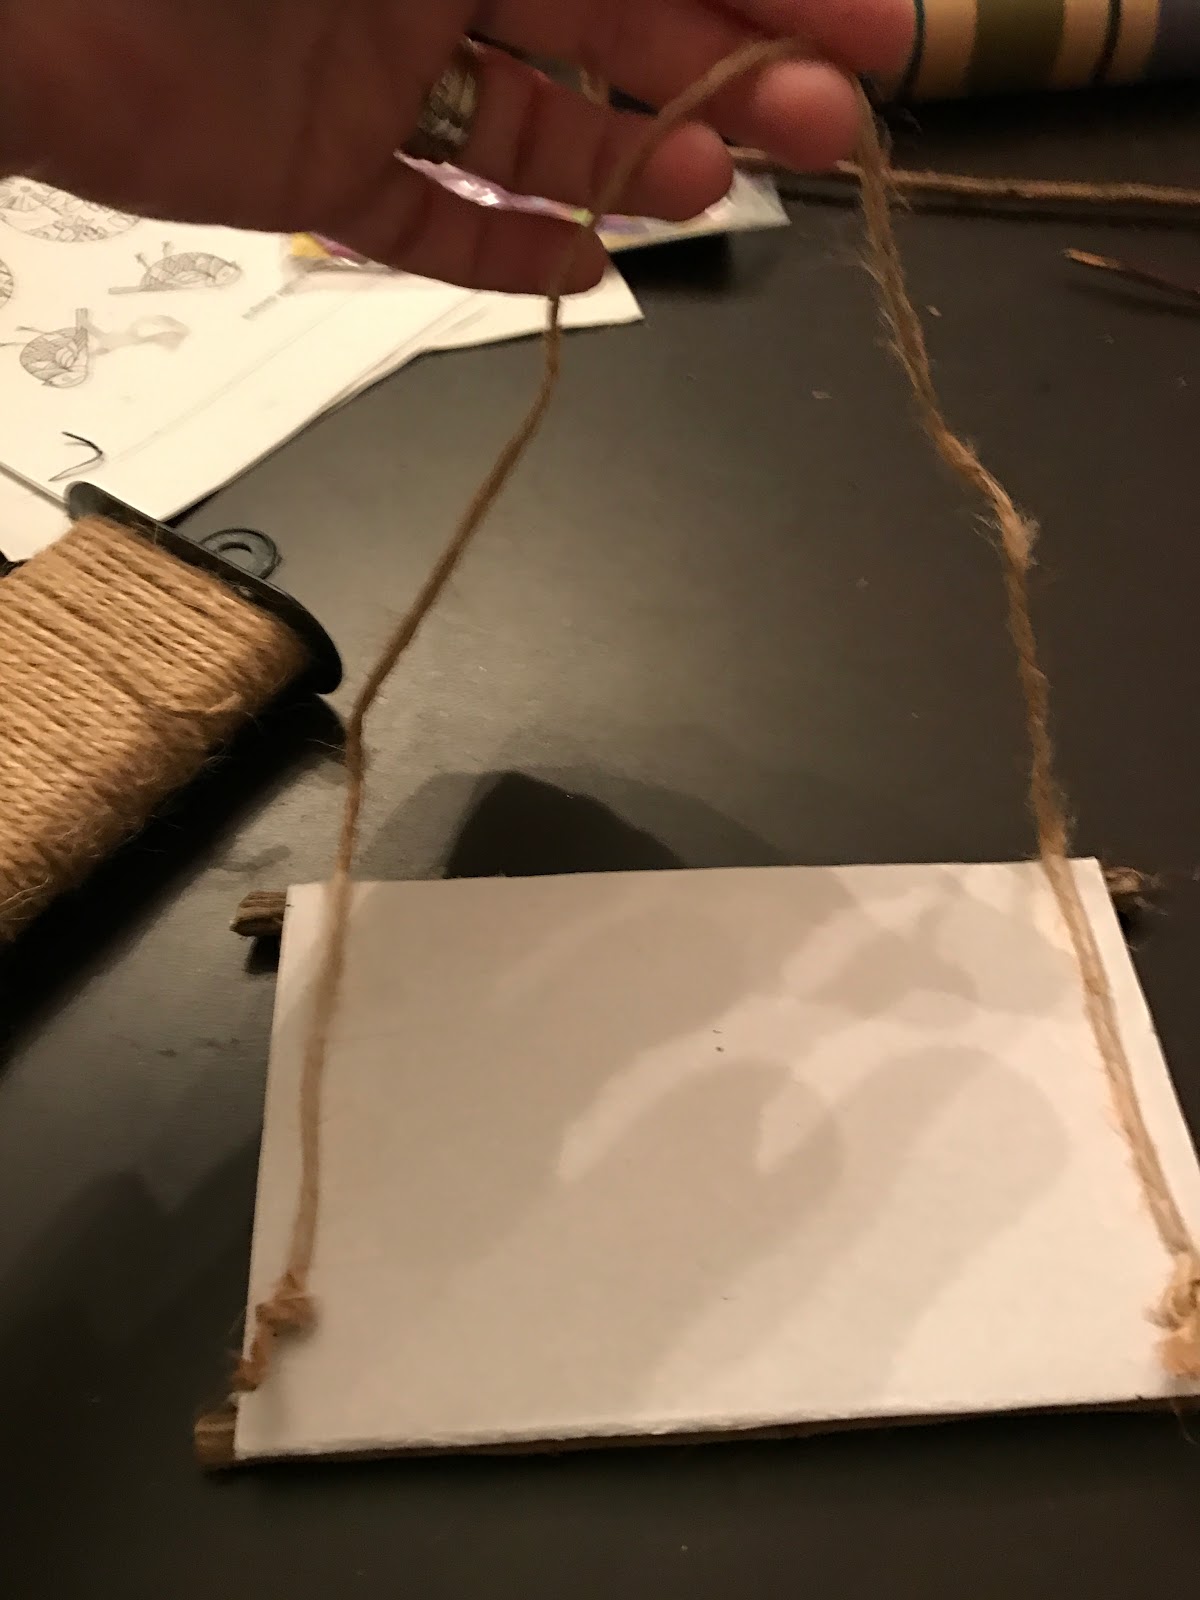
14. Cut some twine the length you would like your sign to hang in the middle of your wreath. Knot each end and then tape along the back.
15. Attach the sign to the center of the wreath using floral wire to attach. Attach in the back so that it is hidden from the front.
16. Attach the nest you created to the bottom of the wreath using floral wire.

17. Wrap a piece of ribbon around the center top of the wreath. You will hang your wreath from this ribbon so the length of the loop will be determined by how low you want your wreath to hang.
18. Attach a bow to your hanging ribbon.
Then you can hang your wreaths and you have a little bit of Spring for your home!
No comments:
Post a Comment