It is that time of year again. What time of year is that you say? Spring Cleaning Time!
I do not know why, but there is something about the months from October thru April that make cleaning house difficult if not impossible. I try to keep my house in order but then, in May, I look around and I have piles of little things that need to be cleaned, repaired, or given to Goodwill and every room needs a deep clean instead of merely a wipe down. UGH!
So this post will be dedicated to tips and tricks for cleaning your house for the Spring. One of the grand dames of clean is the Fly Lady.
http://www.flylady.net/
She has made an industry out of giving tips for cleaning your house so that you have more time to do the things you love.
I was reading a blog from a stay at home mom chastising the Fly Lady for making cleaning seem like a chore that should be finished quickly so as not to be endured for very long. This mom was sharing that she enjoyed cleaning and thought that the "get it over with" mentality was not the way to approach cleaning your house.
I must admit, I come from somewhere in the middle.
I do NOT enjoy cleaning.
But.......... You put on some good tunes, open up the windows to let in some fresh air, and give me some private me time with no one in the house and cleaning actually becomes almost fun as you watch your house turn back into the home that you love.
So, here are some general tips that I have for cleaning the house.
1. Go room by room and have a "to go" basket.
I always have two baskets that I carry with me into the rooms that I am cleaning. The first is mybasket filled with the cleaning supplies that I will be needing. The other is a large empty basket.
This empty basket will get filled as I clean one room of items that really belong in another room.
The basket allows me to remove items that do not belong in the room that I am cleaning, without
making several trips to other rooms to put items away. This basket will go with me and, as I move
from room to room cleaning, I will put away the items that I have collected. Eventually, the
basket will be empty and everything will be in its place.
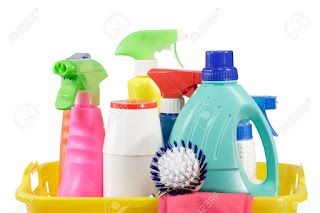
2. Make a cleaning basket and bring it with you to every room.
This basket should be filled with the items that you use to clean the house. I do this for every
room but the bathroom.
(I use specific cleaning items for the bathroom which I keep in the bathroom.) At a bare
minimum, your basket should contain cleaning rags, rubber gloves, cleaning solutions in spray
bottles, spare small trash bags and cleaning brushes.
3. Start from the top and work your way down.
This seems like a common sense thing, but I am amazed at how many friends that I have that donot follow this simple rule. You should start with the ceiling. Yes, the ceiling. Clean the ceiling
fans, light globes and vacuum the ceiling corners and walls.
You will have dust and other ick falling down, if you had already cleaned the floors or counters
this mess floating down will destroy all of your hard work, thus why you do the top first.
From the ceiling move on to the surfaces that are waist height such as countertops, tables, chairs
and sofas. This allows you to wipe things from the counter onto the floor.
Floors are last. First you sweep or vacuum and then you mop.
4. Allow your cleaning fluids/solutions time to work.
This was a tip that I learned from the housekeepers on staff when I worked in hotels. They would
go into a room and the first thing they would do would be to spray down the countertops,
stovetops, oven and sink in the kitchen. They would then go into the bathrooms and spray down
the sink, bathtub and toilet.
After doing all this, they would return to the kitchen and begin to clean the areas they had just
sprayed.
By doing this, they allowed the cleaning fluids time to do their work. One swipe and grime would
and dirt would come off as if by magic. A good rule of thumb is that you should allow your
cleaning fluids at least 10 minutes to soak into the areas that you are cleaning before you start
scrubbing. Again, use the top to bottom rule. For example, spray the top of the sink or the
bathtub and allow the cleaner to move down the sides. Gravity working for you!
5. Don't over do.
Be realistic about what you can do in the amount of time that you have allotted for cleaning. But,
also, don't get side tracked by "little" tasks that will prevent you from cleaning the room. This
means that, for example, if you are cleaning the kitchen, don't get side tracked by a messy junk
drawer and spend hours of your time organizing the drawer. Note that the drawer needs
organizing and plan on doing that at another time but continue cleaning the room that you have
started to clean.
6. Clean your cleaning tools before putting them away.
This is another one that seems like a common sense thing to me. Once you are done cleaning,
clean your cleaning tools before putting them away. This means wiping down all of your bottles,
brushes, broom, vacuum and mop. This will help make your cleaning tools last longer and will
keep you from grossing yourself out the next time that you go to clean because your tools will be
clean and ready and not encrusted with grime and gross.
7. Clean a room a day.
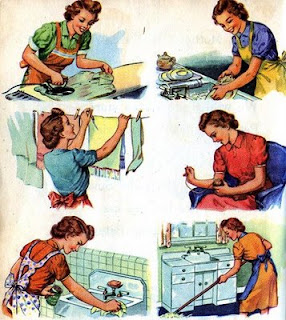 |
| I love these illustrations from the 1940's. I especially love that she seems to own five different aprons. |
This is the best tip that I ever got from a housekeeper. Unfortunately, it is one that I just have
never been able to do myself. Her advice was to clean one room, every day. If you do this, she
told me, your week-ends will be free to do fun things and not used to just complete chores.
So, these are the general tips of cleaning advice that I have to give. The next few posts will go room by room giving more specific tips and cleaning "recipes" for cleaners that you can make at home.





No comments:
Post a Comment