Sunday, December 10, 2017

Let It Snow, Let It Snow, Let it Snow Ornament Crafts!

Happy Holidays Everyone!
Friday we had a holiday miracle in Southern Louisiana and we got snow!


Not just snow flurries but the real deal.  It snowed for about seven hours and, for slightly less than a
day, Louisiana actually look like a winter wonderland.  (Or about as close as Southern Louisiana can look to a winter wonderland.)  I love snow and it is one of the things that I dearly miss around Christmas time.  Needless to say, I was thrilled!  So I could have my snow memories for other winters when it is 86 degrees outside, I went around a bit like a crazy person taking videos and photos of my back and front yards.  This is the first time that it has snowed since we got the house, so this was my first chance to do so.
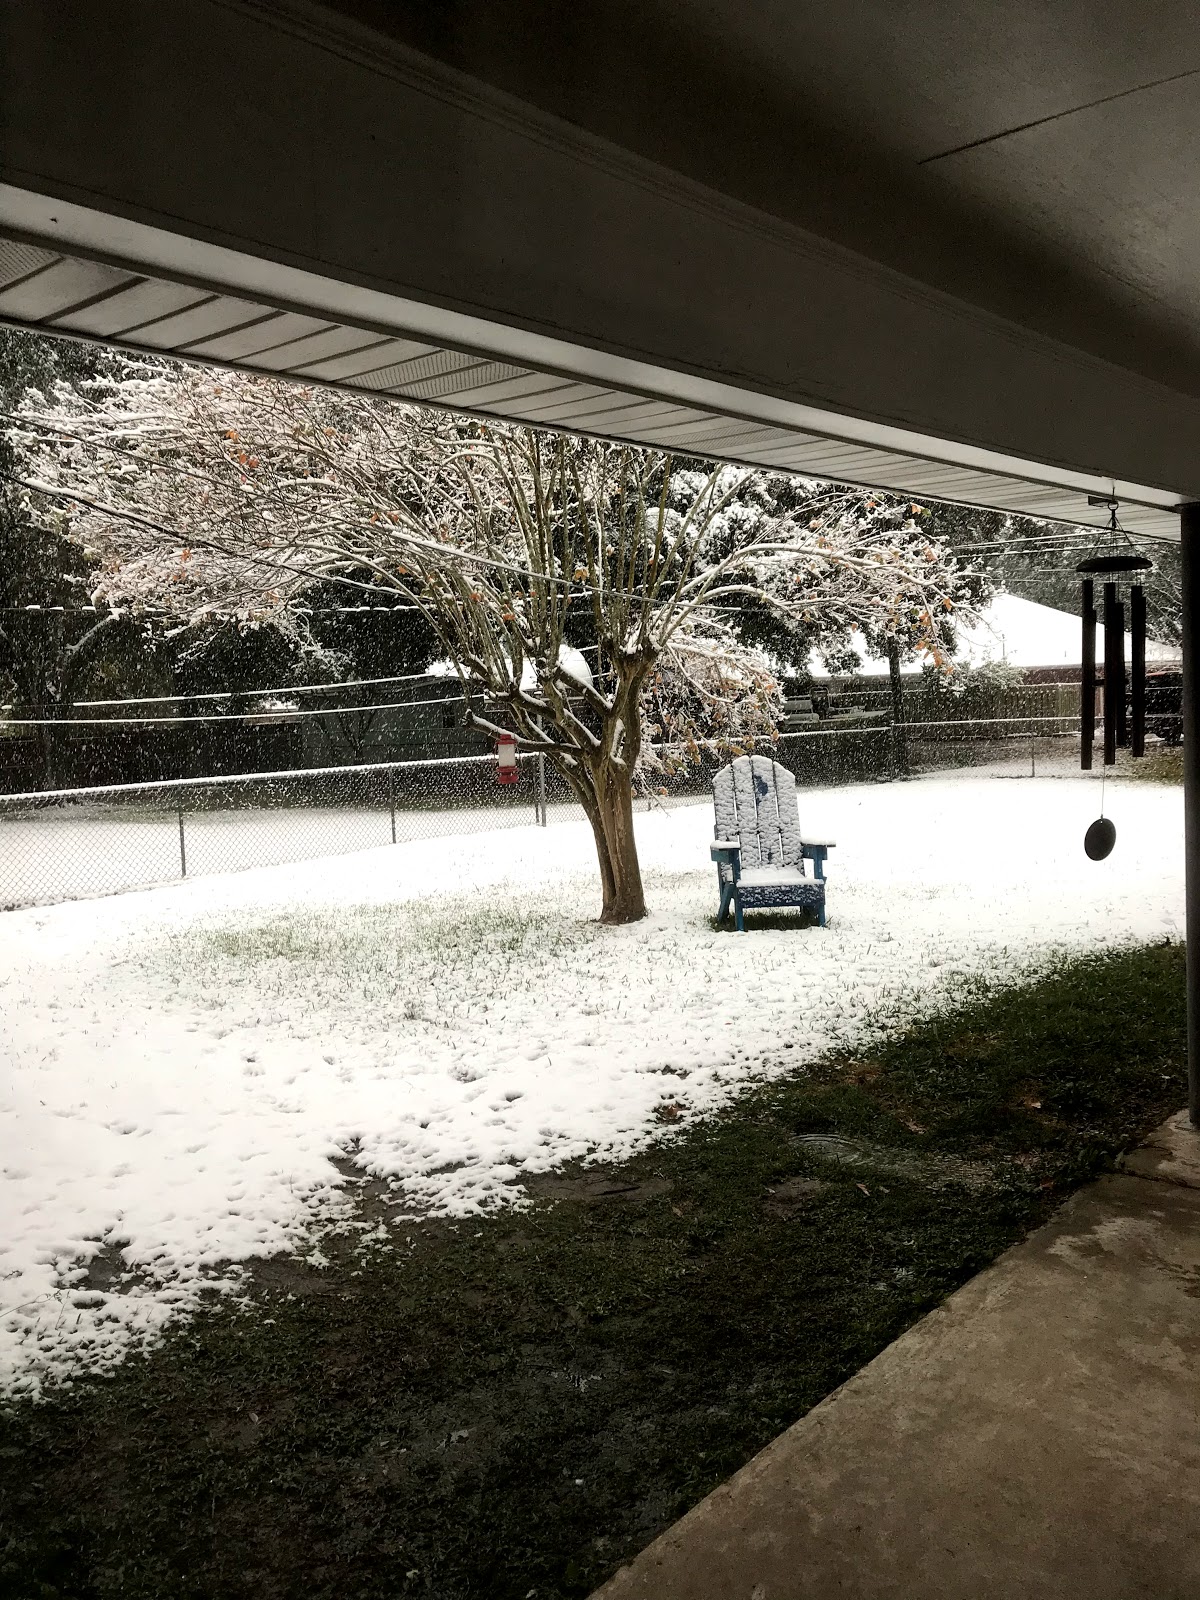
This is the tree in my back yard.  You can see the snow wasn't sticking to the ground as well as I would have like, but I thought the tree looked beautiful.
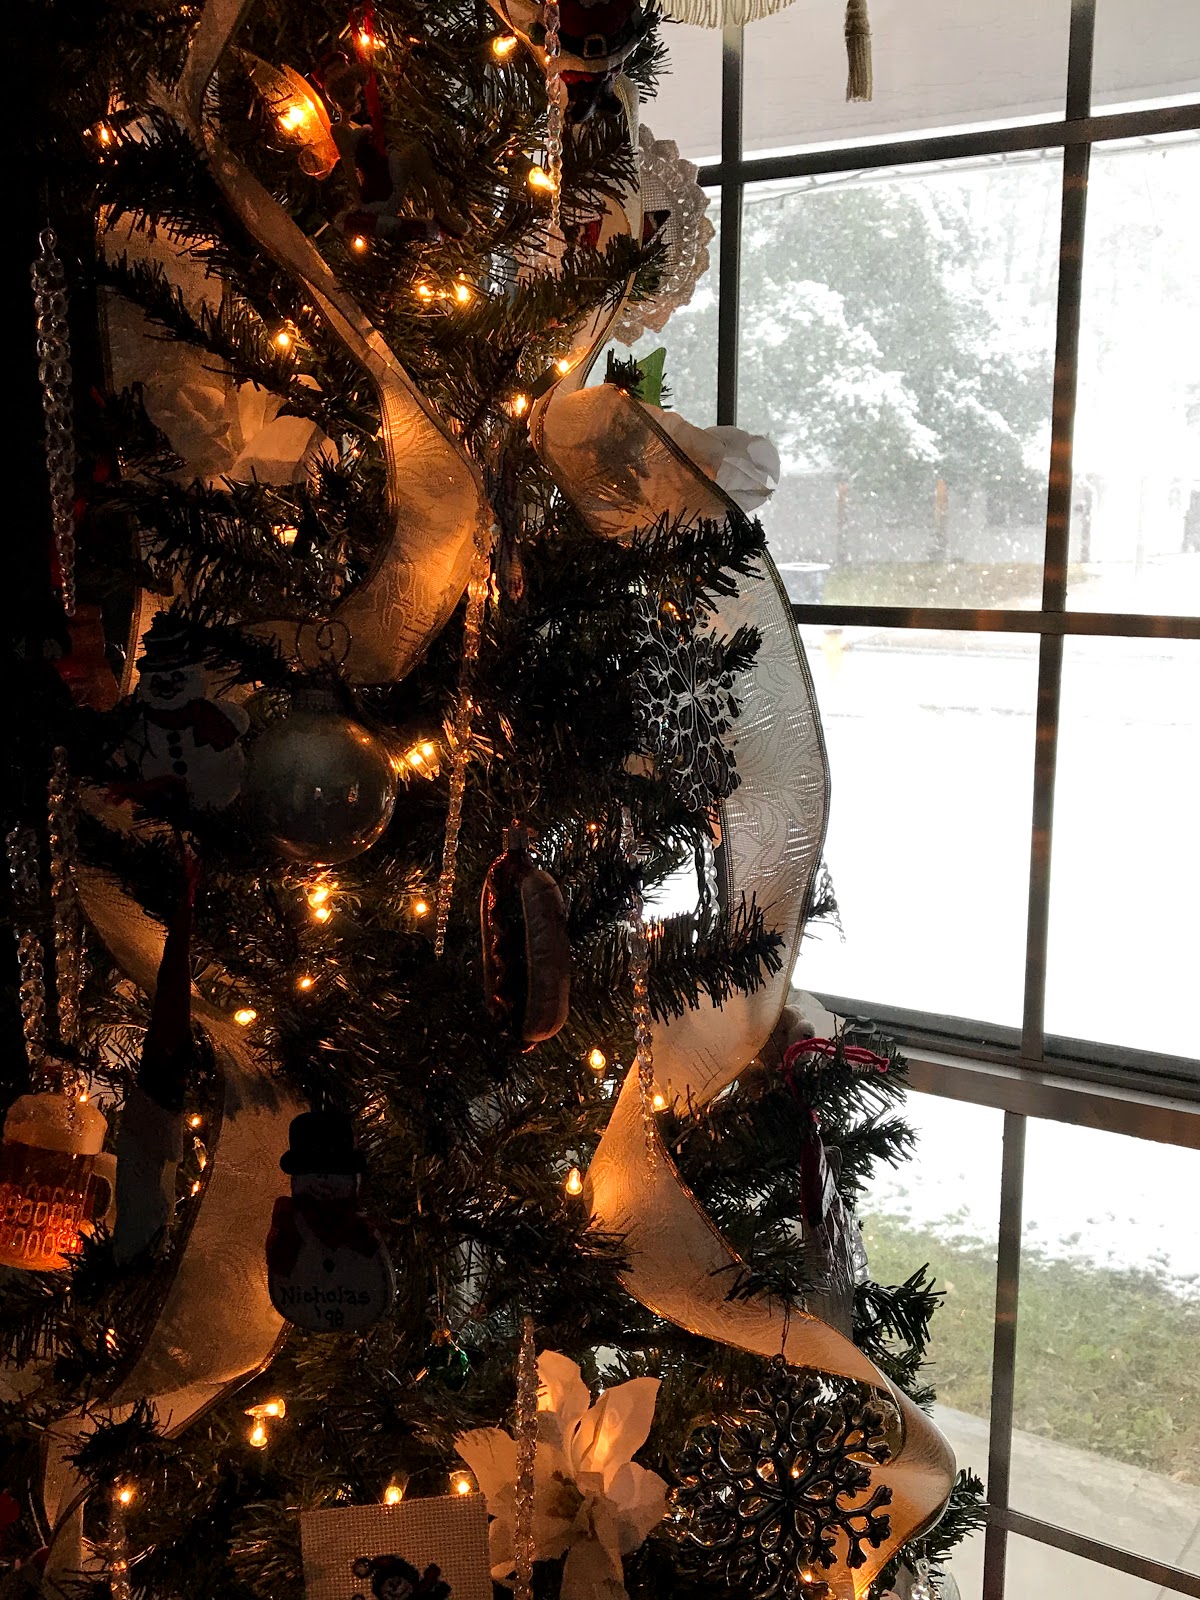
My artsy picture of one of the ugly Christmas trees in the pub next to the snowy window.

Once the snow died down a little, the birds came out of hiding.  Naturally I had to record their actions for posterity and I got one of the most wintery - Christmasy videos ever!!! 
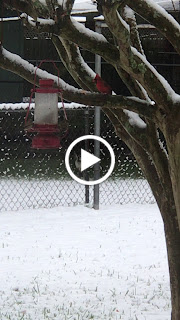
How 'tis the season is that?!?!?!?!  A Christmas cardinal in the snow!


But, as I said, by the following day, the snow was mostly gone and we were back to looking like regular plain old Louisiana.  Since I was already missing the snow, I decided that I wanted to bring some of that snow indoors and I decided to make snow ornaments for two of the Christmas trees.  (Yes you read that correctly, two of the trees.  I have five trees in total.)

There are actually two very cool ways of making snow ornaments.  For this post I am going to show you how to make Cookie Dough Ornaments and Toilet Tissue Rolls Snow Ornaments.

Toilet Tissue Roll Snow Ornaments
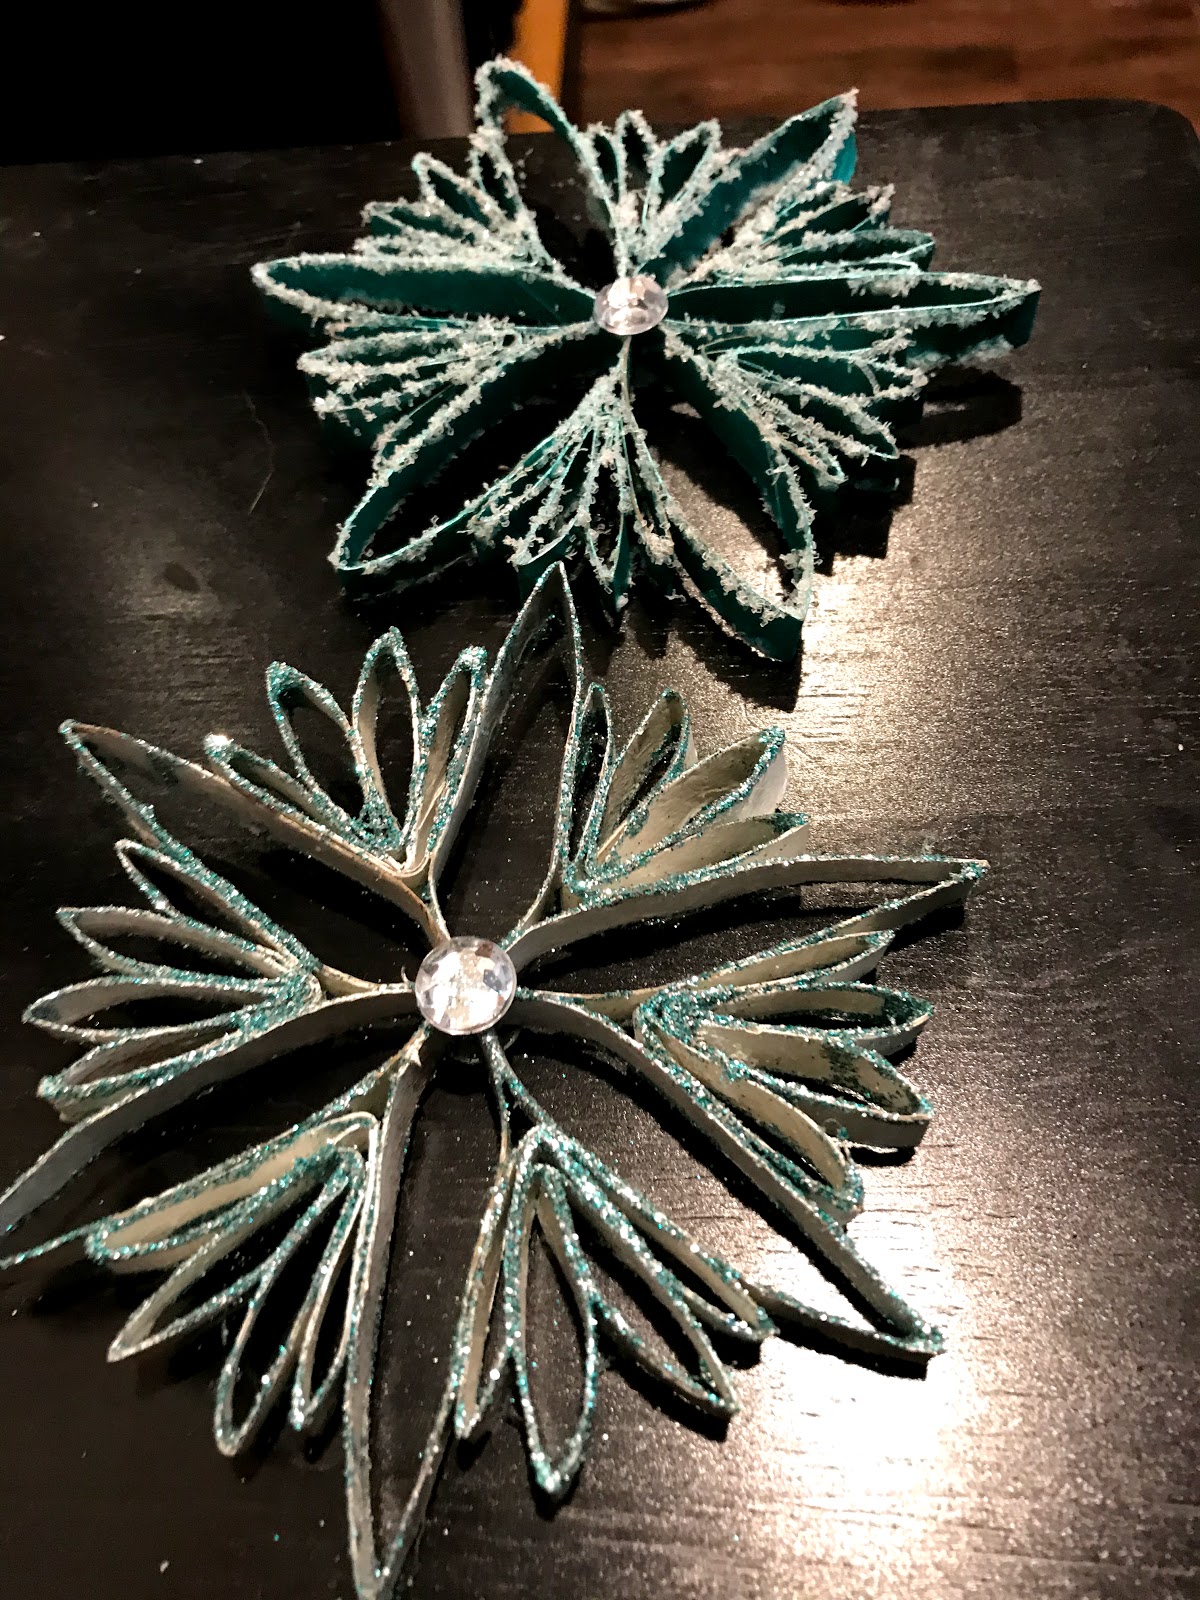


I actually started a post for how to make these around Christmas time last year, but I ran out of time and it never made it into a post.  These are super easy to make, they just take a little time.  So if you plan on making a set of them for your Christmas tree, I would advise that you work on them throughout the year so that it doesn't get too tedious.  (Plus it gives you all the time you need to collect all the toilet paper rolls you will need.)

Items Needed
2 Toilet paper rolls per ornament
Ruler
Glitter
Glue (I used both hot glue and Elmer's Craft glue but you can use any glue you are comfortable using)
Scissors
Small Paint Brush
Sparkle button

Instructions
1.  Take a used toilet paper roll and squash it so that it is flat.


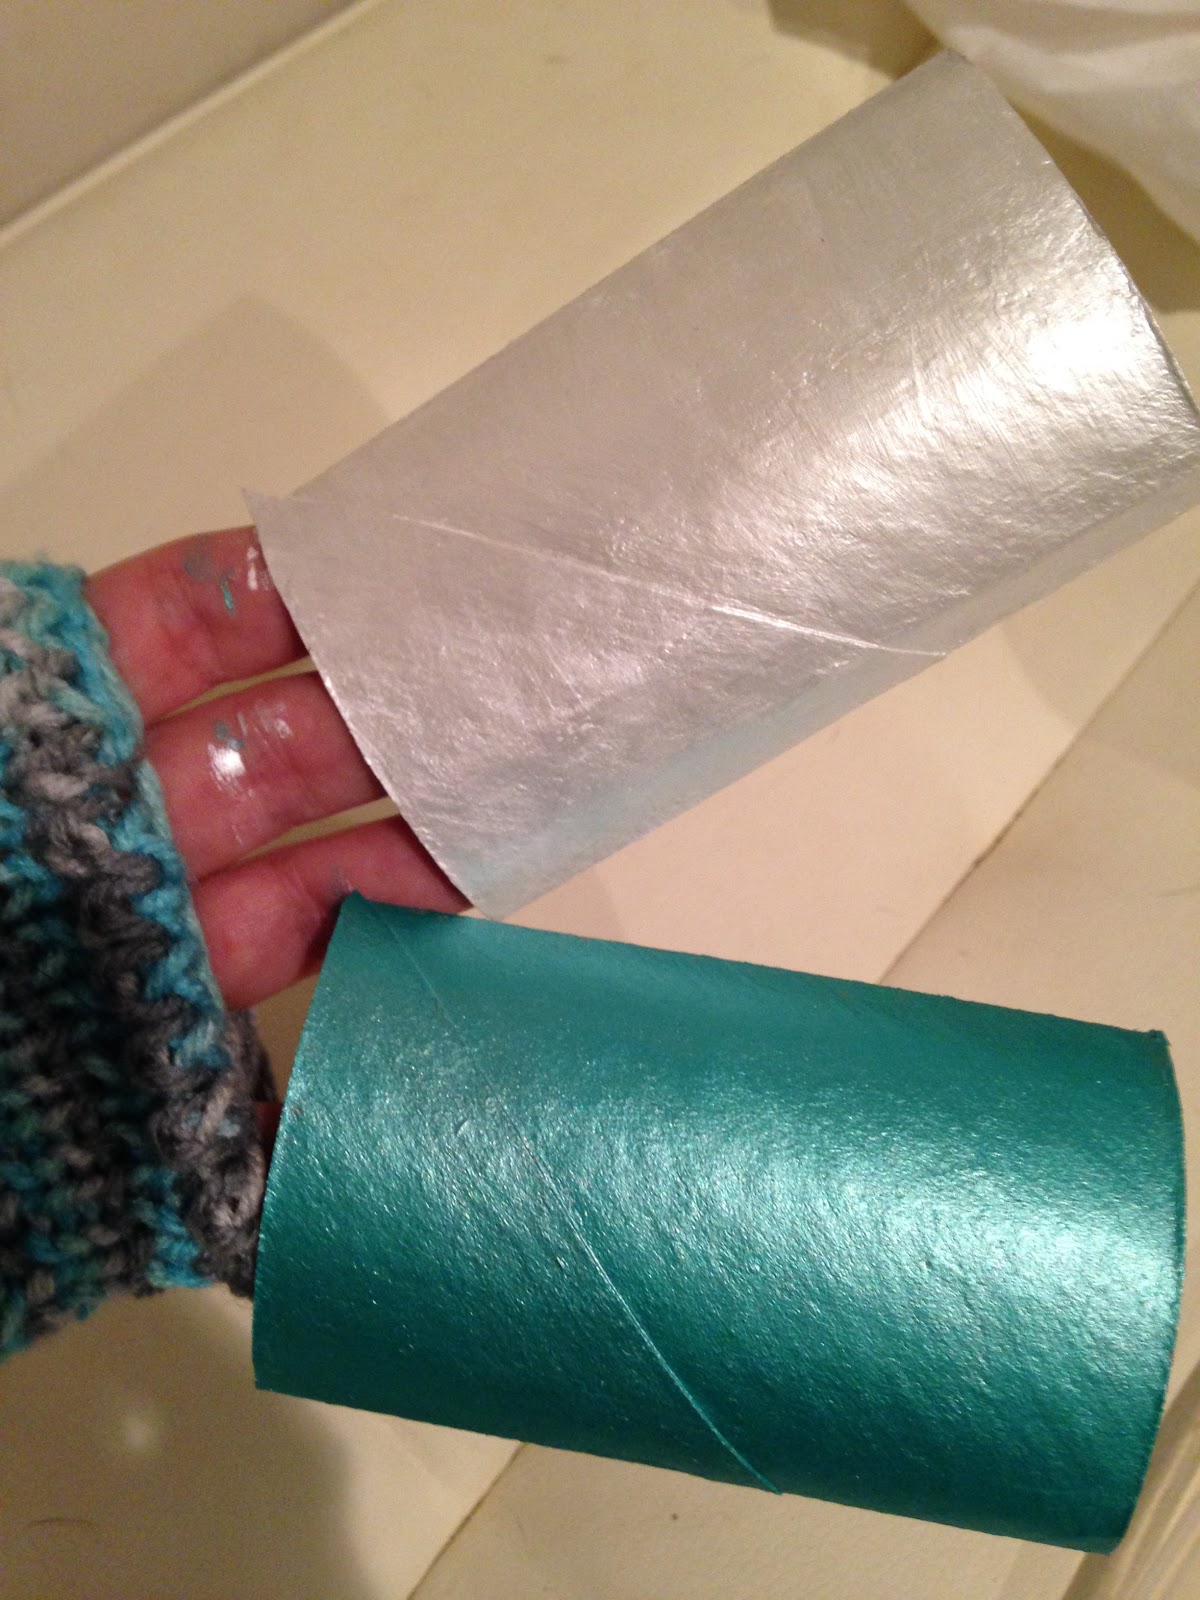
2.  Paint the toilet paper roll your main snow flake color of choice.  For this demonstration I painted one toilet paper roll white and the other turquoise.  You can do any color that you would like.  Metallic paints such as gold and silver are always pretty, as are the traditional colors of red and green, but you do whatever colors will work for your Christmas tree.  At this point only paint the outside of the roll.  (A word of advice.  If you are doing white snowflakes, pearlescent is gorgeous, but it will add a step to your snowflake.  You will want to paint the roll with regular white acrylic paint first and then, after it dries, paint over the white with your pearl white paint.)
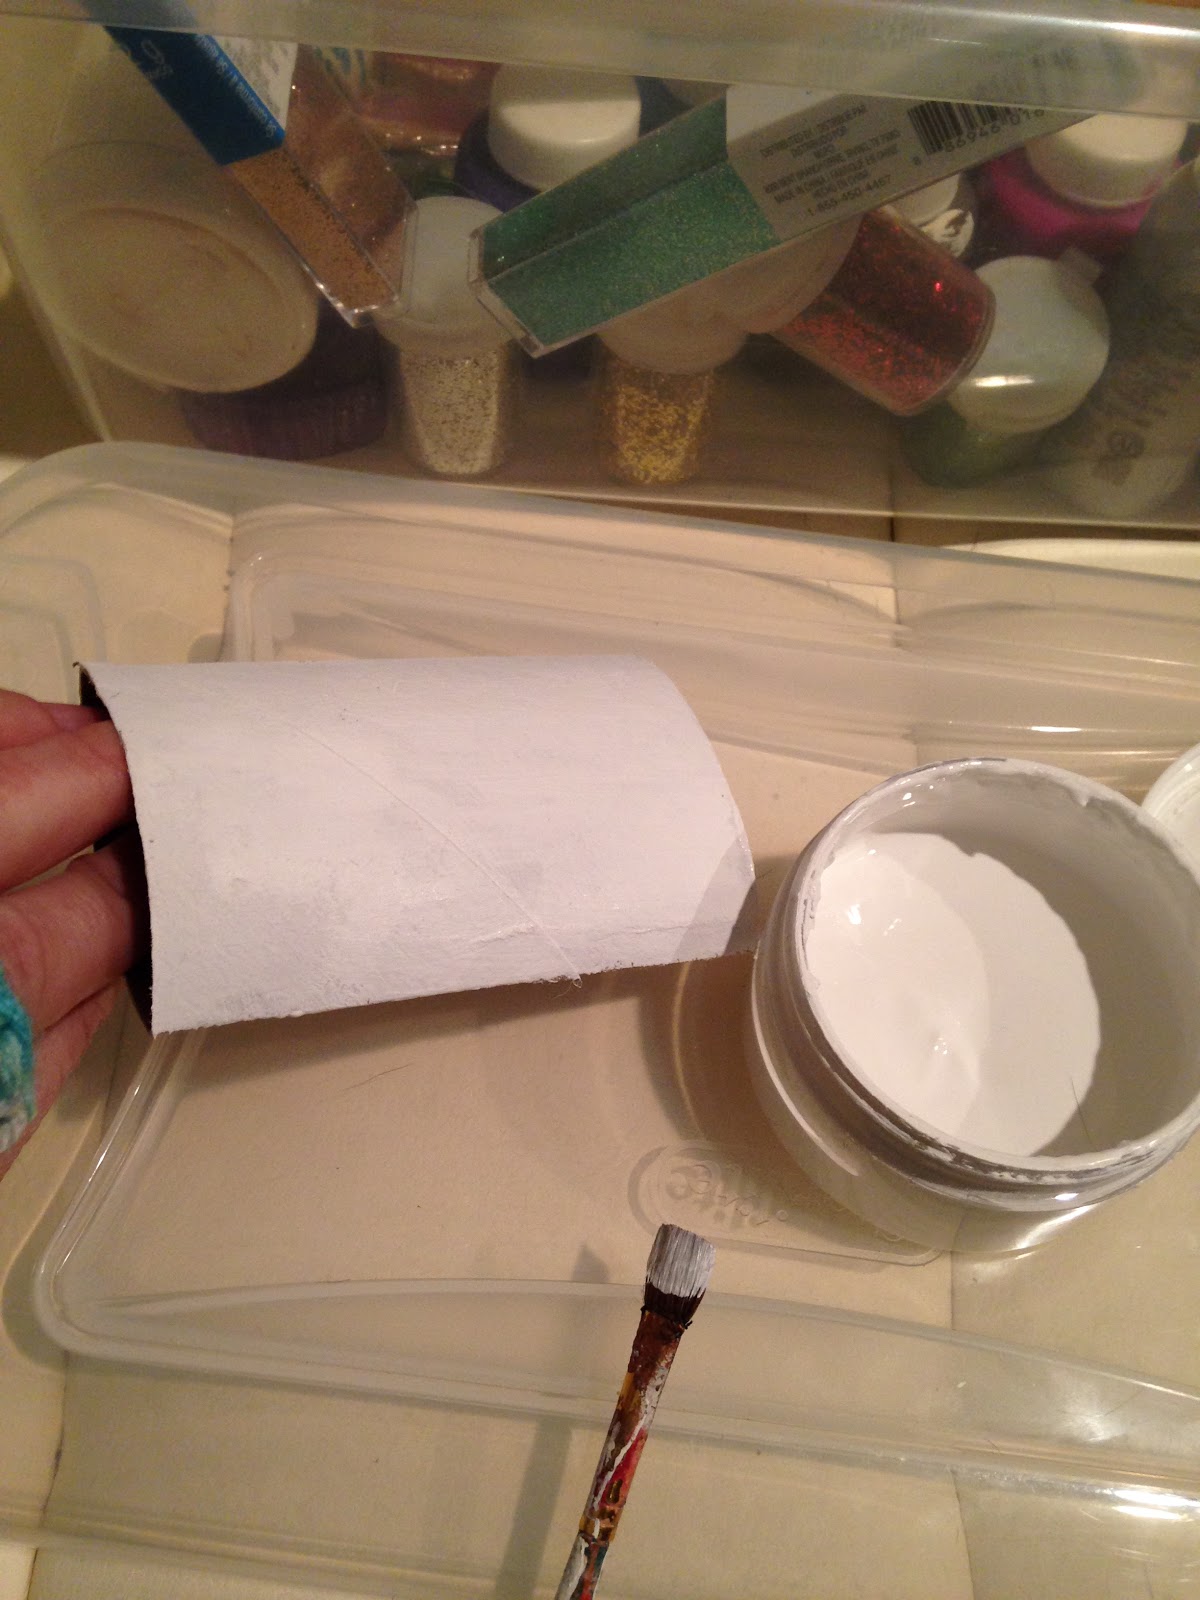
This is just plain white paint.  As you can see, it lacks the sparkle of a snowflake.


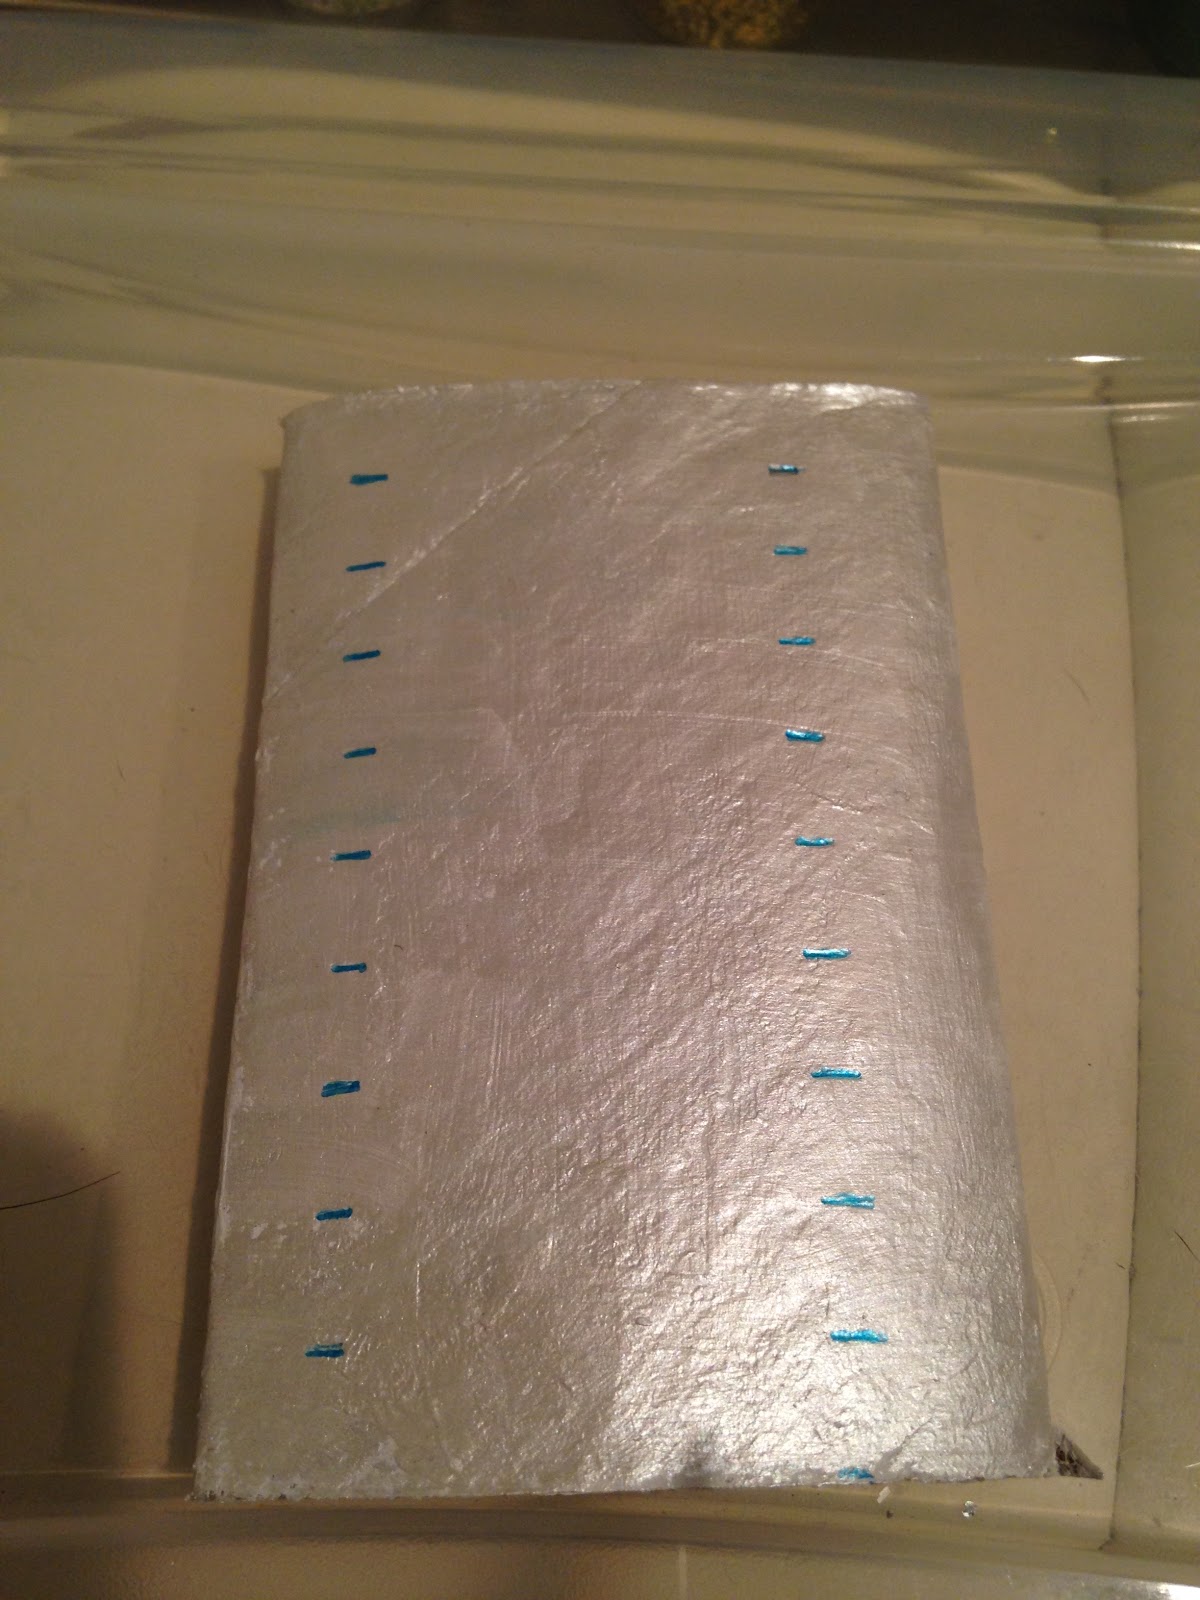
 3.  Once the paint is dry, take a ruler and measure out 1 centimeter thick marks down the length of the toilet paper tube.  (I used turquoise ink so that it would be easy to see for the pictures, I would suggest making your marks in pencil so you can erase them.)


Once you are done marking your toilet paper roll, it should look like the picture above.

4.  Using your ruler or a straight edge follow your marks to create one centimeter thick horizontal lines down the length of the toilet paper roll.
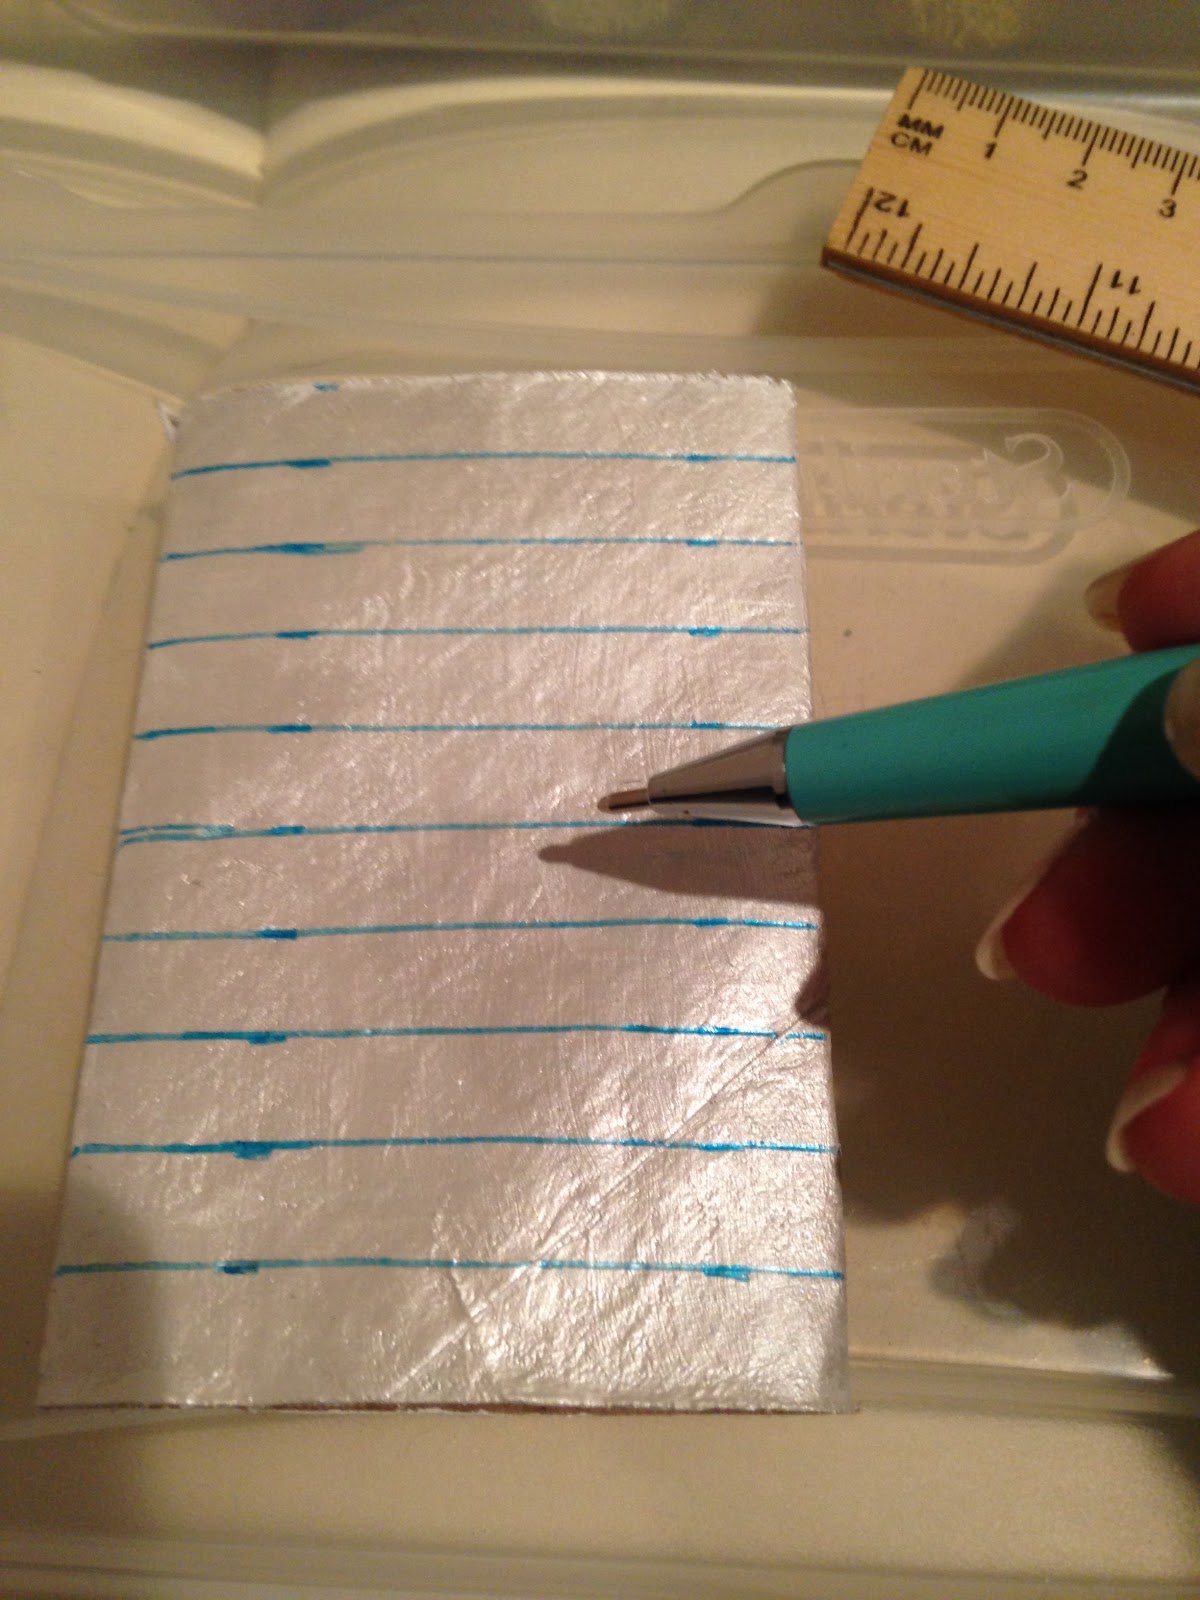

5.  Using scissors or a razor, cut along the lines you created, being careful to keep the lines straight and even.  If you measured correctly, this should give you ten strips.  Once they are done, they sort of look like hollow petals from a flower.


6.  Paint the inside of the strips.  You can paint them the same color as the outside of the snowflake, but it also looks really pretty if you paint the inside of the snowflake a contrasting color.
Sorry, I did not take a picture of this step.

7.  Using a hot glue gun, glue the outside bottom of one of the centimeter strips and attach two of your loops/petals together.
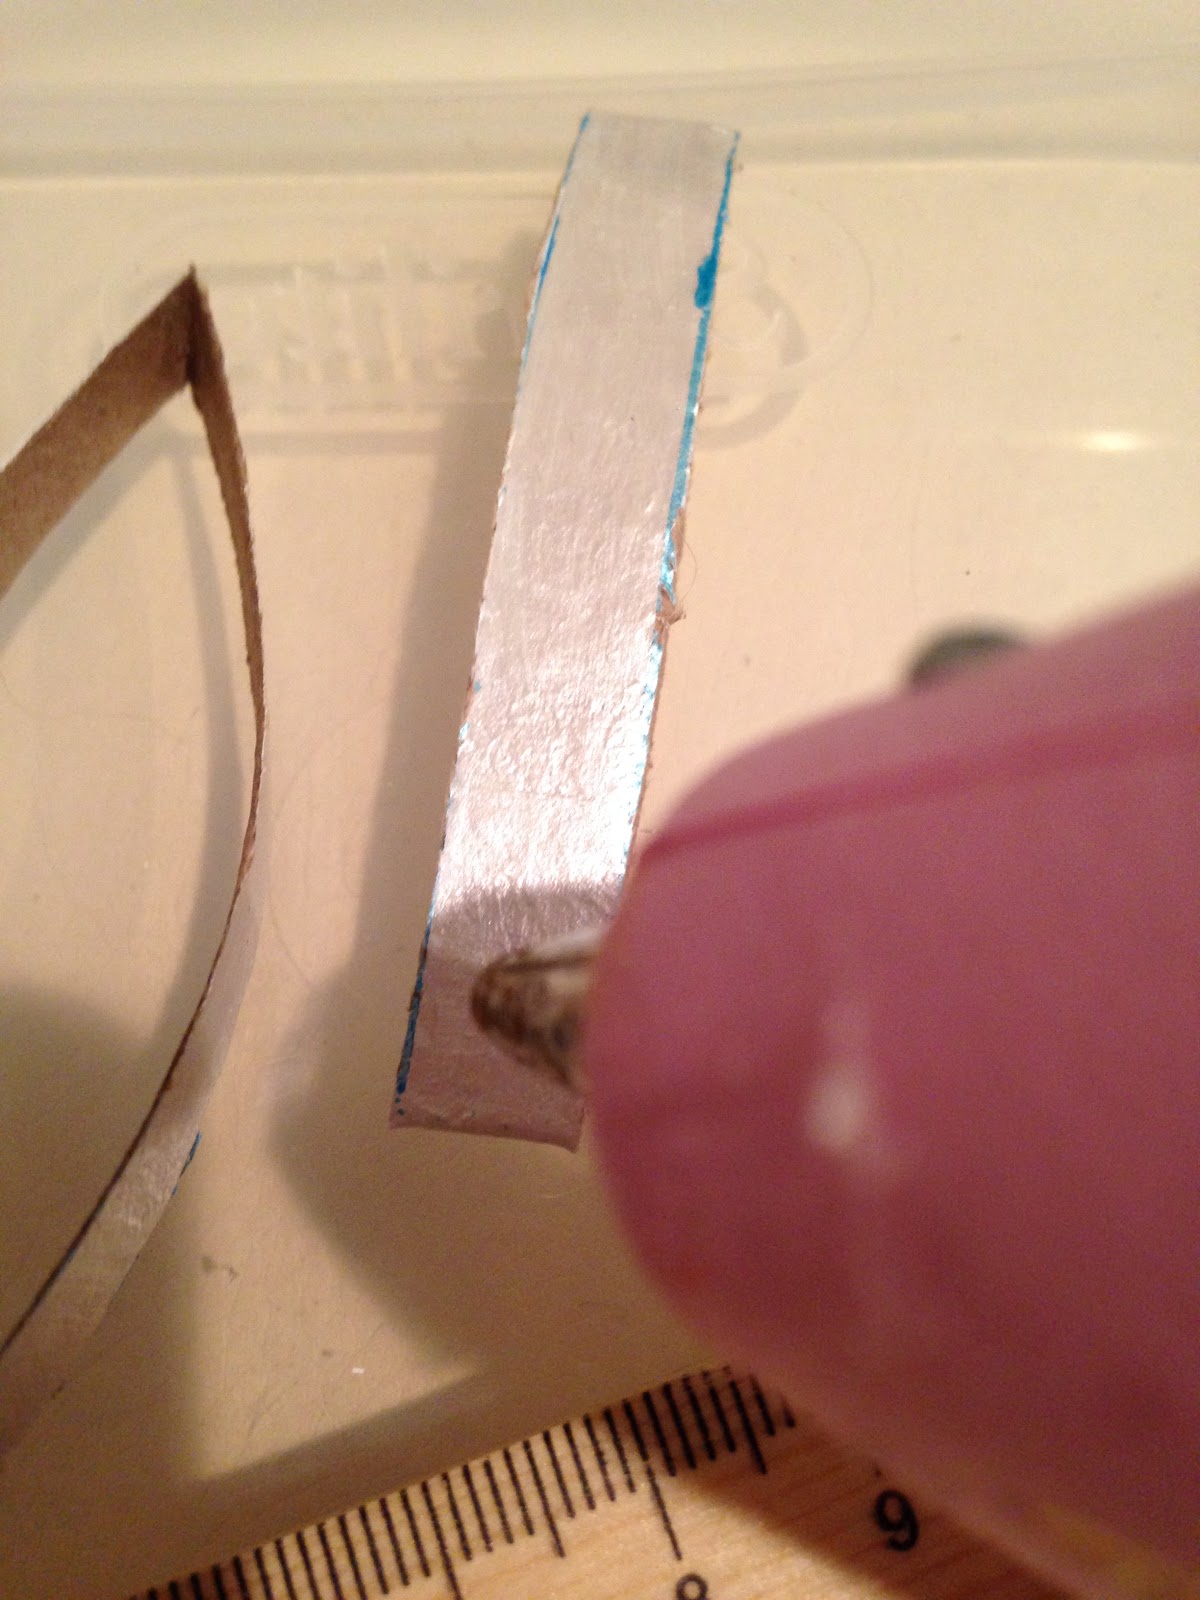

Repeat this process until you have six of the loops glued together.  It will already look like a flower or a very basic snowflake once you reach this point.

8.  Bend two of your centimeter strips in half.
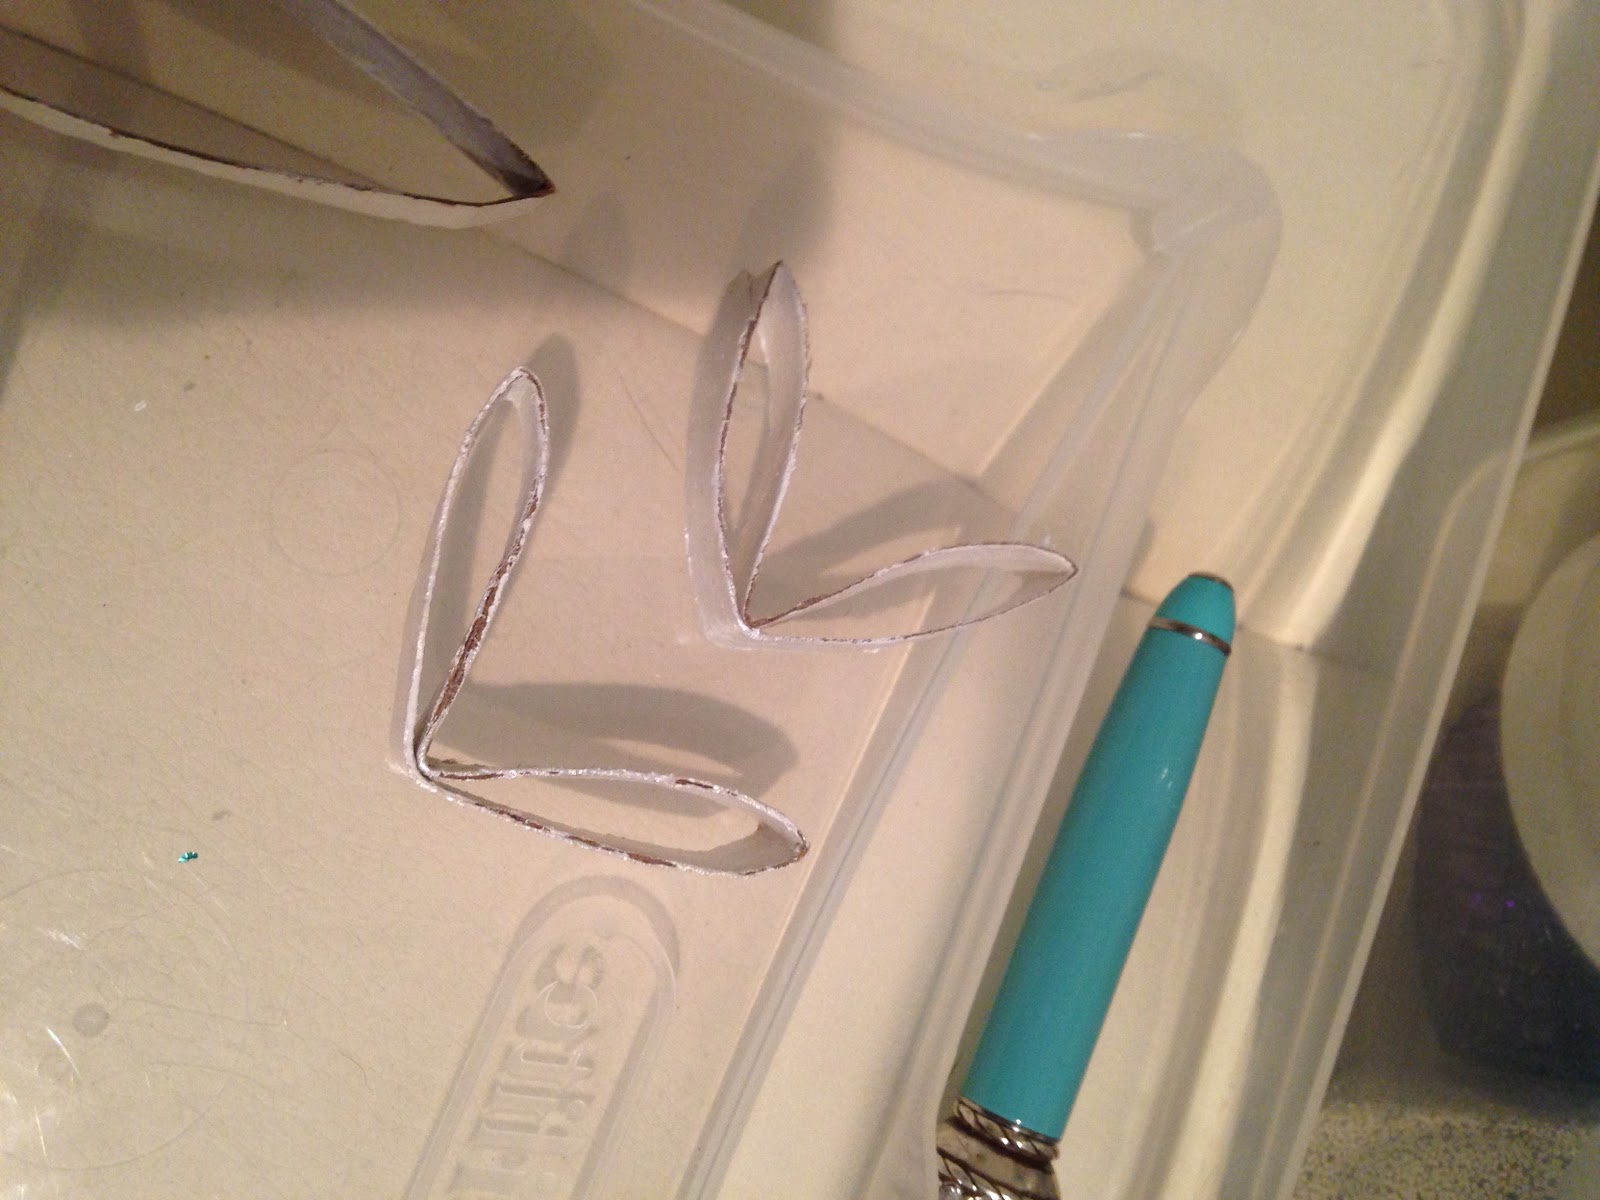

Using a hot glue gun, put glue on the bottom of the outside of each bent half.  Gently nestle the fold piece between two of the snowflake "petals".  Press together until dry.
Take the other folded centimeter strip and glue the bottom outside on each side of the fold.  Gently nestle this folded piece between the folded piece you just placed.  Hold together until the glue is dry.
Put a drop of glue in between the two loops of the folded piece you just placed so they will hold together.
Repeat this process around the petals of the snow flake.
I know this step sounds confusing, but look at the picture below, as you can see, the folded halves are nestled between the petals.
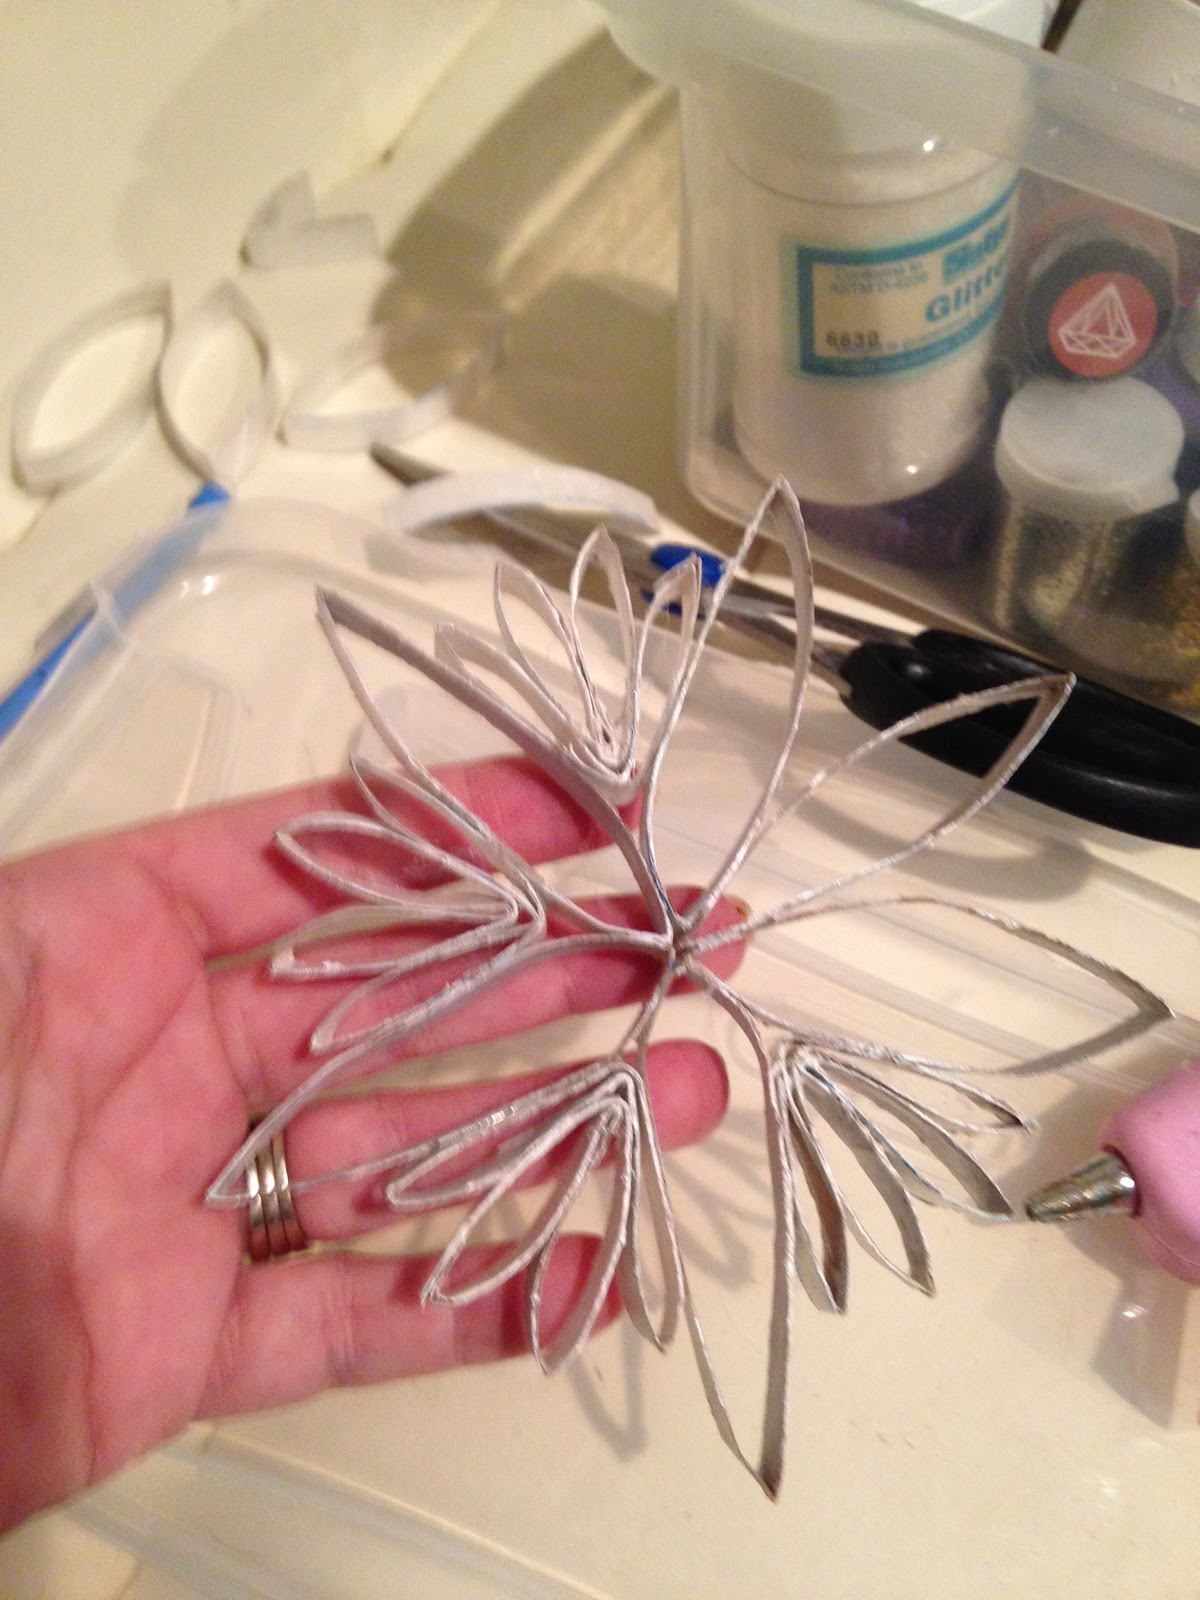
In this picture we are slightly more than halfway through.

Once you have done all of your petals, your snow flake should look like this:
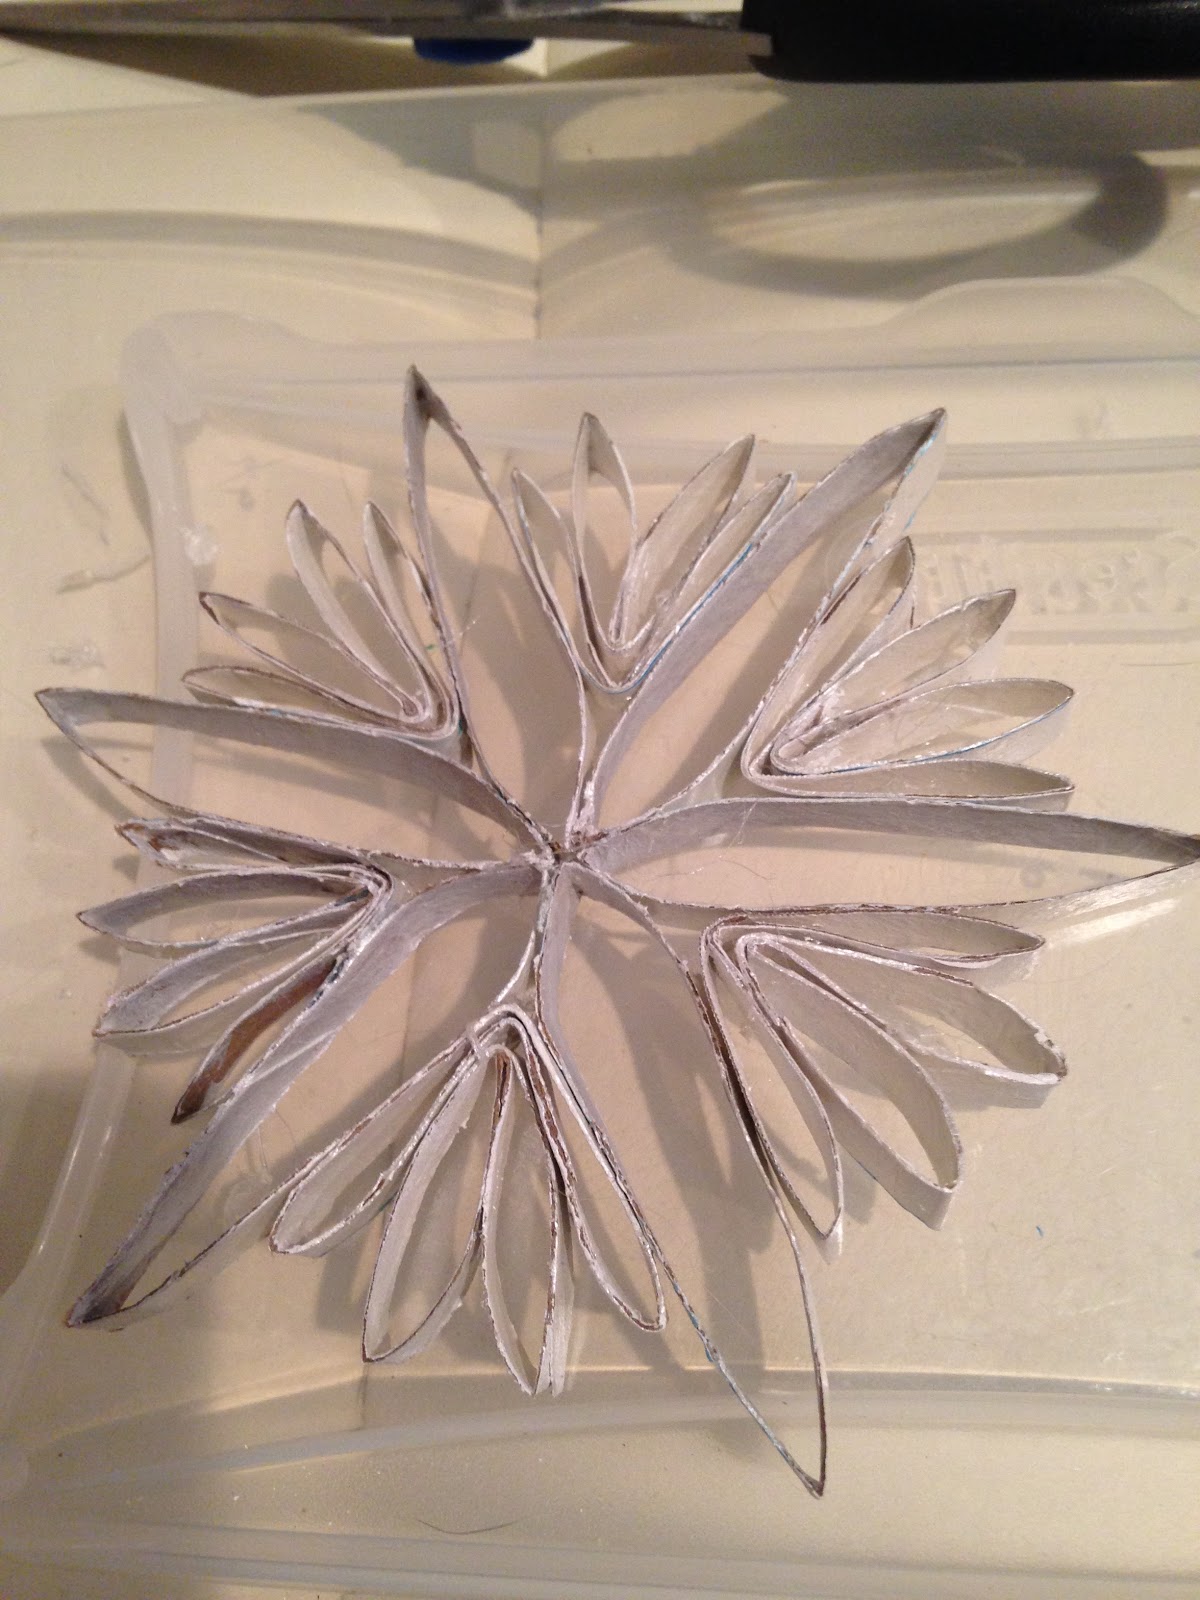

As you can see, it already looks very much like a snow flake, but we want to give it some sparkle and bling.

9.  Using a paint brush, paint Elmer's Glue along the edges of the snowflake.  There are two ways that you can go about putting the glitter on the glue:
      A.  Put the snowflake on a piece of paper and pour the glitter over the glued edges.
      B.  Put glitter on a paper plate and dip the glued side of the snow flake into the glitter.
If you notice any bare spots, add more glue and then sprinkle on the glitter.
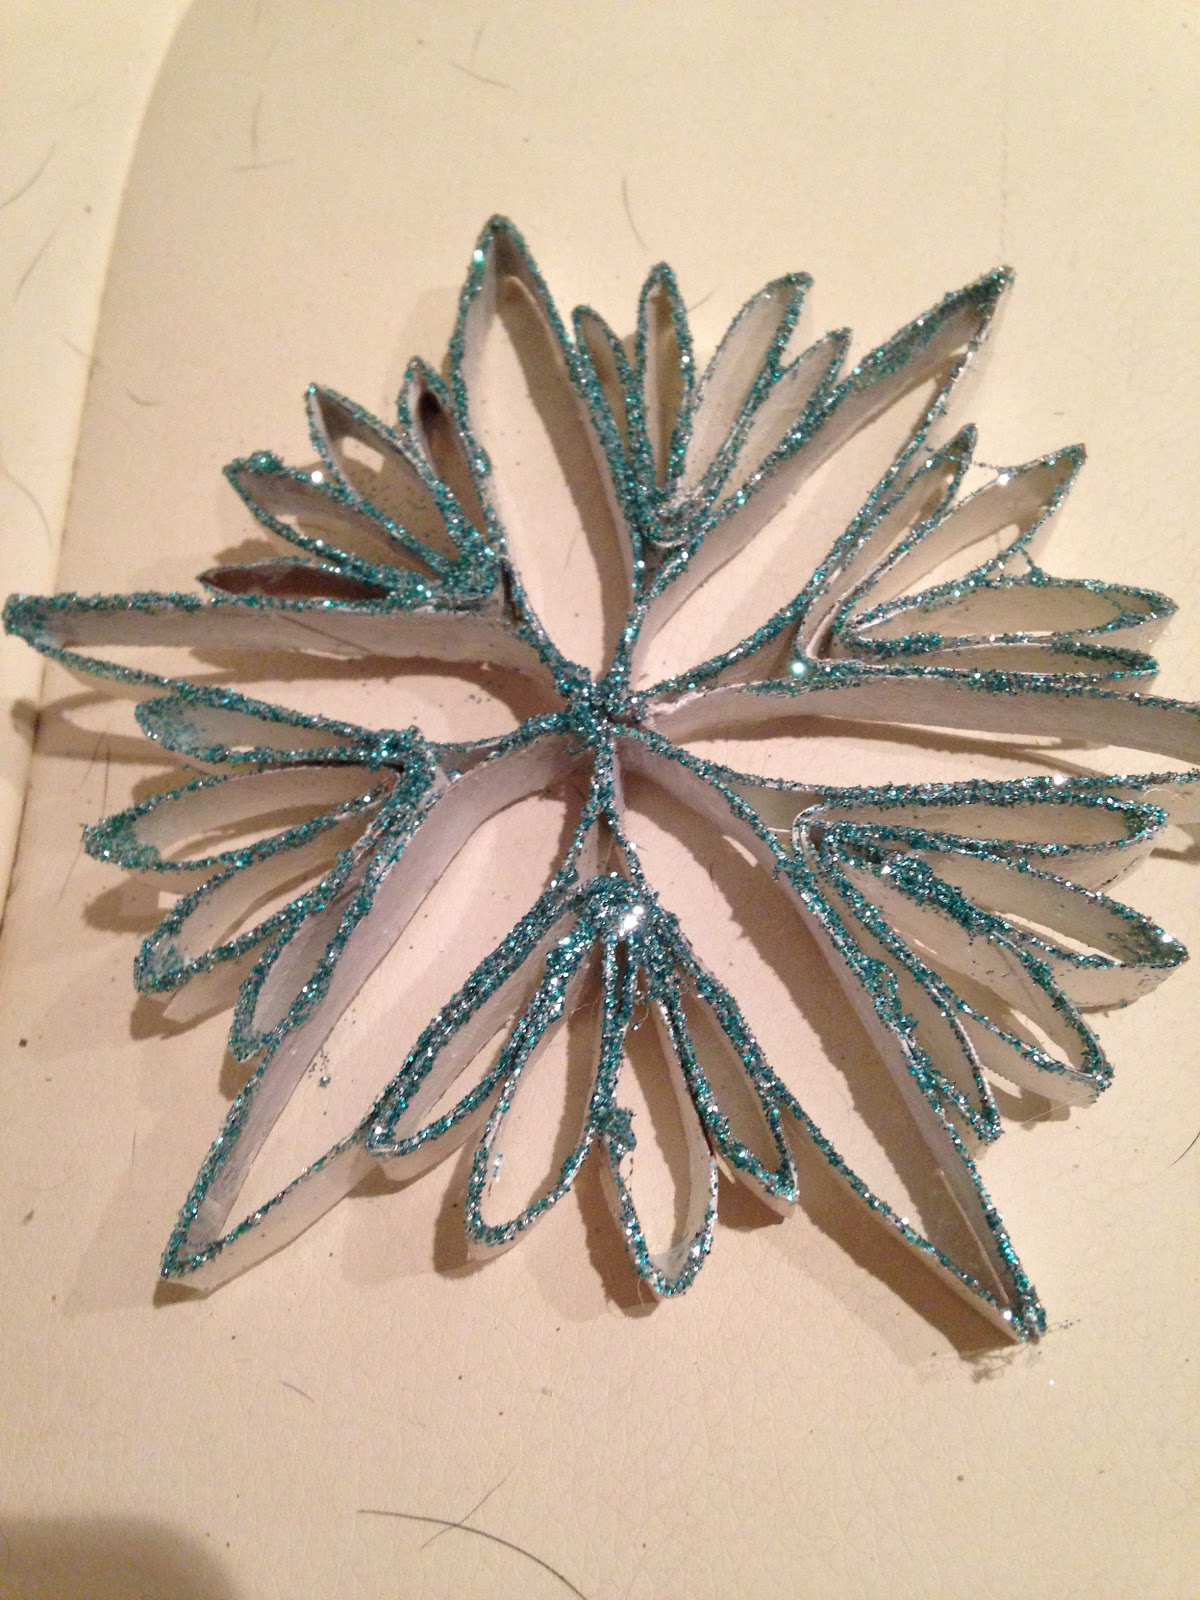

Once the glue has dried, repeat this process on the other side of the snowflake.

10. Using a hot glue gun, put glue in the center of a sparkly button and press the sparkly button into the center of the snowflake.
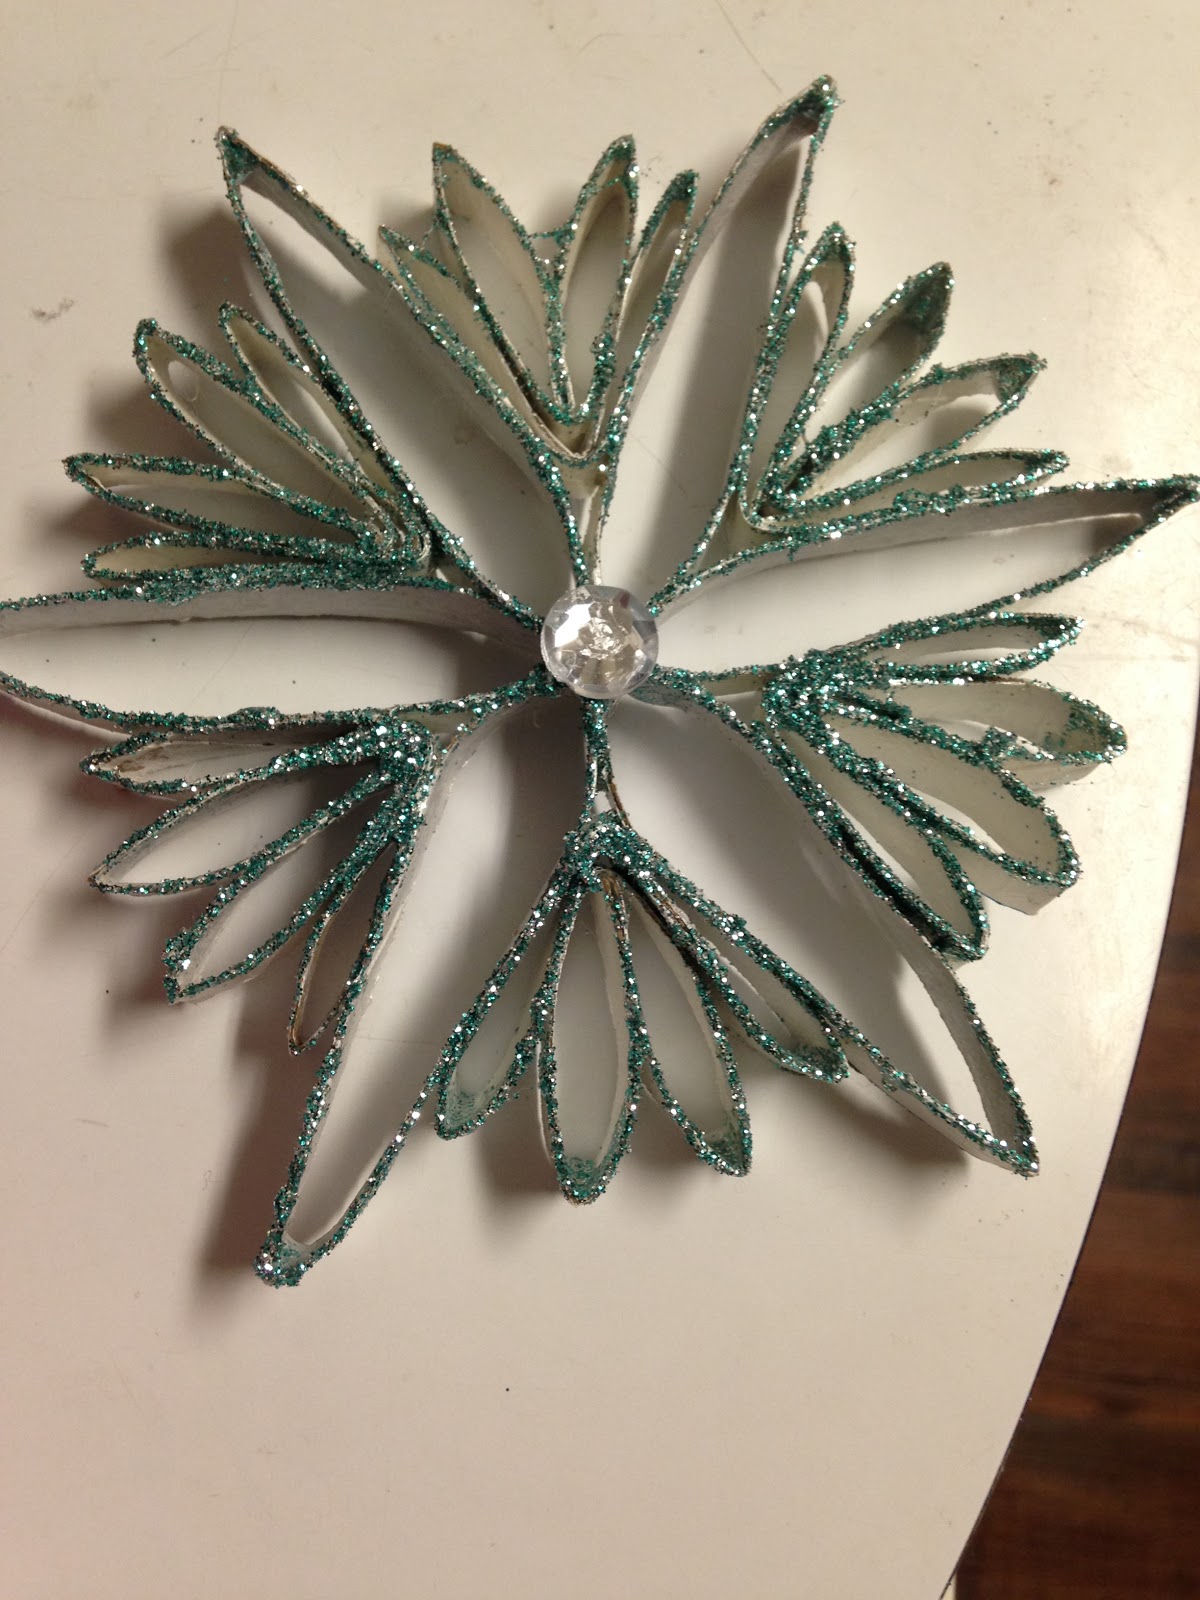

Let the glue dry.  To hang it on the tree, just wrap some thread around one of the main large petals and then hang.
Photos really don't do these justice.  They sparkle like crazy and no one would think they were made out of toilet paper rolls.


Cookie Dough Ornaments


This is not a new recipe.  In fact, if you have ever been a Girl Scout, you have have probably already made these before.  I have not changed the recipe, I just want to show you that you can make them look much fancier than the Santa's, Christmas trees, stockings and Christmas presents you may remember having made as a child.

Ingredients
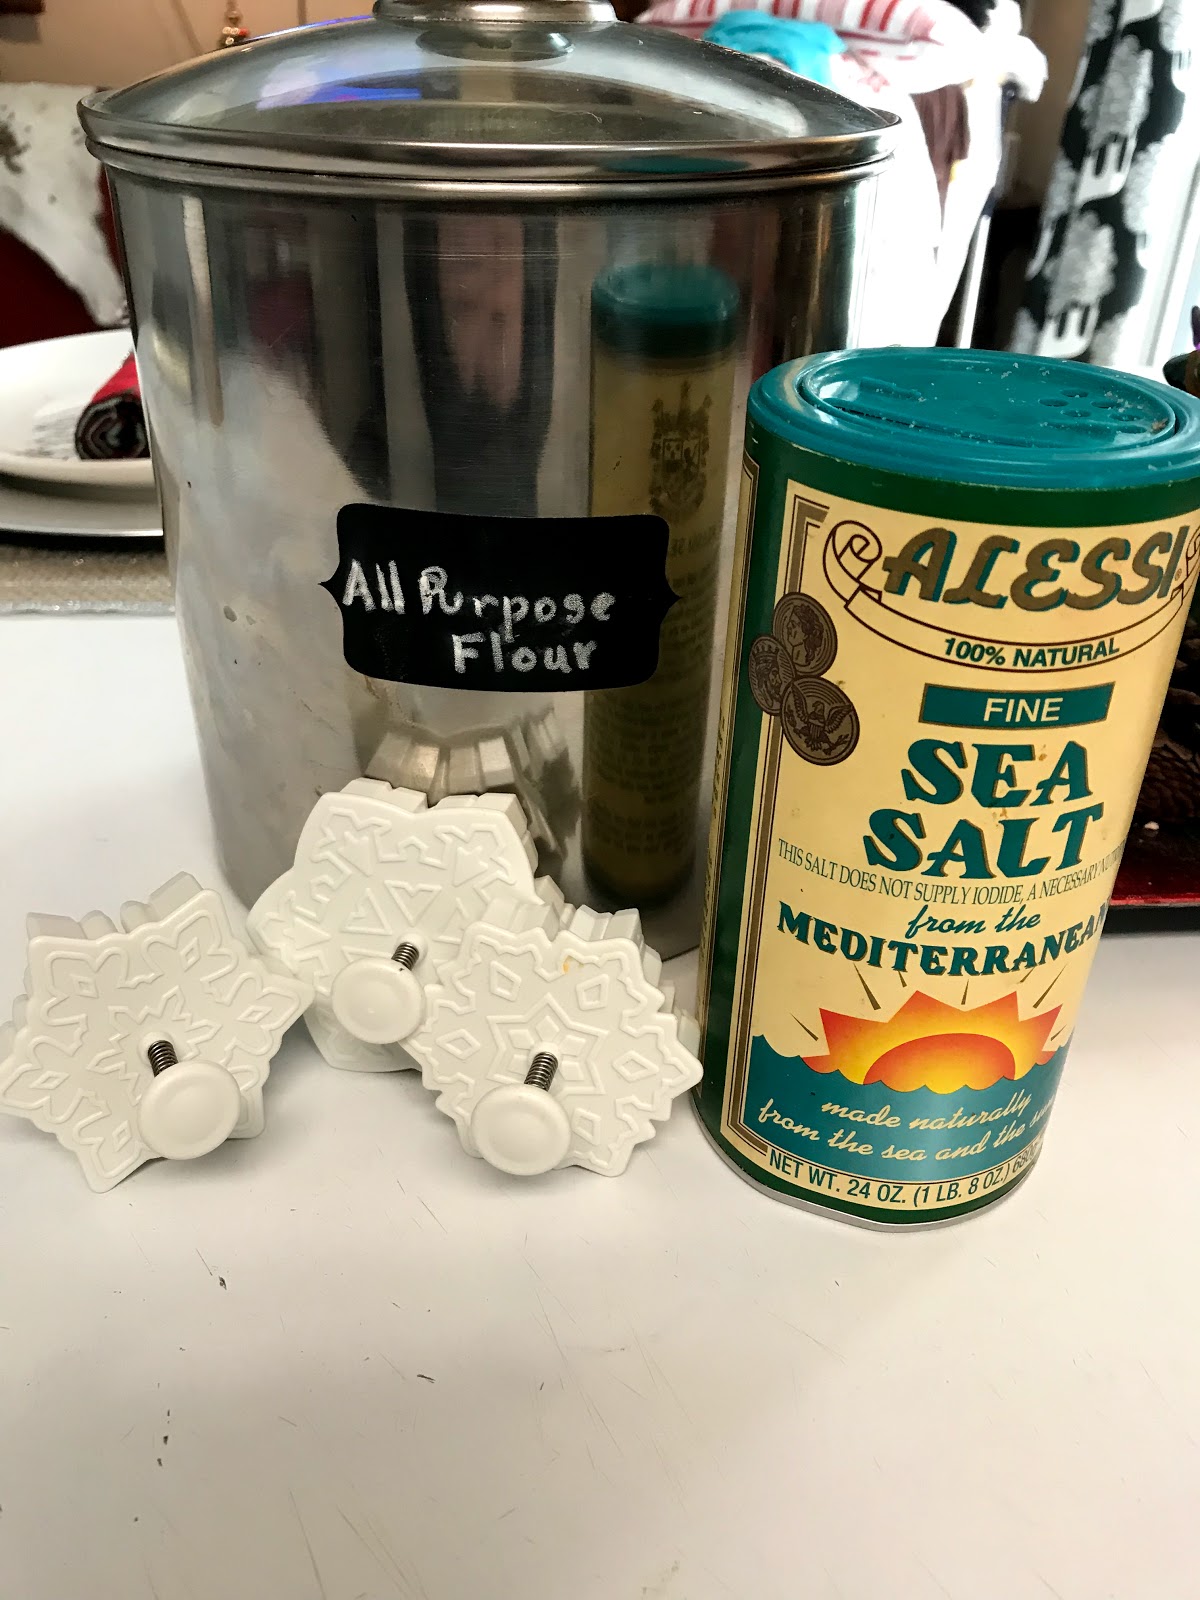

You don't have to use sea salt.  In fact I normally use regular salt.  This is just what I happened to have on hand.

1 cup all purpose flour  (can use more if needed)  Note:  Do not use self rising flour.
1/2 cup salt
1/2 cup warm water

Items Needed
Rolling pin
Cookie Cutters  (I used snow flakes, but you can use whatever you want)
Bamboo Skewer or Toothpick
Cookie Sheet
Acrylic Paint
Paint brush

Instructions
1.  Preheat oven to 325 degrees.
2.  In a large mixing bowl combine the flour, salt and water.
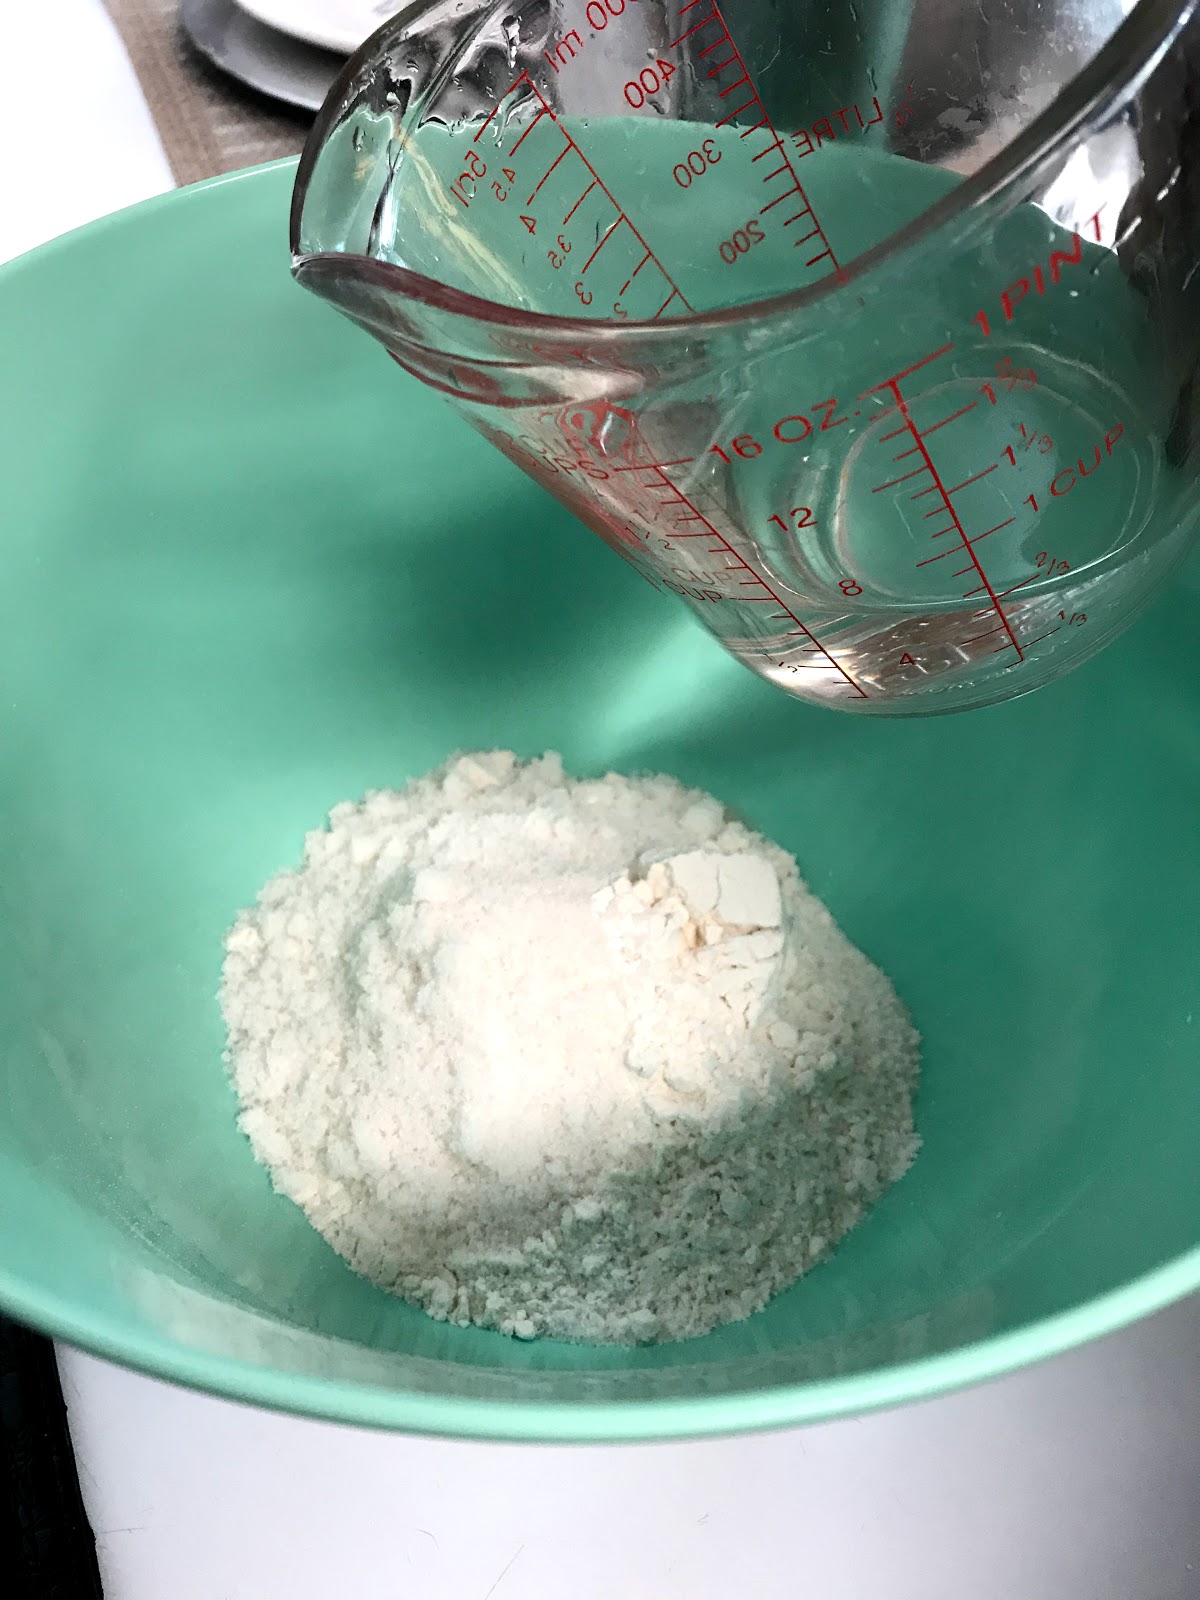

3.  Start the mixing process with a spoon and then use your hands to complete the mixing process.  Once everything is combined the dough should have a similar consistency to play dough.  If your dough is too wet and sticky, add more flour until you get the right consistency.  (This batch I actually used my half cup and then add about another 1/4 cup flour to get the right consistency.)
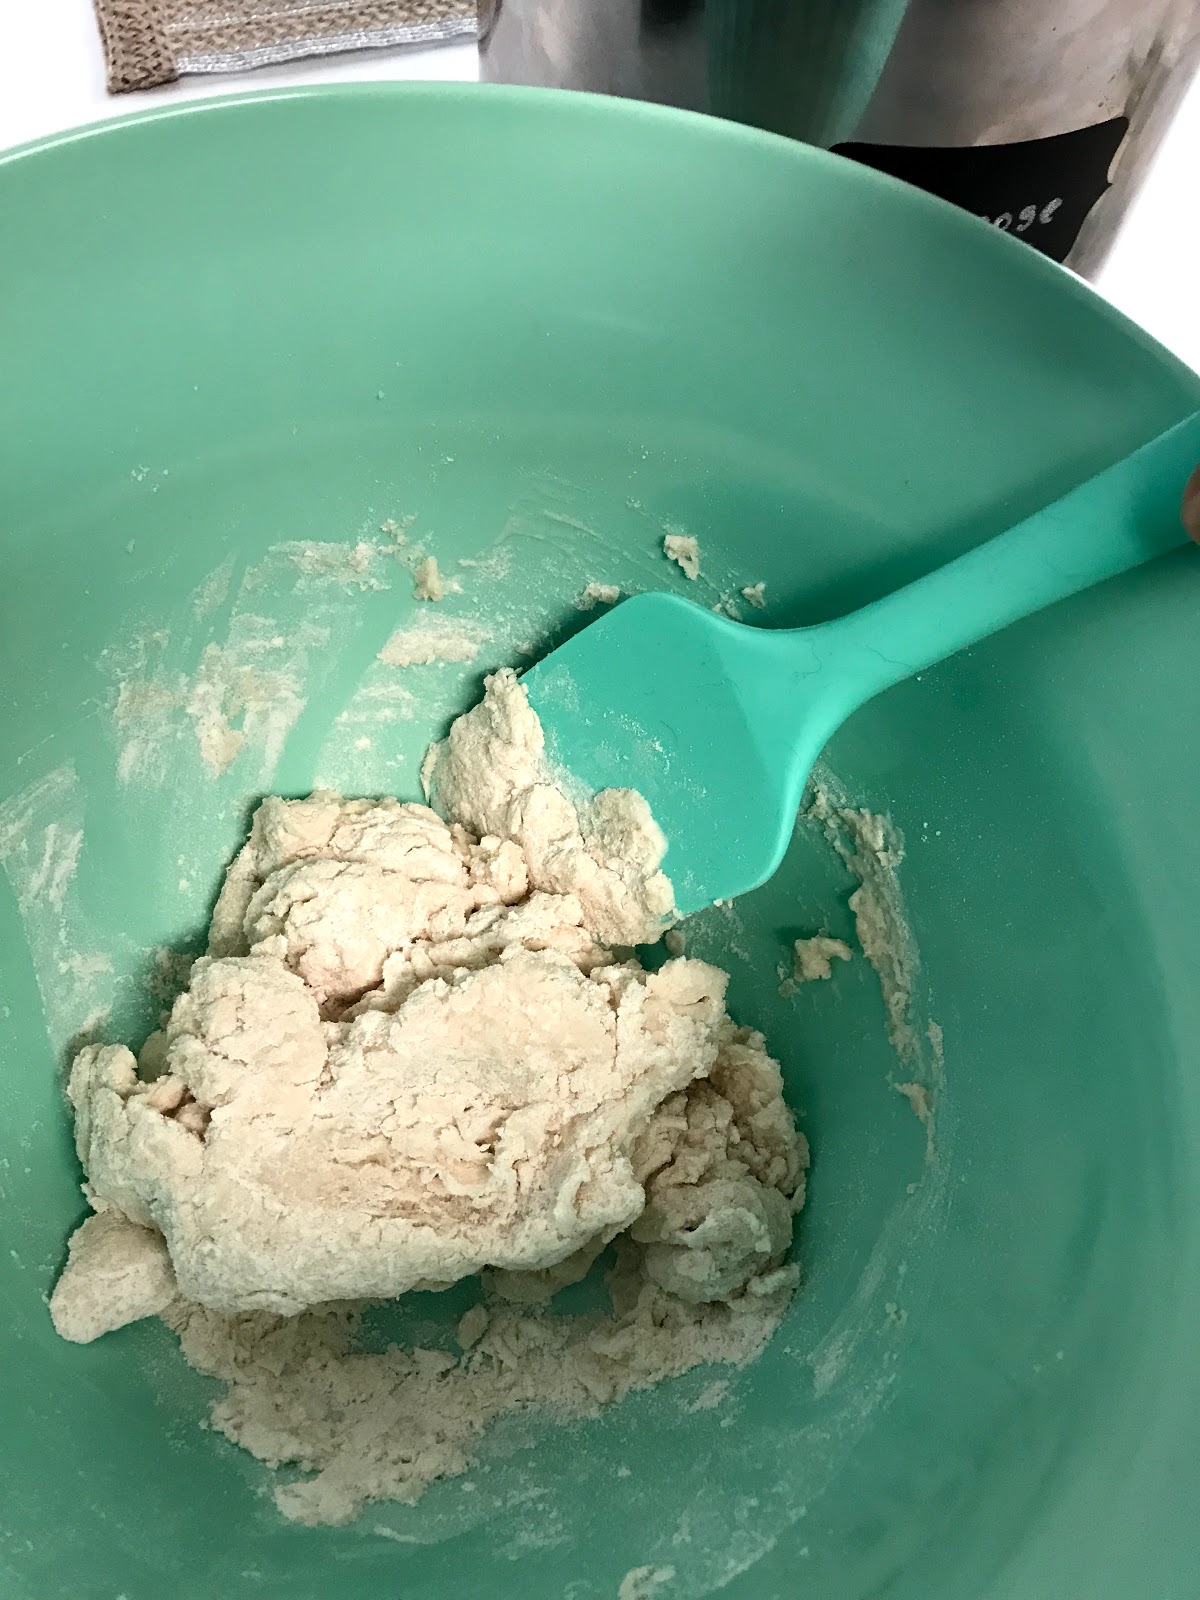
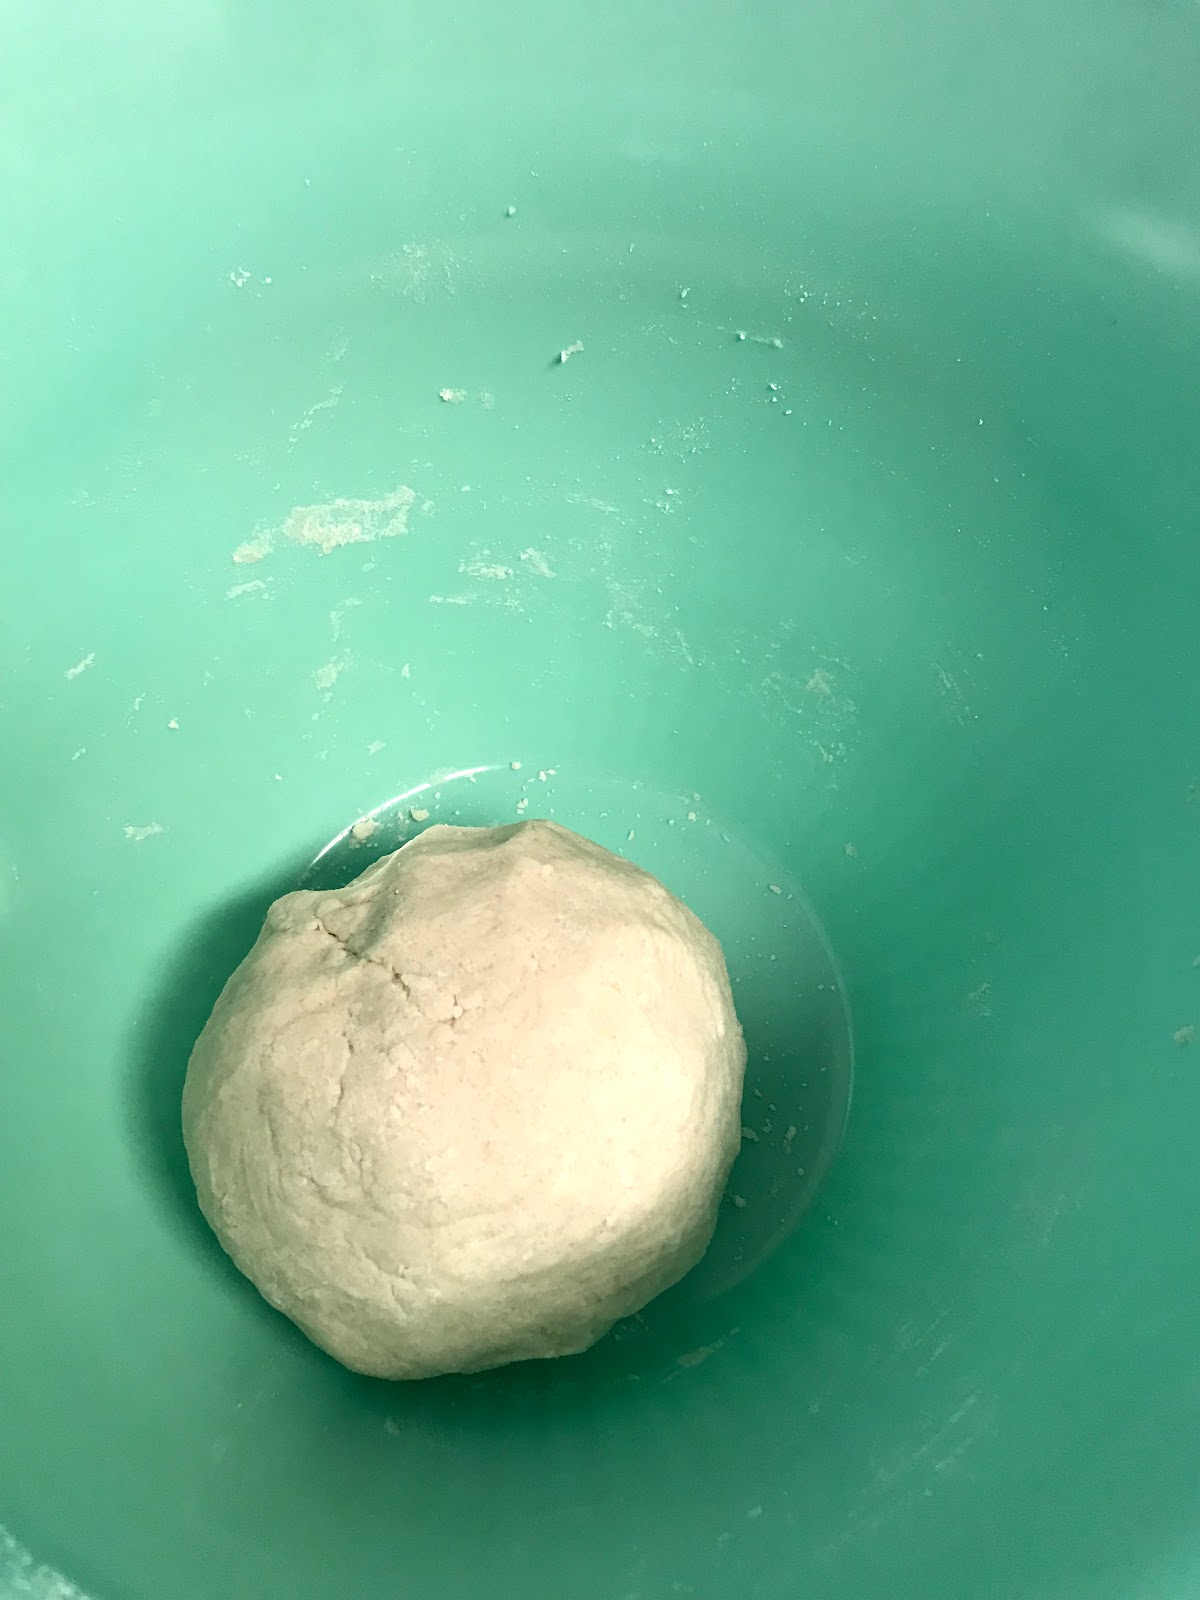
Your dough should look like this and feel like play dough.

4.  Place a piece of wax paper on a counter top.  (Use a few drops of water on the bottom side of the wax paper to keep the wax paper in place.)  Using a rolling pin roll the dough until it is 1/4 inch or 1/8 inch thick.
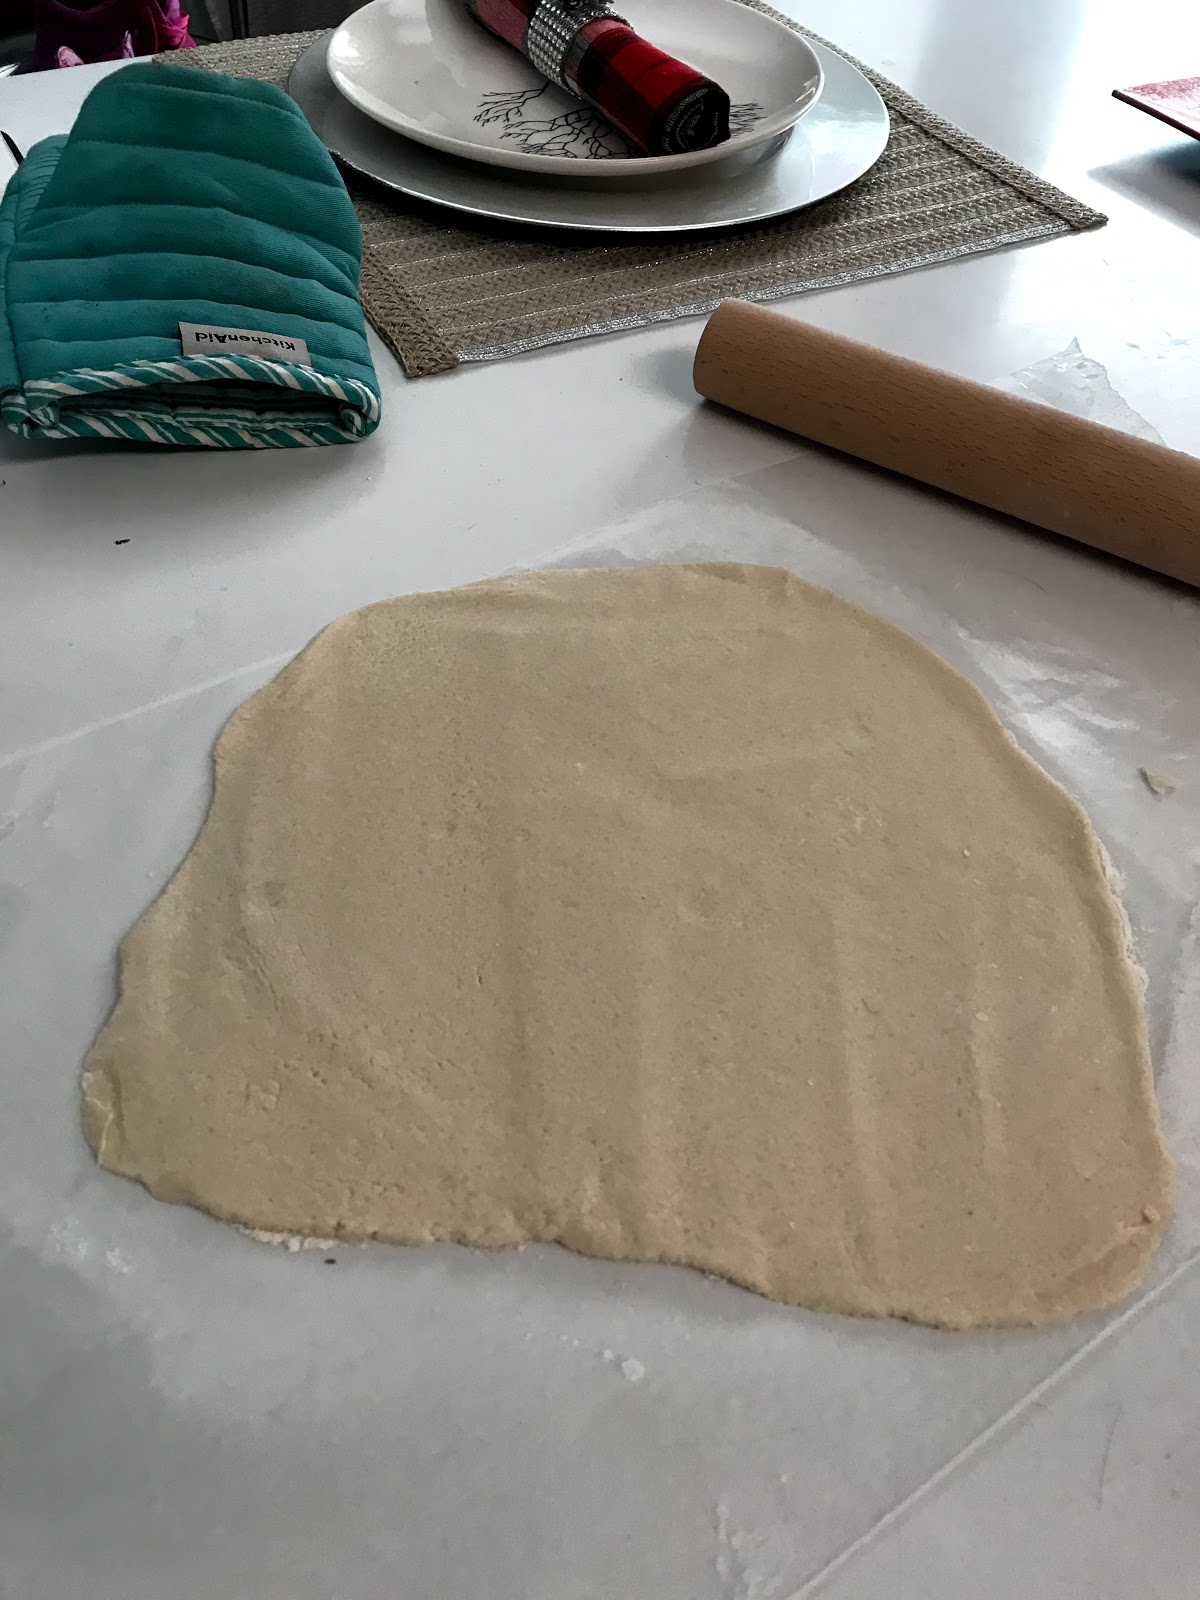

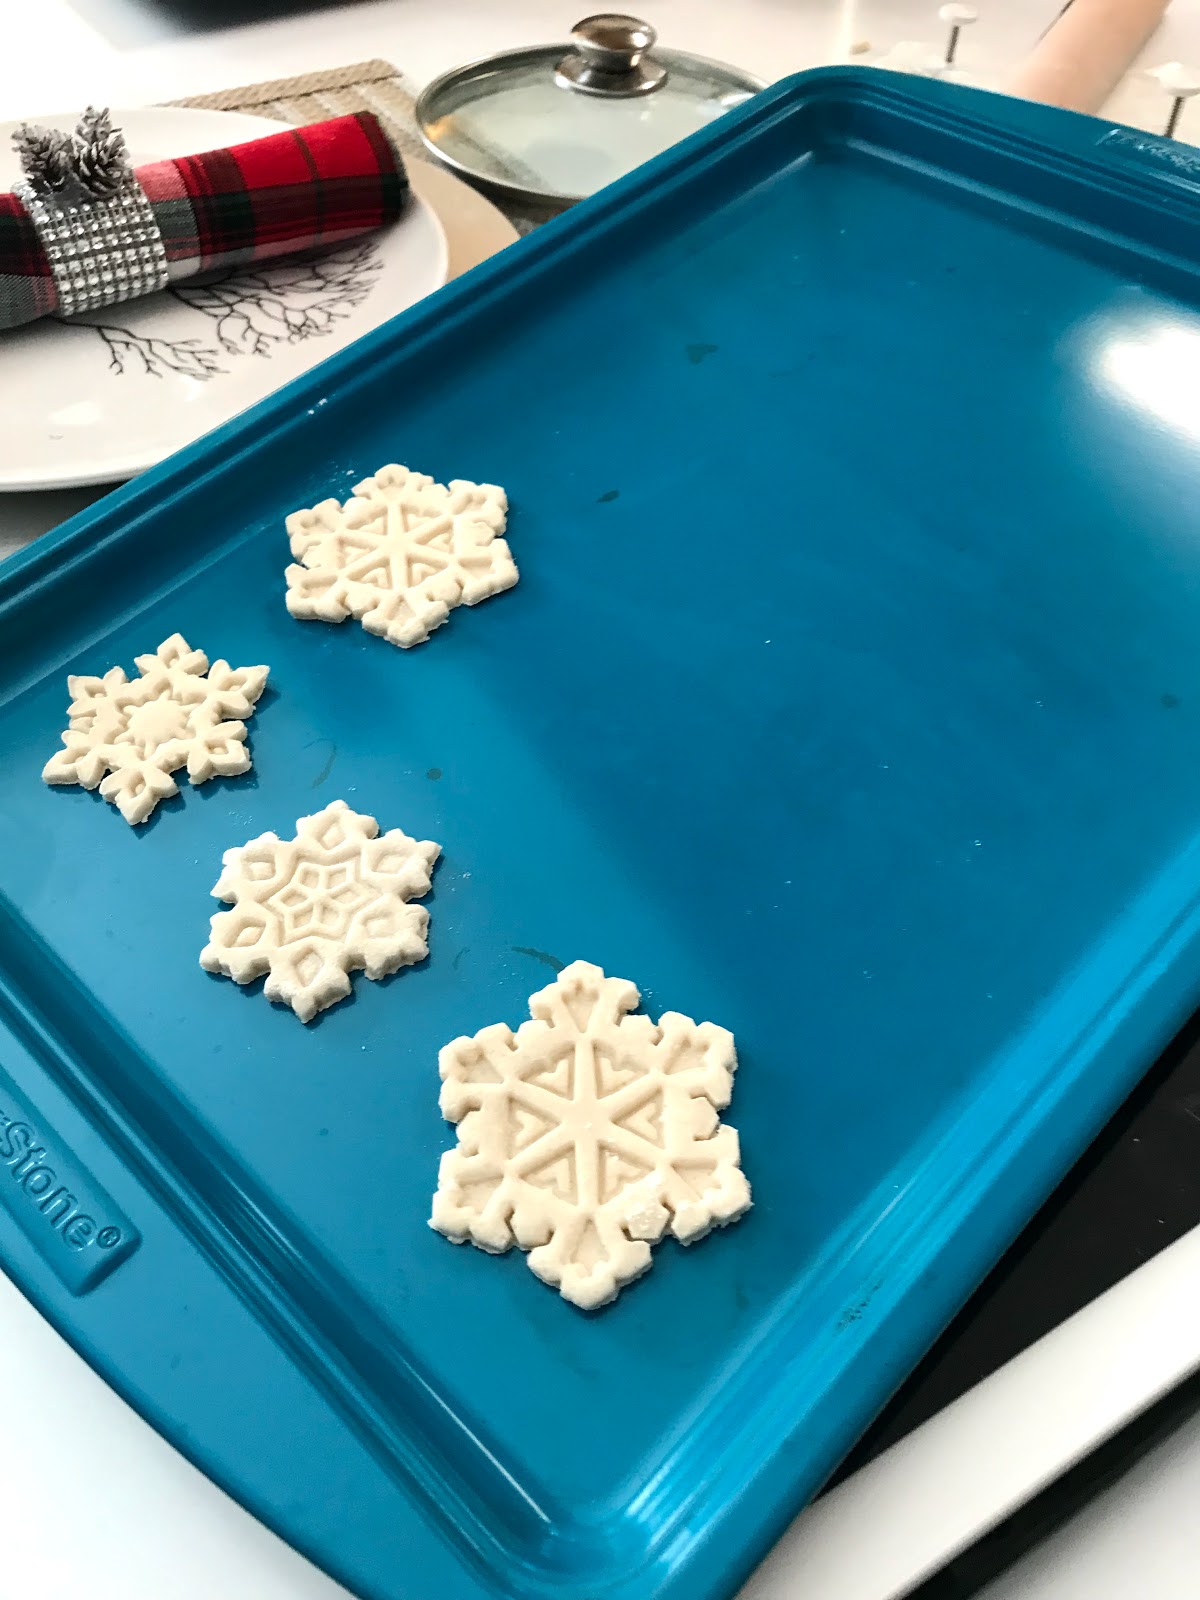
5.  Cut out the ornaments using your cookie dough cutters.  I used some snow flake cookie cutters that I got as a stocking stuffer for Christmas last year.  I believe that mine were actually pie dough cutters from William Sonoma, but you can use any holiday cookie cutters that fit your tree decor.  You can do very simple and get the cookie cutters that just cut out the outside of the dough but, for fancier ornaments, I suggest you use the cookie cutters that make impressions in the dough as they cut out the shape.  If the dough is sticking to your cookie cutters, just dip your cutters in some all purpose flour
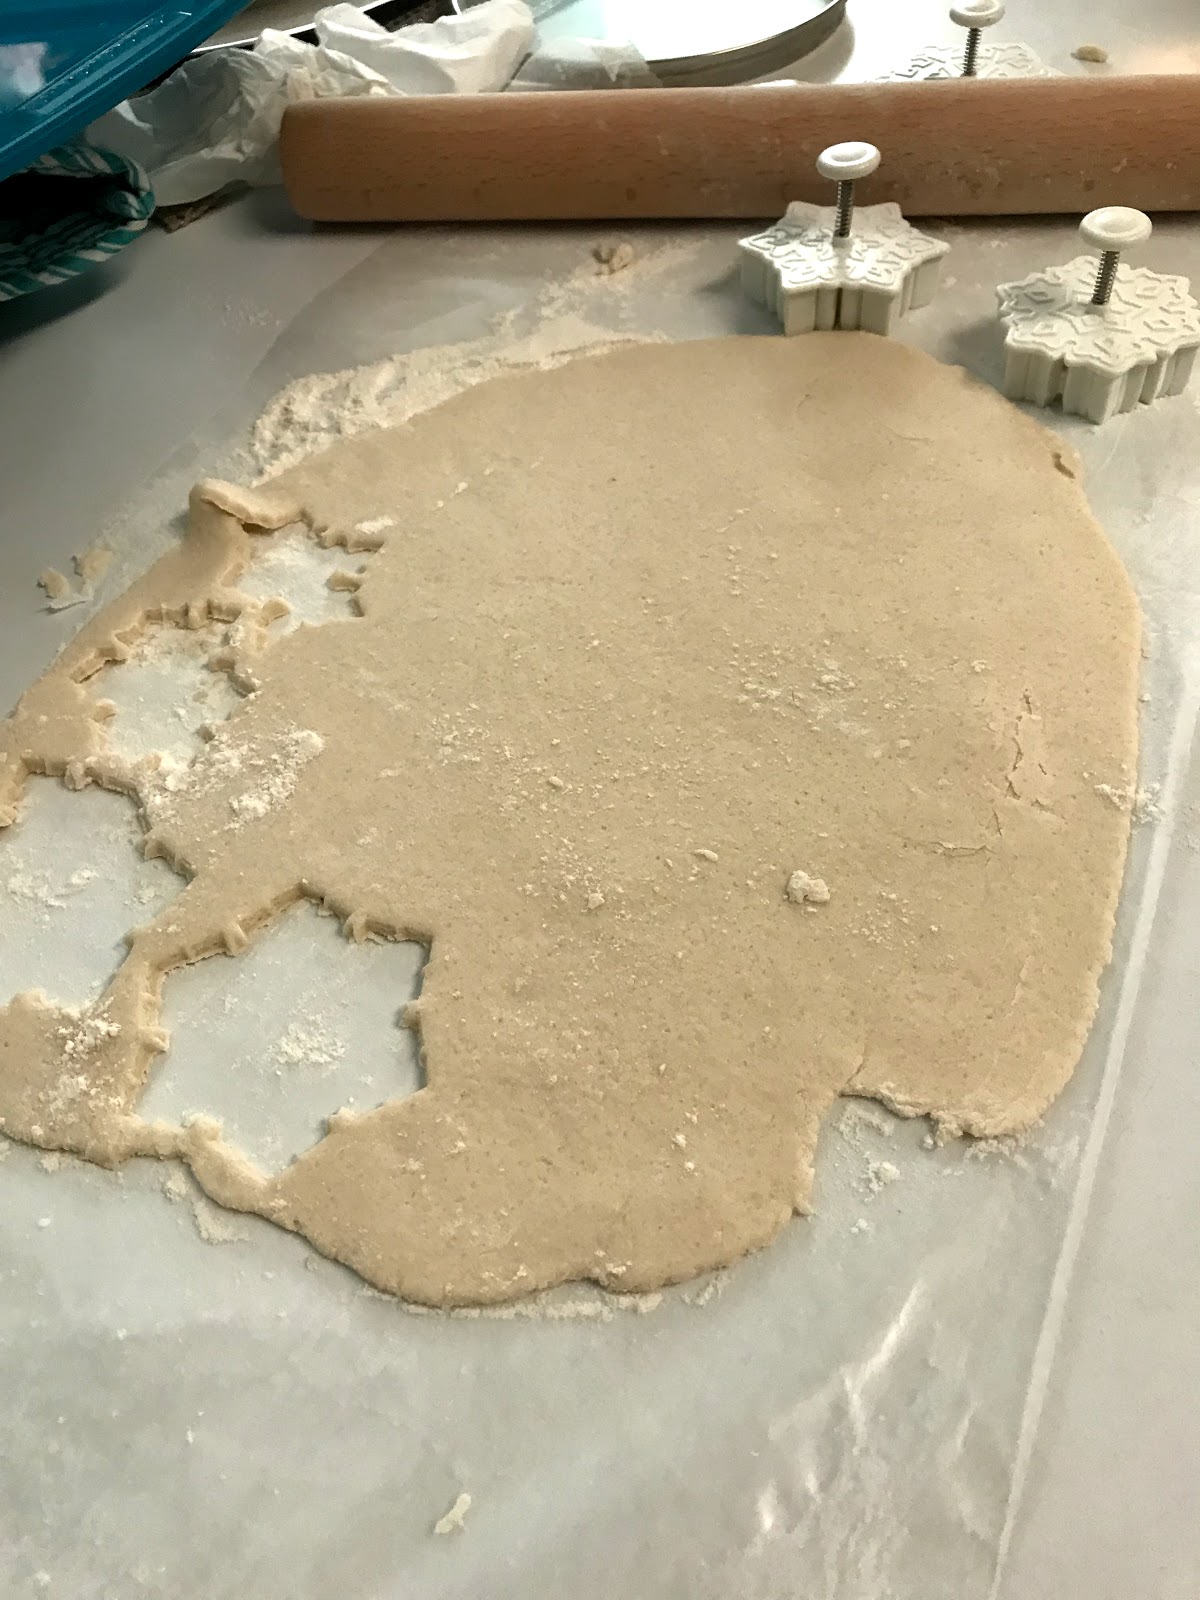
and then cut your shape in the dough.


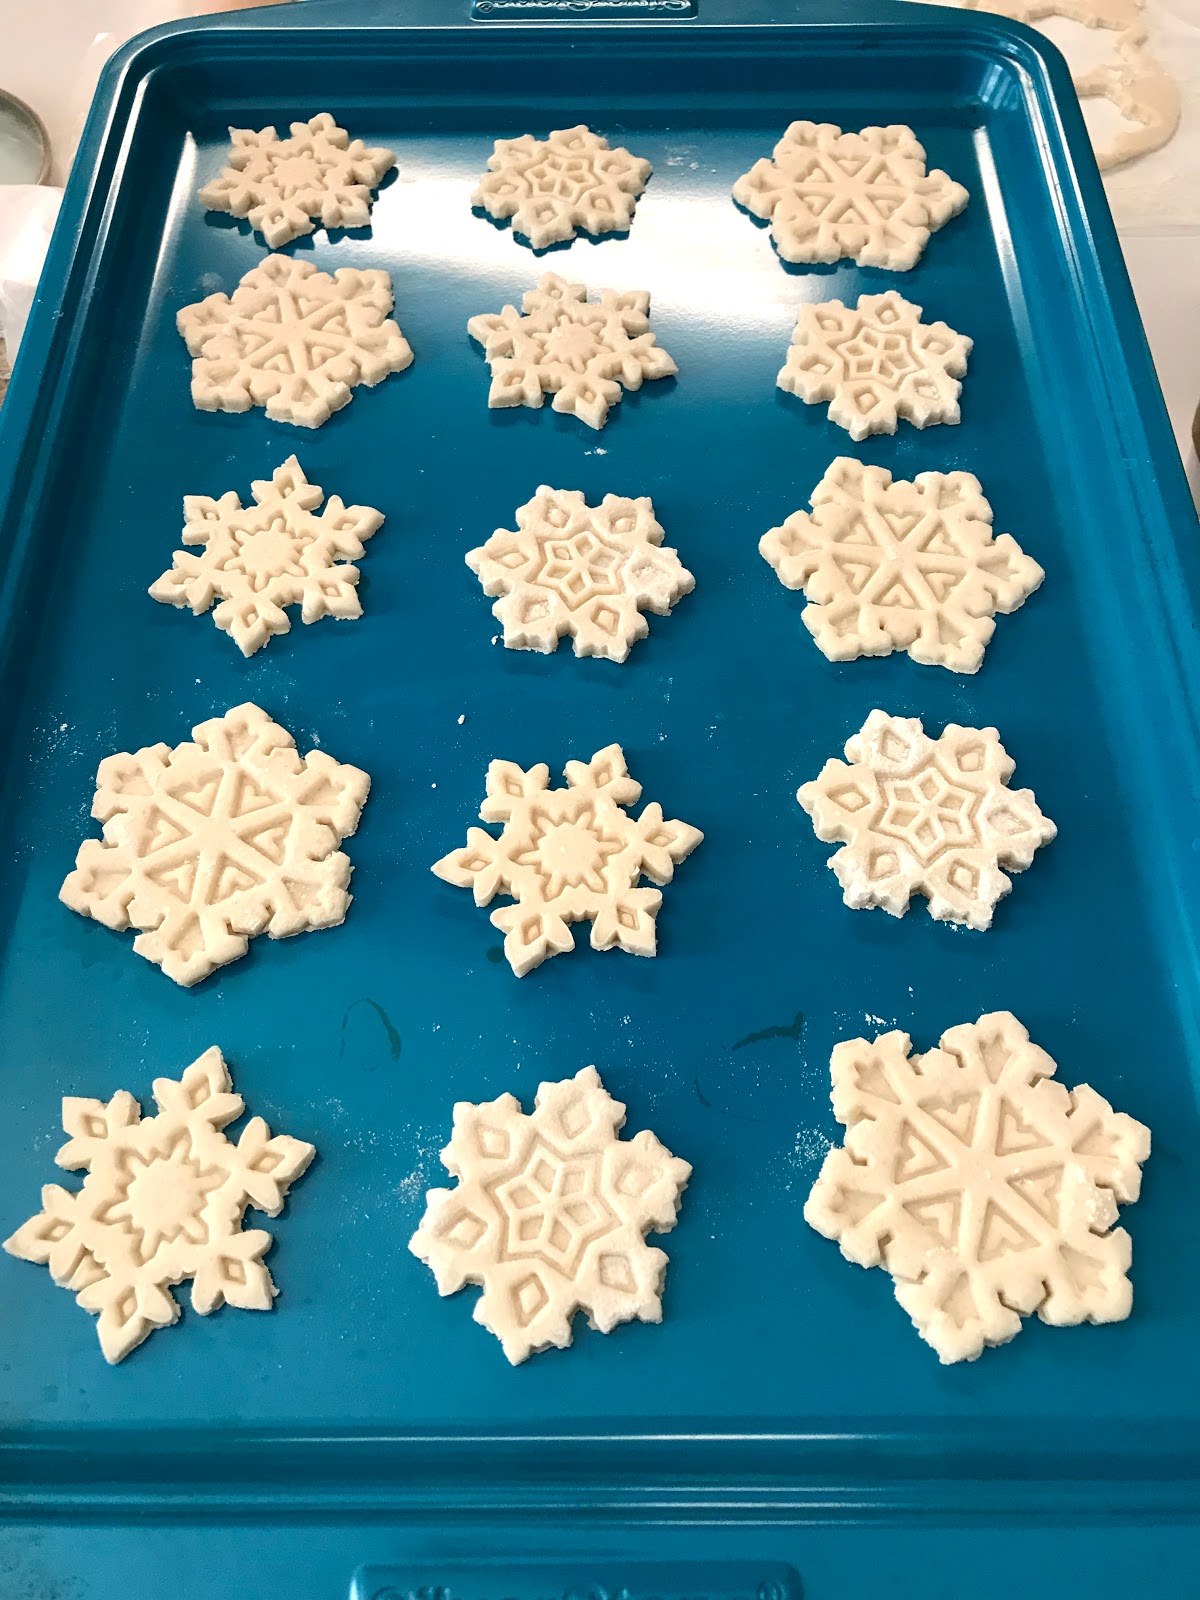
6.  Place cookies on non-greased cookie sheet.


Don't they look pretty?  And they're not even baked or painted yet!

This batch of dough, along with these cookie cutters, made slightly over two dozen ornaments.  But don't worry!  If you need more ornaments or your cookie cutters are bigger, you can easily double, triple or quadruple this recipe.

7.  Using a bamboo skewer or a toothpick, poke a whole in the top of the cookie ornament.  This creates the hole string so that the ornament can be hung.
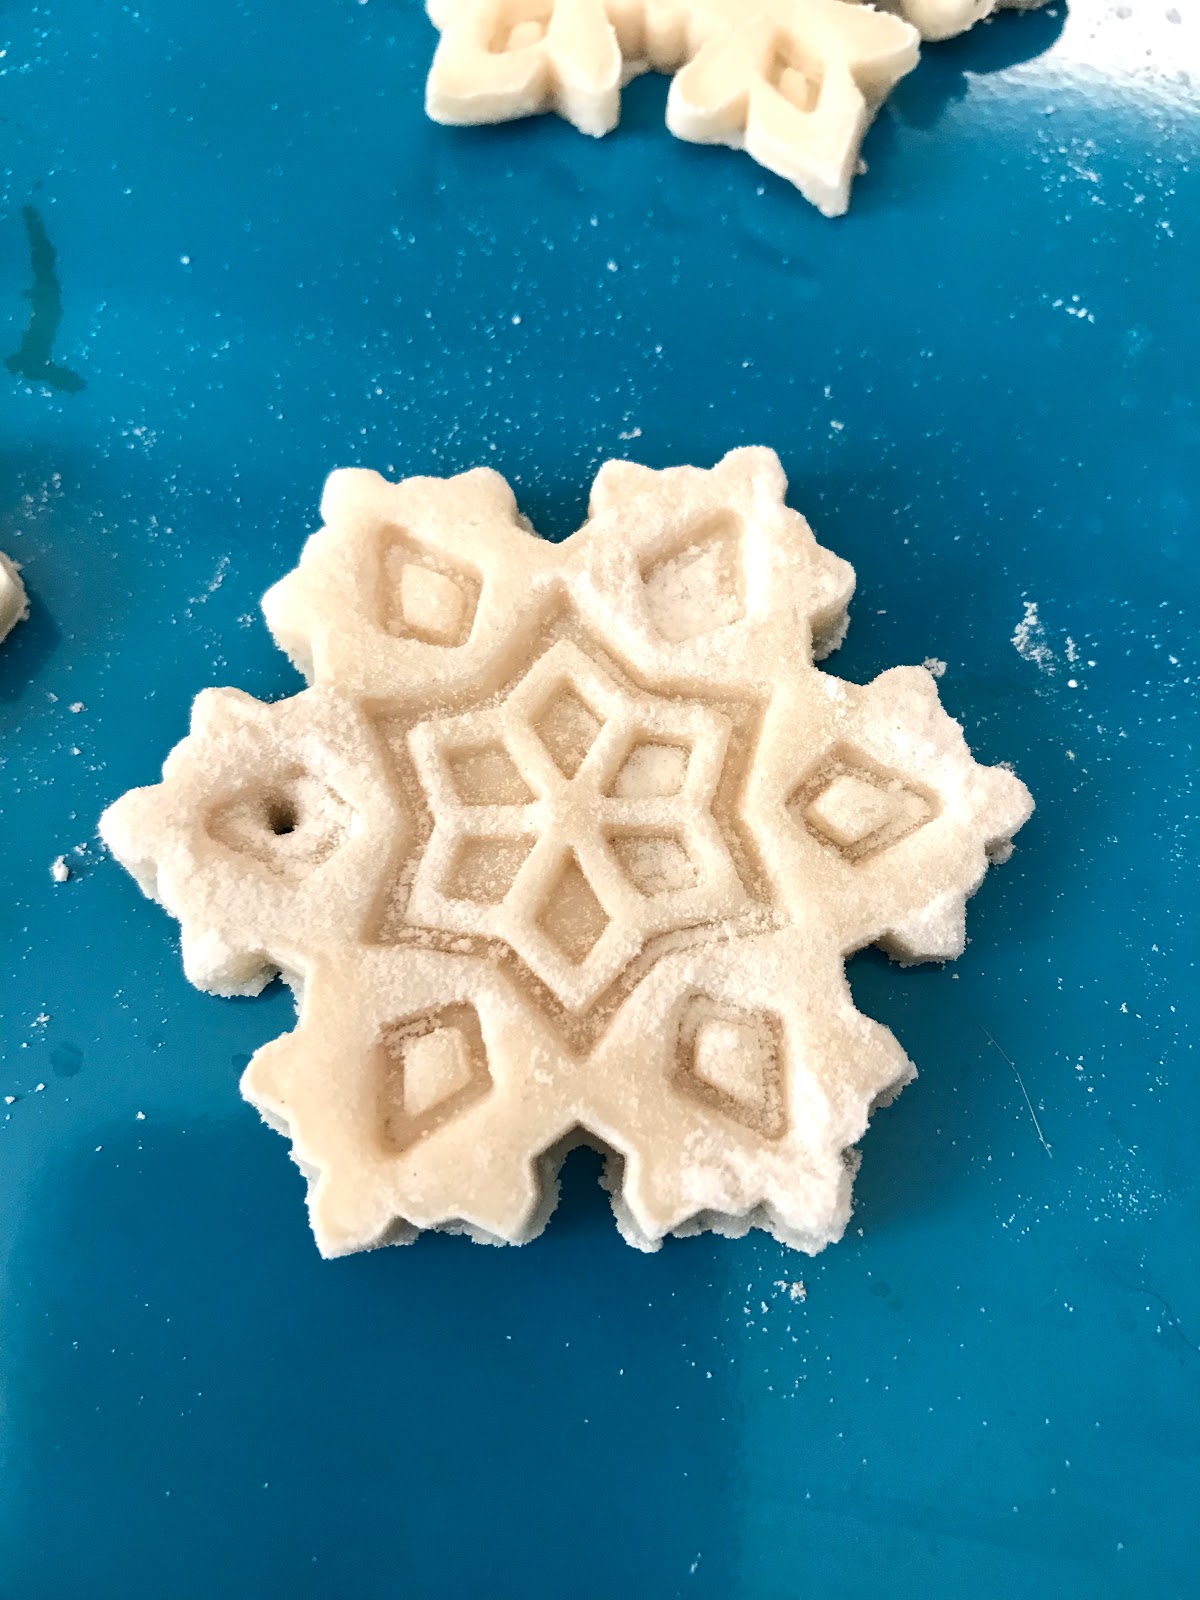

8.  Put the ornaments in the oven and bake for about 30 minutes to an hour.  The time that you bake them will depend on the thickness of your ornaments.  Thinner ornaments take less time in the oven.  So just check your ornaments, if they are a beautiful golden color they are ready to be removed from the oven.

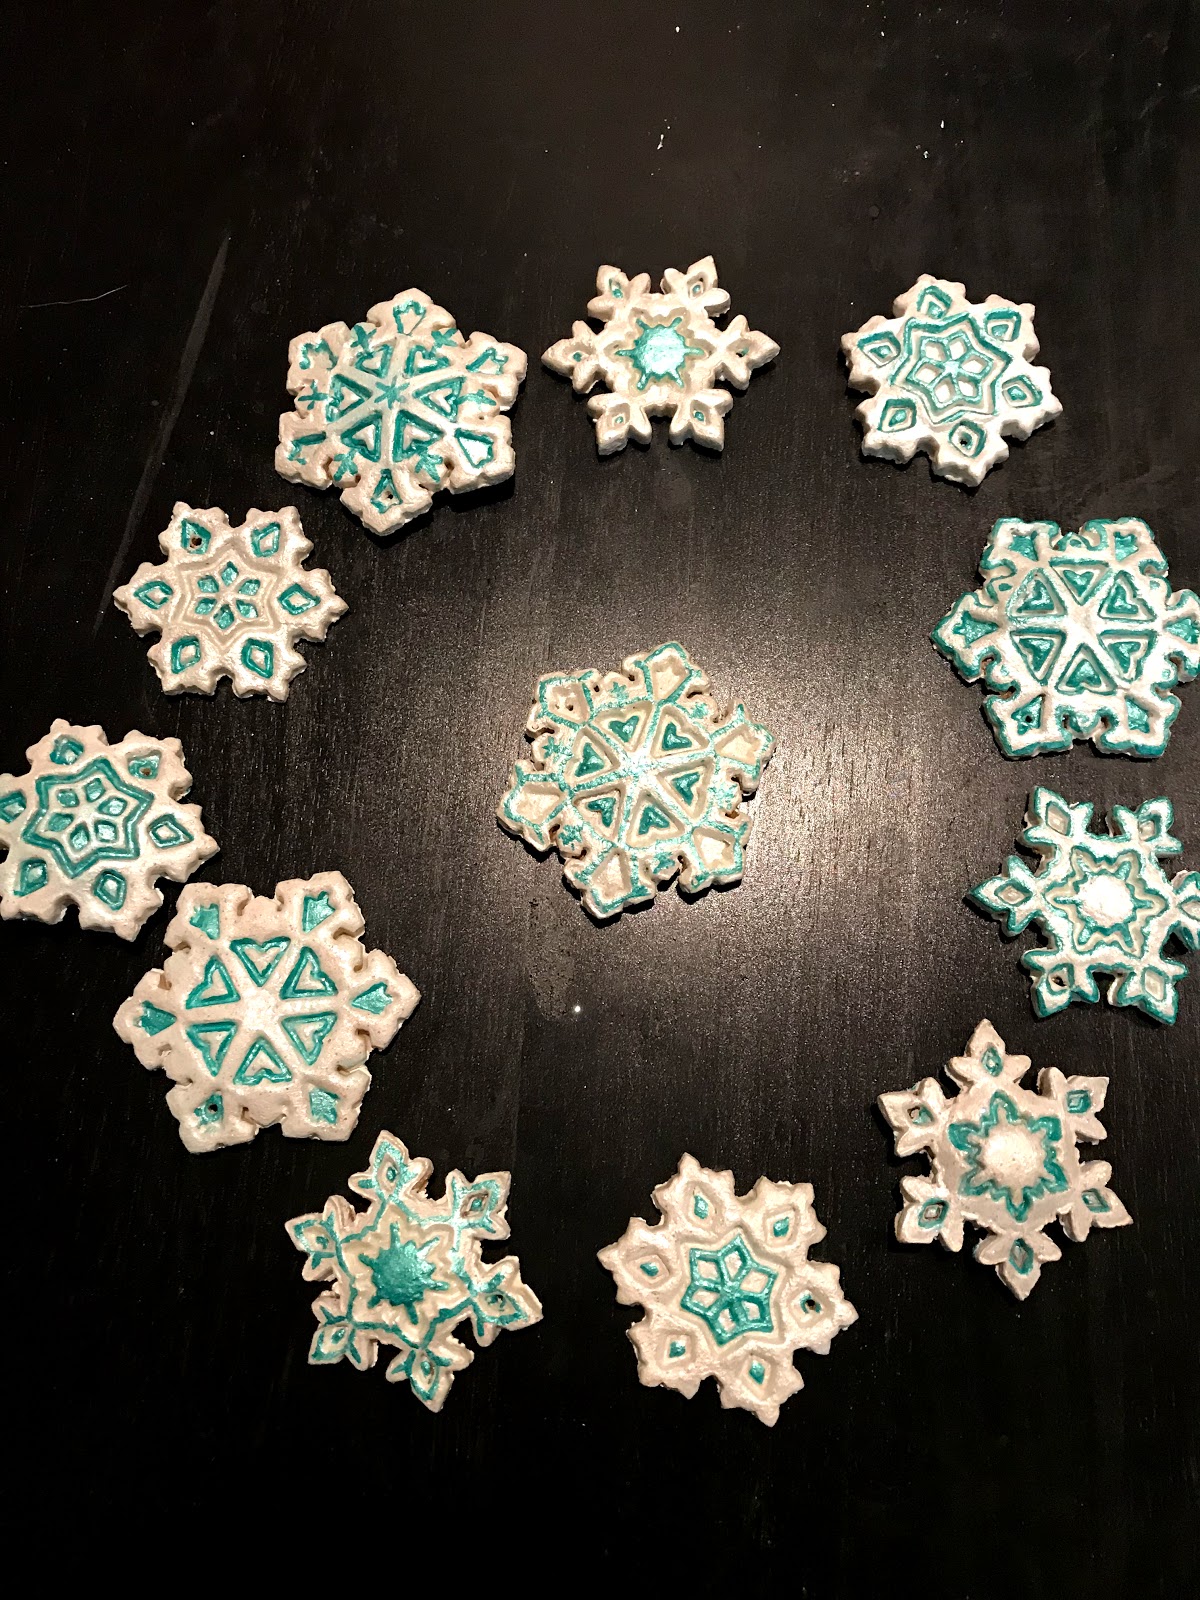
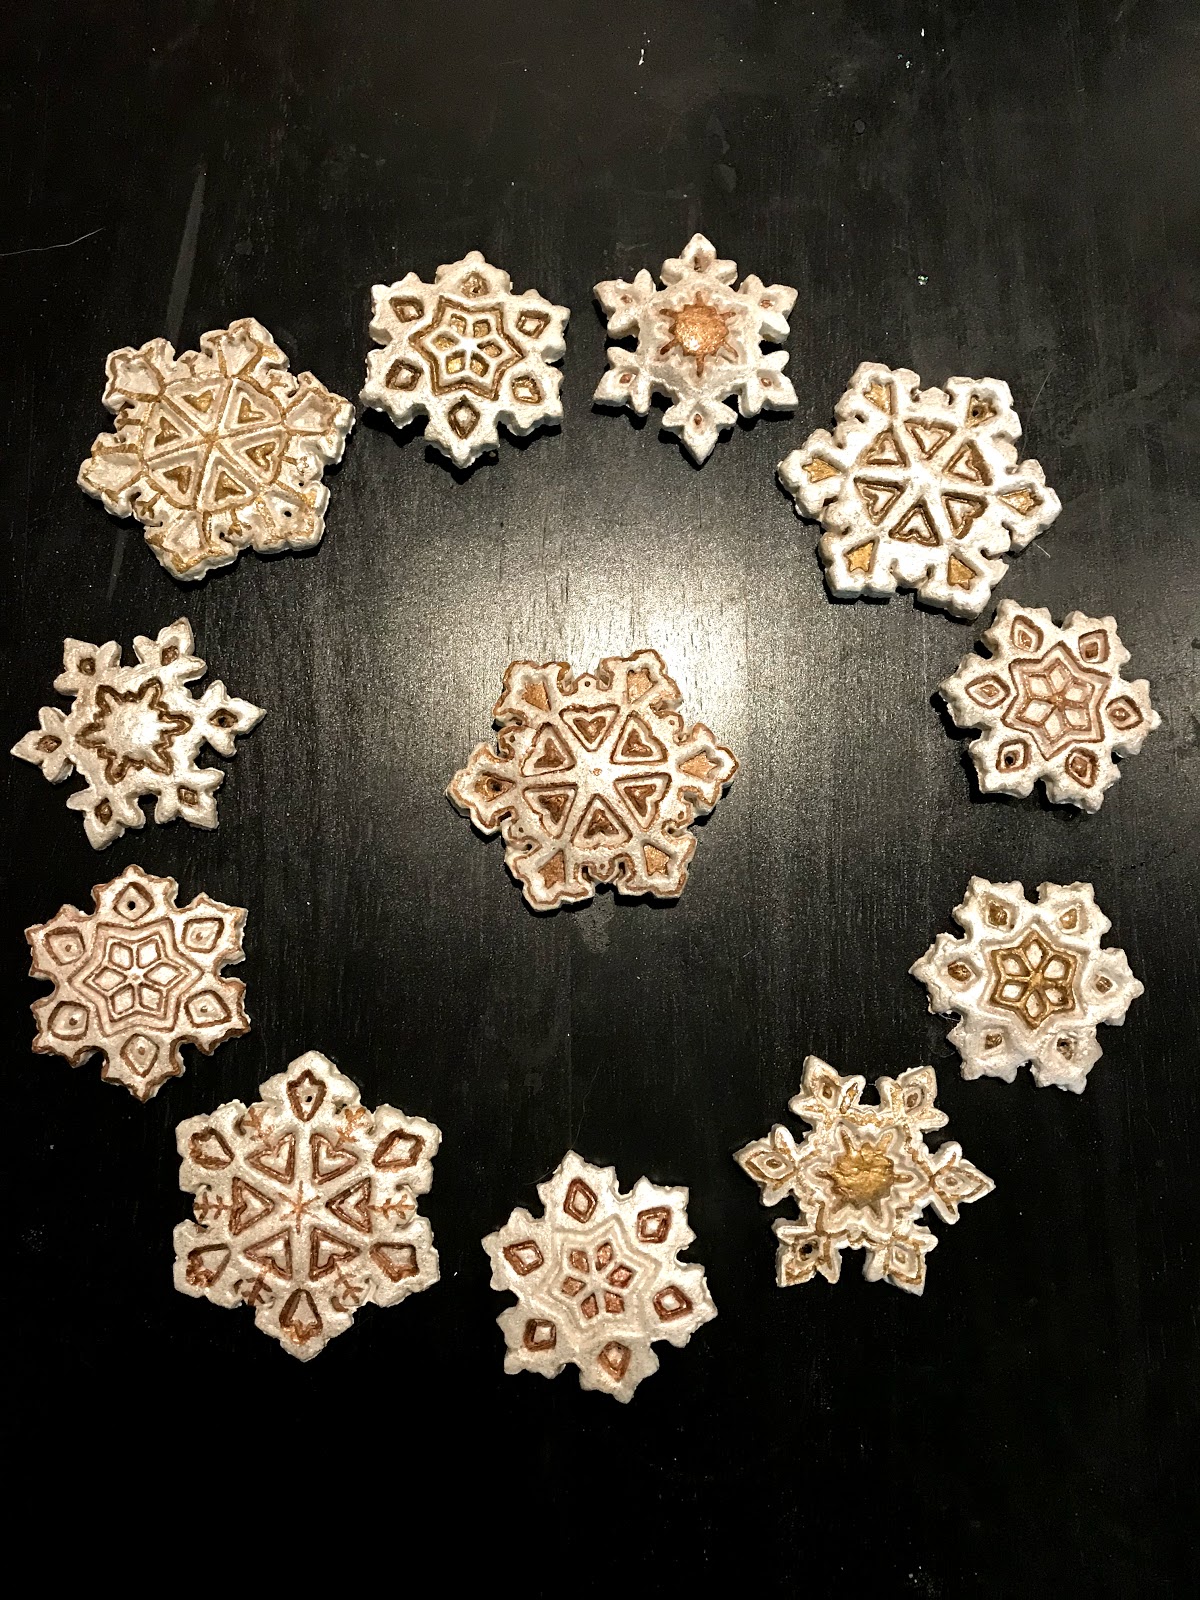
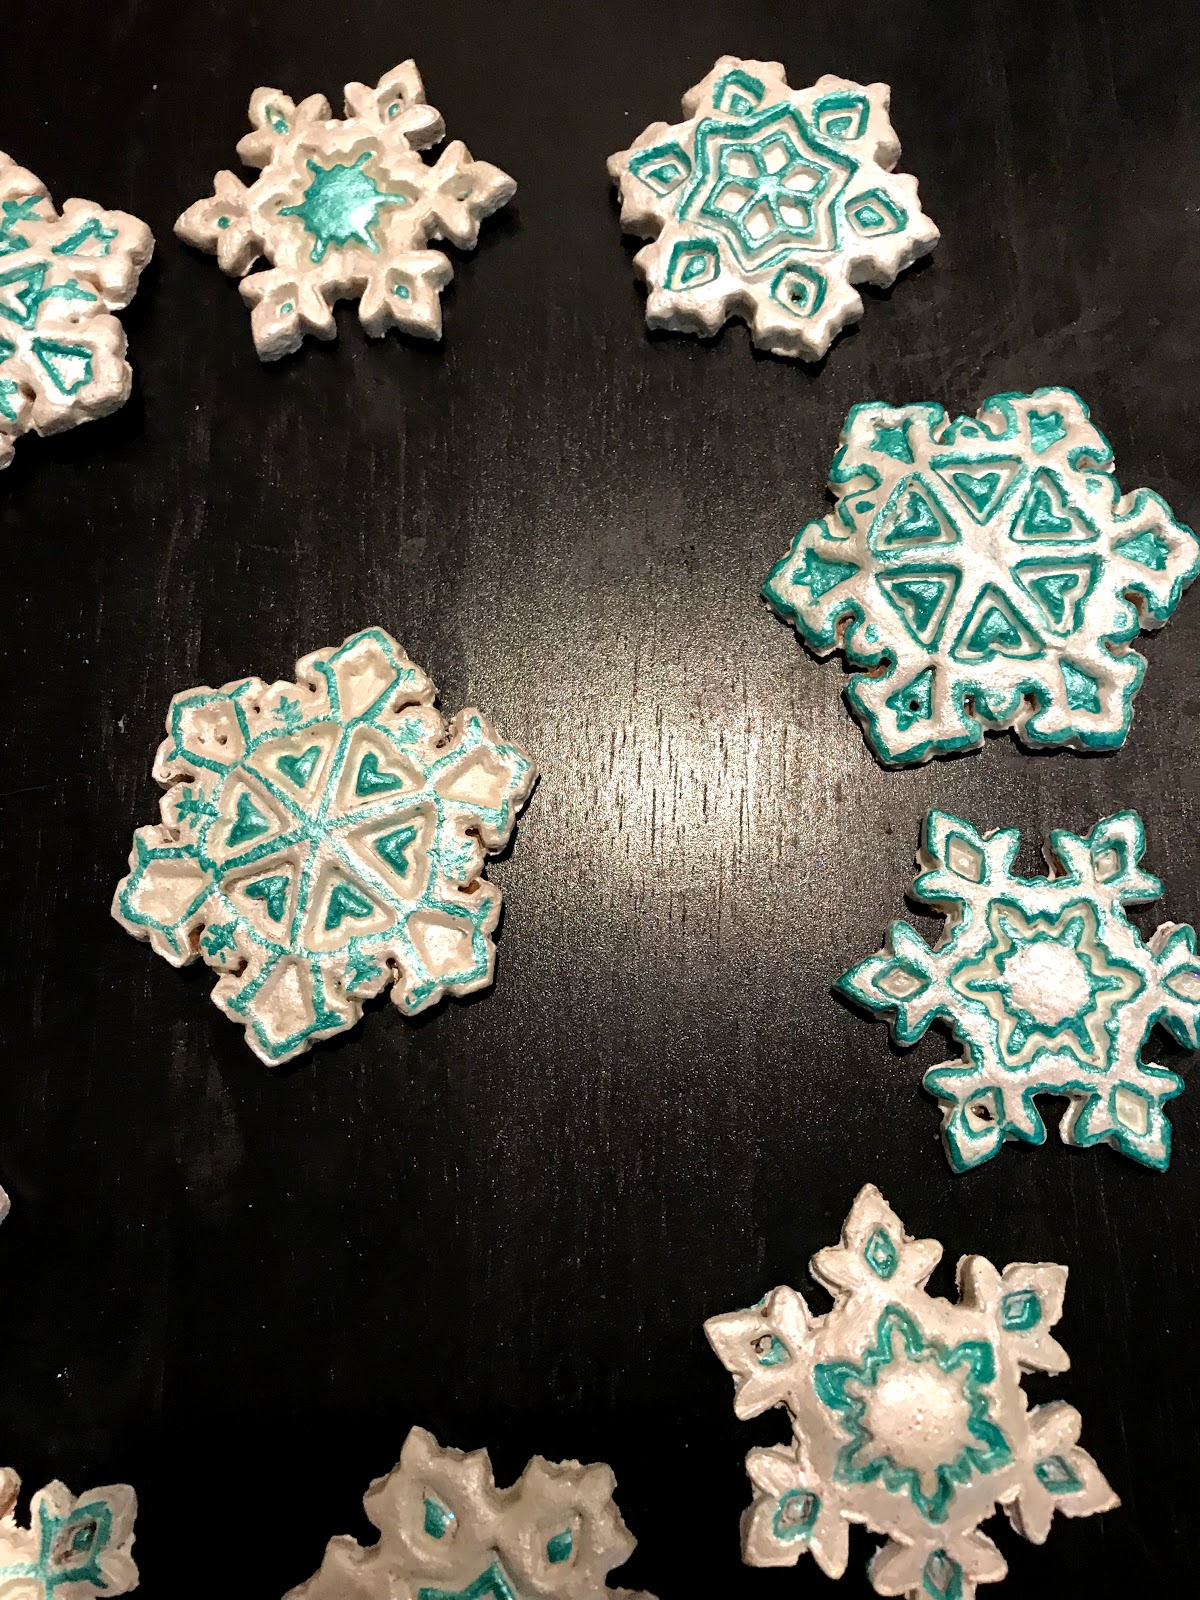
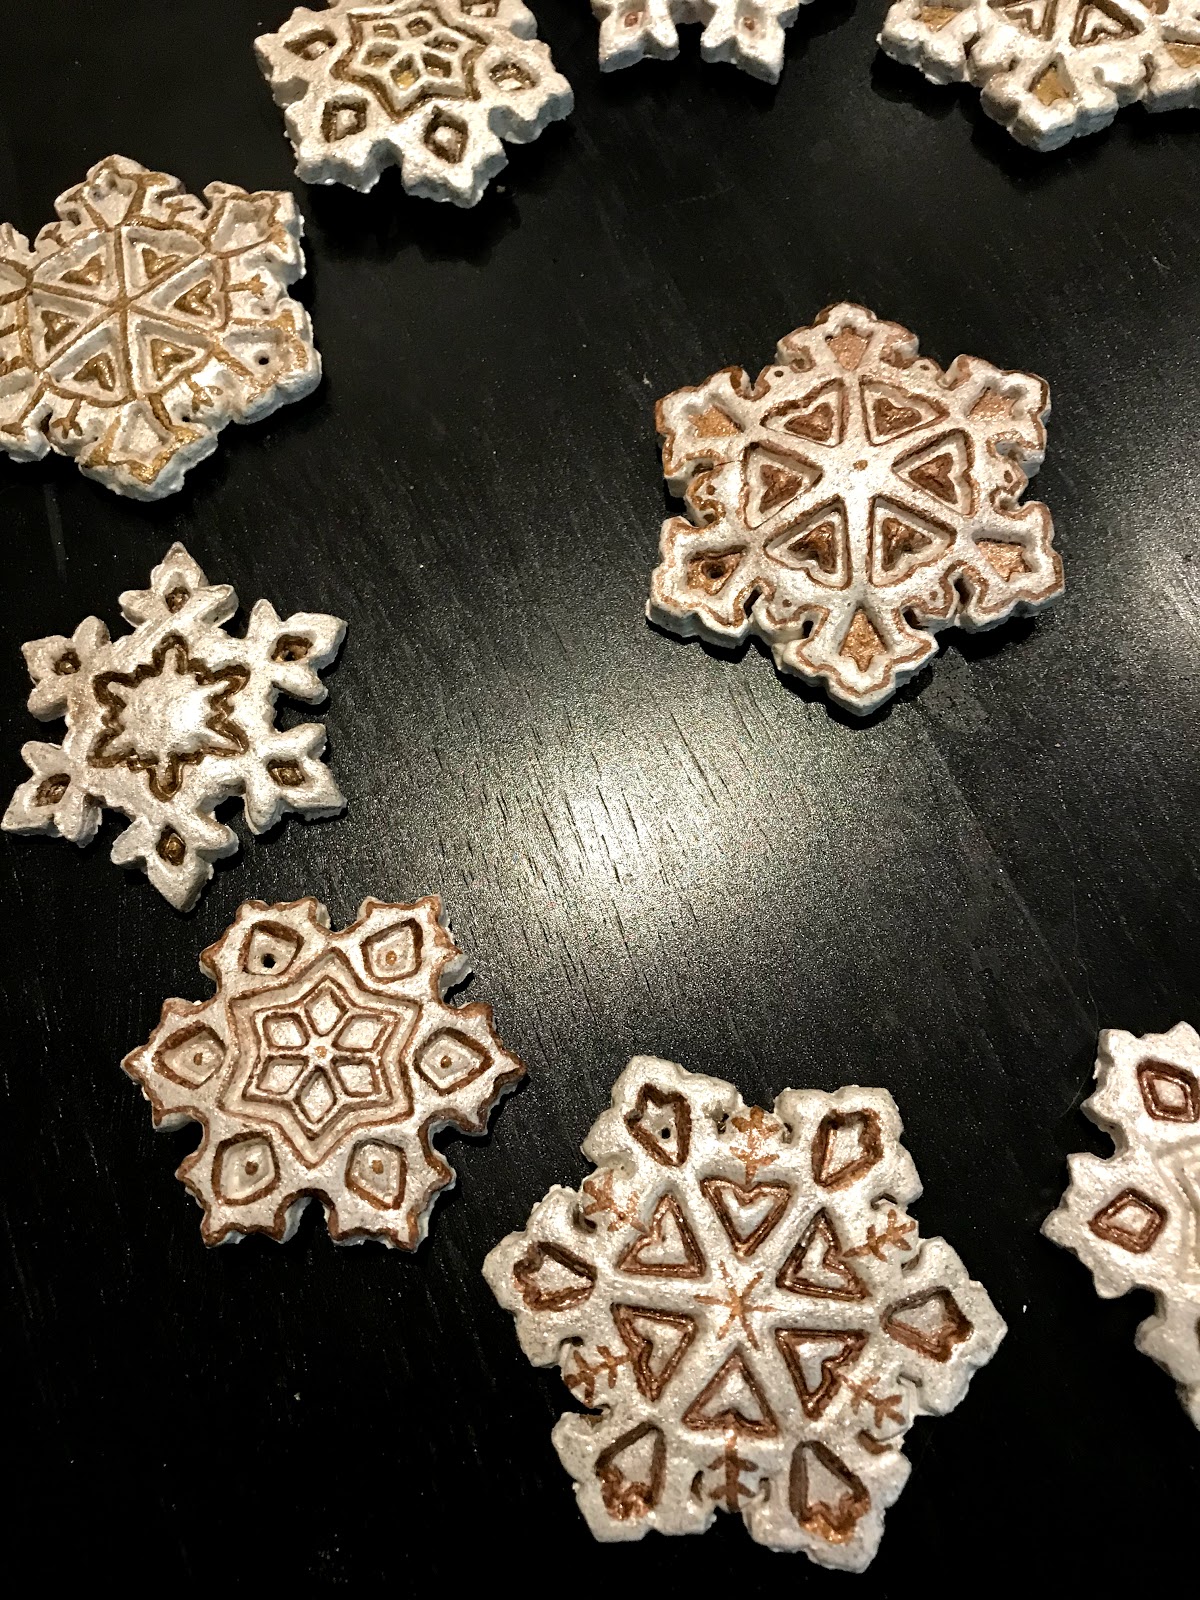
9.  Let the ornaments cool completely and then start painting your ornaments.  I don't have pictures of this.  I think that painting your ornaments should be a personal thing.  You do what you find to be beautiful.  Since I had two dozen ornaments, I made two different sets of snowflake ornaments, one in gold and one in turquoise.
Note:  If you are going to paint the snowflakes white, paint the ornament with plain white paint and then do a coat of pearl white paint or glitter paint.  I wanted my ornaments to be super fancy so I did a pearl paint and a then I finished my snowflake with a glitter paint.
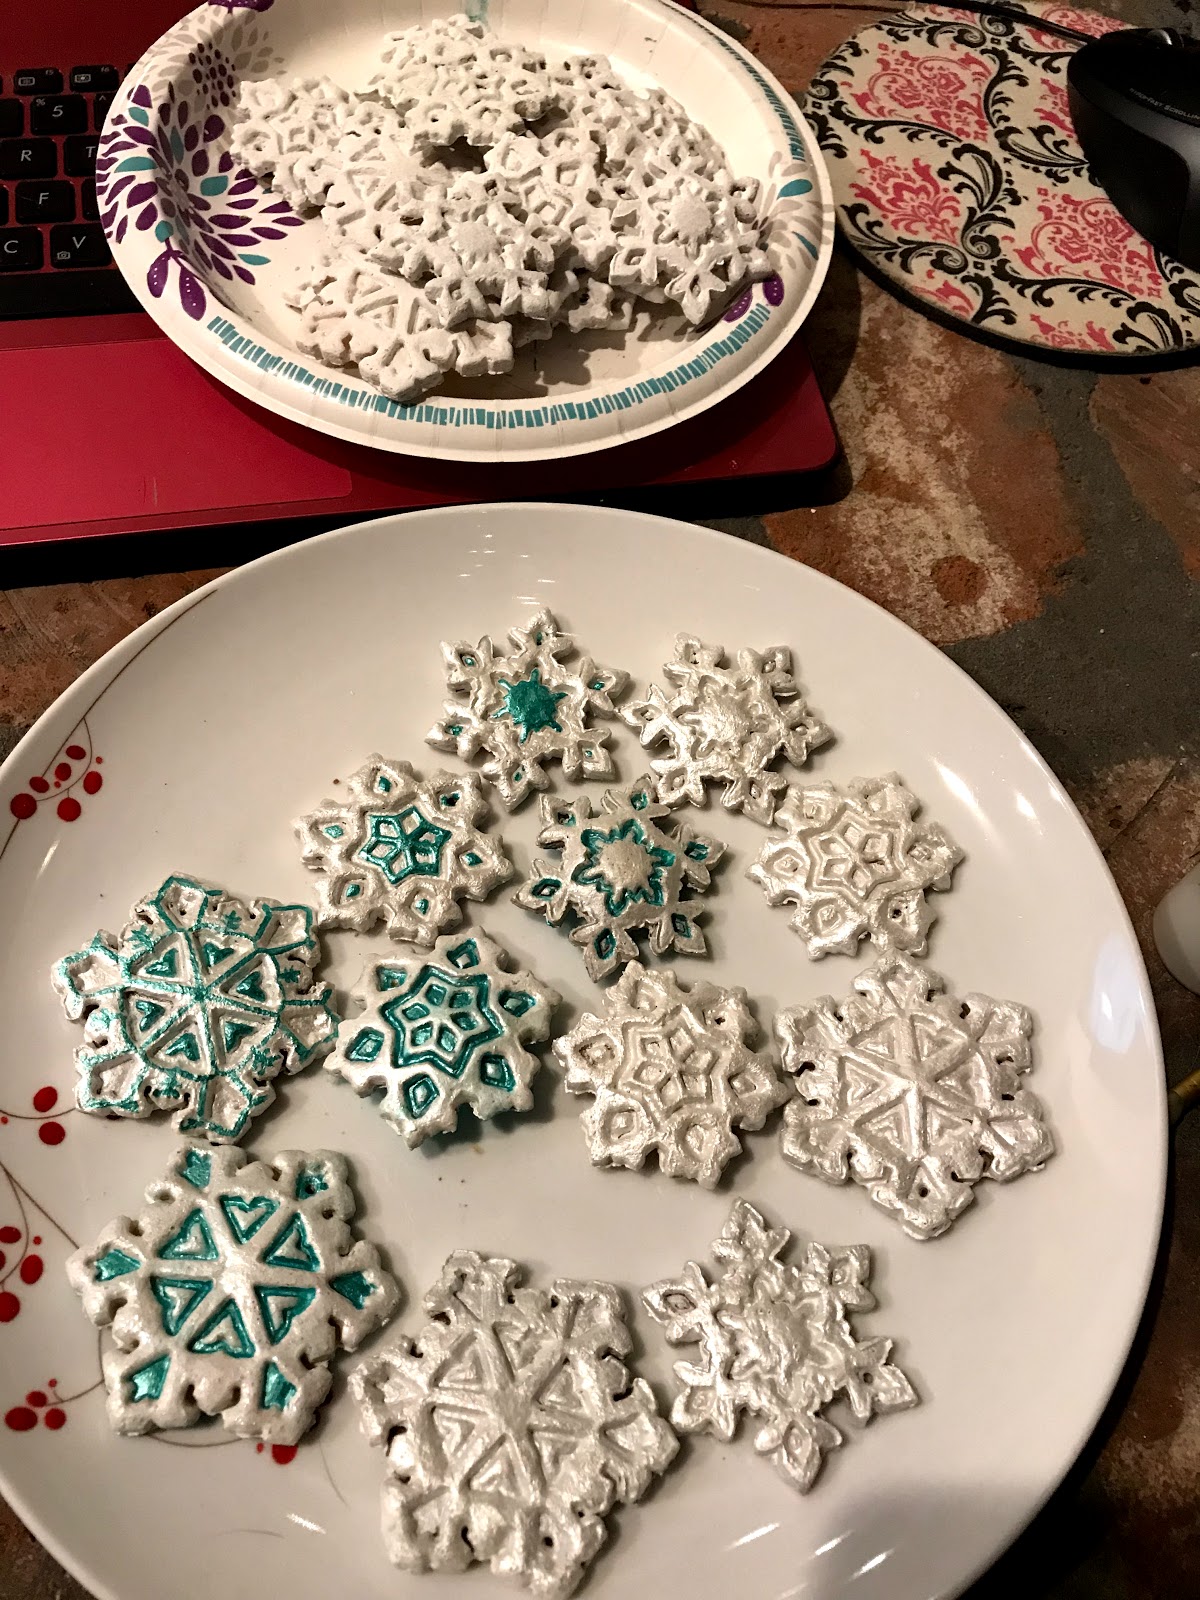
This picture shows you the ornaments in various stages of production.  The cookies on the plate at the top of the picture have just been painted with white acrylic paint.  The white cookies on the bottom plate have had a pearl white coat added to them.  The ornaments are actually gorgeous just painted white, but I wanted mine to be even fancier, so I painted each snow flake with a metallic turquoise paint.
10.  Once the paint has dried, coat the ornaments with a protective varnish.  This can be your choice.  You can use the spray gloss, or paint a glossy varnish on, or you can even use Hodge Podge, whatever you have on hand and whatever you are comfortable using.  You do not want to miss this step as this will keep moisture from getting to your ornaments and you will be able to use them for years.  I have had one set of ornaments that I made over a decade ago so, if you do them right, they can last you a while.


11.  Once the varnish has dried, thread some thread through the hole you created and hang on the tree.

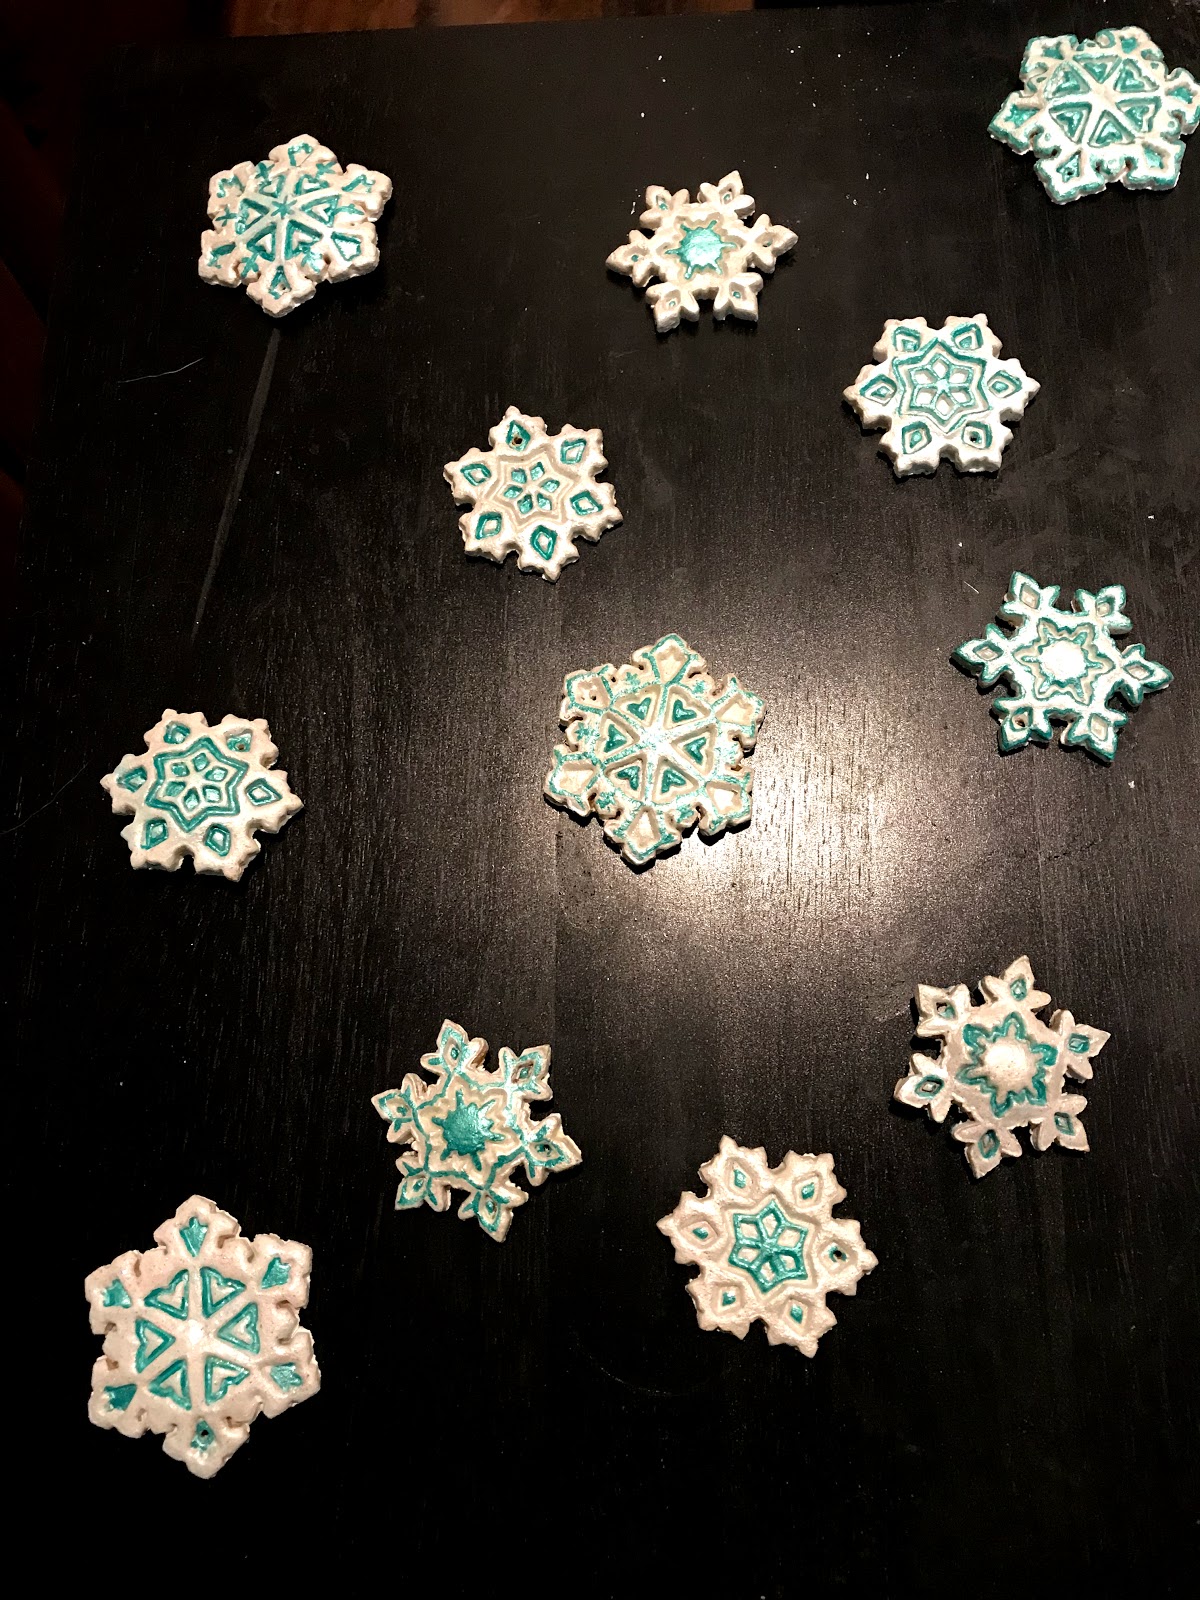
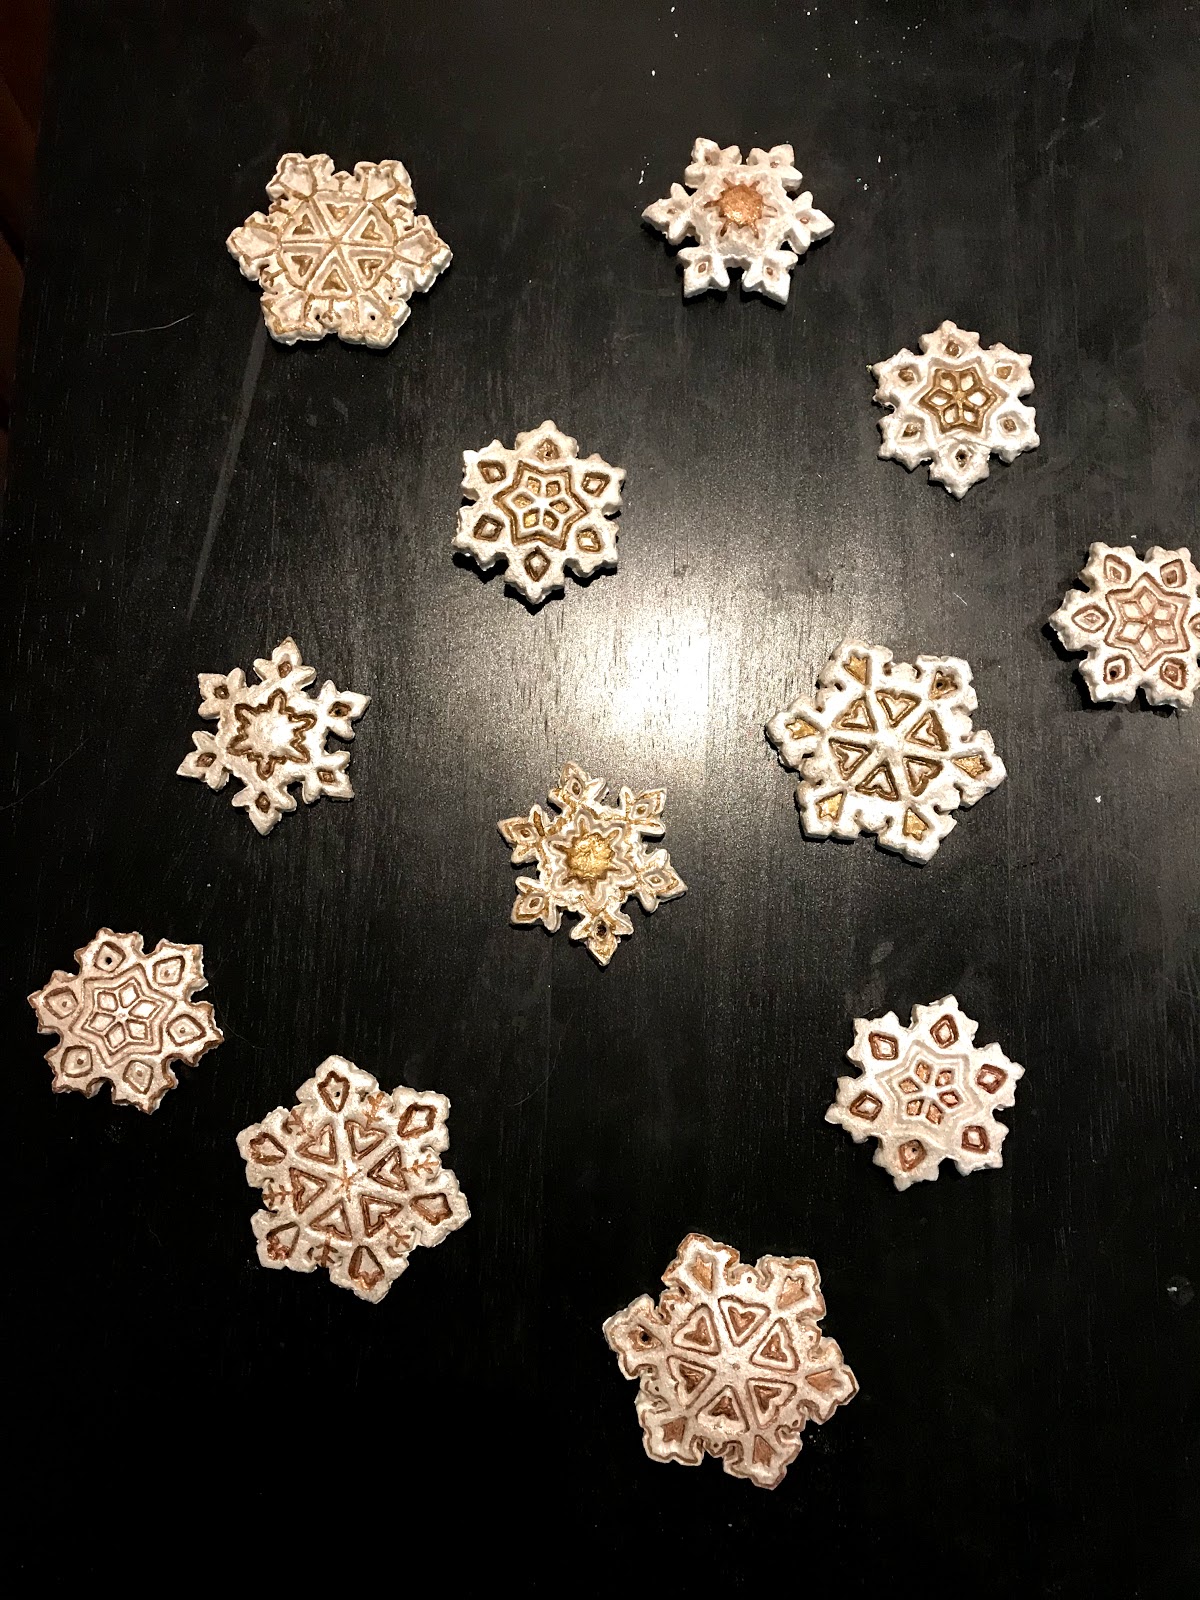
Here are some pictures on how my ornaments turned out.  For each color batch, I did not paint any of the snow flakes the same so that each snowflake could be unique.  (As we know, no two snowflakes are ever alike.)


Well, I hope you enjoyed my celebration of snow.  I have ALOT more Christmas crafts and recipes coming ahead so please keep an eye out.
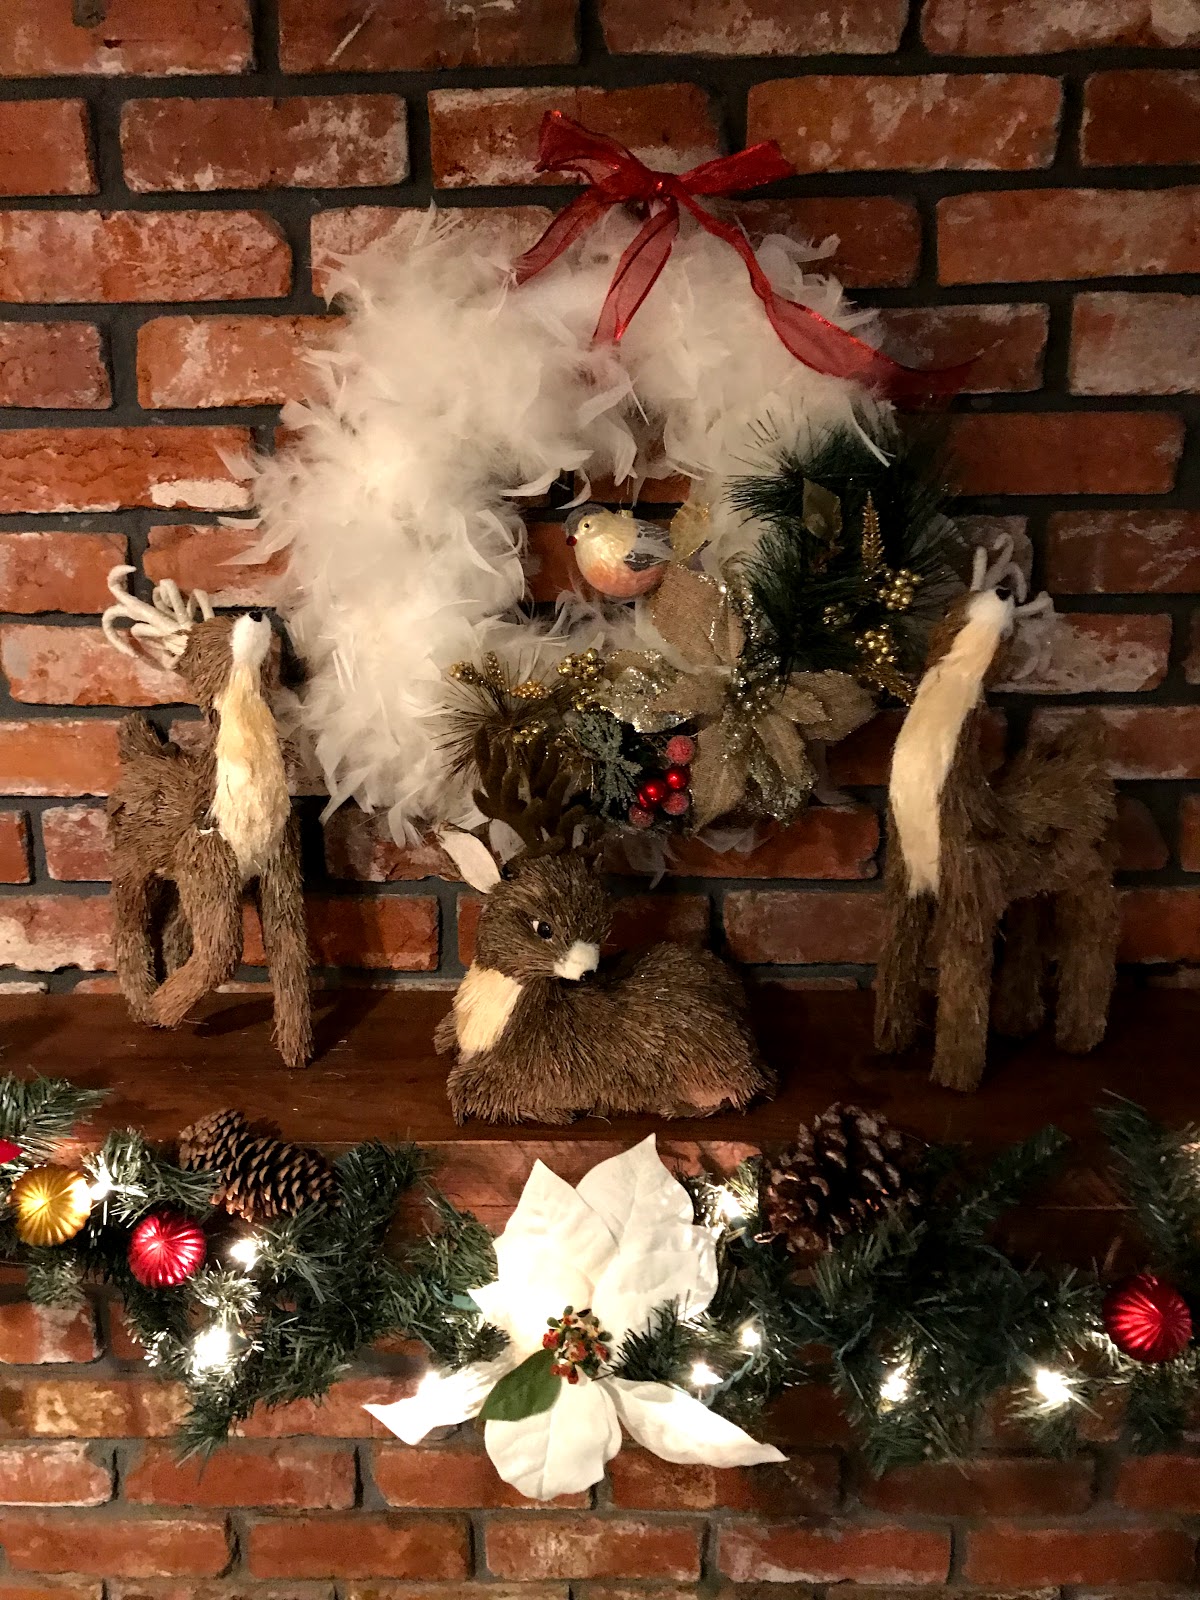
A closeup of my mantle.  I went with a woodland critters Christmas theme this year.

Happy Holidays!!!!


Thursday, October 12, 2017

Autumnal Pizza - A Fall Pizza Recipe

Hello Everyone!
As I sit here typing I am asking myself, do I acknowledge that I have not done a post in a whole month, or do I just ignore it and go on with the post as if nothing has happened?  Obviously, by the subject of the first sentence I have decided to acknowledge it.  You see friends, every once in a while, I suffer from mild depression.

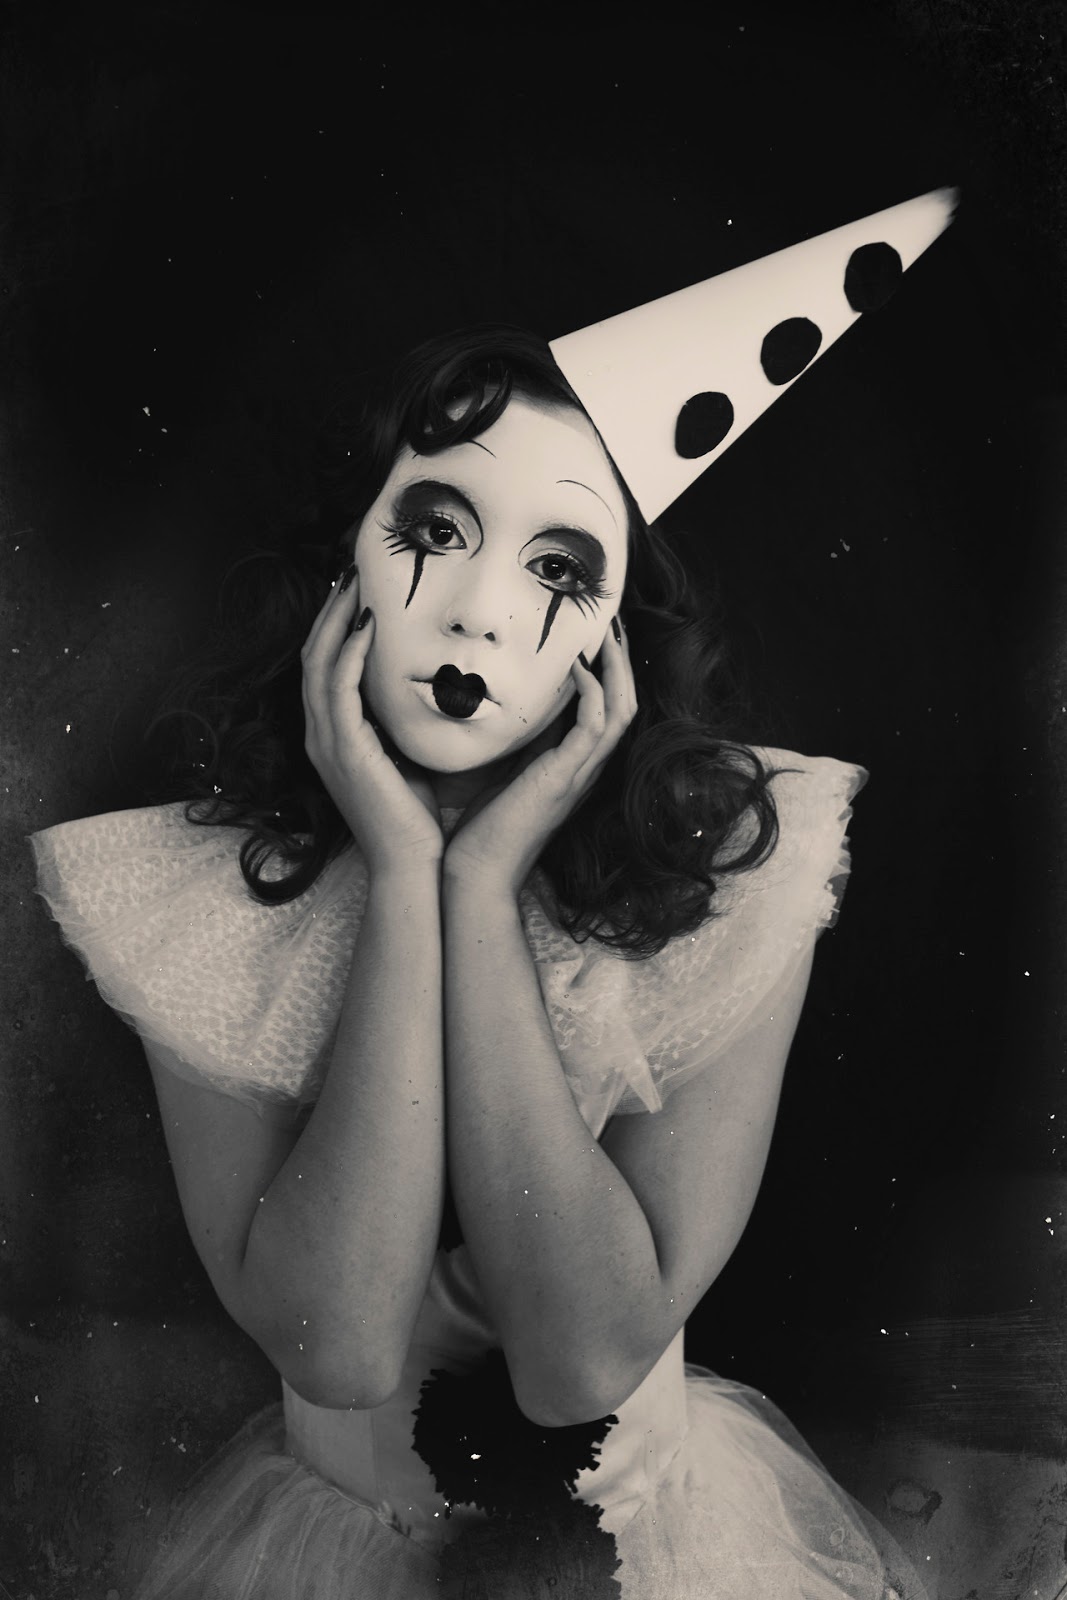
No, I am not disrespecting depression by using this picture, but it seemed like the perfect depression picture to use for the month of Halloween.  Even beautiful, sad clowns are creepy.

Fortunately, it doesn't happen very often and, even more fortunately, it doesn't last for long.  But, last month, I had a bout and didn't/couldn't do anything.  And I do mean anything - cleaning, cooking, crafts, my blog, they all went to the wayside as I could only sit in my house and read or watch television.  It was awful.  A part of me wanted to do other things, but I just couldn't. I am happy to say that it has passed, and I am back to living my regular life with a vengeance and trying to catch up on all of the stuff I fell behind on.

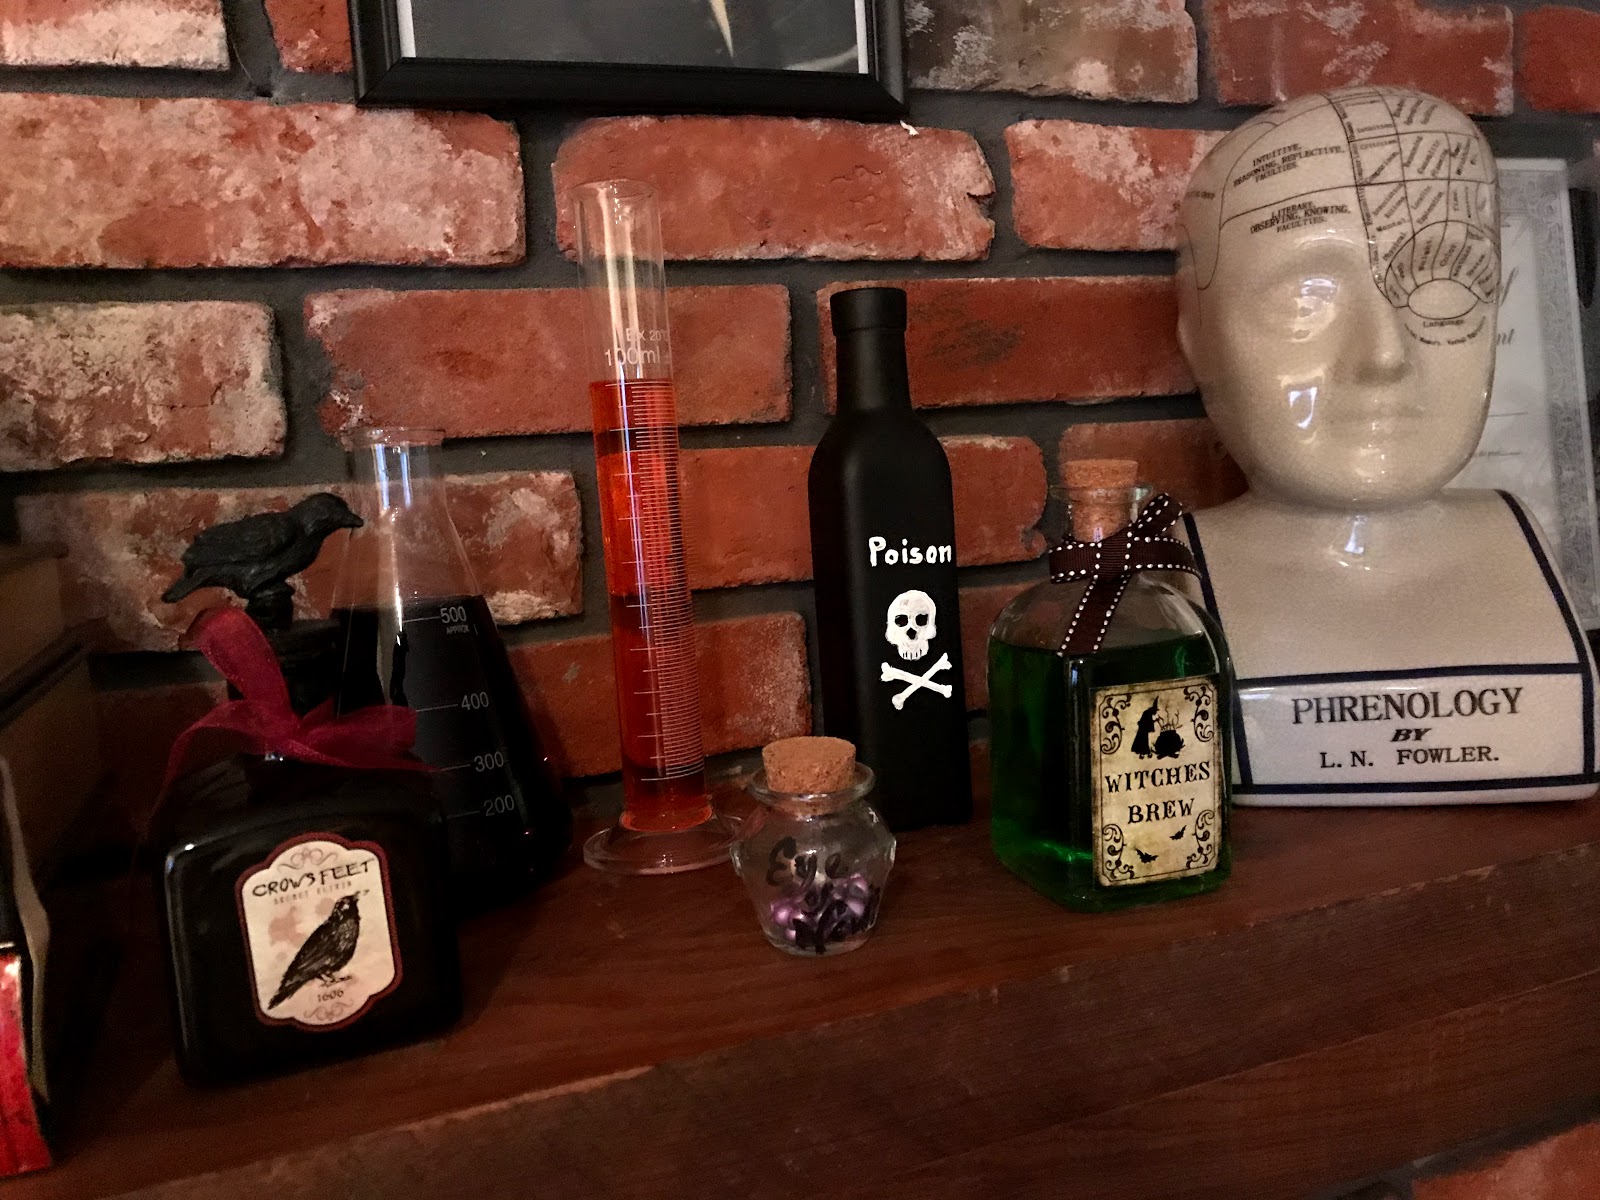
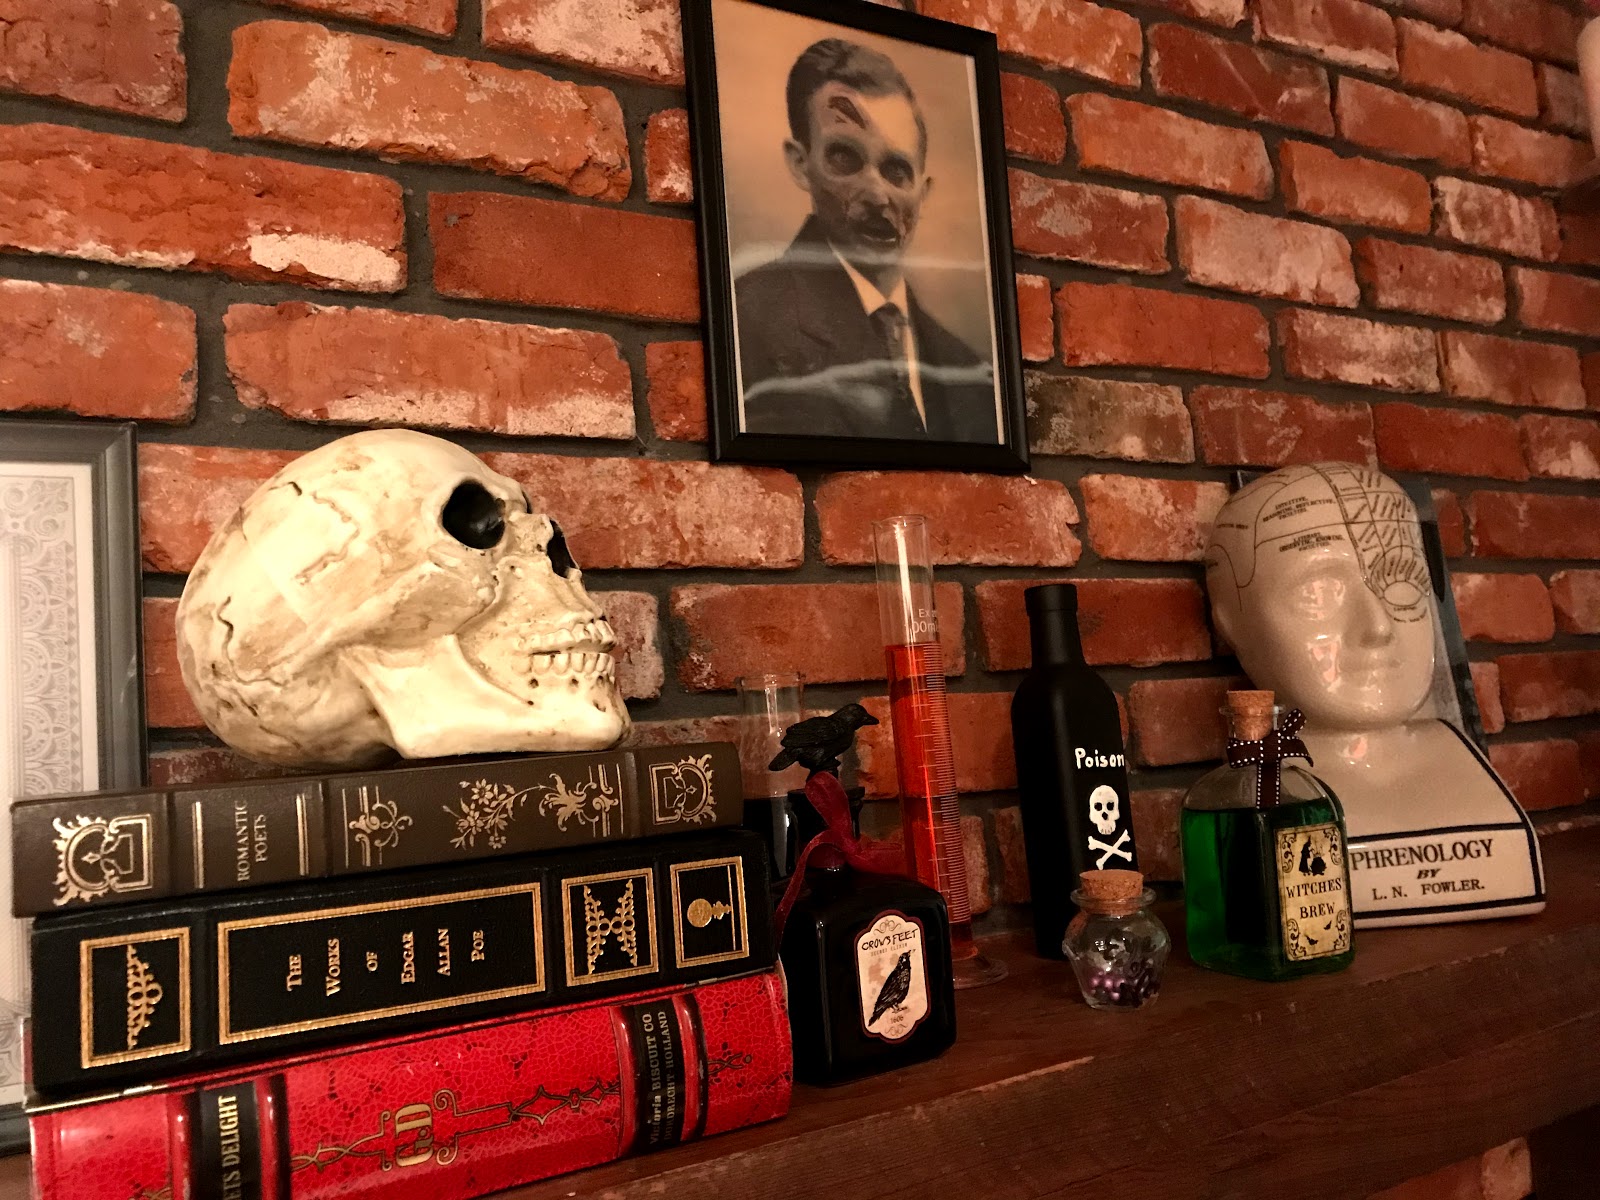
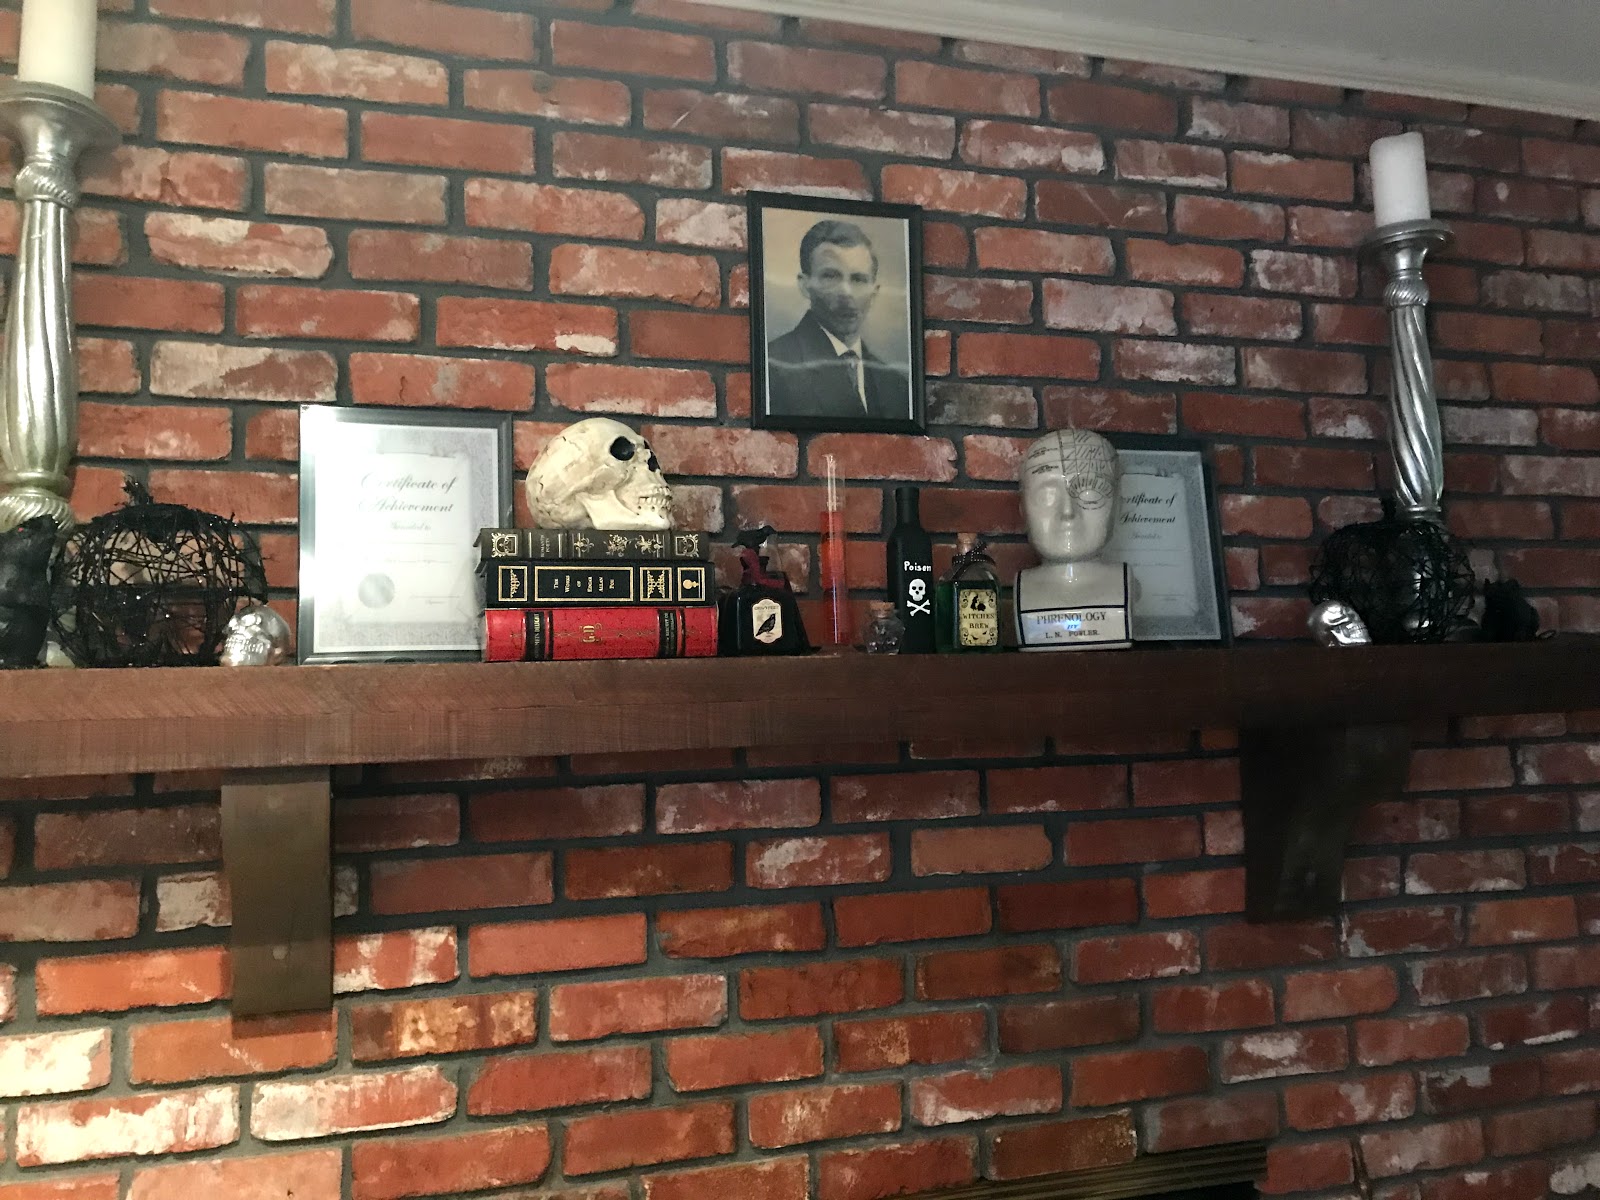
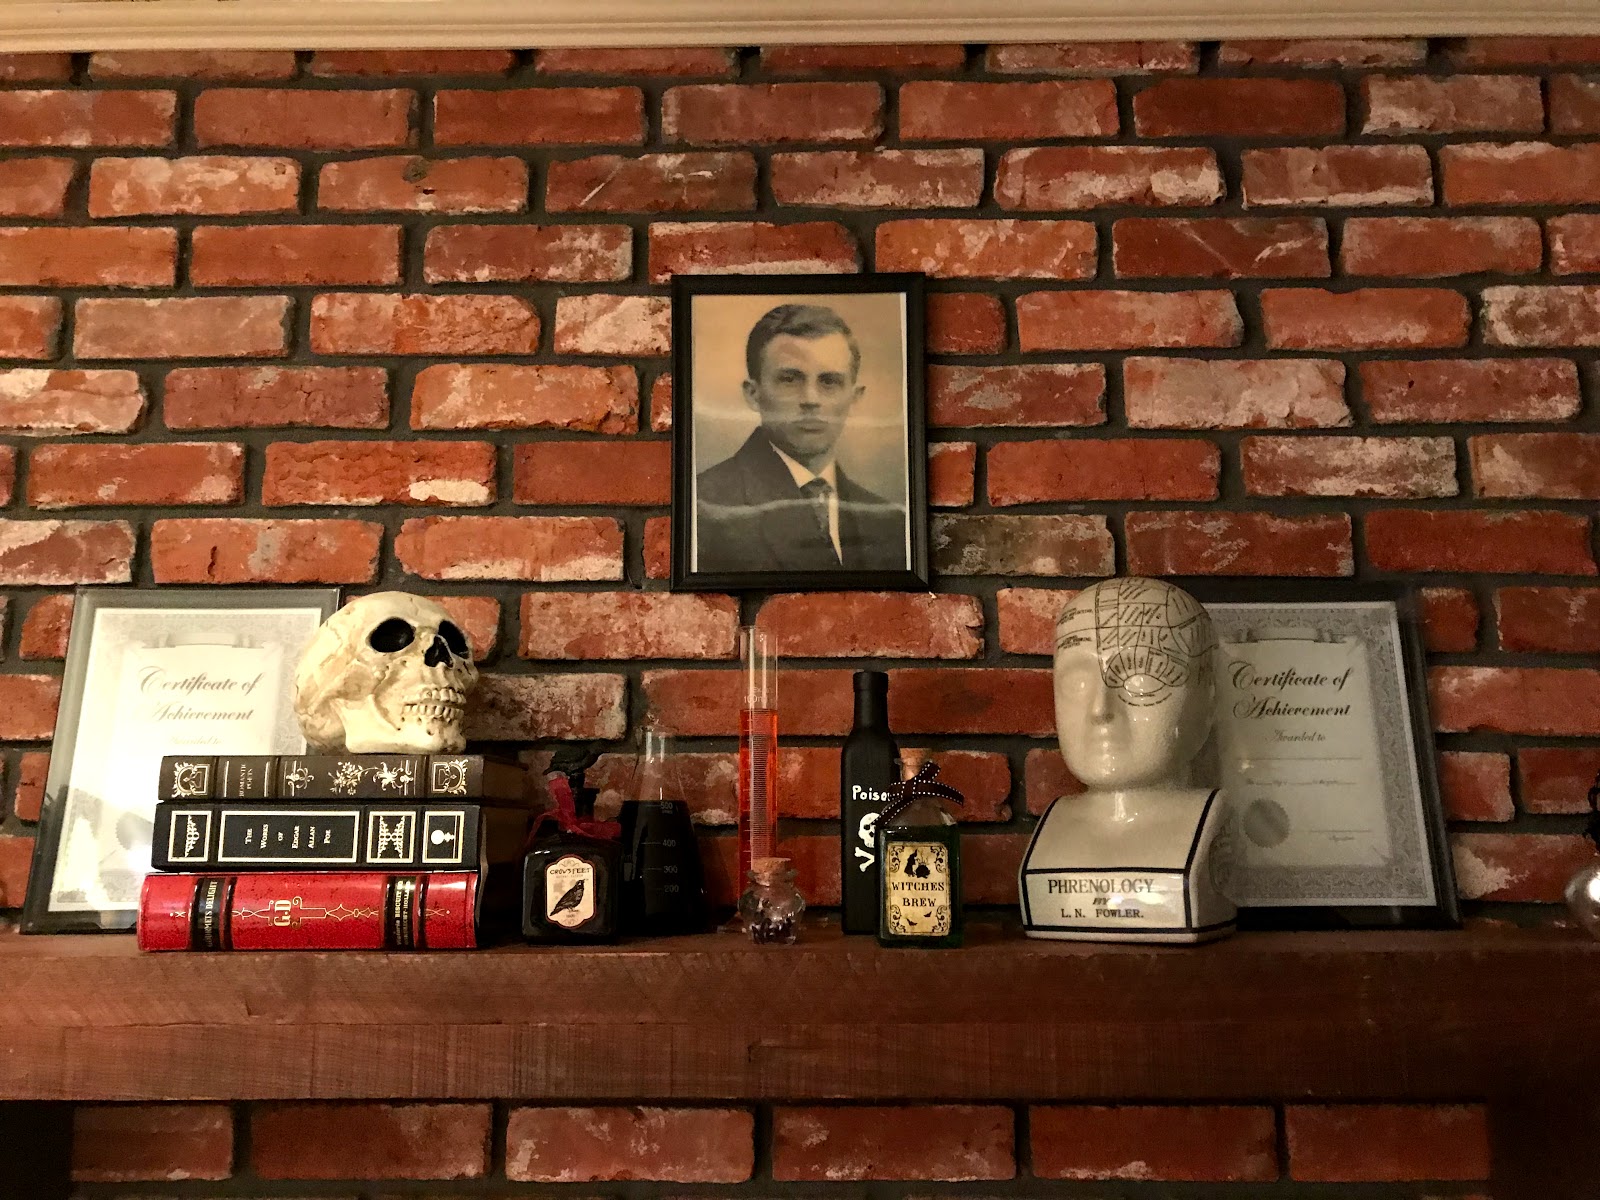
The first step back to claiming my life and my space was to decorate my living room and mantle.  I still had the summer decorations up.  Which, I understand that Louisiana is hot, but that is still no excuse to not try to bring in the season with fall decorations.  This year I decided to go with a Dr. Jekyll type theme for my Halloween decorations.  It was all inspired by my husband's Phrenology bust.


He has it in his Murder Shop for most of the year, but I decided that it would be awesome to use it as the inspiration for Halloween decor this season.  Yes, you read that correctly, we call my husband's shop the Murder Shop.  This is not because my husband is a serial killer who performs mutilations in his shop, it is because, when we bought our house, the gentleman who owned the house before us was a master electrician.  So there was a large amount of hooks and wires hanging all around the workshop. There were hooks on the ceiling and hooks on the walls it was really kind of disturbing.  When a friend of ours came over to see the new house and shop, she said that the shop was kind of creepy and looked like a murder shop.  And the name stuck.

Here is a another angle of the close up of the mantle.  As you can see, I stole books from the pub library.  I tried to keep with the theme of a 1800's doctor so one is a book of poetry and the other is collected stories and poems by Edgar Allen Poe.  I don't know if I have told y'll this or not, but I read a collection of Poe cover to cover every year during October.  It is a Halloween tradition for me.


Last year, I did a lot of cobwebs, so this year I decided to go for a different approach.


Most of the decorations I got from  Dollar Tree so they were only a dollar.  The frames are going to hold medical diagrams that I have yet to print.  I promise I will post another picture once I have them done.  I love that most of my Halloween decorations could be bought with just $20 total!


Did you notice the guy in the picture is handsome in this one and kind of looks like a zombie in the other picture?  I got one of those holographic pictures for $1.00 and then put it in a certificate frame, also for $1.00.


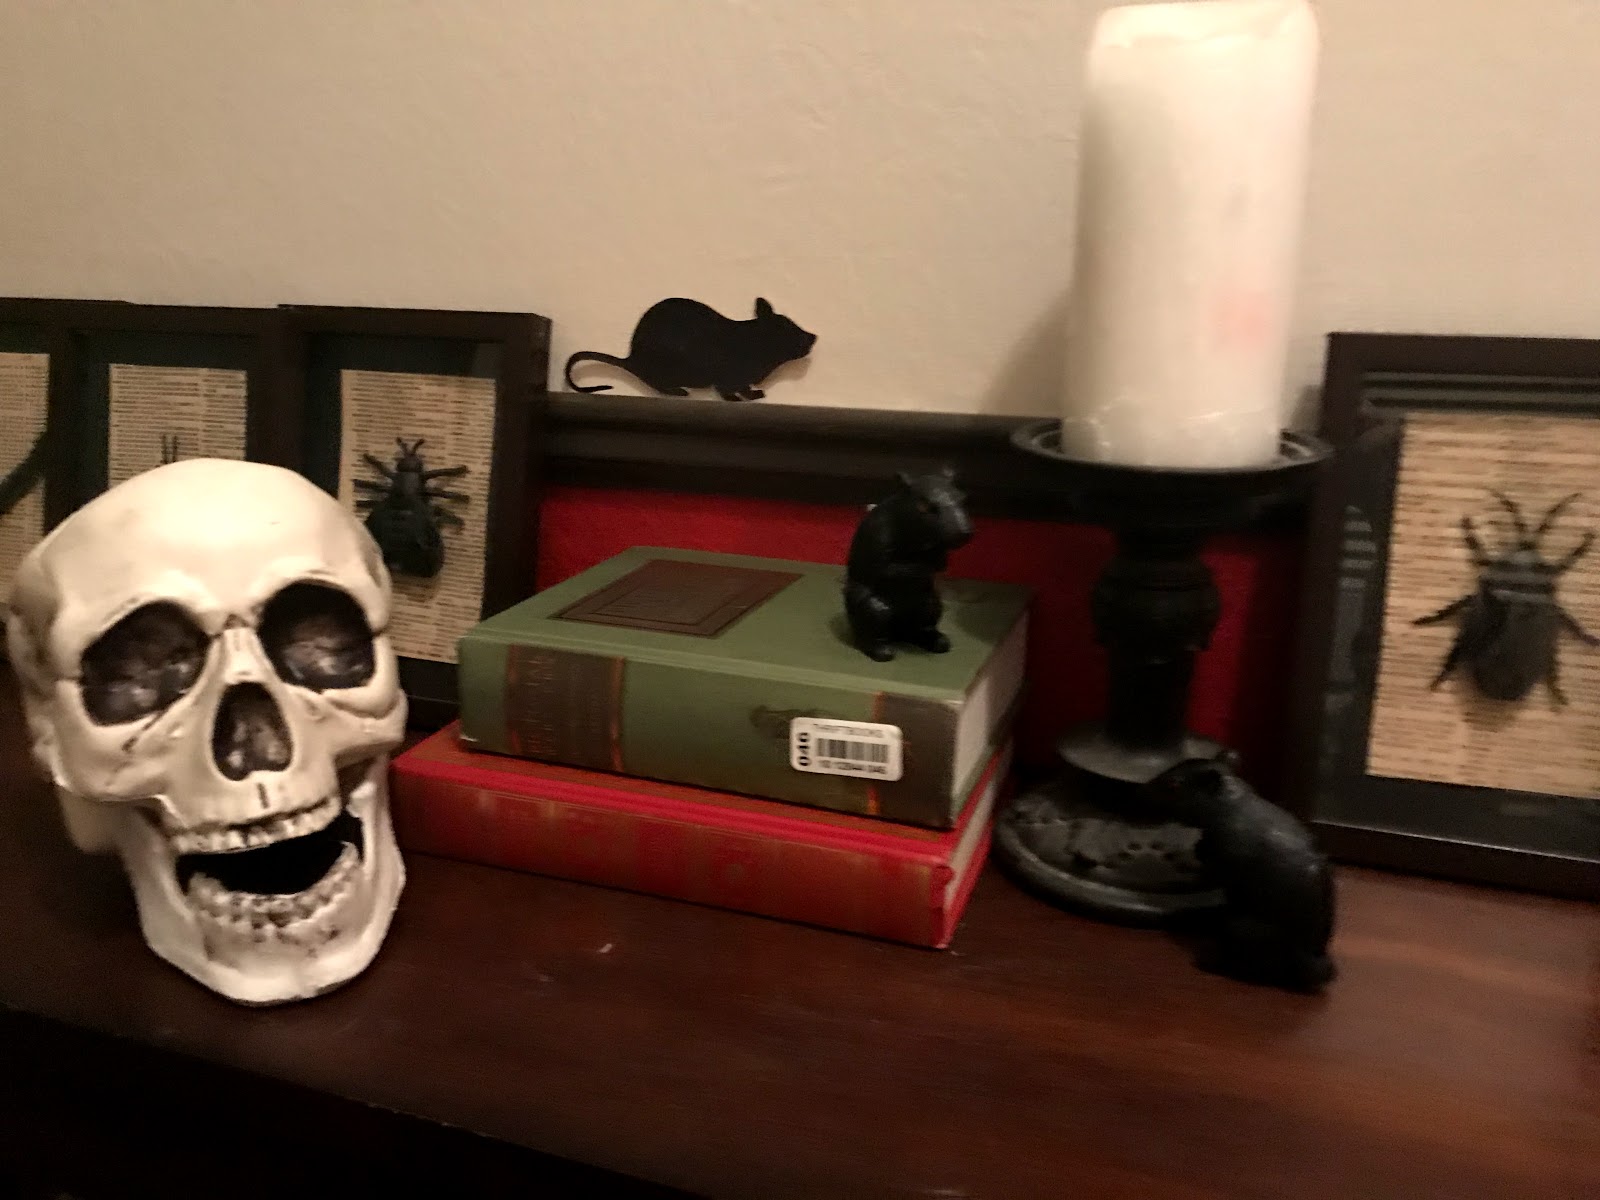
I didn't change up my entryway table up much this year.  I still used my framed insects.  My one difference this year is that I added some books and some mice figurines along with the paper mice that I always put up.  I also moved the Edgar Allen Poe pumpkin with The Raven poem on it to the pub library.  What more perfect Halloween decoration for a library than a pumpkin with poetry on it?   I didn't take a picture of that, but if you want to see what it looks like, or see instructions for making your own then here is the link:

http://frugalfemmecarole.blogspot.com/2016/10/edgar-allen-poe-raven-pumpkin.html

For the kitchen I went for a more country theme.  But not too country because I have an open space floor plan and I wanted the decorations to still blend with one another.

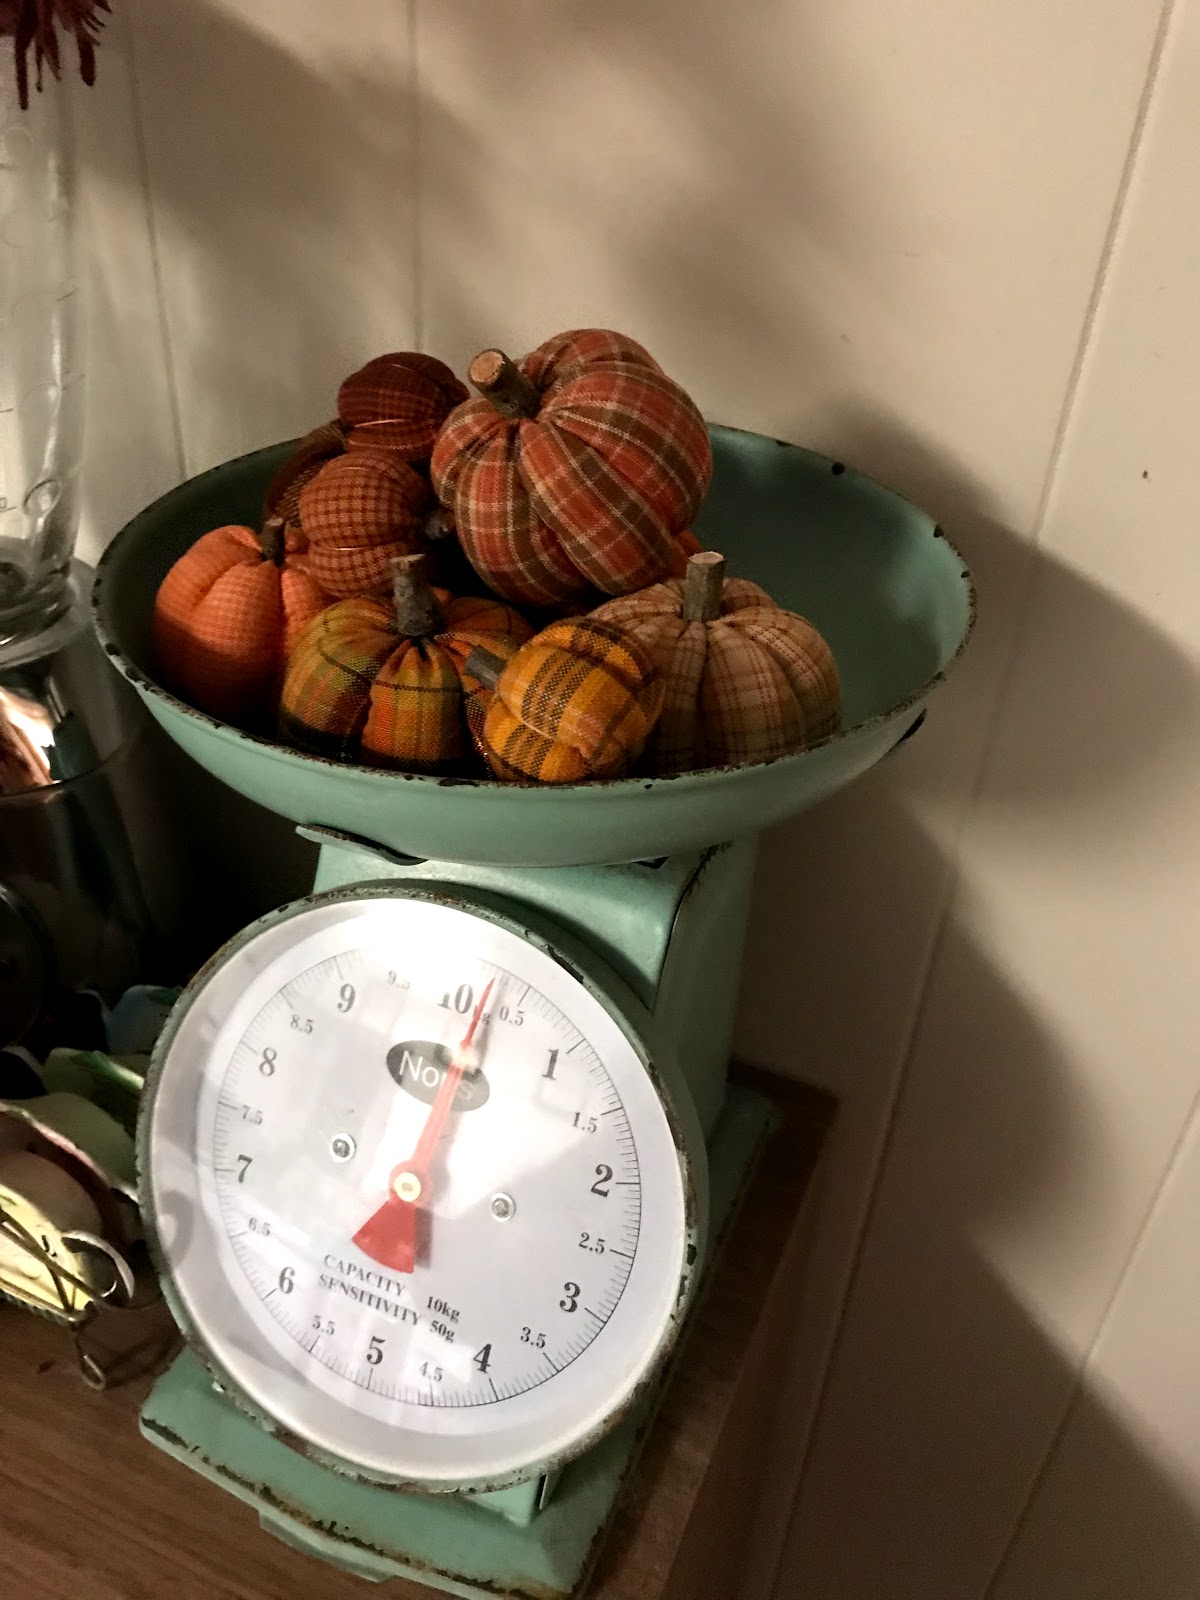
This may be my favorite use of an actual practical kitchen appliance as decoration.

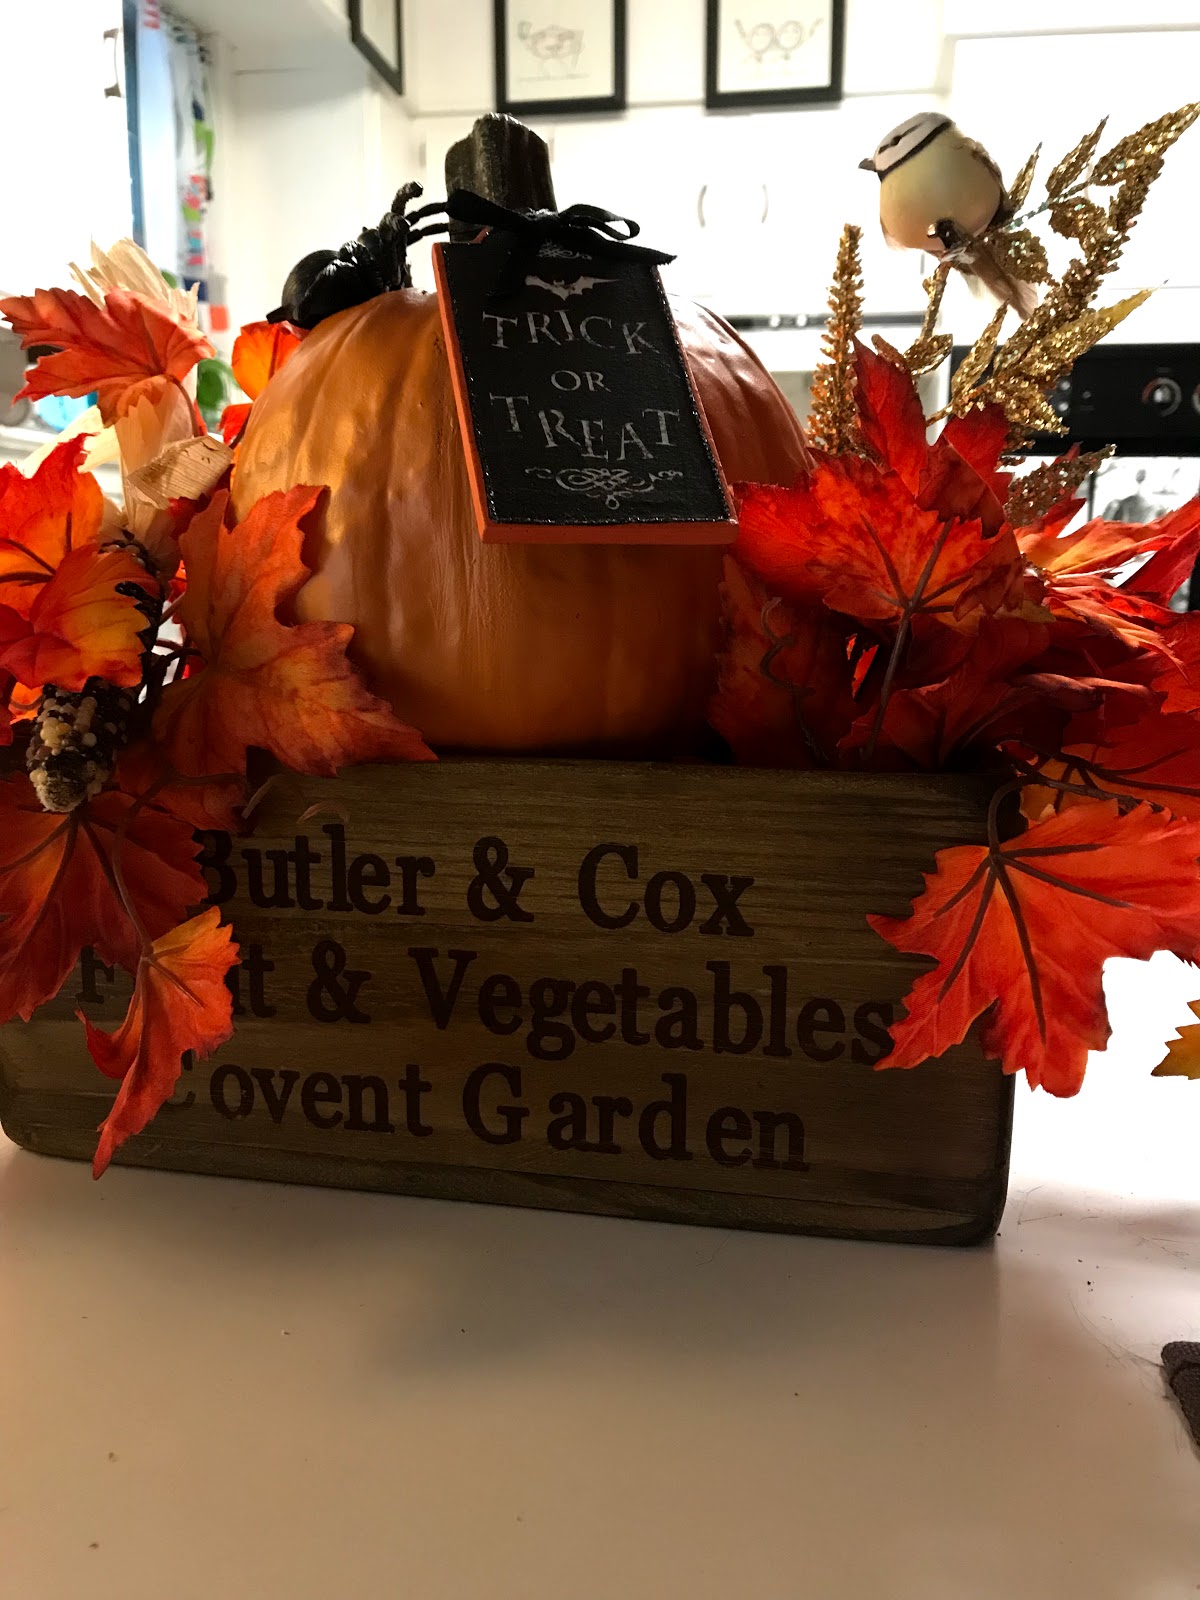
And this is on the counter top.
Yay!!!!  Halloween and fall is now present in my house.

Which meant that it was now time for me to start cooking some Fall foods.  And what says Fall more than pizza?

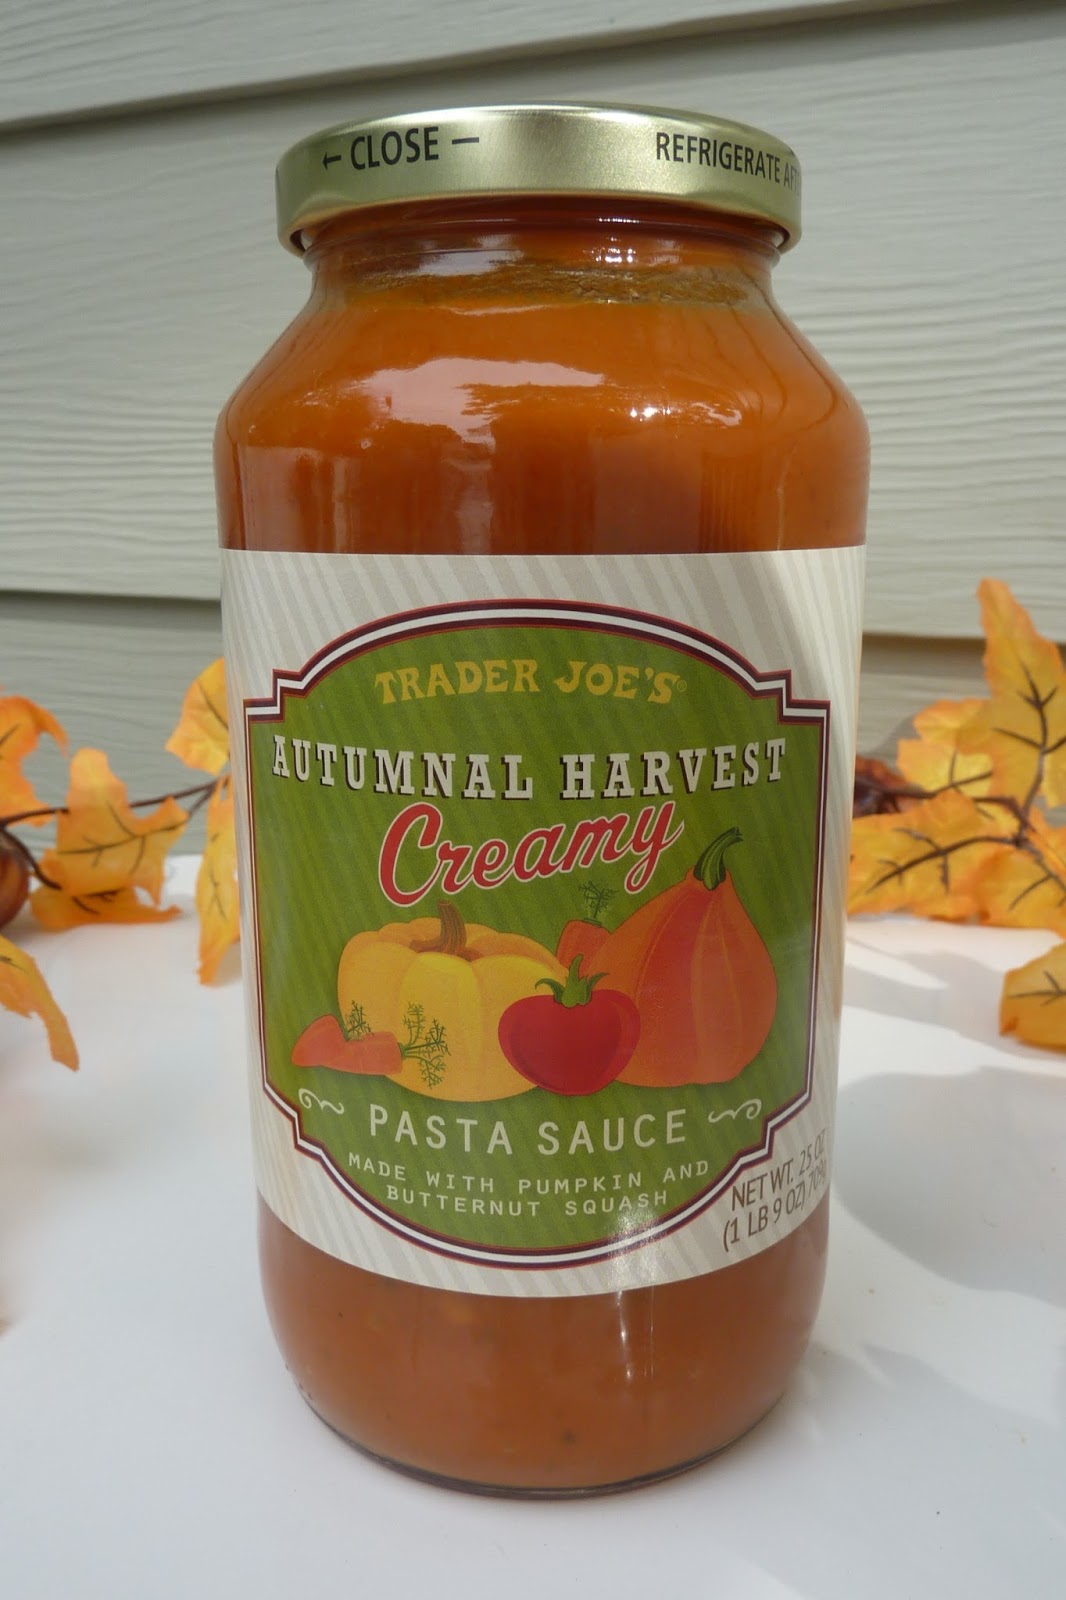
No seriously.  Thanks to Trader Joe's I have come up with a pizza specifically for Fall.  When I was in Trader Joe's getting my inexpensive cheese and wine, I came across a sauce that intrigued me.


This sauce is a combination of tomato, pumpkin and butternut squash.  I thought that it was either going to be very, very good or very, very bad and I had to try it.  So I took it home and made the most plain pasta that I could to see how it would taste and what it would taste good with.  After making the pasta, I still had half a jar left, and it was delicious, so I was inspired to make a pizza using the sauce.

Autumnal Harvest Pizza


Okay, so you are going to notice in this recipe that I don't have set in stone measurements.  This is because I think of pizza a bit like I think of smoothies, you should put as much or as little of an ingredient as you think would be delicious.  But I am giving you some measurement simply as a guideline.

Ingredients
1 pizza crust of your choice (I used the Pillsbury pizza dough you get in the can)
2 - 3 tbsp. Autumnal Harvest Sauce (If you like more sauce, then do it!)
2 slices thick cut bacon, diced
1/2 chicken breast, diced
2 scallions, minced
1 tsp. Herb de Provence, split
1 tsp. White Balsamic Vinegar
salt and pepper to taste
The following ingredients you can use in increments of your choosing, as long as they equal about one cup of cheese.
Shredded Mozerella
Shredded Sharp Cheddar Cheese
Shredded Truffle Cheese
Freshly grated Parmesan Cheese

Instructions
1.  In a small frying pan cook the diced bacon over medium-high heat until the bacon is crisp but not cooked the entire way through.  Using tongs, remove the bacon from the pan and place in a bowl lined with paper towels.
2.  Drain all but about 1/2 tsp. of the bacon grease out of the pan.  Lower the heat to medium and add the diced chicken, the white balsamic vinegar, 1/2 tsp. Herb de Provence, and salt and pepper.  Cook until chicken is cooked through but not dry, about 3 minutes.
3.  Remove the chicken from the pan and place in bowl until you are ready to assemble your pizza.
4.  Shred and grate all of your cheeses onto a large plate.  Once cheese is grated, add 1/2 tsp. of Herb de Provence.  Using your fingers toss the herbs into the cheese until it has been well mixed.
5.  Prepare your pizza crust according to package directions, this will let you know what temperature you should set your oven and how long you should cook your pizza.  The Pillsbury dough that I used has you cook your dough in a preheated 400 degree oven for eight minutes, remove from the oven and then add toppings.
6.  Assemble your pizza in the following order:
    Using the bowl side of a spoon, spread the sauce onto the pizza crust.
    Sprinkle diced chicken evenly over sauce and crust
    Sprinkle bacon evenly over sauce and crust
    Sprinkle minced scallions evenly over sauce and crust
    Sprinkle Cheese mixture evenly over sauce and crust
Make certain that you do not spread your sauce and ingredients to far to the sides.  You want to leave about one inch of naked crust all the way around the pizza dough so that you have a crust "handle" to grab on to once you are eating your pizza.
7.  Bake pizza according to dough directions.  I cooked mine for 8 minutes.
8.  Remove from the oven and enjoy!


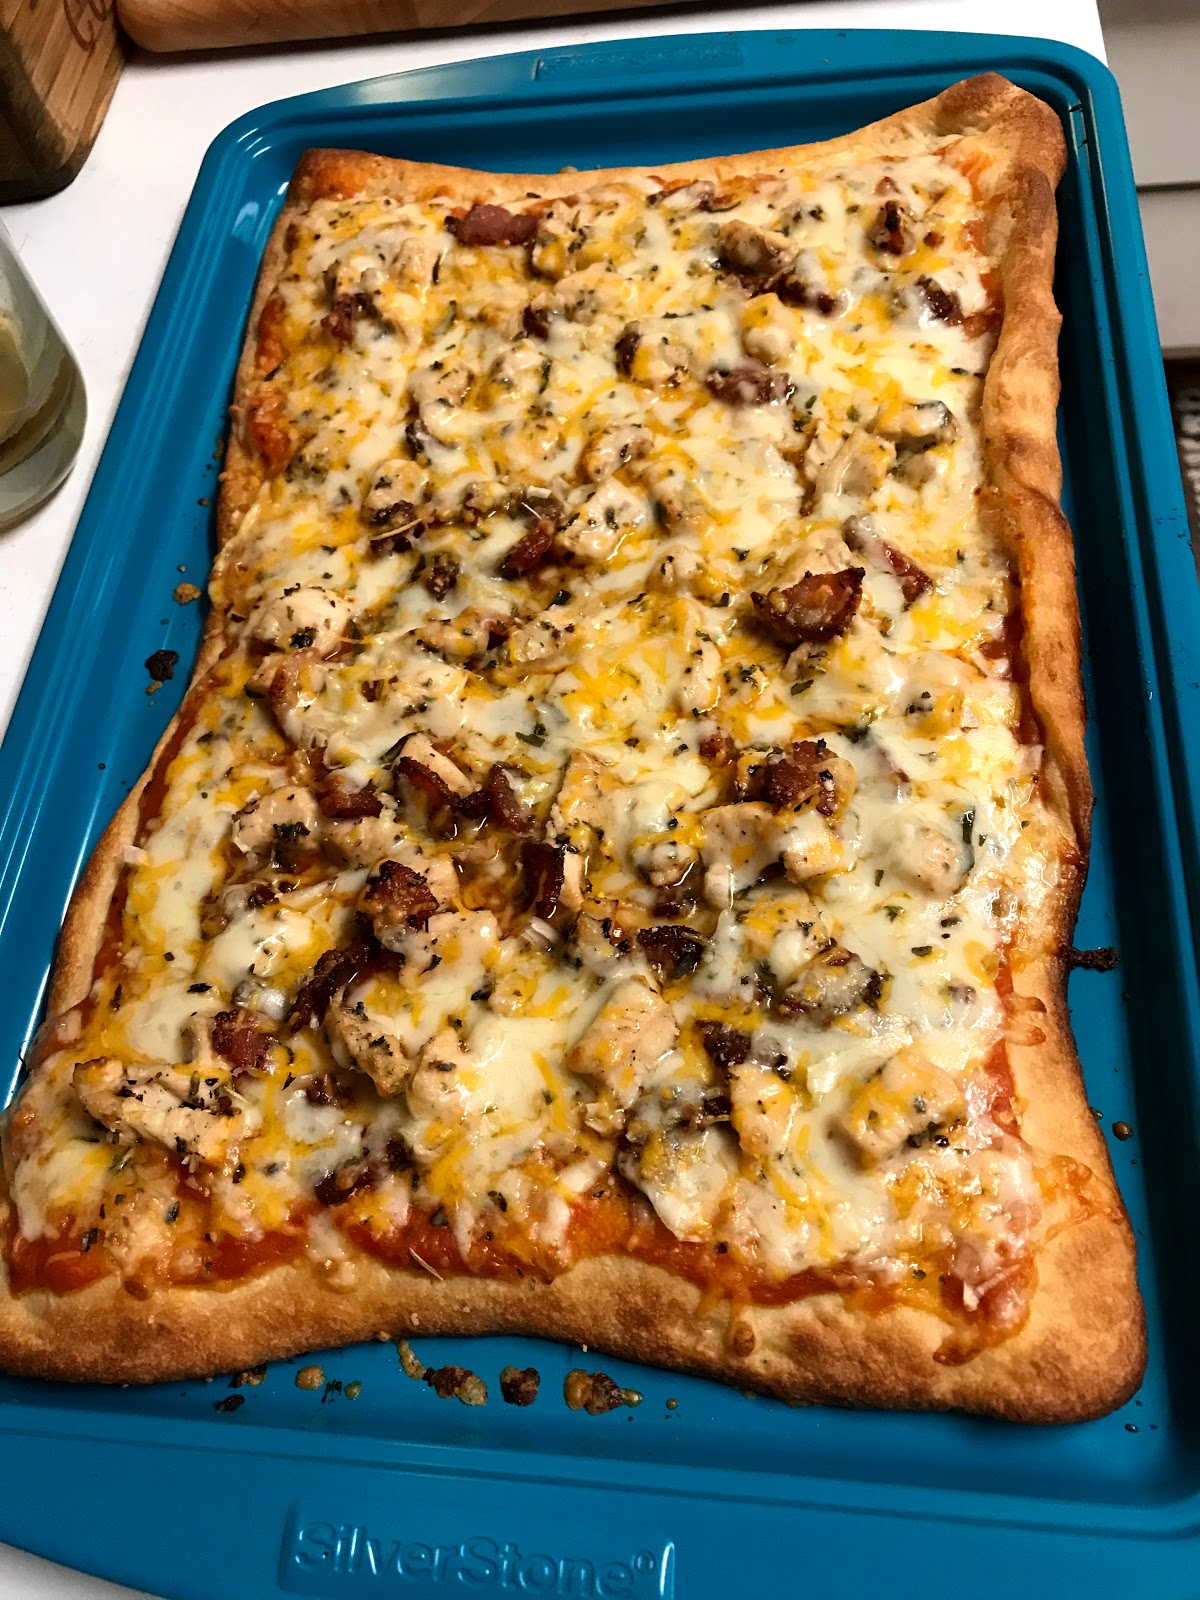
This pizza is delicious and is a way to enjoy pumpkin without falling into the pumpkin spice craze.  (Although, I won't lie to you, I love pumpkin spice.)  Keep checking back with the blog and I will give you more craft ideas and recipes for Halloween and the Fall season!


Sunday, August 20, 2017

Free Stuff for a Lazy Sunday

Hello Everyone!
Wooh, have I had a busy week-end.  This week-end has been a mostly work week-end for me, so I decided that today would be a do-nothing-Sunday.  On do-nothing Sunday's, I don't even like leaving my house, so I am always in search of things that I can do that don't involve leaving my house and, preferably cost me little, to no money, to do.  In fact, if I can do it in bed, in my pajamas, surrounded by my puppies it is perfect.

I did not stay all day in pajamas, although I assure you, it wasn't from lack of trying.

As those of you who read my blog are probably already aware, I love vintage things, especially vintage fashion and decorating, but I also have other vintage interests including movies, books and art.  So, I thought that I would share some of my favorite FREE vintage themed things for you to enjoy so that you too can have a do-nothing Sunday.

To Watch


By now, everyone has heard of YouTube.  You go there to get free videos of cats playing piano or to watch a plethora of cute French Bulldog videos.  It is also a wonderful place to get tutorials on how to create vintage hairstyles, make-up looks and crafts.  But it is also the place where independent film makers can post their movies.

Hedges Pictures

http://hedgespictures.com/home.html

I have a friend who creates many independent films under his film label of Hedges Pictures, some of which he has actually allowed me the privilege to act in.  Recently he decided to take up a forty-eight hour challenge.  For those of you who don't know what that is, a forty-eight hour challenge is when you create an entire movie, from writing, filming, to editing in 48 hours.  It's not near as easy at it may sound and I think he came up with one of the funniest films I have seen in a long time.
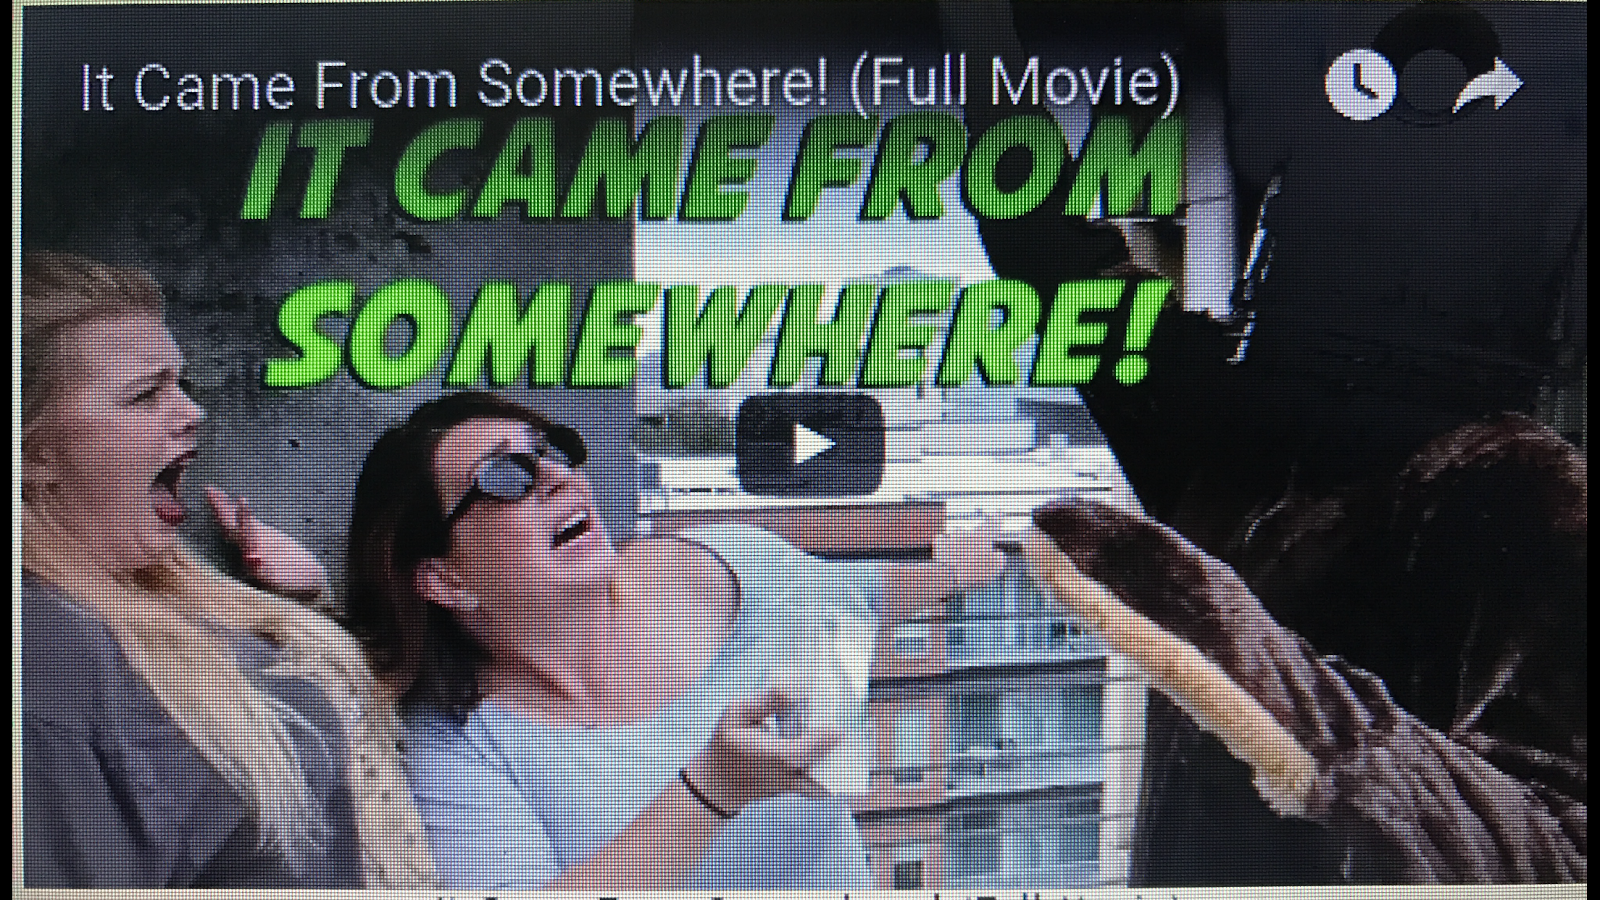
Purposefully bad/kitschy, the movie, called It Came from Somewhere, is about 15 minutes long and is a spoof on the B-rated alien/monster movies that were created in the 1950's.  (I am in this one, you'll recognize me by the green hair.  My husband is also in it, he plays the general.  Sigh......  I just love a man in uniform.)
Sorry this picture is so bad and doesn't actually link to the movie.  But I spent about an hour trying to figure out how to do that and couldn't figure it out so I had to take a picture with my phone.  (Sorry Travis!)
To watch It Came From Somewhere, just click on the link below.
https://www.youtube.com/watch?v=w-G7Ju68jBc&t=19s

Another movie that I love by him is the romantic comedy he filmed entitled Must Love Board Games. Although you don't have to know alot of the new classic board games that gamers love to play, it helps. I watch this movie to get my fix on a romantic movie with unexpected and REAL characters that I find I can relate to. (I am also an extra that you can't see in this.  I do not have green hair in this film.)


To watch Must Love Board Games
https://www.youtube.com/watch?v=ff9zbFCnTjs

If you would like to see other films by Hedges Pictures, you can click on his website. (I have included a link to the site below the picture of his logo.) I also love both of his Taylor Swift Stalker movies.  (Trust me, they're not as creepy as they sound.)


Documentaryheaven.com

In keeping with free things that you can watch, sometimes vintage, I love me a documentary.  Especially if it is a historical documentary.  A great site to go to for free documentaries is http://documentaryheaven.com/.
This site has full documentary movies on variety of subjects.  I like to go to the history category but there are several others to choose from, right now I want to watch Italy's Mystery Mummies and the Victorian Way of Death.


To Listen To


I did not bother to put anything musical here because, quite frankly, that is what the radio is for, but I do want to let you know about some podcasts that I think are worth the time to listen to.

Dorque Podcast

Since I have already shamelessly plugged a movie that I am in, I thought I would shamelessly plug my husband's podcast - which I am almost never in but I have had guest appearances-- and a little nepotism can be a good thing.  In his podcast my husband and his friend James just sit down and discuss all things Dorque together.  Since both of them are stand-up comics, it can make for some pretty funny listening.

https://itunes.apple.com/us/podcast/dorque-podcast/id737962013?mt=2

You Must Remember This Podcast


In going back to things that are vintage, one of my favorite podcasts is http://www.youmustrememberthispodcast.com.
This podcast is full of historical information about old time Hollywood - especially the stuff that Hollywood wanted to keep secret. It also tells forgotten tales that should never have been forgotten.  It has all the guilty pleasures of reading a National Enquirer with none of the guilt because ITS HISTORY!!!  And that's educational right?  Even when it is scandalous. I have to admit, that I am a little obsessed by the series called Dead Blondes.  Again, it is not as oogie as it sounds.  The dead blondes series covers the lives and deaths of famous blondes such as Grace Kelly, Marilyn Monroe and Peg Entwistle and is an entertaining way to spend some of your Sunday afternoon.
Below is a link to the Peg Entwistle podcast.
http://www.youmustrememberthispodcast.com/episodes/2017/1/26/peg-entwistle-dead-blondes-episode-1

To Read


The next one I am about to tell you about you have to be a  subscriber to in order to get the free stuff.

Bookbub

If you sign up for this site, it will send you a daily e-mail that will let you know books that are available for a very low price and, usually, at least, one book per day that is free.  There are several ways that these books are available, but I have a Kindle so I only have experienced the books available for the Kindle.  When you sign up for this site it has you take a small quiz so that it can know what type of books you are interested in reading: mystery, romance, biographies, etc.  Once you are done filling out the information you will start receiving daily e-mails for books that are in your interests that are on sale or free.  I have actually learned about quite a few new authors that I now love by getting some of their books that have been available for free that I never would have known without this site.
To sign up go to Google and look up Bookbub.  (For some reason, it won't let me link that and save it in my blog, so sorry there is no link.)

Free Art


Decorating can be expensive, especially when it comes to purchasing art for your walls.  I personally like my art to look a little vintage and a little pop-arty.  For a couple of sites where you can get that type of art for the can't beat price of FREE try the following websites.

http://www.remodelaholic.com/?s=art
This site has fun prints, many of them with a vintage flair or style, especially if you are into that mid-century vibe.

http://www.freevintageposters.com/
I think this site the name gives the only explanation that you really need.  But, for those of you who still aren't sure, this site contains free vintage posters that you can print or just look at - rather like an art gallery on your laptop.

Well, that is it for my free things that you can do on a Sunday post.  I may make it a regular feature, who knows - we'll see how I feel and if I find any more awesome free things.