Showing posts with label recipe. Show all posts

Tuesday, December 13, 2016

Leftover Gumbo Sandwich on French Bread with Baked Sweet Potatoes Fries and Fry Dipping Sauce - Friday - One Week Menu

Hello Everyone!
We are down to two more nights worth of leftovers.  The recipe for this post is more of a different way of serving something than an actual recipe.


 I love gumbo.  Its one of the foods I quickly grew to love when I moved to Louisiana.  But even as much as I love gumbo, I don't always want it served over rice as a soup.  I came up with this idea because I love french dips and I thought that I could make a version of it with my leftover gumbo.
I included the gumbo recipe in an earlier post and told you to keep a little out of the freezer for another meal, this is the meal that I was referring to.  This is a super simple dinner and is quick to prepare.

Leftover Gumbo Sandwich

Ingredients
French Bread, sliced in halves diagonally
Leftover Gumbo
Mayo, optional
Dijon mustard, optional
Cheddar Cheese, sliced or shredded

Instructions
1.  Put at least two cups of leftover gumbo into a pot and heat over medium heat until warm.
2.  Using a slotted spoon, remove all of the meat and veggies from the heated liquid.  Place the solids from the gumbo onto a bottom slice of bread.
3.  Cover with the cheddar cheese (I liked shredded, but my husband prefers slices.)
4.  On the top slice of bread place the condiments that you wish.  Mayo and Dijon mustard are delicious, but you may want to do the condiment you prefer.  I don't like lettuce and tomatoes on my sandwich, but you might.  Don't be afraid to try what you like.
5.  Once you have arranged your sandwich, put the top slice of bread on the sandwich.
6.  In a small bowl or pastry cup spoon the liquid from the gumbo.  Use this as your "au jus" to dip your sandwich into.

Baked Sweet Potato Fries

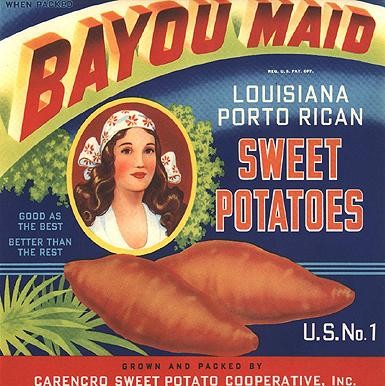
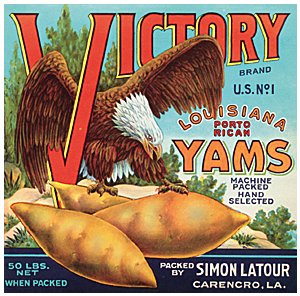
Sweet potato fries are a bit of a southern thing, especially here in Louisiana where they were grown for a while.  As you can see by the vintage ads I found online:


I think this may be my favorite ad.  I love the name of Bayou Maid.  I also am partial because the college I went to was not that far from Carencro, LA and Carencro is where I experienced my first really good gumbo.


While they are delicious, they can be a bit unhealthy if fried in the traditional manner.  In this recipe, I show you how to make sweet potato fries in the oven.

Ingredients
1 tbsp. olive oil, (can use less if you choose, you just need enough to coat the potatoes)
2 sweet potatoes, peeled and sliced into 1/4 inch strips (You can use a crinkle cut knife if you want them to look pretty)
1 tsp. kosher salt, (Salt is to taste, you can add more if you desire)
1 tsp. freshly ground black pepper
1 tsp. garlic powder
1/2 tsp. paprika
1 tsp. sugar (optional -- this actually is good on all fries, but is especially good on sweet potato fries, but the recipe tastes just as good if you are afraid to try it.)

Instructions
1.  Preheat oven to 450 degrees.
2.  Line a baking sheet with parchment paper.
3.  In a large bowl, toss the sweet potatoes with the oil, salt, pepper, garlic powder, paprika, and sugar.
4.  Spread sweet potatoes in a single layer on the prepared baking sheet.
5.  Bake until sweet potatoes are golden brown and tender, turning occasionally, about 20 minutes.
6.  Depending on how much salt you've used, you can sprinkle with creole seasoning when you take them out of the oven.

Let the fries sit before serving.

You can dip them in anything that you would dip your regular fries in, but I find that this sauce is especially good.


Dipping Sauce

Ingredients
2 tbsp. mayo
1 tbsp. ketchup
1/2 tsp. lemon juice
1/4 tsp. soy sauce
1 tsp. Worcestershire sauce
2-3 drops hot sauce  (I like Louisiana hot sauce, but, on occasion, Sriracha is good too)
  
Instructions
1.  Mix all ingredients together in a small bowl.

Feel free to adjust these seasonings to your personal taste.  Sometimes I like to add more mayo, other times I like to skip the lemon juice.  It really is whatever you feel like tasting when you make the sauce.

I am going to try to post one more post tonight and then I will be caught up on the one week recipes and will start posting my Christmas Crafts and Recipes!


Sunday, December 11, 2016

Turkey and Sausage Gumbo - Monday, One Week Menu

Hello Everyone!
Oh my goodness, I am so behind on everything this season!!!


 My internet went down for an entire week and I couldn't post my week of Thanksgiving leftover recipes. Then, once the cable guy finally showed up to fix the internet - it only took him three scheduled appointments before he arrived - I had rehearsals every night for a week.  I also got a new, eleven month old French bulldog puppy the week that this all happened.

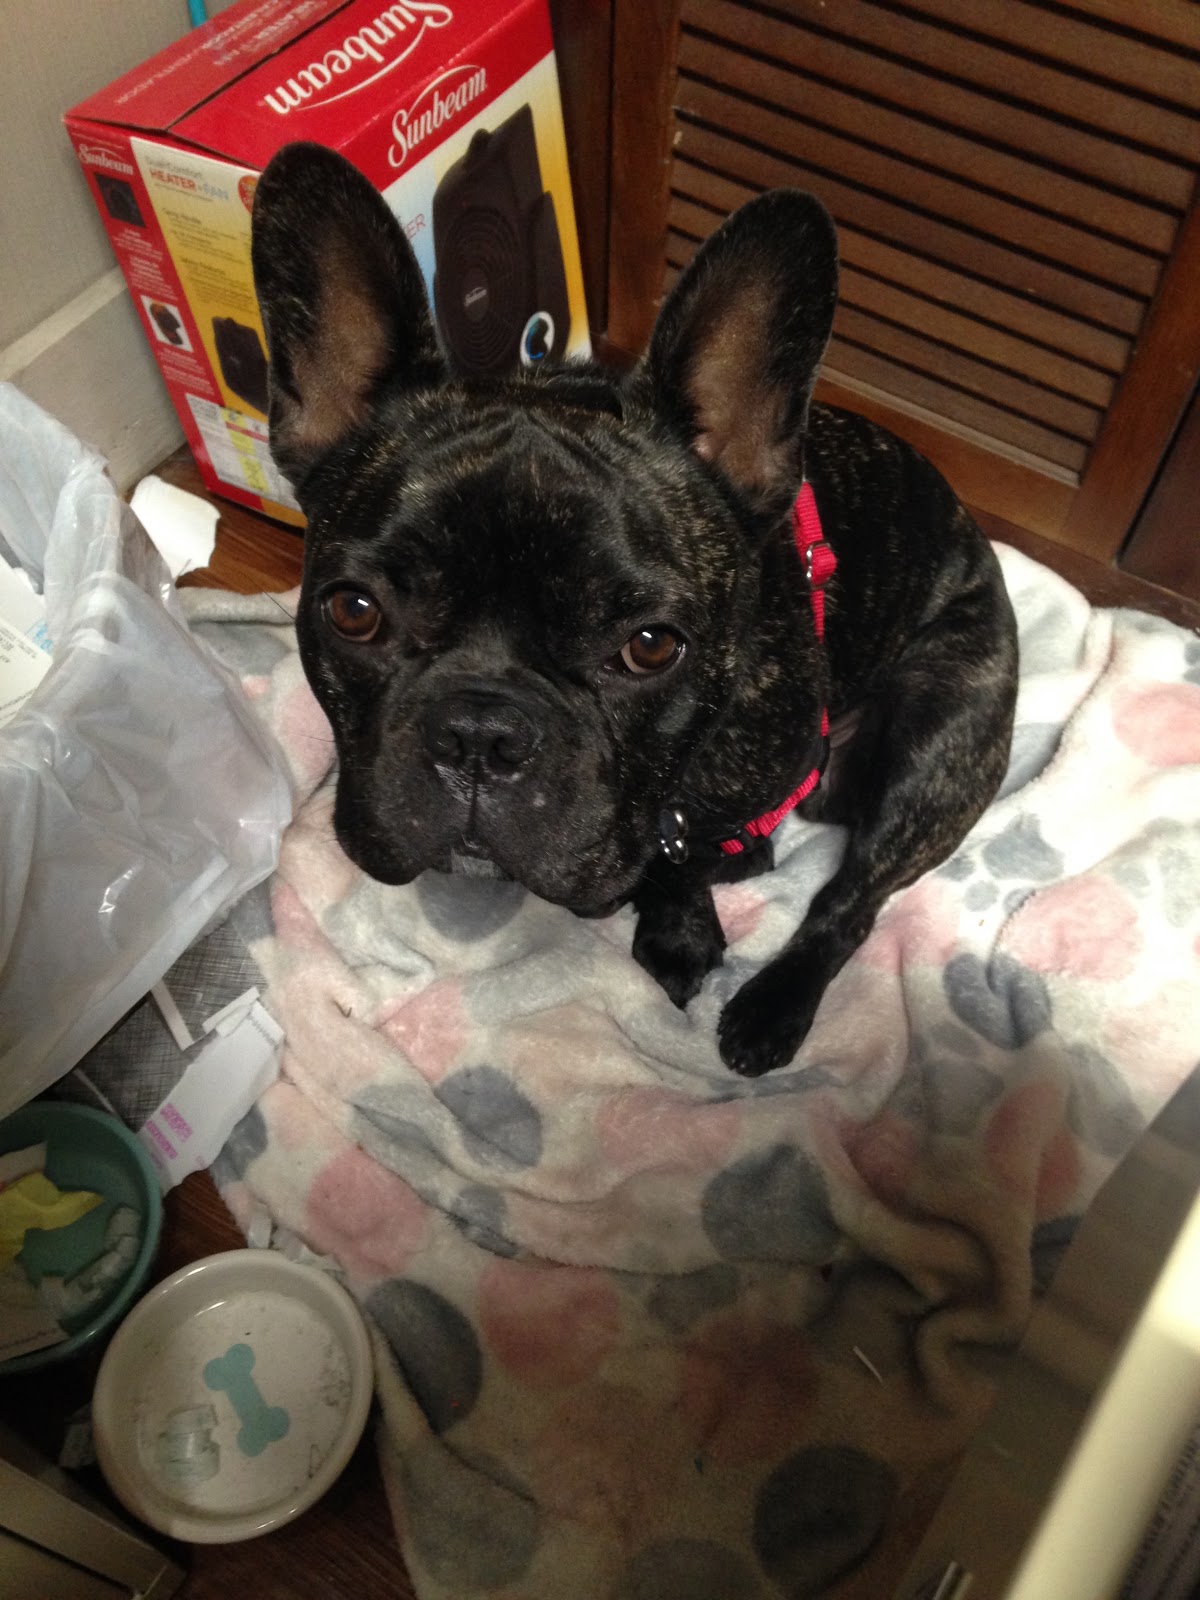
This is Moss in his corner at the theatre where I work.
His name is Morris.  We call him Moss and he is our fourth dog.
That means that we now have four dogs and two cats.  ("Hi, my name is Carole and I have a pet addiction.")
All of this means that I am behind on both my posts and my Christmas decorating.  The outside of my house looks festive but the inside looks like any other time of the year.  I hope to change that tonight and tomorrow night.
I thought for a long time on how I should post the recipes that I promised for the one week leftovers menu, and I figured the best solution was to post the recipes as I originally intended so that they would be easy to find if anyone wanted to try them, but that I wouldn't put a notice up like I usually do and that I would try to get my Christmas posts up and those I would post on Facebook.  We'll see how that works.

Today I am doing a recipe that no one in Louisiana needs - a recipe for Turkey and Sausage Gumbo.  Everyone has their own version of grandma's gumbo. Since I don't have a Cajun grandma, but have lived in the state for years, I have come up with my own version of gumbo that I have learned from several of my friend's grandmas.  This is my recipe that my husband, who has lived in Louisiana all of his life loves.

Turkey and Sausage Gumbo

Ingredients
2 cups cooked turkey, cut into 1 inch cubes
5 tbsp. oil (for frying)
1 1/2 pounds Andouille Sausage  or Smoked Sausage, chopped into coins
6 tbsp. all purpose flour
4 cups onion, minced
1 bell pepper, chopped finely  (or about 1 cup)
1/2 cup celery, chopped finely
2 1/2 quarts chicken stock
2 tbsp. garlic, minced
1/2 tsp. ground thyme
3 bay leaves
1/4 tsp. cayenne pepper
1 tbsp. basil
Salt and Pepper to taste
1/2 cup green onion, chopped (optional)

Instructions
1.  In a large, heavy bottomed stock pot, heat up the oil over medium heat.
2.  Add the Andouille sausage and fry for 4 to 5 minutes.  Remove with a slotted spoon and reserve on a plate for later.
3.  Turn down the heat on the stove to medium-low.
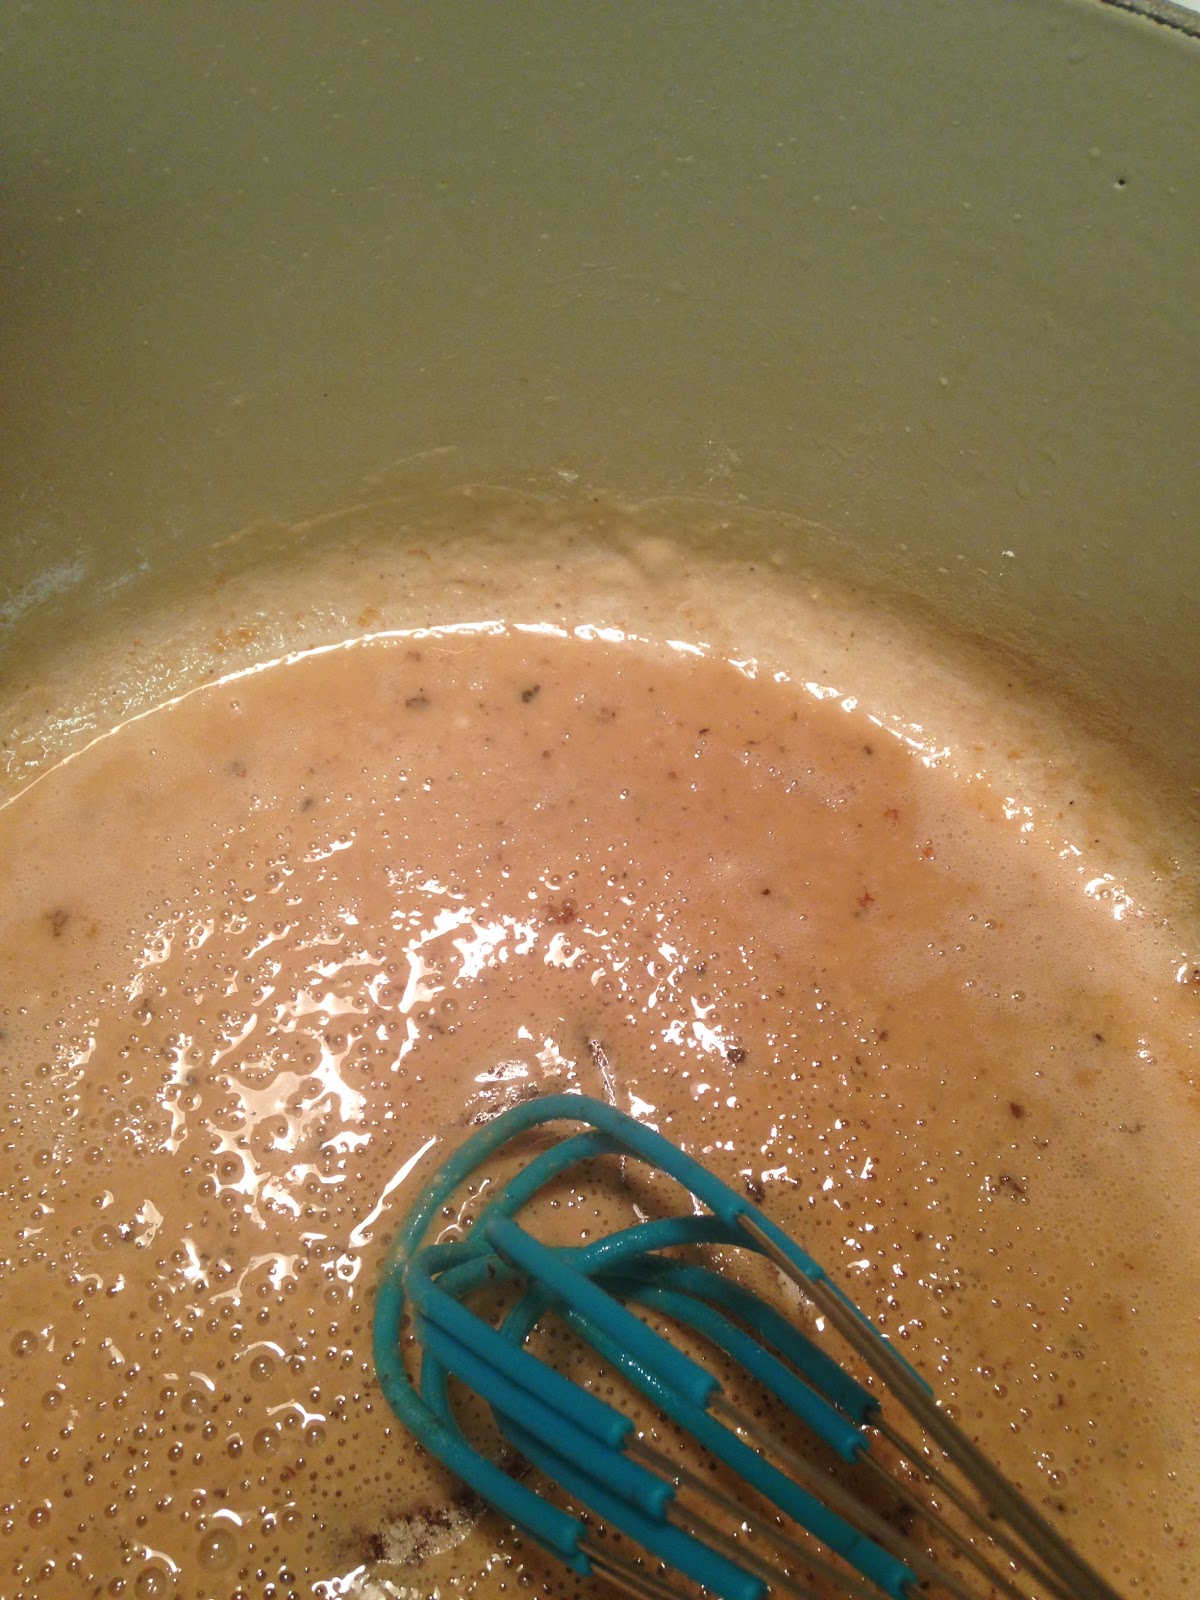
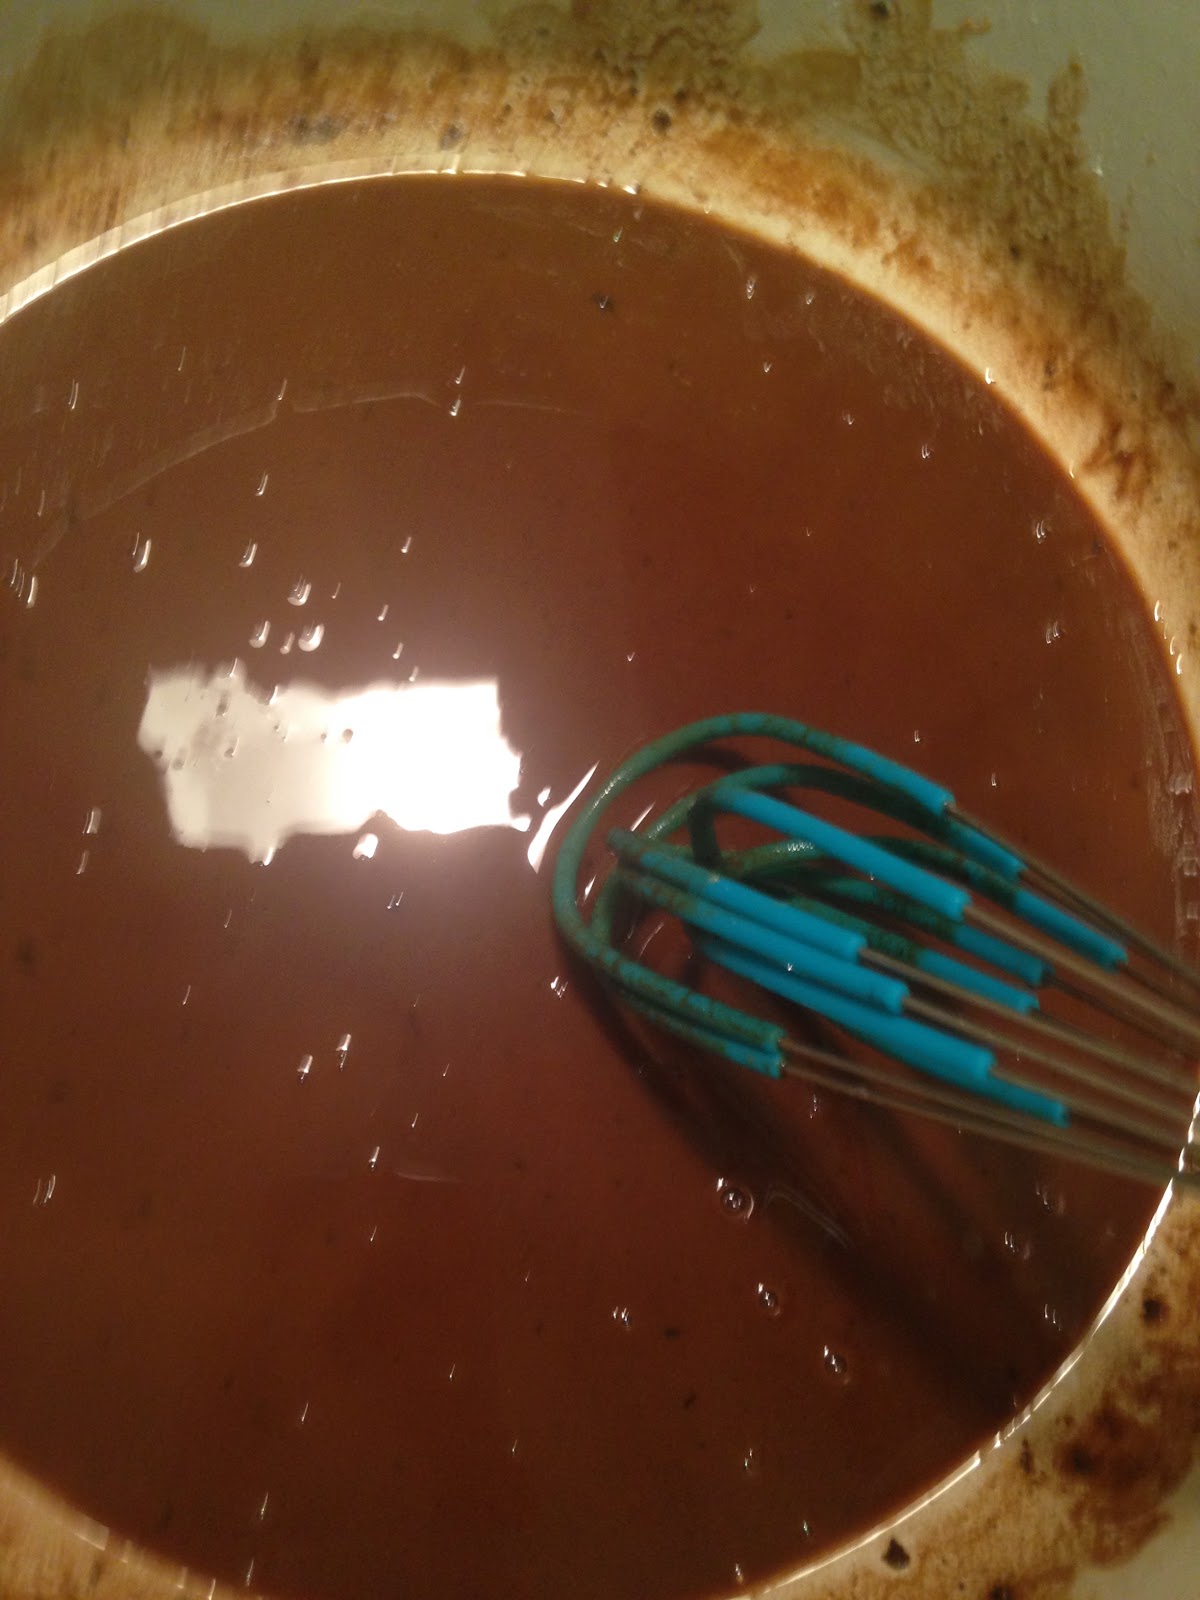
4.  To the oil left in the pot, add the flour and slowly cook until the flour is the brown color of dark chocolate, making certain to whisk constantly.  (This is the hardest step and is called making a roux.  If you have the heat too low, your roux will take forever to cook, if you cook it on too high a heat, the roux will burn and your gumbo will turn bitter and not taste very good.)  Another way of telling your roux is done, other than color, is the smell.  When it is close to being ready, it will smell like it is just on the edge of burning.  (My husband always knows the roux is almost ready by that almost burning smell.)

This is what the roux looks like when you first add the flour.


This is the color it should be when it is done

5.  When the roux is ready, add the onions, bell pepper and celery and saute until the vegetables are limp.

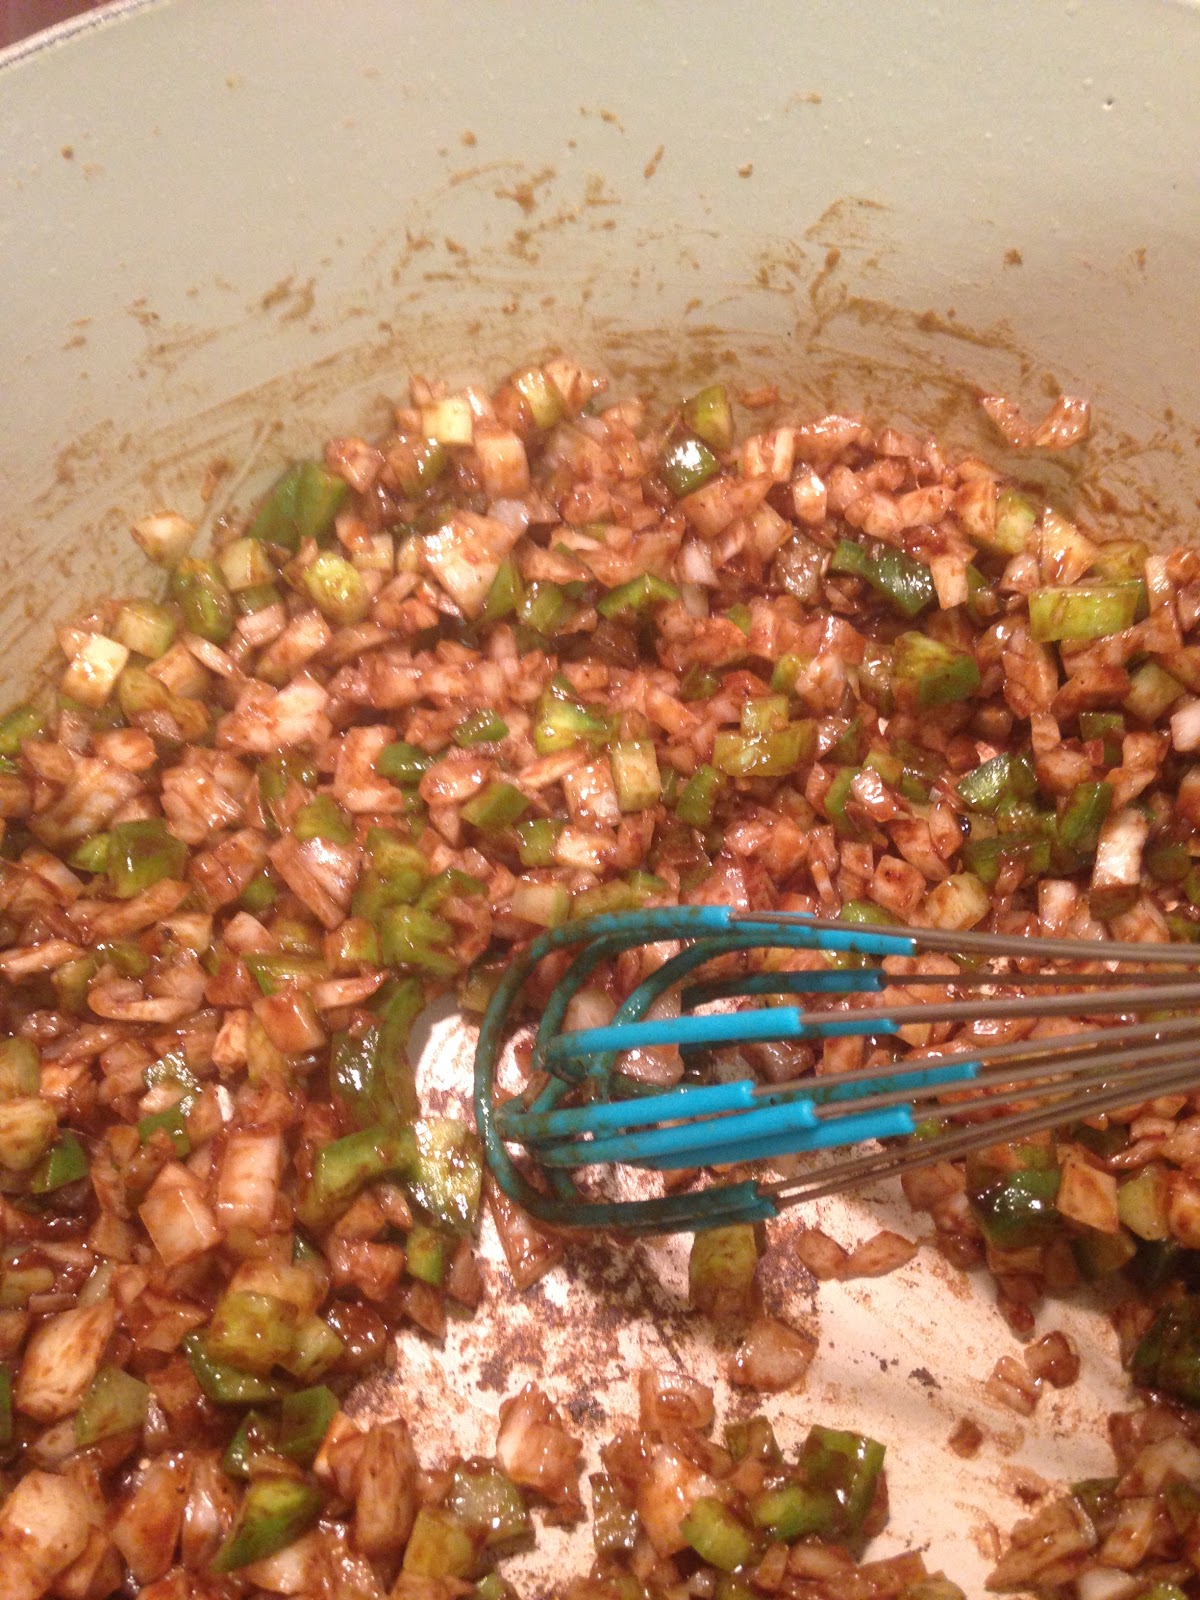
This right here, is a picture of Cajun goodness.  It is the trinity being cooked in the dark flour roux.  This is one of the best smells that you will ever experience.

6.  Add the chicken stock, a little at a time, and stir until blended each time.
7.  Add garlic, thyme, bay leaves, cayenne pepper and basil.  Stir until mixed well.  Carefully add salt and pepper to taste.
8.  Let the mixture slowly simmer for at least 40 minutes.
9.  After it has simmered for 40 minutes, add the turkey and the sausage.  Cook until turkey is warmed through and tender, about 20 minutes.
10.  Remove the pot from heat and add the green onions.  Let set for 10-15 minutes and serve over cooked rice.

This dish, minus the rice freezes great!
What my husband and I usually do is have our bowls for dinner, save enough for one more night's worth of meals and freeze the rest.  It makes a great quick meal in the winter time.

I will try to keep posting recipes and Christmas posts will be coming soon!

Sunday, October 23, 2016

Pumpkin Pie Smoothie -- Its not as SCARY as it sounds. I PROMISE!

Hello Everyone!
It's probably pretty obvious right now, but I love fall.  I'm sort of a walking cliche.  I want to wear the big, bulky sweaters, scarves and boots.  I want to drink pumpkin spice lattes and hot apple ciders.  But, until just about a week ago, the temperature where I lived was in the nineties.  So no sweaters, no boots, and no hot beverages.  In an attempt to appease my pumpkin spice latte addiction, I thought that I would try to come up with a pumpkin pie smoothie recipe.

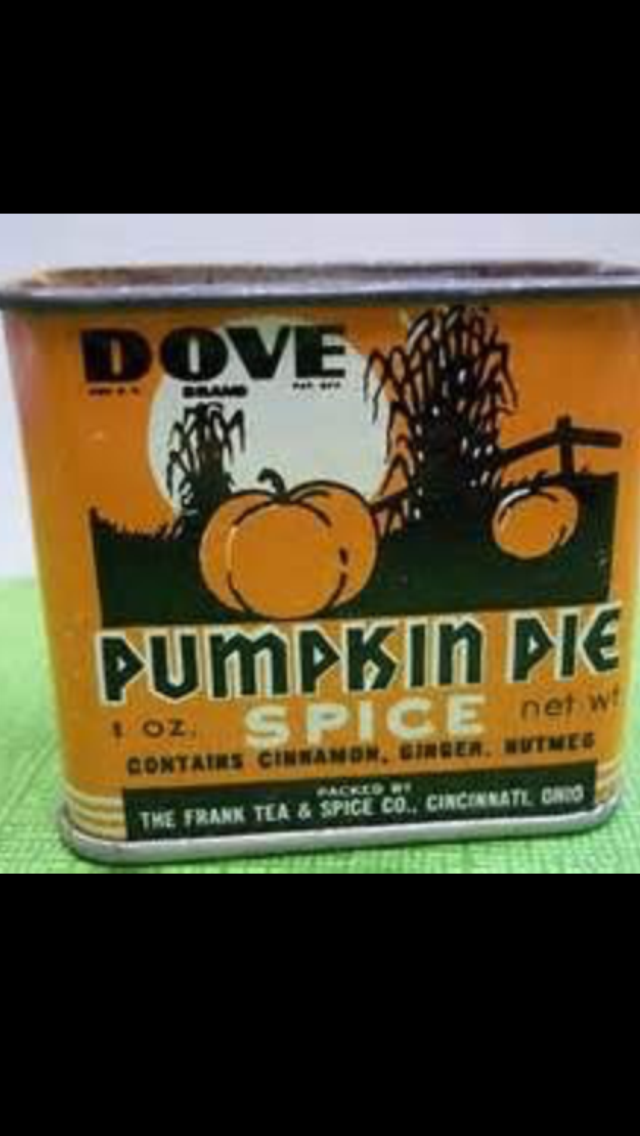
Why don't they decorate spices like this anymore?  It would make your spice cabinet look so much more interesting!


I would like to say that this was my genius brainstorm, but the truth is I saw an e-mail from Bon Appetit that contained a recipe for a pumpkin smoothie.
Unfortunately, I did not like their recipe.  And when I went to look for other recipes online I wasn't crazy about their recipes either.  Some recipes asked for banana, or put in ice.  Yuck.  The only one that I found that sounded delicious was the recipe from the Pioneer Woman, but her recipe was for eight servings and I am just one person.   (I thought that you might like to try it, so I have put the link in this blog.)

http://thepioneerwoman.com/cooking/pumpkin-smoothie/

So, to the drawing board I went.  I even asked one of my friends, who works in a smoothie shop, what he thought of my ingredients and whether it would make a good smoothie.  He gave me some pointers and then it was off to experiment!  After a few tries, this was the recipe that I liked the most.

For those of you who are leery of a pumpkin pie smoothie, I have this tale to tell.  My husband was disgusted by the idea when I told him what I wanted to try this week-end.  For this reason, I only let him sample my final project.  Which he STILL looked on with distaste.  But, he loves me, so he tried it.  HE LOVED IT!  He says that he could easily drink this in the morning and he also believes that it could be served as a desert and no one would be upset.  (So long as they liked pumpkin.)  The moral of the story is, don't be afraid to try this, it is really yummy.

Pumpkin Pie Smoothie


Ingredients
1/4 serving pumpkin, from 15 ounce can (Please note that this is a serving, not 1/4 cup)
1/4 - 1/2 cup Vanilla Almond Milk (I like to do 1/4 cup because I like a thicker smoothie)
1/4 - 1/2 cup Vanilla Honey Greek Yogurt  (I do slightly less than half a cup), you can also use regular vanilla yogurt
1/4 tsp. - 1/2 tsp. Cinnamon (This all depends on how much you love cinnamon.  1/2 tsp. can be ALOT, so try small and work your way up 
Nutmeg, a pinch.  Seriously, you do not need a lot here, I just sprinkle mine on.
Ginger, dusting  (Just sprinkle this on.  A little goes a LONG way.)
1 tsp. Maple Syrup (Optional)  can do more if you would like it sweeter (Also, I use real maple syrup, not maple flavored syrup.
Graham Crackers (Cinnamon or Regular), crushed 

*NOTE*  You can substitute pumpkin pie spice for the cinnamon, nutmeg and ginger.

Please keep in mind that all of these ingredient amounts are relative to personal taste.  You may want to add more cinnamon, or more almond milk -  if you want your smoothie to be thinner.  One of the things that I love about smoothies is that they are so organic when you make them.  I, literally, never measure anything when I make a smoothie.  (I did when I made this, so I could let y'all know the measurements and it was weird!) So do what you think will taste good - I have just put these measurements as guidelines.

Instructions
1.  Separate a 15 ounce can of pure pumpkin puree into four equal parts.  (You can measure it, but I just eyeball it.)  Put each part into a freezer bag.  

This is the pumpkin.  I know that it looks like some sort of Oompa Loompa shaded chicken breast, and is not very yummy looking but, trust me, it gets better.

As you can see by the picture, I took each quarter and put it into sandwich bags and put all of those into a gallon freezer bag.)
Put into the freezer and freeze overnight.
2.  Once your pumpkin is frozen, you can now make smoothies.  Take one packet of the pumpkin and put it in a single serve blender.  (I like to use the bullet and use the cup container with a handle.) 
3.  Add the yogurt and the almond milk.
4.  Add your spices and maple syrup.

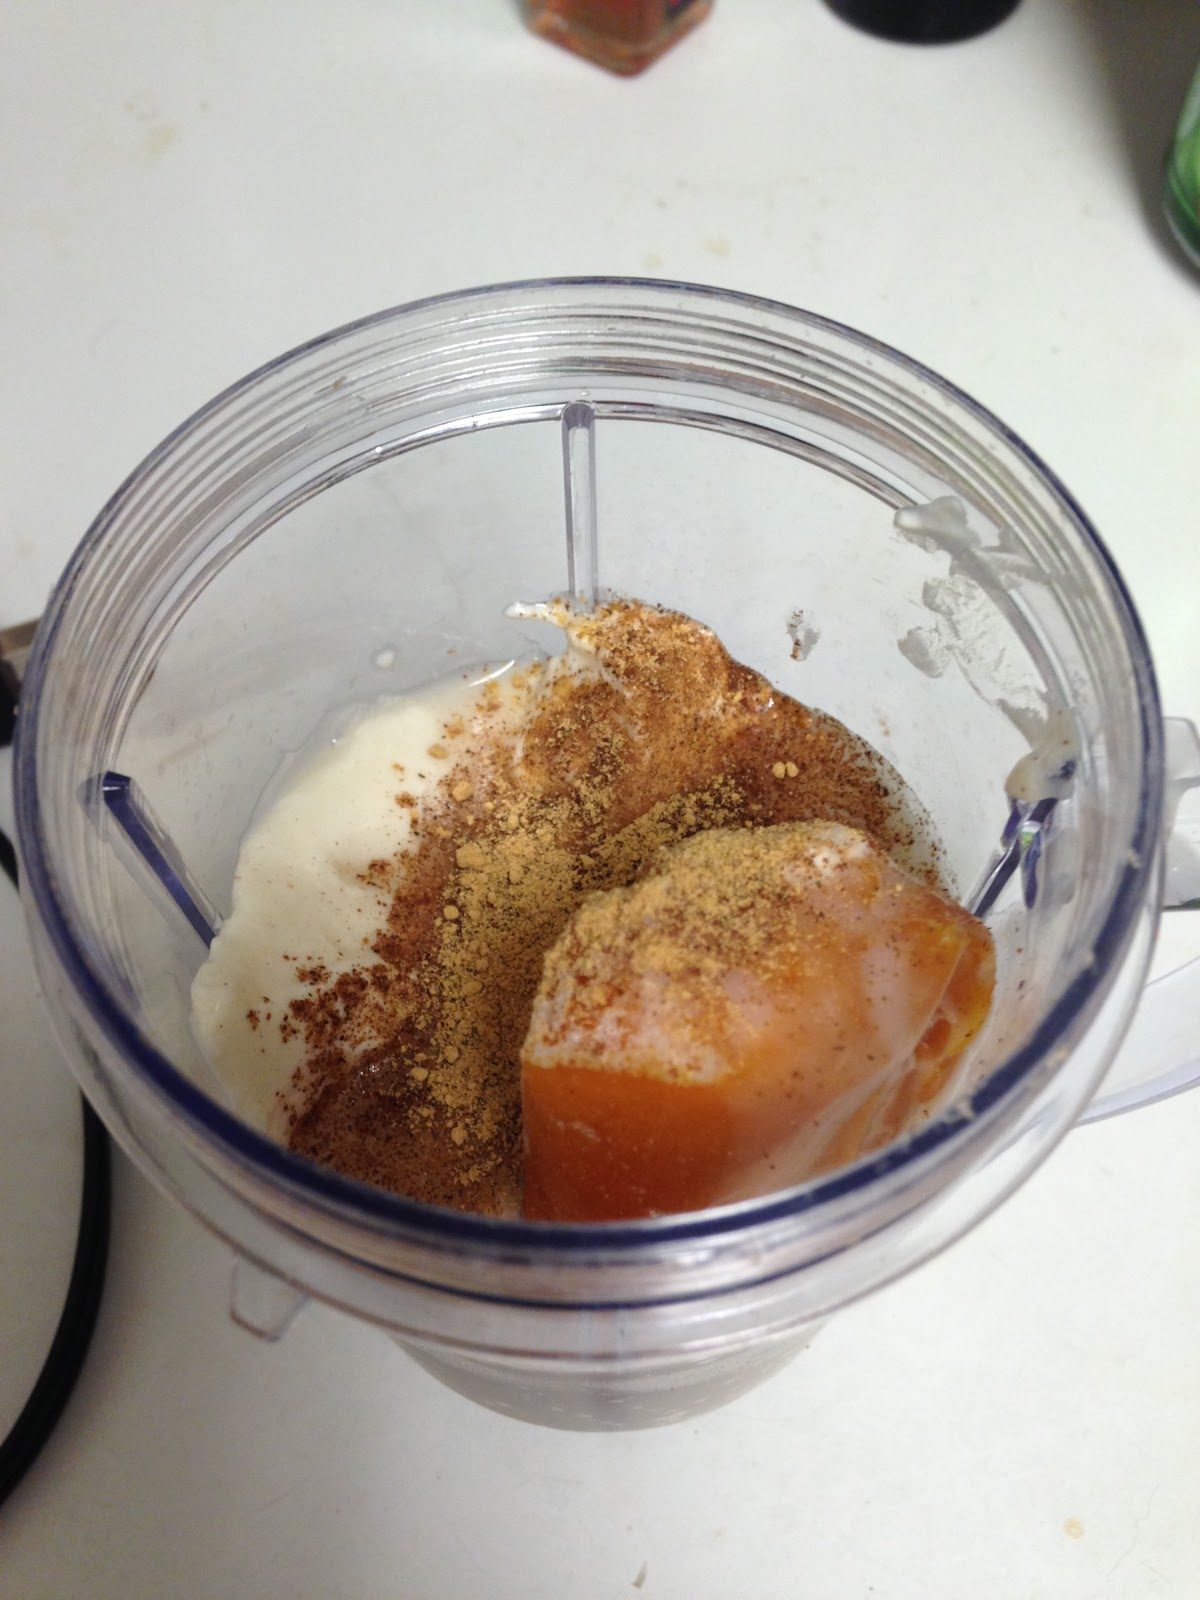
Still sort of horrifying, I know.  But it will get better!

5.  Blend all of the ingredients together until the frozen pumpkin has been completely incorporated into the beverage.  


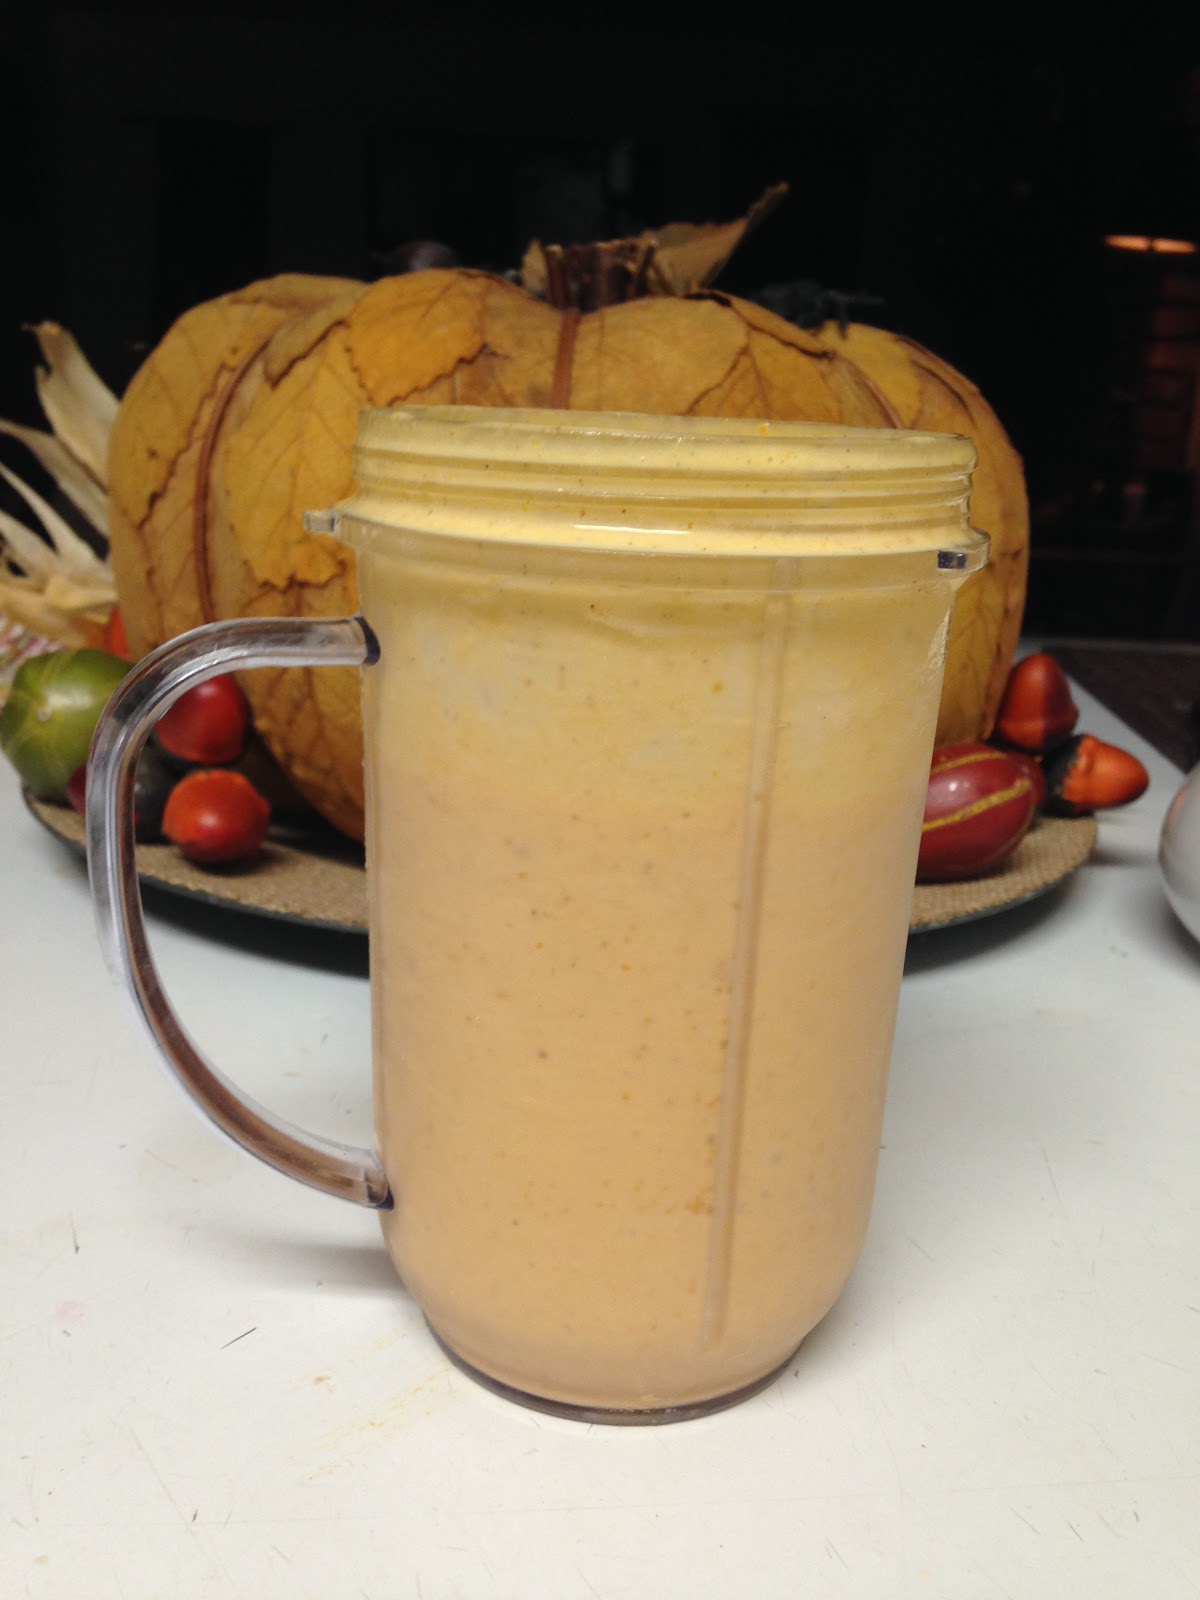
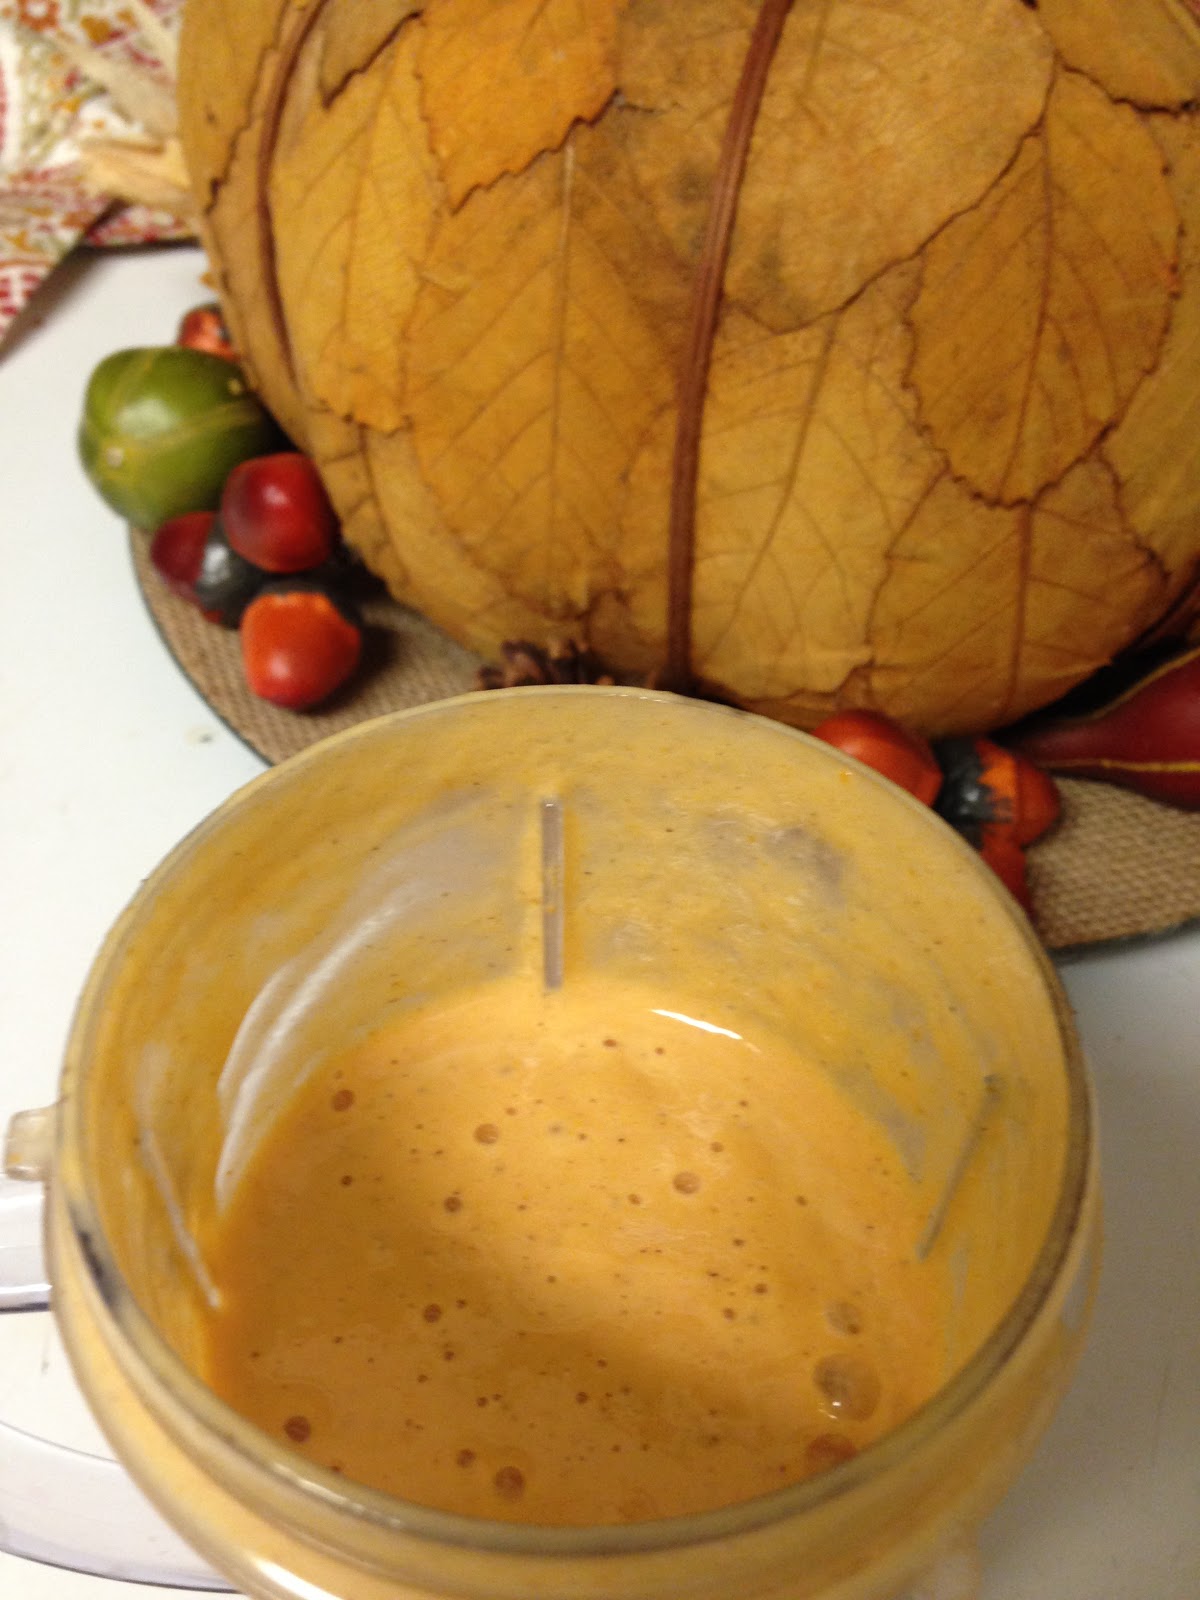
Once it is done it should be creamy and wonderful.
6.  You can add the crushed graham crackers if you want.  Or you can just drink it plain.  Whatever suits your fancy!

How easy is that?!?!?!  It tastes like pumpkin pie and you didn't have to wait for it to bake!

I'm not done with Halloween yet.  Soon I will be posting some inexpensive, but scary, ways to decorate the outside of the house for the Halloween holiday and I will be adding some more recipes. Plus, I will have pictures of my adorable pooches in their Halloween costumes.   Its a Halloween boo-fet (pronounced boofay) of goodies on the Frugal Femme which I hope you enjoy!

"Mommy, why don't I get to wear a costume?"

Thursday, January 14, 2016

Eggplant Ratatouille with Lemon Marinated Chicken Breast

Good Evening Everyone!
Tonight we use the remaining, mutant, chicken breast that should be left over from the dill mustard chicken packets. I have modified this recipe from a recipe by Maria Hines when she was a guest on Cooking with Nick Stellino.  If you have not heard of Nick Stellino, you should truly look him up.  He has a cooking show on Create TV on PBS, which is free (FRUGAL)  and he does amazingly, delicious dishes.  He is also hilarious to watch.  I adore him. I saw this dish and it made me want to try Ratatouille, even though I hate eggplant!  I'm glad I did, this dish is delicious. If you want to see his video on how to make the dish, here is the link:
http://www.nickstellino.com/Recipes/Menu/Recipe/Default.aspx?men=30&rec=710

My version of this dish is different -  mostly because I have modified it to serve 2 people rather than four-- but I love watching professionals cook and seeing how they do things.


Eggplant Ratatouille with Lemon Marinated Chicken Breasts

Ingredients
Juice from half a lemon  (I have used balsamic vinegar in pinch and tastes good)
kosher salt and fresh ground pepper to taste (I like to skip the salt and use Creole seasoning instead)
1/4 cup extra virgin olive oil
1 clove garlic minced
1 chicken breast (cut in half and pounded with a meat mallet to make the breasts an equal thickness for more universal/even cooking)

For the ratatouille:
1 1/2 tbsp. olive oil
1 clove garlic, minced
1 small yellow onion, finely diced
1 small eggplant or half a large eggplant , peeled and diced
1 small zucchini, diced
1 small green bell pepper,  seeded, rinsed and diced
1/2 cup sundried tomatoes packed in olive oil or 2 roma tomatoes (If using the roma tomatoes, I like to add a little basil, about 1/2 a tsp.  I find this gets closer to the taste of the sundried tomatoes than just the plain tomatoes.)
Kosher salt and freshly ground pepper to taste  (Again, I skip the salt and use Creole Seasoning)
1/4 cup chardonnay  (to save money, buy the small bottles that you can get for about $1.50 in the grocery store--drink the rest while you cook.  Lovely and frugal!!!)
1/2 tsp. or 1 tsp. white wine vinegar
1 tbsp. chopped flat leaf parsley  (I like dill and have substituted that for the parsley, but I don't think that is very French.)

1.  In a small bowl, whisk together the lemon juice, olive oil, salt and pepper (or creole seasoning) and garlic.  Place the chicken breasts in a large ziplock plastic bag.  Add the lemon mixture to the bag and coat the chicken thoroughly.  Set aside.
2.  Preheat the grill.  If you are cooking on a grill pan indoors on the oven, skip this step and move on to step three.
3.  In a medium size pan, heat 1 1/2 tbsp. olive oil over medium heat. Add the garlic and onion and sauté until the onion starts to soften, about 1 to 2 minutes.  Add the eggplant, zucchini, bell pepper and tomatoes.  Stir to combine.  Season with black pepper and salt (or replace salt with Creole seasoning). Cover the pan with a lid and let cook for about 20 minutes, stirring frequently.
4. When the ratatouille has only about 10 minutes left to cook, heat your grill pan (if you are using a grill, you have already heated your grill).  Remove chicken from the marinade and discard the marinade. Place the chicken on the grill and grill for about 3 to 5 minutes per side, or until done. (Use your meat thermometer!!! Or, if you don't have one, when you think the chicken is done, slice in the middle of one chicken breast with a sharp nice and make certain the juices run clear and the meat is no longer pink.)  Remove the chicken from heat, put on a serving platter and cover loosely with a piece of foil.  Let the chicken rest for about 10 minutes.
5.  To finish the ratatouille, this will be right around the time that the chicken is resting, add the Chardonnay and stir to combine. Let the wine cook off, gently scraping the pan with a non-metal spoon to deglaze it. Taste and adjust the seasonings to your preference.  (This is where you can add more herbs, salt and pepper to your taste.)  Add 1/2 tsp. or 1 tsp. vinegar.  Add the parsley and stir so all ingredients are mixed together.

Spoon the ratatouille onto plate.  Add the chicken breasts.

TIP:  In the video, they used circle molds to mold the ratatouille into these circle modes to make this very elegant presentation and I fell in love with it.  I wanted to do and went to buy myself some food molds.  I thought they would be around $5.00.  I was so wrong!!!  Not to be deterred, I realized that I could probably make one from something I had around the house.  I had purchased two small cans of water chestnuts to add to an Asian stir-fry I was trying.  With the top and bottom of the cans removed, the stickers removed, and the cans cleaned and sterilized, I now had the perfect food molds.  Ha zah!   If you don't eat water chestnuts, the small size tuna cans are the right size and would probably work.  I would just make certain that they have been thoroughly cleaned and have absolutely NO trace of tuna left before you use them.

NOTE: If you want to add a starch to this meal, this dish goes very well with wild rice, cooked in chicken broth and seasoned with herbs. (You pick the herbs, but I like dill.)

Wednesday, January 13, 2016

4th Post. Two Week Menu Wednesday

Hello Everyone!
Tonight we are going to use the half a pound of beef that we had left over from Spaghetti night.  If you are making the meals, you have probably realized that you still have cooked chicken from your whole chicken and a mutant size chicken breast left from your mustard dill chicken packets.  The prepared chicken should be good until we get to pizza night, but if you are nervous about the chicken going bad before that, you can put the chicken you have left over in the freezer, just make sure to wrap it well first.
This particular recipe for Stuffed Bell Peppers is modified from a classic recipe from "The Betty Crocker Cookbook".  I love Betty Crocker cookbooks. My great grandmother and grandmother had their own copies stuffed with handwritten recipes between the pages and  notes written in the margins for modifications that they preferred with favorite recipes.   My grandfather made sure that I had my own hardback, three ring version of the book before I moved out to live on my own and it is still one of my treasured possessions.  It helps me remember that not all food has to be complicated to be good.  (Which is why it is such a good source of inspiration for 2 week menu meals.)  Thanks to the digital age, you don't have to own a Betty Crocker cookbook anymore because you can find many of the classic Betty Crocker Recipes on their website and the site is free for anyone to use.

Stuffed Bell Peppers

Ingredients
2 large bell peppers (any color, but I think yellow or red are the prettiest)
1/2 pound lean ground beef
1 tbsp. onion, finely chopped/minced
1/2 cup cooked rice  (or creole seasoning)
1/2 tsp. kosher salt
1 clove garlic, minced  (if you don't love garlic, make sure it is a small clove)
1/2 can tomato sauce (you should have some left over from Spaghetti night)
1/2 can tomato paste (again- you should have some left over from Spaghetti night)
1/4 cup shredded cheese -- use what you have on hand.  Mozzarella and parmesan are good, I find cheddar to be a little strong, but everyone had different tastes.

Directions
1.  Cut off the tops of each bell pepper, cutting as little as possible but leaving yourself enough room to remove the seeds and membrane from inside the peppers. 
2.  In a Dutch oven, add enough water to cover the peppers.  Heat the water to boiling; add peppers.  Cook about two minutes; drain.
3.  In a10-inch skillet, cook beef and onion  over medium heat 8-10 minutes, stirring occasionally, until beef is brown.  If necessary, drain meat to remove excess fat.
4. Stir in rice, salt, garlic, and half of the tomato sauce and all of the tomato paste; cook until hot.
5.  Heat oven to 350 degrees.
6. Stuff the bell peppers with beef mixture.  Stand peppers upright in an ungreased glass baking dish.  Pour remaining tomato sauce over the peppers.
7. Cover tightly with foil.  Bake 10 minutes.  Uncover and bake about 15 minutes longer or until peppers are tender.  Sprinkle with cheese.  (If you want your cheese melted, put the cheese on the peppers about one minute before the peppers are done and put back in the oven for a minute.)

I don't usually serve anything else with this dish as it already contains a starch and a vegetable.


Tuesday, January 12, 2016

 3rd Post

Good evening everyone!
Sorry I am so late with this post. I had hoped to do the dill chicken packet recipe, but, after much searching, I could not find my recipe. :-(  Doubly odd since I saw it just about a week ago.  So I am giving you another recipe that will work just as well and uses many of the same ingredients. So tonight, I am going to give you my mustard dill packet recipe and will post the other once I find it again.
So, tonight, we will be making Dill mustard Chicken packets, herb rice and salad.


Mustard Dill Packets Recipe

Creole Seasoning (to taste)
1 tbsp. Dijon mustard 
1 tbsp. plain Greek yogurt
1/4 tsp. garlic powder
1/2 tbsp. dried dill weed
1 large chicken breast, cut into two equal pieces
Before I start, this recipe is assuming that the chicken breasts that you have purchased are the large, almost mutant size chicken breasts that you seem to get now when you buy chicken breasts in the frozen food section or packaged for Costco.  If you have normal size chicken breasts, you will need two breasts for this recipe.
            Example of mutant chicken breast compared in size with a regular size cream cheese box. 
1.  Cut chicken into two equal parts, pat dry with a paper towel and sprinkle with Creole seasoning. Set aside for at least five minutes to allow the seasoning to soak into the chicken.
2.  Preheat oven to 350 degrees.
3.  In a small bowl, combine the mustard, yogurt, garlic powder and dill.
4.  Coat the chicken with the mustard sauce.
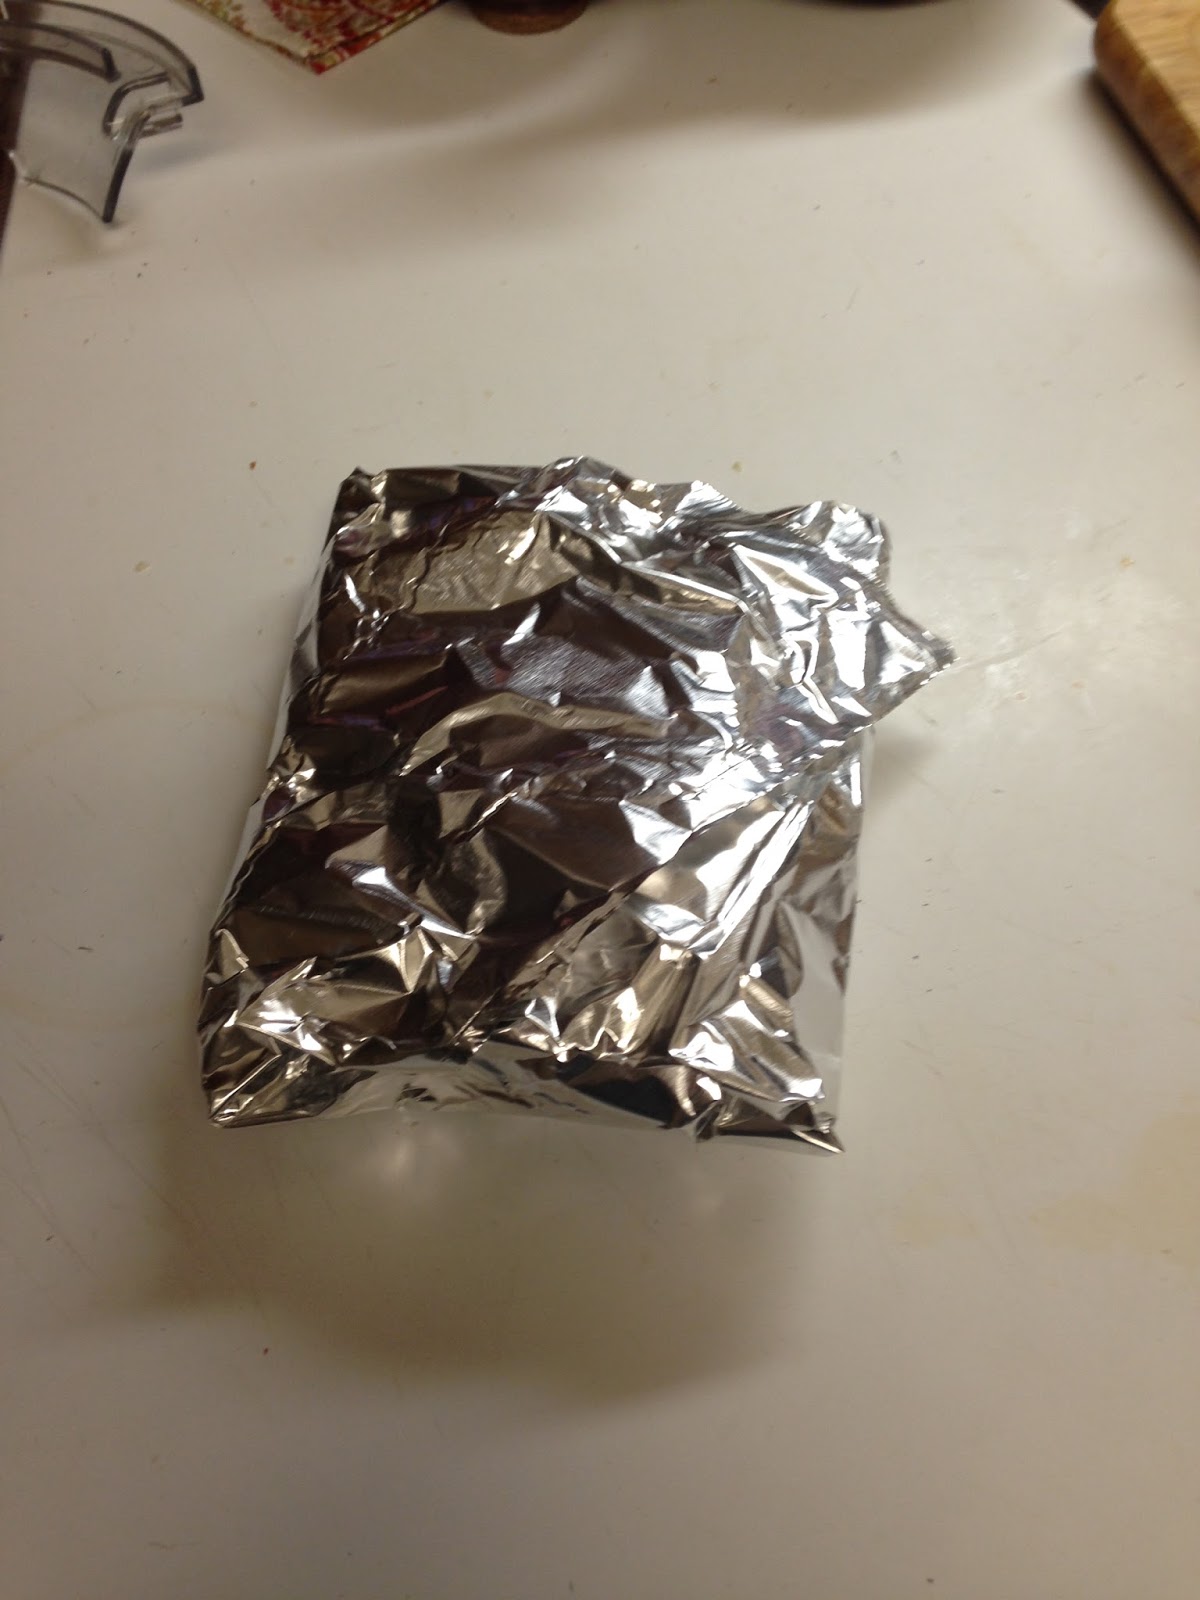
5.  Tear off two sheets of aluminum foil that are large enough to wrap each chicken breast  individually.  Spray the side that you are going to put the chicken on with cooking spray. (You can skip this step, but sometimes it sticks and if you do this, it is less likely to do so.)  Place a chicken breast on the prepared foil.  Then you are going to do an envelope fold.  Meaning first you loosely fold the bottom corner of foil over the chicken, cover the chicken completely but not meeting the top corner of the foil.
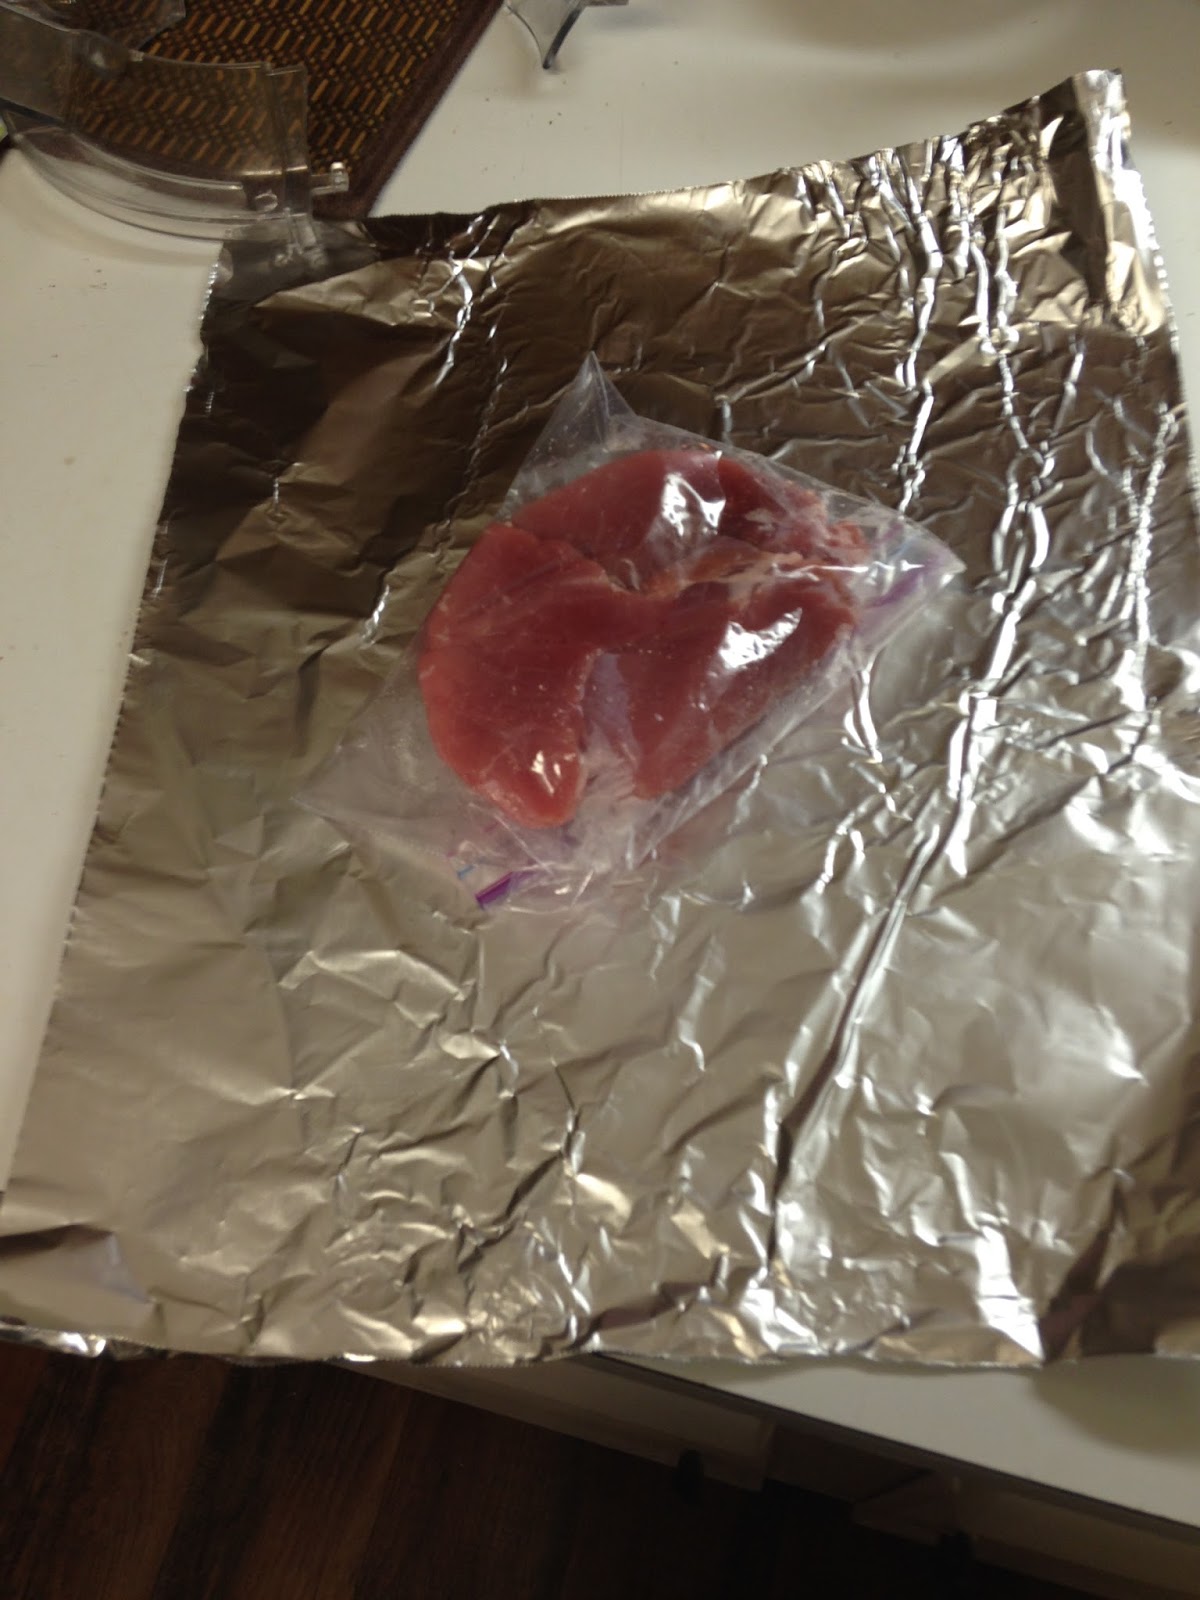
I know that's not chicken, but I had to fold something. 


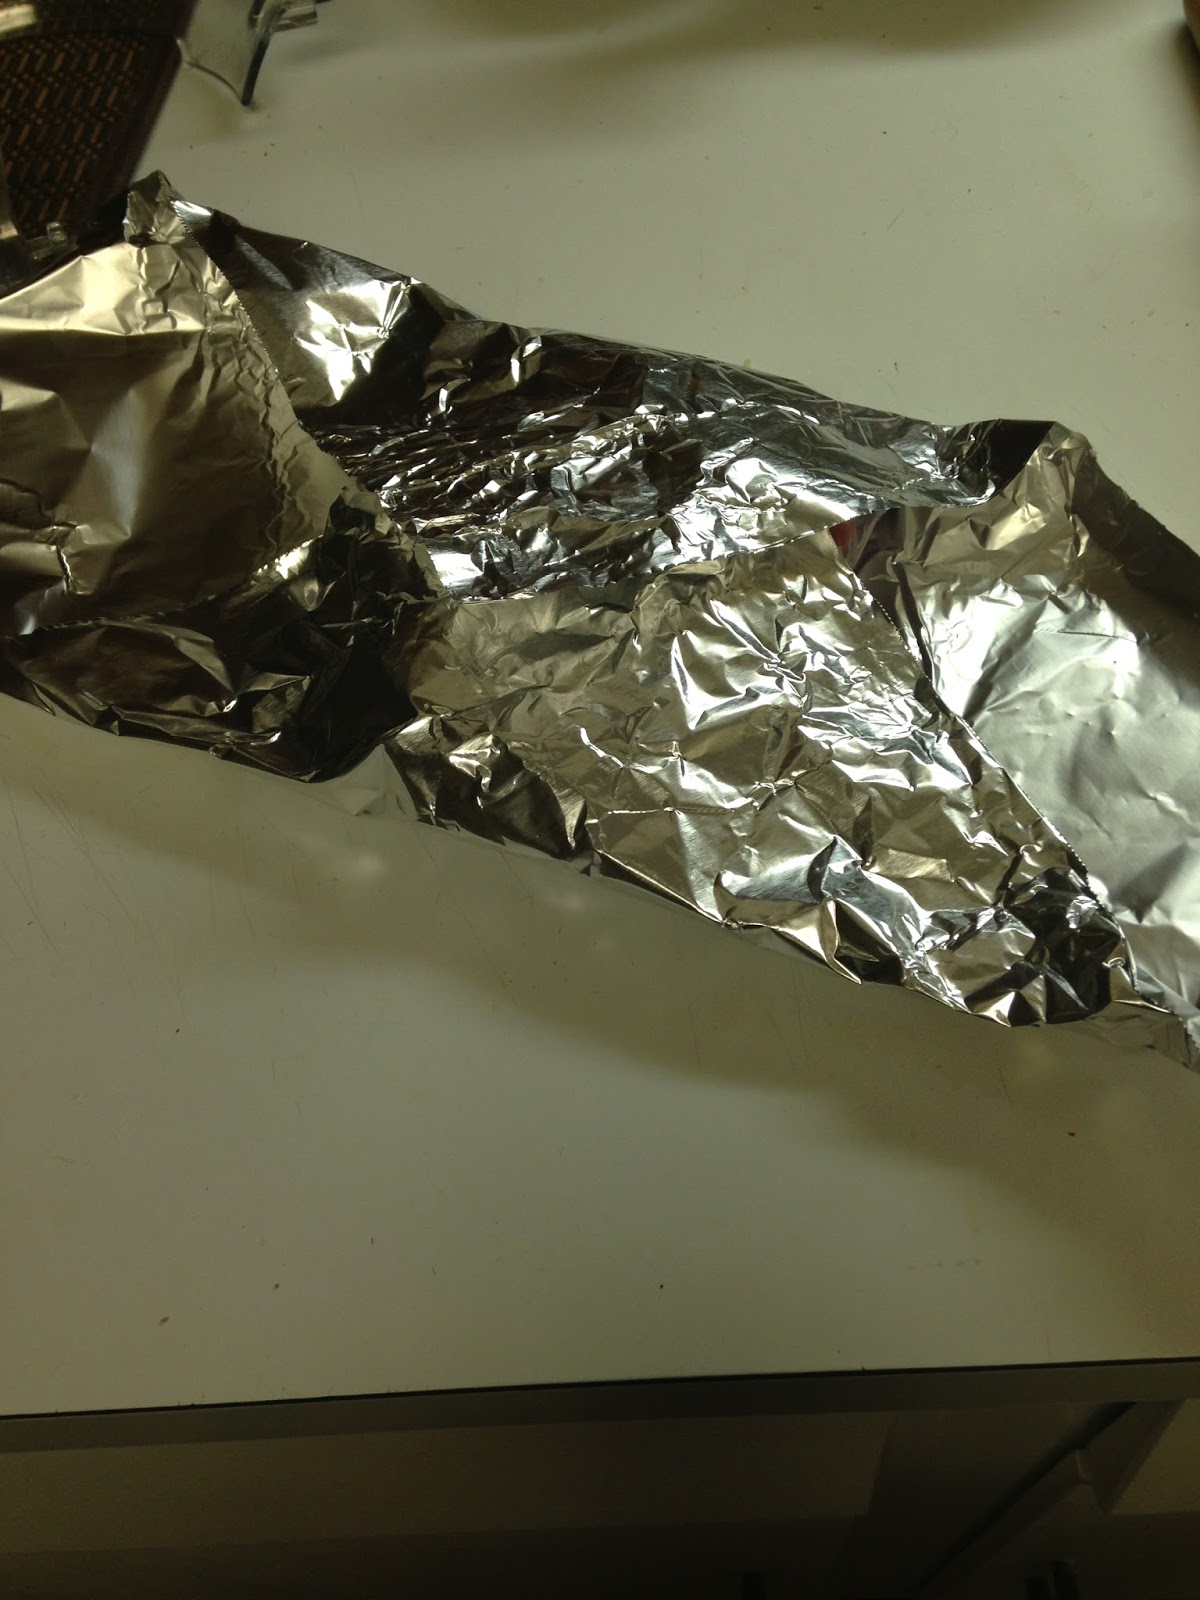
Then you fold the top corner down to the bottom of the chicken, again loosely.

                                             Kind of looks like an alien burrito at this point.
Take the side corner and, loosely cover the chicken. 


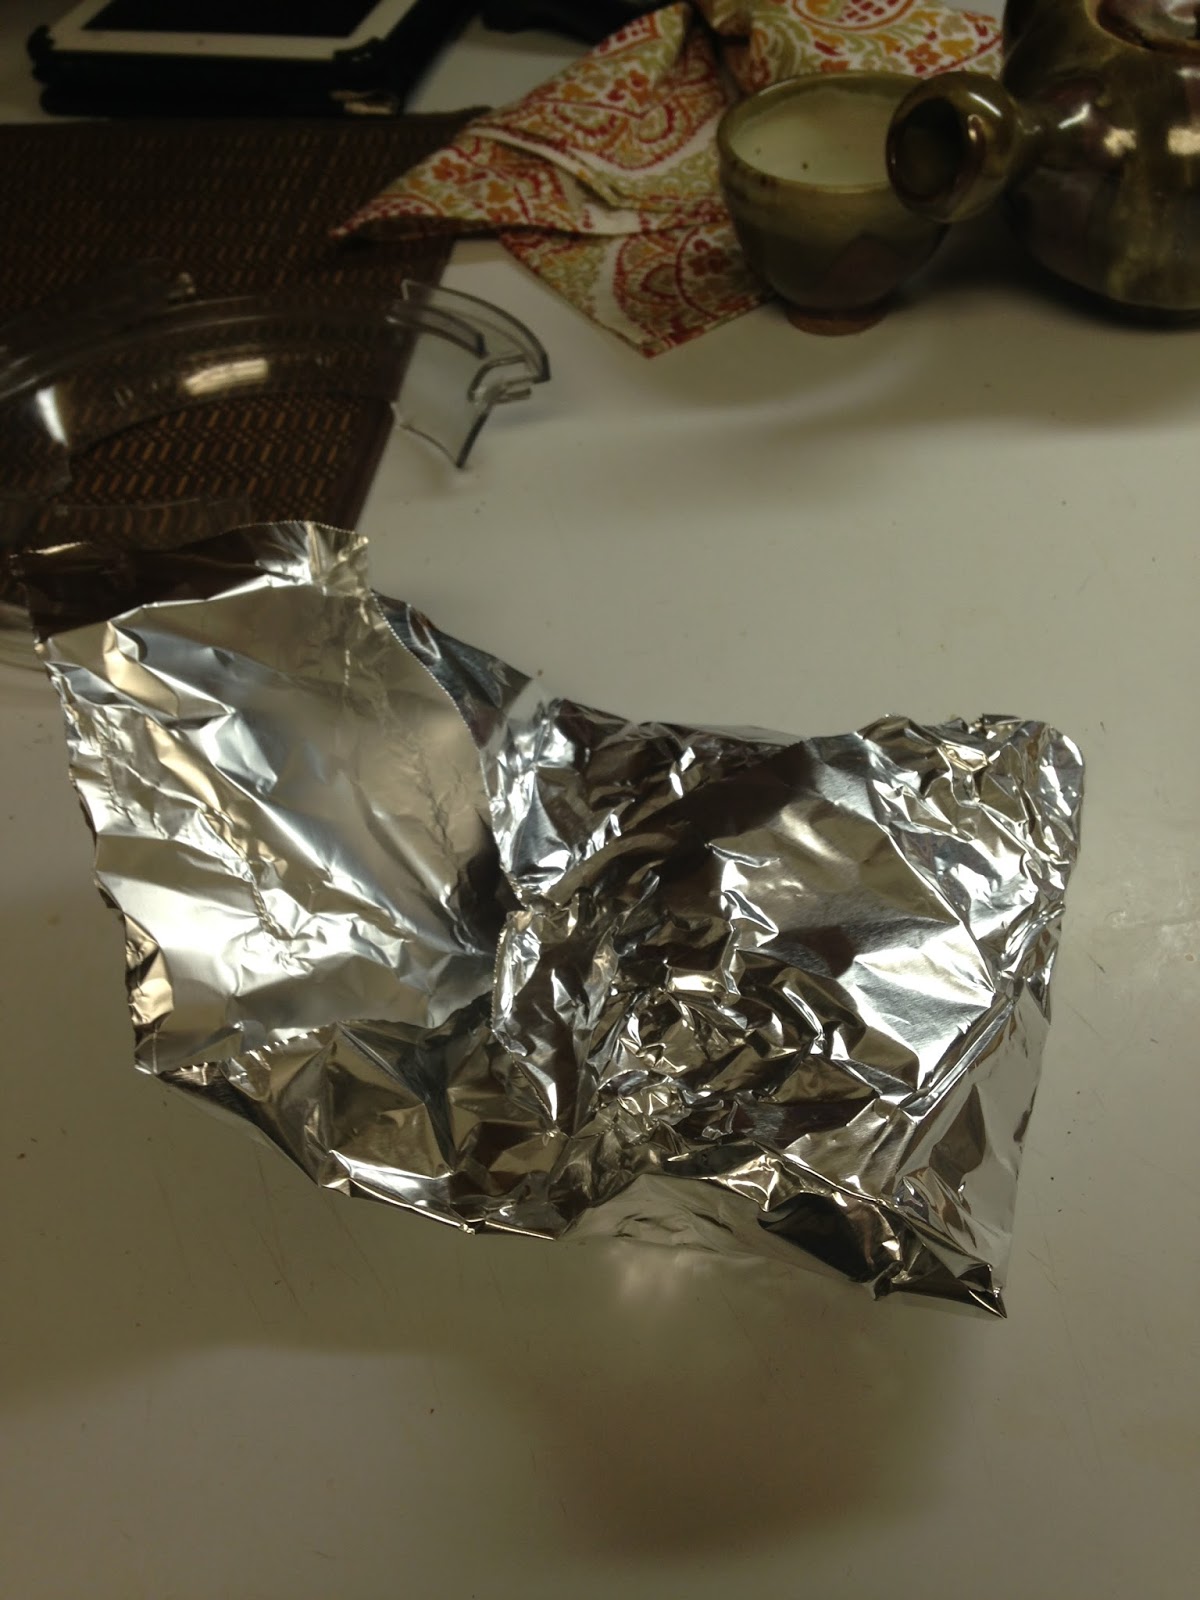
Then place remaining corner, loosely, over chicken.  This will form a wrap that will keep the temperature in and keep the juice from running into your oven.

                                                                   Well, isn't that tidy?
6. Place chicken packets on nonstick baking sheet and bake for 20 minutes.
NOTE!!!  Let the chicken rest for about 10 minutes once removed from the oven before opening the packets. If you cannot wait, then please be careful when you open the packets as the contents are very hot and steam will come out and you don't want your face or hands to be in the way.


Herb Rice

This is a staple in my house and I fool around with variations of it all the time.  I live in Louisiana where rice is considered one of the major food groups.  Before I lived in Louisiana, I hardly ever ate rice and, when I did, it was Uncle Ben's Minute Rice.  I was soon taught the error of my ways and I now almost exclusively cook regular rice in my rice cooker which is also a  staple in every Louisiana home.
I am going to give directions for a rice cooker, but you can do this recipe with a pot with a lid and by following the cooking directions and just adding the ingredients the same as I describe for the rice cooker.
1 cup wild grain rice or white rice
1and1/2 cups chicken broth or stock, low sodium or sodium free  (you can use water, but it won't taste as rich)
1 tsp.  real butter
1/2 tsp. basil
1/8 tsp. rosemary
1/2 tsp. garlic powder
1/2 tsp. onion powder.
1. Place all ingredients in a rice cooker in the order given. 
2. Stir rice with a plastic or wooden spoon.
3. Close rice cooker and cook until rice is done.  (It usually takes the cooker 20-30 minutes.)
4.  Once cooker is done, open lid, fluff rice, and serve with meal.
TIP:  If you rice cooker or pot is not non-stick, add 1 tsp. olive oil at the same time that you put in the butter, both ingredients will help to keep the rice from sticking.

Salad

Since both the chicken and the rice have strong savory flavors, I like to have a sweeter salad with this meal or, I like to go old school and make a chef salad with ranch.
Mix the following  ingredients to your personal taste, adding or subtracting as per your want:
Iceberg Lettuce
Baby Spinach Leaves
Carrot Shavings ( I like to take a potato peeler and just "peel" the apple over the bowl)
Green Onion
Feta Cheese (or cheese of choice, or no cheese)
Dressing
1/4-1/2  cup Zesty Italian dressing (depending on how "dressed" you like your salad)
1 tbsp. honey (you can add more or less as per your preference, but dressing should have a sort of sweet and sour taste)
1.  Put both ingredients in a bowl and whisk until combined and dressing is liquid but thick enough to coat the salad when it is tossed.
Toss salad mix with the dressing and serve with meal.
TIP:  This salad is also very good with dried cranberries.
I hope you enjoy this meal!

Monday, January 11, 2016

2nd Post
Hello Everyone!
First, I would like to thank everyone who liked The Frugal Femme on Facebook, I really appreciate the support and I will try not to disappoint.
Last post, I gave the recipe to make a roast chicken with mashed potatoes and gravy.  For two people there should have been plenty of chicken left after the meal to remove from the bones and store in the fridge. You can also take the carcass and turn it into your own homemade chicken broth.  (You can store it in the freezer for months and use it in the portions you prefer.  You can also freeze it in an ice cube tray and use them as needed.)  Homemade broth is delicious, and if you have slow cooker, it is super easy to make.  I promise that I will include that recipe in another post.
You can make another dish with the leftover chicken tonight, but I prefer to rotate my meats so that I am not eating the same type of protein two nights in a row.  Thus we move on to the second night of meals under the two week menu:  spaghetti and meat sauce, Caesar salad and garlic bread.  I know that most people already know how to make spaghetti, but I am going to show you how to make spaghetti so that you will feed two and have leftover ground beef and ingredients to make another night's dinner.
Tuesday Night Meal:  Spaghetti and Meat Sauce, Garlic Bread and Caesar Salad

Spaghetti and Meat Sauce (For Two)

1 can Tomato sauce, divided (I prefer plain because I like to put in my own seasonings)
1 can tomato paste, divided
1/2 pound ground beef (This should leave you with a half pound to put in the fridge for another meal)
1- 2 tsp. Italian seasoning (or more to taste preference)  OR
1/4 tsp. oregano
1/4 tsp. thyme
1/2 tsp basil
(If you have an herb garden and have your own herbs, double the amount of herbs.)
1 clove garlic minced (or more to taste)
1/4 cup minced onion (fresh)
1/4 water (can substitute chicken broth, vodka or red wine for deeper flavors)
Pinch of sugar
Salt to taste (can substitute Creole Seasoning with salt)
1-2 handfuls of dry spaghetti pasta (depending on how much pasta you like compared to your sauce)

1.  Brown ground beef in a large skillet on medium heat. When beef is partially cooked, it should look pink and brown, add the onions and garlic. Make certain that you stir constantly because you don't want your garlic to burn and get bitter.
2.  Once meat is brown, drain away grease, if you got a lean cut of ground beef, you should have almost no grease to drain.
3.  Add 1/2 can of tomato sauce (Store the rest in fridge for another meal.)
4.  Add 1/2 can tomato paste (Store the rest in fridge for another meal.)
5.  Add the herbs, sugar and the 1/4 cup water. (You may want more liquid to reach desired consistency.)
6.  Salt to taste preference.
7.  Simmer on low heat until sauce has thickened slightly and the flavors start to merge, about 15 minutes.
8.  While sauce is simmering, prepare pasta according to pasta directions.  (To make the pasta taste better, make sure you boil it with a teaspoon of butter and enough salt to make the water taste like sea water.)
9. Serve meat sauce on top of the pasta.

Garlic Bread

Although you can buy garlic bread in the store for about $1.00, I never use enough and almost always ending up having to throw some away, even way I make bread crumbs and croutons out of it.  Or I just don't feel like the going to the store and buying bread for one meal.  So this is what I call the economy version of garlic bread.
4 slices white bread
1-2 tbsp. freshly grated parmesan cheese (I always have a small wedge of parmesan cheese in my fridge. By small I mean I go to Whole Foods and get the parmesan reggiano you can purchase from there $3.00 cheese bin.  Used correctly, the cheese can last you for months and won't go bad.  Another bonus, it tastes much better than the dried stuff in a can.)
1 tbsp. melted butter
1 clove garlic minced or put through a garlic press
Pinch of basil

1.  In a small bowl, melt the butter in a microwave for about 15 seconds until it is completely melted.
2.  Add the garlic and stir to combine garlic and butter.
3.  In another small bowl, grate the parmesan and add a pinch of basil.  Stir to mix together
4.  Brush the melted butter and garlic onto the slices of bread, being sure to get the garlic pieces on the bed.
4.  Sprinkle the parmesan and basil mix over the buttered slices of bread and place on a baking sheet
5.  Turn on the broiler.
6. Put bread under boiler for about 1minute keeping the oven door open.  This is a short process and may take shorter than 1 minute, depending on how fresh your bread is, so keep a constant eye on it.  You will know it is done when the bread is slightly golden and the cheese has browned on top.  Then remove bread from oven and allow to cool slightly before serving. 
Bread is best served warm.


Caesar Salad Dressing (Low Fat Version)

I love fresh dressing, so I try to make my own as much as possible. This also means I can change out my dressing flavors without having to buy a lot of dressings.   Plus I can make certain my ingredients are fresh and taste delicious.
I tend to keep plain yogurt on hand for cooking and baking, but if you don't want to keep yogurt on hand, you can buy one small cup of plain yogurt for this recipe, just make certain to add it to your grocery list.
1 single serving individual cup of yogurt or 1/3 cup yogurt
2 tbsp. fresh lemon juice
1 tbsp. olive oil
2 tsp. red wine vinegar (Frugal Femme Staple)
2 tsp. Worcestershire
1 tsp. anchovy paste (Frugal Femme Staple)
1 tsp. Dijon mustard
1/2 tsp. freshly ground pepper
1 clove garlic, minced
2 tbsp. freshly grated parmesan cheese

1.  Combine all ingredients in a bowl; stir well with a whisk.
                             Store any unused dressing for up to two weeks. 
2.  Serve over greens of choice.  I like Romaine lettuce.
3.  Take one slice of the garlic bread you have already toasted and cut into cubes for croutons. Sprinkle over salad.  Yum!
I hope you enjoy these recipes, and I promise that I will add pictures as soon as I get a chance.

Sunday, January 10, 2016

1st Post

Hello!  My name is Carole Moore and I love to live a high-end life style on a very tiny budget.  Through the years, I have shared my money saving tips with friends and each time, they would tell me that I need to write a book or a blog.
So, thanks to one of these friends I got a domain and blog for Christmas and I am going to try.  This is not a blog for moms with large families. (Sorry moms, but I looked and you have plenty of great blogs already out there for you.)  I wanted my blog to be for the single woman, single mom,  newly wed or wife without children.  I also wanted my blog to be for people who are on a seriously tight budget. 
I know that salaries change across the country, but it would frustrate me when I would go to blogs about renovating your home on a budget and they would start with:  "I only have $11,000 to do a kitchen renovation."  OR I would go to books and blogs about living chicly on a budget and they would say "After paying all of my bills, I only have $400 a month left to spend on clothes."  WHAT?!?!?!  If I had that kind of money for those types of things, I wouldn't be searching sites for how to stretch a shoe string budget.
So my blog is going to give advice for those of us who live paycheck to paycheck and have a very limited amount to spend on anything other than bills and groceries. You know, for those of us who look at a pair of boots in the shop window and think to ourselves, "Well,  if I eat nothing but Ramen noodles for a month I can get those boots.    Ponder, ponder, ponder, ponder...... Worth it!!!" And then find out how much weight you can lose when you eat nothing but Ramen.
Since groceries are one of those things that you have to buy in order to survive, that is where I am going to start. FOOD!
I love food and I love to cook but groceries can be one of the biggest expenses that a Frugal Femme can have.  My solution:  THE TWO WEEK MENU!  The first two week menu came about when, one day, my husband and I realized that we only had $50 to feed us for two weeks and I had to come up with a menu to keep us fed using only what we had in the house and what I could supplement with the $50.  That first menu was pretty desperate, and I no longer have it. But it made me realize that, with a little planning, I was able to make dinner and drastically reduce our grocery bill.
So I am going to give you a two week menu-complete with recipes and grocery list. Some of this list will assume that you have certain staples already in your kitchen (such as bread, milk, eggs, etc.)  this list is just the extras you specifically need for the two week menu.  This first menu also mostly focuses on weeknight meals.  If people tell me they would like it, I will add lunch ideas so that you aren't eating out or bringing sandwiches everyday, but I am trying to keep it simple.)

Grocery List

1 whole chicken (fryers are fine and less expensive
2 large chicken breasts
ground beef (2 pounds)
1 pork tenderloin
1 ham (can get at Costco for $20, split into four equal parts and freeze)
refrigerated pie crust OR puff pastry shells
1 can of canned chicken
Bacon  ( I put this on the list, but this is a staple for me and I always have some on hand)
pizza crust
1 package torillas
lettuce
spinach
potatoes (preferably  small red or yellow potatoes)
Rice (another staple, but I live in Louisiana and know that is not the case for other states)
Spaghetti pasta
1 cucumber
2 bell  peppers
1 egg plant
celery
1 yellow or white onion
1 head of garlic
corn  (preferable frozen)
1 package cherry tomatoes
1 (16 ounce) wedge of cheddar cheese
1garlic and herb Boursin Cheese (I get three at Costco and they are a better price and they stay well in your fridge)
1 bottle vermouth  (also a staple along with sherry)

The Menu

Sunday:  Roast Chicken, garlic mashed potatoes and gravy
Monday: spaghetti with ground beef sauce, garlic bread and Caesar salad
Tuesday: chicken dill packets, herb rice, salad
Wednesday: Stuffed Bell Peppers
Thursday:  lemon marinated chicken  and egg plant ratatouille
Friday:  super easy taco soup, cheese quesadillas and zesty salad
Saturday:  white pizza with bacon and Boursin cheese
Sunday:  Pork Tenderloin and risotto with salad
Monday: pan-fried ham, potato latkes and roasted cherry tomatoes
Tuesday:  stir fried pork rice and Asian cucumber salad
Wednesday:  chicken and gravy with rice and wilted spinach salad
Thursday: ham frittata and salad
Friday:  Barbeque pork sandwiches and pasta salad
Saturday: grilled chicken breasts with garlic parmesan spaghetti and salad


Sunday Recipes

Mashed Potatoes

2 med - large potatoes OR 4 small red or golden potatoes
butter  (REAL butter, not margarine)
1 clove minced garlic
milk (enough to achieve desired consistency)
kosher salt (to personal taste)
freshly ground pepper (to taste)
    OR
  salt and black pepper can be replaced with Creole Seasoning (such as Zatarian's)

1. If using russet potatoes, skin potatoes and cut into quarters.  If using small red or golden, clean potatoes and quarter.
2.  Place potatoes in medium saucepan filled with water and boil until potatoes are soft after inserting a fork  (between 20- thirty minutes).
3.  Once potatoes are cooked, drain and put in large bowl and cover with Saran Wrap or towel.
4.  In same medium saucepan, melt 1-2 tbsp. butter (depending on your taste) on low heat.  Put in minced garlic and cook until garlic is soft and golden but not brown, about five minutes.
5.  Pour melted butter and garlic in potatoes.
6.  Add 1tbsp - 2 tbsp. milk (could be more or less depending on the consistency of the potatoes and personal taste)
7.  Smash potatoes with a potato masher or fork. Once potatoes are mashed and consistency is achieved, add the salt and pepper or the Creole season and stir to distribute throughout potatoes.


Roast Chicken and Gravy

1 whole fryer chicken
1/4 cup room temperature butter
1/4 tsp. olive oil or black truffle olive oil (I know this is expensive, but a little goes a long way and does amazing things to dishes, it is one of those items that is worth the splurge, however, don't pay over $10 a bottle--its not necessary)
1/4 tsp. dried basil
1/4 tsp. dried dill or rosemary  (you can also do both)
1/4 tsp. dried thyme
kosher salt and ground pepper to taste
1/2 cup chicken stock (more if necessary)

Gravy
1/2 cup vermouth
1-2 tbsp. flour
2 tbsp. milk
kosher salt and ground pepper to taste

1.  Preheat oven to 450degrees. 
2.  Rinse the chicken and clean thoroughly.  Then pat it dry, both inside and out with a paper towel.
3.  In a small bowl, combine the butter, olive oil, basil, dill (or rosemary), and thyme.  It should be a soft consistency, but should not be liquid.(At this point, if you want, you can truss the chicken.  I'm too lazy to do that, the rest of the directions that follow assumes that you didn't truss the bird.)
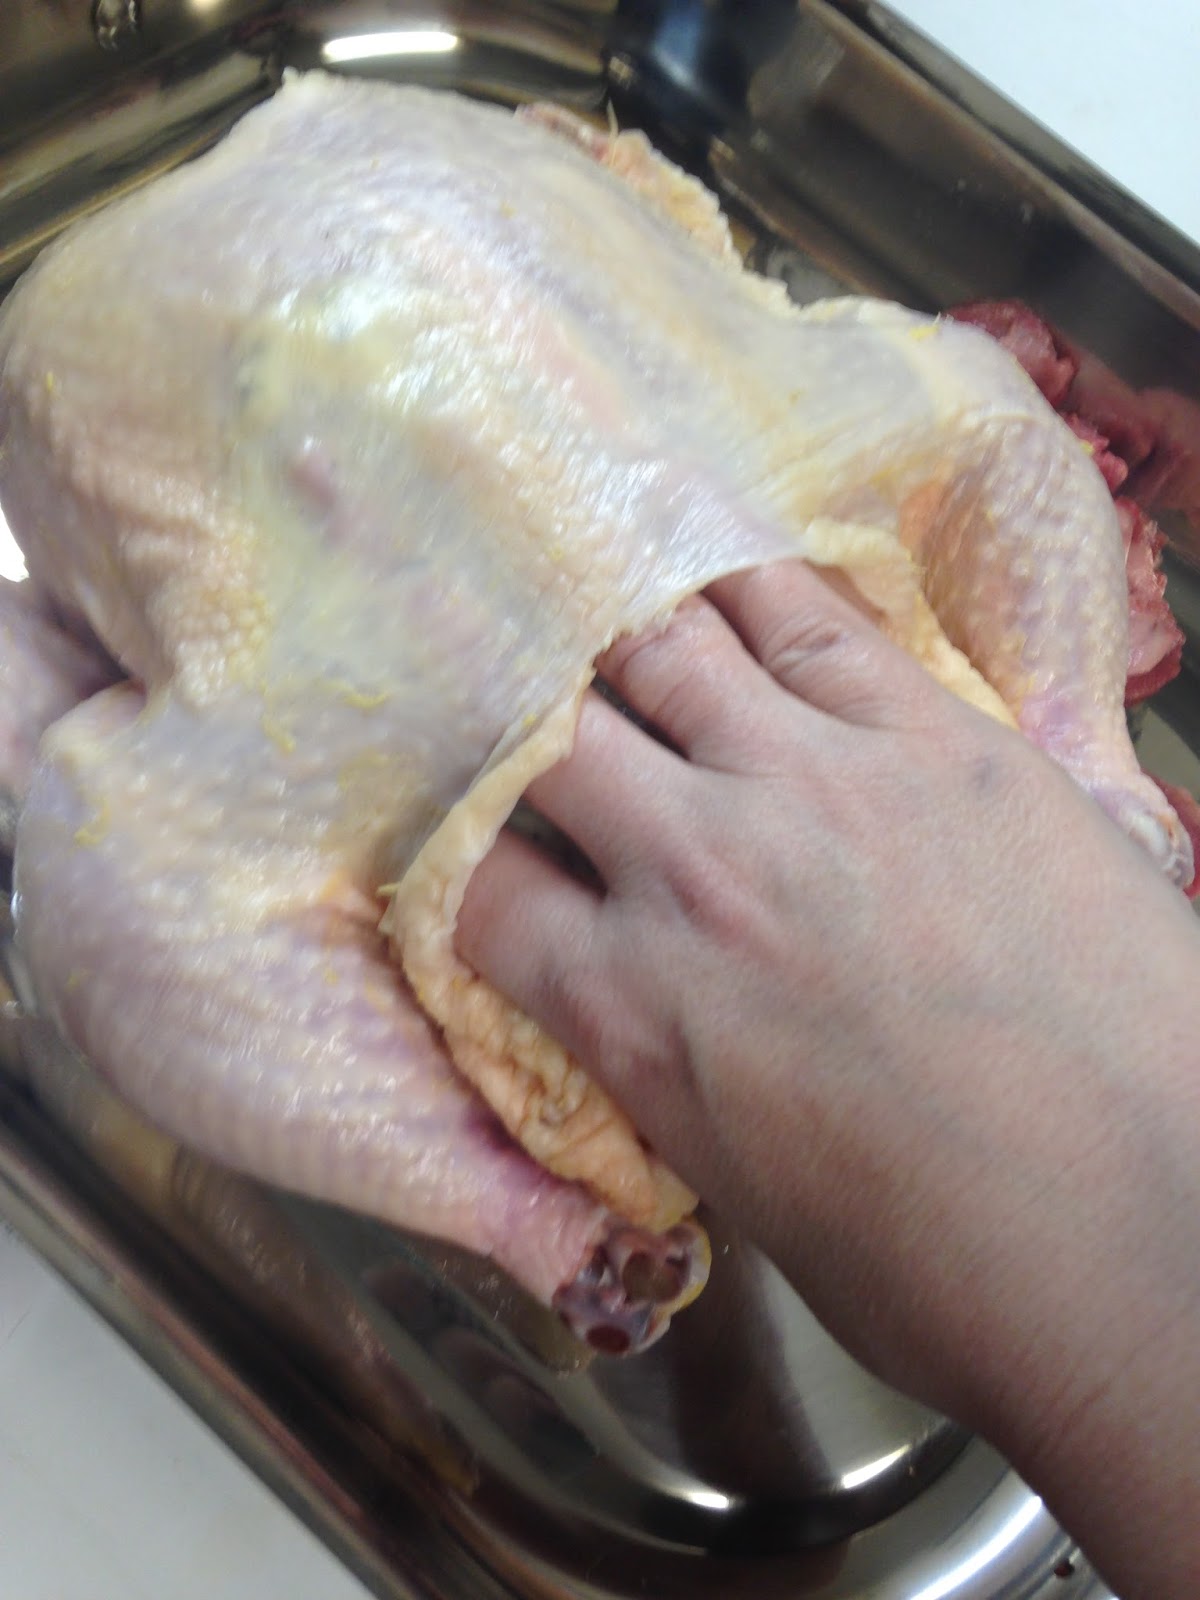
4. Carefully lift the skin of the chicken away from the meat of the bird with the fingers of your hand, going around the legs and the thighs. Once the skin is loosened, scoop up the butter mixture with your fingers and spread it under the skin of the bird.  Take the remaining mixture and spread over the skin of the chicken.


5.  Salt and pepper the outside of the bird. I like a lot of salt and pepper but, you should do it to your own preferences.
6.  Place the bird in a small roasting pan. Cover the tips of the wings and tips of the legs with aluminum foil.  (This will keep them from drying out, and works in place of trussing the bird.)
7.  Pour chicken stock around the bird.
7.  Put the chicken in the oven and roast for 45-60 minutes or until done (time will depend on the size of the bird.), basting every 20 minutes.  You may need to add more chicken stock during cooking.  You want to have about a half inch of stock in the bottom of the pan at all times.  You will know the bird is done when a thermometer inserted in the bird reads no less than 165 degrees.
8.  Once the chicken is done baking, take out of the roasting pan, place on a carving board, and tent with aluminum foil, letting the bird rest for 10-15 minutes.
9.  While the chicken is resting prepare the gravy.
10.  Place remaining juices from roasted chicken in shallow sauté pan and simmer on low heat.  Add vermouth, flour and milk.  Whisk together ingredients and let simmer until liquid thickens.  You may add more milk or flour to make the gravy thinner or thicker.  Salt and pepper to taste.

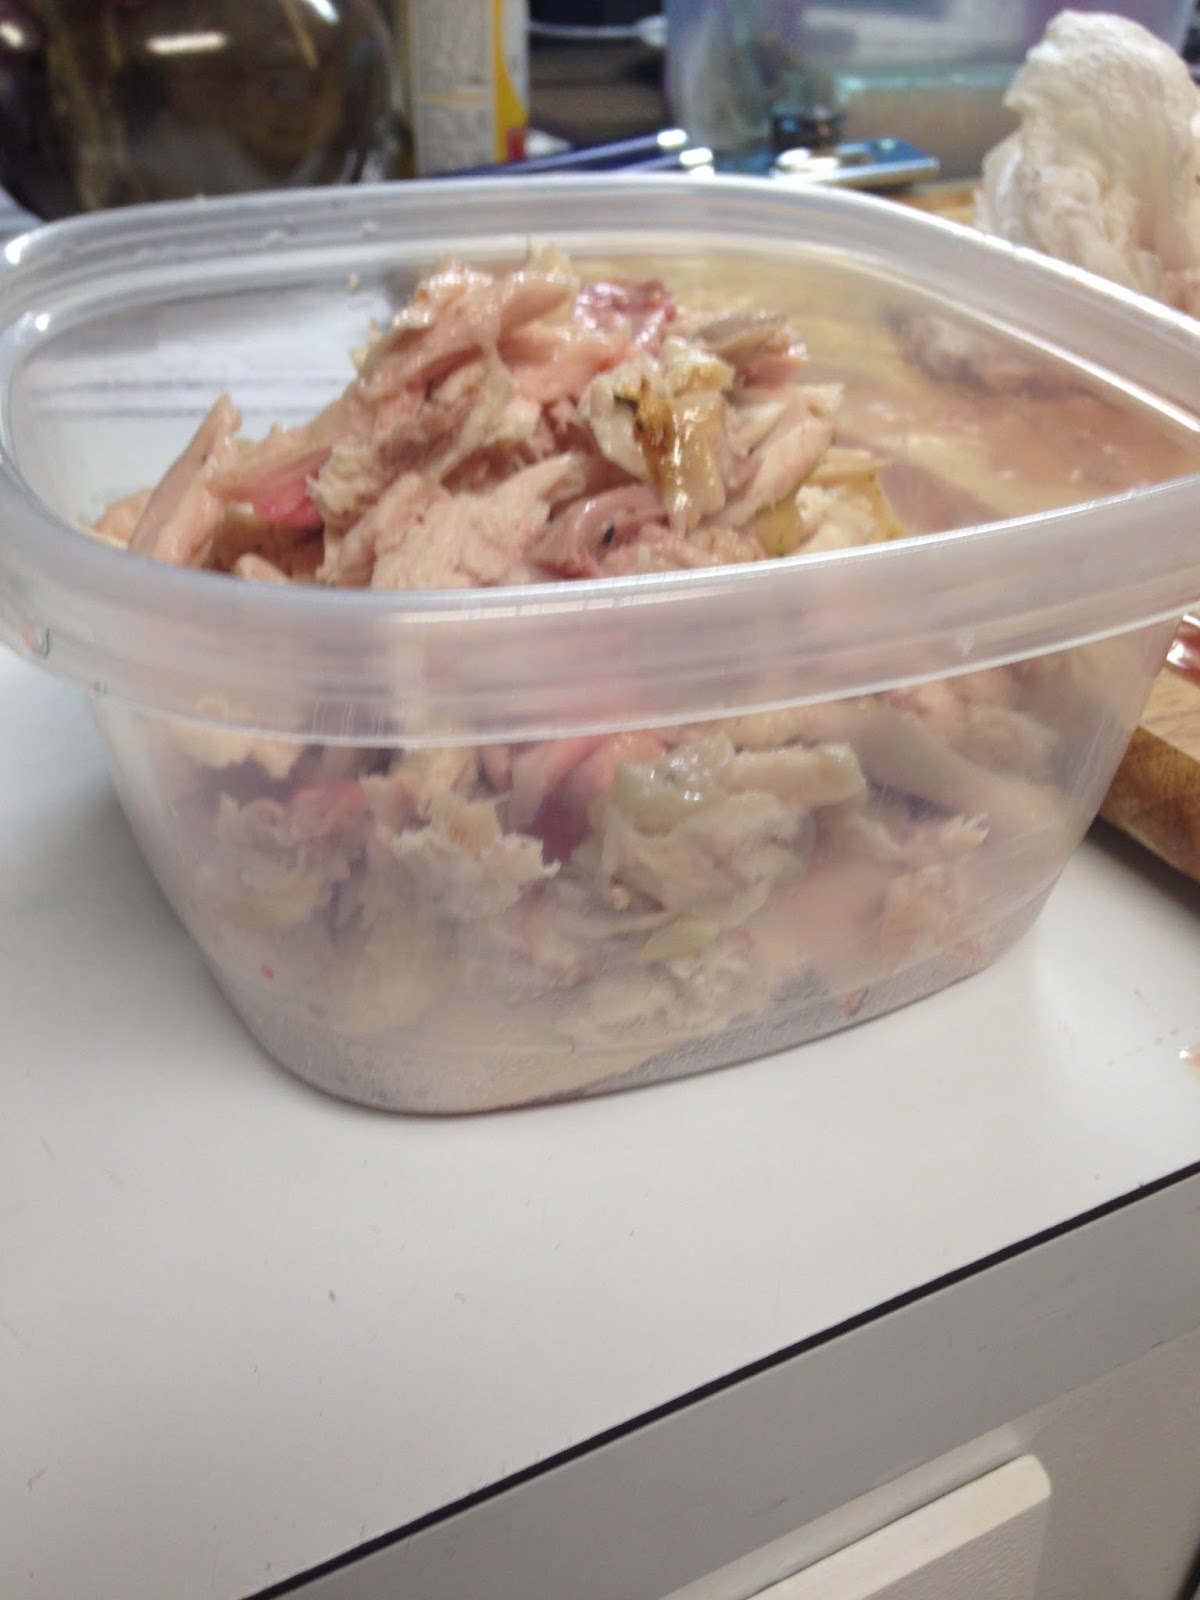
Amount of chicken leftover for further meals.

Well, there you go.  The first grocery list and the first recipe.  I will add more tomorrow.  I hope to add pictures eventually, so please be patient while I figure that out.
--Carole