Showing posts with label chicken. Show all posts

Friday, January 15, 2016

6th Post- Friday Recipes - Super Easy Taco Soup, Cheese Quesadillas and Zesty Salad

Good Evening Everyone!
It is finally the week-end and, even though I love my job, I am looking forward to a couple of days off.  On Friday nights, I am usually ready to start my week-end, so I don't like to do complicated dinners.  I also like to do my "fun" foods on the week-end -  where I can do the things like pizza and quesadillas and not feel like I am eating too many unhealthy foods.

The first recipe that I am going to give you is for Super Easy Taco Soup.  I got this recipe from a woman I worked with over 15 years ago who I only Remember as Belinda.  I honestly don't know if she came up with the recipe, or if it was given to her by someone else, but it has been one of my favorites since the first time that I made it.  I love it partly because it is yummy and partly because it is so darn easy.


Super Easy Taco Soup

Ingredients
1/2 cup diced onion
3 cans (undrained) premium white chicken
1 pckg. taco seasoning (I like the one put out by Taco Bell)
1 can Rotel (undrained)
1 can cream of celery soup
1 can cream of chicken soup
1 can water

1.  Saute onions in a small skillet.
2.  In a medium sauce pot put in the sautéed onions and the remaining ingredients.  Cook on medium heat, stirring frequently, until heated through.

Serve in individual bowls.


Cheese Quesadillas

Ingredients
2-4 flour tortillas
1/2 cup cheese (I like sharp cheddar, but you can use a Mexican blend if you prefer)
2 tbsp. green onion or onion, diced (optional)
1 tbsp. butter, melted
Sour cream, for garnish
Salsa, for garnish

1.  On a piece aluminum foil or wax paper, place one tortilla.  If you have the small six inch tortillas, spread half of cheese, onto the tortilla leaving about 1/2 inch around the edges so the cheese has space to melt.  Sprinkle green onion over the cheese.  Place another tortilla on top, lining up the edges.  If you have the 10 inch tortillas, spread half of cheese mixture over half of the tortilla, making a half moon with cheese, leaving about 1/2 inch from the edge. Sprinkle green onion over the cheese. Fold the tortilla in half over the cheese and onion making a half moon.
2.  Warm a heavy skillet on low heat.
3.  Brush one side of the tortilla with melted butter and place in skillet.  Cook tortilla turns a light brown, about two minutes.  After tortilla has been cooking for about one minute, use a spatula to gently lift up one edge to check how the tortilla is browning.  When desired color is achieved, turn the tortilla over and cook on the other side--the tortilla will brown and the cheese should melt and turn gooey.
4.  Remove when done and garnish with sour cream and salsa on the side.

Zesty Salad

I forgot to put avocado on your grocery list!  If you want, you can use ranch or any other dressing you prefer, but I love how this is a play on guacamole to go with the rest of this meal.

Ingredients - Salad

Iceberg Lettuce, chopped (I like smaller pieces, where the lettuce leaves are almost diced, but any way you want to chop them is fine.)
Romaine Lettuce, chopped
Baby Spinach, chopped  (Basically, the remains of all the salads you had from the week of meals)
2 tbsp. red onion, diced
Zucchini, diced (If you have any left)
(I am usually good with just the above ingredients, but, if I have it, I have also put in the following ingredients)
1 small tomato, diced
1/2 cup sweet tiny frozen corn (whole or chopped, your preference)
(One friend of mine makes a similar salad  and she adds black beans, she swears by them. I have yet to try it because I have a thing about beans, but I am working up to trying it.  If you would like to, this would take about half a can, drained)

1.  Chop and dice all vegetables as described above. 
2.  Put all ingredients in a large bowl as you prepare the vegetables.  When all ingredients are in the bowl, toss to combine the ingredients.  Set aside to work on the dressing.

Ingredients - Dressing

I found this recipe when I was looking for recipes online and wanted something healthy and different, after much searching, I found this recipe on www.simplyscratch.com.  I have only used this recipe, but I have marked this site as one I want to visit again.  (Thank goodness, otherwise I wouldn't have written it down and I wouldn't be able to credit the correct person.)

1 clove garlic smashed and peeled
1 avocado
1/2 tbsp. lemon or lime juice (fresh is better, but I have used the stuff in the lemon/lime shaped bottles)
Kosher salt and  freshly ground pepper to taste  (I would start with 1/4 tsp. of each and work up to more if you feel it is necessary after tasting
3 tbsp. olive oil
Water, as needed

1.  Put all of the ingredients, minus the oil and water,  in the small bowl of a food processor OR a mini food processor.  (If you don't have either of these, I would suggest that you get one.  Mini processors can be found for about $20.00 on sale and for between $15-$20 on eBay.  They make life so much easier.  It is one of those things that I would recommend having for your kitchen as you can find several uses for them.)
2.  Turn on the machine and SLOWLY poor the vinegar into the ingredients, stopping everyone once in a while to scrape down the edges of the processor with a spatula, processing until smooth.  Thin the salad dressing out with a little bit of water until it reaches the consistency you desire.  (I like a thicker dressing, so I add very little water, maybe about a tablespoon or two, but the original recipe said about 1/4 cup to 1/2 cup.)
3.  Pour over salad and toss. 

Note:  If this dressing is stored in an airtight container, it can last in the fridge for about 1 week. Possibly longer, but I don't know, it's never lasted that long in my house, as I use it on salads for lunch.

I hope that you enjoy this simple meal. I know the salad had ALOT of chopping, you can skip the salad  and just have the soup and quesadillas, which I frequently do, but I wanted there to be something healthy in this post. ;0)

TIP:  If you make all three dishes, make your salad first as it takes the longest to prepare.  Once your salad is in  the bowl, and your dressing is made, you can prepare the soup. While the soup is heating through, you can make your tortillas.  When the soup and tortillas are complete, add the dressing to your salad, toss and serve.  Voila!  Everything ready around the same time so no cold quesadillas.

Tomorrow night PIZZA!!!!!!

Thursday, January 14, 2016

Eggplant Ratatouille with Lemon Marinated Chicken Breast

Good Evening Everyone!
Tonight we use the remaining, mutant, chicken breast that should be left over from the dill mustard chicken packets. I have modified this recipe from a recipe by Maria Hines when she was a guest on Cooking with Nick Stellino.  If you have not heard of Nick Stellino, you should truly look him up.  He has a cooking show on Create TV on PBS, which is free (FRUGAL)  and he does amazingly, delicious dishes.  He is also hilarious to watch.  I adore him. I saw this dish and it made me want to try Ratatouille, even though I hate eggplant!  I'm glad I did, this dish is delicious. If you want to see his video on how to make the dish, here is the link:
http://www.nickstellino.com/Recipes/Menu/Recipe/Default.aspx?men=30&rec=710

My version of this dish is different -  mostly because I have modified it to serve 2 people rather than four-- but I love watching professionals cook and seeing how they do things.


Eggplant Ratatouille with Lemon Marinated Chicken Breasts

Ingredients
Juice from half a lemon  (I have used balsamic vinegar in pinch and tastes good)
kosher salt and fresh ground pepper to taste (I like to skip the salt and use Creole seasoning instead)
1/4 cup extra virgin olive oil
1 clove garlic minced
1 chicken breast (cut in half and pounded with a meat mallet to make the breasts an equal thickness for more universal/even cooking)

For the ratatouille:
1 1/2 tbsp. olive oil
1 clove garlic, minced
1 small yellow onion, finely diced
1 small eggplant or half a large eggplant , peeled and diced
1 small zucchini, diced
1 small green bell pepper,  seeded, rinsed and diced
1/2 cup sundried tomatoes packed in olive oil or 2 roma tomatoes (If using the roma tomatoes, I like to add a little basil, about 1/2 a tsp.  I find this gets closer to the taste of the sundried tomatoes than just the plain tomatoes.)
Kosher salt and freshly ground pepper to taste  (Again, I skip the salt and use Creole Seasoning)
1/4 cup chardonnay  (to save money, buy the small bottles that you can get for about $1.50 in the grocery store--drink the rest while you cook.  Lovely and frugal!!!)
1/2 tsp. or 1 tsp. white wine vinegar
1 tbsp. chopped flat leaf parsley  (I like dill and have substituted that for the parsley, but I don't think that is very French.)

1.  In a small bowl, whisk together the lemon juice, olive oil, salt and pepper (or creole seasoning) and garlic.  Place the chicken breasts in a large ziplock plastic bag.  Add the lemon mixture to the bag and coat the chicken thoroughly.  Set aside.
2.  Preheat the grill.  If you are cooking on a grill pan indoors on the oven, skip this step and move on to step three.
3.  In a medium size pan, heat 1 1/2 tbsp. olive oil over medium heat. Add the garlic and onion and sauté until the onion starts to soften, about 1 to 2 minutes.  Add the eggplant, zucchini, bell pepper and tomatoes.  Stir to combine.  Season with black pepper and salt (or replace salt with Creole seasoning). Cover the pan with a lid and let cook for about 20 minutes, stirring frequently.
4. When the ratatouille has only about 10 minutes left to cook, heat your grill pan (if you are using a grill, you have already heated your grill).  Remove chicken from the marinade and discard the marinade. Place the chicken on the grill and grill for about 3 to 5 minutes per side, or until done. (Use your meat thermometer!!! Or, if you don't have one, when you think the chicken is done, slice in the middle of one chicken breast with a sharp nice and make certain the juices run clear and the meat is no longer pink.)  Remove the chicken from heat, put on a serving platter and cover loosely with a piece of foil.  Let the chicken rest for about 10 minutes.
5.  To finish the ratatouille, this will be right around the time that the chicken is resting, add the Chardonnay and stir to combine. Let the wine cook off, gently scraping the pan with a non-metal spoon to deglaze it. Taste and adjust the seasonings to your preference.  (This is where you can add more herbs, salt and pepper to your taste.)  Add 1/2 tsp. or 1 tsp. vinegar.  Add the parsley and stir so all ingredients are mixed together.

Spoon the ratatouille onto plate.  Add the chicken breasts.

TIP:  In the video, they used circle molds to mold the ratatouille into these circle modes to make this very elegant presentation and I fell in love with it.  I wanted to do and went to buy myself some food molds.  I thought they would be around $5.00.  I was so wrong!!!  Not to be deterred, I realized that I could probably make one from something I had around the house.  I had purchased two small cans of water chestnuts to add to an Asian stir-fry I was trying.  With the top and bottom of the cans removed, the stickers removed, and the cans cleaned and sterilized, I now had the perfect food molds.  Ha zah!   If you don't eat water chestnuts, the small size tuna cans are the right size and would probably work.  I would just make certain that they have been thoroughly cleaned and have absolutely NO trace of tuna left before you use them.

NOTE: If you want to add a starch to this meal, this dish goes very well with wild rice, cooked in chicken broth and seasoned with herbs. (You pick the herbs, but I like dill.)

Tuesday, January 12, 2016

 3rd Post

Good evening everyone!
Sorry I am so late with this post. I had hoped to do the dill chicken packet recipe, but, after much searching, I could not find my recipe. :-(  Doubly odd since I saw it just about a week ago.  So I am giving you another recipe that will work just as well and uses many of the same ingredients. So tonight, I am going to give you my mustard dill packet recipe and will post the other once I find it again.
So, tonight, we will be making Dill mustard Chicken packets, herb rice and salad.


Mustard Dill Packets Recipe

Creole Seasoning (to taste)
1 tbsp. Dijon mustard 
1 tbsp. plain Greek yogurt
1/4 tsp. garlic powder
1/2 tbsp. dried dill weed
1 large chicken breast, cut into two equal pieces
Before I start, this recipe is assuming that the chicken breasts that you have purchased are the large, almost mutant size chicken breasts that you seem to get now when you buy chicken breasts in the frozen food section or packaged for Costco.  If you have normal size chicken breasts, you will need two breasts for this recipe.
            Example of mutant chicken breast compared in size with a regular size cream cheese box. 
1.  Cut chicken into two equal parts, pat dry with a paper towel and sprinkle with Creole seasoning. Set aside for at least five minutes to allow the seasoning to soak into the chicken.
2.  Preheat oven to 350 degrees.
3.  In a small bowl, combine the mustard, yogurt, garlic powder and dill.
4.  Coat the chicken with the mustard sauce.
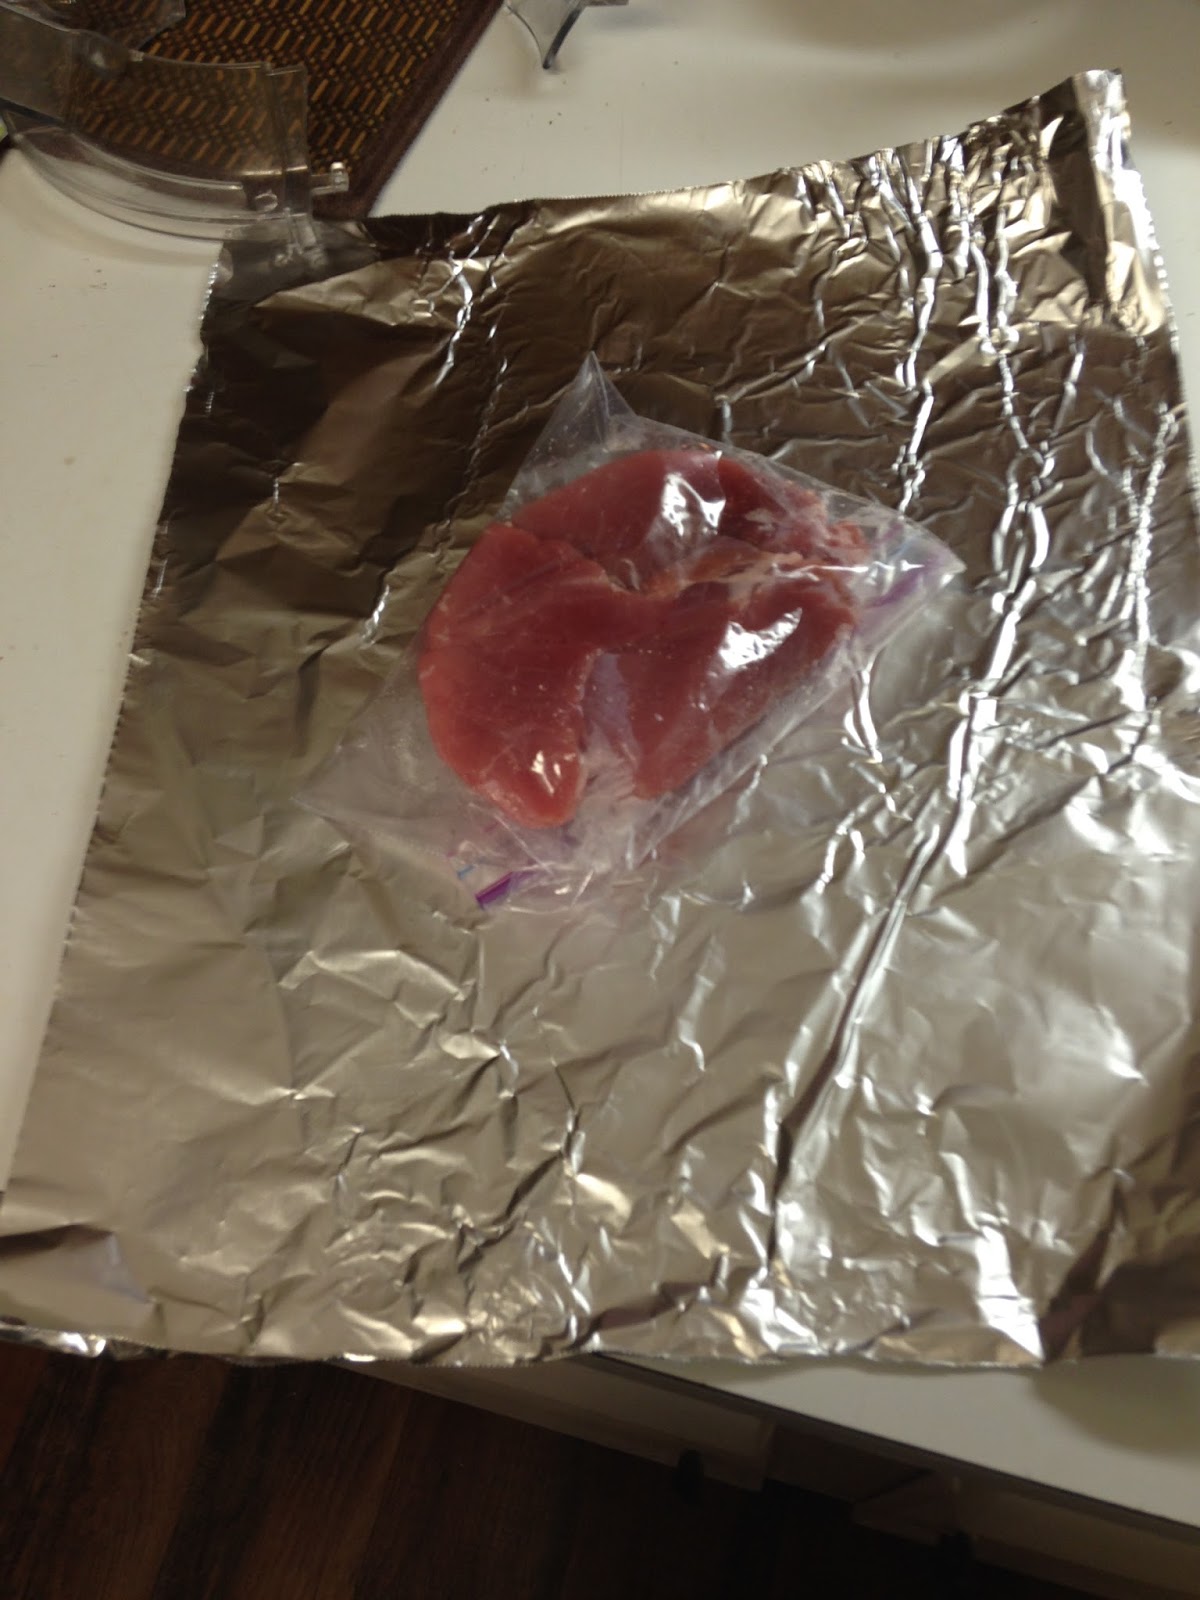
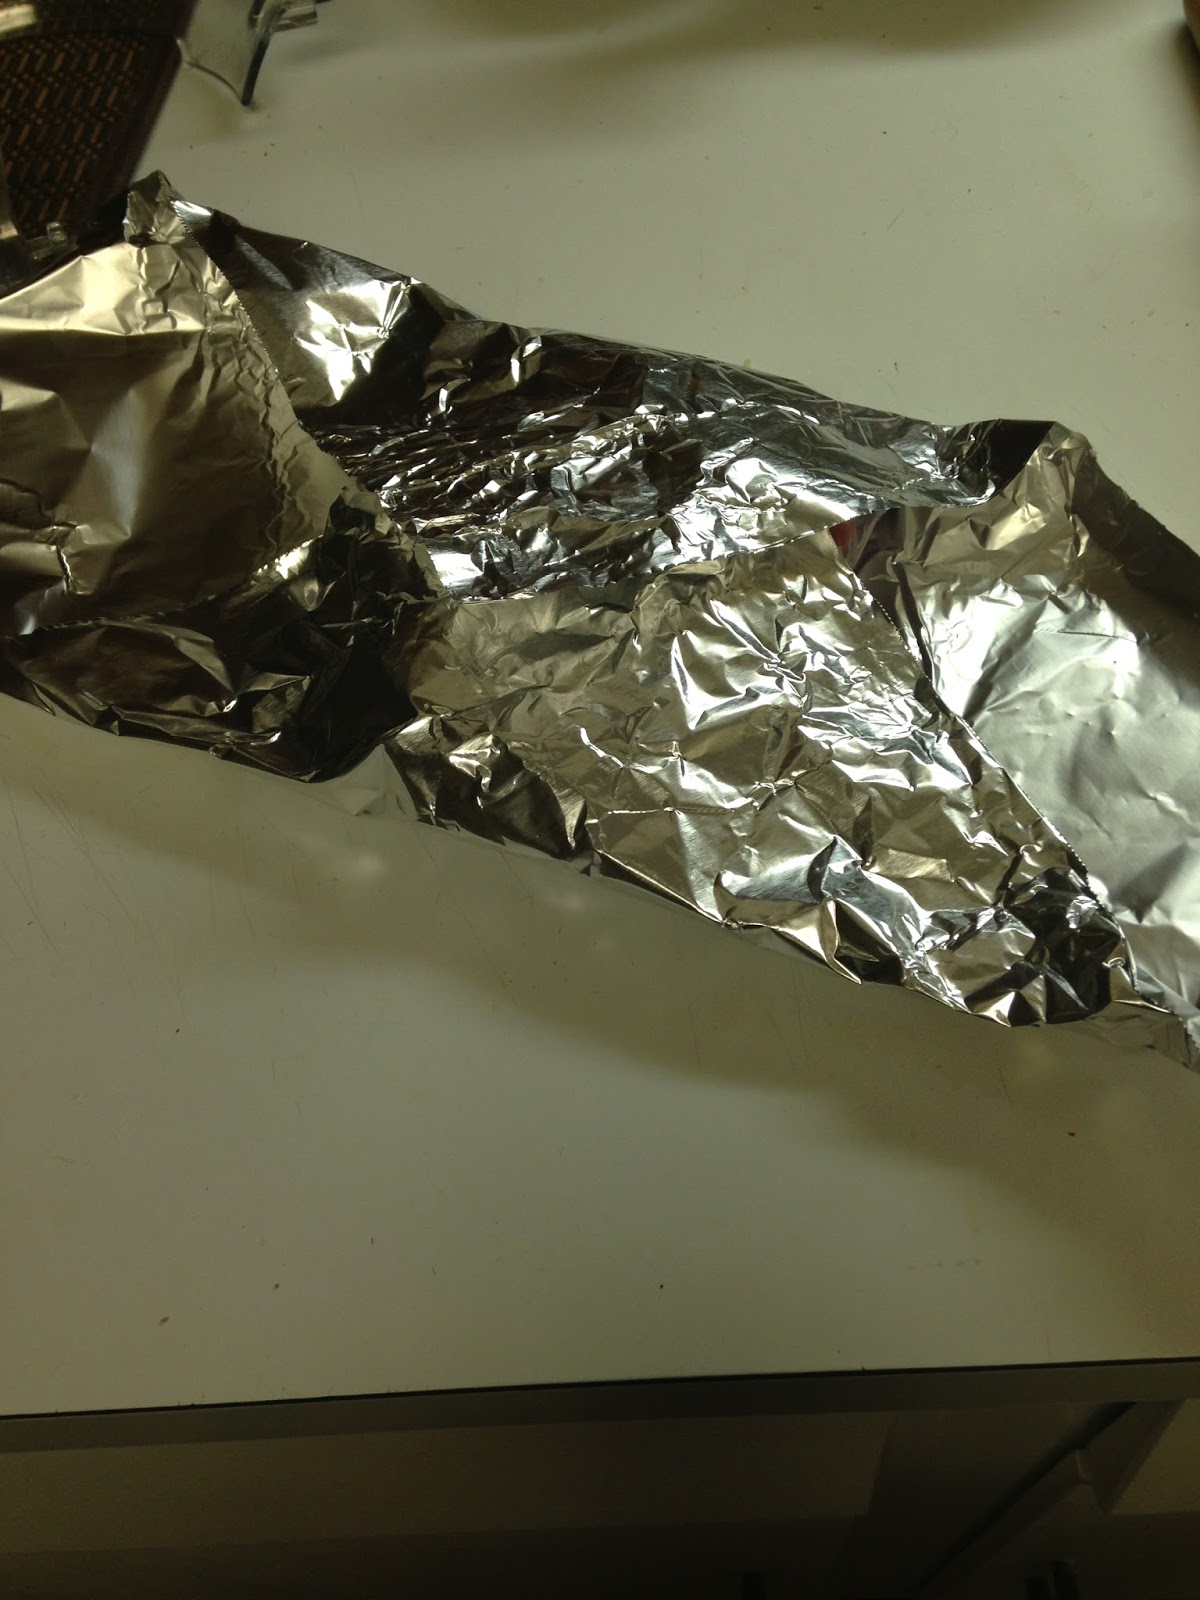
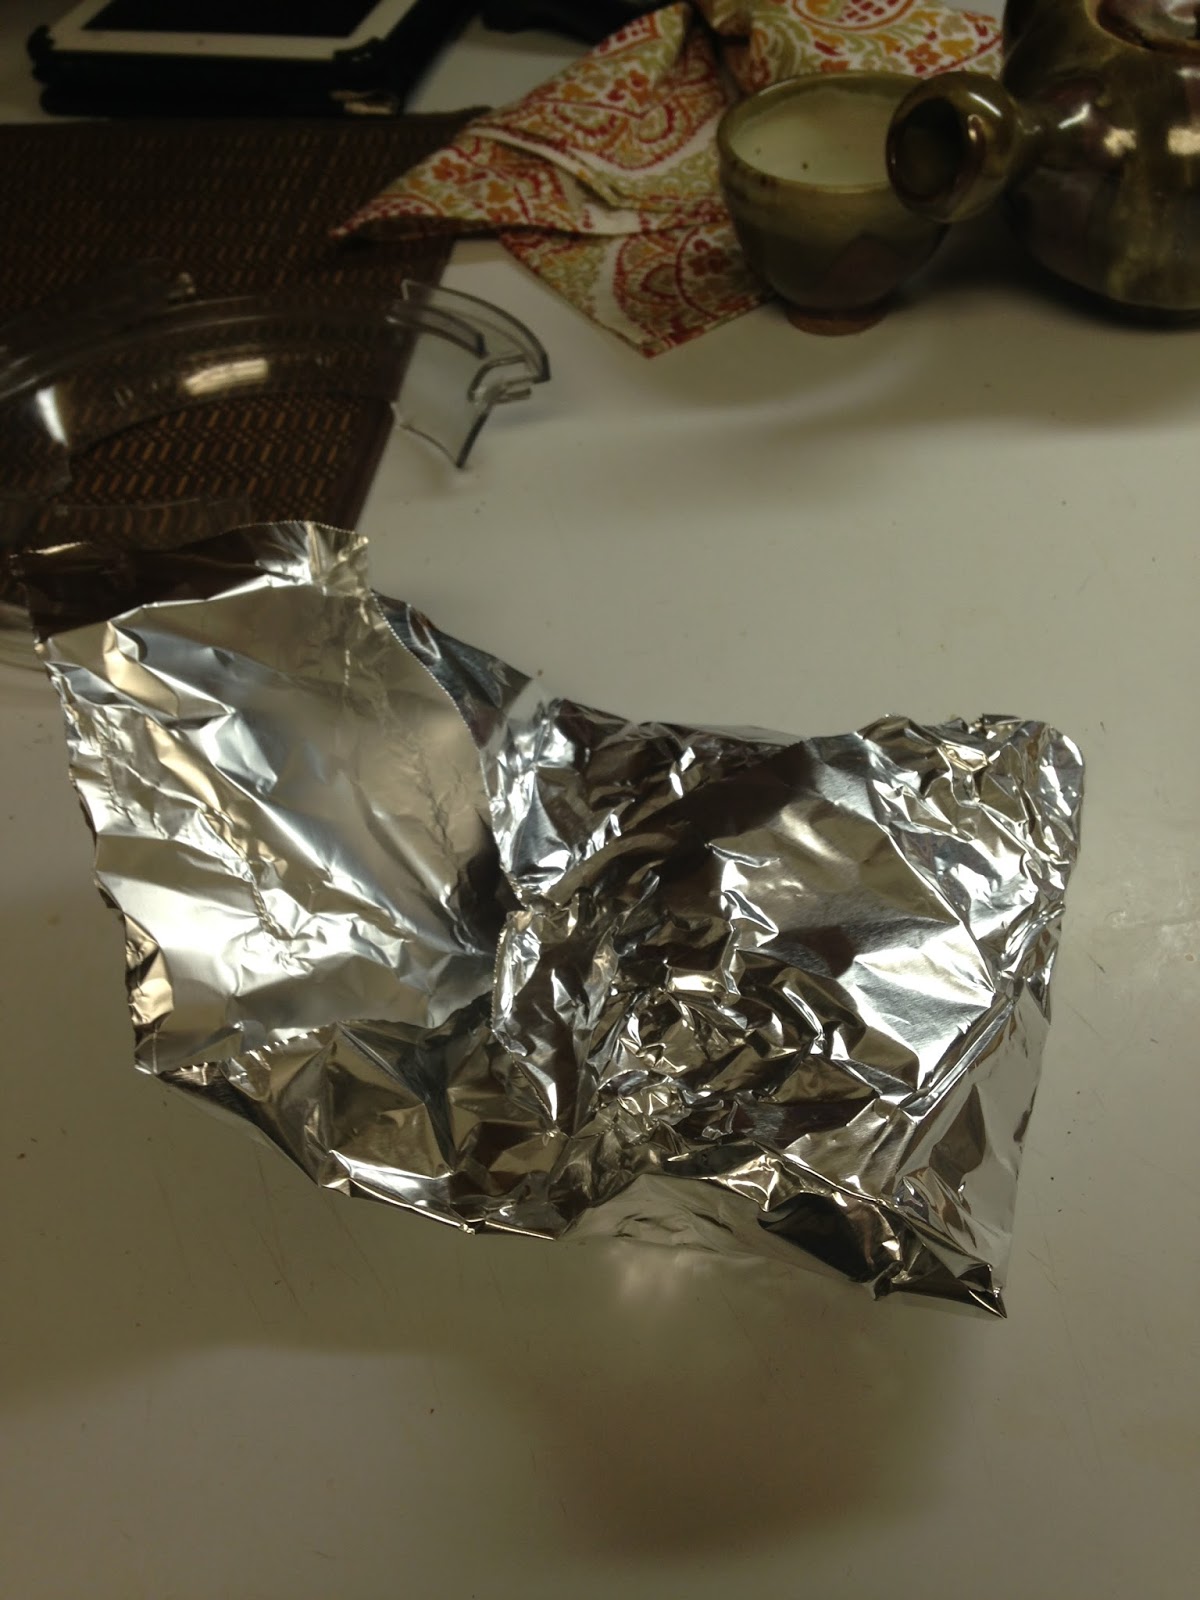
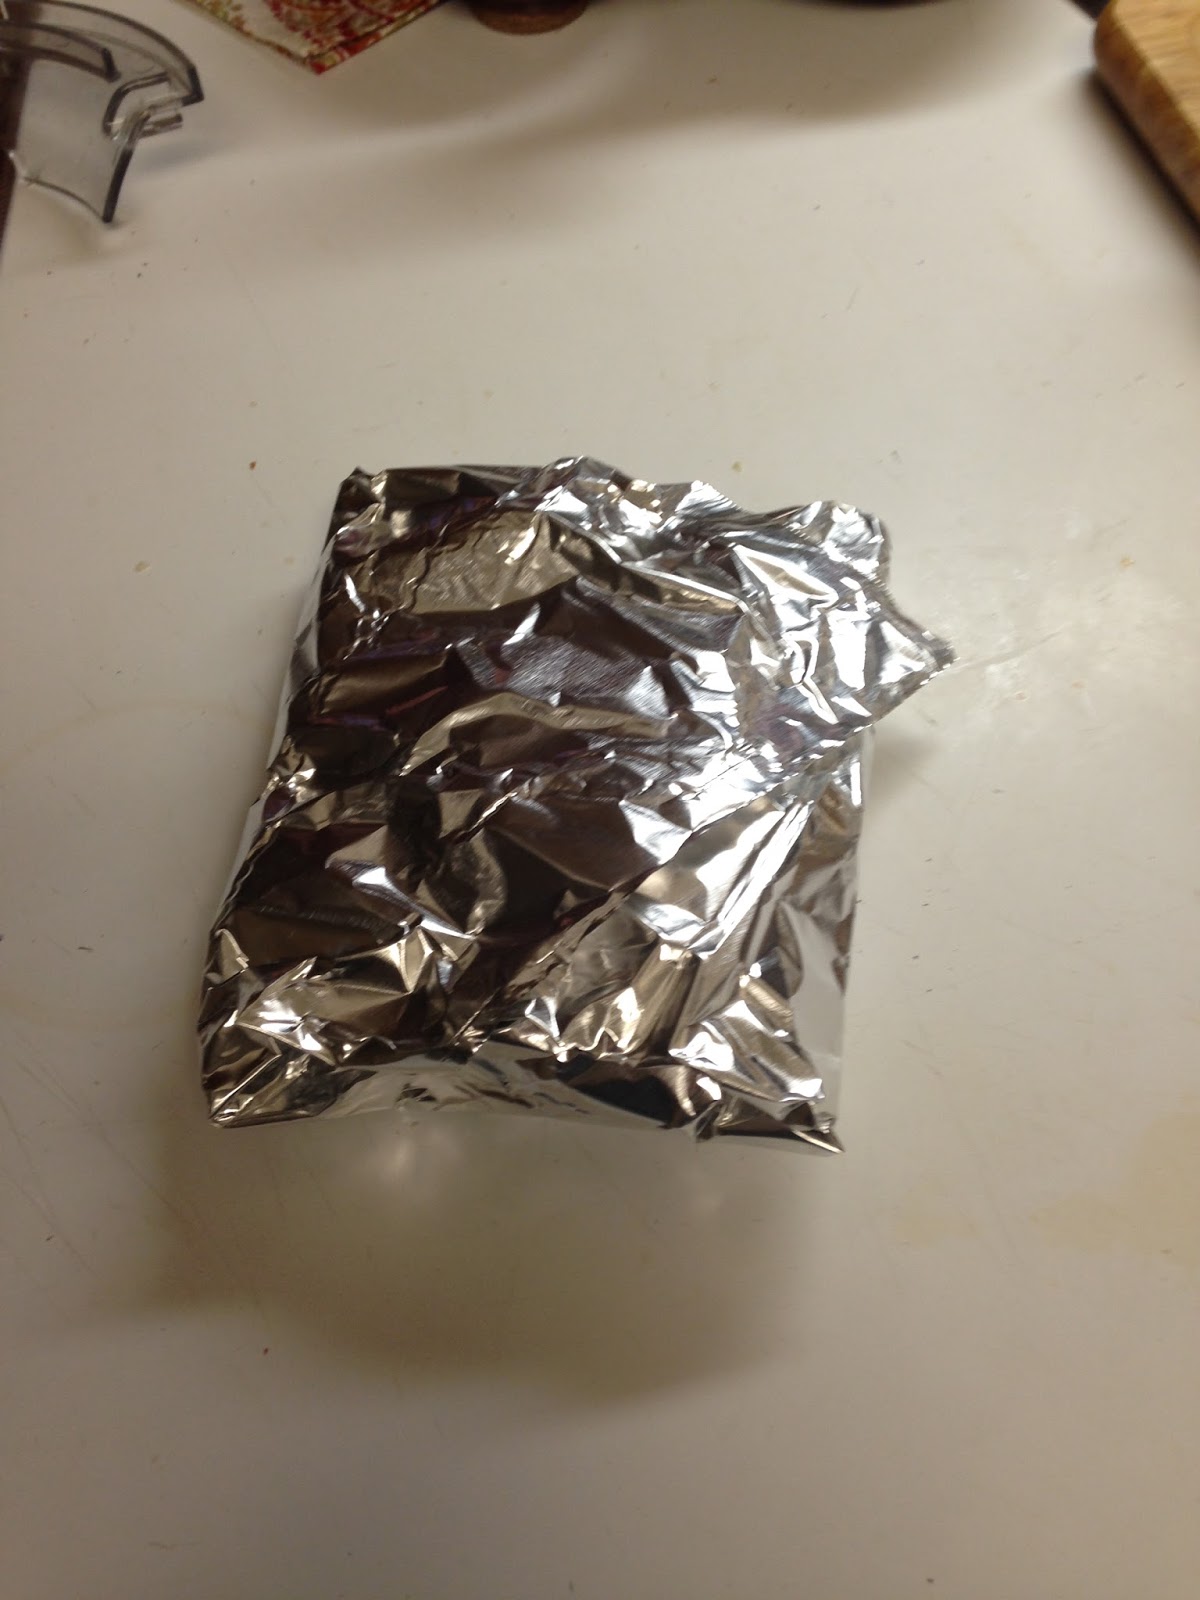
5.  Tear off two sheets of aluminum foil that are large enough to wrap each chicken breast  individually.  Spray the side that you are going to put the chicken on with cooking spray. (You can skip this step, but sometimes it sticks and if you do this, it is less likely to do so.)  Place a chicken breast on the prepared foil.  Then you are going to do an envelope fold.  Meaning first you loosely fold the bottom corner of foil over the chicken, cover the chicken completely but not meeting the top corner of the foil.
I know that's not chicken, but I had to fold something. 


Then you fold the top corner down to the bottom of the chicken, again loosely.

                                             Kind of looks like an alien burrito at this point.
Take the side corner and, loosely cover the chicken. 


Then place remaining corner, loosely, over chicken.  This will form a wrap that will keep the temperature in and keep the juice from running into your oven.

                                                                   Well, isn't that tidy?
6. Place chicken packets on nonstick baking sheet and bake for 20 minutes.
NOTE!!!  Let the chicken rest for about 10 minutes once removed from the oven before opening the packets. If you cannot wait, then please be careful when you open the packets as the contents are very hot and steam will come out and you don't want your face or hands to be in the way.


Herb Rice

This is a staple in my house and I fool around with variations of it all the time.  I live in Louisiana where rice is considered one of the major food groups.  Before I lived in Louisiana, I hardly ever ate rice and, when I did, it was Uncle Ben's Minute Rice.  I was soon taught the error of my ways and I now almost exclusively cook regular rice in my rice cooker which is also a  staple in every Louisiana home.
I am going to give directions for a rice cooker, but you can do this recipe with a pot with a lid and by following the cooking directions and just adding the ingredients the same as I describe for the rice cooker.
1 cup wild grain rice or white rice
1and1/2 cups chicken broth or stock, low sodium or sodium free  (you can use water, but it won't taste as rich)
1 tsp.  real butter
1/2 tsp. basil
1/8 tsp. rosemary
1/2 tsp. garlic powder
1/2 tsp. onion powder.
1. Place all ingredients in a rice cooker in the order given. 
2. Stir rice with a plastic or wooden spoon.
3. Close rice cooker and cook until rice is done.  (It usually takes the cooker 20-30 minutes.)
4.  Once cooker is done, open lid, fluff rice, and serve with meal.
TIP:  If you rice cooker or pot is not non-stick, add 1 tsp. olive oil at the same time that you put in the butter, both ingredients will help to keep the rice from sticking.

Salad

Since both the chicken and the rice have strong savory flavors, I like to have a sweeter salad with this meal or, I like to go old school and make a chef salad with ranch.
Mix the following  ingredients to your personal taste, adding or subtracting as per your want:
Iceberg Lettuce
Baby Spinach Leaves
Carrot Shavings ( I like to take a potato peeler and just "peel" the apple over the bowl)
Green Onion
Feta Cheese (or cheese of choice, or no cheese)
Dressing
1/4-1/2  cup Zesty Italian dressing (depending on how "dressed" you like your salad)
1 tbsp. honey (you can add more or less as per your preference, but dressing should have a sort of sweet and sour taste)
1.  Put both ingredients in a bowl and whisk until combined and dressing is liquid but thick enough to coat the salad when it is tossed.
Toss salad mix with the dressing and serve with meal.
TIP:  This salad is also very good with dried cranberries.
I hope you enjoy this meal!

Sunday, January 10, 2016

1st Post

Hello!  My name is Carole Moore and I love to live a high-end life style on a very tiny budget.  Through the years, I have shared my money saving tips with friends and each time, they would tell me that I need to write a book or a blog.
So, thanks to one of these friends I got a domain and blog for Christmas and I am going to try.  This is not a blog for moms with large families. (Sorry moms, but I looked and you have plenty of great blogs already out there for you.)  I wanted my blog to be for the single woman, single mom,  newly wed or wife without children.  I also wanted my blog to be for people who are on a seriously tight budget. 
I know that salaries change across the country, but it would frustrate me when I would go to blogs about renovating your home on a budget and they would start with:  "I only have $11,000 to do a kitchen renovation."  OR I would go to books and blogs about living chicly on a budget and they would say "After paying all of my bills, I only have $400 a month left to spend on clothes."  WHAT?!?!?!  If I had that kind of money for those types of things, I wouldn't be searching sites for how to stretch a shoe string budget.
So my blog is going to give advice for those of us who live paycheck to paycheck and have a very limited amount to spend on anything other than bills and groceries. You know, for those of us who look at a pair of boots in the shop window and think to ourselves, "Well,  if I eat nothing but Ramen noodles for a month I can get those boots.    Ponder, ponder, ponder, ponder...... Worth it!!!" And then find out how much weight you can lose when you eat nothing but Ramen.
Since groceries are one of those things that you have to buy in order to survive, that is where I am going to start. FOOD!
I love food and I love to cook but groceries can be one of the biggest expenses that a Frugal Femme can have.  My solution:  THE TWO WEEK MENU!  The first two week menu came about when, one day, my husband and I realized that we only had $50 to feed us for two weeks and I had to come up with a menu to keep us fed using only what we had in the house and what I could supplement with the $50.  That first menu was pretty desperate, and I no longer have it. But it made me realize that, with a little planning, I was able to make dinner and drastically reduce our grocery bill.
So I am going to give you a two week menu-complete with recipes and grocery list. Some of this list will assume that you have certain staples already in your kitchen (such as bread, milk, eggs, etc.)  this list is just the extras you specifically need for the two week menu.  This first menu also mostly focuses on weeknight meals.  If people tell me they would like it, I will add lunch ideas so that you aren't eating out or bringing sandwiches everyday, but I am trying to keep it simple.)

Grocery List

1 whole chicken (fryers are fine and less expensive
2 large chicken breasts
ground beef (2 pounds)
1 pork tenderloin
1 ham (can get at Costco for $20, split into four equal parts and freeze)
refrigerated pie crust OR puff pastry shells
1 can of canned chicken
Bacon  ( I put this on the list, but this is a staple for me and I always have some on hand)
pizza crust
1 package torillas
lettuce
spinach
potatoes (preferably  small red or yellow potatoes)
Rice (another staple, but I live in Louisiana and know that is not the case for other states)
Spaghetti pasta
1 cucumber
2 bell  peppers
1 egg plant
celery
1 yellow or white onion
1 head of garlic
corn  (preferable frozen)
1 package cherry tomatoes
1 (16 ounce) wedge of cheddar cheese
1garlic and herb Boursin Cheese (I get three at Costco and they are a better price and they stay well in your fridge)
1 bottle vermouth  (also a staple along with sherry)

The Menu

Sunday:  Roast Chicken, garlic mashed potatoes and gravy
Monday: spaghetti with ground beef sauce, garlic bread and Caesar salad
Tuesday: chicken dill packets, herb rice, salad
Wednesday: Stuffed Bell Peppers
Thursday:  lemon marinated chicken  and egg plant ratatouille
Friday:  super easy taco soup, cheese quesadillas and zesty salad
Saturday:  white pizza with bacon and Boursin cheese
Sunday:  Pork Tenderloin and risotto with salad
Monday: pan-fried ham, potato latkes and roasted cherry tomatoes
Tuesday:  stir fried pork rice and Asian cucumber salad
Wednesday:  chicken and gravy with rice and wilted spinach salad
Thursday: ham frittata and salad
Friday:  Barbeque pork sandwiches and pasta salad
Saturday: grilled chicken breasts with garlic parmesan spaghetti and salad


Sunday Recipes

Mashed Potatoes

2 med - large potatoes OR 4 small red or golden potatoes
butter  (REAL butter, not margarine)
1 clove minced garlic
milk (enough to achieve desired consistency)
kosher salt (to personal taste)
freshly ground pepper (to taste)
    OR
  salt and black pepper can be replaced with Creole Seasoning (such as Zatarian's)

1. If using russet potatoes, skin potatoes and cut into quarters.  If using small red or golden, clean potatoes and quarter.
2.  Place potatoes in medium saucepan filled with water and boil until potatoes are soft after inserting a fork  (between 20- thirty minutes).
3.  Once potatoes are cooked, drain and put in large bowl and cover with Saran Wrap or towel.
4.  In same medium saucepan, melt 1-2 tbsp. butter (depending on your taste) on low heat.  Put in minced garlic and cook until garlic is soft and golden but not brown, about five minutes.
5.  Pour melted butter and garlic in potatoes.
6.  Add 1tbsp - 2 tbsp. milk (could be more or less depending on the consistency of the potatoes and personal taste)
7.  Smash potatoes with a potato masher or fork. Once potatoes are mashed and consistency is achieved, add the salt and pepper or the Creole season and stir to distribute throughout potatoes.


Roast Chicken and Gravy

1 whole fryer chicken
1/4 cup room temperature butter
1/4 tsp. olive oil or black truffle olive oil (I know this is expensive, but a little goes a long way and does amazing things to dishes, it is one of those items that is worth the splurge, however, don't pay over $10 a bottle--its not necessary)
1/4 tsp. dried basil
1/4 tsp. dried dill or rosemary  (you can also do both)
1/4 tsp. dried thyme
kosher salt and ground pepper to taste
1/2 cup chicken stock (more if necessary)

Gravy
1/2 cup vermouth
1-2 tbsp. flour
2 tbsp. milk
kosher salt and ground pepper to taste

1.  Preheat oven to 450degrees. 
2.  Rinse the chicken and clean thoroughly.  Then pat it dry, both inside and out with a paper towel.
3.  In a small bowl, combine the butter, olive oil, basil, dill (or rosemary), and thyme.  It should be a soft consistency, but should not be liquid.(At this point, if you want, you can truss the chicken.  I'm too lazy to do that, the rest of the directions that follow assumes that you didn't truss the bird.)
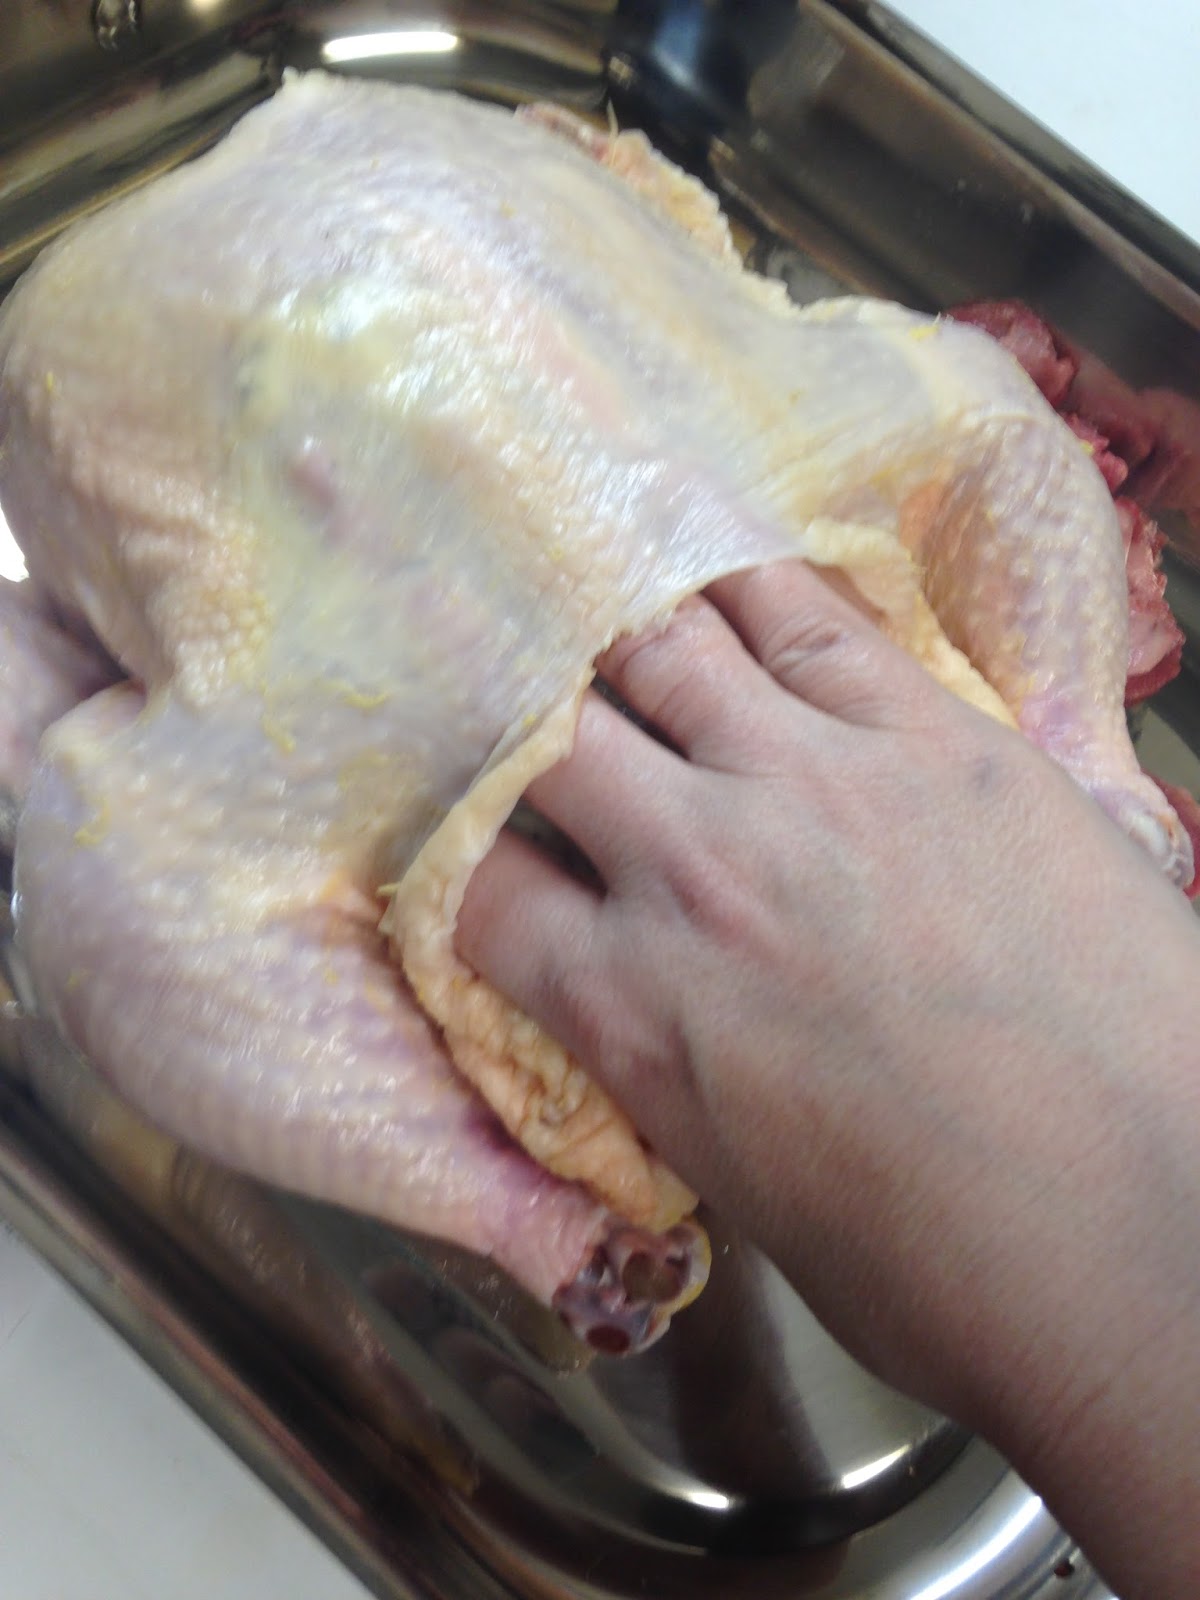
4. Carefully lift the skin of the chicken away from the meat of the bird with the fingers of your hand, going around the legs and the thighs. Once the skin is loosened, scoop up the butter mixture with your fingers and spread it under the skin of the bird.  Take the remaining mixture and spread over the skin of the chicken.


5.  Salt and pepper the outside of the bird. I like a lot of salt and pepper but, you should do it to your own preferences.
6.  Place the bird in a small roasting pan. Cover the tips of the wings and tips of the legs with aluminum foil.  (This will keep them from drying out, and works in place of trussing the bird.)
7.  Pour chicken stock around the bird.
7.  Put the chicken in the oven and roast for 45-60 minutes or until done (time will depend on the size of the bird.), basting every 20 minutes.  You may need to add more chicken stock during cooking.  You want to have about a half inch of stock in the bottom of the pan at all times.  You will know the bird is done when a thermometer inserted in the bird reads no less than 165 degrees.
8.  Once the chicken is done baking, take out of the roasting pan, place on a carving board, and tent with aluminum foil, letting the bird rest for 10-15 minutes.
9.  While the chicken is resting prepare the gravy.
10.  Place remaining juices from roasted chicken in shallow sauté pan and simmer on low heat.  Add vermouth, flour and milk.  Whisk together ingredients and let simmer until liquid thickens.  You may add more milk or flour to make the gravy thinner or thicker.  Salt and pepper to taste.

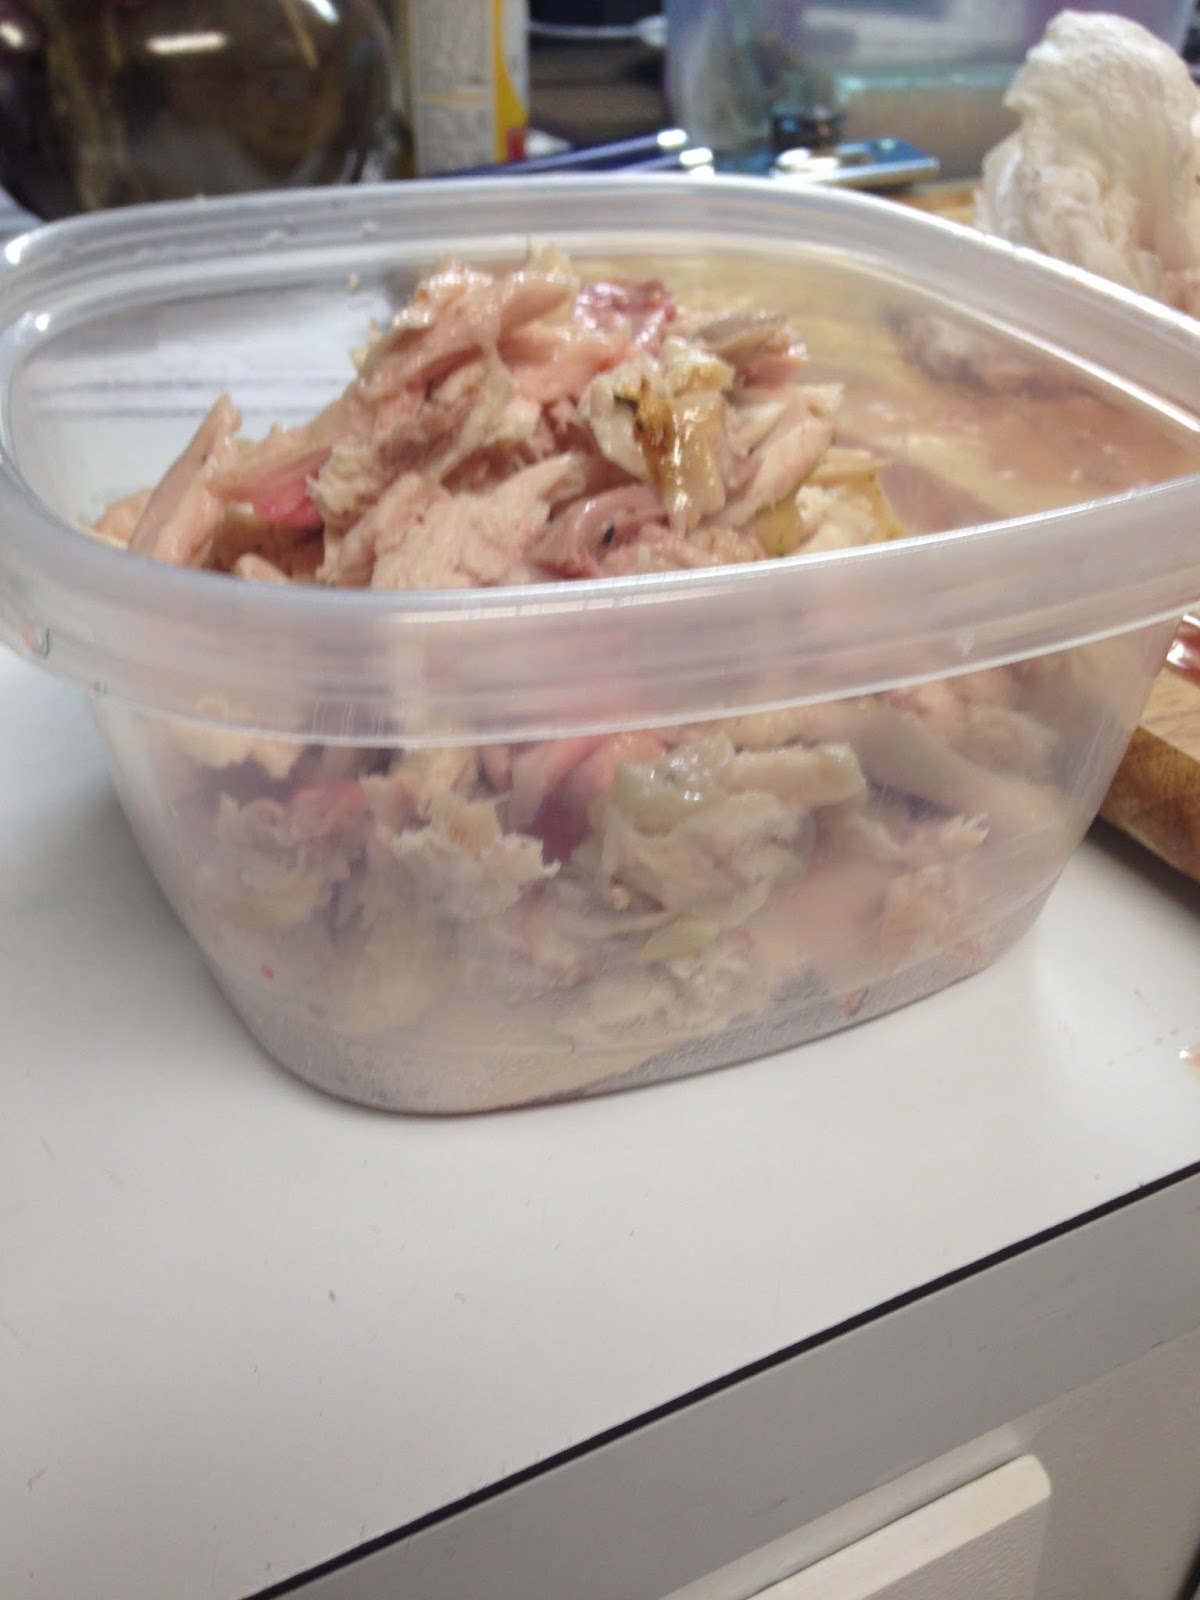
Amount of chicken leftover for further meals.

Well, there you go.  The first grocery list and the first recipe.  I will add more tomorrow.  I hope to add pictures eventually, so please be patient while I figure that out.
--Carole