Showing posts with label Crafts. Show all posts

Tuesday, February 28, 2017

A Mardi Gras Bead Wreath and other Ideas for Mardi Gras Beads! Reuse, recycle and refurbish them!

Hello Everyone!
Well, Mardi Gras is officially here.

Am I the only one wondering where his hands are?  

That means starting tomorrow all of the parades will be done - at least until St. Patrick's day and you may have a bag load of beads that you really wanted in the excitement of a parade but now you have no idea what do with them.  Some beads are nice enough that, here in Louisiana, we save them in a box as our "good" beads.  These are the beads that we wear at balls with our formal wear. (No, I am not making that up.)  But for the other beads  almost all of us have a plastic bag full of beads that we are keeping for one reason or another--because it just seams wasteful to throw them out. -- but that we have no idea what to do with.
There are some who leave their Christmas trees up, take the ornaments off, and use their spare beads to decorate the tree and have Mardi Gras Trees.
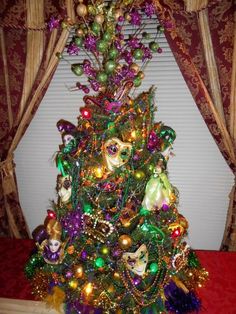
This is not my tree and I did not take this picture, I found it on Pinterest.  Sorry to whomever I am not crediting.

I personally don't like doing trees for any other holiday but Christmas.  It just feels like I'm cheating on Christmas.  So I look for more ingenious things to do with the beads.
Below are some promising things that I found that I want to do, but have yet to try.

A Mardi Gras Bead Chandelier


This is something that I have saved for when I make my backyard oasis.  (I have such dreams for my back yard oasis.)
I want to make it in silver, turquoise or pearl and it will match my indoor/outdoor rug made out of recycled materials that I have been saving for just this project.
When I make it, and I WILL make it,  I promise I will post it again and share with you how easy or difficult it may be to create.
I think this is my favorite use of Mardi Gras beads because it is beautiful and practical.  The idea came from from one of my most favorite sites when I am wanting an inexpensive craft idea www.dollarstorecrafts.com.  The site contains crafts that you can make by upcycling items you can find at the dollor store.
Just click the link below to learn how to make the chandelier.
http://dollarstorecrafts.com/2010/08/make-a-turquoise-beaded-chandelier/

Melted Mardi Gras Beads


Aren't these pretty?  You would never guess they were made out of cheap beads.  And you could use them to decorate during Mardi Gras season.

Oh my goodness!  This is something that I want to try but, to be honest, scares me a little - but I do want to try it.   With melted Mardi Gras beads you can make bowls, lamp covers, wind chimes and I have even seen bracelets made out of beads that look like translucent bakelite.
I have included a link on how to do it, but for more ideas and how to's just google melted mardi gras bead crafts and a plethora of sites and ideas will pop up.

https://ofmoonpiesandmonkeys.wordpress.com/2010/03/01/recycle-gras-follow-up-how-to-melt-your-beads/

Mardi Gras Bead "Painting"

I have always wanted to try to make one of these, but I just don't think that I have the patience for it.
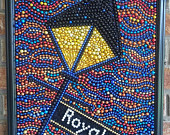
Here are some of my favorites that I have found.  I do think that I want to my best to imitate these.  I think I would like to make the lamp and the blue dog for my brother and his New Orleans room.

This may be my favorite Mardi Gras Bead painting ever!

We do love our fleur de lis here in Lousiana.

I think this would be adorable in a bathroom or, if you are lucky enough to have a pool house, in a pool house.  Or behind a large glass aquarium.

I tried to make this larger but then it was blurry.  Sorry.

Mardi Gras Bead Wreath

This is the wreath that I came up with. I added the red because there are red "beads" in the mask which are a little hard to see in this photo.  I also had Endymion beads that I wanted to add, but I think that it would look just as good without them.  Maybe better.  But I went with a Liassez les bon temps roulez attitude on this project.

This is a craft idea that I have actually done!  And am going to share instructions in this post.  The idea was first brought to me by a friend of mine.  I think that he got the idea off of Pinterest.  As you can see, his is more elegant than mine, and it only cost him about $12.00.  His is also larger than mine.  I was going to make this version but, I am embarrassed to admit, I am horrible at making bows.  They always fall apart. So, I will share how to make my wreath now and next year I will show you how to make his.  (After he shows me how he made it, and gives a me a lesson on how to make bows.)
Mine cost me $10 and either one of them are way cheaper and, in my opinion, far prettier than those that you can find in stores.

Lance Parker - Creator and Photographer

Materials

Sorry if this is hard to see.  It was pretty outside, so I made my wreath on our wrought iron patio table.

1 wreath form.  (I used straw because it was only $3.00.)
Mardi Gras Beads (You can buy them, but if you are from Louisiana just dig in your bead bag.)
1 box greening pins
1 Mardi Gras Mask or Mardi Gras Colored Ribbon
Ribbon (About 8 inches- this is just for hanging.  It is up to you if you would like it to be narrow like mine or wide and more seen while it hangs.

Instructions
1.  Unwrap your wreath form and untangle your beads.

2.  Starting at the "top" of your wreath, pin a strand of beads to the wreath form using a greening pin. Wrap the beads around the wreath trying to space them as evenly apart as possible.
I did not measure my beads to make certain that I was wrapping them an equal distance apart, I just eyeballed them.  This wreath is not an exact craft project, so do what you like.

I did the color scheme of purple, gold and green - but you do whatever you like.  Keep wrapping until your form is covered in these "base" beads.  (For my wreath I used about about six strands of each color to cover my wreath form.  Depending on the size of the wreath you are creating, yours could take more or less.)
3.  You could actually finish with the "base" beads here if you so chose, but I decided that I wanted to play with textures a little bit by using different size and shape beads on top of my "base" beads.  I usually kept my strands in a loop and did not cut them to make one string.  Except in the instance of my "pearl" beads and my red heart beads.  You can make different designs by using double or single strands of beads this way - double you don't cut the strand of beads, single you do.
4.  Once you have put on the amount of beads that pleases you, add the mask.  I just tied it on with a ribbon and put it to the side.  But you could put yours on the bottom if you would prefer, but then you would have to hot glue it on.  I didn't have to glue it because the various textures of the beads kept the mask in place.  I liked the idea of not gluing anything because then I could more easily make changes and additions if I so chose for future Mardi Gras.  (Never know what other beads you're going to get!)


5.  You can stop it there.  But if you have some trophy beads that you would like to add to your wreath, such as my Endymion beads,  go ahead and put those on too.
6.  Tie a ribbon around the top and hang.


There you go!  A super simple wreath that you can make with beads you have now from the recent parades that you can store and use as Mardi Gras decor later for next year.

One more picture, because I couldn't resist and Easter isn't that far away.

I hope you enjoyed this post!
I'll be back soon.  Most likely with St. Patrick's day food and craft ideas.  Being Scottish and Irish, it seems that a St. Patrick's day post or two is a moral imperative.  But I should also be starting my garden soon and with that canning and soap making!

Wednesday, December 21, 2016

A Quick Last Minute Present for Christmas (Coffee Cup Cozie) and a Homemade Hot Cocoa Recipe

Hello Everyone!
This has been a very busy holiday season for me.  I'm so behind that I haven't even put up a single Christmas tree.  That is very odd for me because I usually put up four Christmas trees and go crazy on the decorations. I also haven't been able to do several of the Christmas posts that I planned on doing.  So this post is for all of you that may be as behind as me this holiday season.

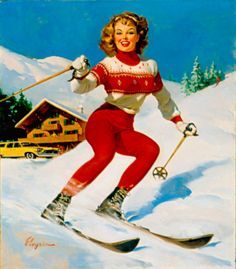
Isn't this the cutest vintage picture?  I remember my great grandmother used to have Christmas cards from the forties and fifties and this was one of the cards in the box.  I always loved it.

In my post on how to make your own Thanksgiving napkins, I told you to keep the sleeves of the flannel shirt as I was going to show you how to make them into a simple gift in a later post.
http://frugalfemmecarole.blogspot.com/2016/11/rags-to-riches-fall-table-runner-and.html

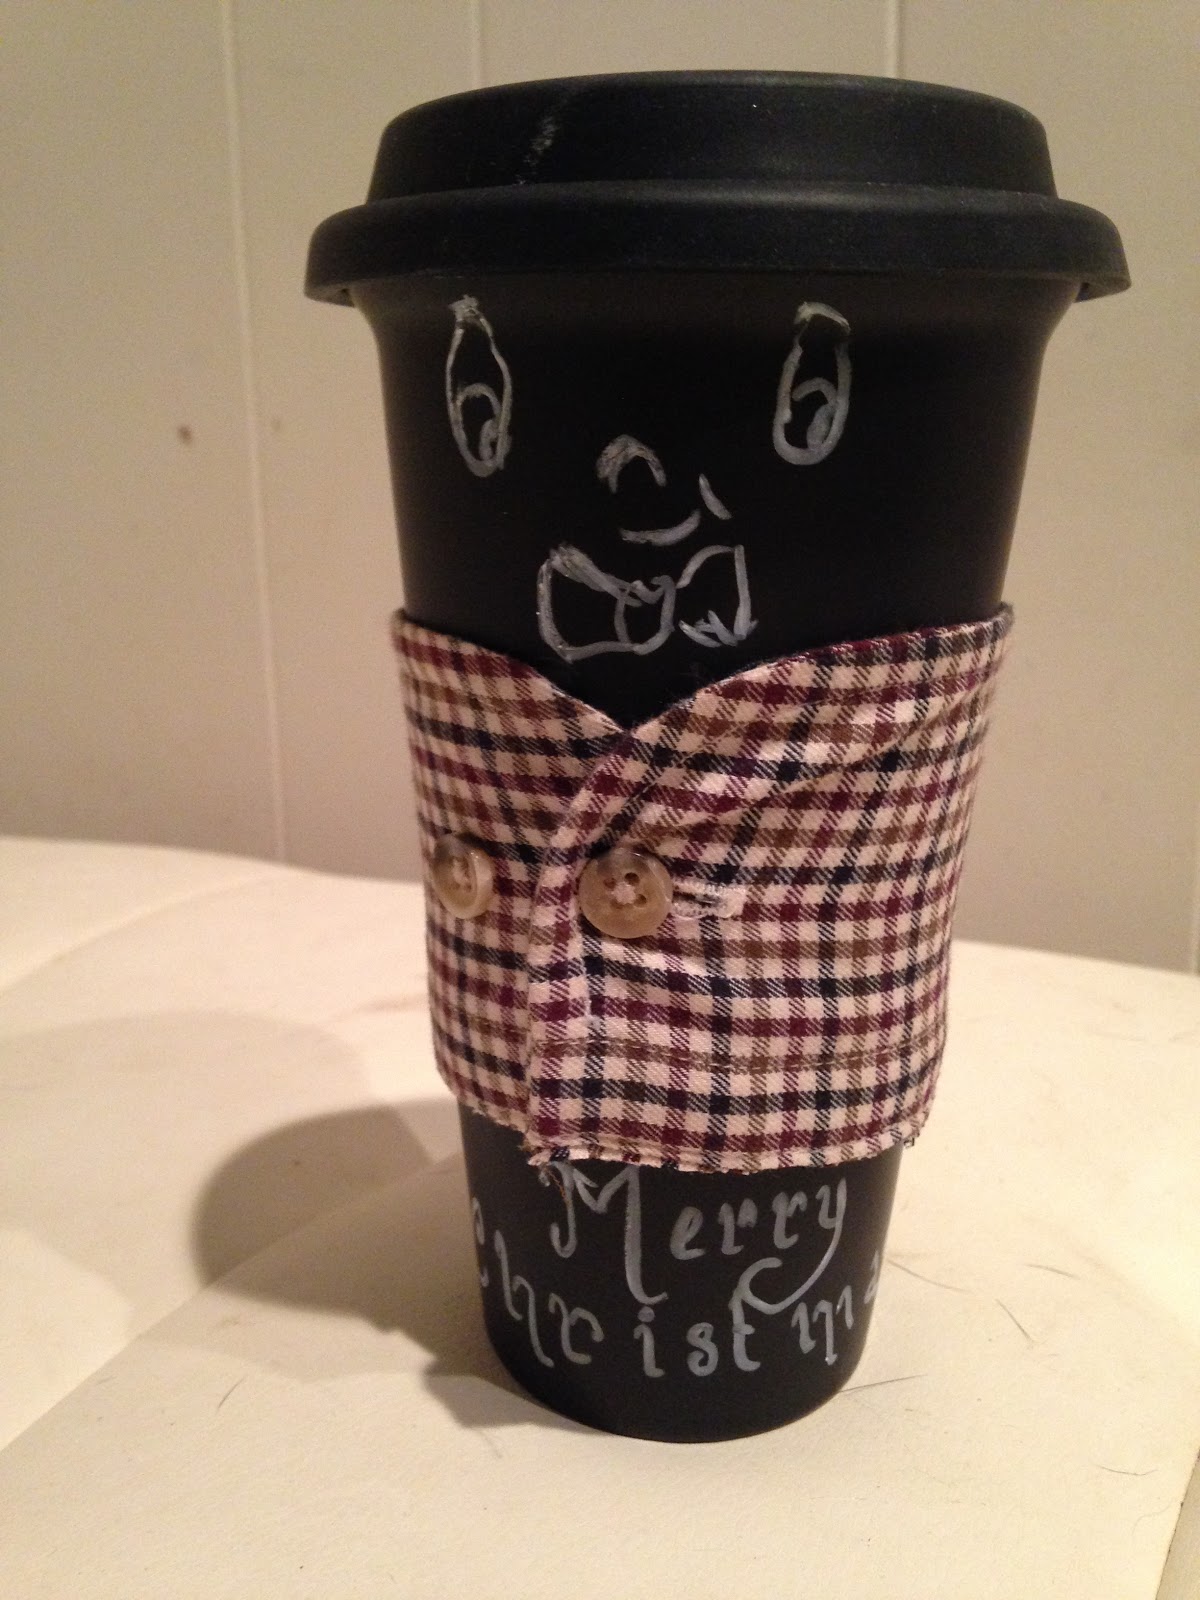
This is that post!  Today, I am going to show you how to make a flannel coffee cup cozie.  Honestly, this may be one of the simplest projects I will ever post.  But it is so darn cute!!!

Flannel Coffee Cup Cozie

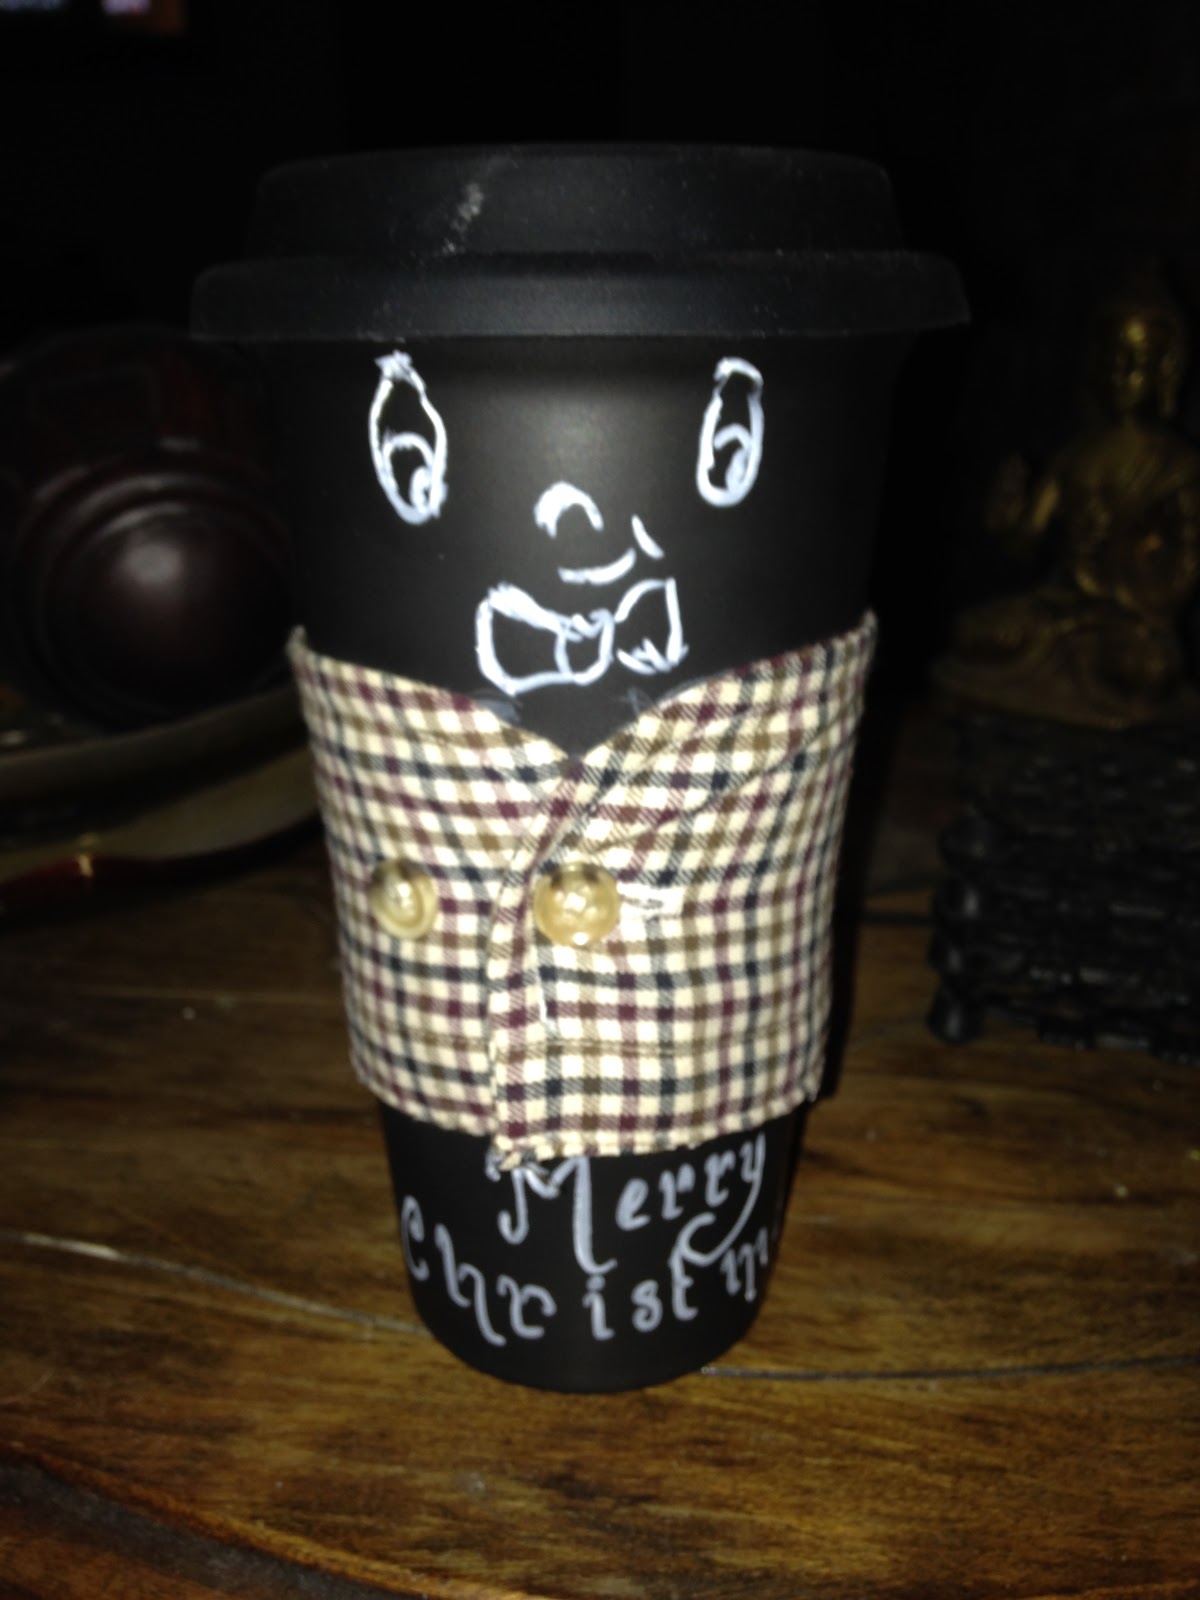
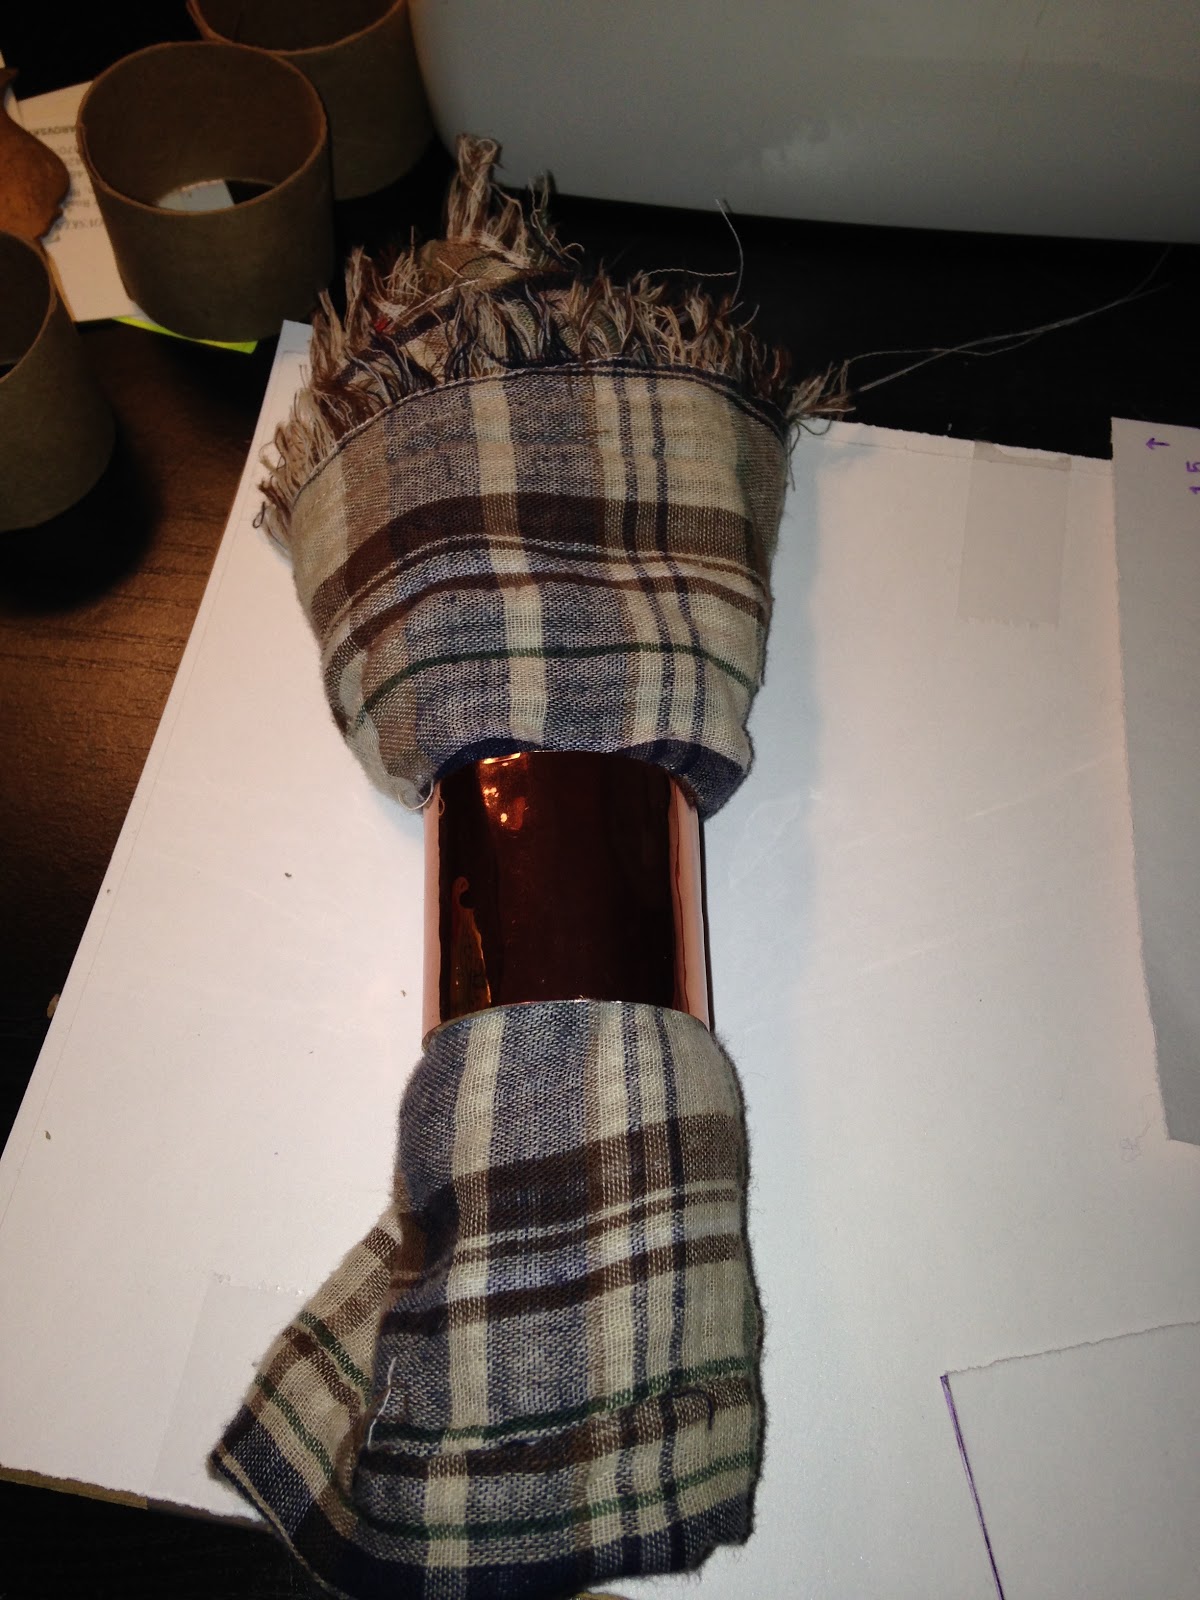
I think that this makes a cute, inexpensive Christmas gift and it takes almost no time to make.  I used a chalkboard version of Not A Paper Cup that I found on eBay.  But you can use any cup that matches your cozie.  To complete the gift, put some dry coco or coffee into the mug.

I love the chalk board cup.  You can write your name on it, make a funny face, draw a picture, I just love the options that it allows.  This time I made a face and bow tie.  I think he looks adorable.


Materials
1 flannel shirt,XL
scissors
paper cup or I'm Not A Paper Cup mug or a mug of a similar shape

Instructions
1.  Find a flannel shirt that has seen better days and you are willing to cut up.  In my case, I had cut off the sleeves of a flannel shirt that I had used to make Thanksgiving napkins; which is why mine is brown and cream.
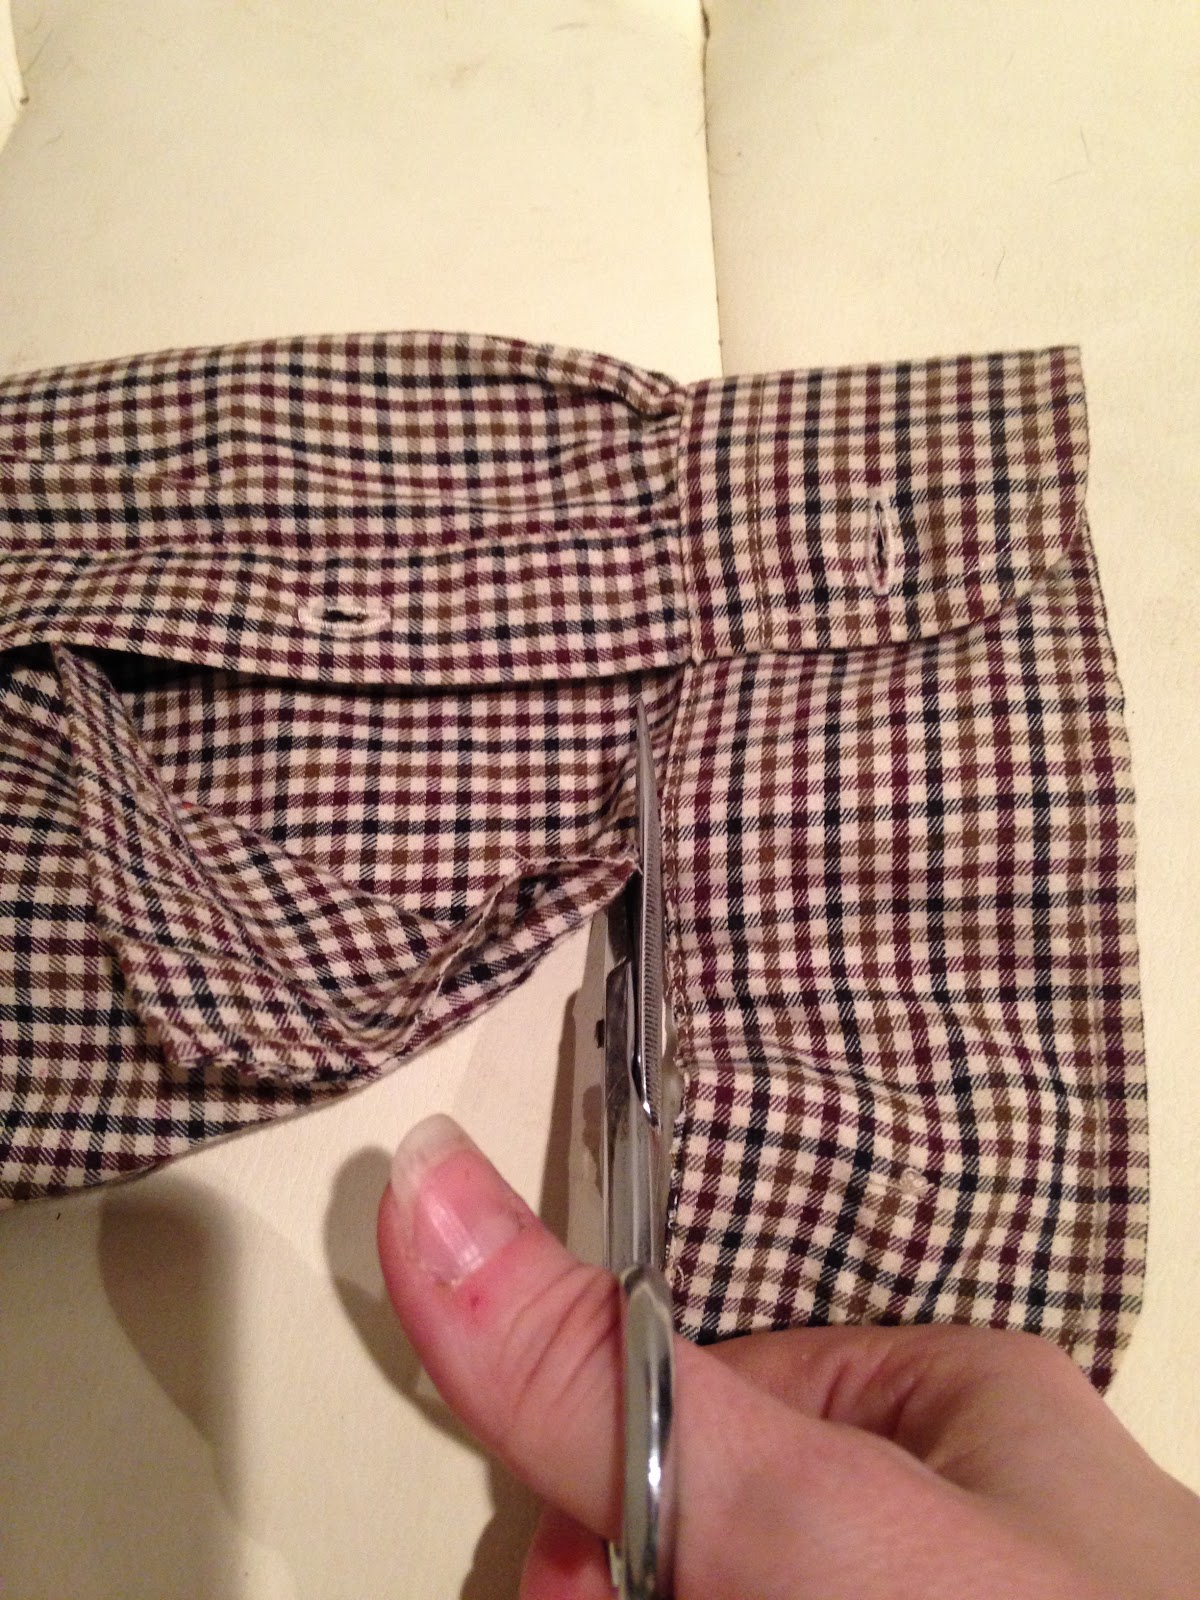
2.  Undo all of the buttons on the sleeve to create a flat cutting area.
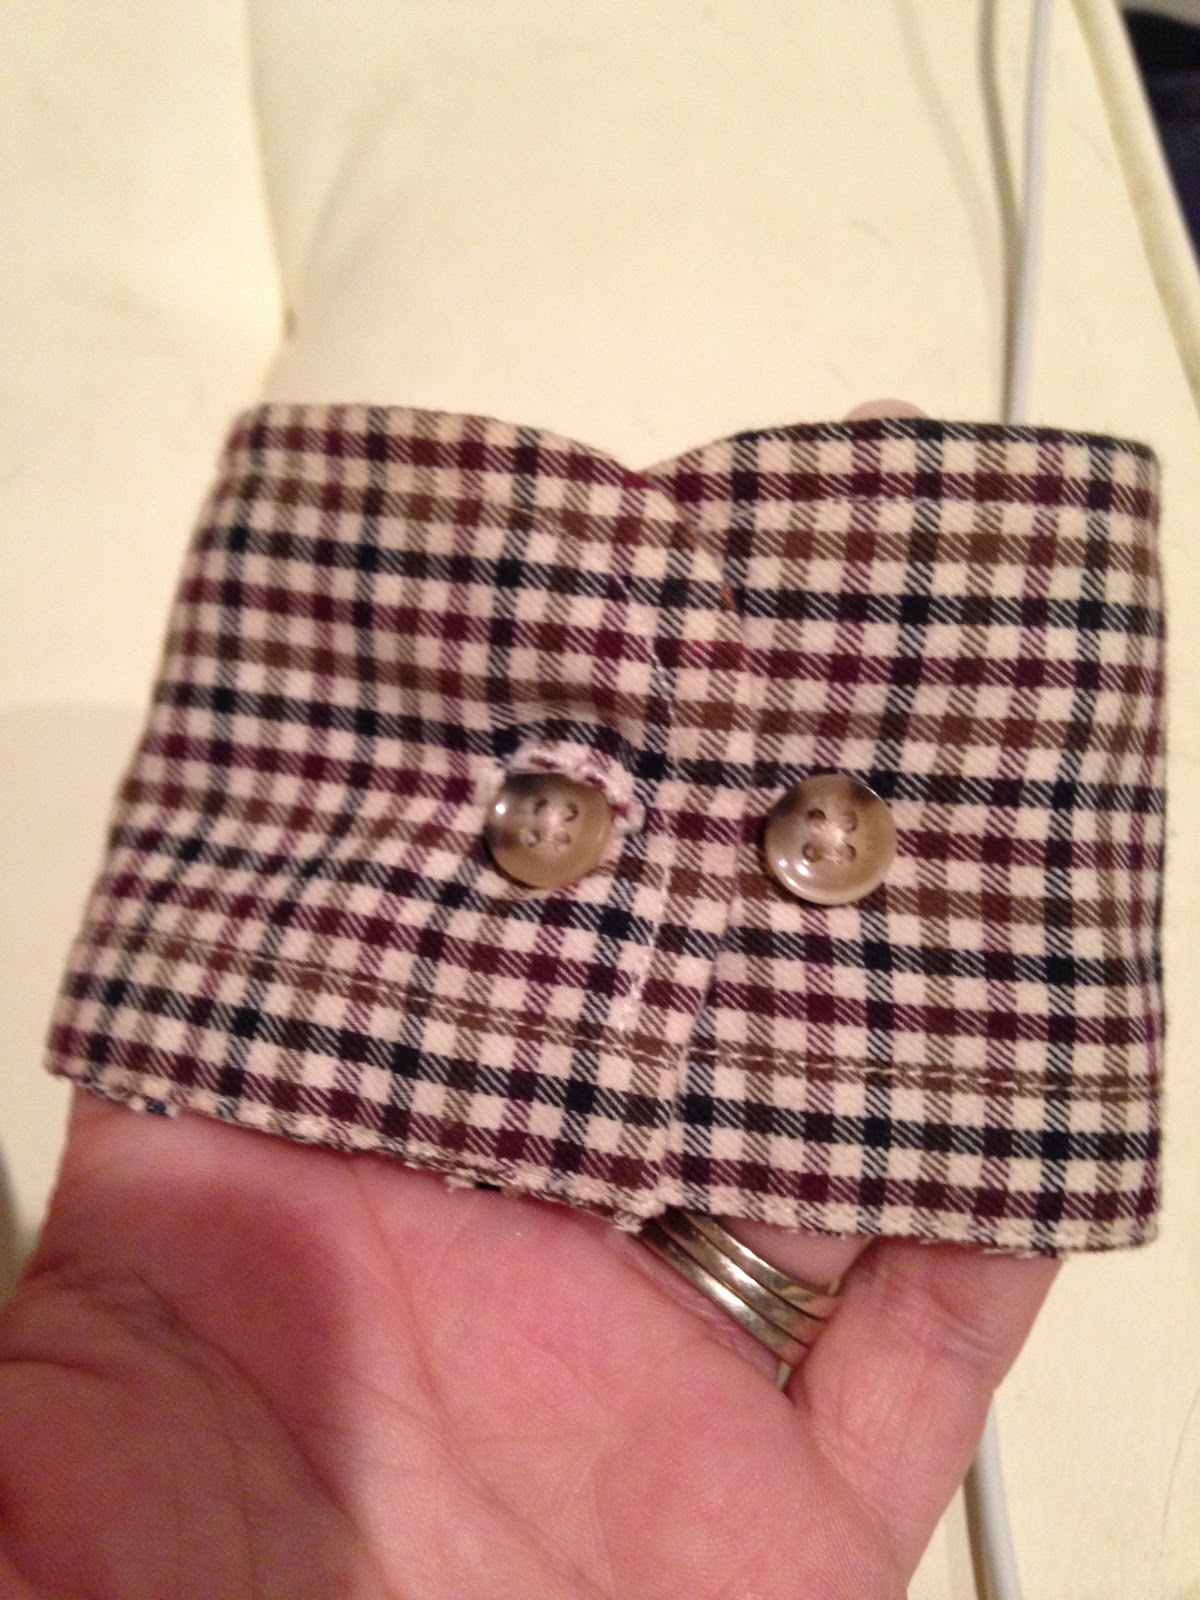
3.  Using fabric scissors, carefully cut along the edge of the hemmed side of the cuff.  I like to follow along the inside edge as it gets a closer cut to the outside edge.  Take your time doing this, you don't want it to look ragged.


4.  Button your cozie back together and put on a paper cup or a mug that is shaped like a paper cup.


And now that you have something to keep your cup warm, here is something delicious to put inside of it.  I don't drink coffee, and 'tis the season for cocoa so I am including this recipe that I found on epicurious.com for homemade cocoa for one.

http://www.epicurious.com/recipes/food/views/simple-hot-cocoa-for-one-369469

I hope that you enjoy!


Wednesday, November 23, 2016

Rags to Riches Fall Table Runner and Napkins

Hello Everyone!
Life is seriously getting in the way of my Thanksgiving and my Thanksgiving blogs.  My plan for this post and the next post was to show you how to make a table runner out of flannel shirts and an old sheet along with the matching napkins and then to show you how to make a cornucopia out of bread stick dough along with two amazing cheese ball recipes. I was also going to show how awesome the table was going to look set with all the table decorations from the last few posts.  Only some of this is going to happen.


My husband went out to search for ingredients for my cornucopia and cheese balls.  He went to four different stores and could find no Pillsbury Bread Stick Dough canisters anywhere.  I went online and it looks like no one can find them.  I hate it when things you love are discontinued.  So, until I find a recipe that I like for bread sticks, my cornucopia will be on hold.  Which is a shame because it is an awesome way to impress your relatives and was going to be my center piece to show y'all.
I also realized that I am not going to be able to show you the set table because my table, along with my good china, is quarantined away in my pub/library.  (We are currently trying to get rid of moths in the pub/library, so we have all the doors taped and sealed while the poisonous vapors do their work.)
However, I am not one to back away from a challenge, so I have done my best to show you what the table would look like.
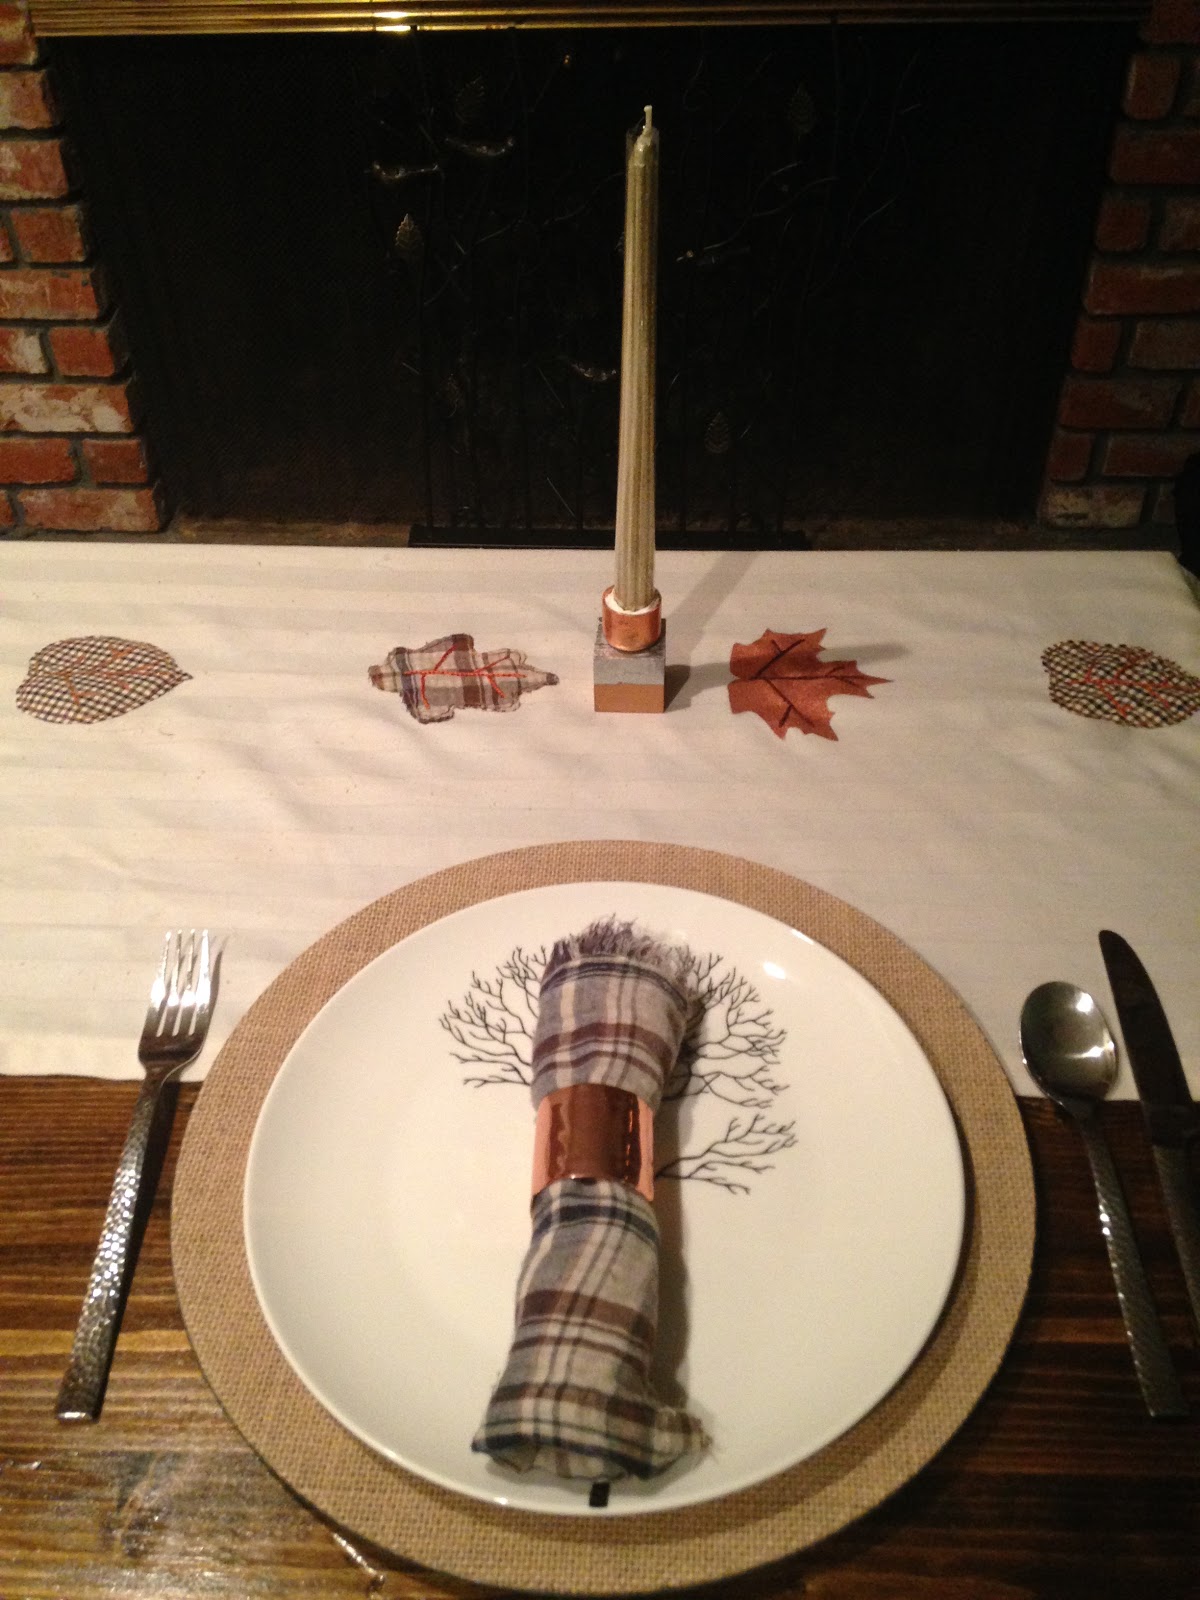
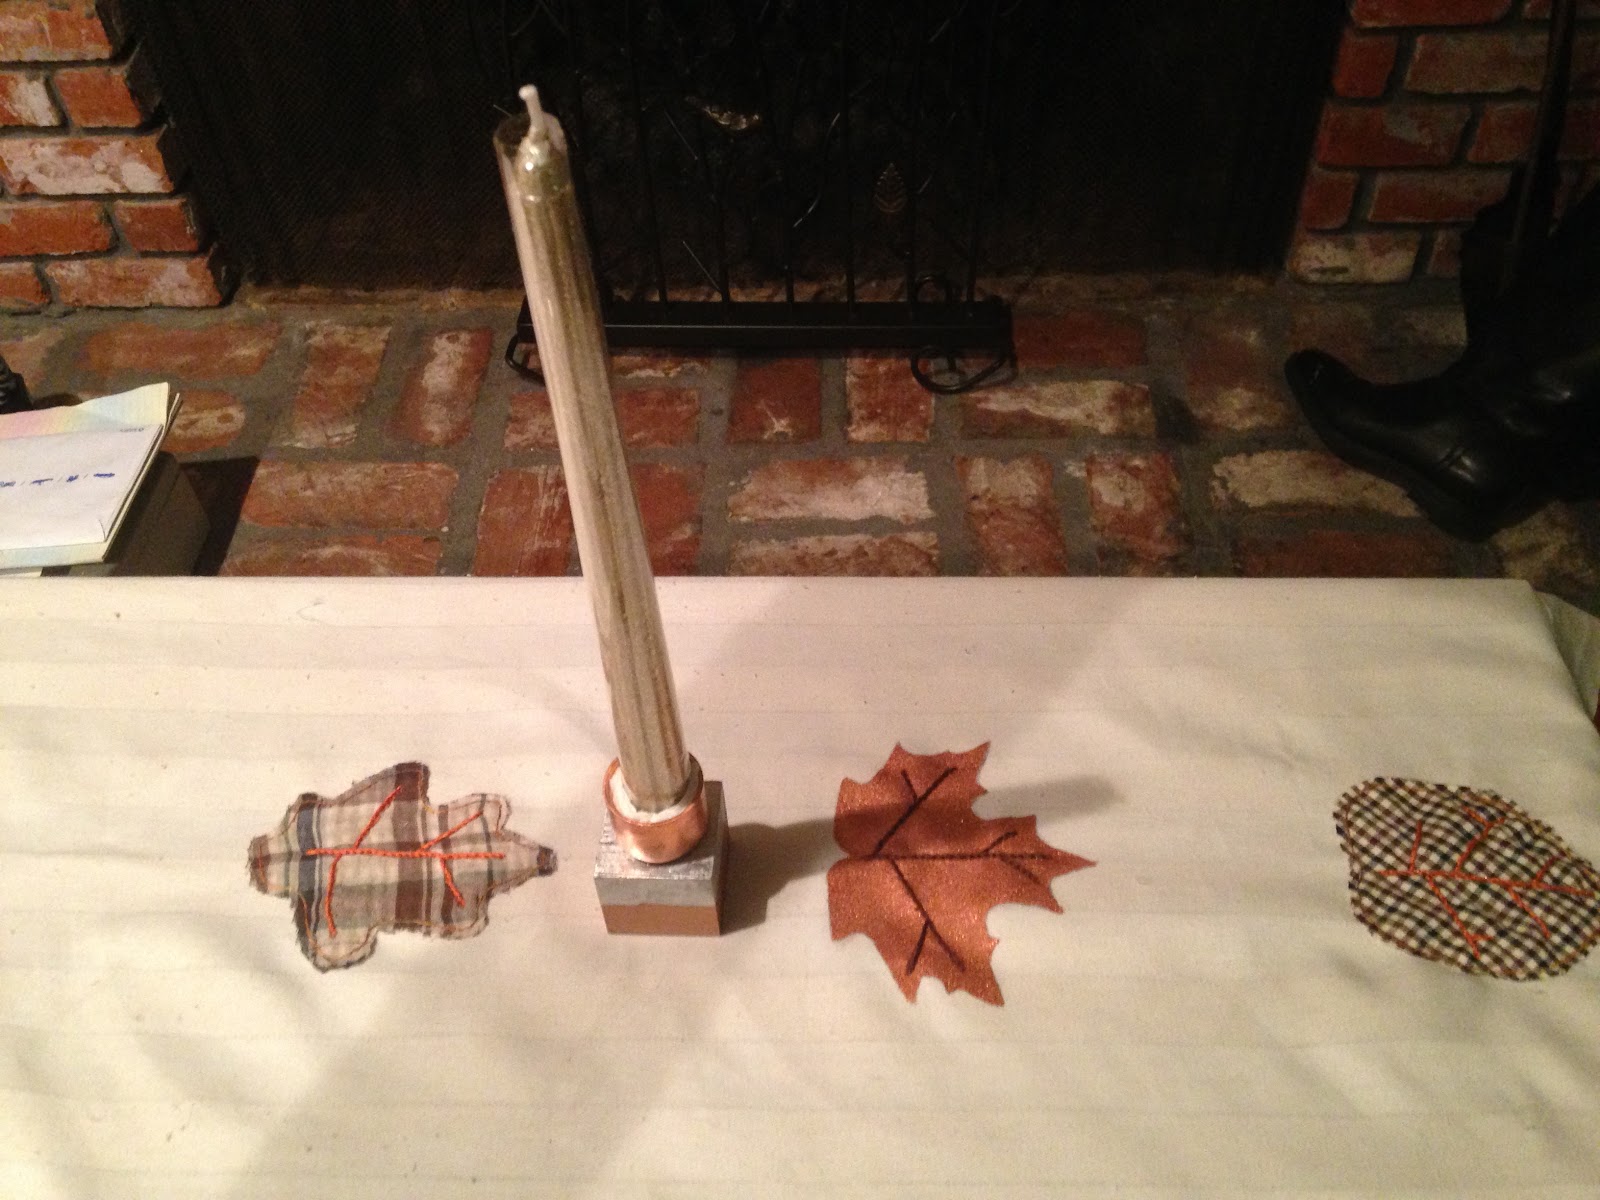
Here is a picture containing the napkins, napkin ring, candle holder, and table runner.  The plate that I used is my daily plates because my good china is currently trapped.  The burlap charger was my one big splurge for my table.  They cost $3.00 each at Hobby Lobby.

Flannel Napkins

I wanted to create an elegant table, but I also wanted it to be rustic.  I thought the best way to do that would be if I used flannel shirts in coordinating prints and colors to make napkins.  With the leftover scraps, I would decorate the table runner and I would have matching decor for my table.

Materials
2 flannel shirts (I did not have any old plaid shirts so I got mine from Goodwill for $3.00 each)
Thread
Scissors
Sewing Machine (You can do the seams by hand, but it would take forever)

Instructions
1.  Cut of the sleeves and collars of the shirt so that the fabric will lay flat.

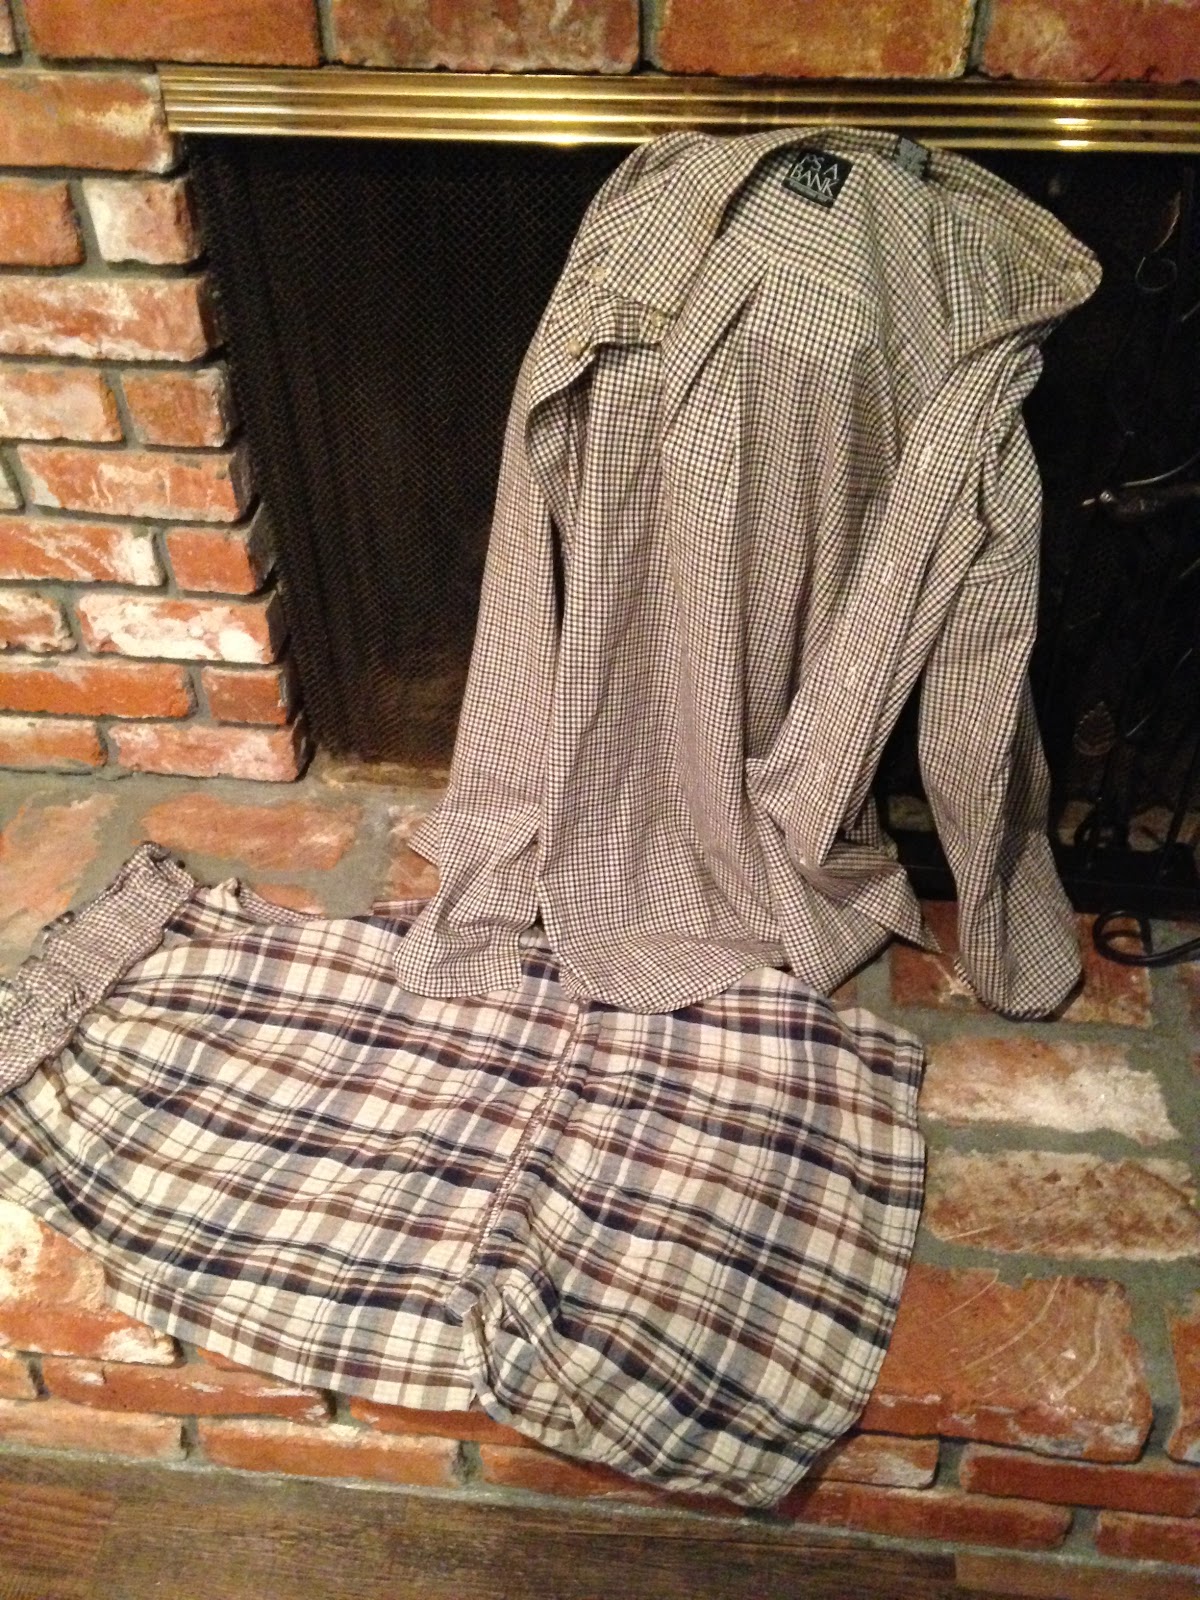
I couldn't find two flannel shirts that had colors and prints that coordinated, but I did find this little flannel jumper and I made that work for me.
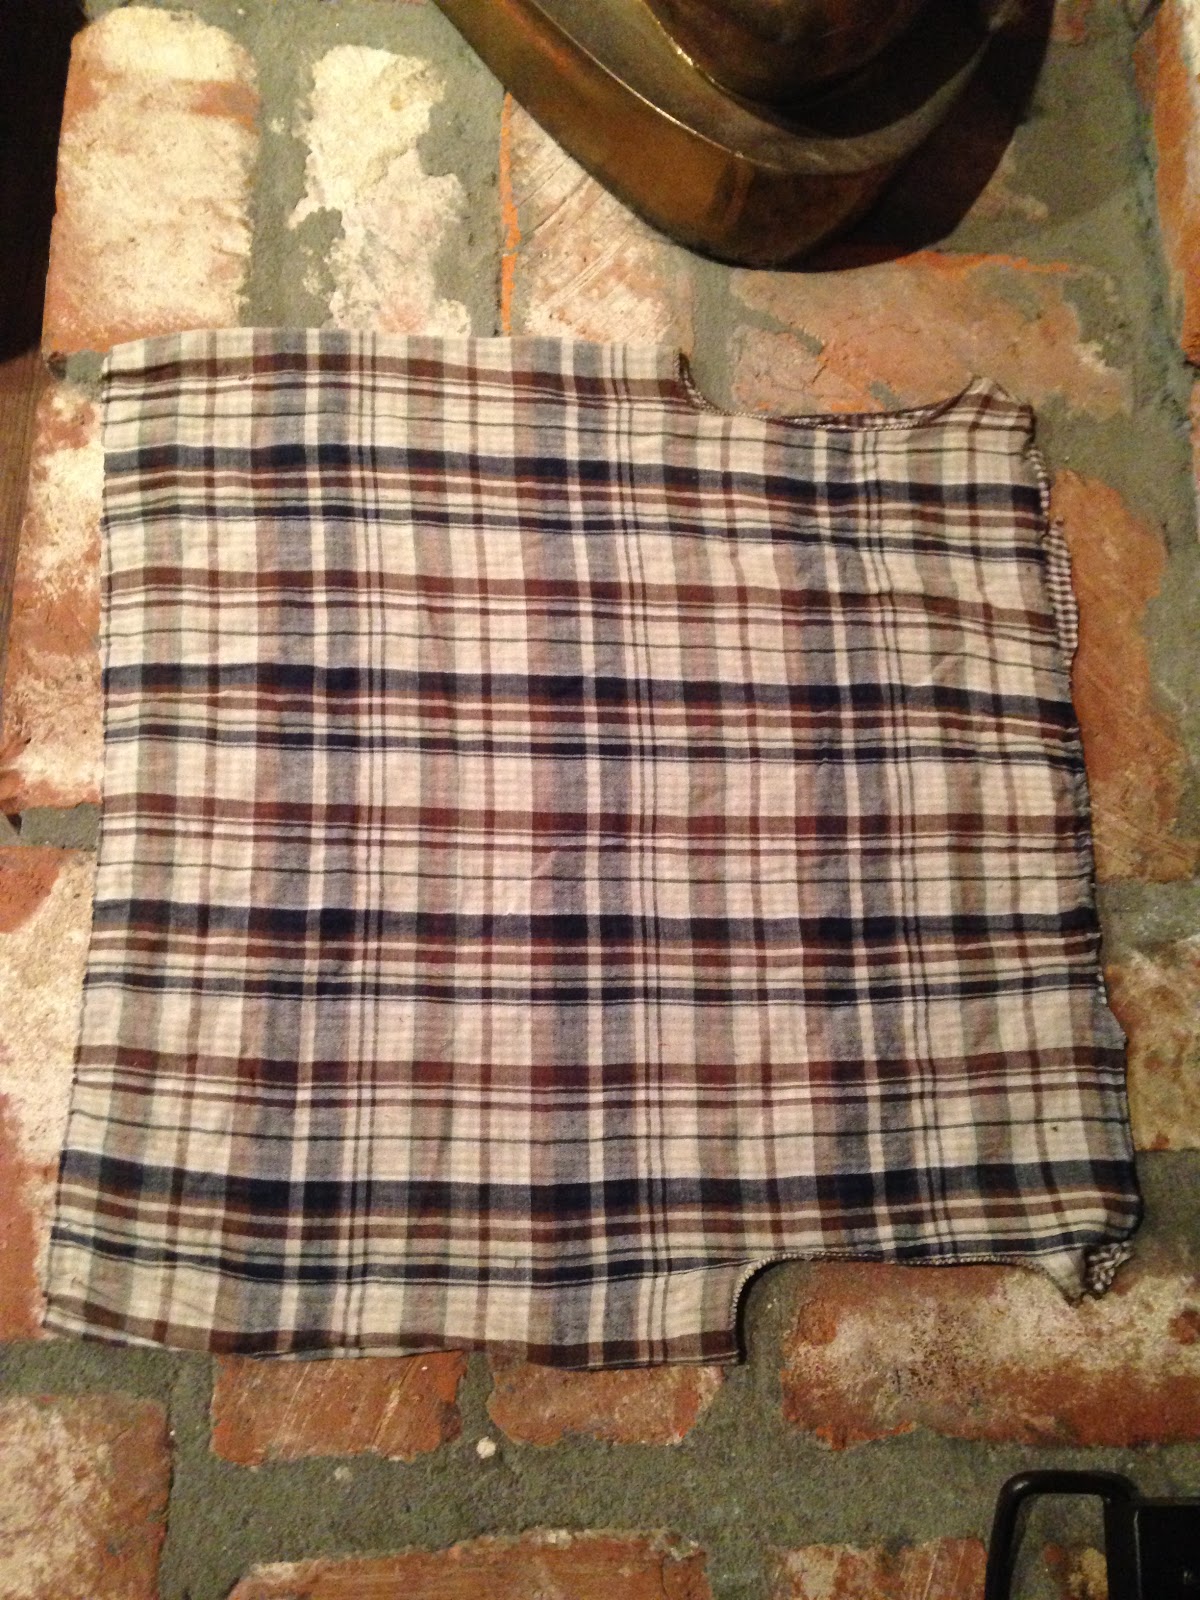
This is the jumper with all the seams and elastic cut away.
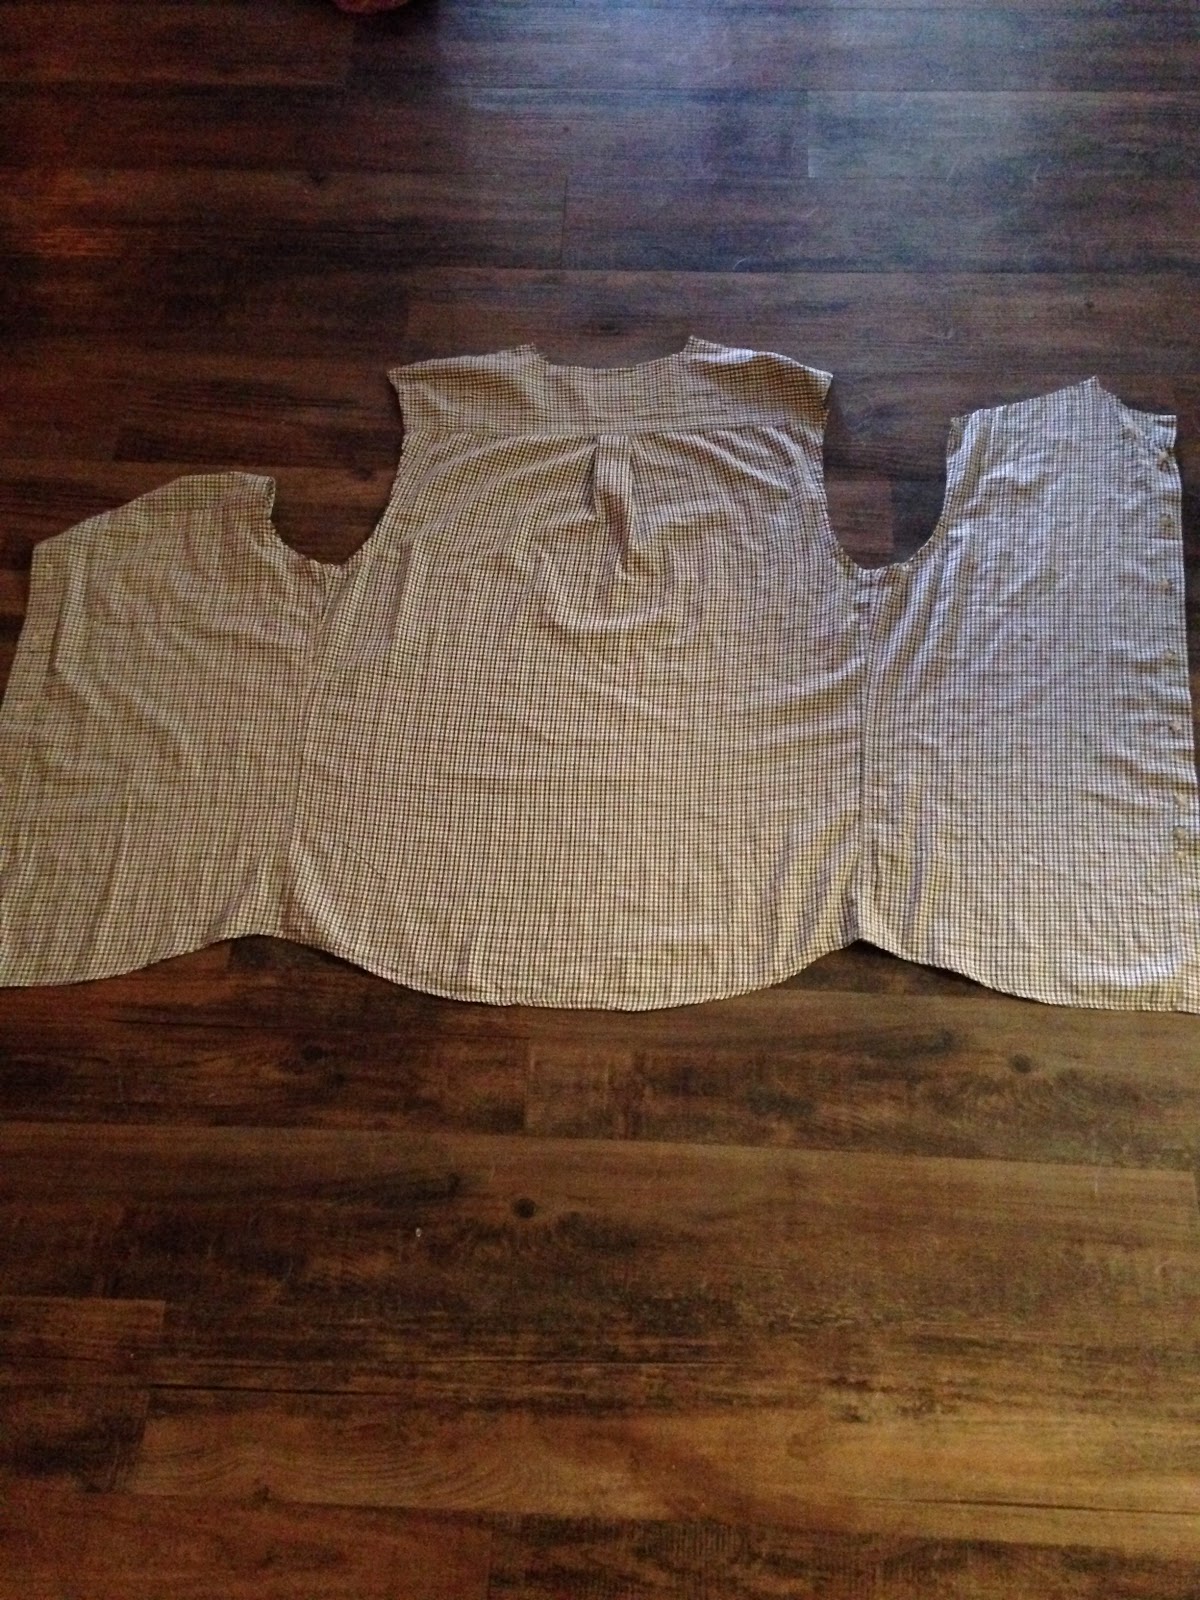
Flannel shirt with the collar and sleeves cut away.

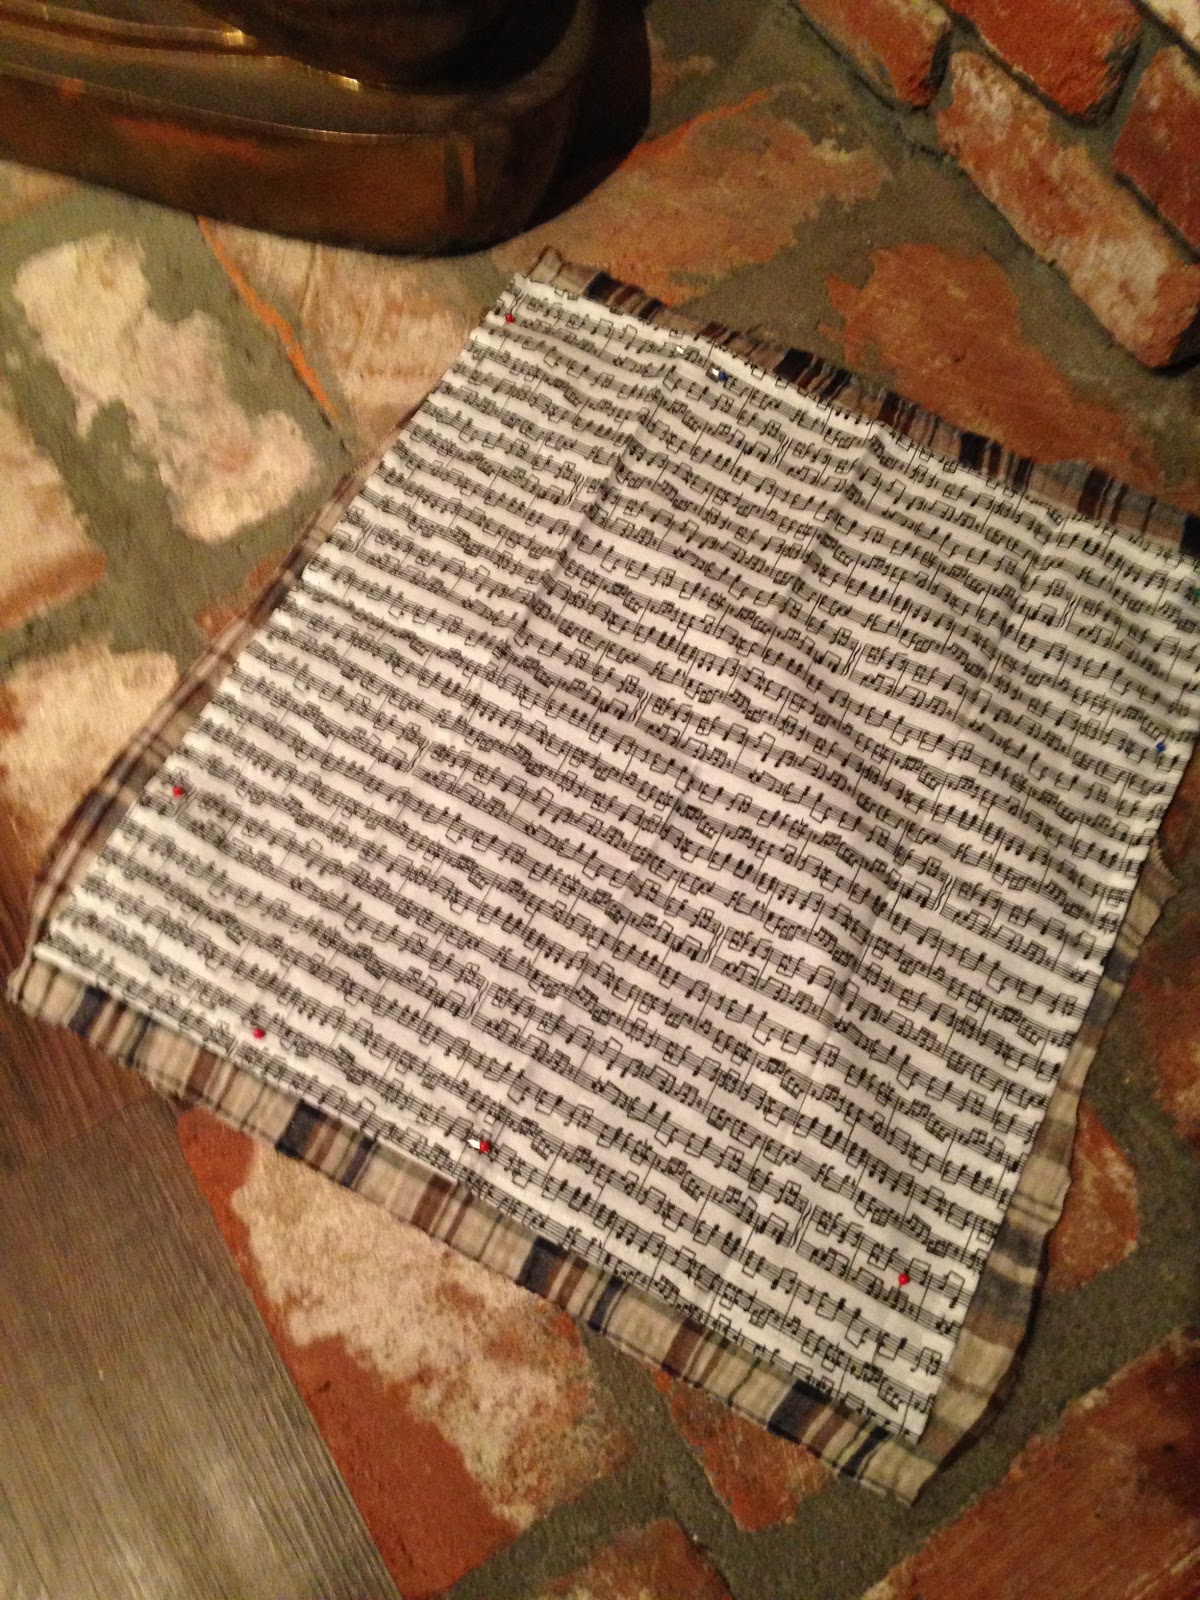
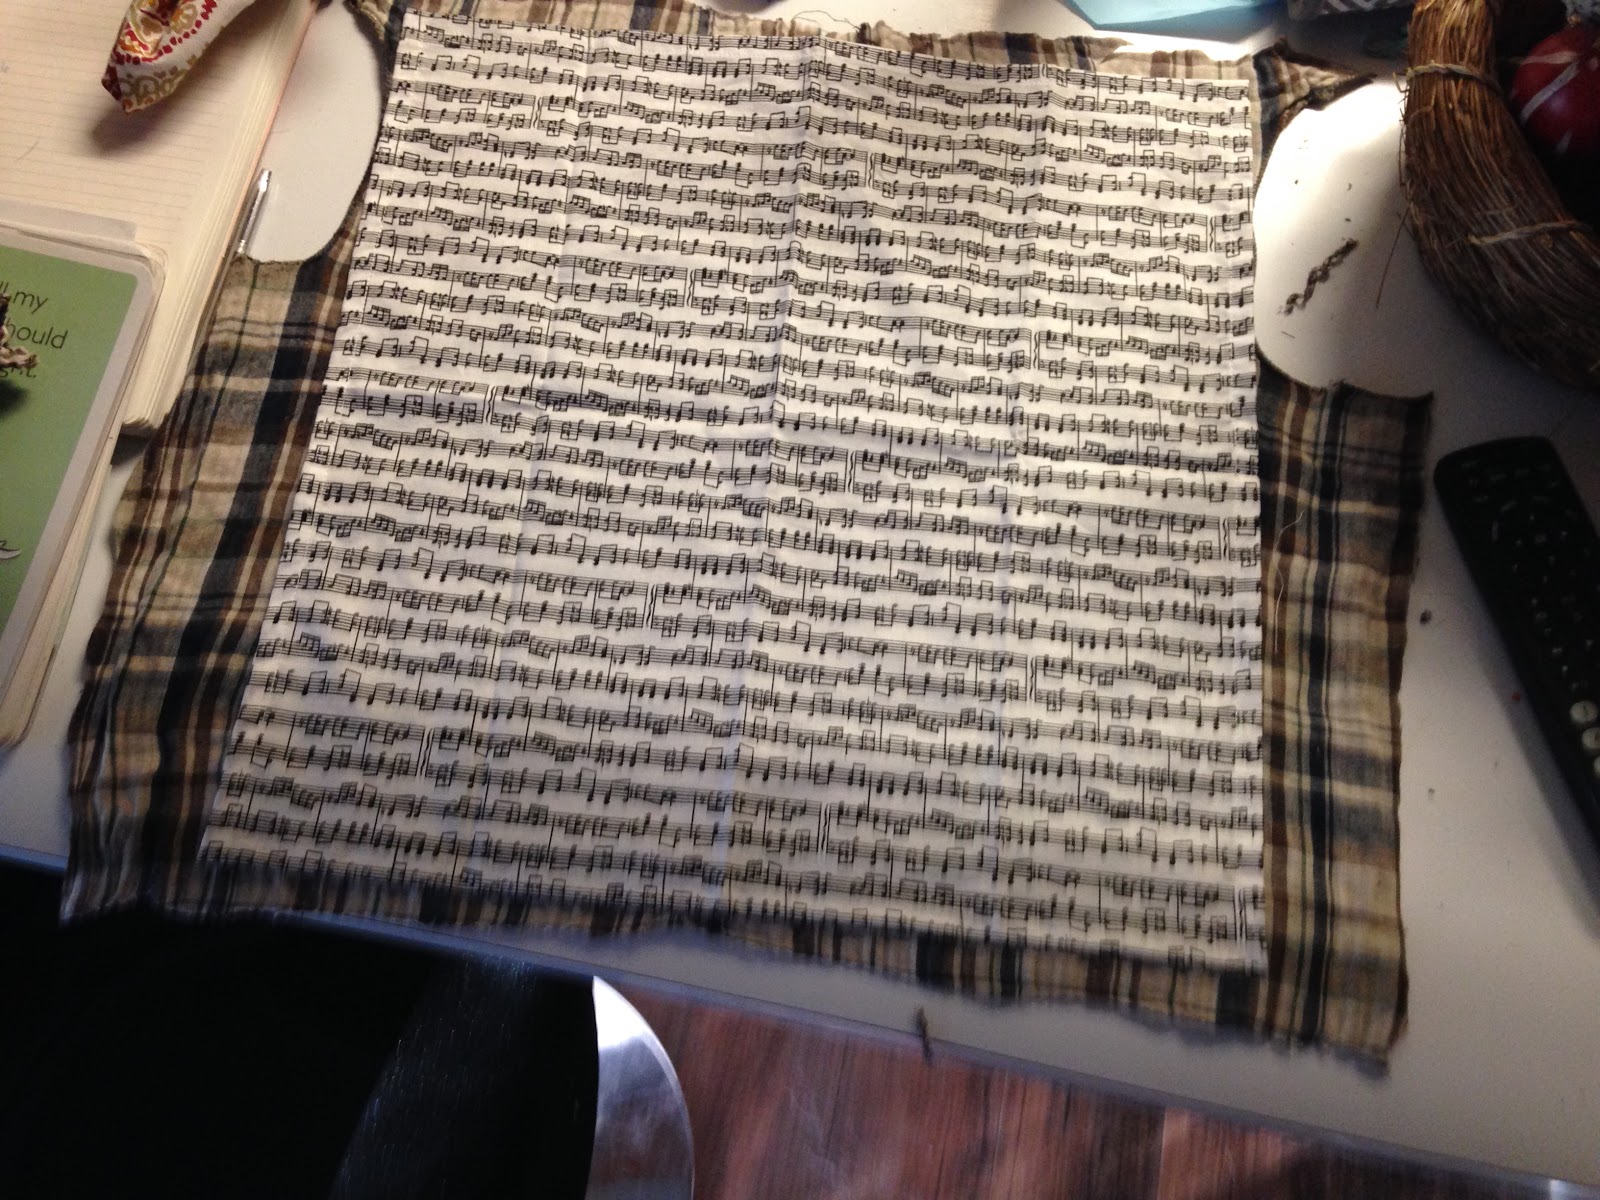
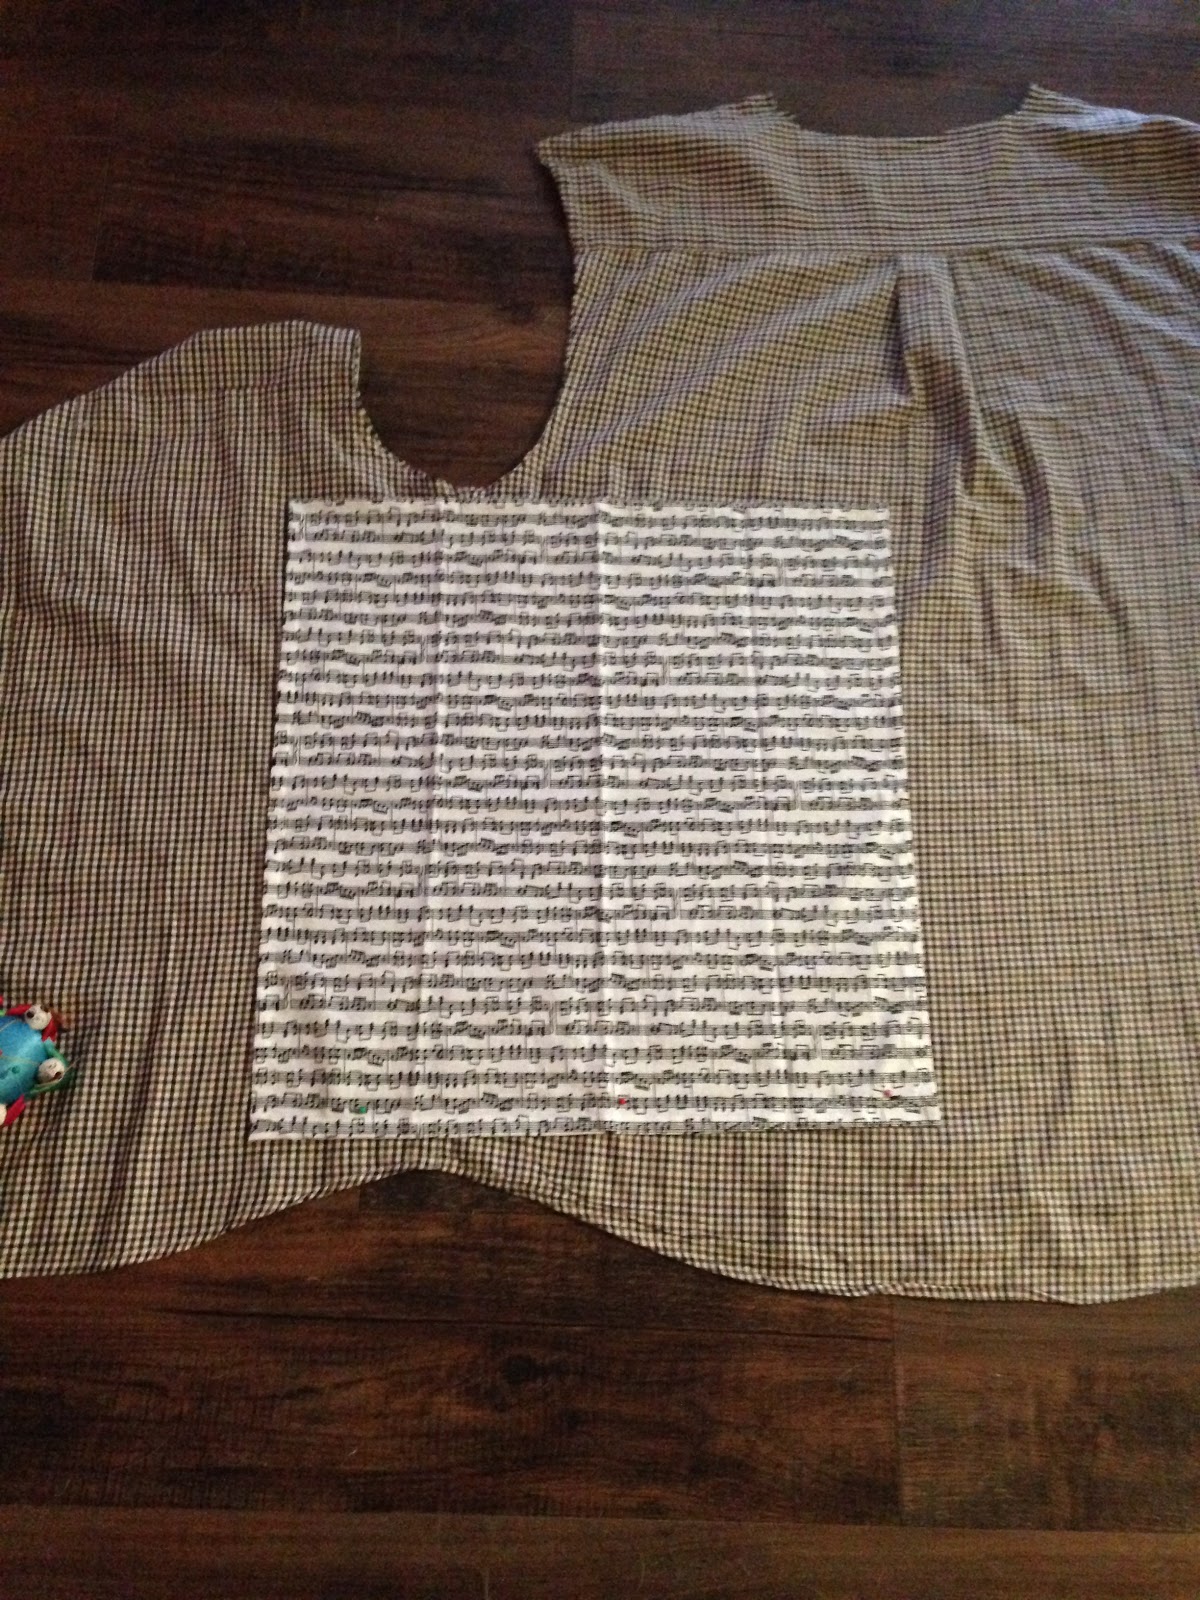
2.  Lay down whatever you are using for your napkin pattern.  There are two distinct sizes in napkins.  14 inch and 18 inch.  I did not have enough fabric in my jumper to make a 18 inch, so I am making 14 inch napkins.  Fortunately for me, I have a napkin that size already and I used it for my pattern.  Because I was limited in the amount of material, I knew that I could not do a regular hem, which is when I decided that I would fringe the edges of my napkin.  Pin the pattern to you material and cut.  Be careful not to cut your pattern and make your lines as straight and even as possible.


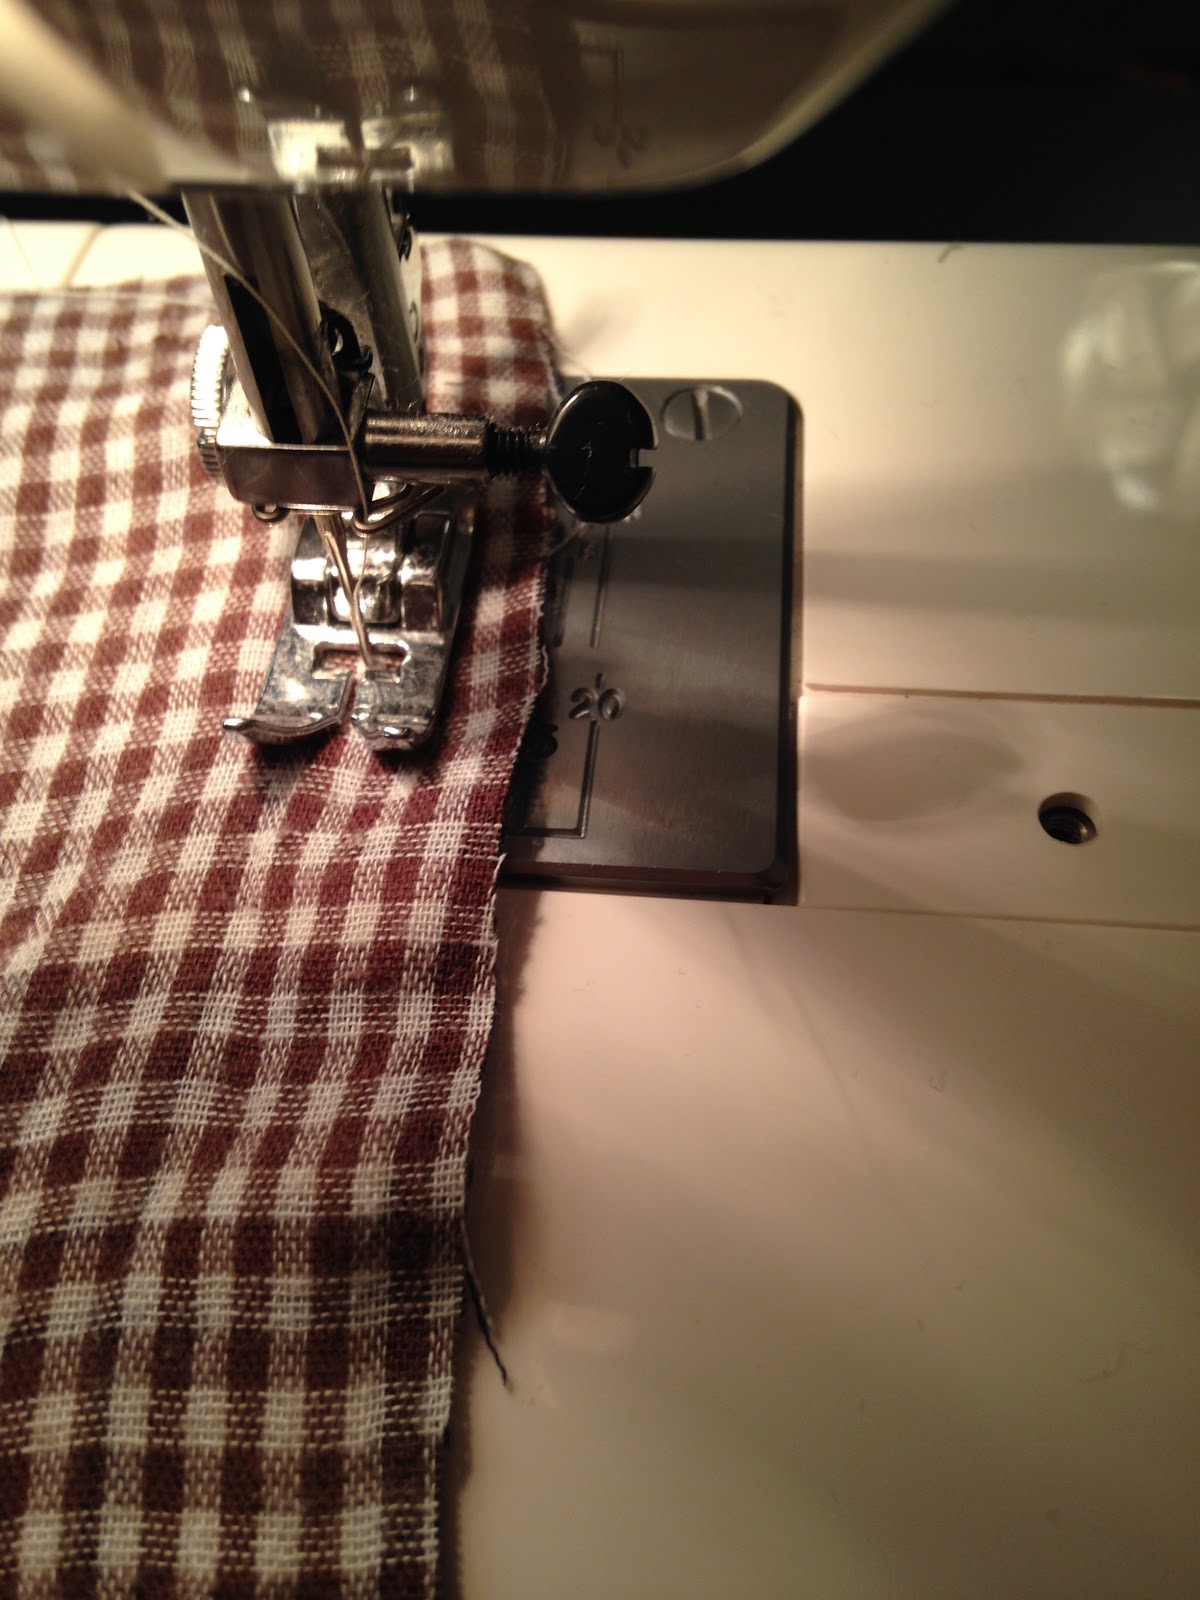
3.  Remove the pattern from the fabric. Using a  sewing machine or hand stitching, sew around the edge leaving 5/8 of an inch going all the way around the fabric edges.  (If you do not want to do the fringe, make your napkin about one inch bigger on all sides and then hem the edges.


I tried to show that I am following the 5/8 line on my machine but I don't think that you can see it.
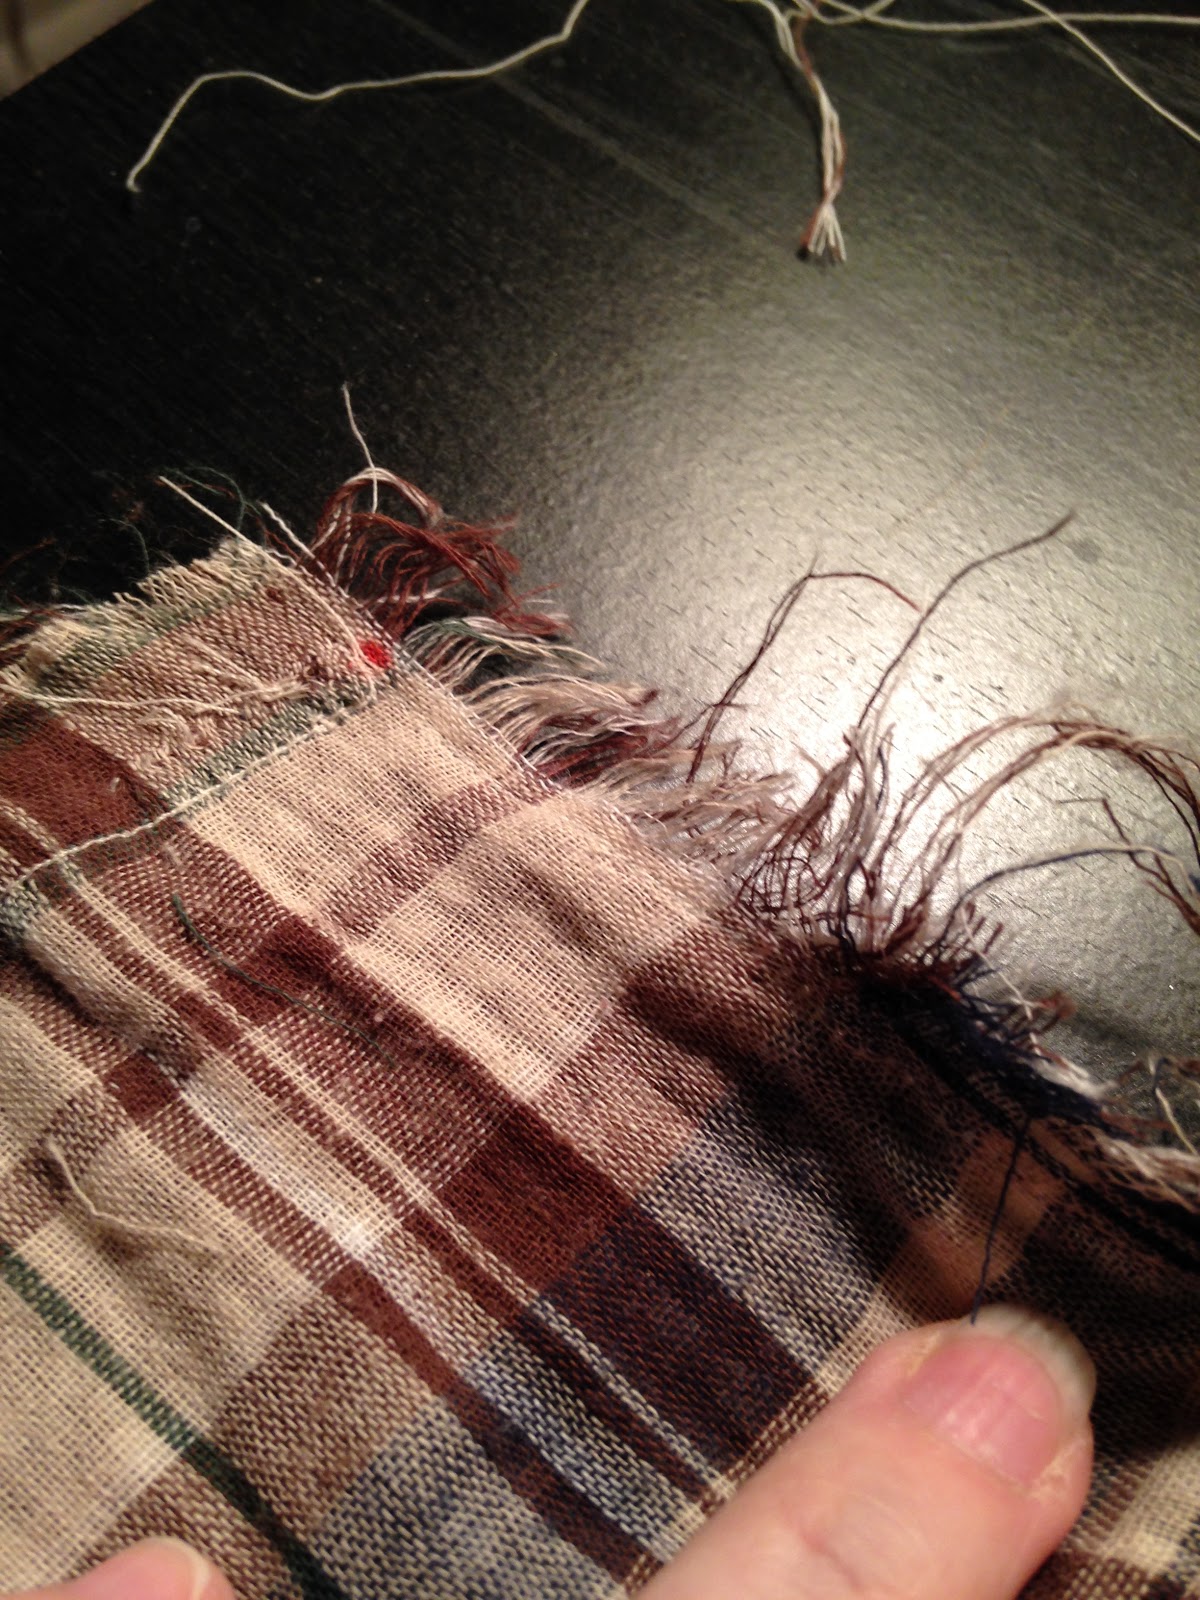
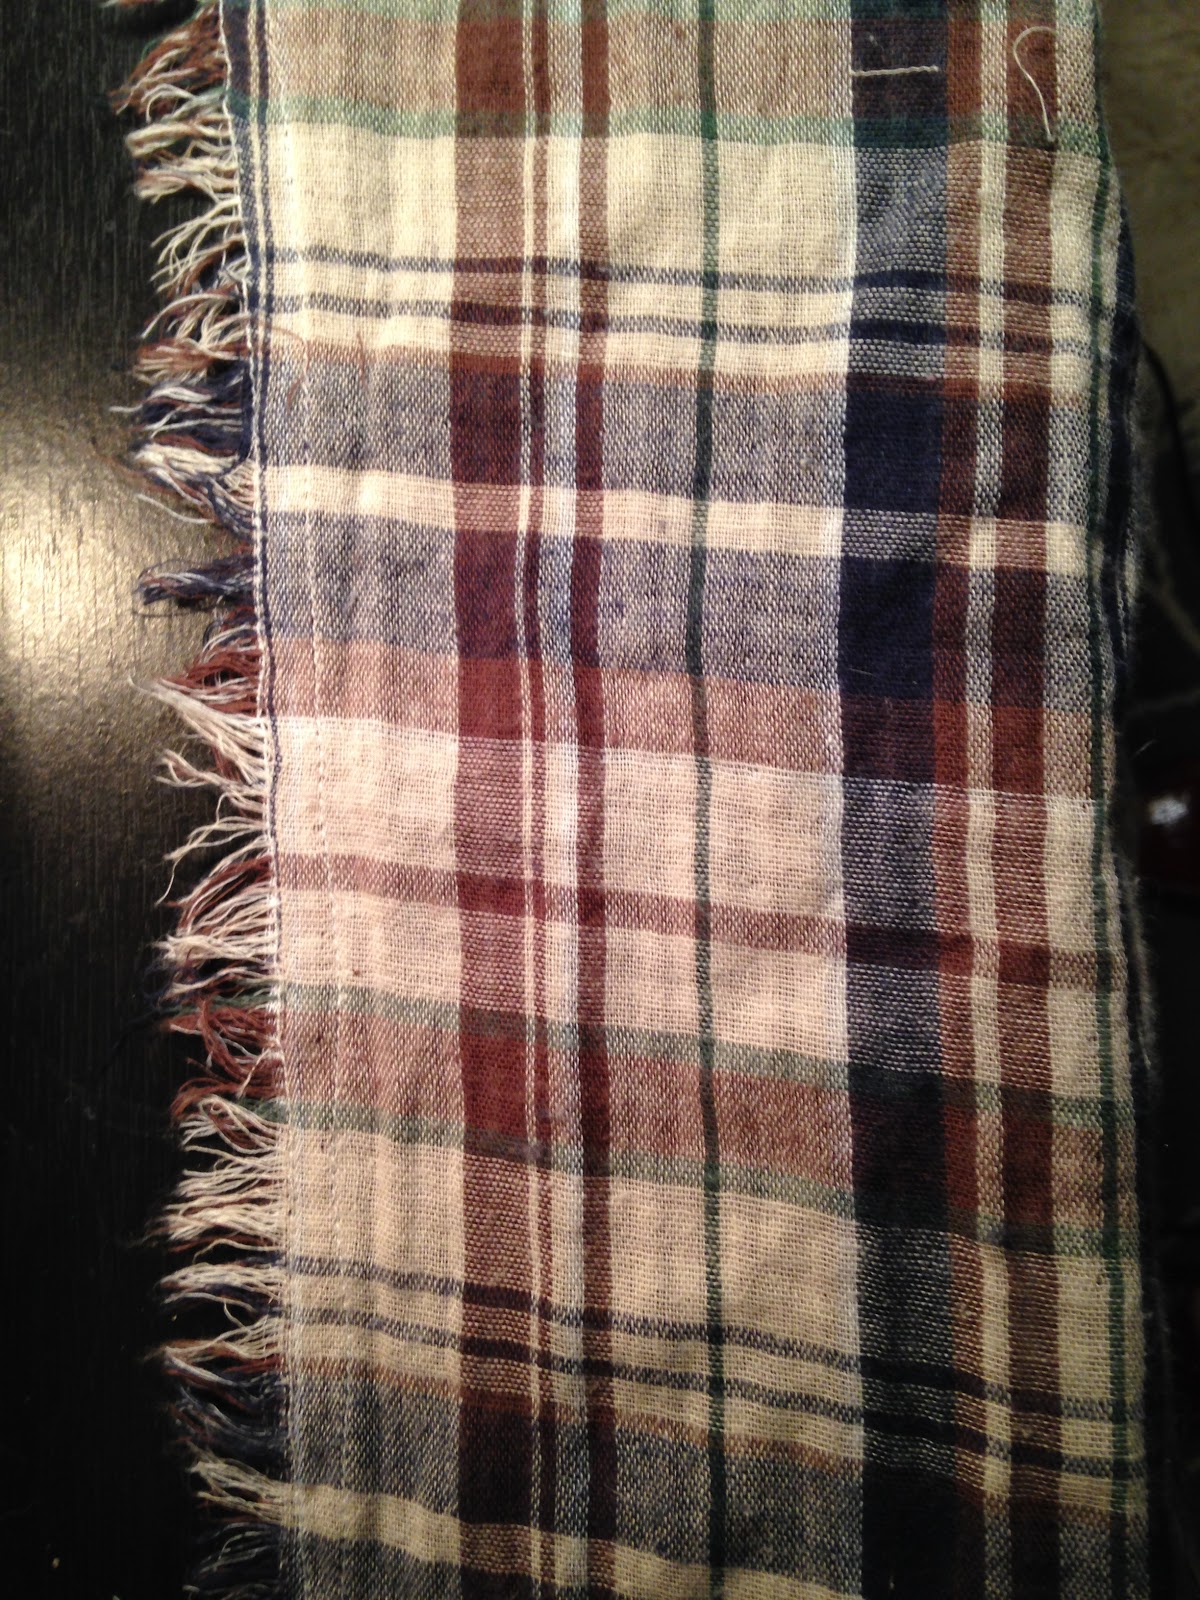
4.  After the edges are sewn, use your fingernails to lift the the threads going across up moving all the way down the edge.  This will help to loosen the threads.  Then start pulling the threads going across away from the vertical threads leaving the stitches you sewed as a guide.  I had to trim my cross threads every once in a while to make them easier to manage. Don't panic if it looks bad at first.  As you go along, it does get better.

It does not look pretty when you first start out.
But it gets better as you go along.
5.  Once you have the threads completely pulled, another stitch the edge again using a 5/8 stitch.  Repeat on all sided until the napkin is done.  

Repeat these steps until you have as many napkins as desired.


NOTE:  Keep the sleeves of the flannel shirt.  I am going to show another SUPER EASY project with those in the next few days.

You will now have leftover scraps from your shirt.  You will use these scraps to make the leaves for your table runner.

Falling Leaves Table Runner

This project is not hard, but it does take more time than most of the crafts that I have posted so far.

Materials
1 flat sheet
Flannel scraps
4 tea bags
Scissors
Spray Craft Glue
Needle and Thread
Copper Acrylic Paint
Paint Brush
Yard Stick
Leaf Template

Instructions
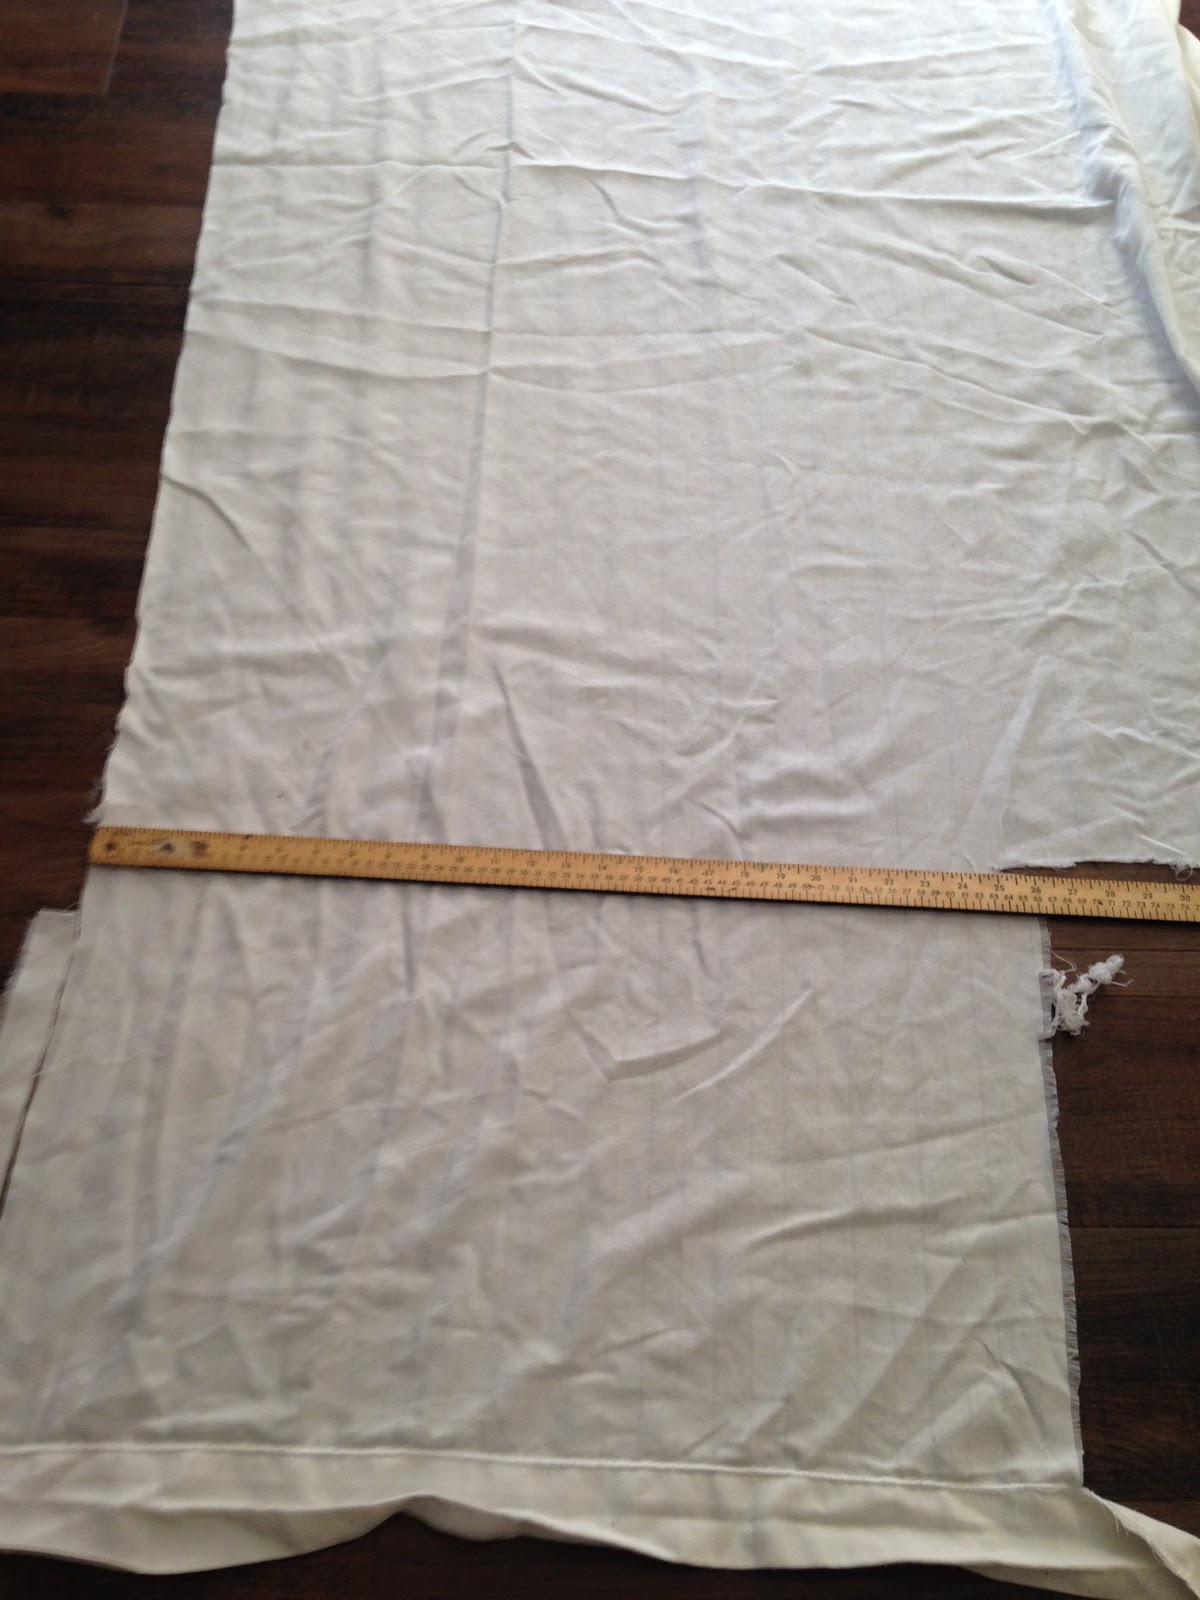
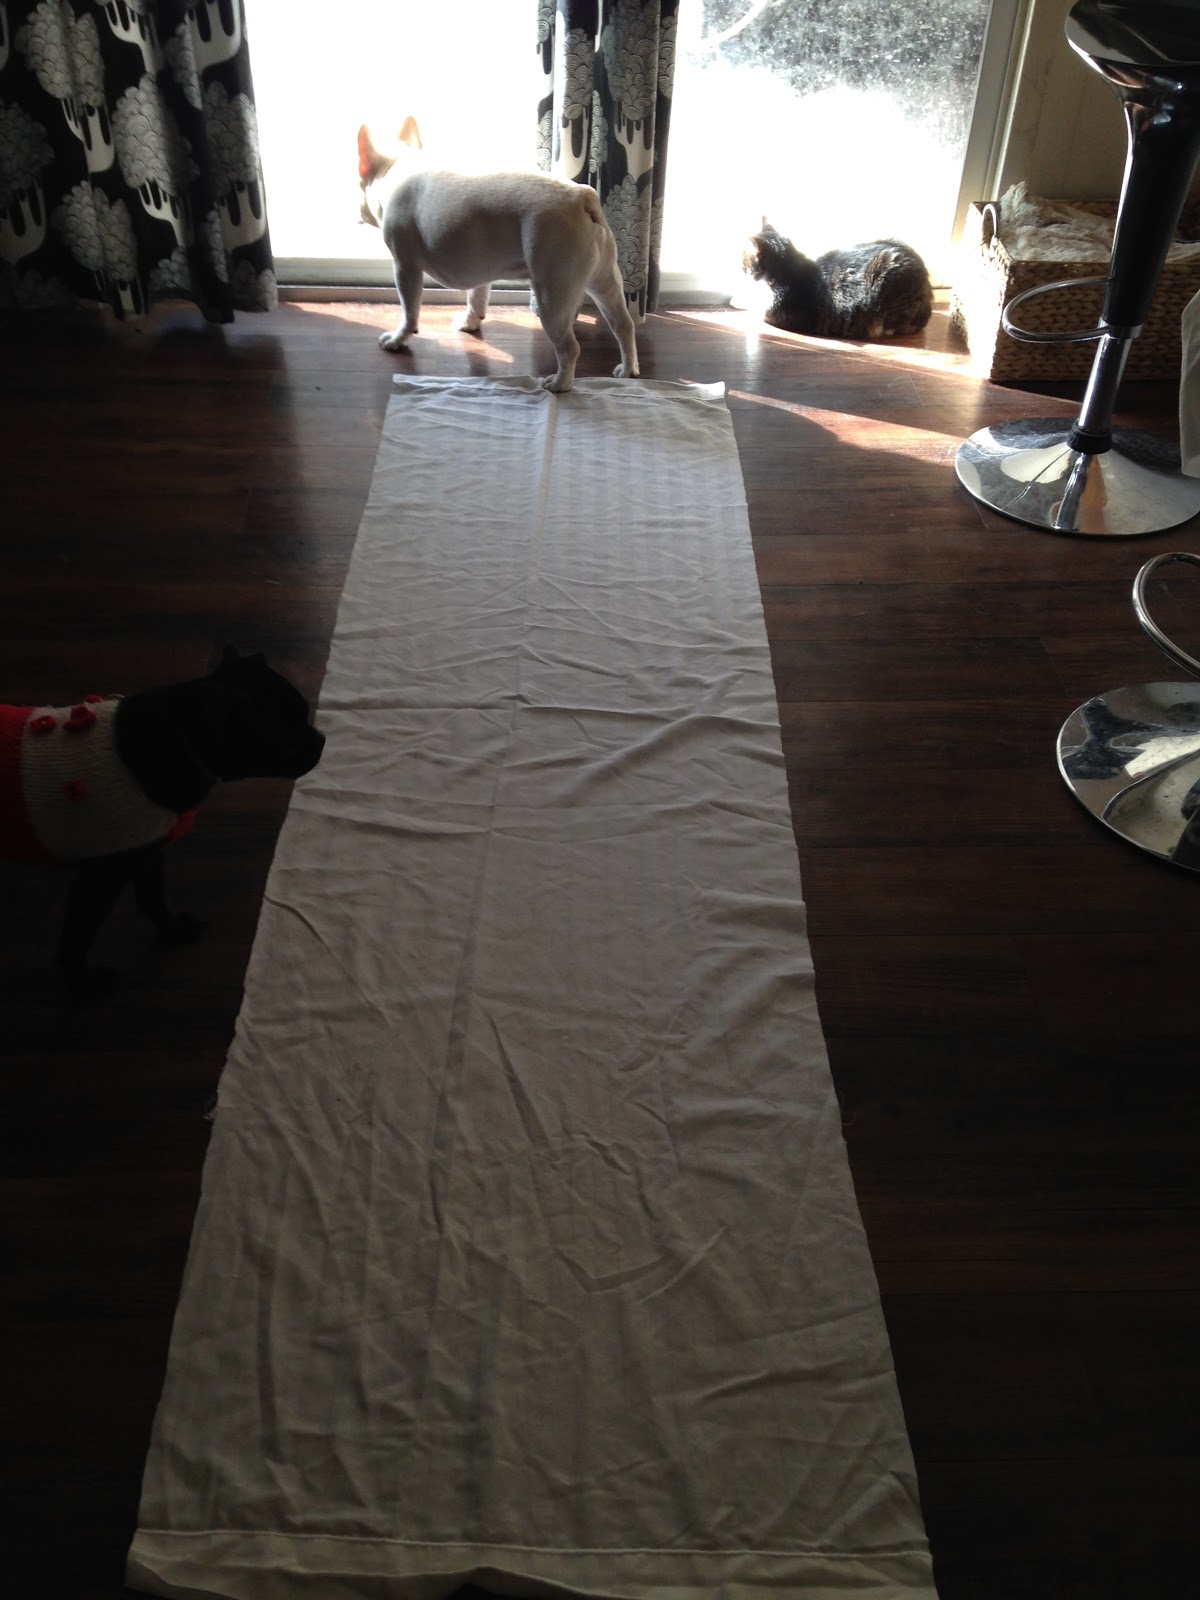
1.  Take one flat white sheet and lay it flat.  My sheet was one that I had leftover from when I worked at a hotel.  Hotels will frequently throw away sheets when they are stained and can no longer be used for guest rooms.  I would keep some of these sheets and use them for various craft projects.  For this project, I chose a sheet that had white on white strips and was a little thicker than your average sheet.  Measure 25 inches and cut along the length of the sheet, leaving the length of the sheet the same.  (If you do not cut the length of the sheet, your two ends will be hemmed and that is less sewing that you have to do.)  Cut with scissors, being careful to cut a very straight line until you have a complete 25 inch wide length of fabric cut.

As you can see, I had already cut into this sheet to make something else.

The pets love to craft with mommy.

2.  My sheet was white, and I did not want it to be.  I wanted it to be more of a cream color.  So I decided to tea dye it.  If you have never tea dyed anything, tea dying is great if you want to antique a piece of cloth or subtly change the color to a slight brown or cream. 
Here are the steps to tea dye.
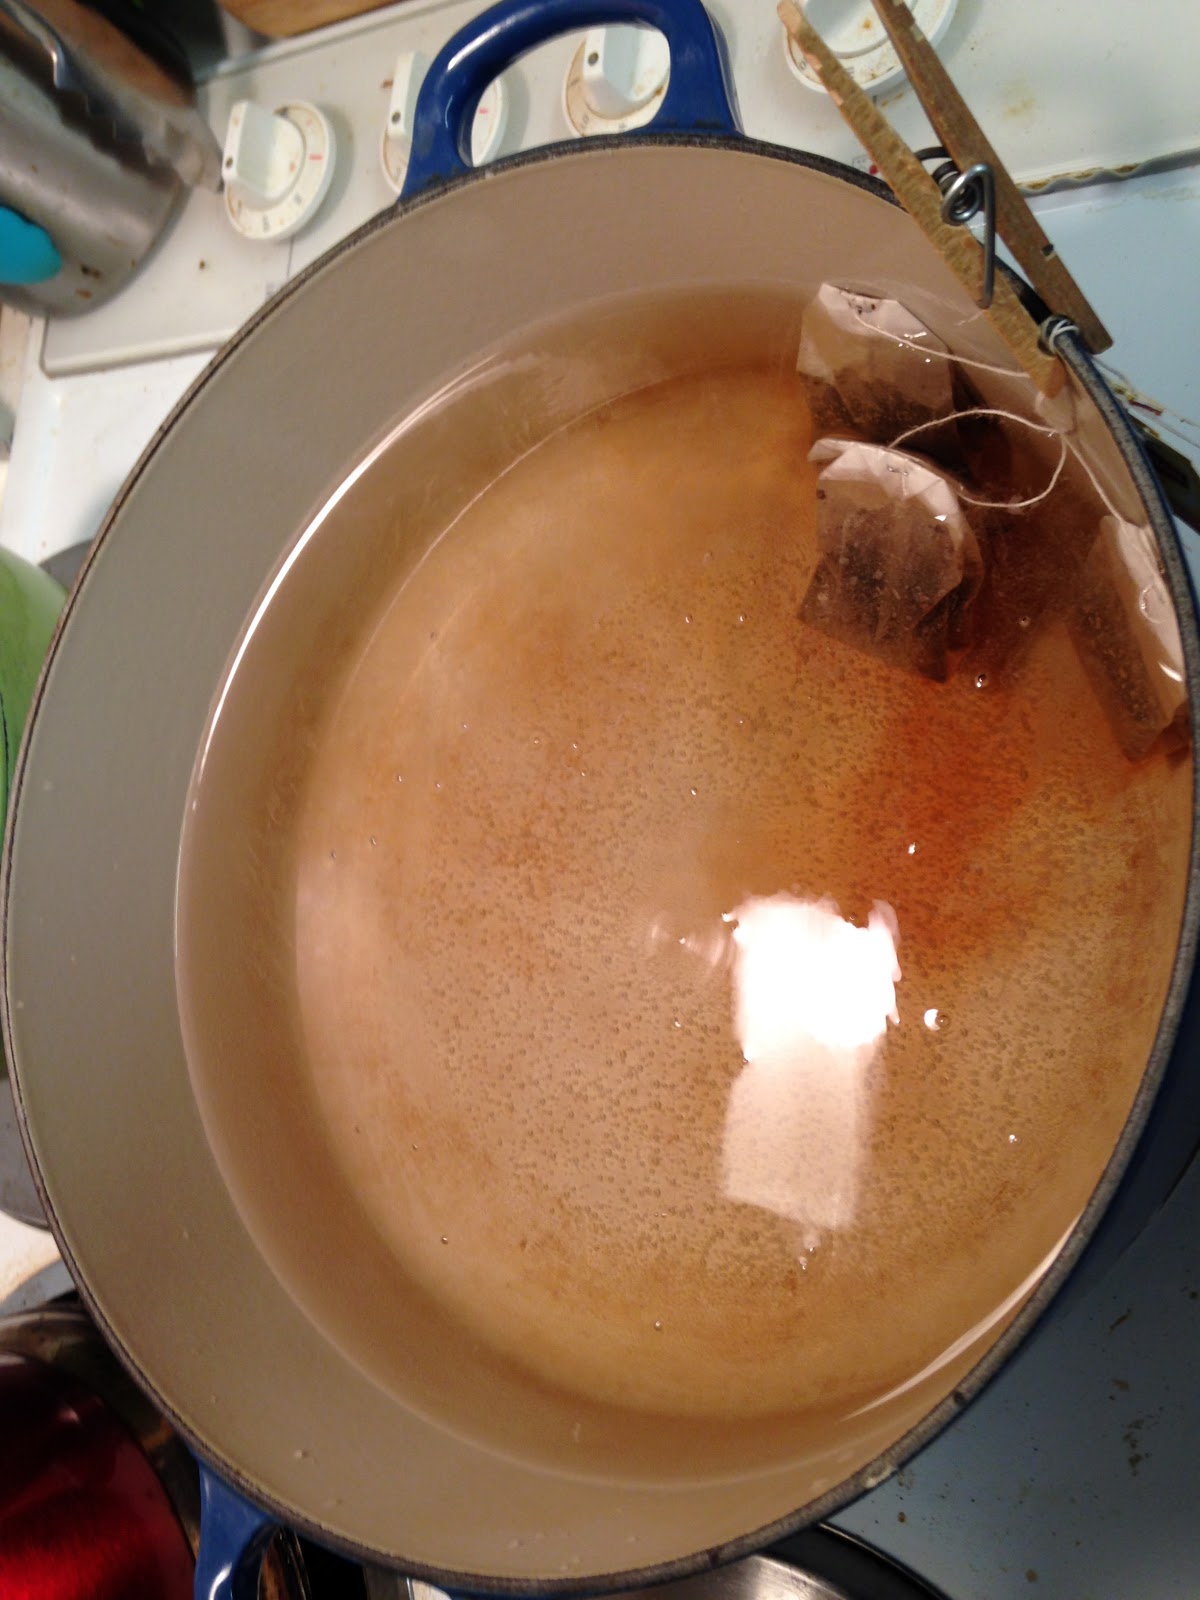
             A.  Put water in a large pot and add four tea bags.

You may have noticed that I have used a clothes pin to clip my tea bags to the pot.  This is so that I don't have to fish them out of the scalding hot water.
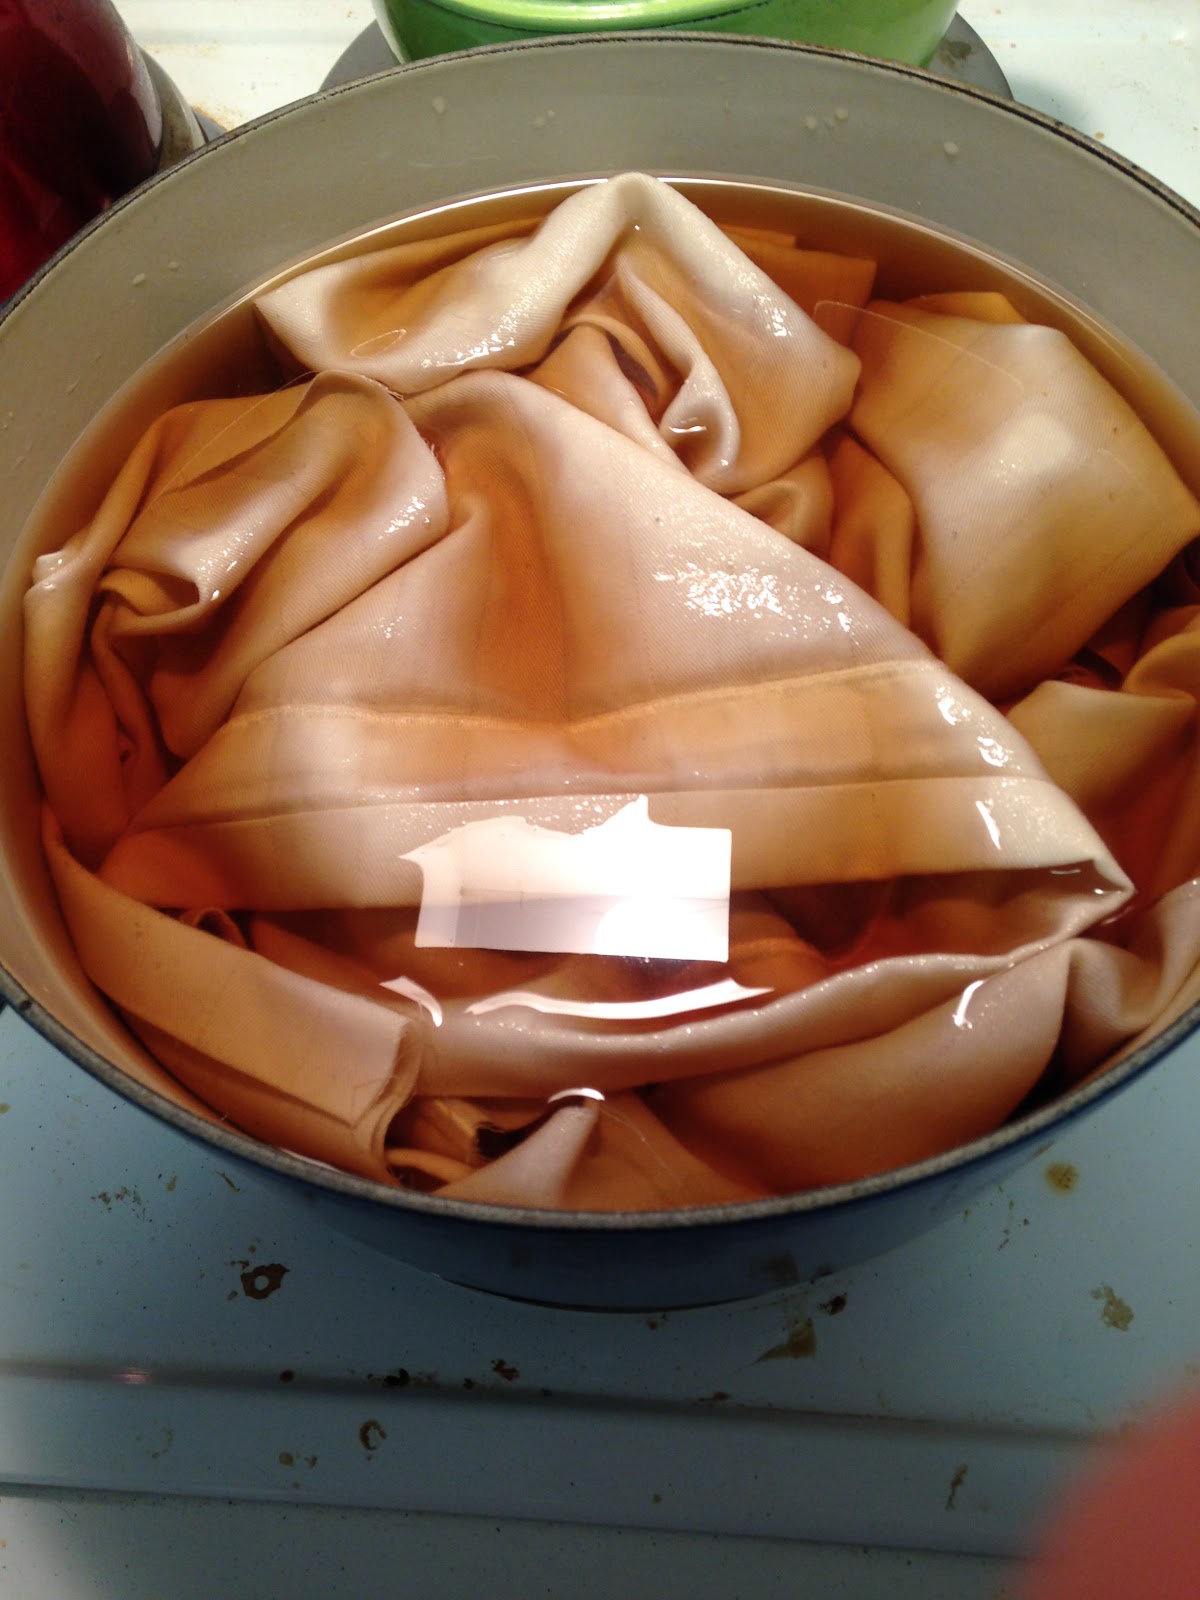
              B.  Let you tea steep until your liquid is a lovely rich brown color and then add your fabric.


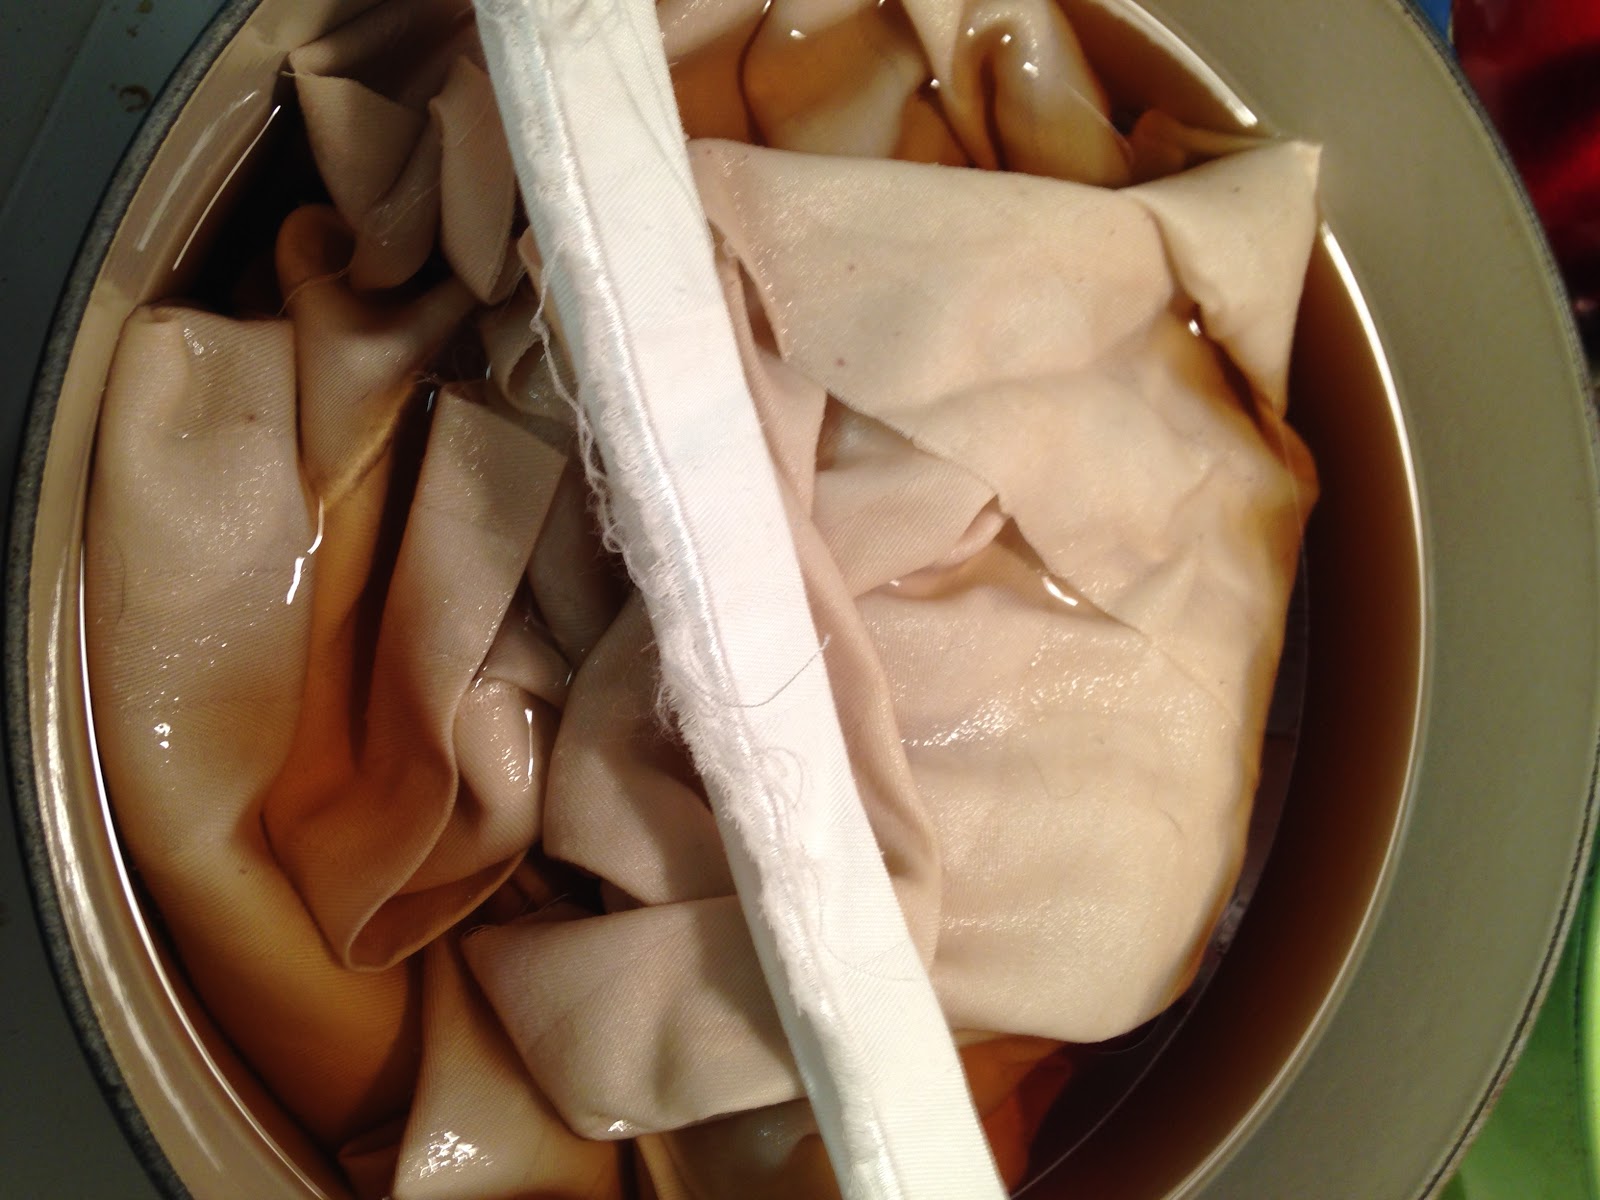
              C.  Soak fabric for at least one hour.  If you wish it to be darker, steep it longer.

  
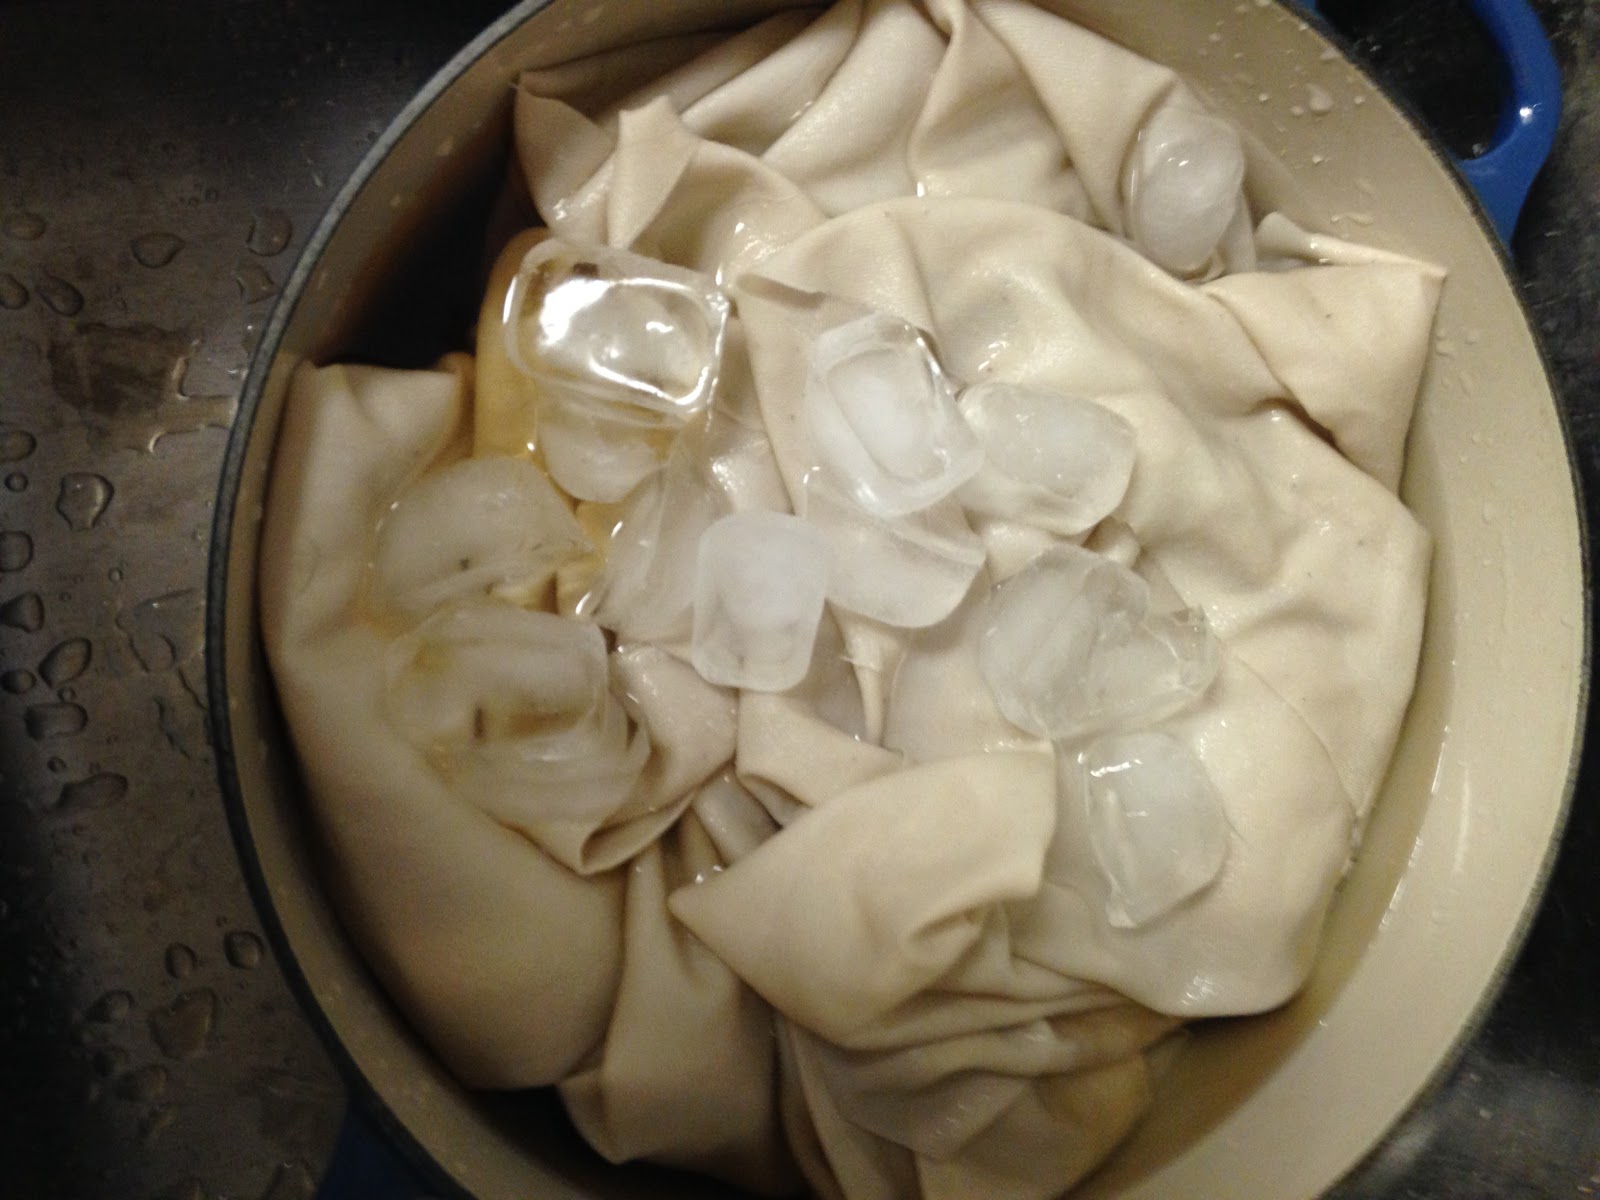
              D.  Once fabric has achieved desired color, remove fabric from pot and place in an ice bath.
                    Rinse the tea out, gently wringing with your hands.


On the top is a slice of the original sheet.  You can see how the color has darkened to a lovely cream color.
Ice bath.
                  E.  Place in washer and dryer and clean of any remaining tea.

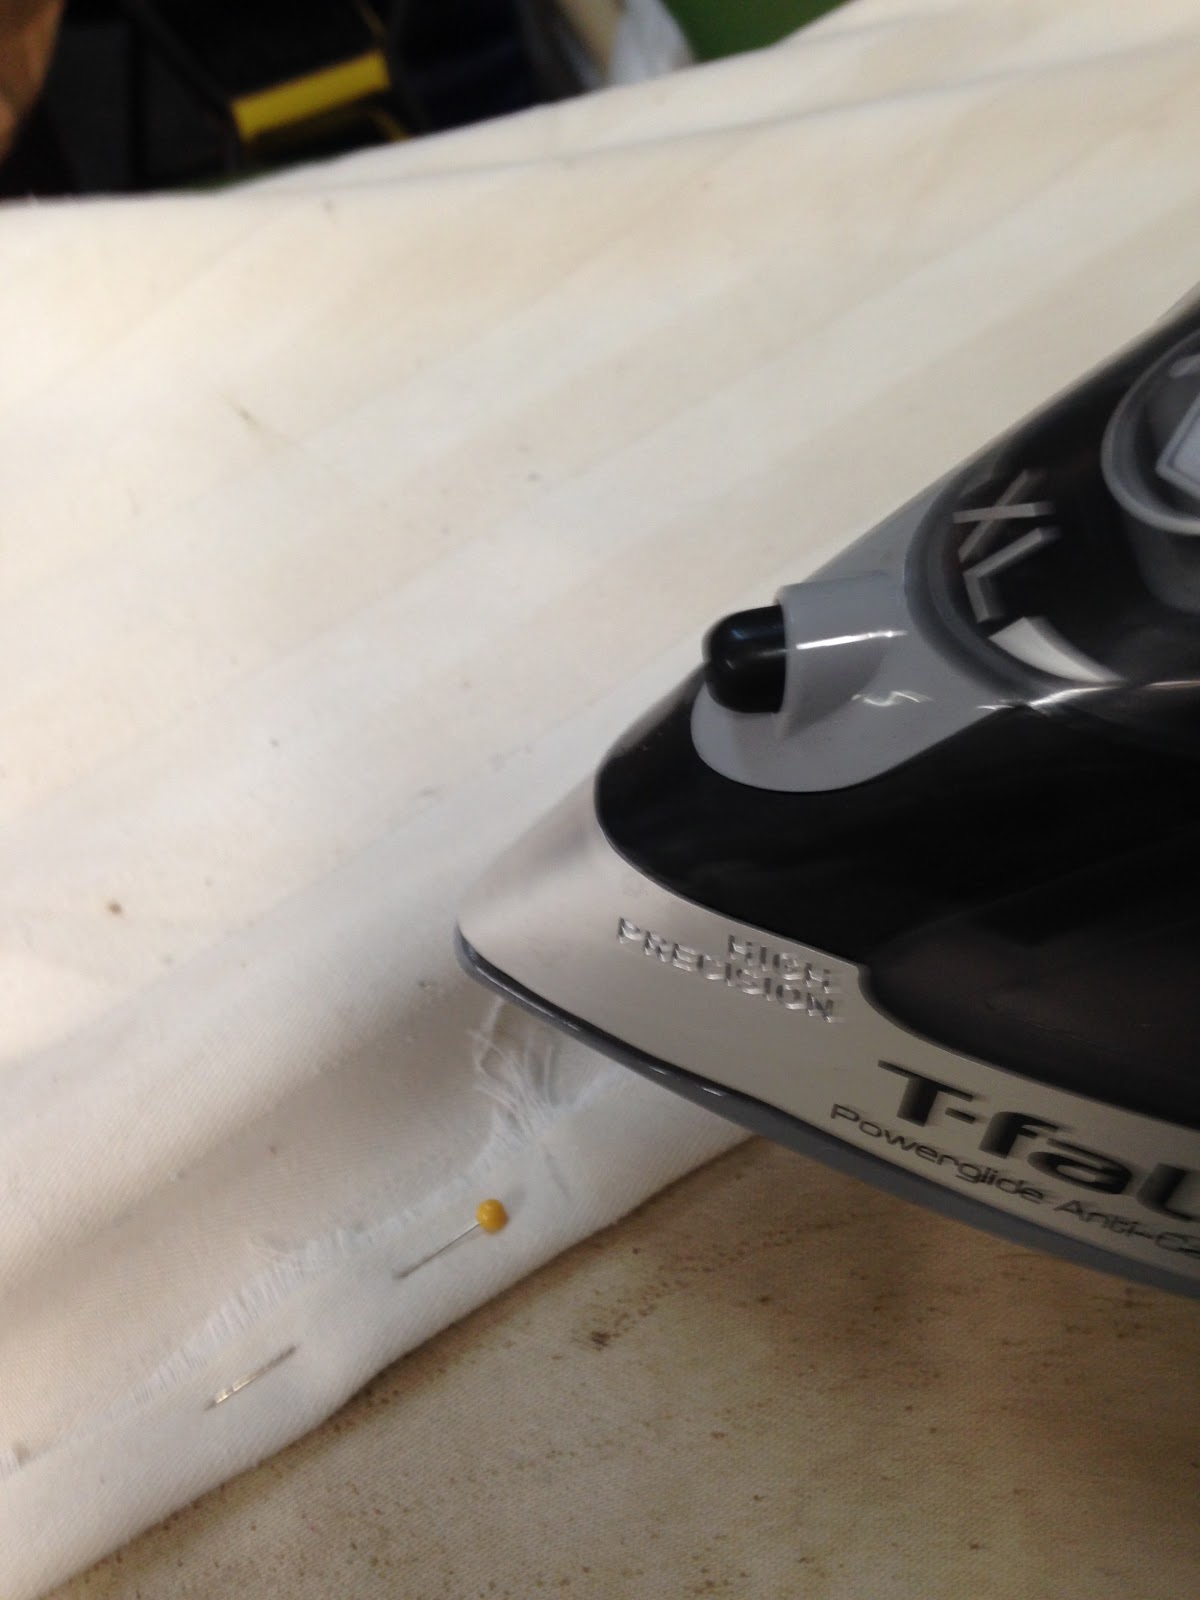
2.  After you have tea dyed the sheet, hem the edges.  I folded my to 5/8 inch and ironed along the edge.  Then I folded to 5/8 inch and ironed again to create a double hem and to have a nice clean line running down my table runner.  (This is another area where having a striped sheet was very helpful.)


3.  Using a sewing machine or hand stitching, sew your hem using a 5/8 marker on the sewing machine.  (You can also use hemming tape.  I don't because I have a machine, but this is the best solution if you do not have a sewing machine.)
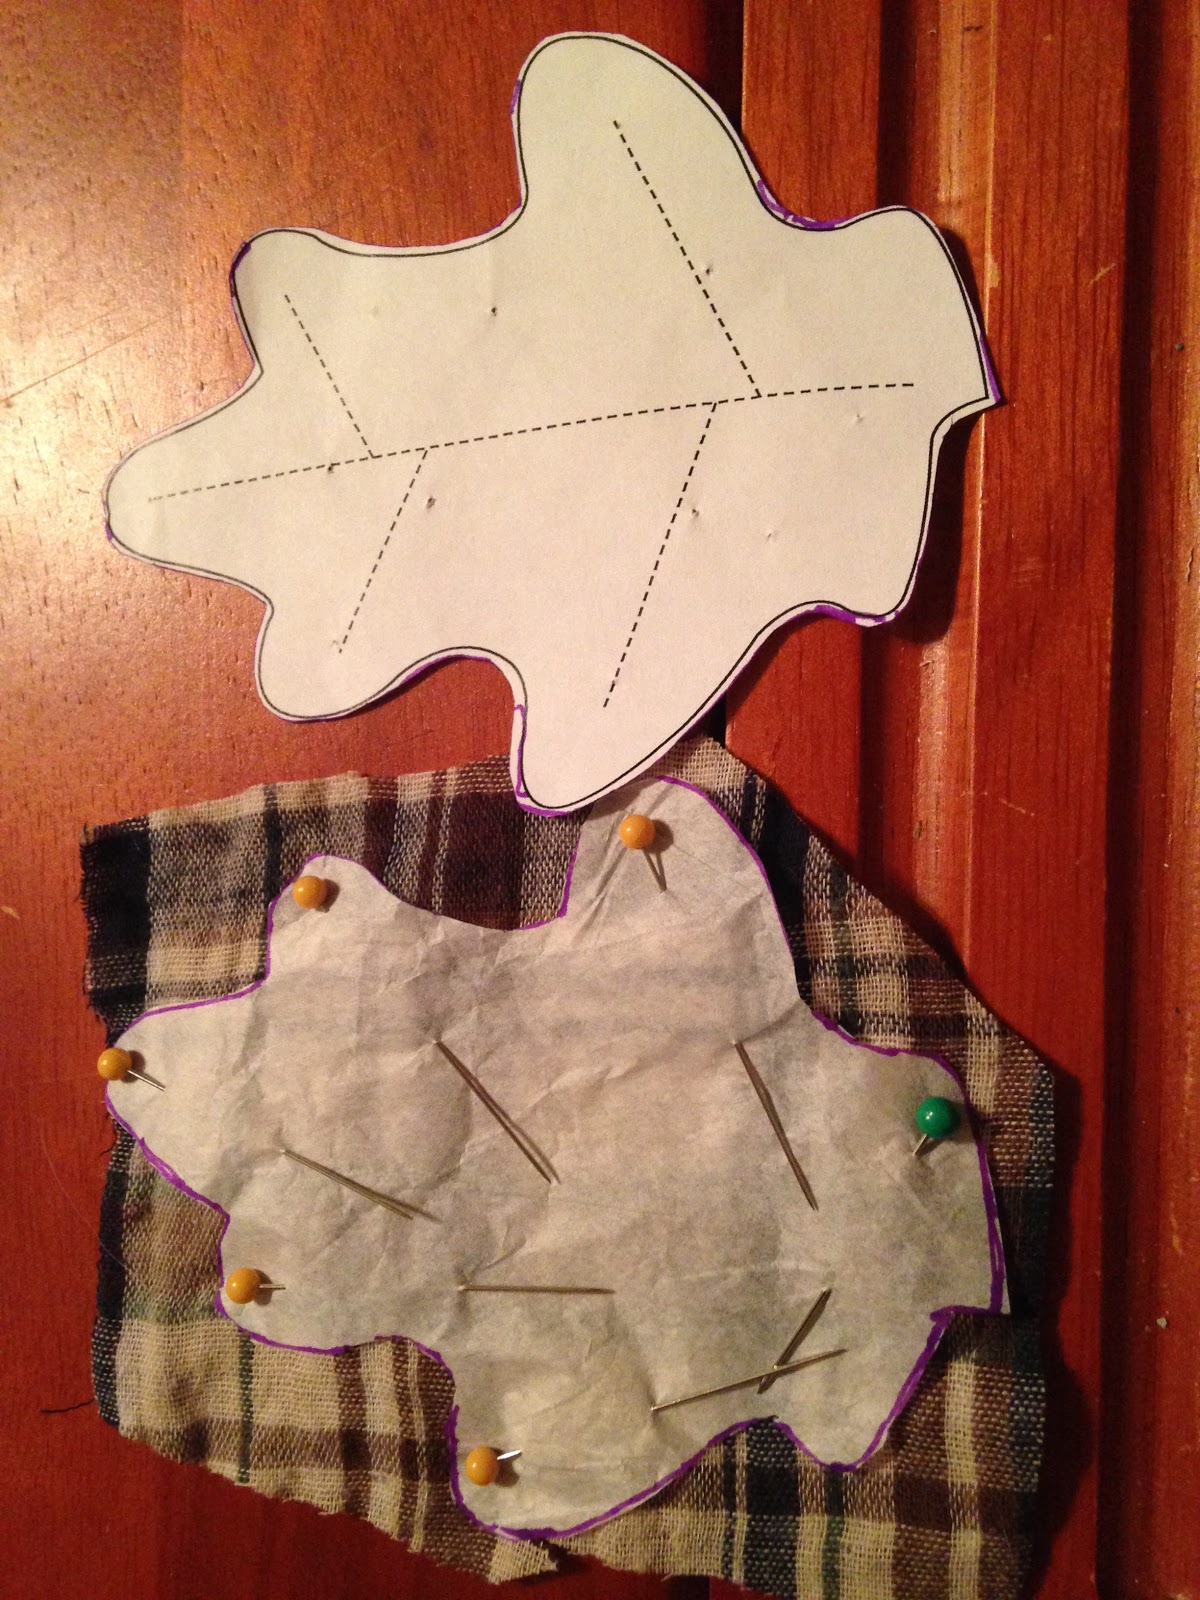
4.  Now you can decorate your table runner.  I used the scraps of flannel that I had left over from my napkins so that I would have a matching table setting as the material for my leaves. You can draw your own leaves, but why reinvent the wheel when Martha Stewart has already done it for you?
Below is the link for the Martha Steward Leaf Template:

Pin the templates to the fabric and cut out as many leaves as you desire for your table runner.  I cut out four each of the oak and redbud and decided that I would trace around the maple and paint the maple leaf.  (I did this because flannel is very thin and it very hard to cut around when you are using a pattern.  To do the maple was just more of a challenge than I felt like taking on.


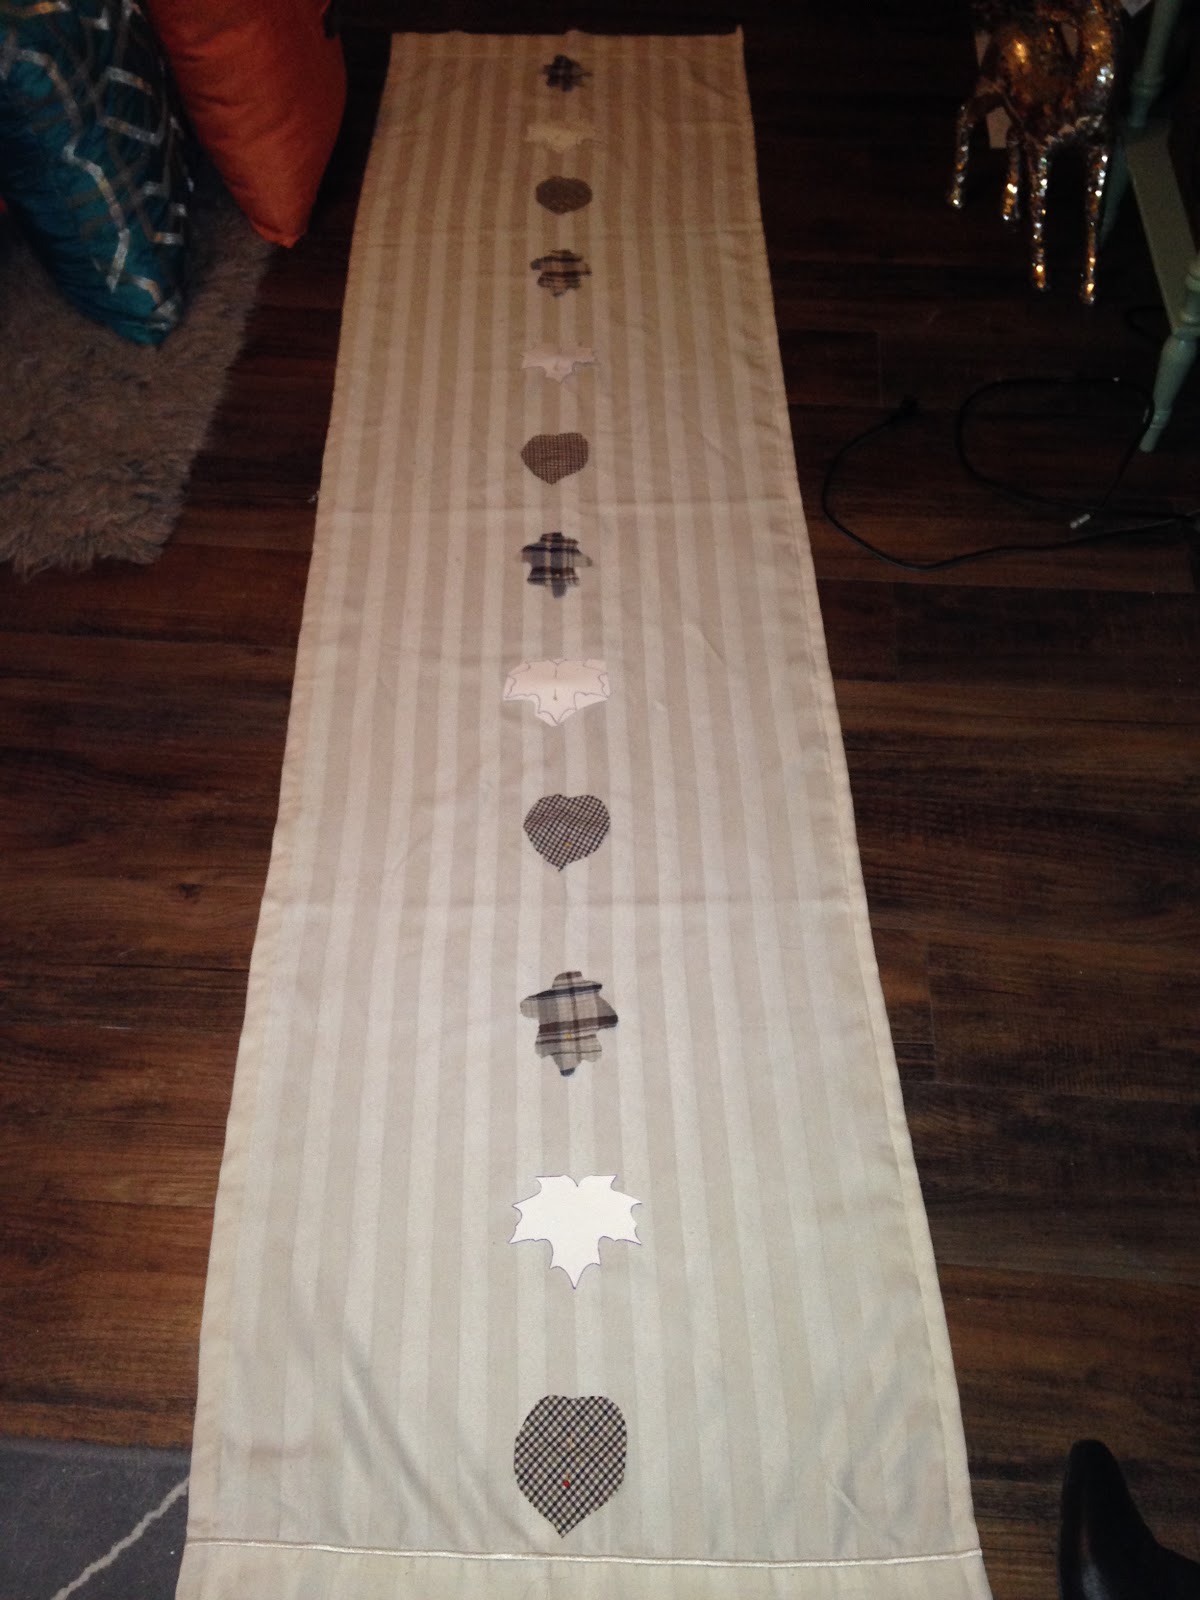
5.  Once the leaves are cut, figure out the layout you would like for your table runner.  I decided that I wanted to keep it simple and just have the leaves run down the middle of the runner.

You may notice that the maple leaves are white.  This is because I have not yet traced around the leaves and painted them, but I wanted you to see the layout.

6.  When you know where you want the leaves, spray the back of the leaves with glue and stick to the runner.  This will help keep the leaves in place when you do your outline stitching.
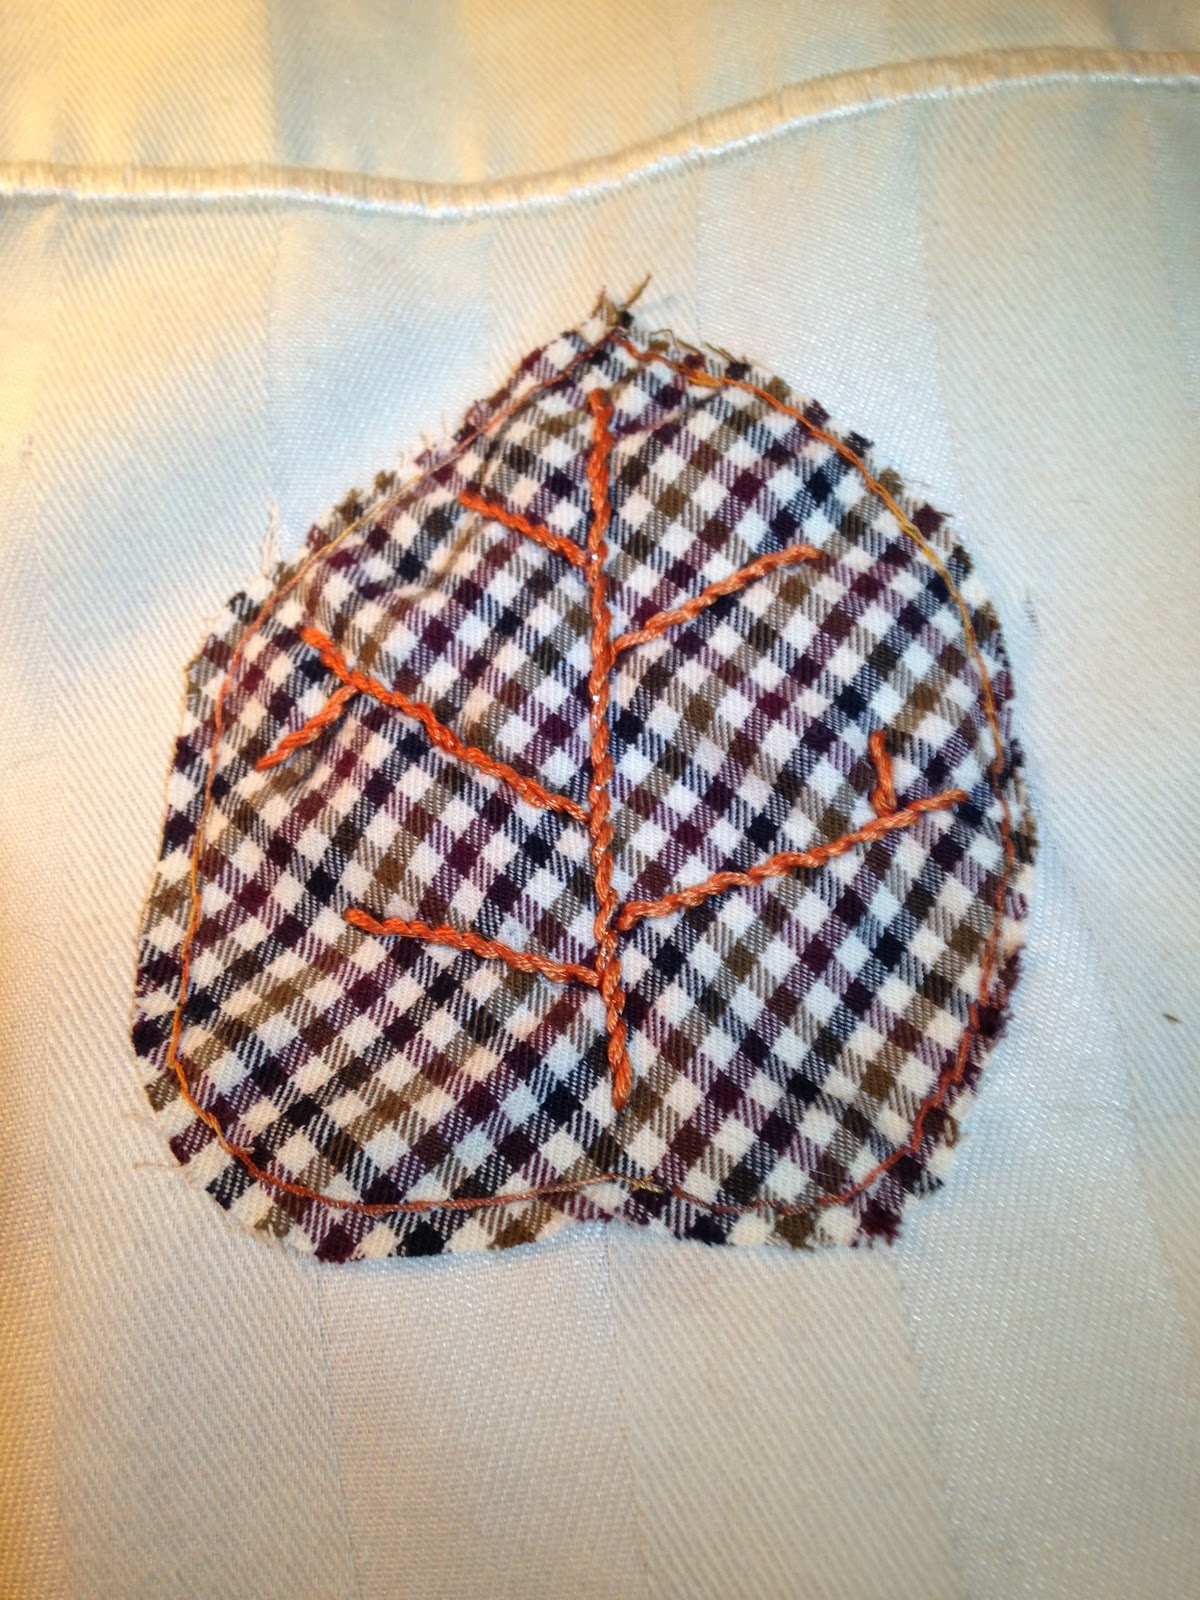
7.  Using a contrasting thread from your material, stitch around the outside of the leaf leaving about 1 centimeter between the edge and the stitch.  
8.  Using three strands of embroidery floss, stitch the veins in your leaves.  I wanted to match the copper I planned on using for maple leaf, so I used a coppery orange embroidery floss for my veins.  (You can paint the veins in first and then stitch so that you have a guideline.)
9.  Repeat steps 7 and 8 for all of your fabric leaves.

Front View

Back view.
10.  Using a pencil, trace around the maple leave template.  Paint with copper acrylic paint.  I could not find copper fabric paint, but I know, from experience on my own clothes, that acrylic paint does not like to come out of fabric, so I decided to use it for my runner.
11.  When the paint is dry, use three strands of contrasting embroidery floss to make the leaf's veins.  I used a dark brown embroidery floss.
12.  Repeat steps 10 and 11 until all of your maple leaves are completed.


Put on your table and garnish with delicious plates of food!

Well, that's it for table decorations for Thanksgiving.  I hope your Thanksgiving is wonderful and I will be back soon with some more holiday posts!