
Its the middle of the week already! What that means for me, is that I have eaten healthy for 3 days, and I am starting to crave some junk food. Wednesday nights are often pizza nights at the Frugal Femme household, even when I have a menu planned. It just seems that Wednesdays are the days that I have the least amount of energy and will power to do anything more than to cuddle with my dogs and veg out in front of the tv and I start to seriously want a food with some fat in it. But not this week.........well, sort of.
Tonight, I am going to make food that sounds ridiculously healthy, but it so isn't. Also its major comfort food as are most casseroles. Even the salad that goes with this night's meal isn't lowfat. I am working on modifying it to make a "healthier" version of it but, for now, I am stinking with the delicious, but fattening, version I know and love. And since I am on a roll with the guilty pleasures, I am going to watch Girls Just Want to Have Fun while I prepare the meal.
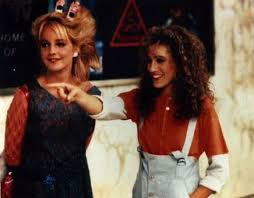 |
| This is a scene from the movie. Don't you love those 80's clothes? And the hair!!!! |
Have you seen this movie? It is just awful and I love it!!! (Although it is not my ultimate in guilty pleasure movies, that would be The Pirate Movie.)
 |
| I know, I should be so ashamed. |
But this one is on Hulu and the other is not so we will watch the movie where Carrie Bradshaw dances. (Yes, I know that her name is Sarah Jessica Parker, but, to me, she will always be Carrie Bradshaw. In the same vein, Samantha was always Emma Hezza Rai to me. Oooo...... Now I have to watch Mannequin this week-end.
 |
| More 80's hair and clothes. And lets not forget that this was part of a montage. You gotta love an 80's montage where they change clothes and are goofy. |
And Chrissy, stop laughing at me for this, because I know you so are.)
Okay, but enough of my nostalgia for arguably bad, 80's movies. On to the recipes!!!!
If you do both of these recipes for a meal like I have here, make the salad first as it needs at least an hour in the fridge for the flavors to blend.
Broccoli Salad
Ingredients1 1/2- 2 cups fresh broccoli florets
1 small handful cheddar cheese (I honestly don't measure this. Put as little or as much cheese as you would like)
2 bacon strips, cooked and crumbled (When I'm feeling naughty, like tonight, I do four strips.)
1/4 cup finely chopped onion (I like using red Vidalia onions, but I didn't have them, so I used the giant green onion that I had on hand. In fact, I used the green parts of the onion that I hadn't used the night before.)
3 tbsp. mayonnaise
2 tbsp. white wine vinegar (You can use white vinegar and it tastes just fine.)
1 tbsp. sugar
Instructions
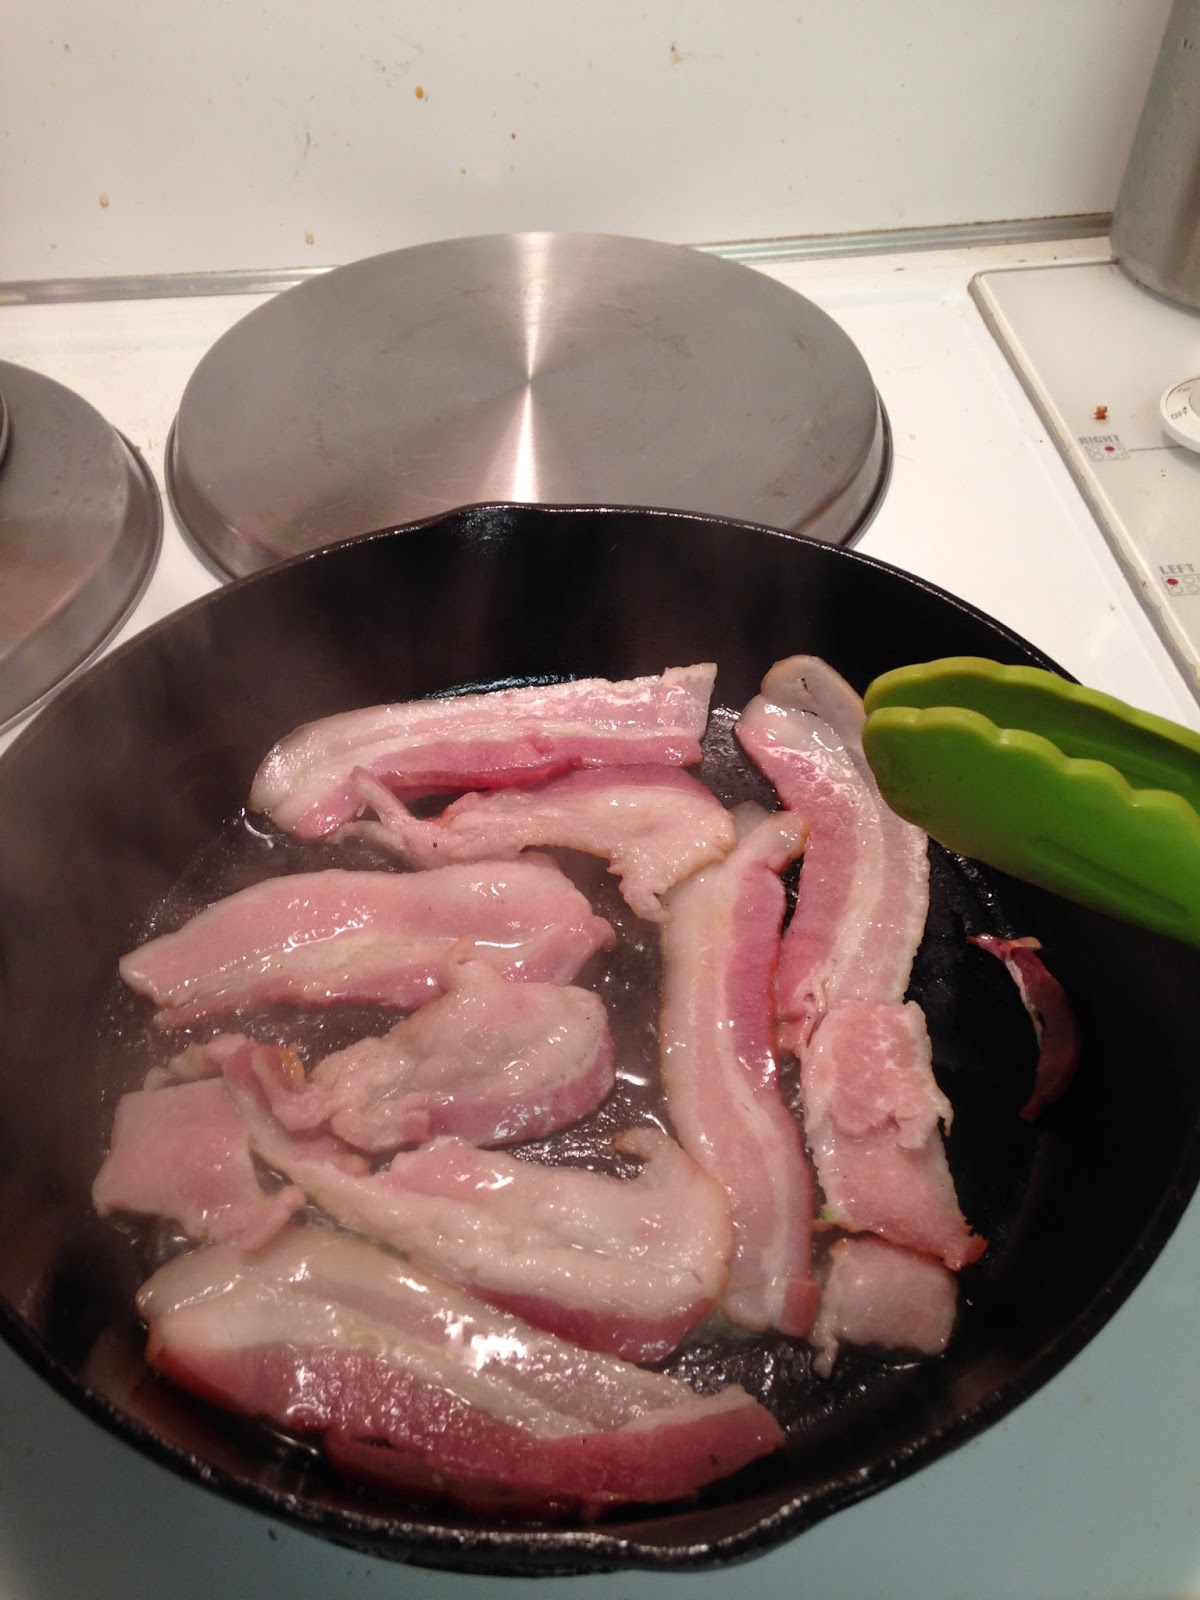
1. In a heavy bottomed skillet, fry the bacon. Place on a paper towel and let cool while you put together the rest of the salad.
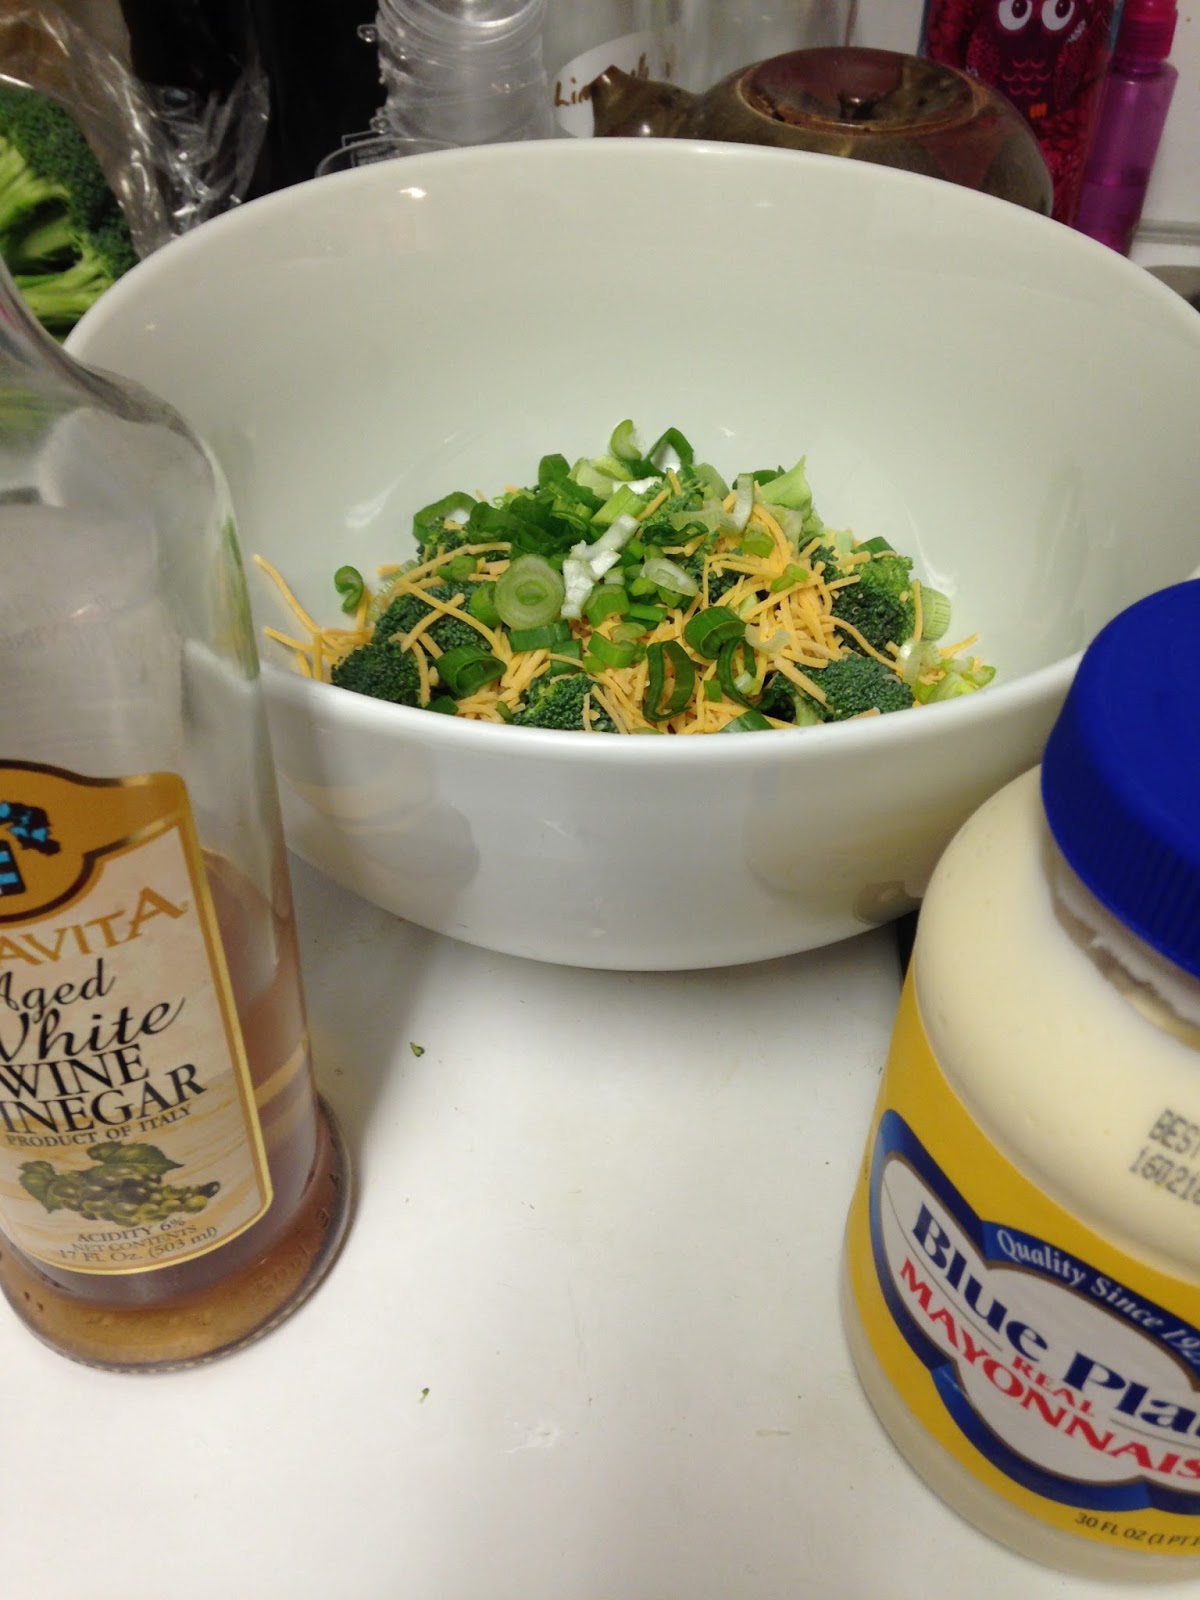
2. In a large bowl, combine the broccoli, cheese and onion. Set aside.
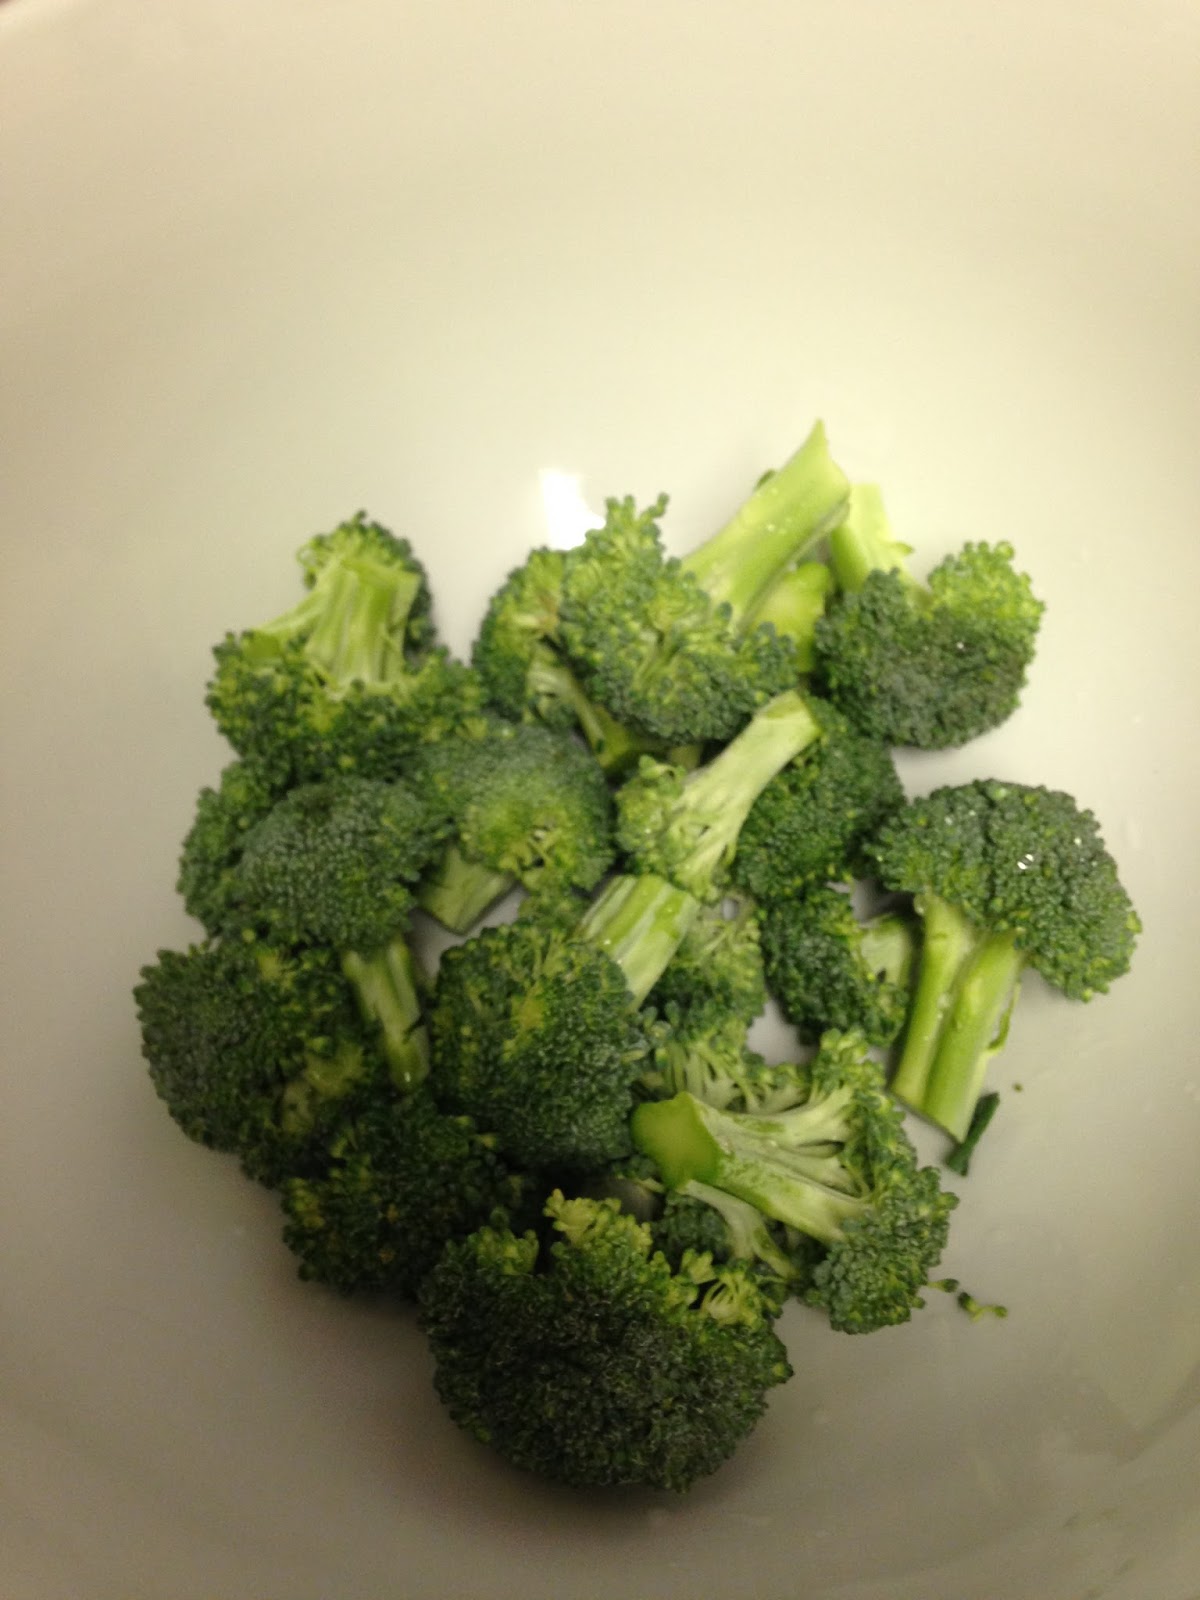 |
| These florets are actually a little big. I like my florets to be about half that so I cut them in half first, but it really is a matter of preference. |
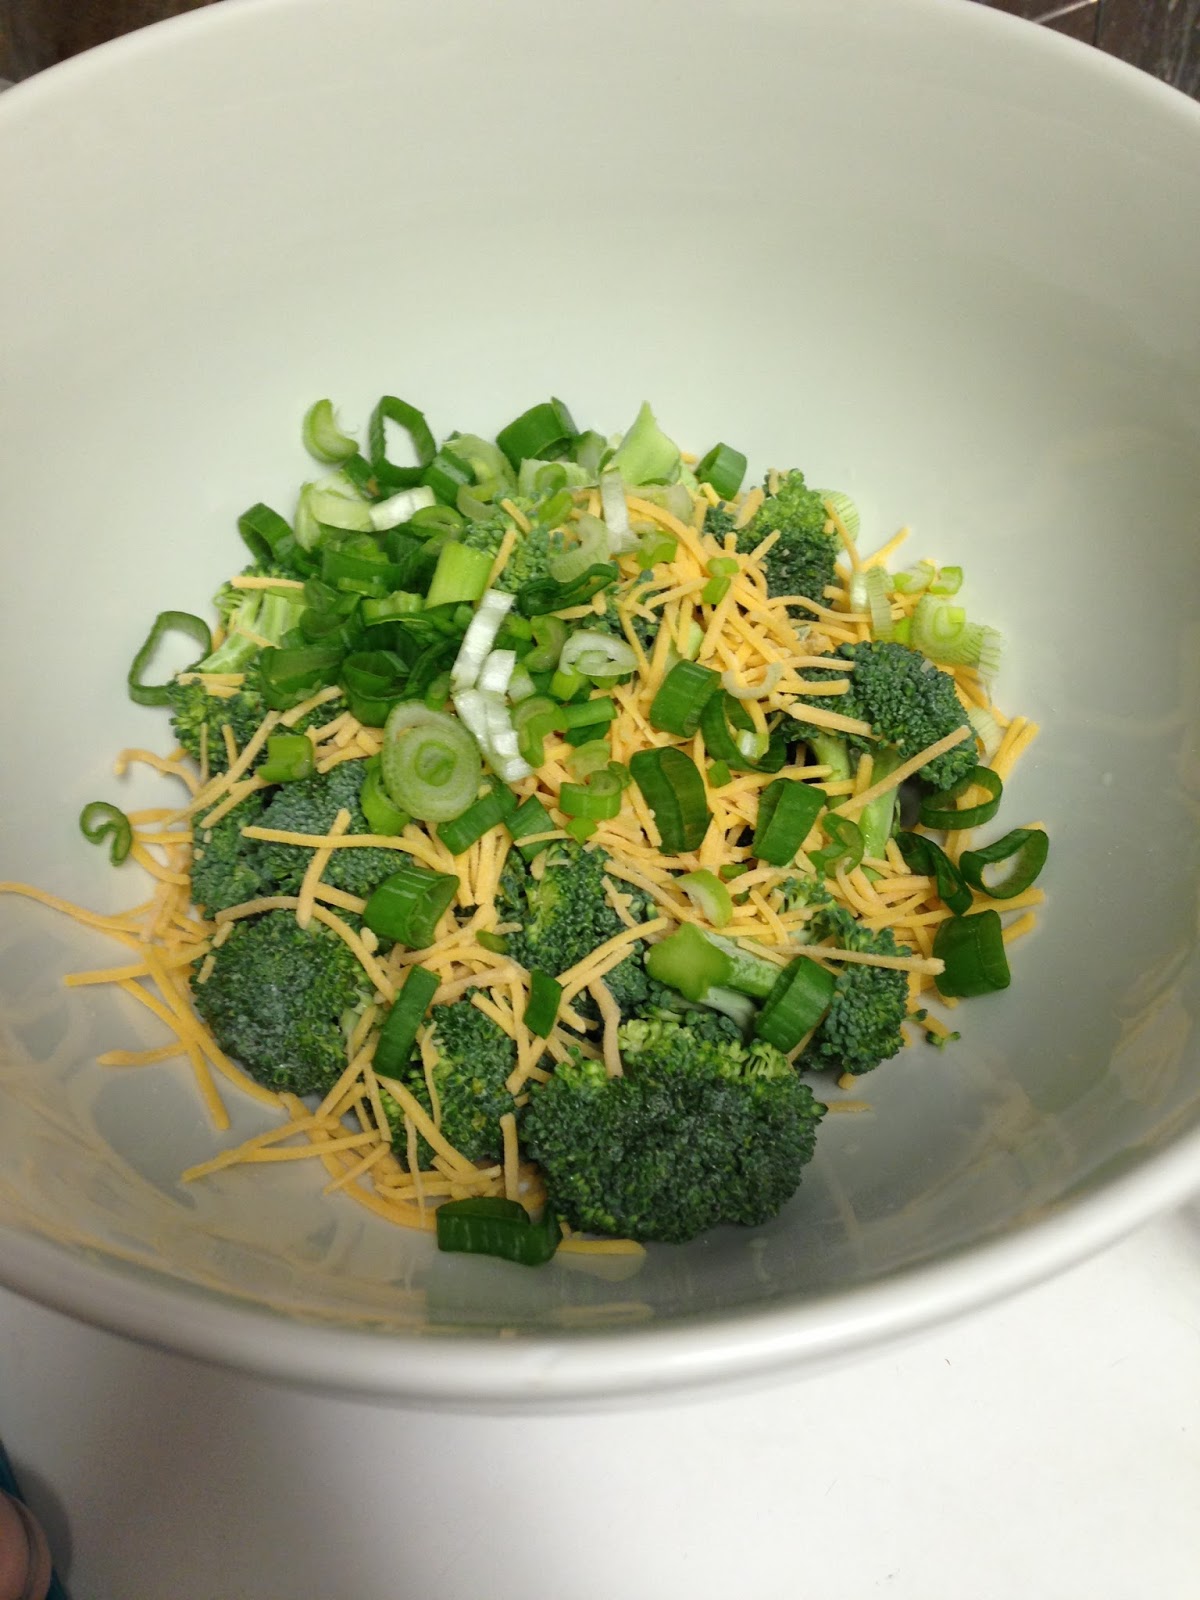
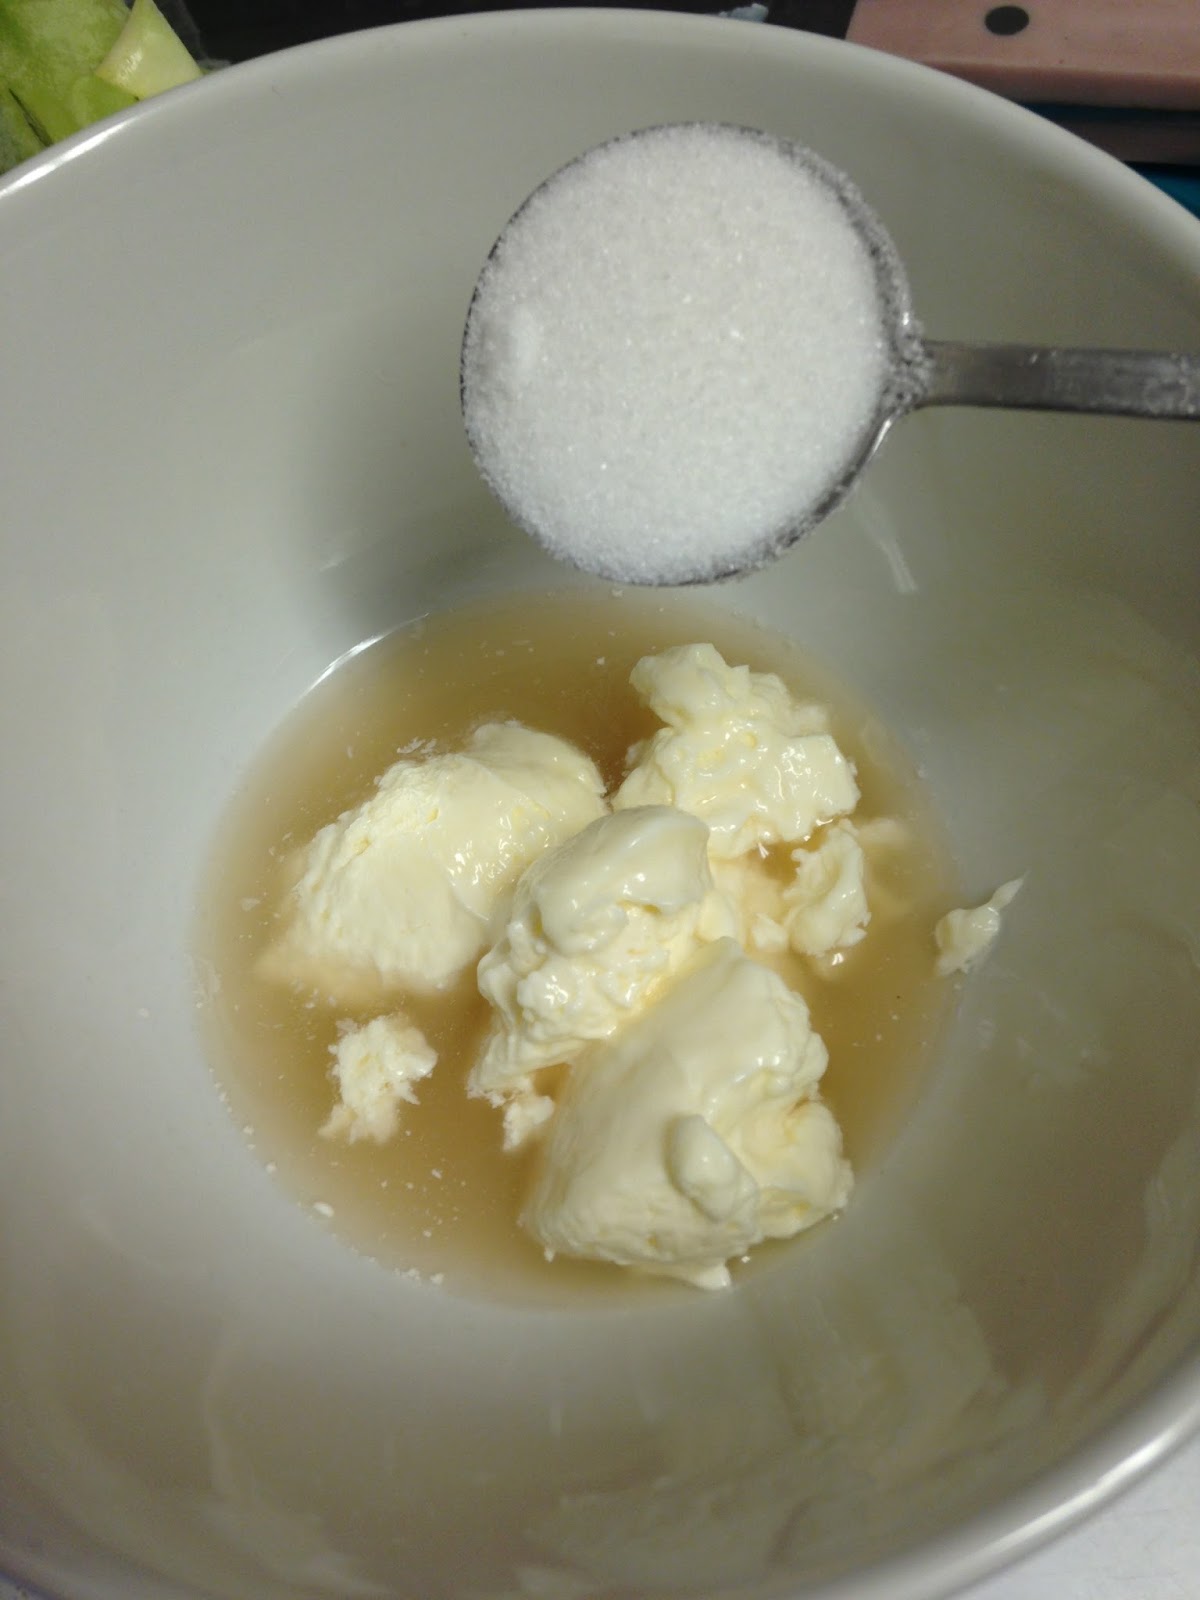
3. In a small bowl, combine the mayonnaise, white wine vinegar, and sugar. Whisk with a fork until all ingredients are smooth and creamy.
4. By this time your bacon should be cool enough to crumble into the bowl with the broccoli, cheese and onion.
5. Pour the mayonnaise and vinegar mixture over the broccoli. Toss to coat all of the broccoli with the dressing.
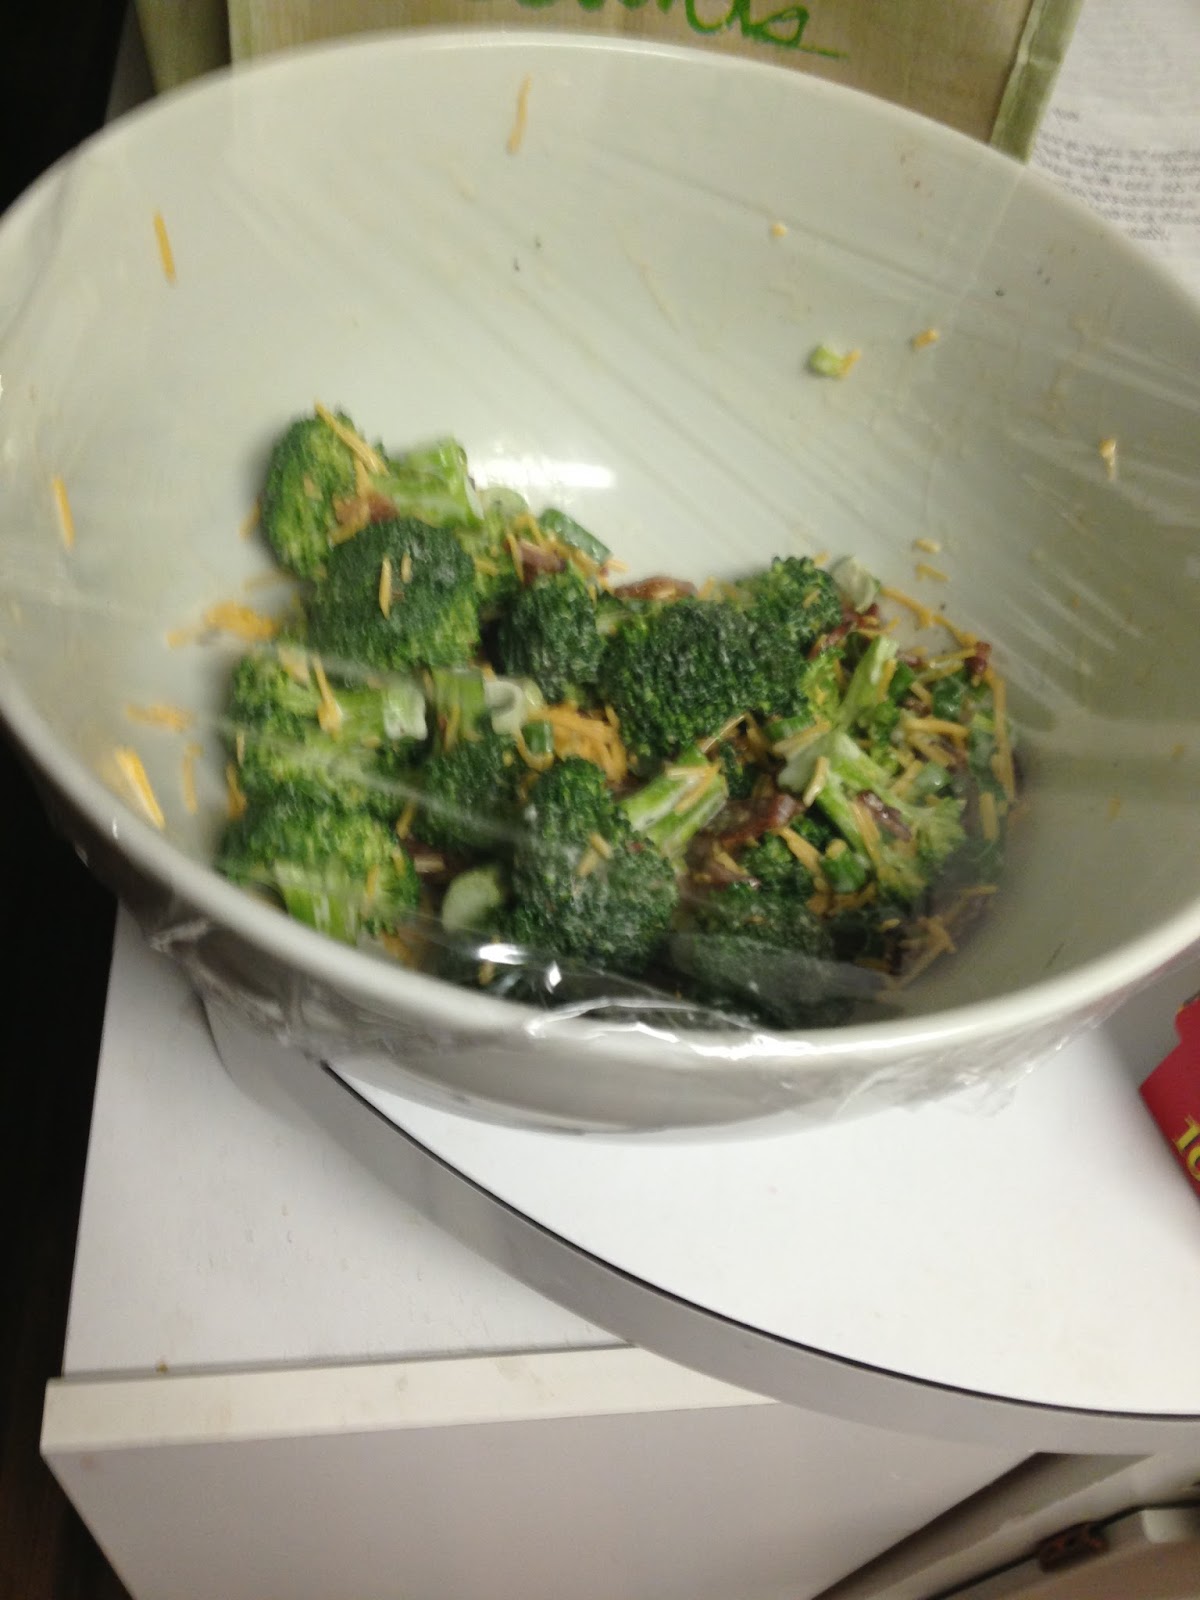
6. Cover and refrigerate for least one hour before serving. (I like to let it soak at least two hours.)
Country Farm Chicken Casserole
This is another meal that, even though you are using the same amount of ingredients you would for a usual two person meal, will feed up to four people. So for a two person household, this will make leftovers. I have never tried freezing this, but it makes a wonderful lunch to take to take to work.Ingredients
5 slices bacon, cooked and crumbled
2 large chicken breasts or boneless chicken thighs, (I used the thighs that I had leftover from Monday nights chicken lettuce wraps) cubed
1 medium Vidalia onion (Again, I didn't have a Vidalia, so I used what I had on hand which was the white bulb part of a giant green onion.), diced
2 large potatoes, cubed (I had a GIANT golden potato, so I only used one), peeled and cut into cubes (Since I had a golden potato, I did not peel my potato, but I wouldn't definitely make sure to peel if I was using a russet potato.)
1 carrot, sliced and quartered
2 cloves garlic, minced
1 tsp. dill, divided
1 tsp. basil, divided
2 tsp. ground mustard, divided
(You have some options here when you use the herbs. You can just use the dill and the basil and skip the ground mustard OR you can do the opposite and skip the dill and basil and just use the ground mustard OR you can use all of the seasonings. Each option is equally good, but you may like one "flavor" better than the other
1/2 cup sour cream
1 can cream of chicken soup
1/4 cup chicken broth
Handful shredded cheddar cheese (Again, I don't measure this, I just sprinkle until it looks yummy to me.)
Instructions
1. Preheat oven to 425 degrees
2. Using a large heavy bottomed skillet, (I like cast iron.), over medium heat cook the bacon until crisp. Set aside on a plate with a paper towel, to soak up some of the grease and save for later. Reserve the bacon grease.
3. While the bacon is frying, peel and cube the potatoes. Fry in the bacon grease stirring frequently.
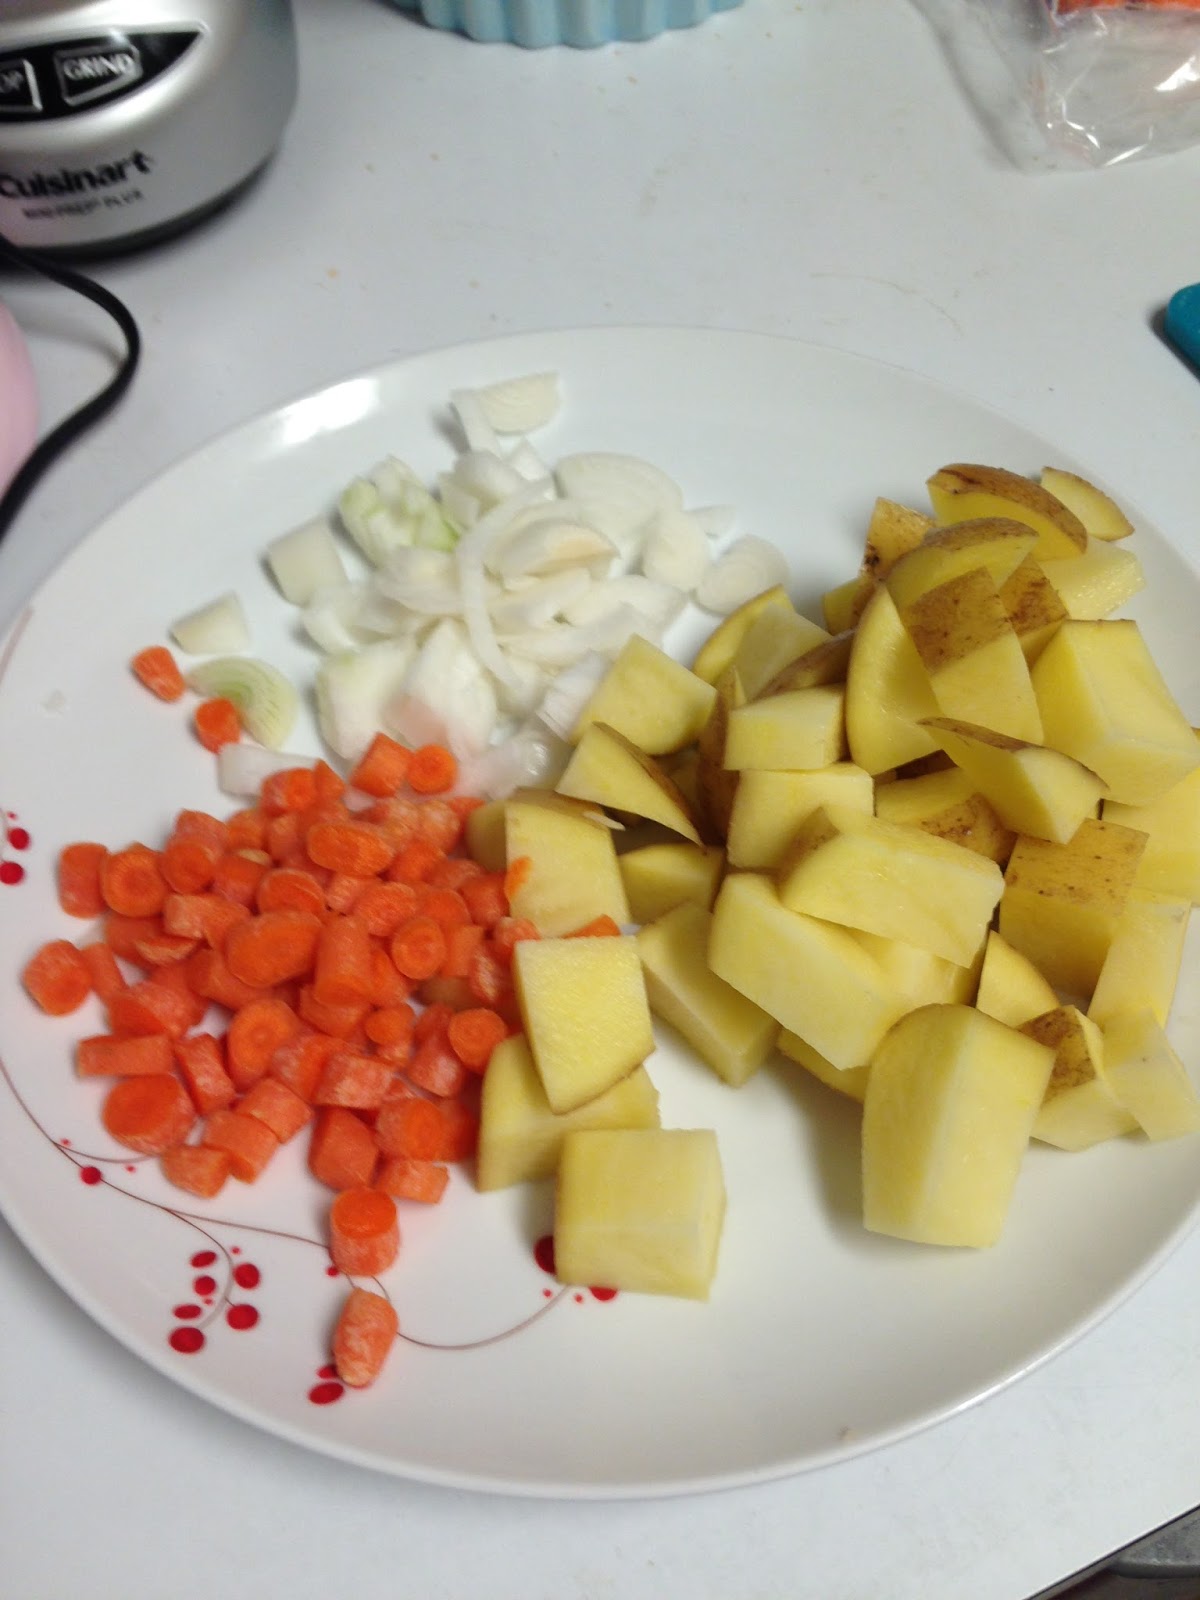
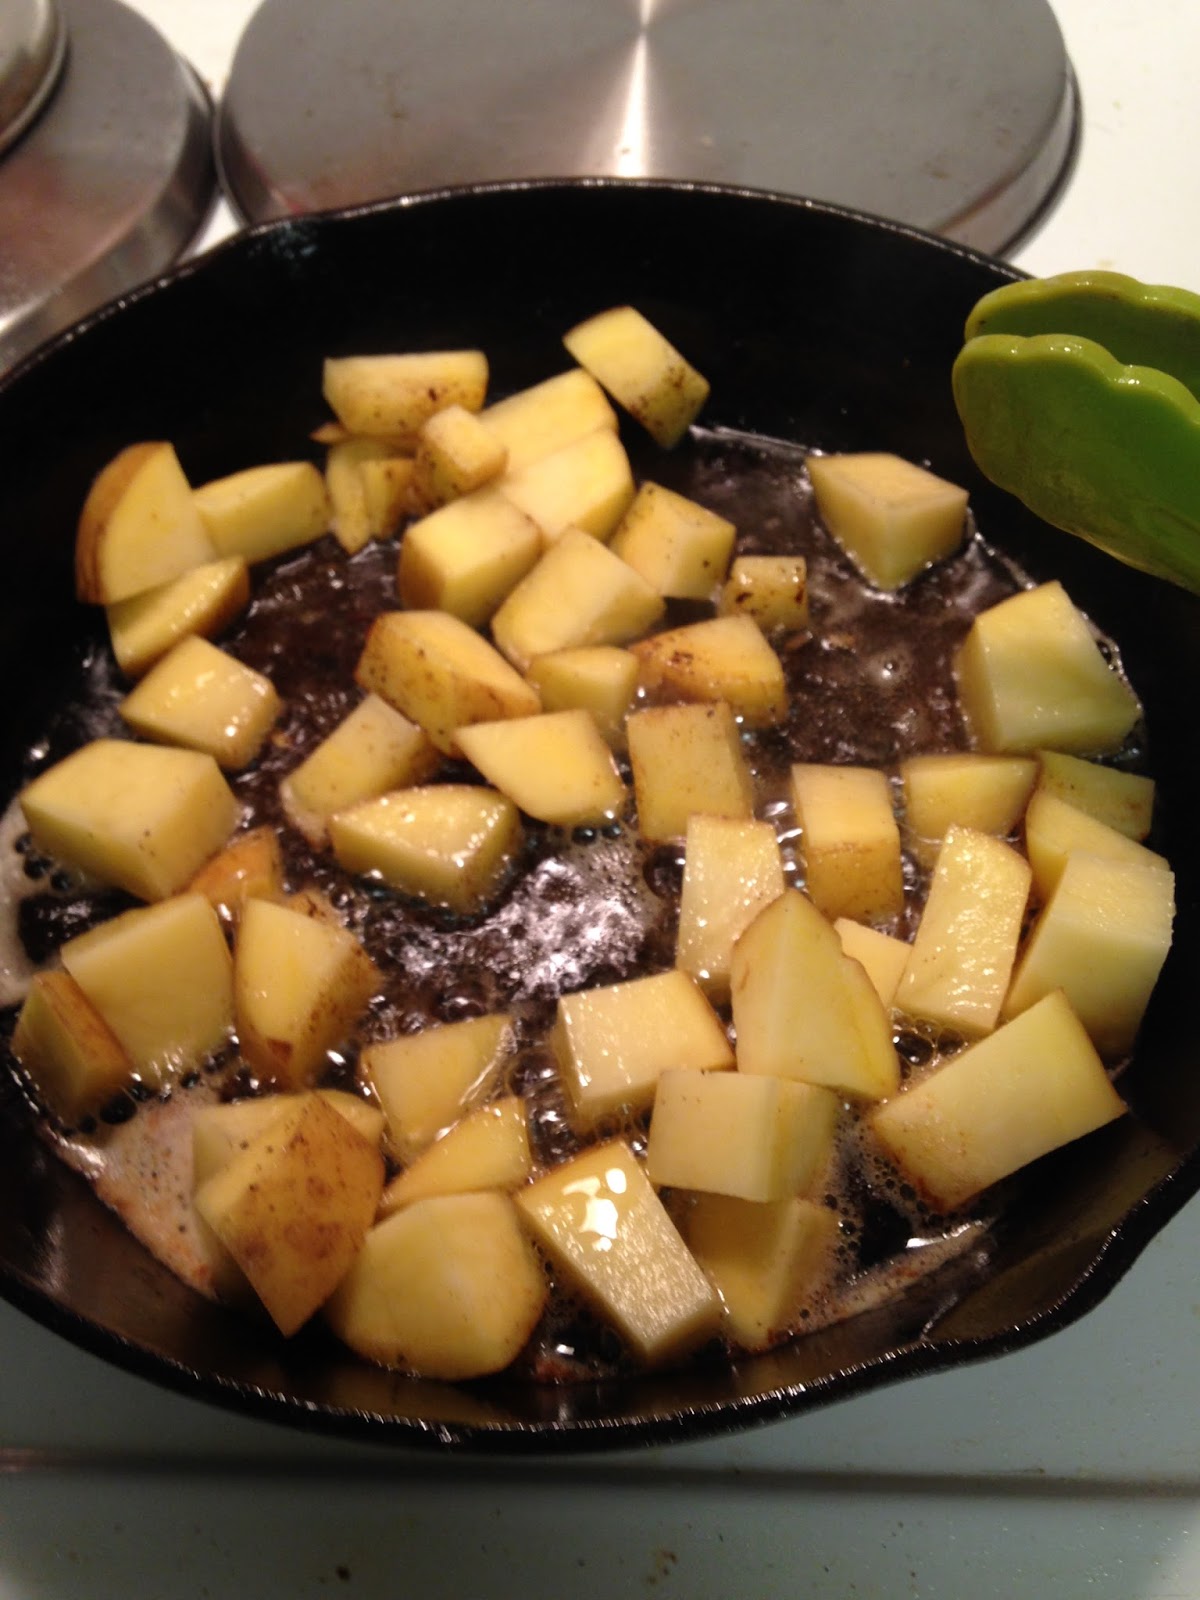
4. While the potatoes are frying, dice the onion, slice and quarter the carrot and mince the garlic.
5. After the potatoes have cooked for about five minutes, add the onions and the carrots. Stir frequently.
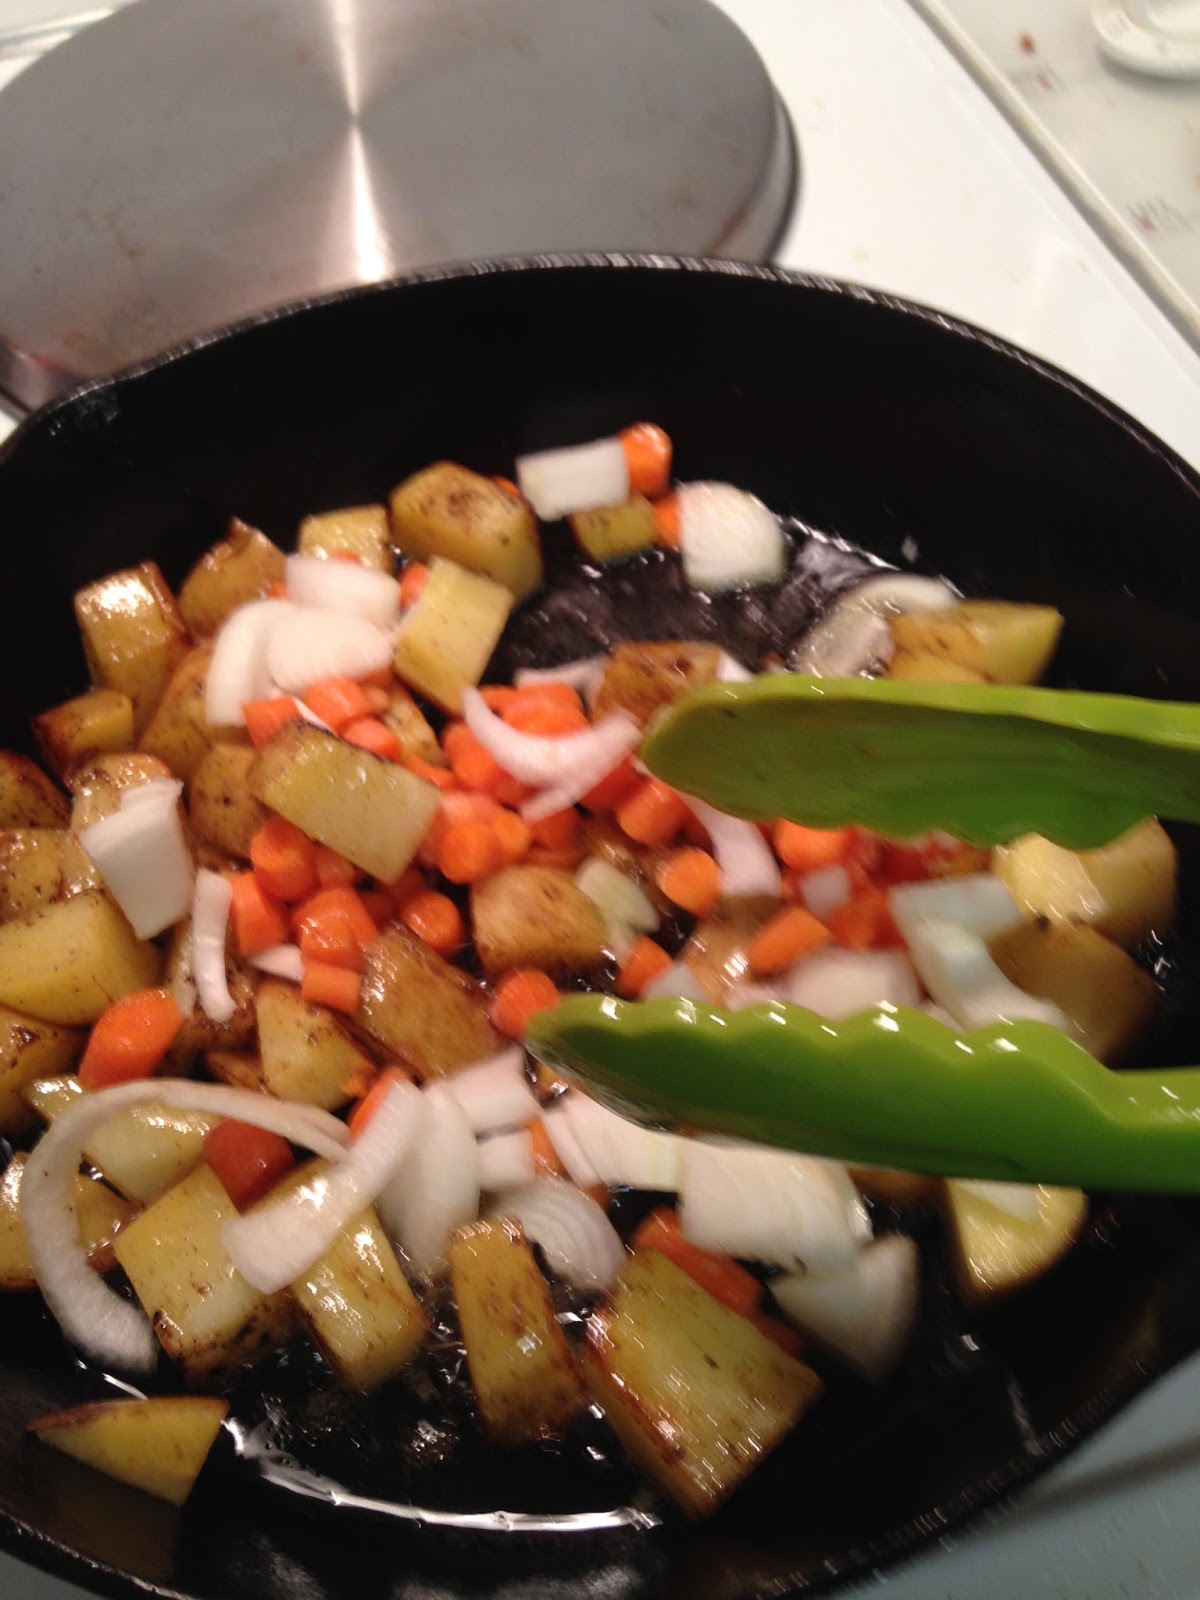
6. Let onion, carrots and potatoes cook for five minutes and add garlic and chicken. Stir frequently. Add 1/2 tsp. of the dill, 1/2 tsp. of basil and 1tsp. ground mustard and stir to combine. Cooking for about five minutes.
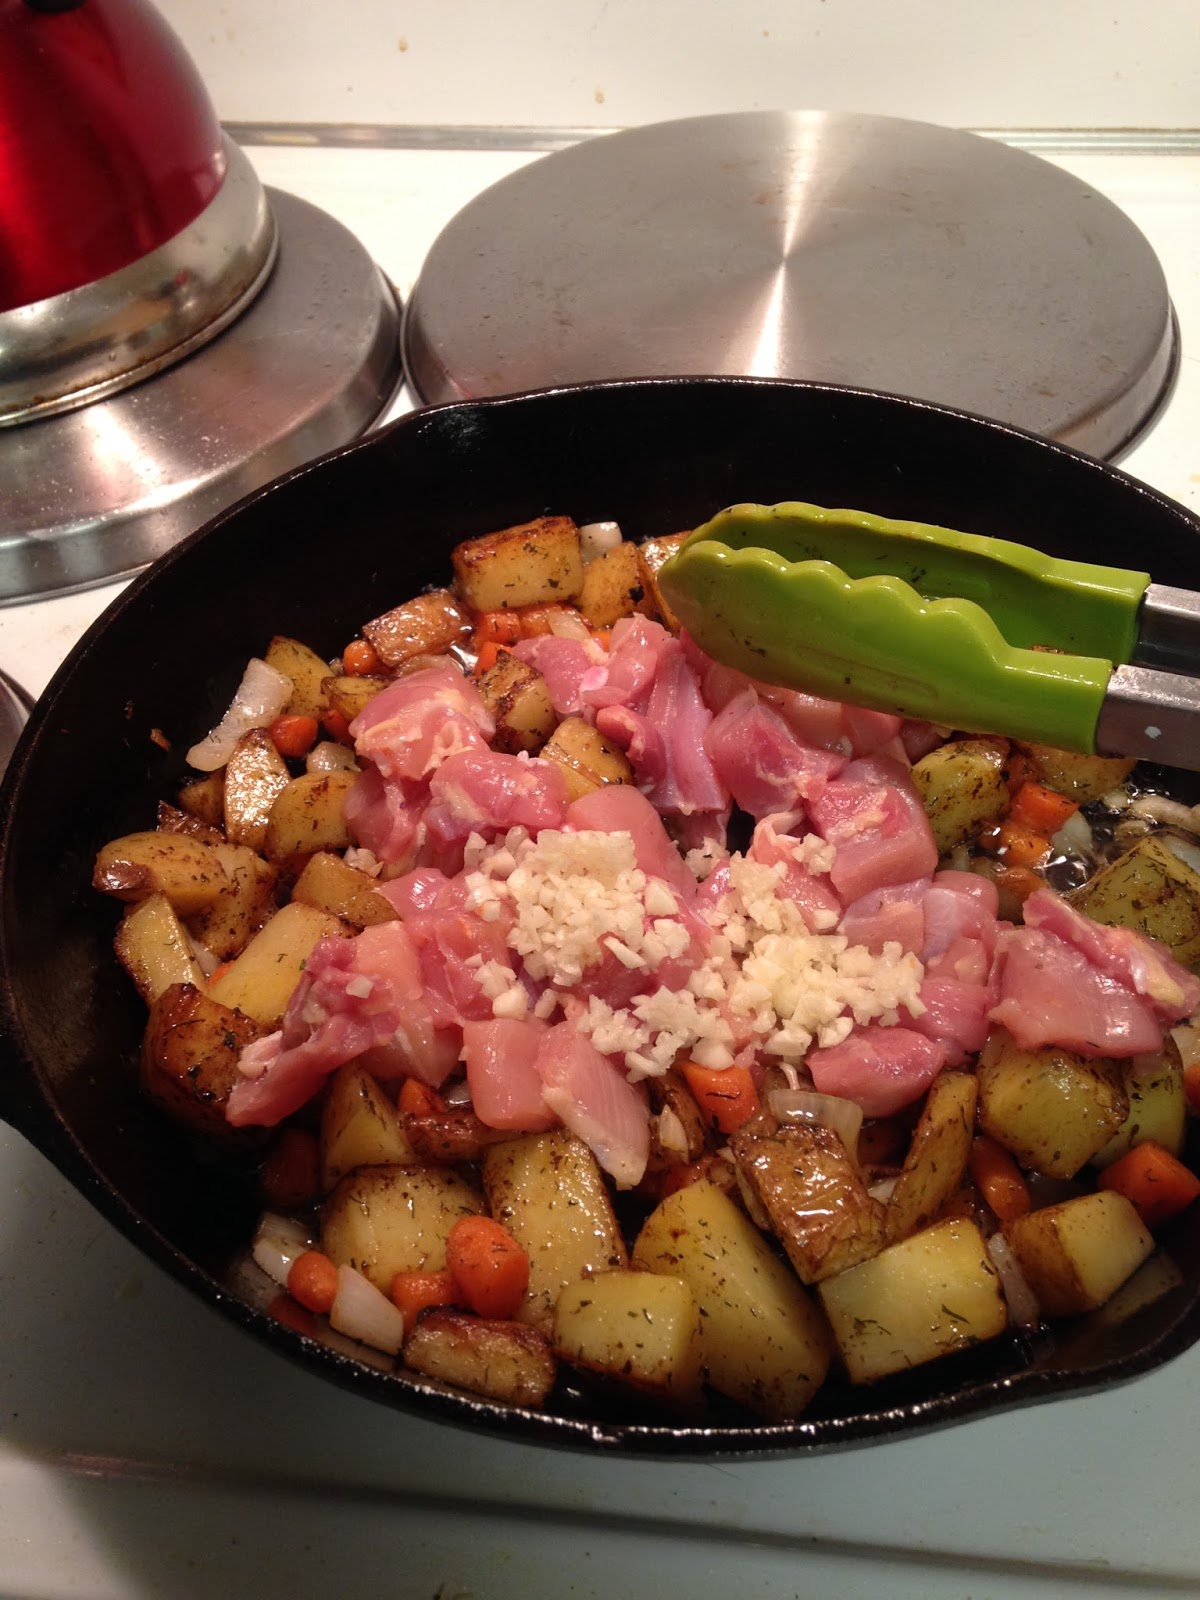
7. While the chicken is frying, in a medium size bowl combine the cream of chicken soup, sour cream and chicken broth. Whisk until creamy smooth and set aside.
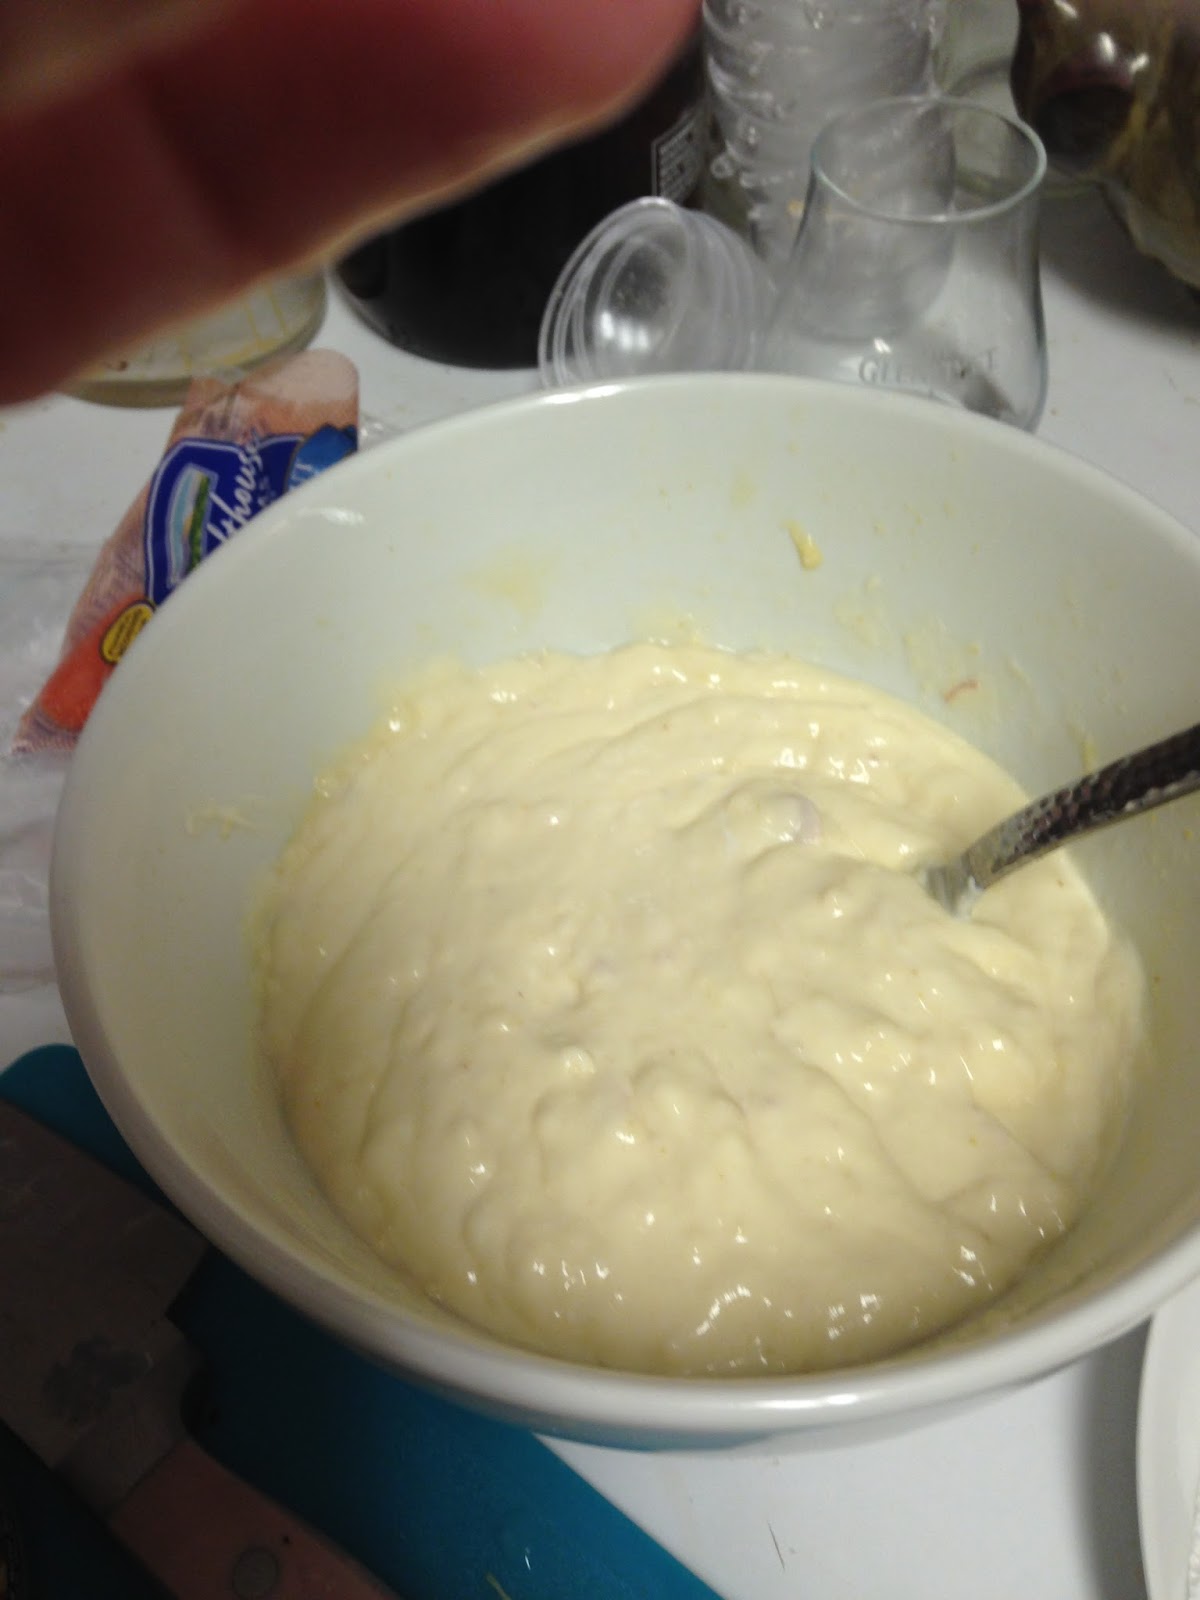 |
| The dressing for the salad and a picture of my pinky. |
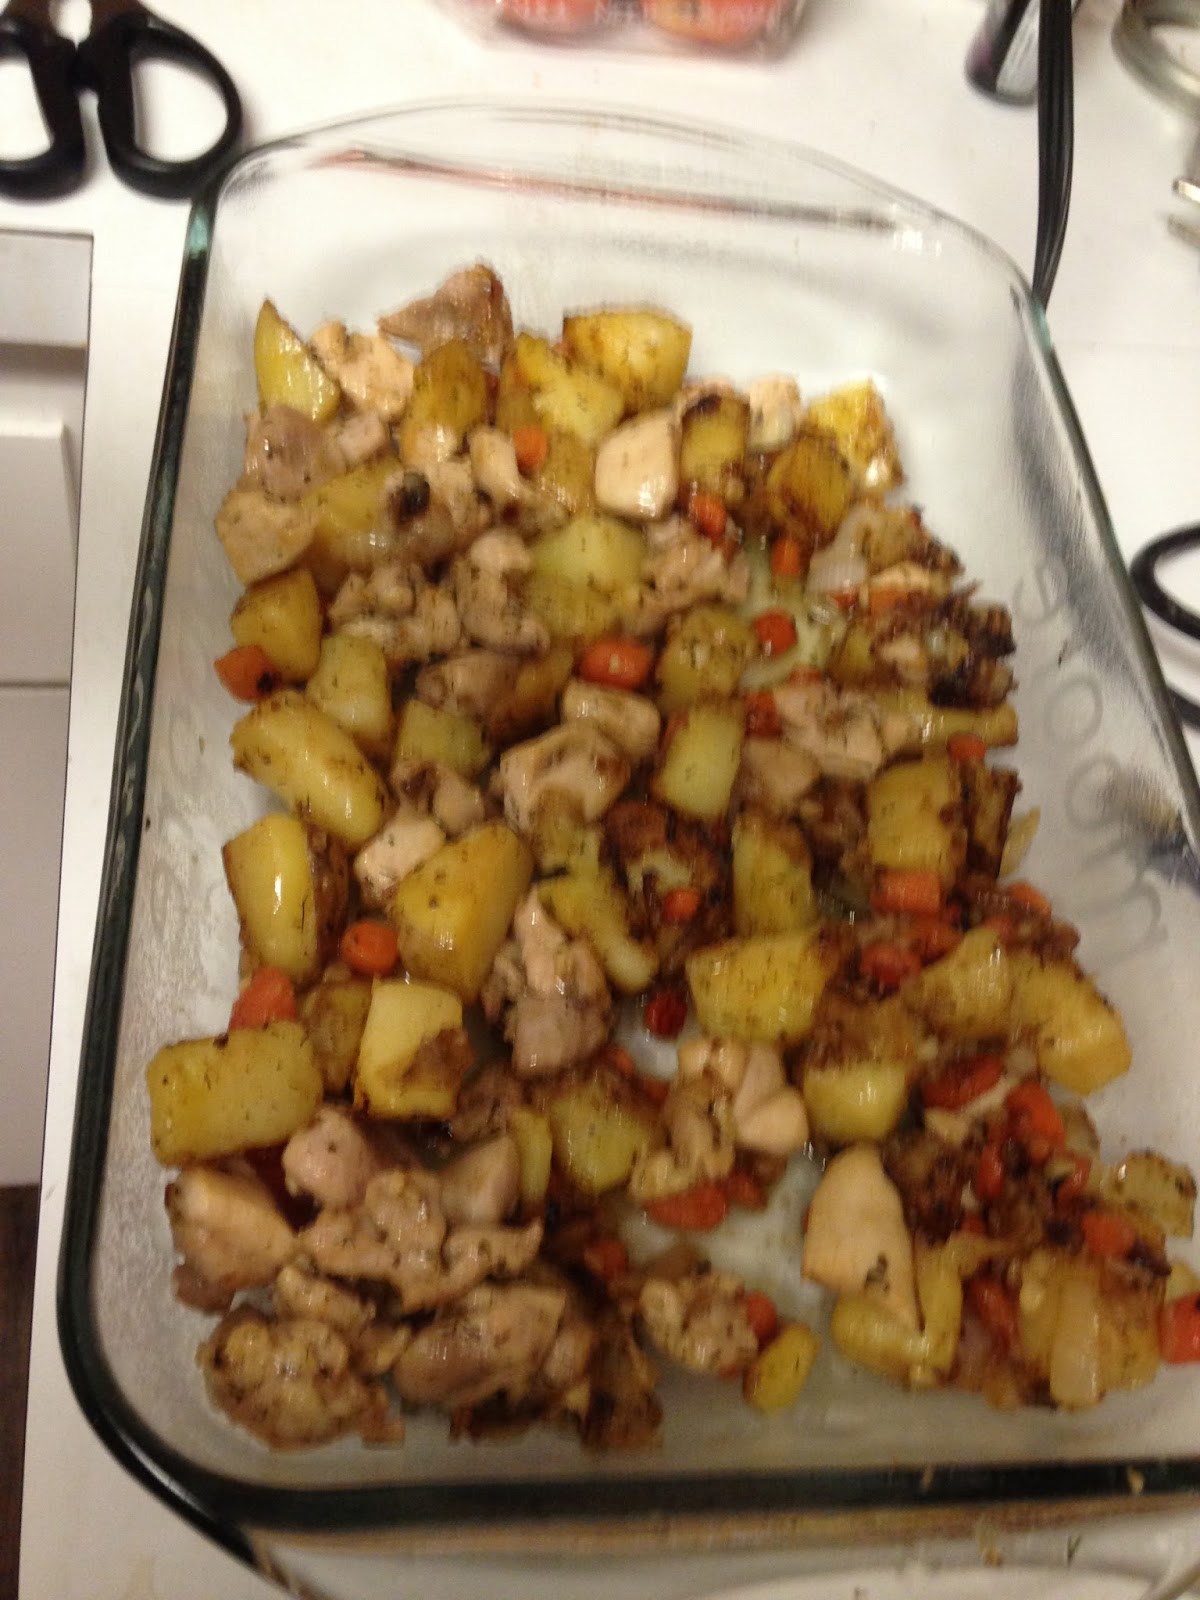
8. Once the chicken is white transfer the mixture to a greased baking dish.
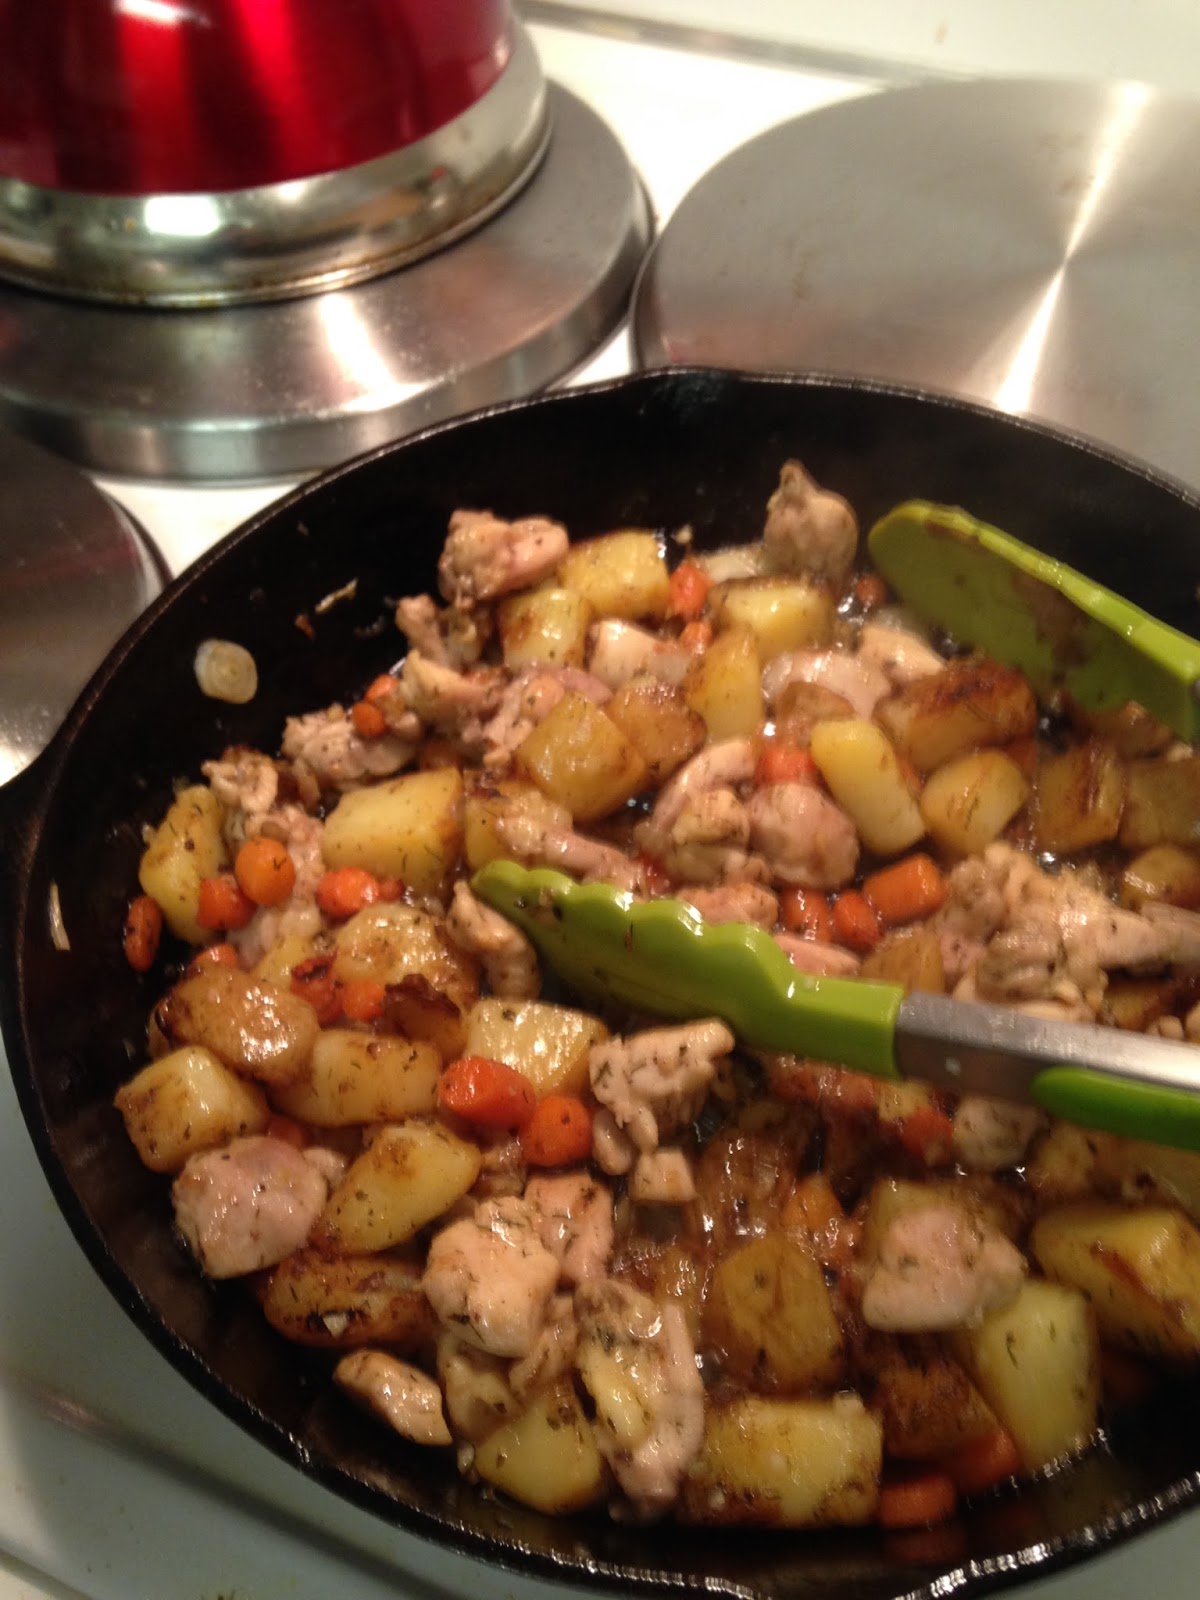 |
| Because I used thigh meat, my chicken did not get as white as it would if you use chicken breasts. |
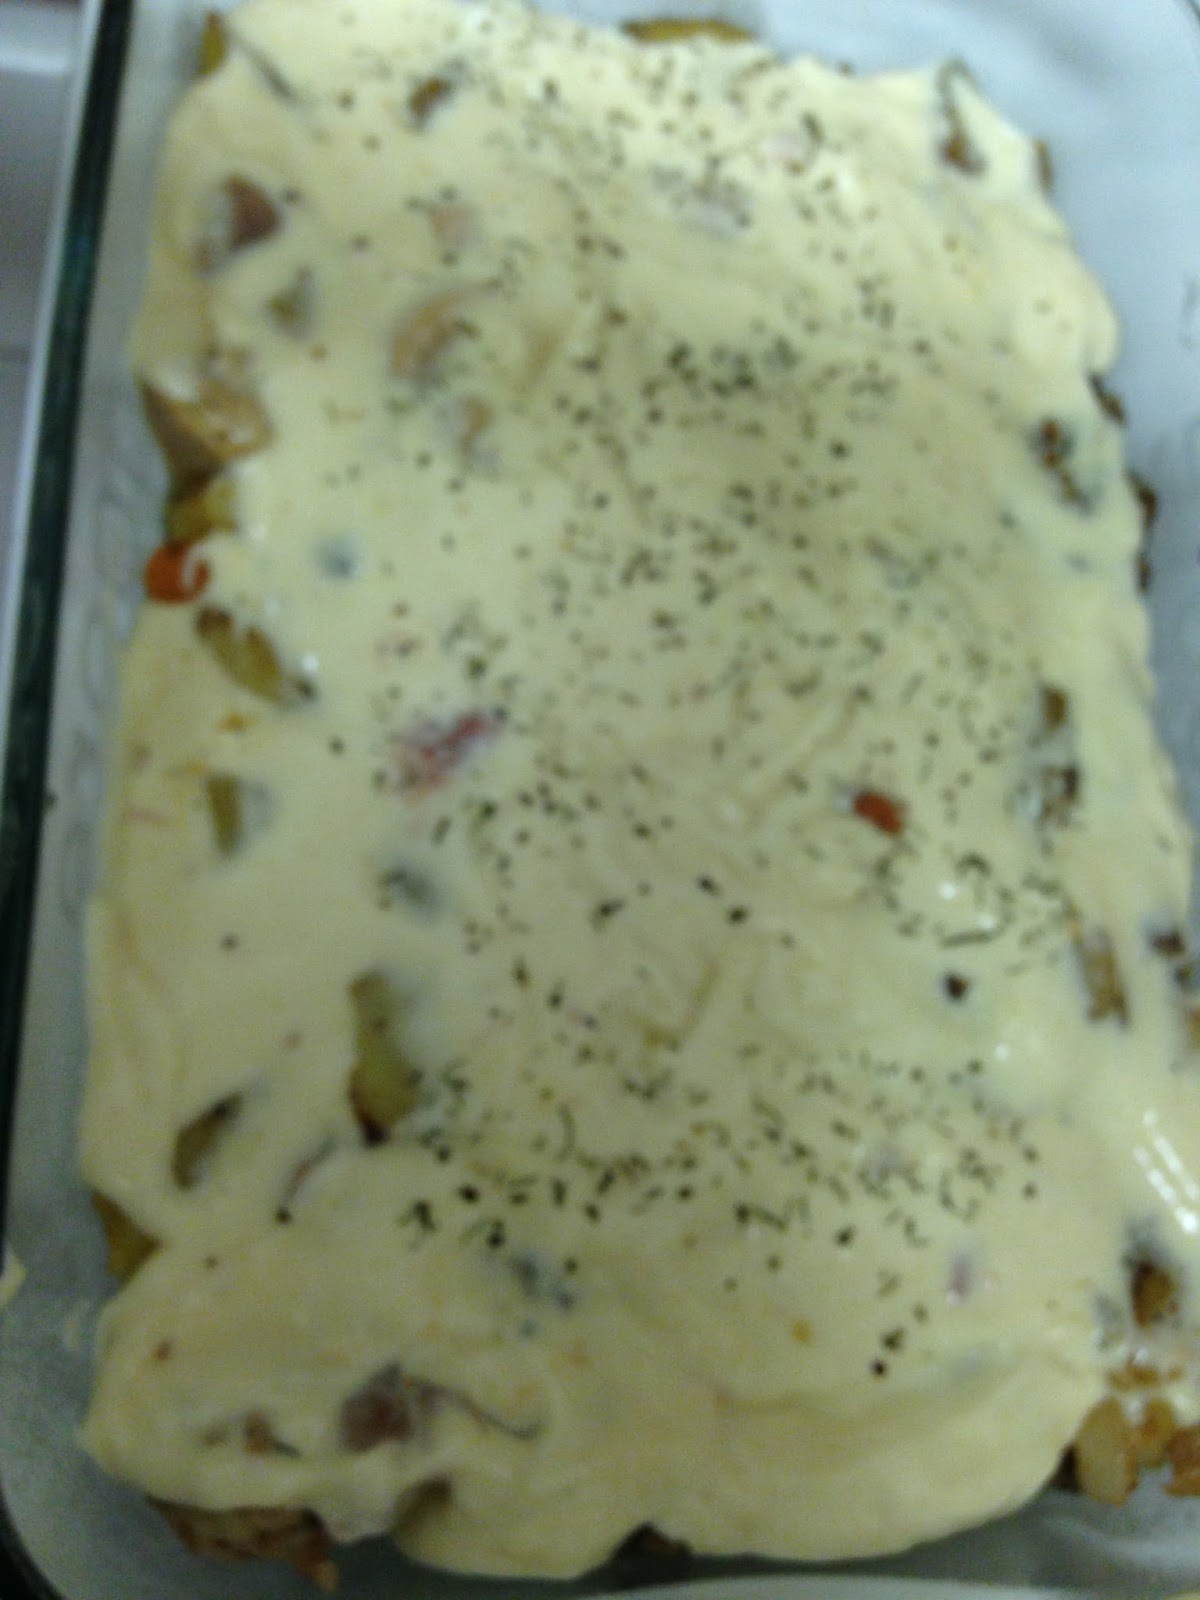
9. Pour the cream of chicken sauce over the chicken mixture. Sprinkle the remaining dill, basil and mustard over the sauce. Top the sauce with shredded cheddar cheese.
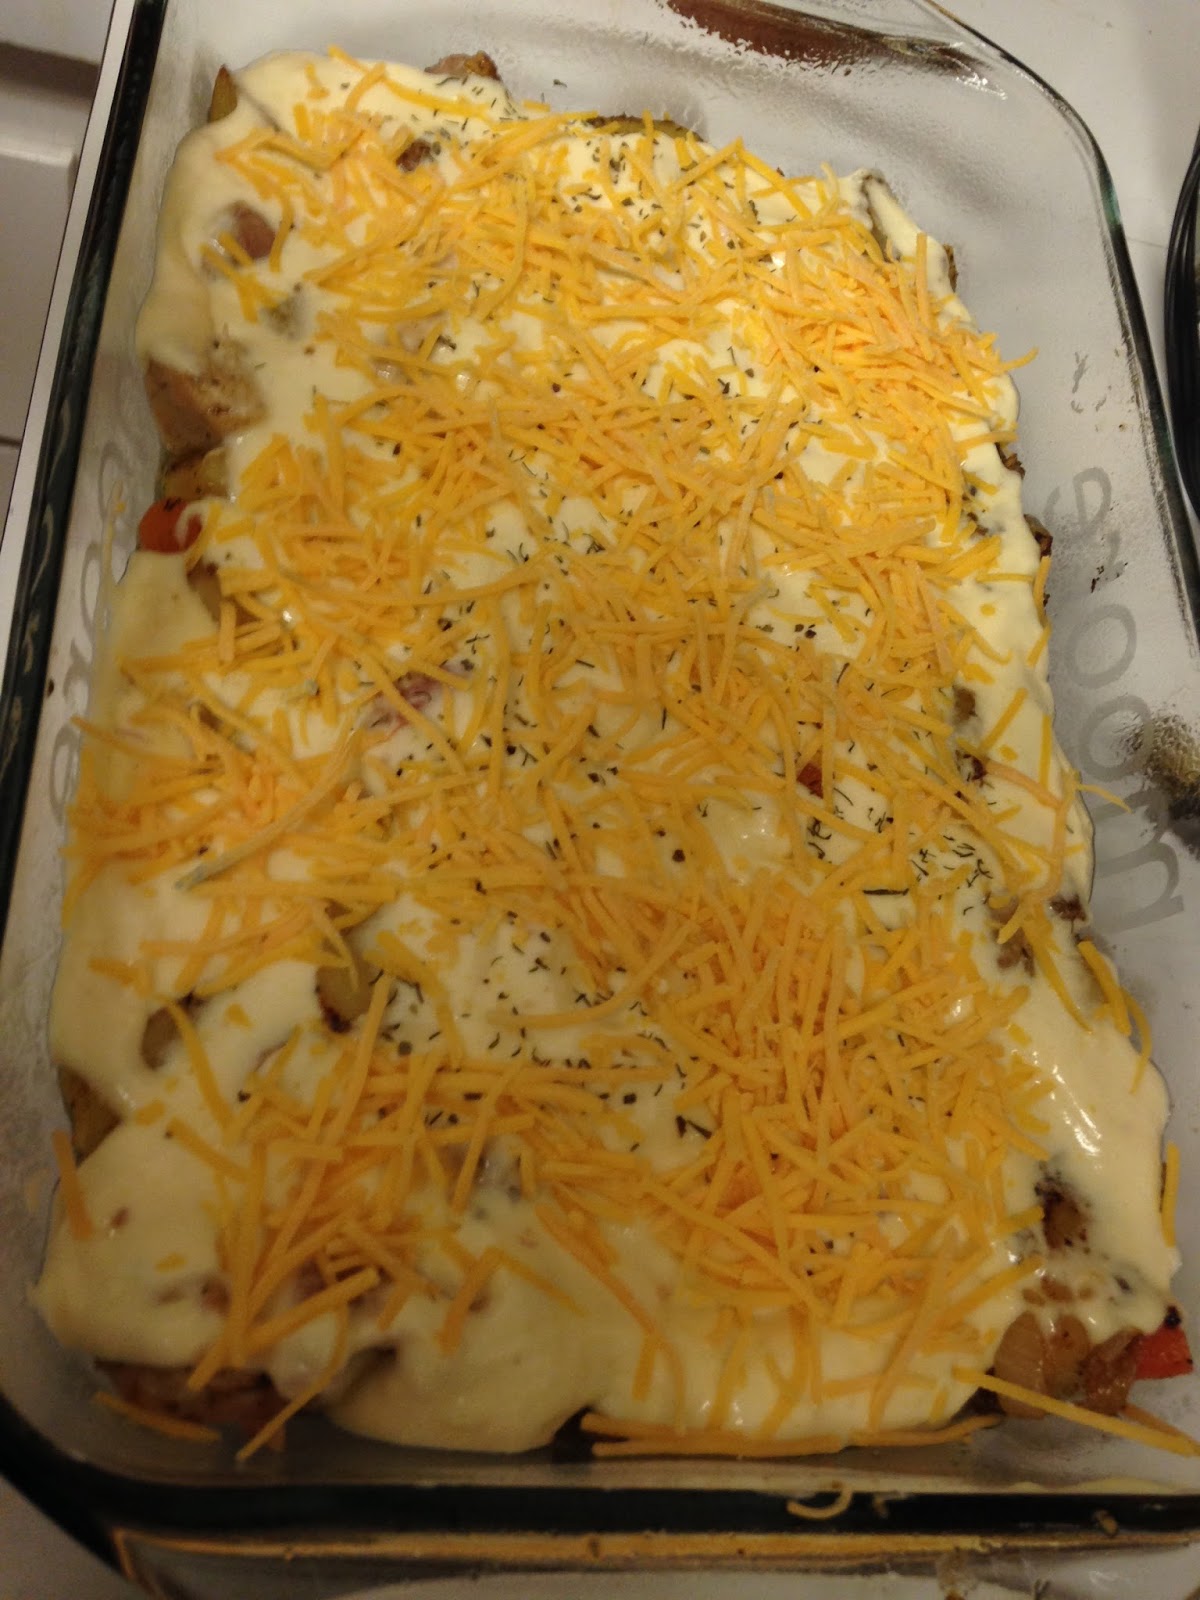
10. Crumble the cooked bacon over the shredded cheddar.
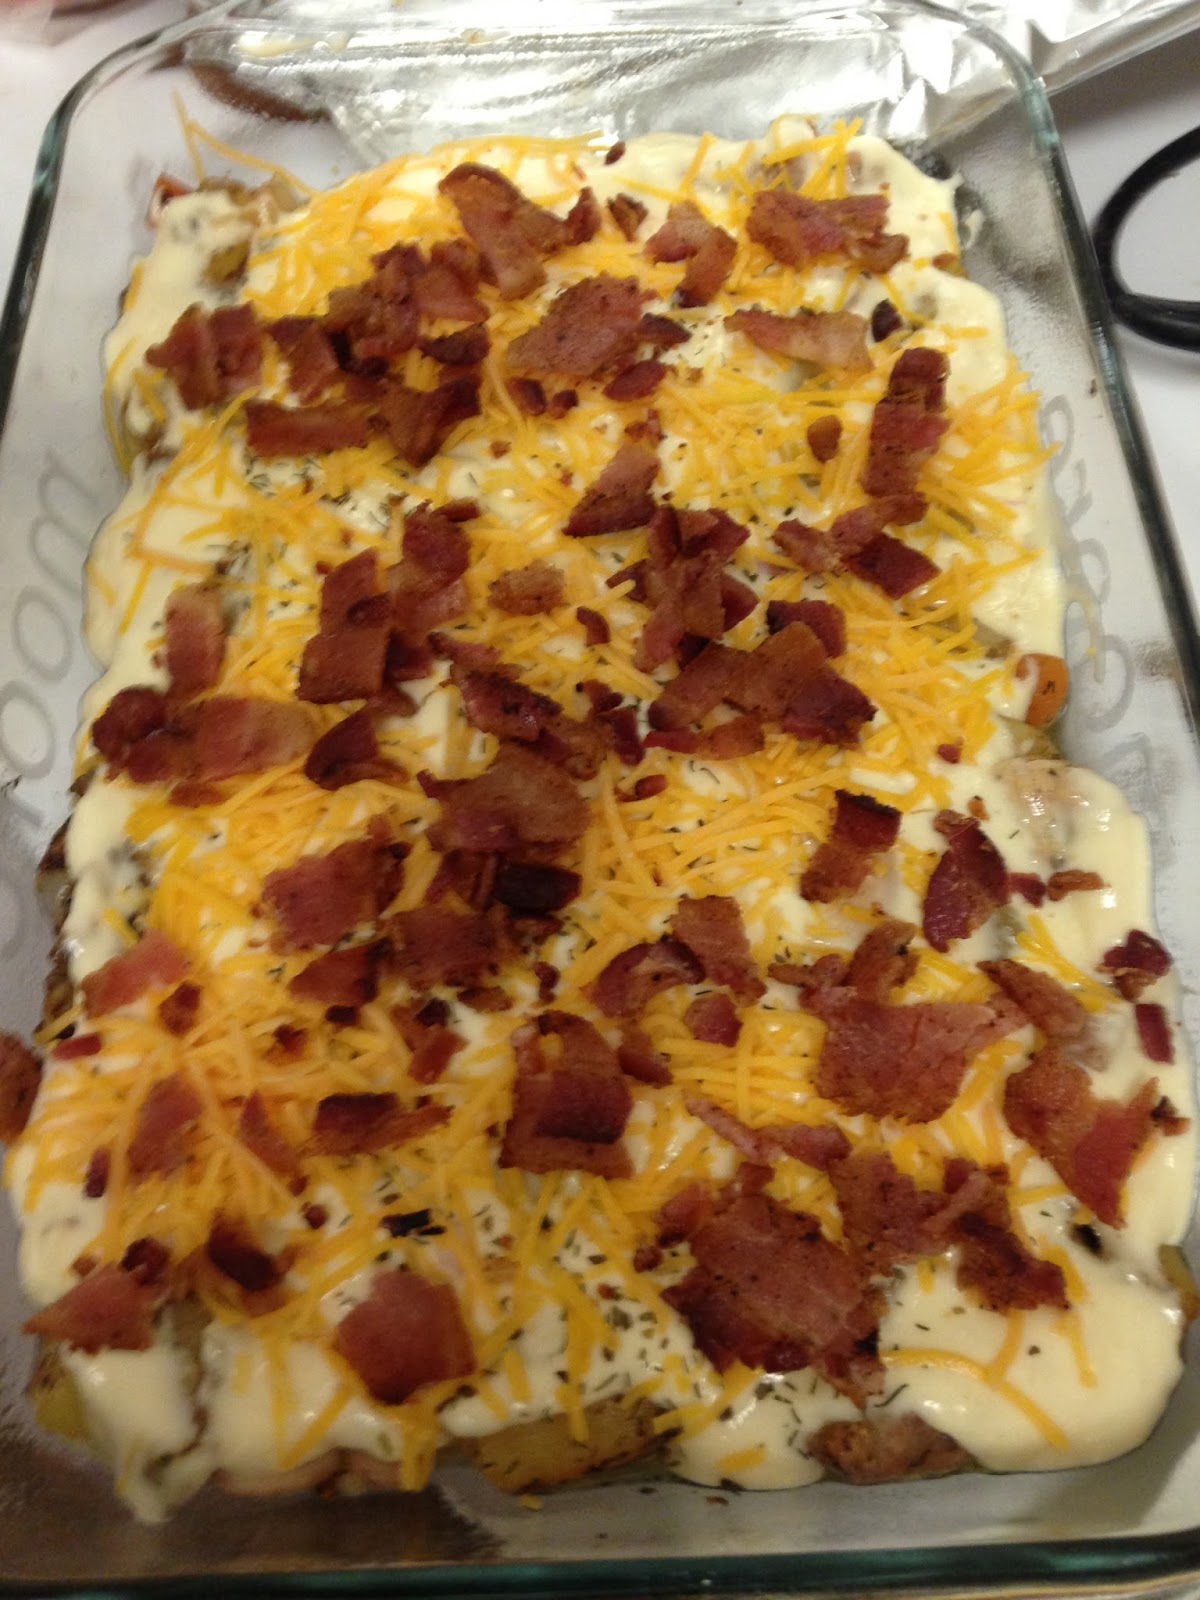
11. Cover with foil and bake in the oven for 25 minutes.
12. Once 25 minutes have passed, remove the foil and cook for another 5 minutes. Then cook for 5 minutes more under the broiler until the top becomes golden and bubbly.
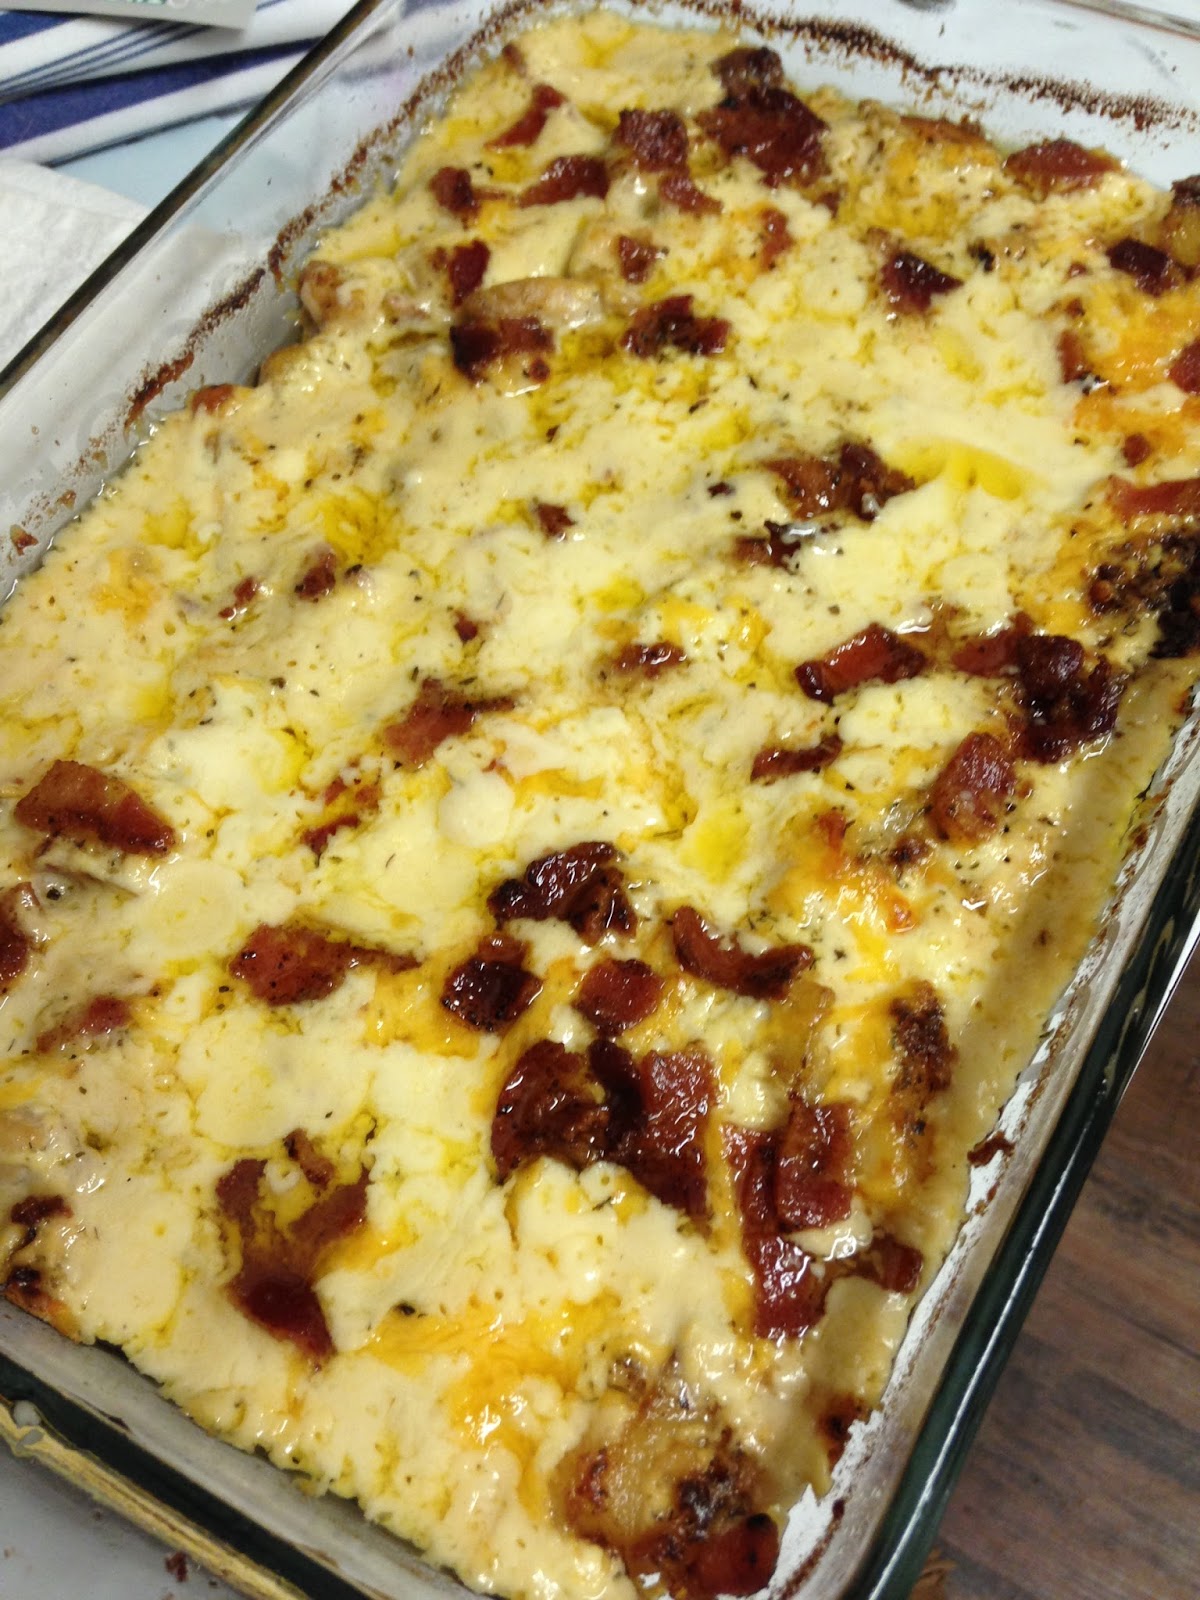
13. Depending on the amount of bacon you used, the casserole can get a little greasy. After taking the casserole out of the oven, let it sit for about 10-15 minutes and then gently dab greasy areas with a paper towel lay a couple of paper towels over the casserole and gently press. It is very important that you let the casserole sit! It will give the casserole a chance to cool from scalding to almost bearable, it will help the casserole solidify so it is easier to serve, and it will allow you to dab at the oil on top without removing any of the delicious cheese.
To serve, remove from baking dish and sprinkle with creole seasoning. (Taste the casserole before you do this, depending on the bacon and the cream of chicken soup you used, this may be salty enough for you. I always try to use low sodium everything on my dishes so that I can try to control the salt, so I usually find that it is okay with an added sprinkle but tasting first never hurt anyone.)
I hope you enjoyed this change from my normally more healthy dishes. I know I enjoyed my night of guilty pleasures, but tomorrow its back to healthy meals and worthwhile endeavors.
