Showing posts with label DIY- tutorials. Show all posts

Saturday, October 22, 2016

Edgar Allen Poe Raven Pumpkin

Hello Everyone!
It is time, yet again, for another Halloween craft post.
I know its not the first thing that you look at when you see this picture, but look at her shoes!  Those are just the cutest little witches shoes with the turned up toes!!!

As I am sure that I have mentioned, I live in Louisiana.  That means that, even in October, when temperatures are supposed to be dropping and leaves should be falling, the temperatures remain impossibly hot and everything is still green.  While this is a great thing for my herb garden, it is not a great thing for carving pumpkins.  Carving a real pumpkin in Louisiana is something that almost has to be done the day of Halloween or it will be spoiled and rotten before the trick-or-treaters ever arrive on your doorstep.  I love to carve pumpkins.  But I also love to carve very elaborate pumpkins that take me hours to do and I hate to see all my hard work rot after just a day.  Which is why I have started to invest in foam pumpkins and have decorated them in a variety of styles.
The fantastic thing about foam pumpkins as a frugal option is that they do not rot and you can reuse them year after year.  Usually hobby stores have them on sale for about half off during Halloween and, if they don't, that is what half off on any regular priced item coupons are kept for.
Today I will be showing how to make a pumpkin that is designed more for inside your house than outside on your doorstep.  It is very easy to do but, unlike some of my previous craft projects I have shown you so far, this one will take a little bit of skill to do.

Edgar Allen Poe Raven Pumpkin
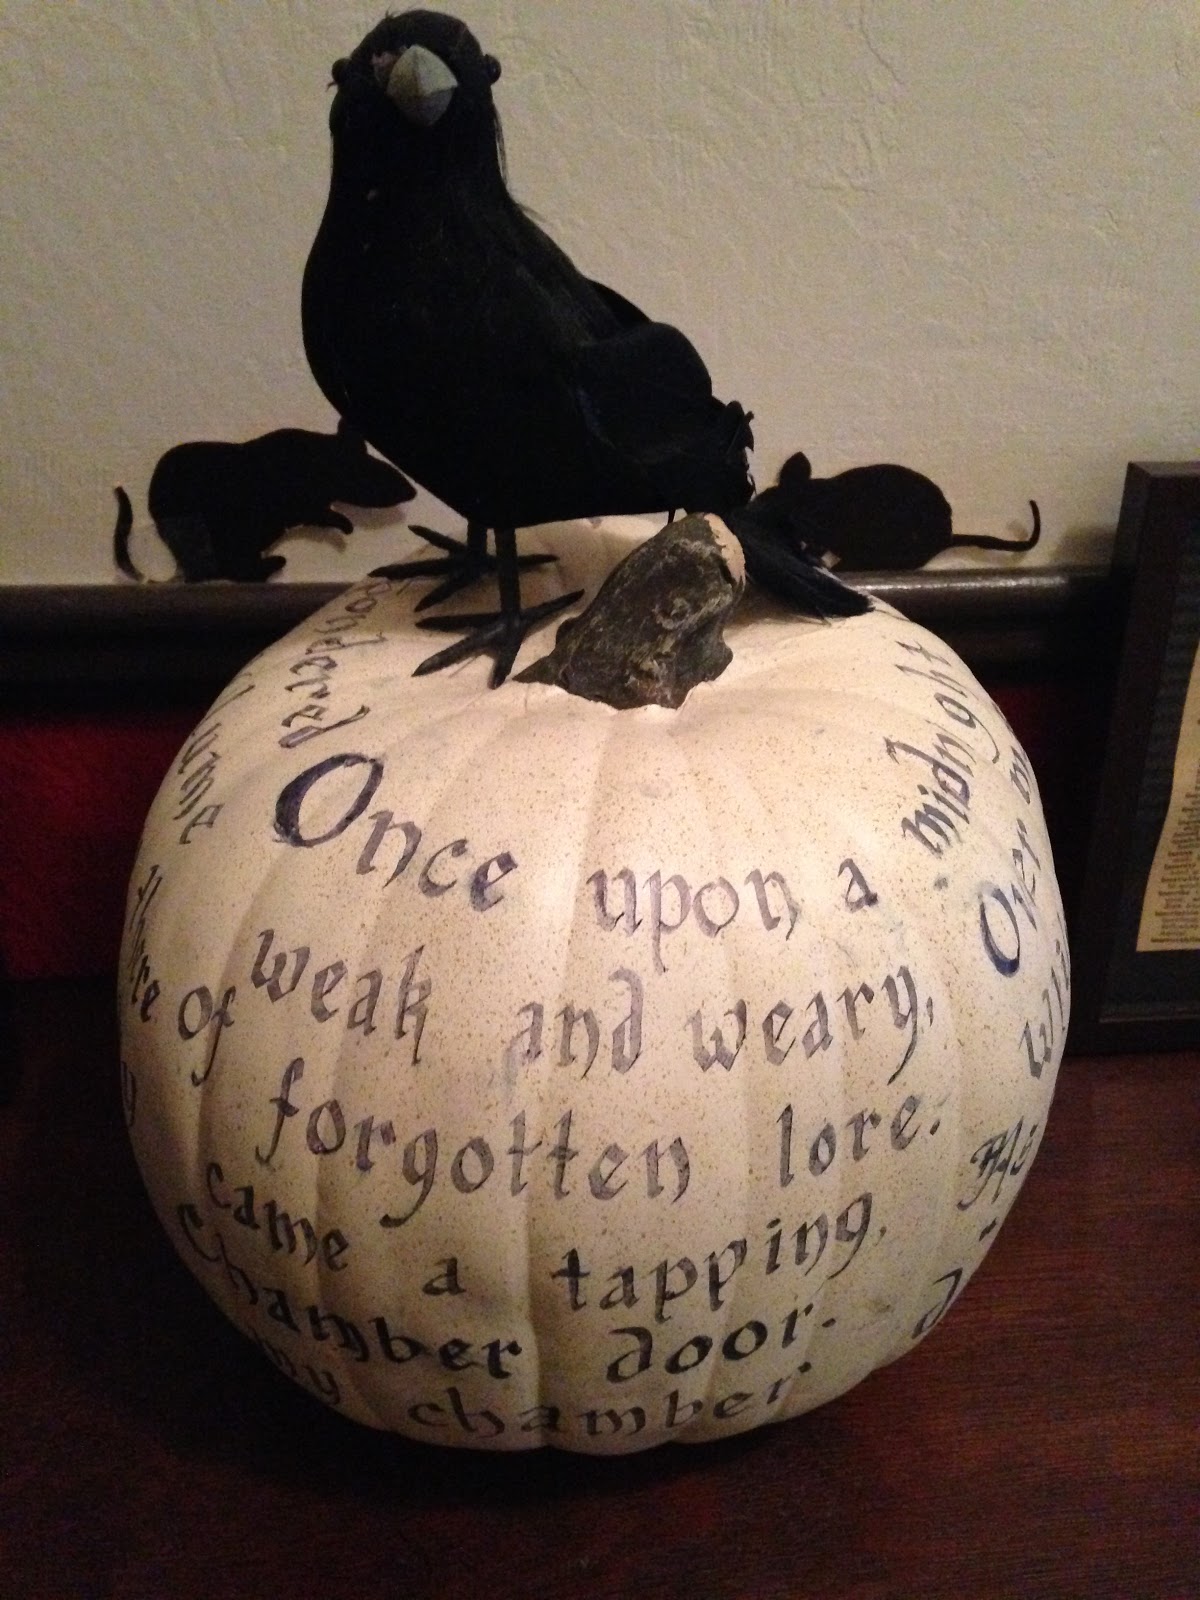
I love the little paper mice that I put behind the pumpkin!  I think it just gives it that added spookiness.

Materials
1 white foam pumpkin (I used a white/cream Funkin pumpkin.)
1 black calligraphy marker
1 pencil
Painters tape(Can also use string or rubber band if don't have painters tape)
1 fake crow/raven  (I got mine from the dollar store.)

Instructions
1.  Find a copy of Edgar Allan Poe's The Raven and put the poem where you can easily see it.  You will use this for reference.  (Unless you have the poem memorized.  In which case kudos to you!)
2.  Take your pumpkin and, depending on the size of pumpkin that you have chosen to decorate, and wrap the painters tape around the pumpkin.  The top and bottom of the tape will be the height of your letters, so space the tape appropriately.
I know this pumpkin is orange, but I had actually done the Poe Raven Pumpkin last year before I started the blog.  (And, to be truthful, I didn't draw lines because I can write in a very straight line free hand.)  This pumpkin is what I had this year and is my craft that I am working on for this Halloween.  Hopefully, I will finish it in time and be able to show you the completed project.

3.  Lightly draw lines around the pumpkin going along the edges of the painters tape using an erasable pencil.  Do not press too hard!!!  If you do, you will have a permanent line impression on your pumpkin even after you erase the lines.  The width of your lines is up to you.  I find it easy to just do this width of the tape (about one inch) as this is easy for me to see and trace.  This will be the guideline for your letters.
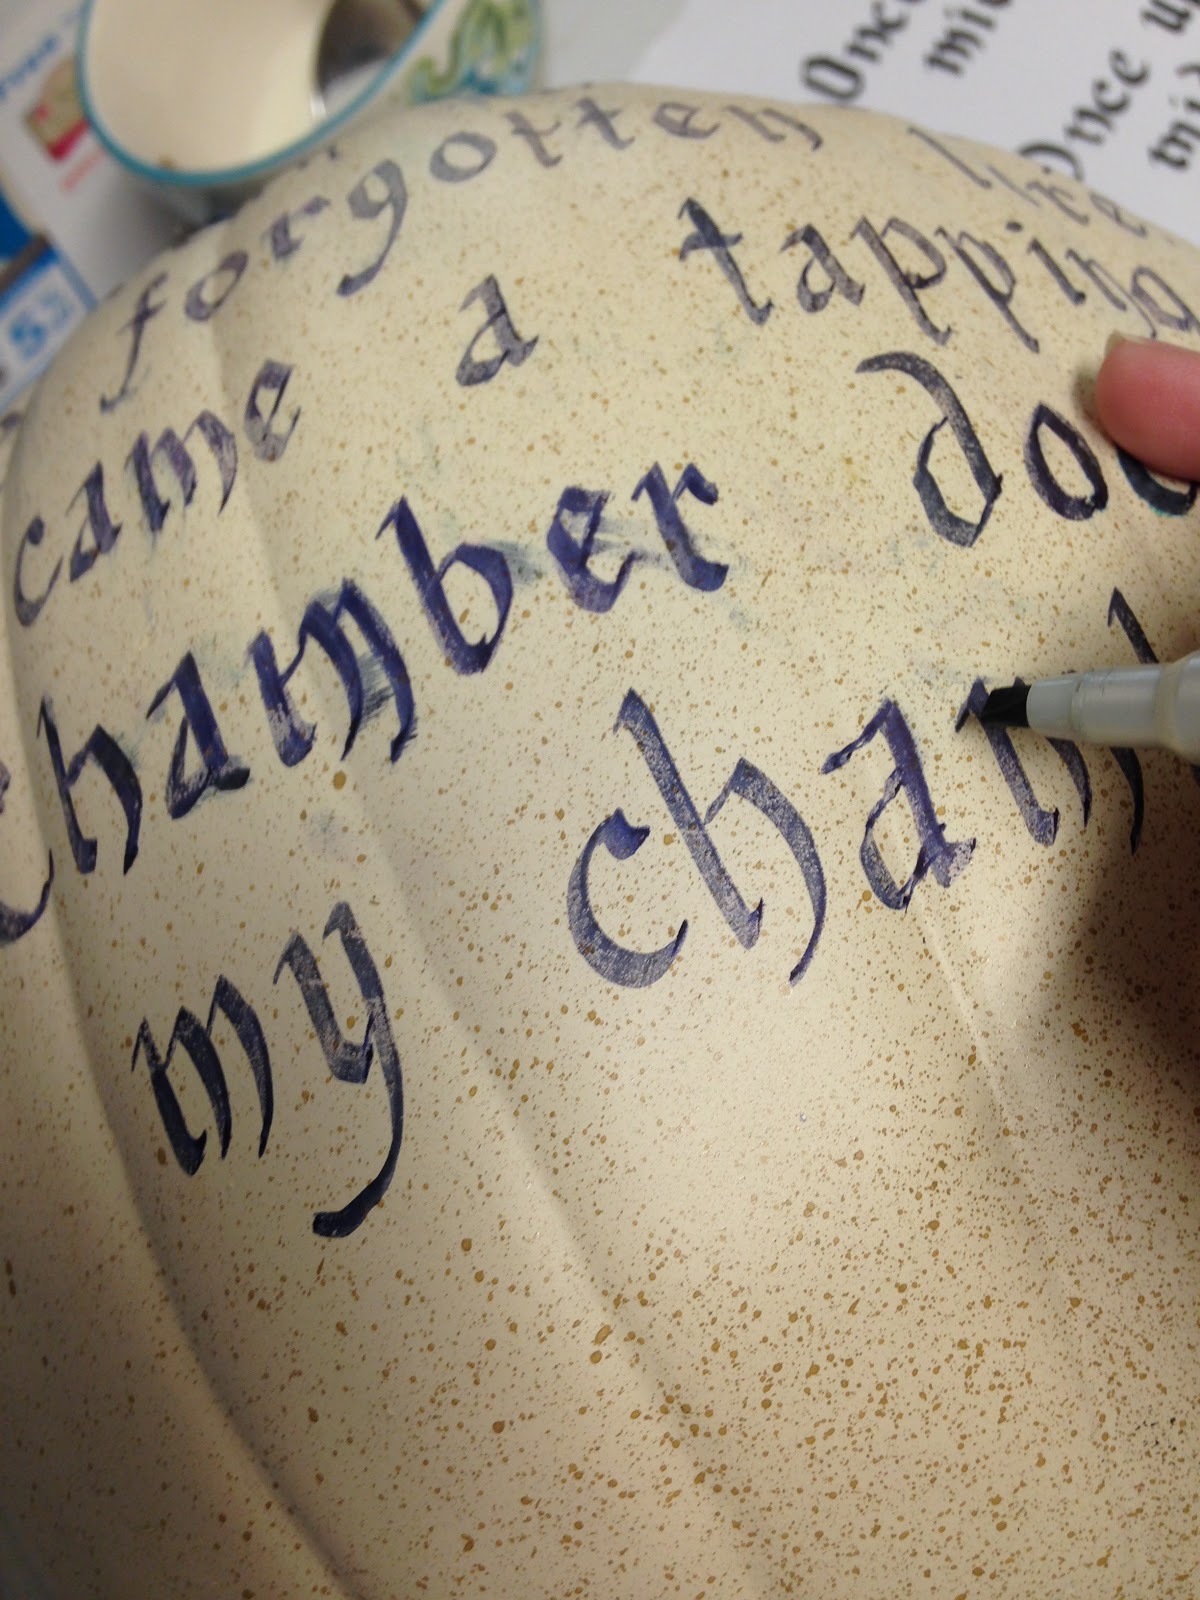
4.  Once the lines are drawn remove the tape.  Using a calligraphy pen write down as much of the poem as will fit on your pumpkin.
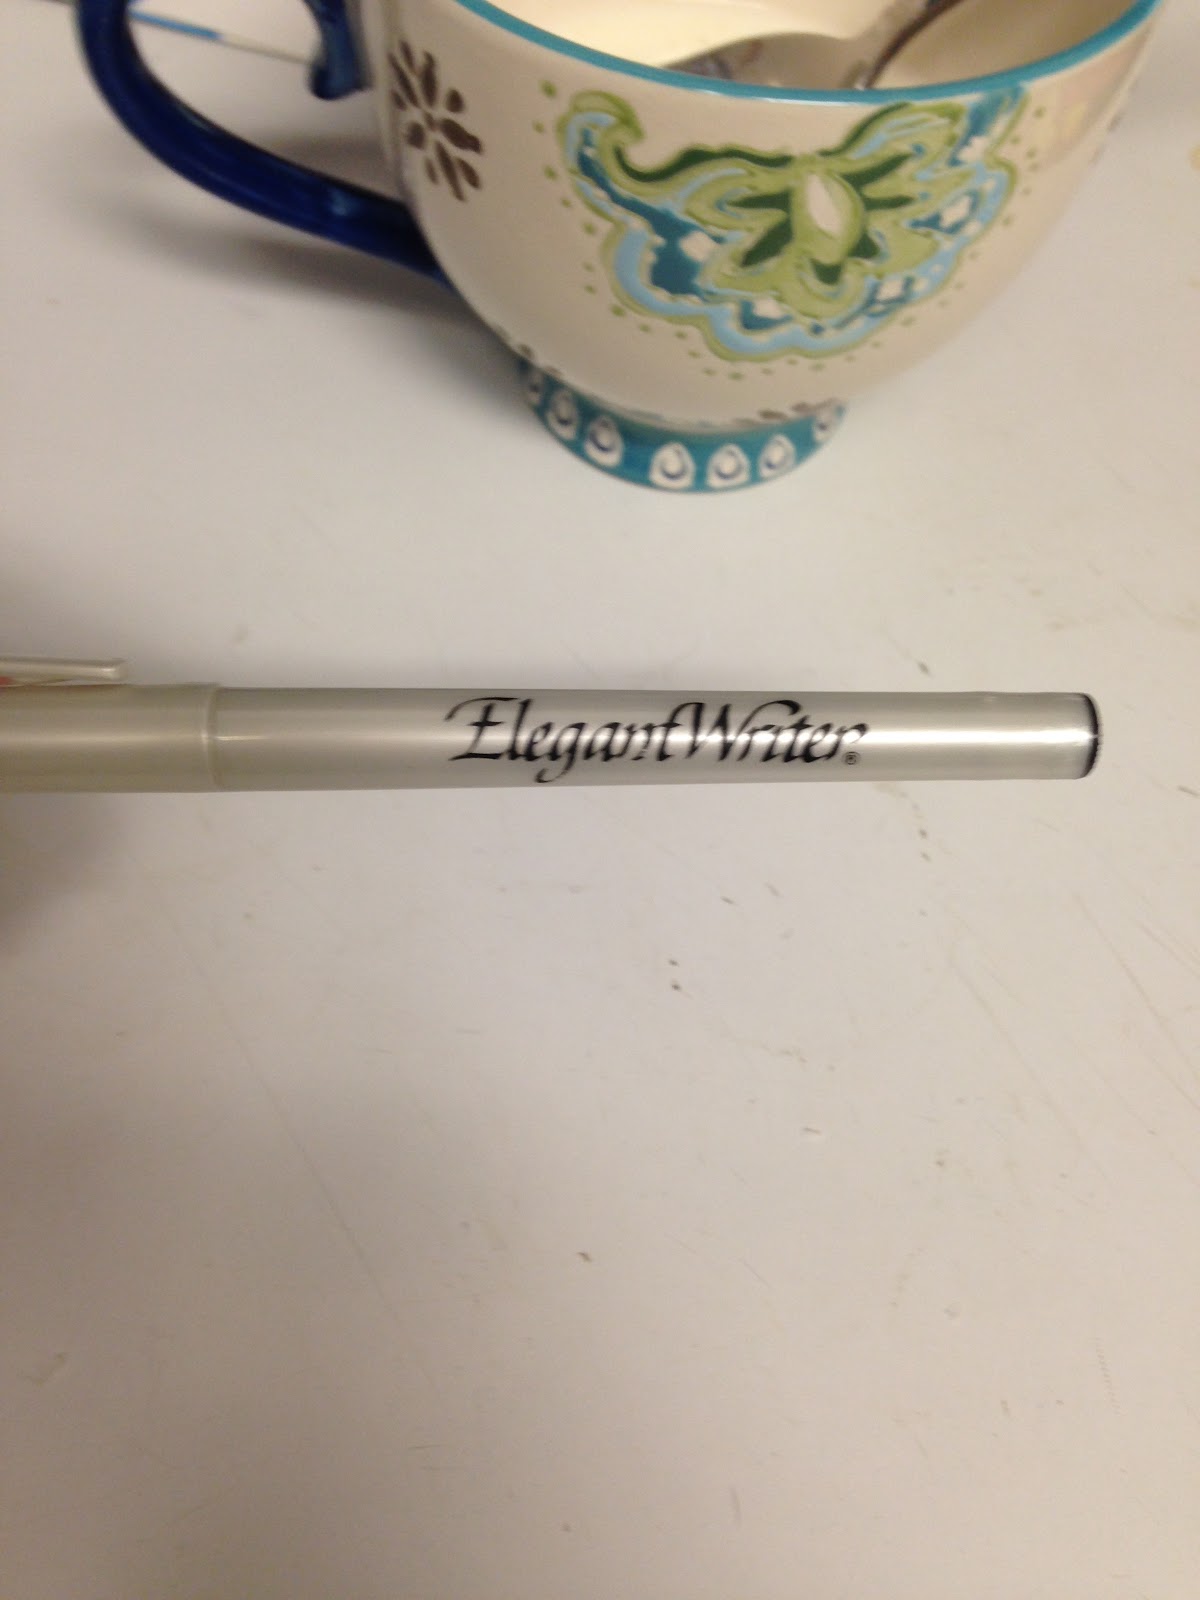
If you get a calligraphy marker like this, it will be easier for you to write on the pumpkin.  I have tried using a regular calligraphy pen, and the ink doesn't dry quick enough.

Again, this depends on the size of both your pumpkin and the size letters that you want to use.  This is where the "skill" comes in as you will want to make certain that you handwriting is legible.  The good news is, if you hold the calligraphy pen correctly, it will do most of the work for you in making the letters look good.
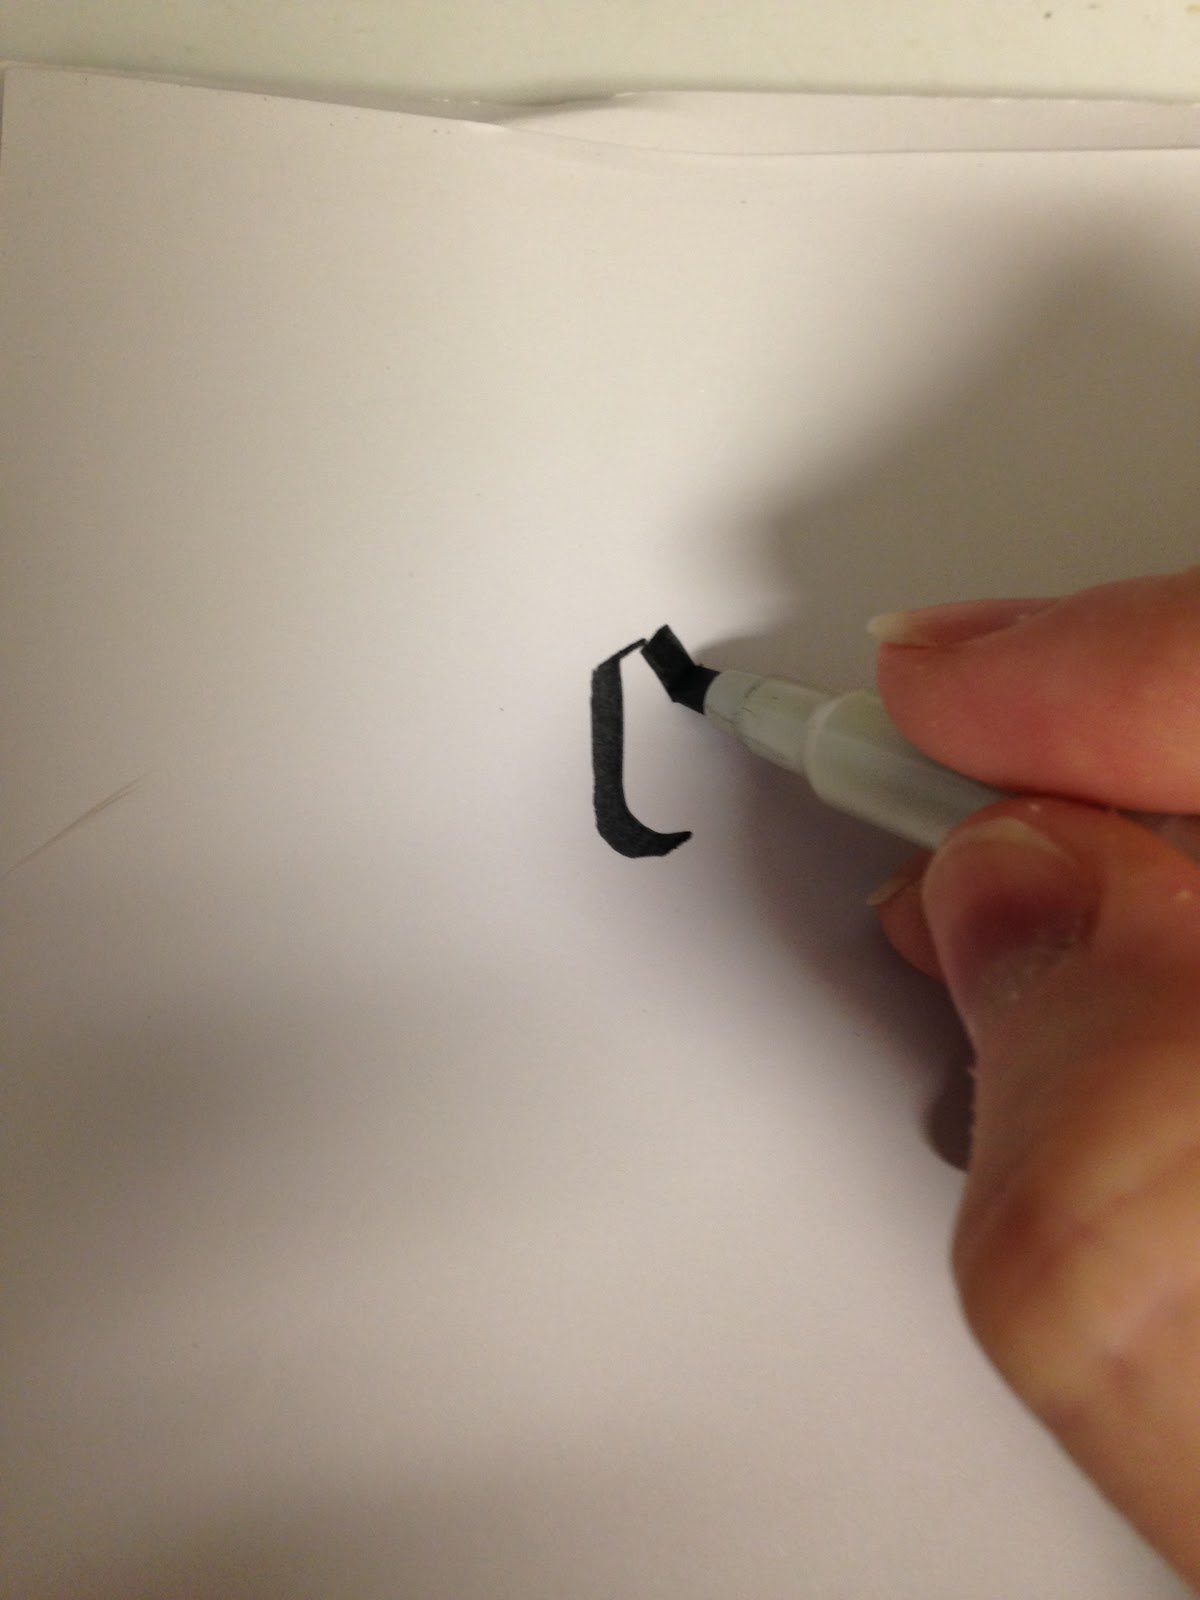
I tried to show you how to hold the marker, but I'm not sure how clear it turned out.  You want to hold the marker so that the flat side of the nib is the one that is on the paper most of the time.

(If you have never used a calligraphy marker before, it is best to practice a little on a piece of paper before writing on the pumpkin.)
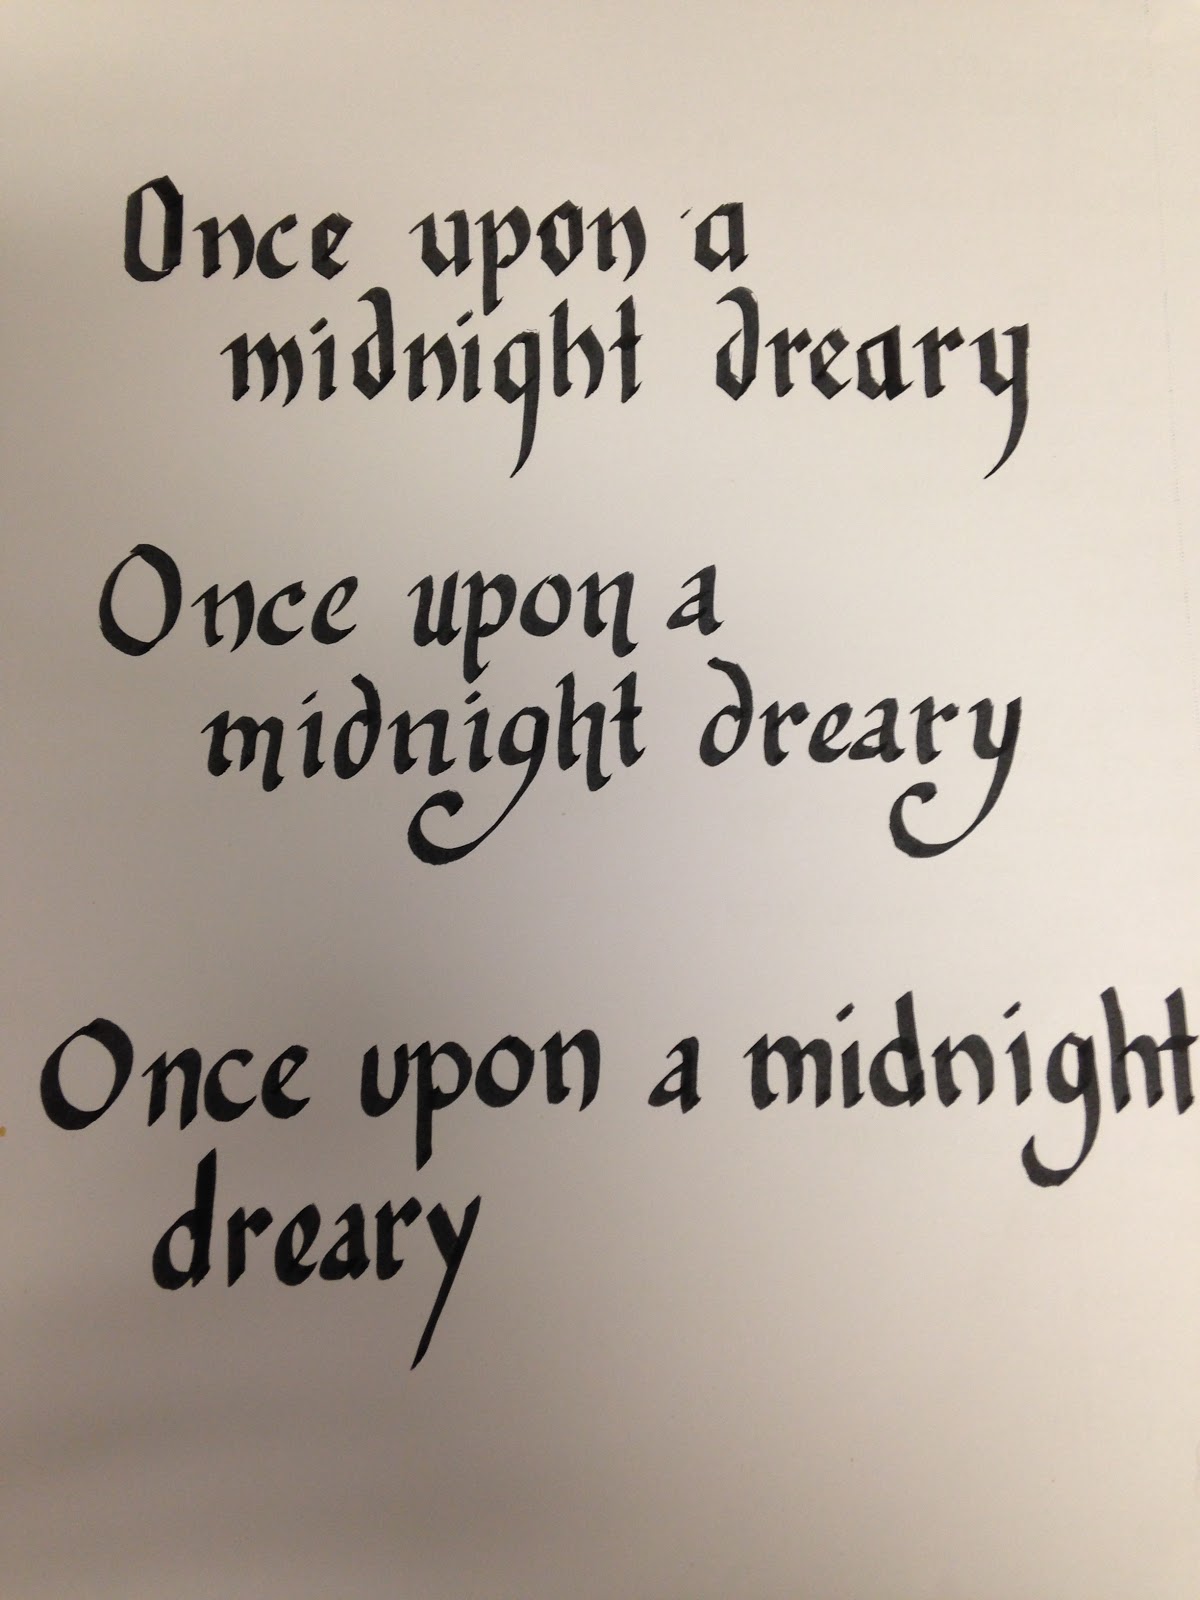
Here are a few samples of the styles that you can do.  One is a more standard, Gothic version of calligraphy, the middle is more modernized, and the bottom is just my regular hand writing using a calligraphy marker.  (I was in a hurry with that one, so it doesn't look as nice.  Sorry.)
Don't worry about going fast.  Take your time.  If you go too fast, you will smear your ink.  I left mine like this, because I thought it added to the creepiness factor, but if I was doing it for anything other than Halloween, I would have fixed it.  You can repair smudges with rubbing alcohol and a q-tip for most calligraphy markers.  Just carefully swab the places where the ink has smeared and is cloudy.

5.  Once the pumpkin is filled with writing, and the ink is dry, erase your pencil lines around your pumpkin.
6.  Place the pumpkin where you want it to be in your home and place the fake raven on top of it.  My raven fits fine on my pumpkin without glue, but you may want to use a hot glue gun to attach your raven to your pumpkin.
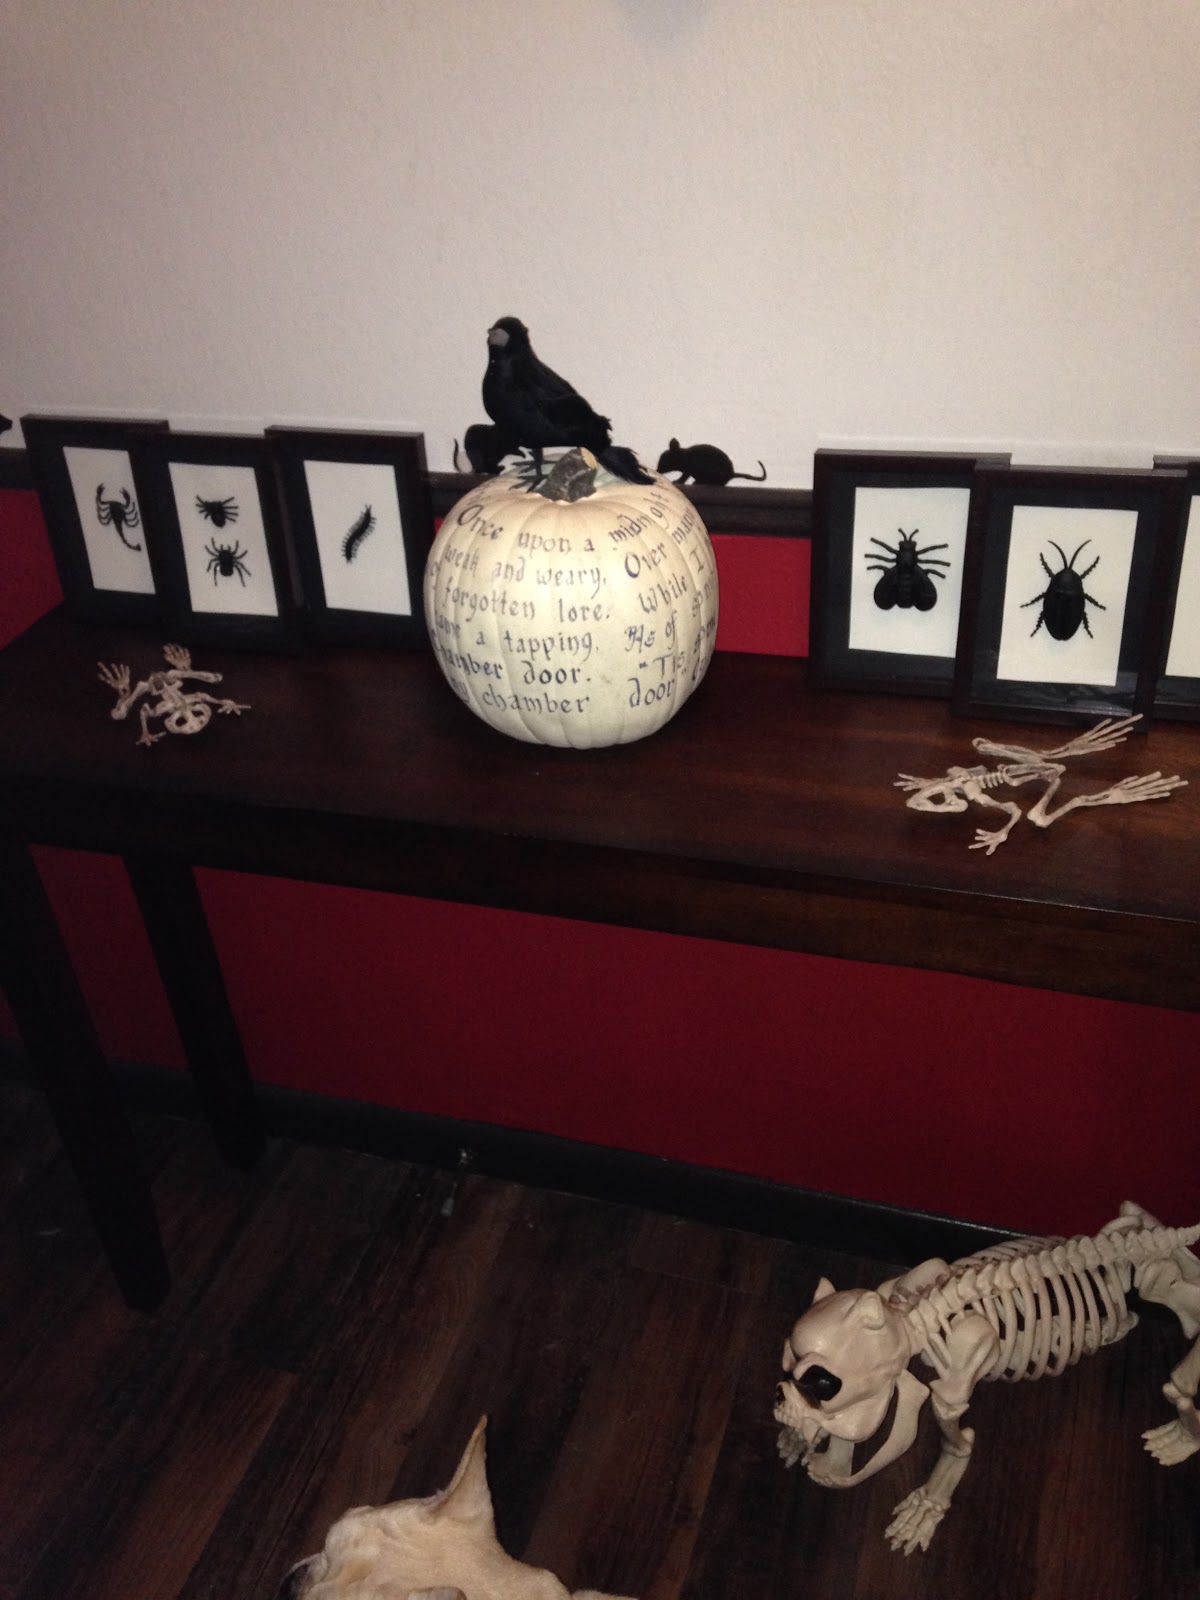
I made the pumpkin the center piece of my hall display this year, but it also looks AWESOME on fire place mantles and as table center pieces for a Halloween dinner party.

That is it!  Another super easy Halloween craft.
If you are wondering how much this one cost, this is one of my more expensive craft projects.  The foam pumpkin cost me $10 and the calligraphy pen $3.  The raven I got at the dollar store was only $1.
So, in total I spent about $15.00 on this one decoration.  But, again, I consider it an investment because I will be using it year after year.
Please keep checking back this week, as I plan to try to kick up the number of postings a little for the week leading up to Halloween to help you prepare for the little ghosts and goblins in your neighborhood!

Sunday, October 16, 2016

Bugs Under Glass - The Height of Halloween Elegance

Hello Everybody!
I have decorated my home for Halloween.  I'm not done yet, but here are some pictures of what I have done so far.  In a few pictures, you will see a couple of the craft projects that I have already posted in previous blogs. You may also notice that, with just a few minor adjustments, a lot of the décor can be modified to look appropriate for fall and Thanksgiving.  I love decorations that can do double duty--its a frugal use of décor that you won't be using all year.

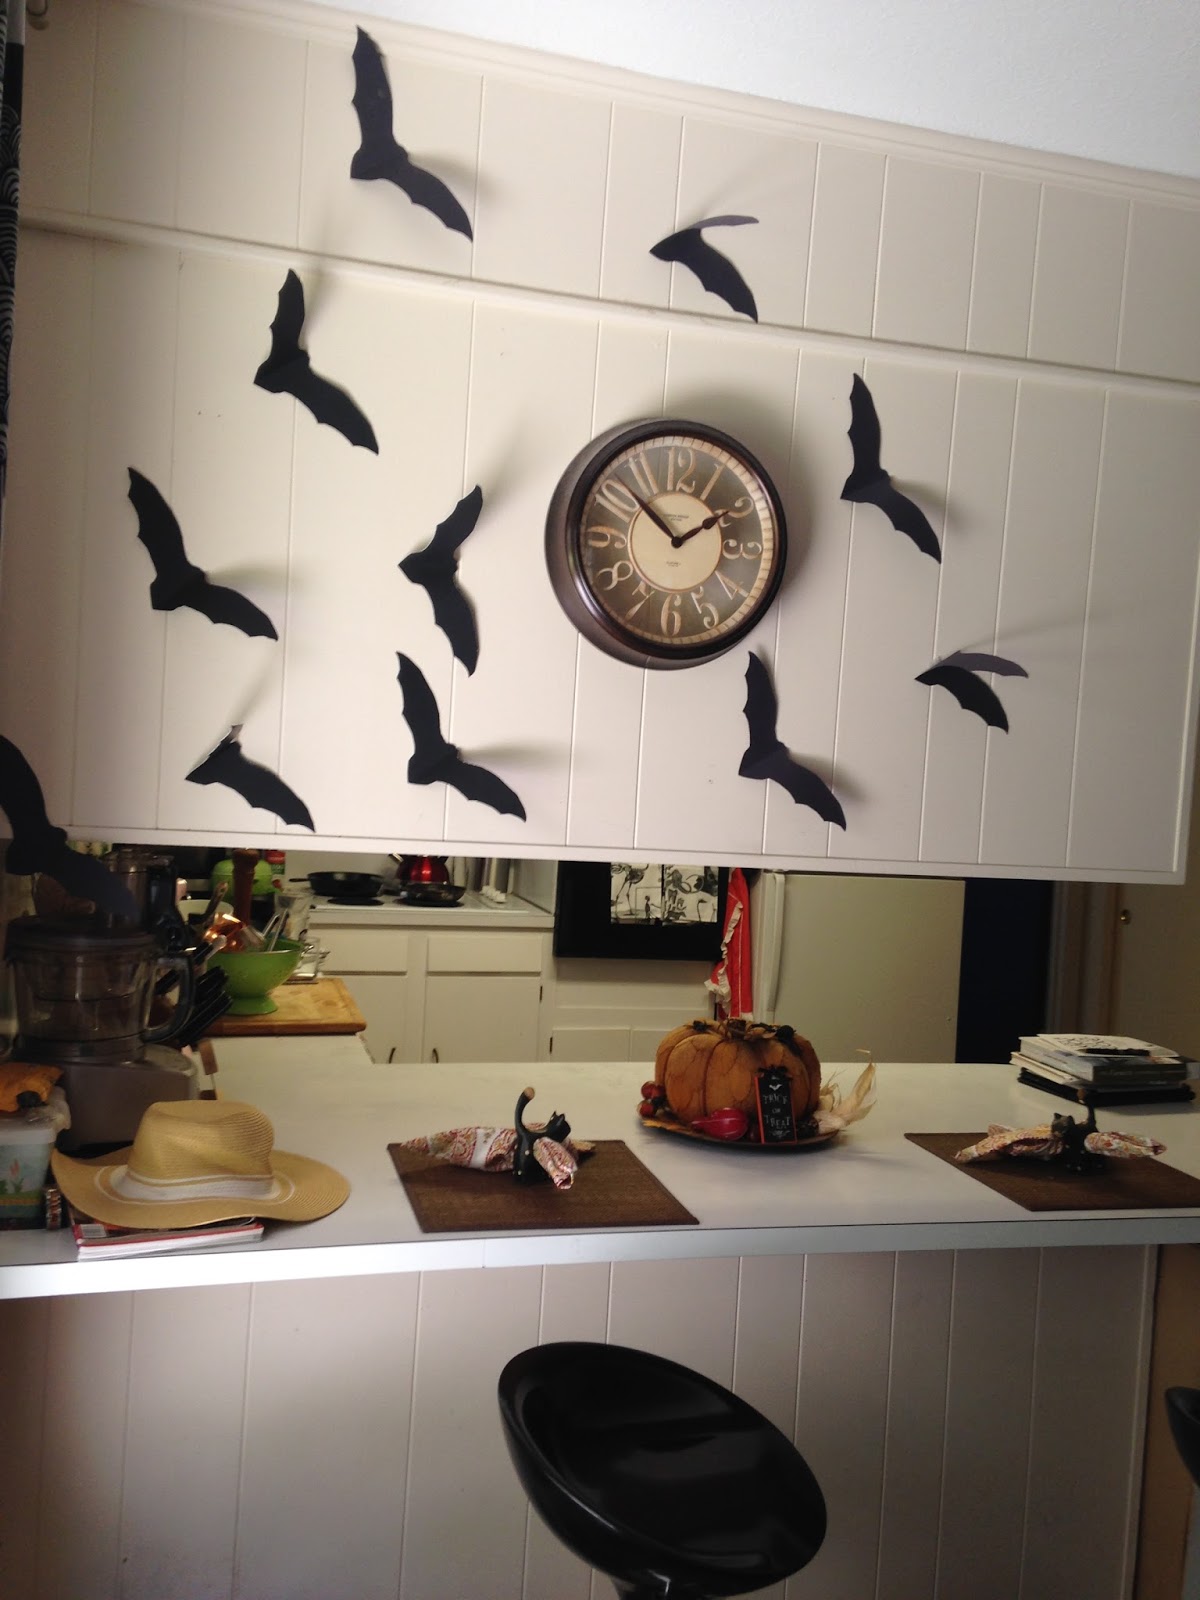
Poster board bats flying above my countertop. For instructions on how to make these and the mice, click below.
http://frugalfemmecarole.blogspot.com/2016/10/creepy-and-crawly-paper-projects-to.html
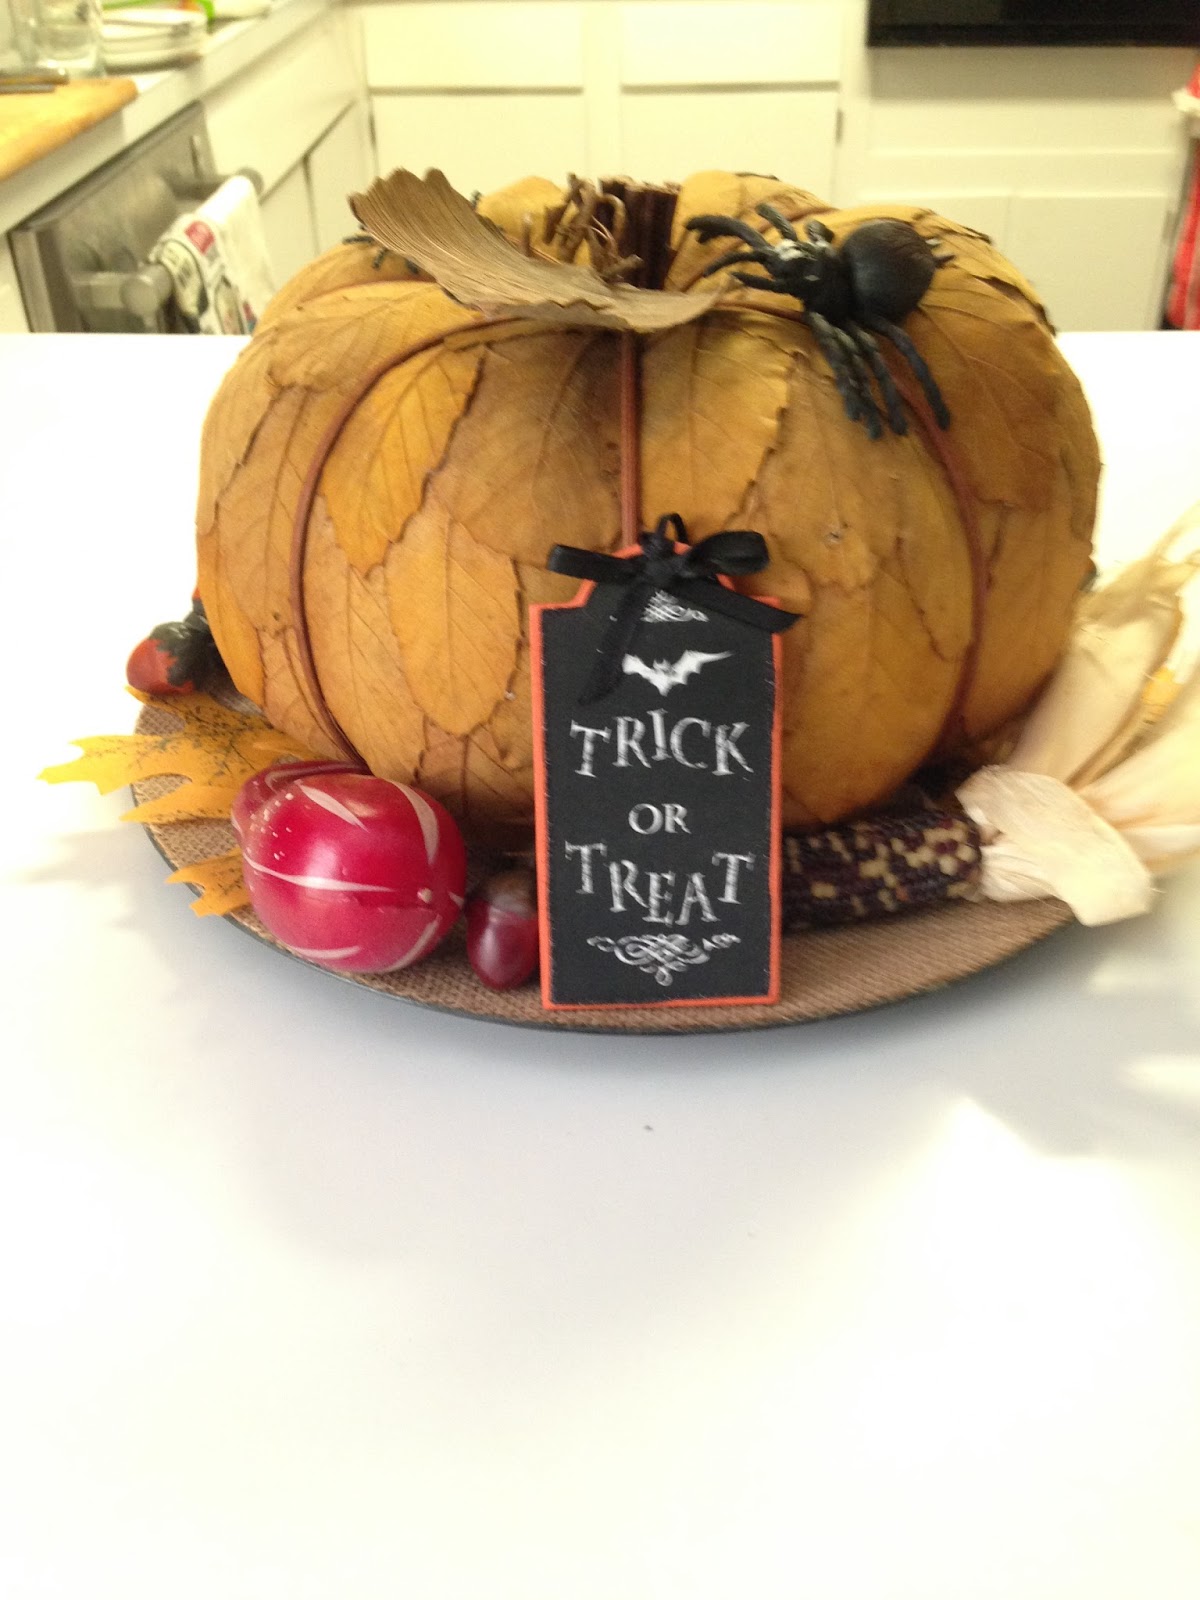
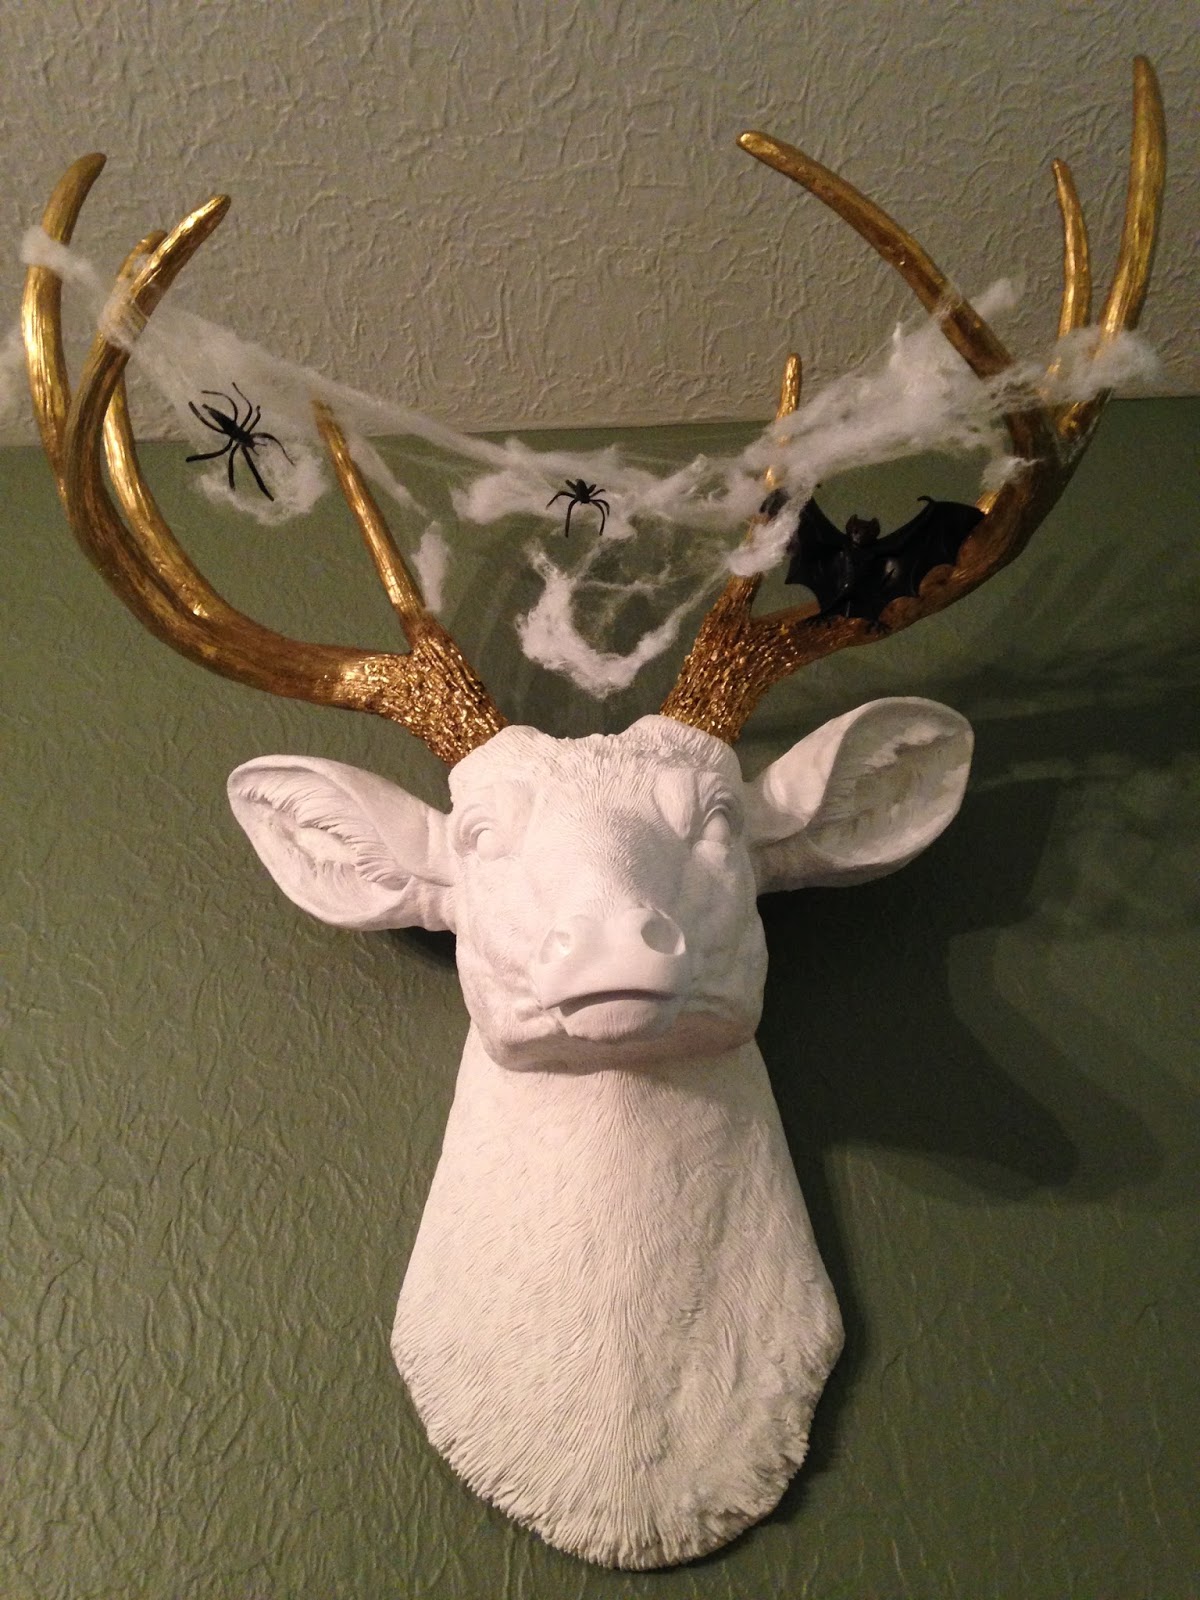
My scary pumpkin on my counter. When Halloween ends, I will take off the trick or treat sign and remove the spiders and it will go from spooky to Harvest festive for Thanksgiving.

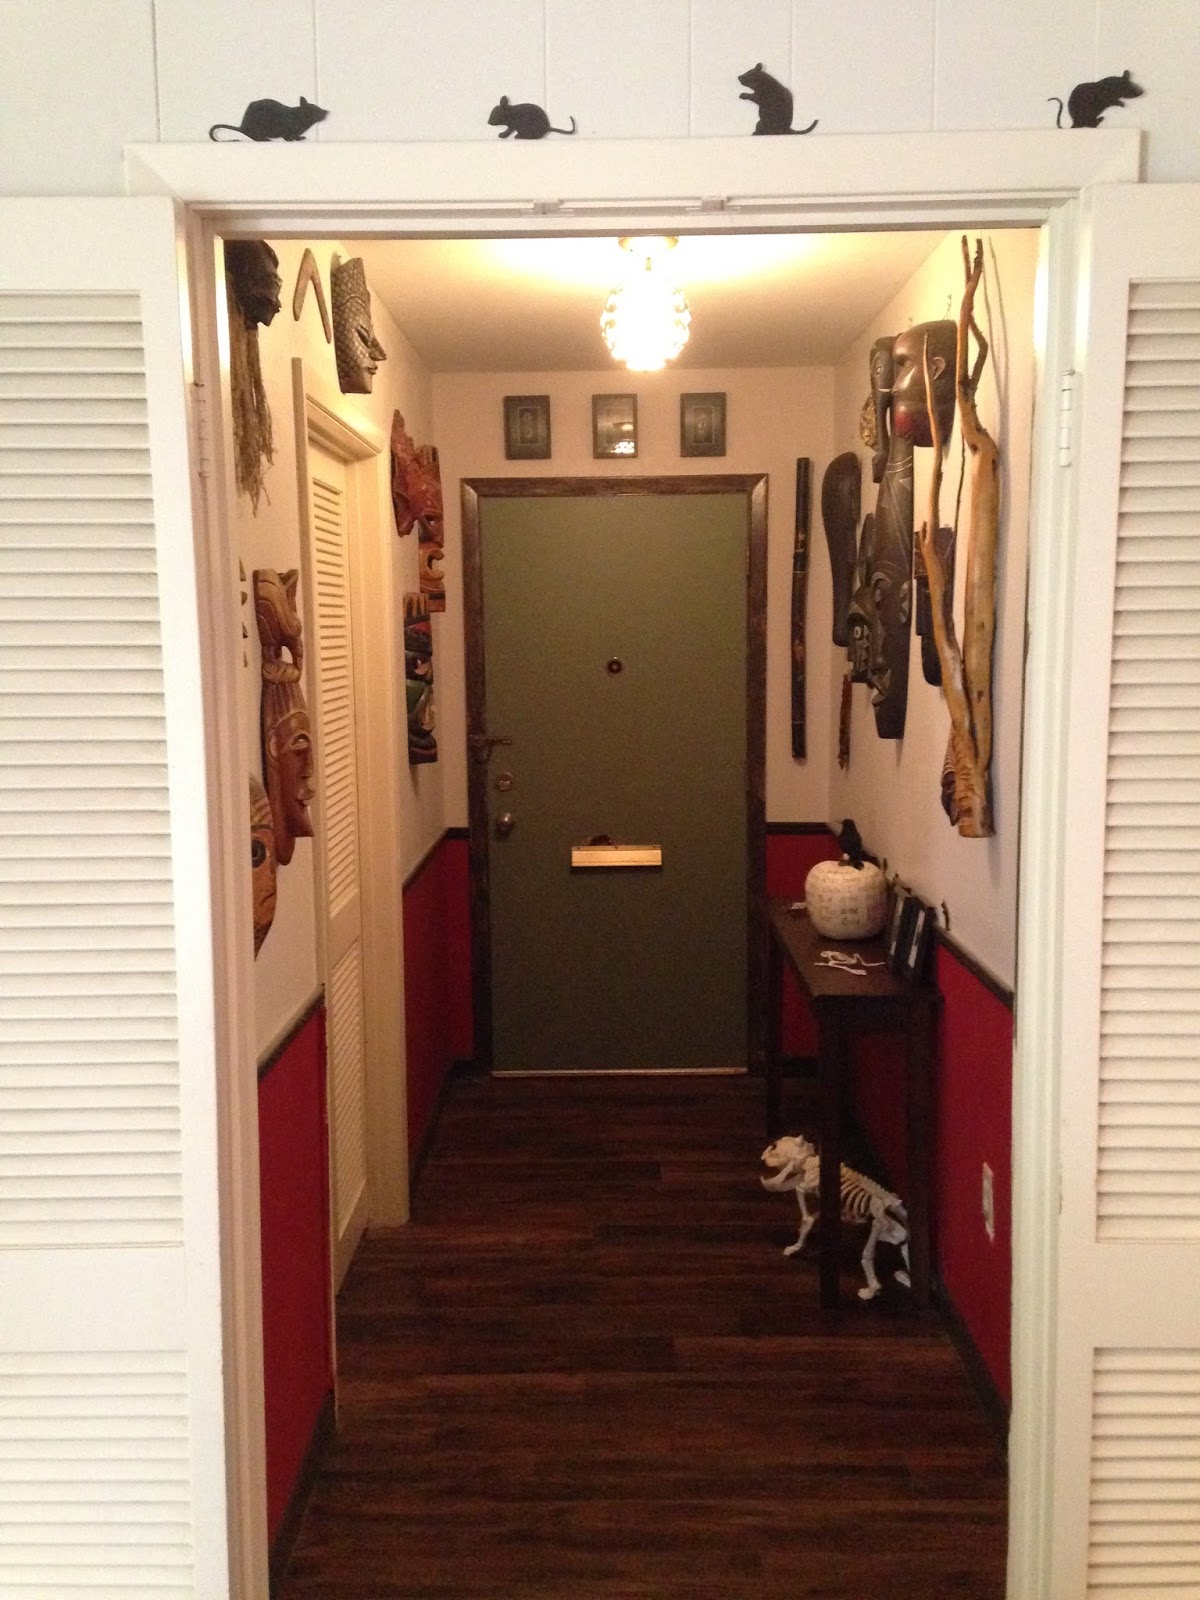
Poster board mice investigating my entryway. 
 
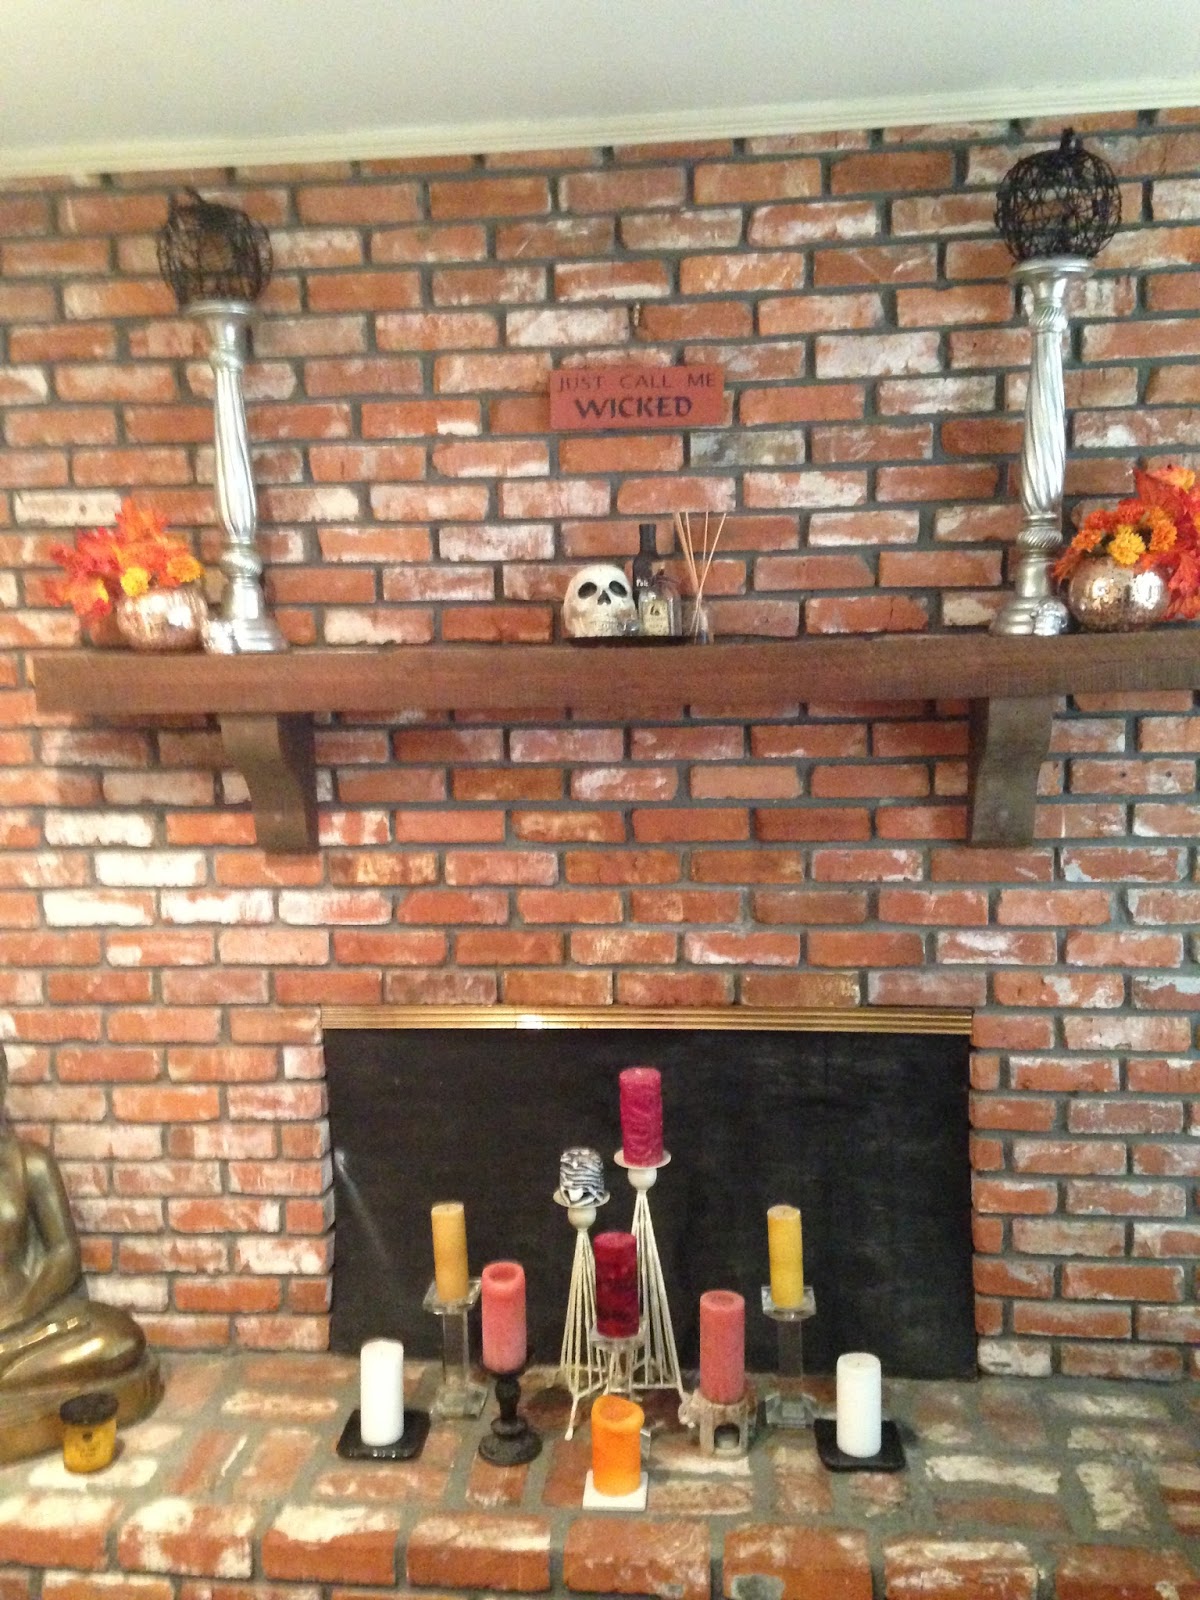
I don't think that I am completely done with the mantle, I think that I want to add some cobwebs and the tiny fairy lights you can put in jars.
 
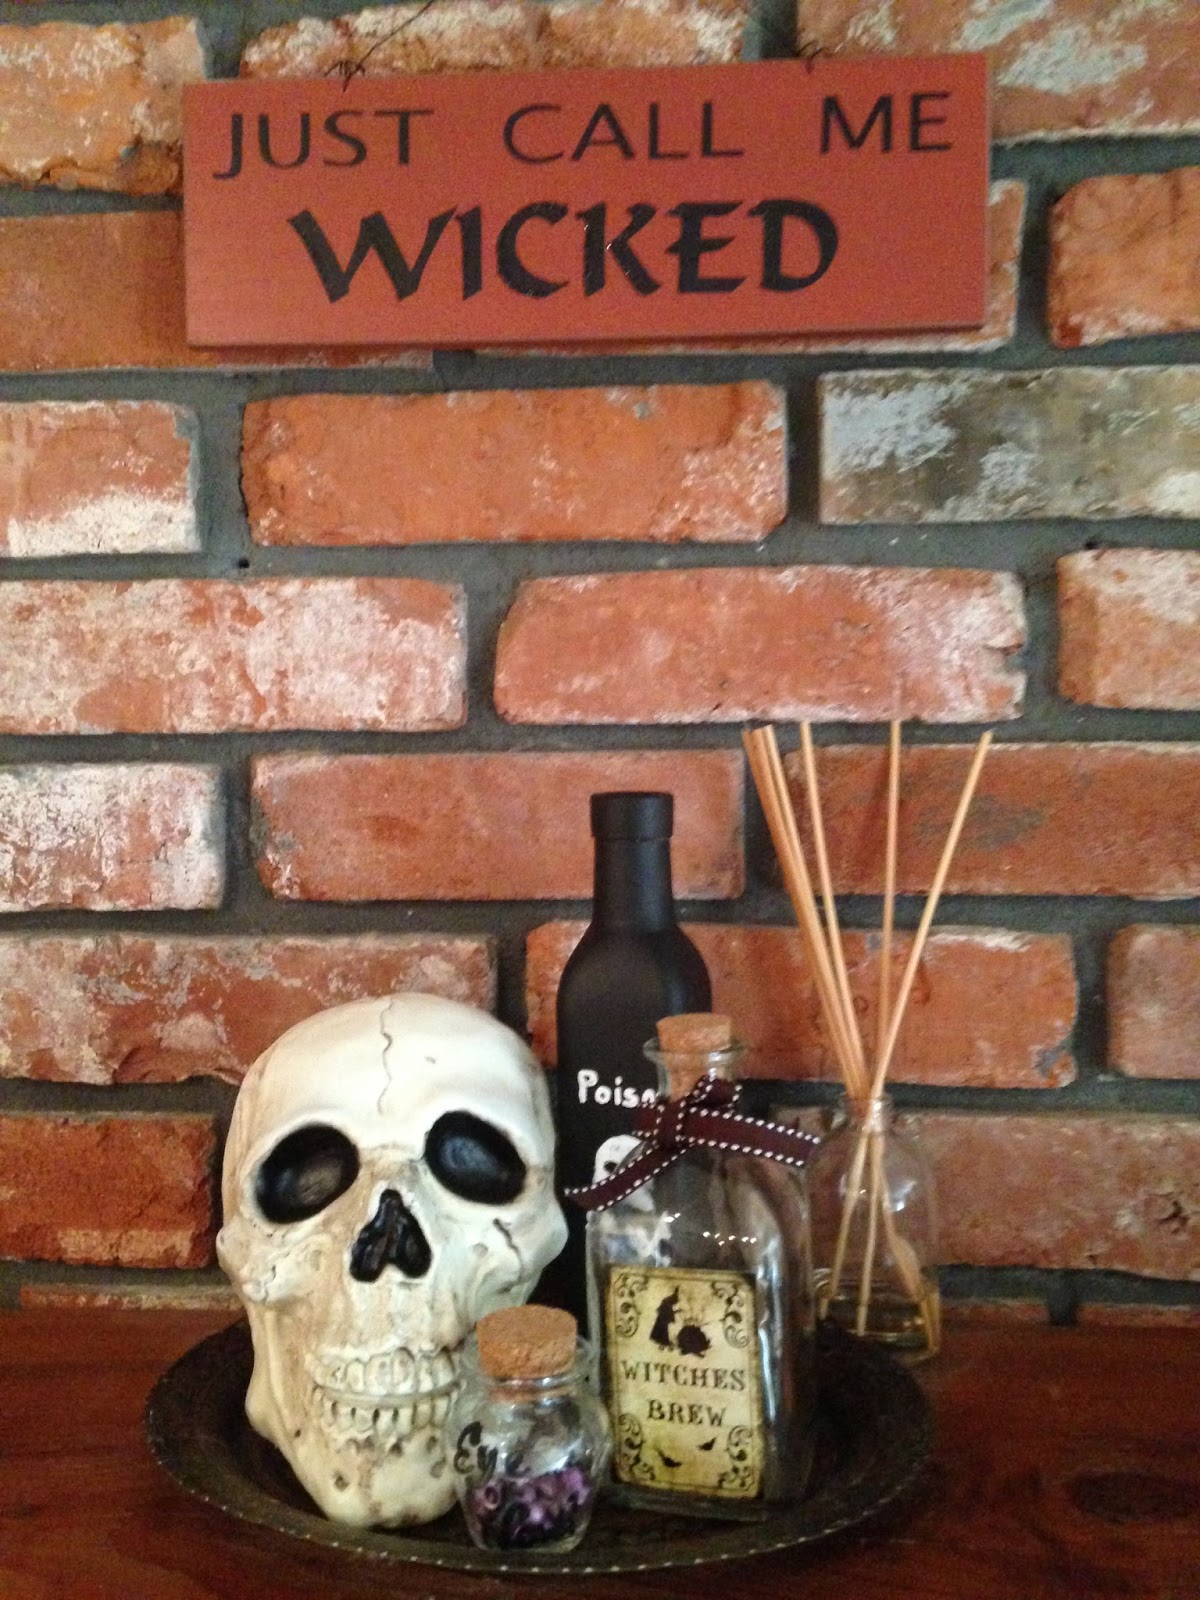
The skull I got at the dollar store, as well as the bottles.  Fill them with water colored with food dye.  The eye of newt were some plastic beads that I didn't use for a bracelet.
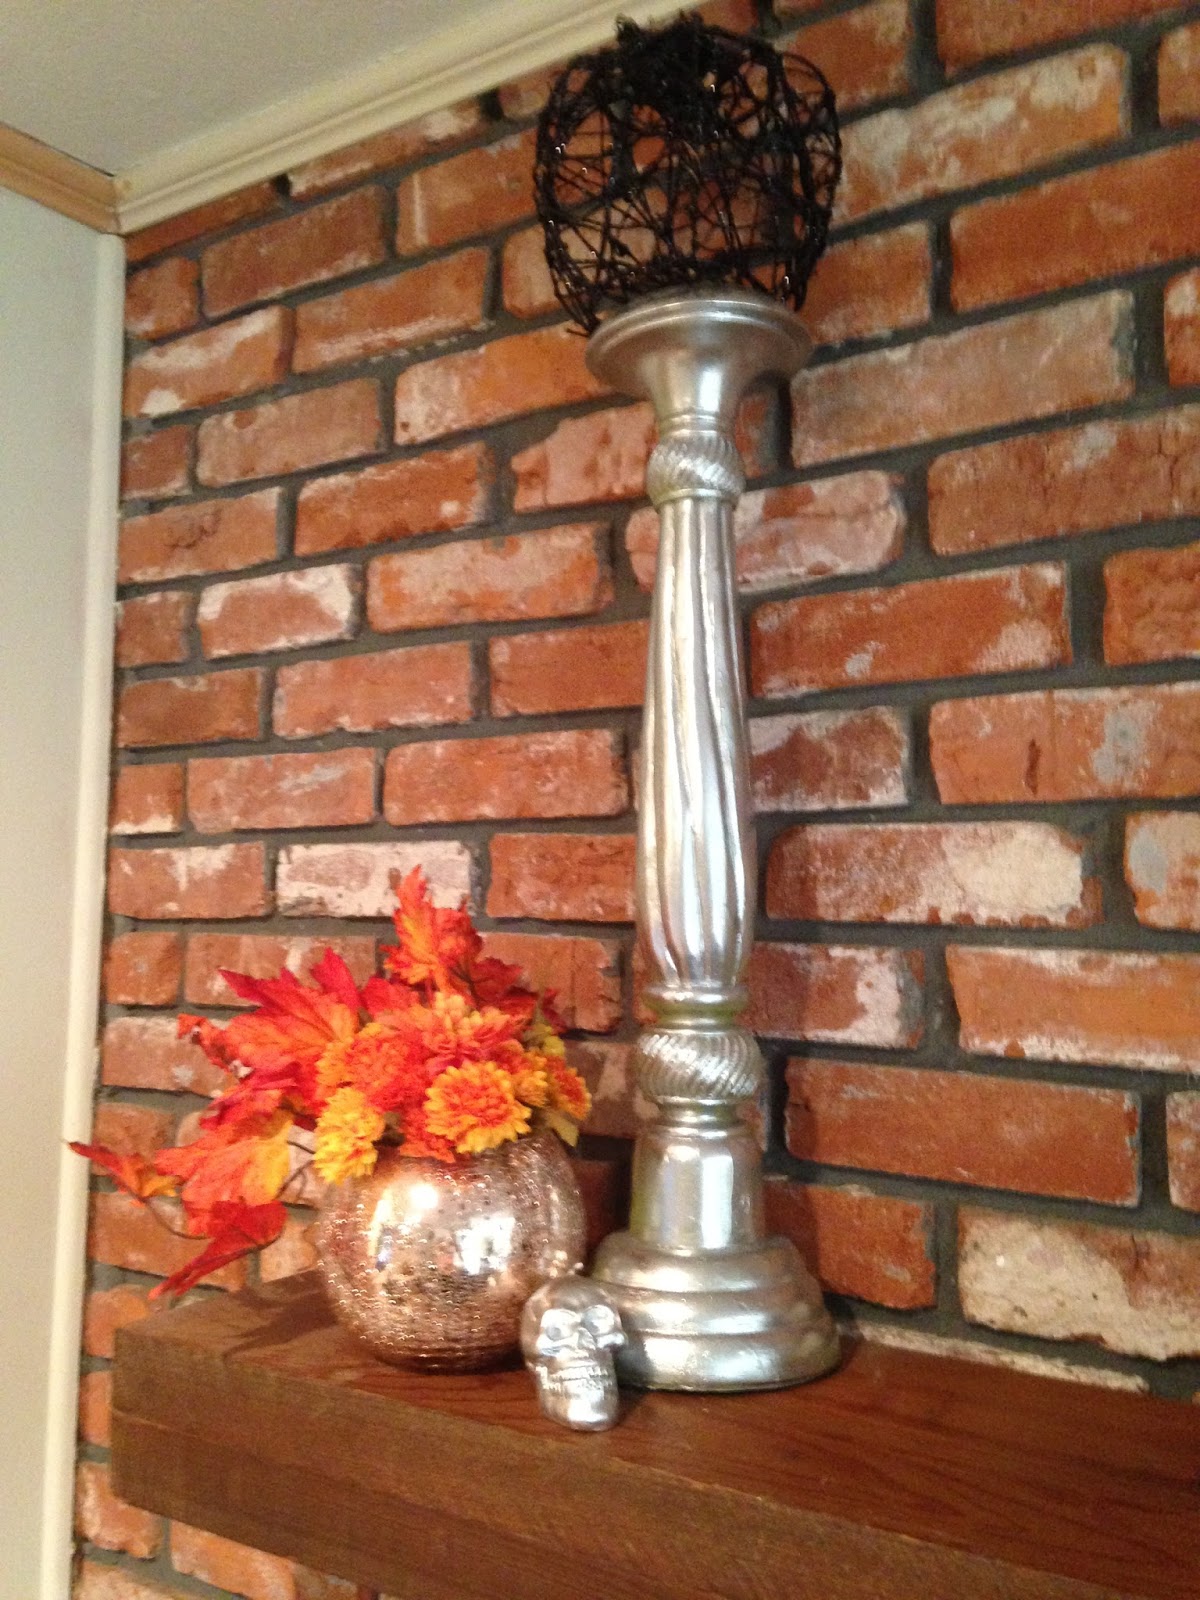
The candle sticks that I have on the mantle are actually wood candlesticks that I got at a garage sale.  They were originally a lime green and I spray painted over them with chrome paint.

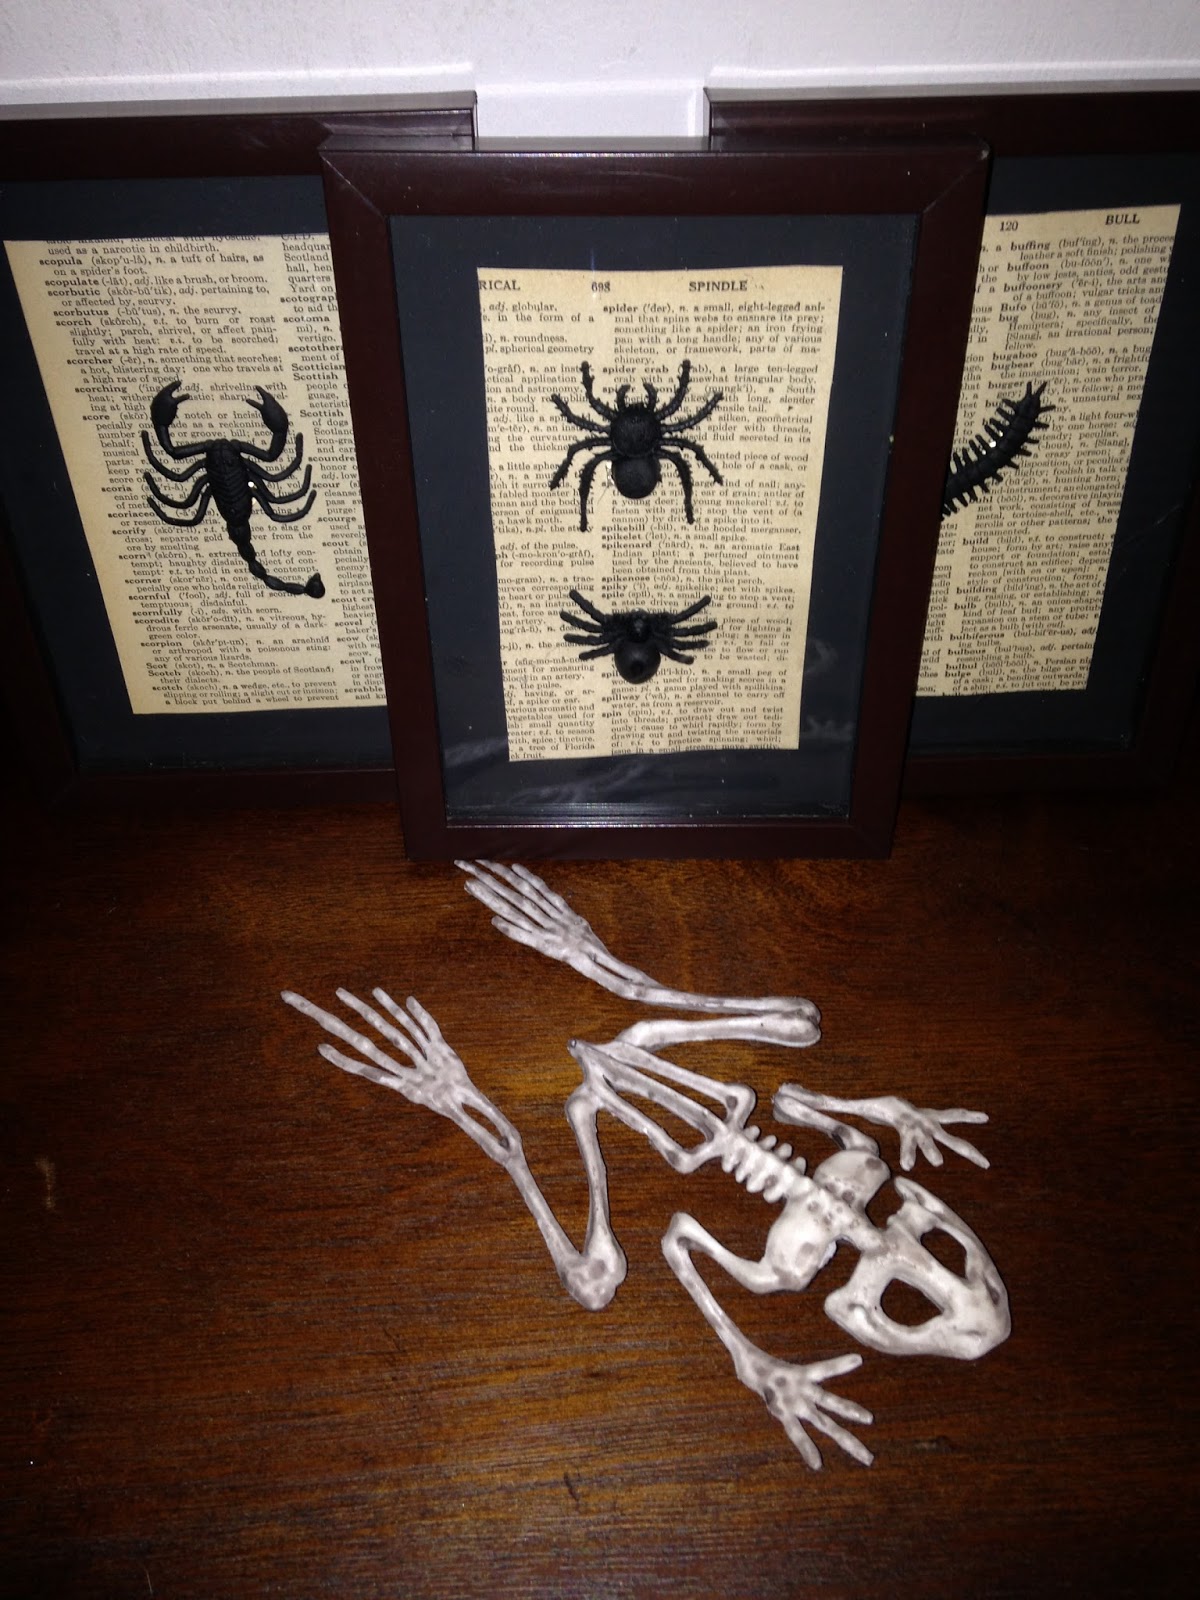
I have yet another Halloween craft that is easy, inexpensive, and does not take any artistic talent. This craft project may not be for everybody, especially if you are squeamish about insects, but if you are into the slightly crawly for Halloween, this project can't be beat!

I got most of my items at the dollar store, so the total cost for me was $10.00.  These look so creepily elegant when they are completed.  Once done, you can hang these on your wall or put them on your mantel.
They are a very inexpensive way to set the Halloween mood and, if your friends are anything like mine, they will ask you where you got them so that they can purchase them for themselves.

Insects Under Glass


Materials
Black Poster Board
Vintage Dictionary Pages or White Poster Board
Plastic or Rubber Insects
Picture Frames (Deep enough to hold width of insects) or Shadow Boxes - preferable black
Black Spray Paint (Optional - may not be needed)
Ruler
Pencil
Scissors
Hot Glue and Hot Glue Gun

Instructions
1.  Go to the dollar store and shop for your supplies.  The size of your project will depend on the size of your frames.  When I was looking for frames, I was actually looking for shadow boxes and I had tried to find them in my local craft store.  But the cost of shadow boxes was way out of my budget and I quickly changed my plan to see if I could find frames that would work at the dollar store.  Look for frames that have a little bit of space between the glass and the back cardboard.  The ones I ended up finding were 5x7 frames in a maroon so dark that they almost looked black.    Also be on the lookout for toy bugs.  The ones that I found were "realistic" looking and were in color.  I wanted them to be all in black, so I used spray paint I already had on hand to spray them black so don't let color deter you.
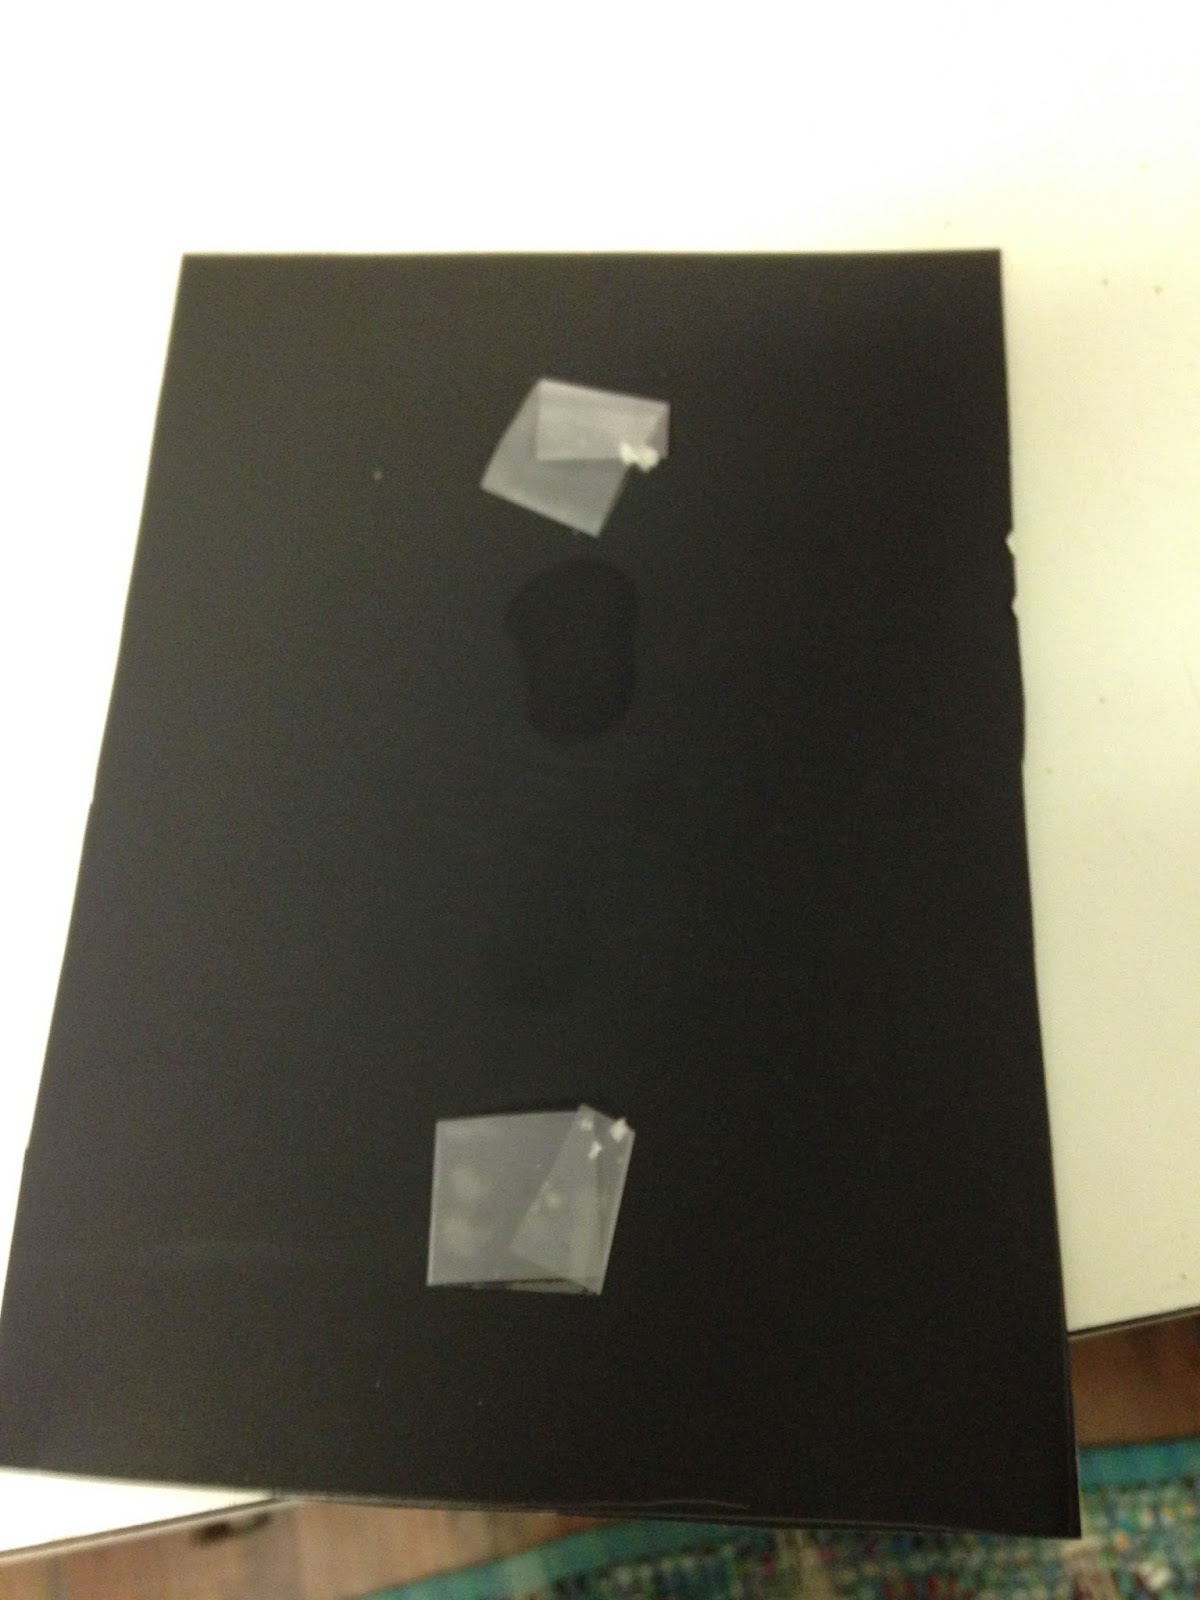
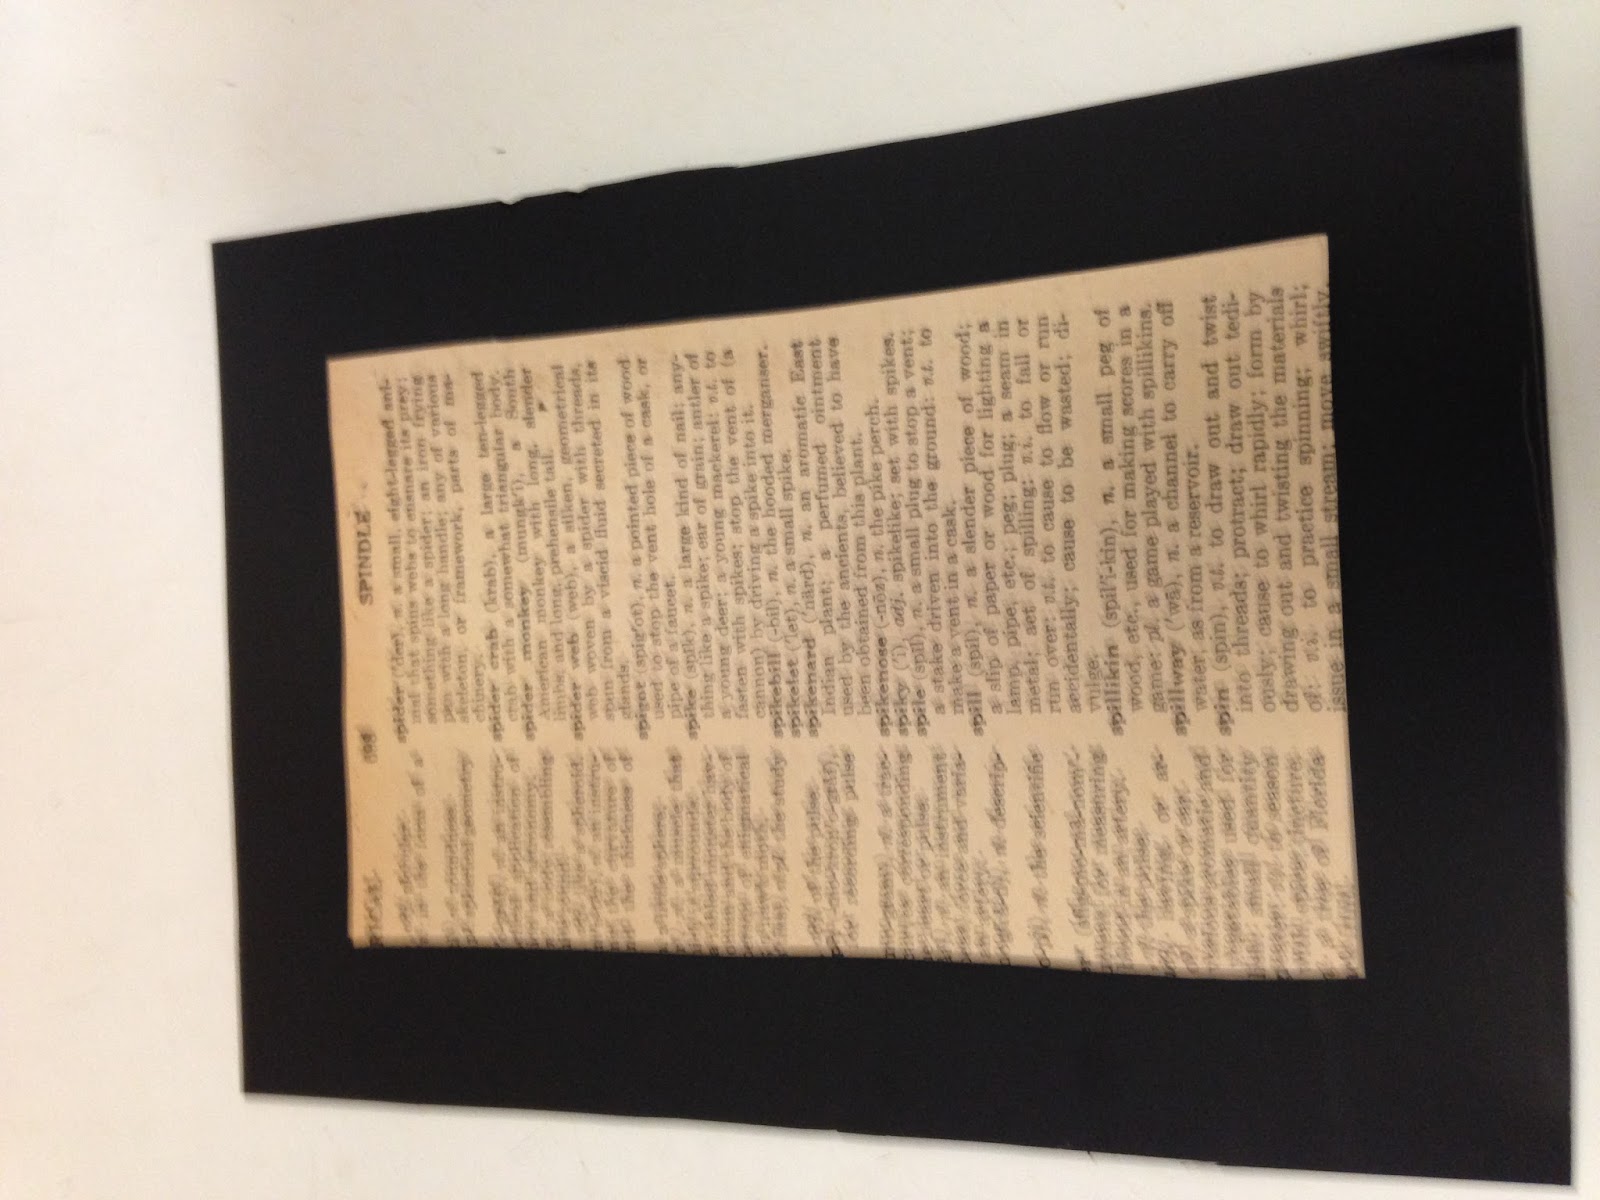
2.  Once home, open your frames and use the papers inside as your template for the black poster board.  Trace around your "template" with a pencil and cut out with scissors.
I forgot to take the picture before I added tape.  Oops! :-)

3.  If you are using dictionary pages, choose which pages you wish to use as the backgrounds for your insects.  I used an old vintage dictionary that was falling apart and was being thrown away by my place of employment.  Old dictionaries are pretty easy to find inexpensively as they are considered sort of an obsolete item in today's time with the internet and you can find them for mere cents at used bookstores.  If you have a vintage dictionary, your pages are going to be fairly thick.  If your dictionary is a "newer" dictionary your pages will be thinner and you should glue them to white poster board to make them thicker and keep them from buckling.
I like to choose pages that are in some way related to what I am gluing on them.  Some ideas for pages that you can look for depending on the insects that you have are:

                         Insect
                         Entomology
                         Beetle
                         Roach
                         Scarab
                         Spider
                         Bug
                         Centipede

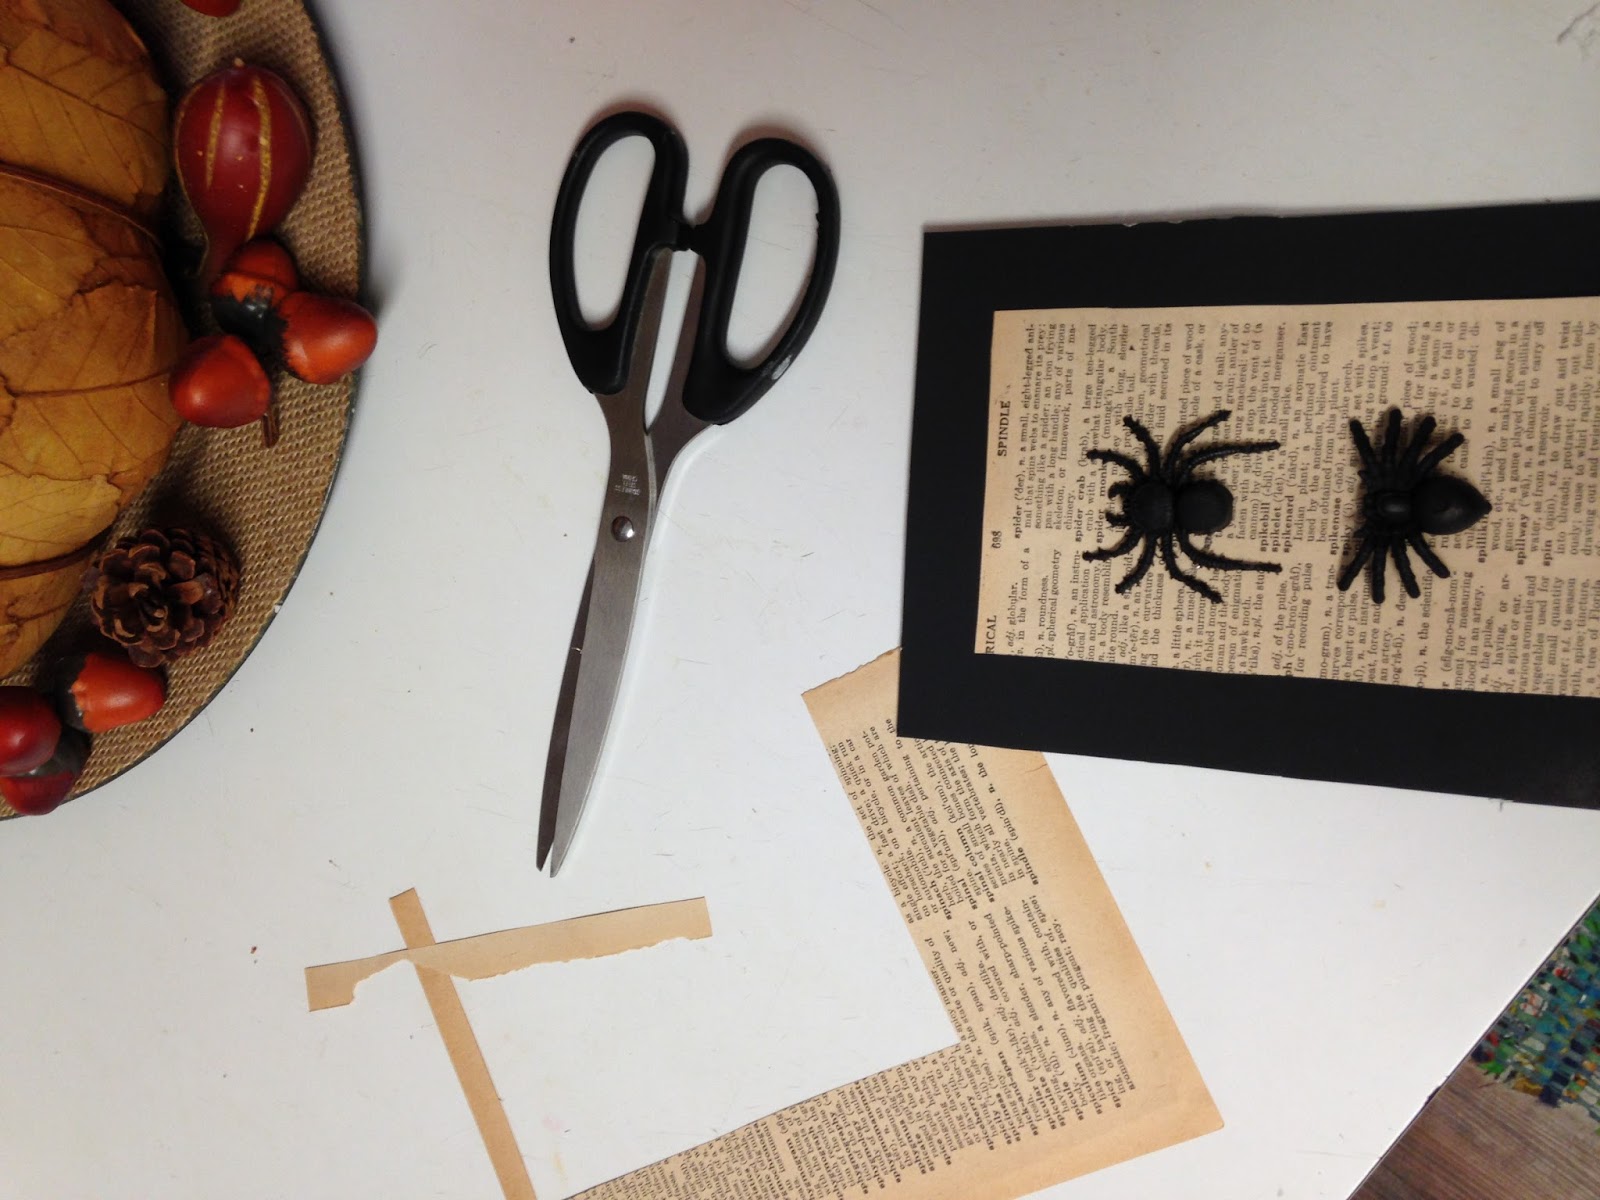
4.  After you have chosen your pages, figure out how big you would like your background to be - I wanted my black poster board to look like matting, so I cut my dictionary pages so that they left an inch of black around the pages making it look like my bugs were professionally framed.  I cut mine at 3.25 in. wide and 5.25 long.  But remember, this is completely dependent on the size of your frames.  My frames said they were 5x7, but when I measured them, they were actually 5.5 in. wide and 7.5 in. long, thus my measurements were a little longer than you might expect.  Once you determine what size you would like your background to be make yourself a template.
5.  Place your template on the dictionary page and determine where you want you main word to show.  This depends on the size of your insect and where the word you are wanting to make certain is visible is located on the dictionary page.  You are going to center you insect in the center of the page, so you do not want your word to be in the center of the page or it will be covered by your insect.  Once you have determined where on the page you want your template to be, trace around your template and cut out with scissors.


6.  Center the cut dictionary page on the black poster board you have cut out using your template and center the cut dictionary page so about one inch of the black is showing on all four sides.
7.  Tape or glue the dictionary page to the cutout black poster board.  (If you do not want to use dictionary pages, you can use plain white poster board or you can use a patterned scrapbook paper.  I think that scrapbook paper with a damask pattern looks awesome behind the insects, but you use whatever inspires you and fits your decor.)


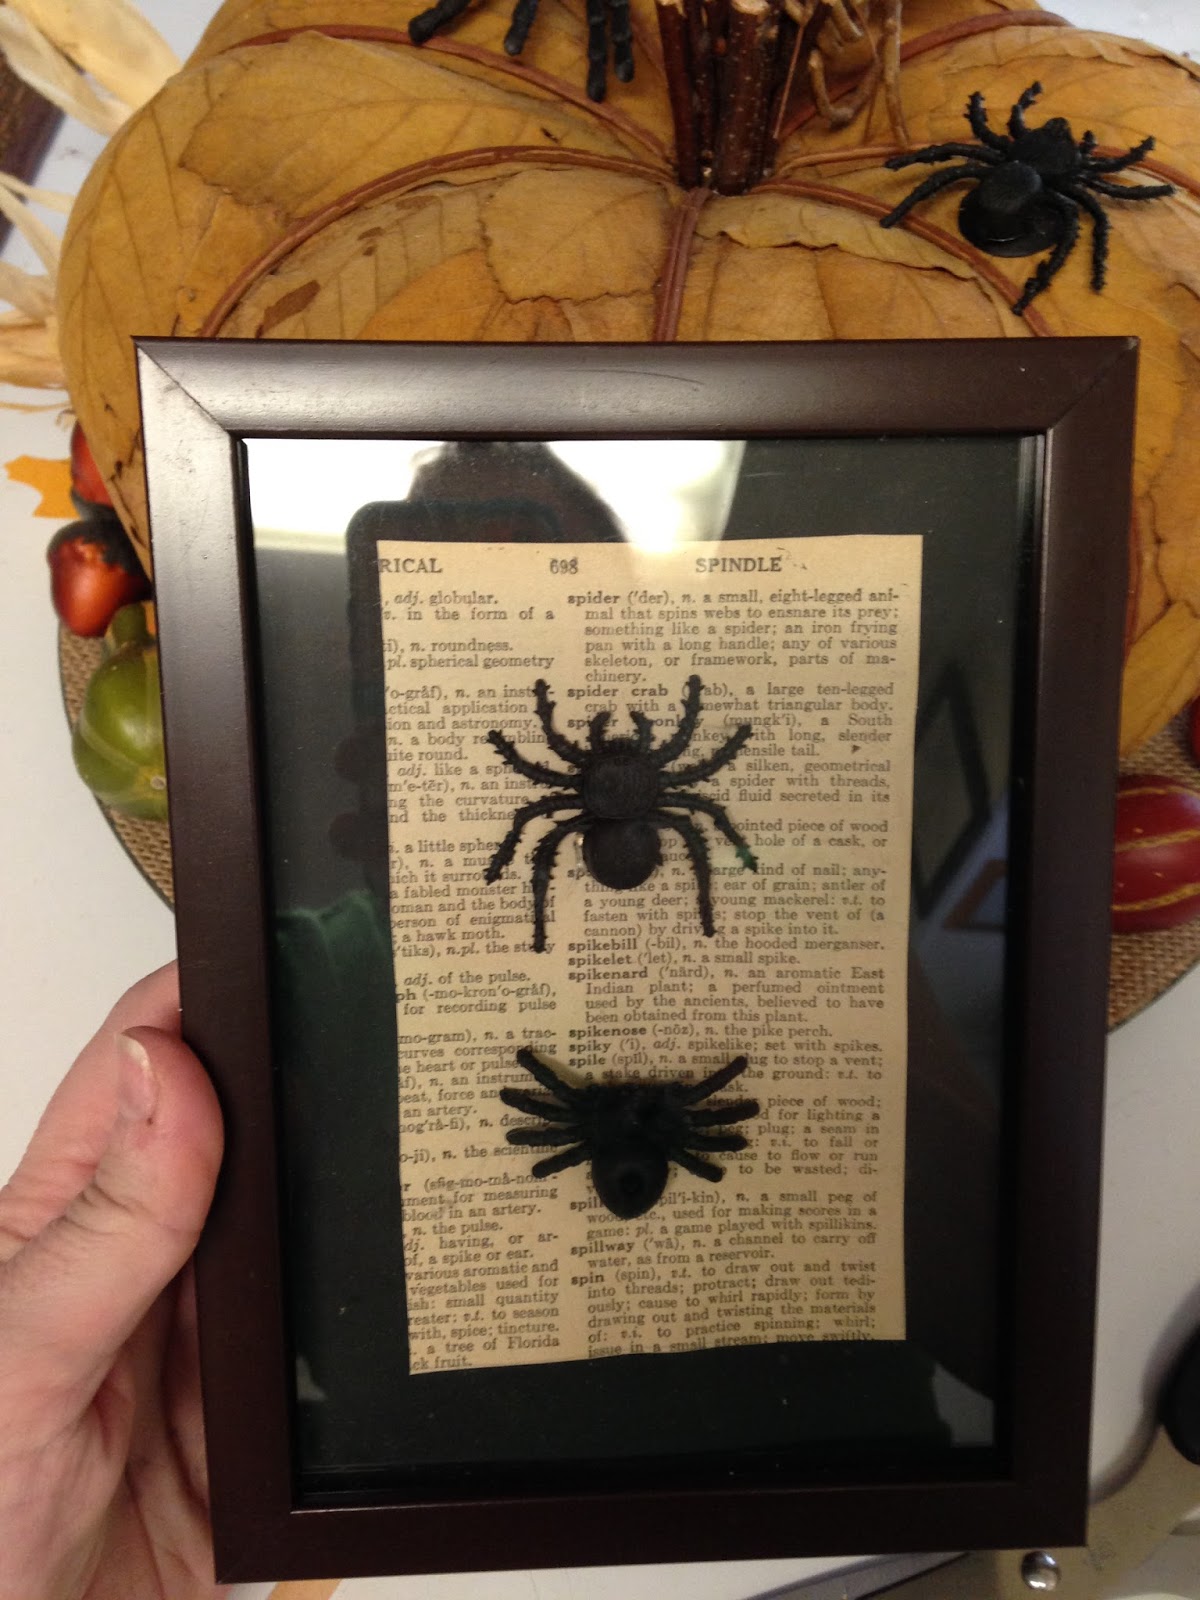
8.  Place your black insect in the center of the dictionary page.  Once you have determined where you wish to place your bug, hot glue the back of the insect with hot glue and carefully place the insect in the center.

9.  Give the glue a few moments to cool and then reassemble your frames placing your insect mounted on its paper first and finishing with the back of the frame last.


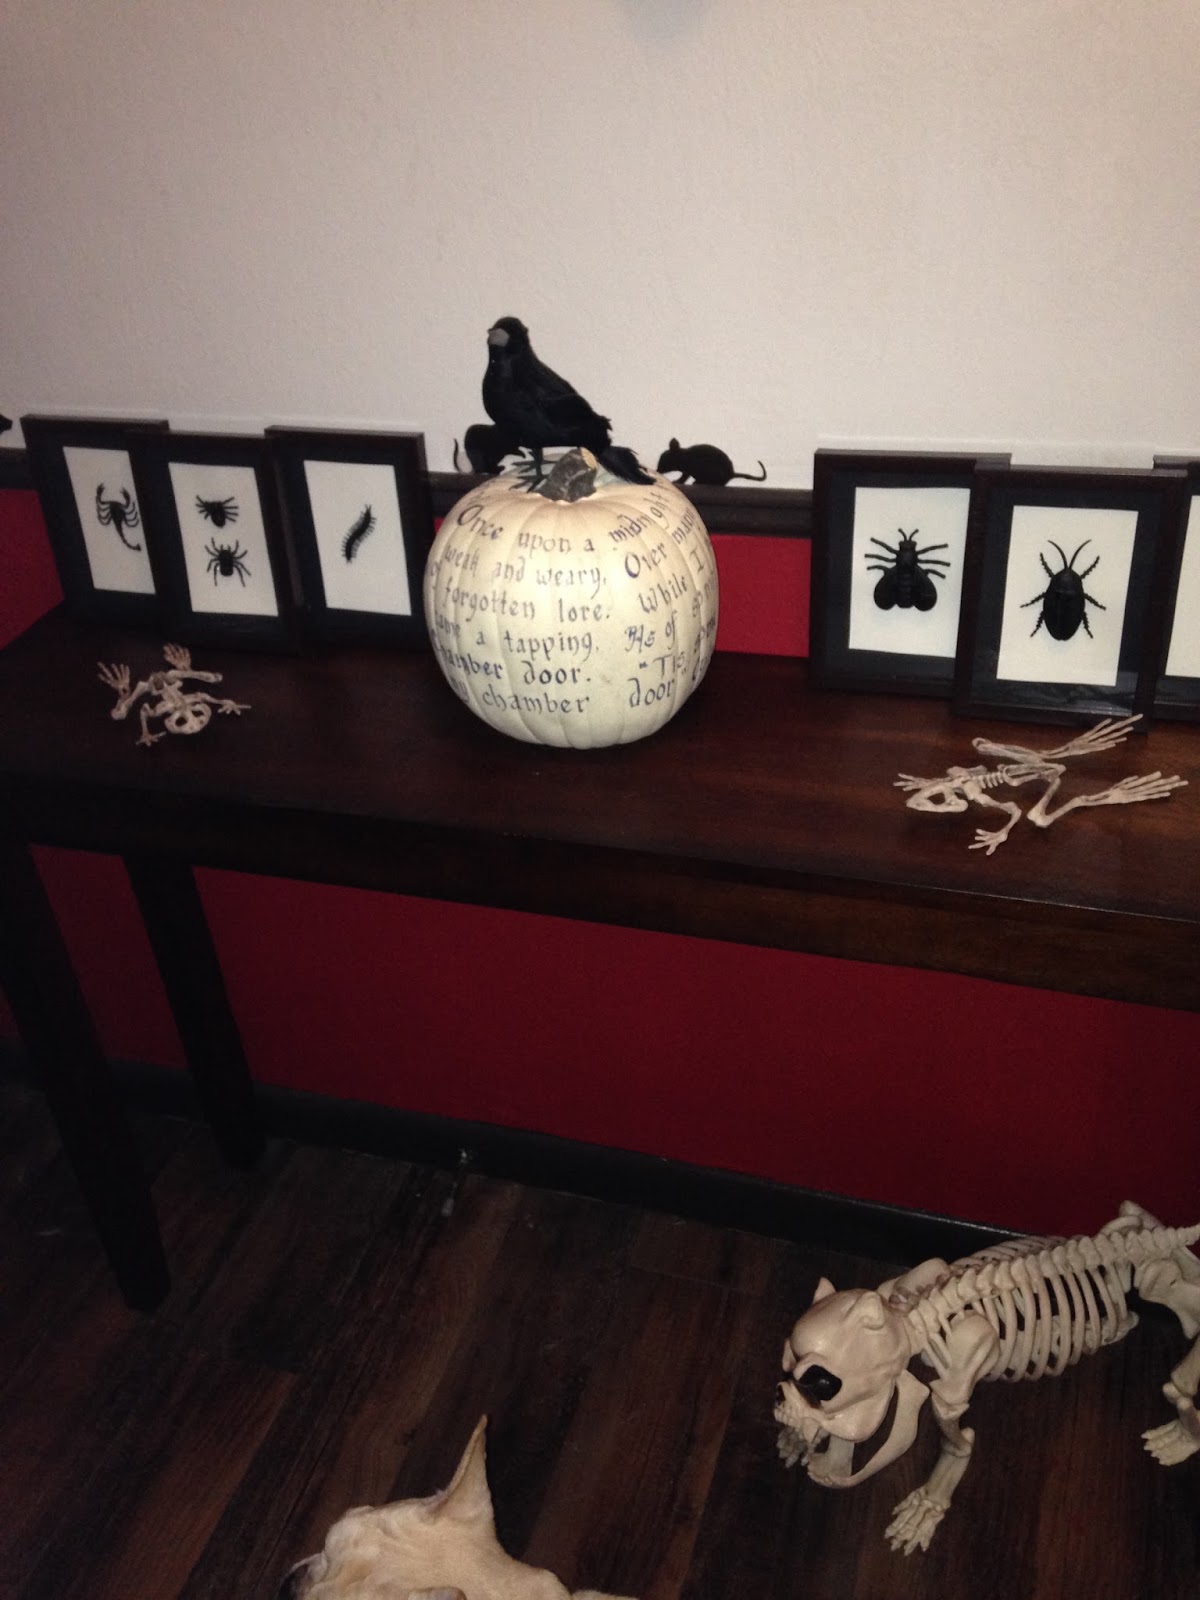
10.  Mount or place the frames anywhere in you house you would like.  I have put mine on the hallway wall, on my mantel and on the hallway side table.  The options are endless.


I took this picture of my entryway before I switched out the background to dictionary paper on my insects.  So you can see what they look like if you want to use plain white poster board.  I am going to show you how to make The Raven pumpkin in another post.


These really do look very elegant.  They don't have to be just for Halloween.  If you have a library or a study in your house, this project works very well in those rooms.  To make them look more decorative and less spooky, you can hand write in calligraphy, or type if you don't do calligraphy, a label with the insects scientific name and place it under the bug.  Voila!  It now looks very studious.

That is it for today's post, but I still have a few more crafts and ideas to help you get your house ready for the year's scariest holiday so please check back in!  

Abercrombie, my pub's mascot, decked out for the Halloween season.


Thursday, May 12, 2016

In preparation for Friday the 13th

Hello Everyone!
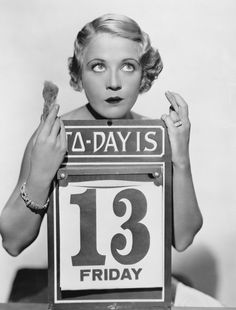
Tomorrow is Friday the 13th and my second appearance on the Jeff and Company Morning Show!  So, that isn't at all terrifying. 


Since it is the only Friday the 13th that we are going to have this year, I thought that it might be fun to research some history on why it is considered unlucky and then come up with some do it yourself good luck charms.  Do I believe in Friday the 13th and good luck charms?  NO!  But I love having an excuse to theme accessorize.

There are many theories as to how the belief that Friday the 13th became an unlucky day.
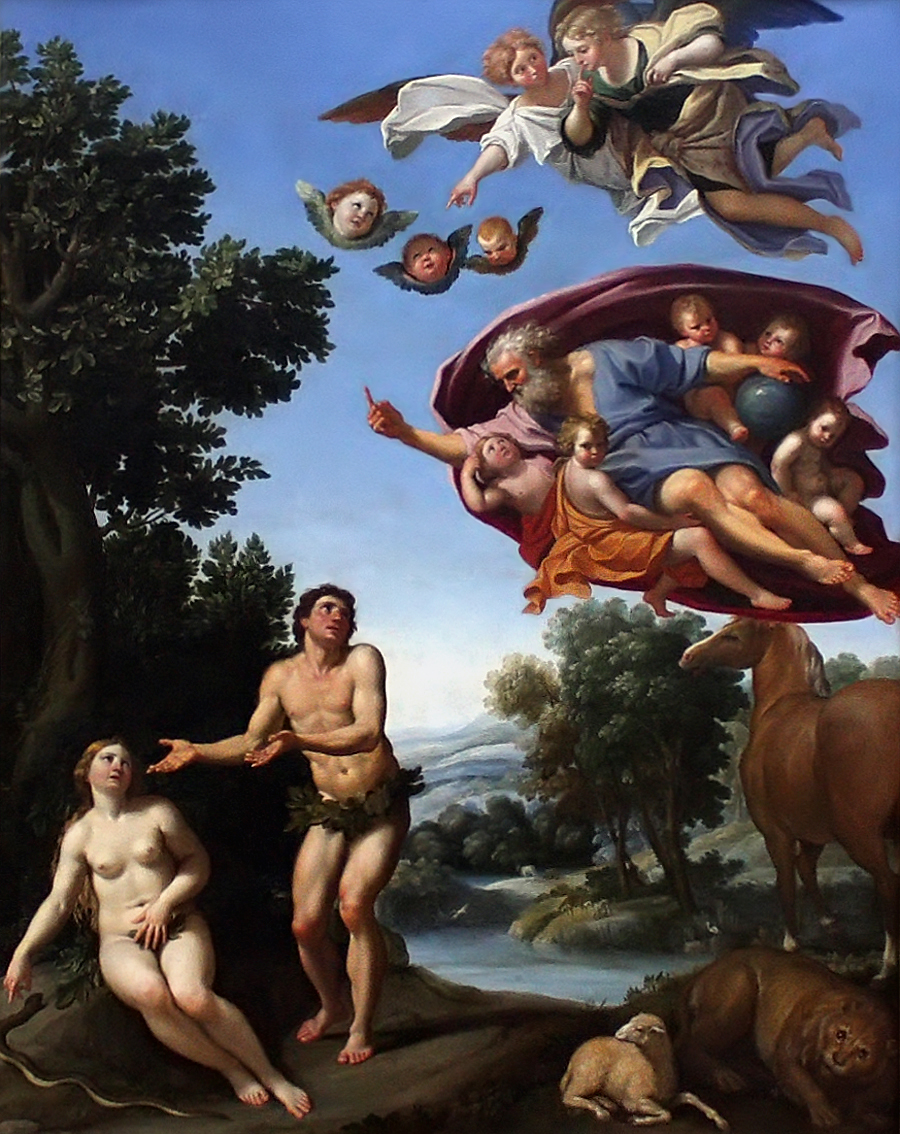
The most popular theory as to why Friday is considered unlucky or an evil day is thought to spring from Christianity. By tradition, Friday is considered the day that Eve gave Adam the “apple” and they were kicked out of the Garden of Eden. So that could be why Friday is considered unlucky.  But why the 13th?

Is it just me, or are the cherubs that are nothing but heads and wings kinda creepy?

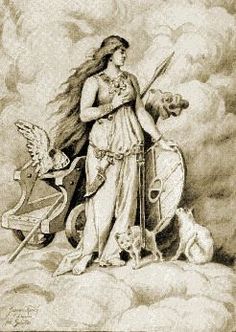
Some historians trace the infamy of the number 13 back to ancient Norse culture. In Norse mythology, the beloved hero Balder was killed at a banquet by the mischievous god Loki, who crashed the party of twelve, bringing the group to 13. This story, as well as the story of the Last Supper, led to one of the most entrenched 13-related beliefs: You should never sit down to a meal in a group of 13.  Also, in the Norse tradition it was considered unlucky to marry on Friday as this was the day of Freya, one of their goddesses.  So this could be, yet another reason, why Friday is considered unlucky and Friday the 13th especially so.


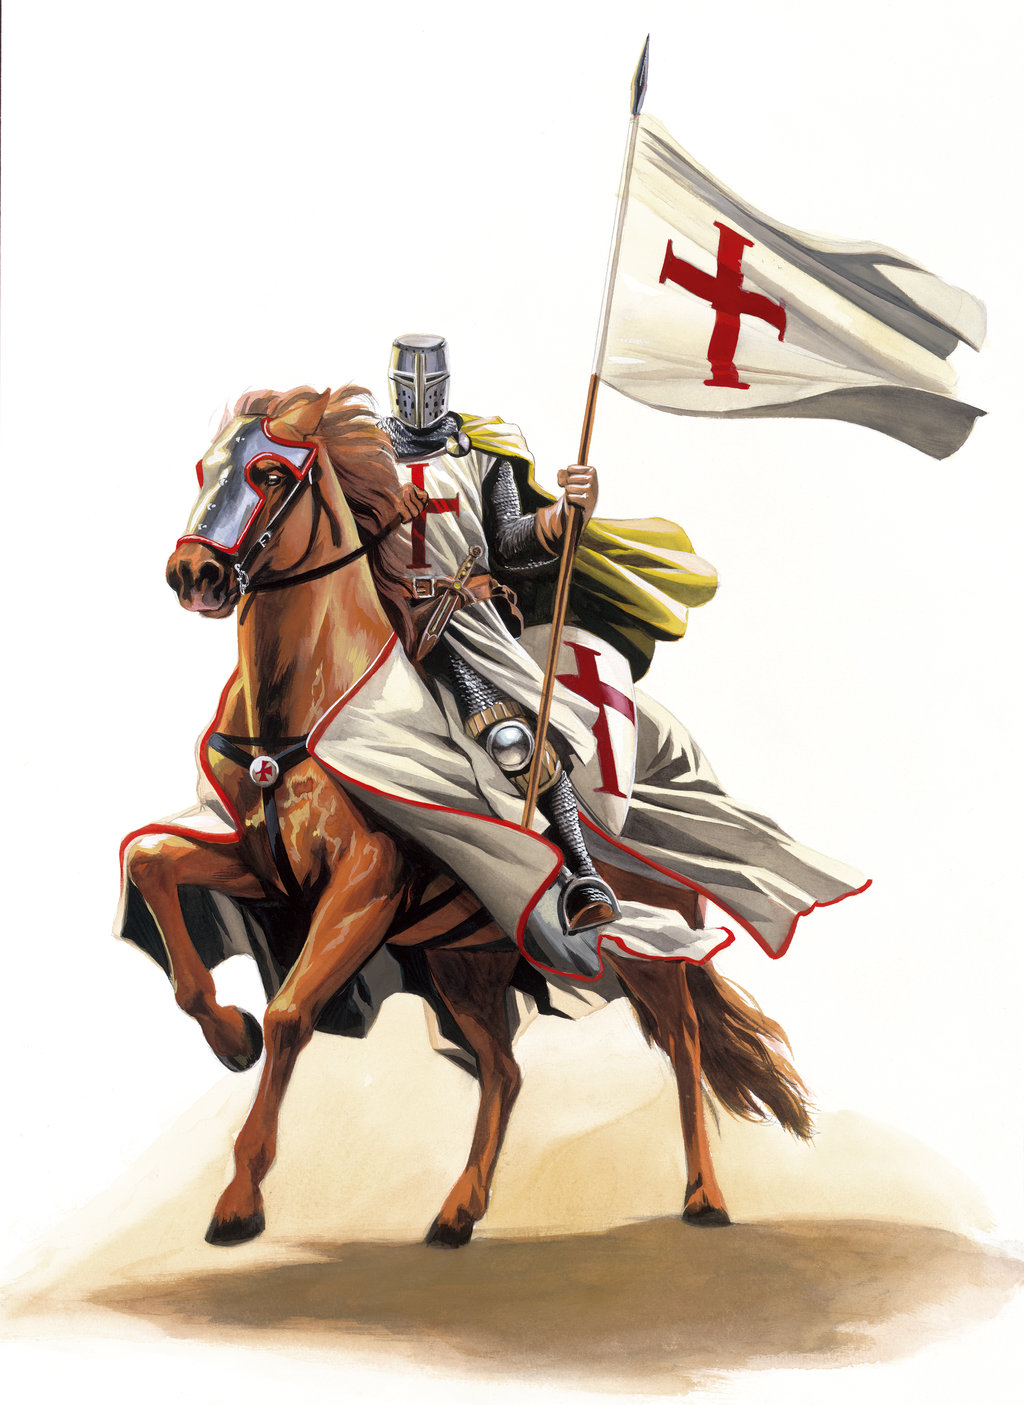
Another significant piece of the Friday the 13th mythology is a particularly bad Friday the 13th that occurred in the middle ages. On a Friday the 13th in 1306, King Philip of France arrested the revered Knights Templar and began torturing them, marking the occasion as a day of evil.

I'm a victim of my generation.... I cannot see a picture of a Knight Templar without seeing Indian Jones and the Last Crusade and seeing the ancient knight say:  "He chose.......poorly."  Best understatement line in a movie possibly of all time.

In spite of these ancient origins, documents alluding to Friday the 13th being an unlucky day do not appear until the 17th century.  Meaning, that no one really knows how this belief began.

So how can we protect ourselves from the un-luck that is about to unfold tomorrow?  By making cute, good luck charms!
Everyone knows of lucky rabbits foot and four leaf clovers.  But I think one is gross and the other is extremely associated with St. Patrick's Day, so I wanted some different good luck charms.
Here are some things that mean good luck around the world and you can inexpensively incorporate them into your wardrobe:

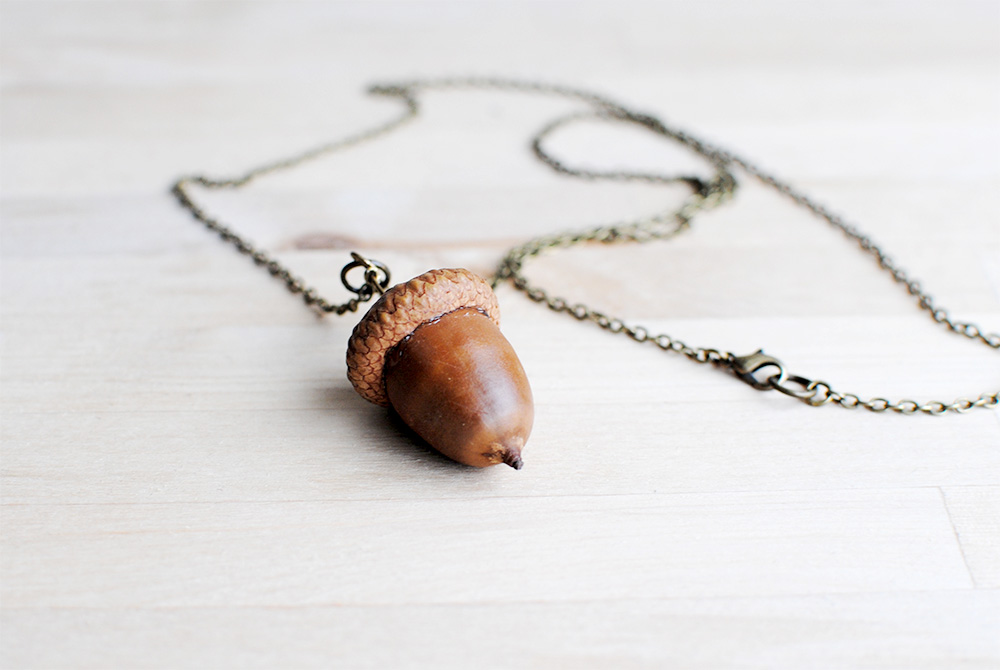
acorns- The luck of acorns is a Norse superstition having to do with Thor, the god of thunder and lightning and I thought that it would be appropriate to include because of the possible Norse connection with Friday the 13th.  The Norse believed that the oak tree, on which acorns grow, was sacred to Thor. Since Thor was so fond of oak trees, they placed the tree’s seeds near their windows to ward off his lightning attacks. Acorns were also seen as representatives of prosperity, youth and spiritual growth.
So, if you have an oak tree in your yard or around your neighborhood, you can put an acorn on your windowsill or, better yet,  drill a hole through the top, paint it a metallic color (I personally like copper for the top/cap and gold for the bottom), thread a necklace loop through the hole and the put it on a chain  and wear it as a totally cute necklace.


This is an actual metal necklace, but I used it as my inspiration for an acorn necklace.

 
As you can see, it is cute as just an acorn.  But I like to paint mine


elephants - The origins of the lucky elephant charm can be found in the Hindu religion of India. There, the god Ganesha, the elephant-headed son of Siva and Parvati, is worshipped as a luck-god, among other things. The  idea of the charm itself most likely began when Europeans, especially the British, started colonizing India and all things Indian and Oriental were considered trendy.  The lucky elephant should always have his trunk facing up, never facing down.  This may be an extension of the lucky horseshoe "catching" luck. 
I don't have a craft for the lucky elephant, but how cute is this charm?  I have several elephant charms.  I like them so much, I even have a couple pairs of sandals that are decorated with elephants.

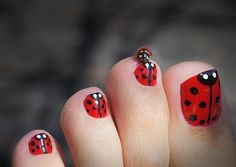
lady bugs - Ladybugs are seen as lucky around the world. One reason this superstition may exist is due to the ladybug’s eating habits. These spotted insects are known for eating tiny creatures that are harmful to crops, such as aphids. Reversely, if you kill one of these little beetles you will be doomed with misfortune.  They do have such things as lady bug beads, but I like to paint a lady bug on my ring finger nail or on my toes.
This is not my pedicure.  I wish my fee were this pretty.  But this manicure is very easily done.
I will put detailed instructions on how to get this look in another post.  But, if you want to try it now, the secret is those little ring support stickers that you can get from the office supply store.  Cut one in half and place it over your toe nail which you have already painted red and allowed to dry.  Then paint the lady bug's head.  Allow to dry and remove the sticker template.  I like to use a Sharpie to do the line down the middle and, even sometimes, to do the dots.  Using the end of a bobby pin, dip the pin in white nail polish and then dot twice in the head to make the eyes,  Voila!  you have a lady bug.  (If you would prefer to use nail polish for the dots and the line, you can also use the tip end of a bobby pin to create those.)

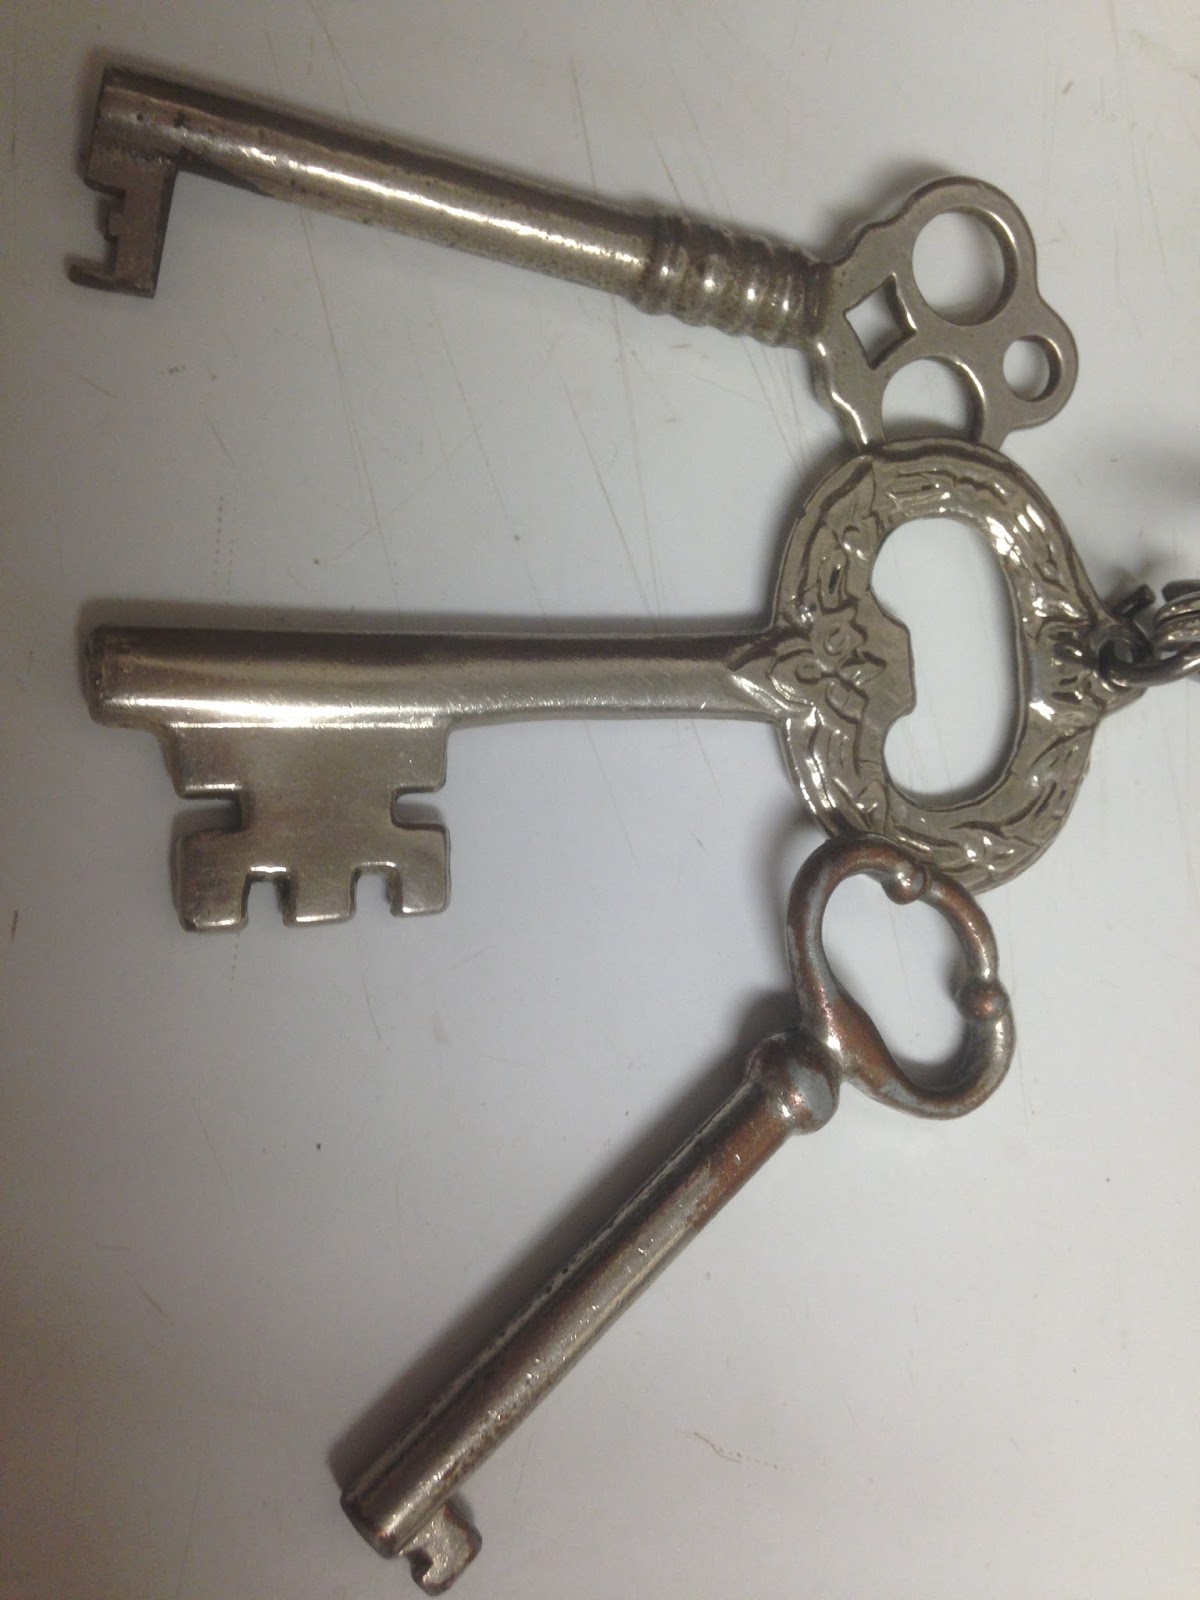
keys -  This particular good luck charm was just made for the Tiffany key necklace craze. But for those of us who don't have the money to own the Tiffany version, wearing three keys together is said to be good luck as one unlocks the door to health, wealth, and love, respectively, but also hopefully your building door, your apartment door, and your car.  You can use your daily keys, or you can try to look around and find more decorative keys. 

These are keys that I have in my home.  Two of them actually open something.  One opens a hope chest and the other a china cabinet.  However, you can get keys like this at a craft store like Michaels for under $2.00.


the evil eye - Although I had "heard" of the evil eye, it wasn't until I went to Turkey that I really got to know about this symbol of good luck.  Wikepedia says "The evil eye is a curse believed to be cast by a malevolent glare, usually given to a person when they are unaware. Many cultures believe that receiving the evil eye will cause misfortune or injury.     Talismans created to protect against the evil eye are also frequently called evil eyes."
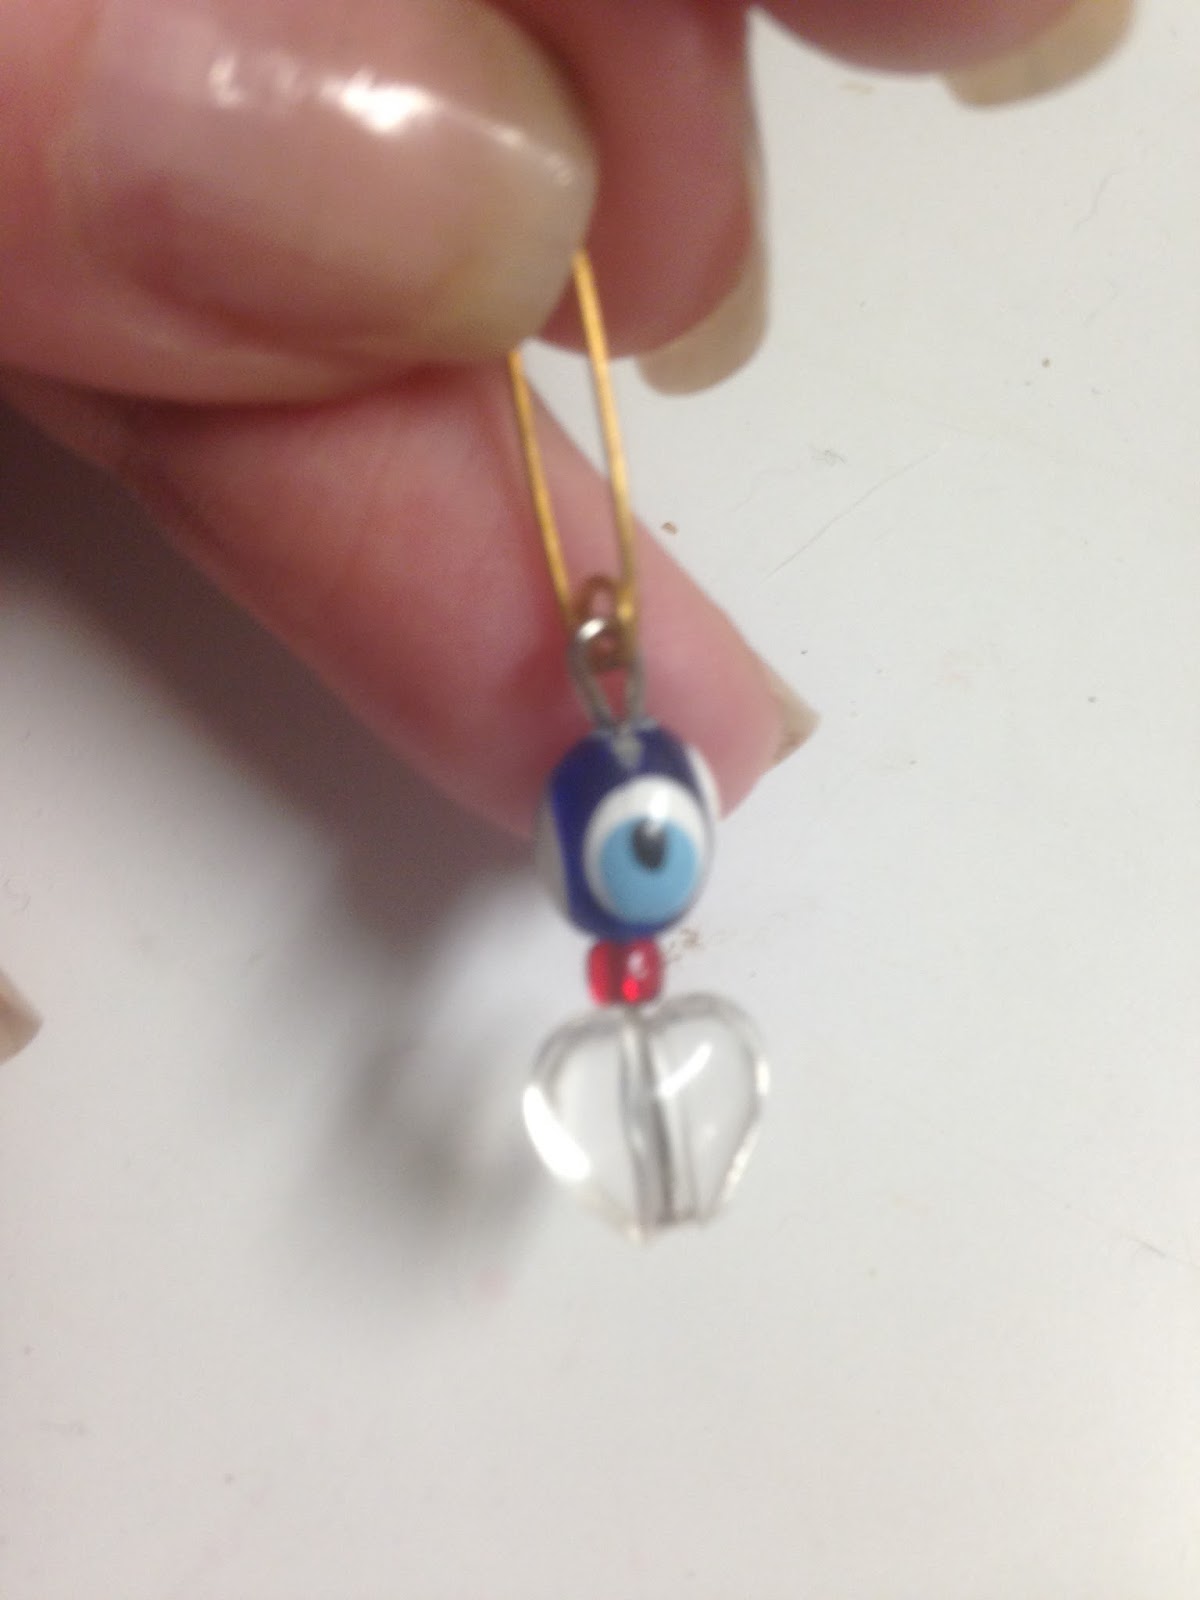
These things are everywhere in Turkey and before I left I had at least 10 of them that I brought home and handed out to friends and still had about 6 left for me.

Aren't these fun?  I wore mine somewhere on my person the entire time that I was in Europe.

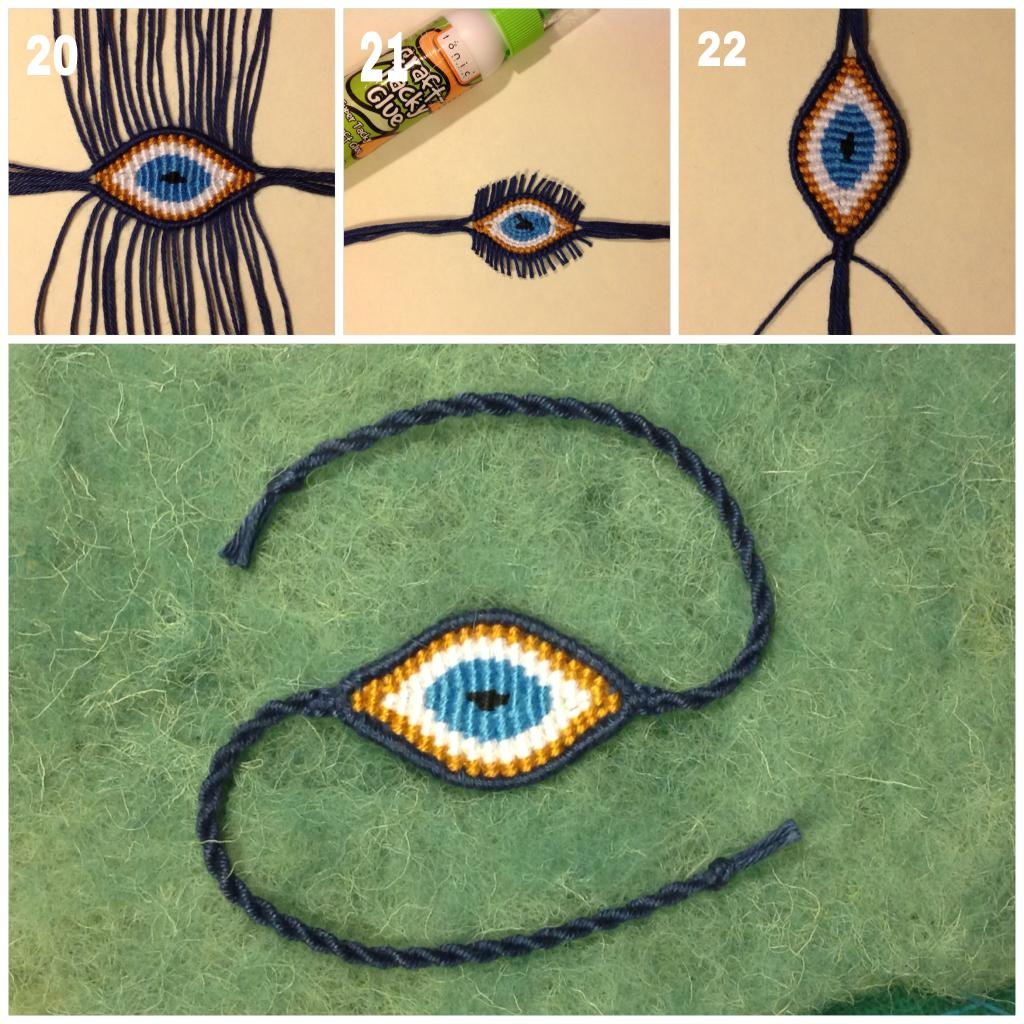
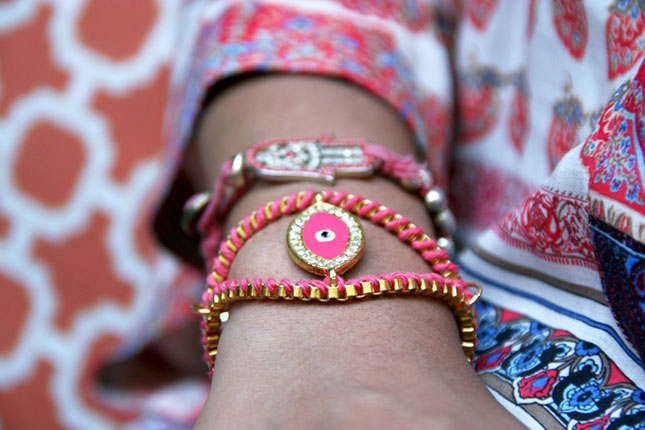
I plan on putting mine on some hoop earrings that I own and wear them that way but, for those of you who don't have evil eye amulets, I went online and found this cool  tutorial on how to make an evil eye friendship bracelet.  Actually, I found two. I couldn't decide which one I liked better, so I am posting both of them here:

This one can be found on  http://friendship-bracelets.net/tutorial.php?id=4504


 And the pink one can be found on :  http://www.mylittlesecrets.ca/diy-evil-eye-bracelet/

 What I want to try to do is combine the two and make the first evil eye bracelet and then use it as the center for the second evil eye bracelet.  I will try making it and, if it turns out, I will post the tutorial here in another post.

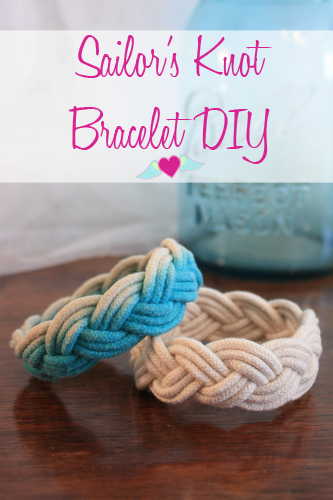
sailors knots -  Sailors knots were considered to be good luck by sailors and their families.  As nifty as that is, the truth is, I just really think this is one of the coolest bracelets that I have ever seen.  Just click on the link below the picture for instructions on how to make this bracelet and also for further information on why sailors believed sailors knots to lucky.


 http://www.flightsofdelight.com/2013/05/25/sailors-knot-bracelet-diy/

So, there you have it.  A little information on Friday the 13th and some cute, inexpensive and fashionable ways to bring a little luck........Because it never hurts to be cautious. :-)