It's national Love Your Red Hair Day!!! Until last month, I didn't even know that was a thing.
Because it is National Love Your Red Hair day, I thought that I would break from usual posts about crafts, household hints and food and focus on some red head things for a moment.
I have naturally red hair, but I hate my color of red. I refer to it as dishwater red because I think it is so boring, so I color my hair but I almost always try to stay with a shade of red.
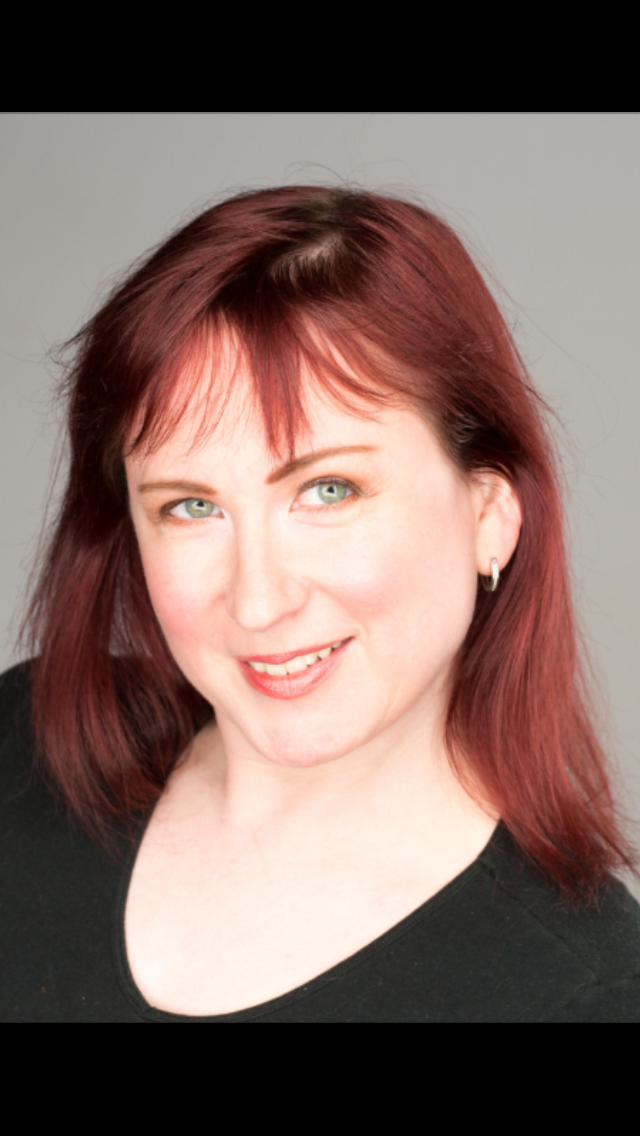 |
| Here is a shot of my hair almost under control. This shade of red is just one shade darker than my natural red. |
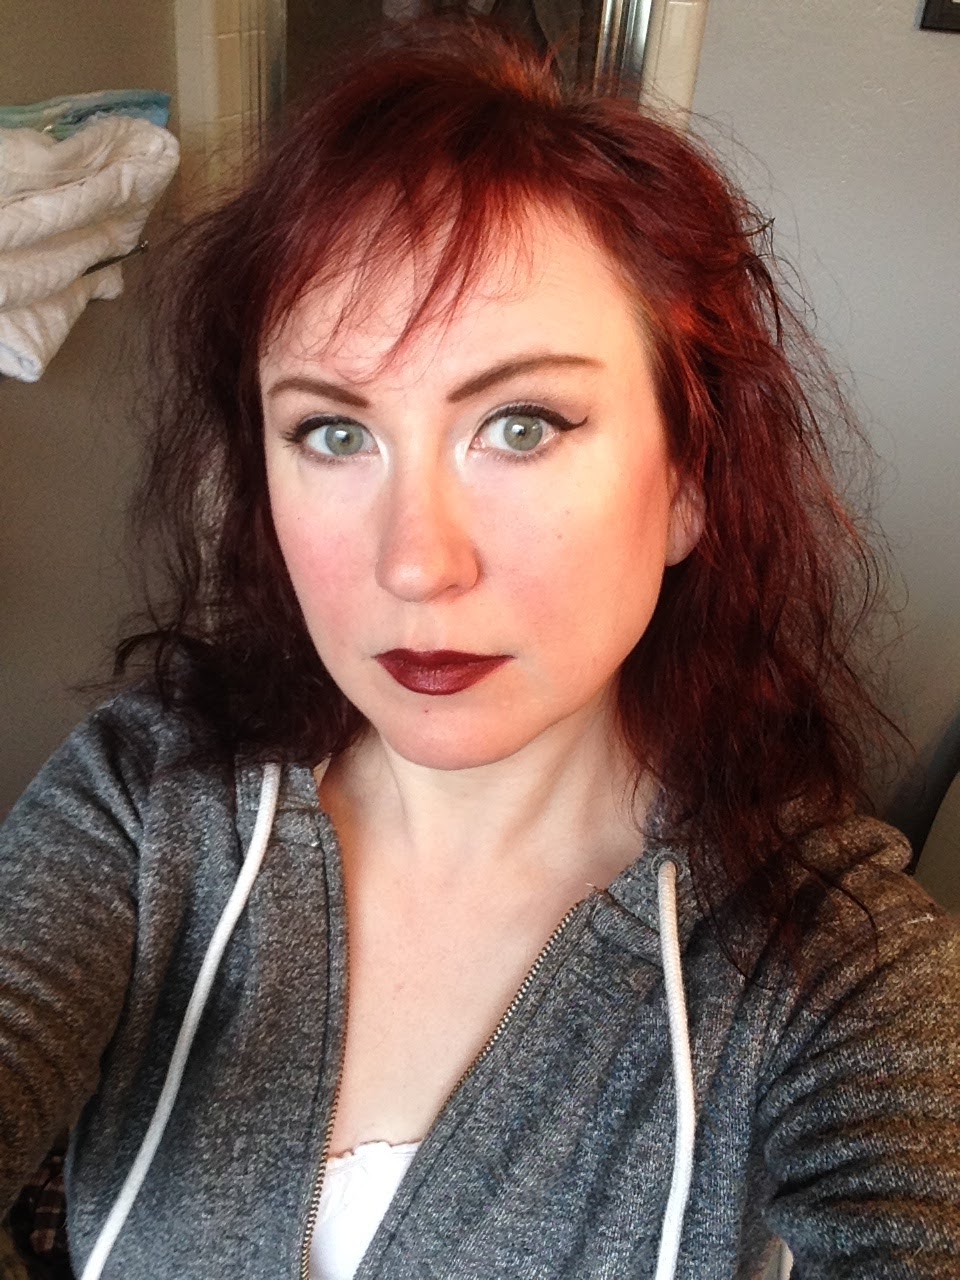 |
| Here is my crazy Irish wave if I just let my hair dry naturally without straightening it. This is also the color red I tend to love the most, |
As I am part of a hair minority - I love that quote from Elle Woods in Legally Blonde - I thought that I would share with you some of my red head wisdom and some redhead facts that I have gathered for the day.
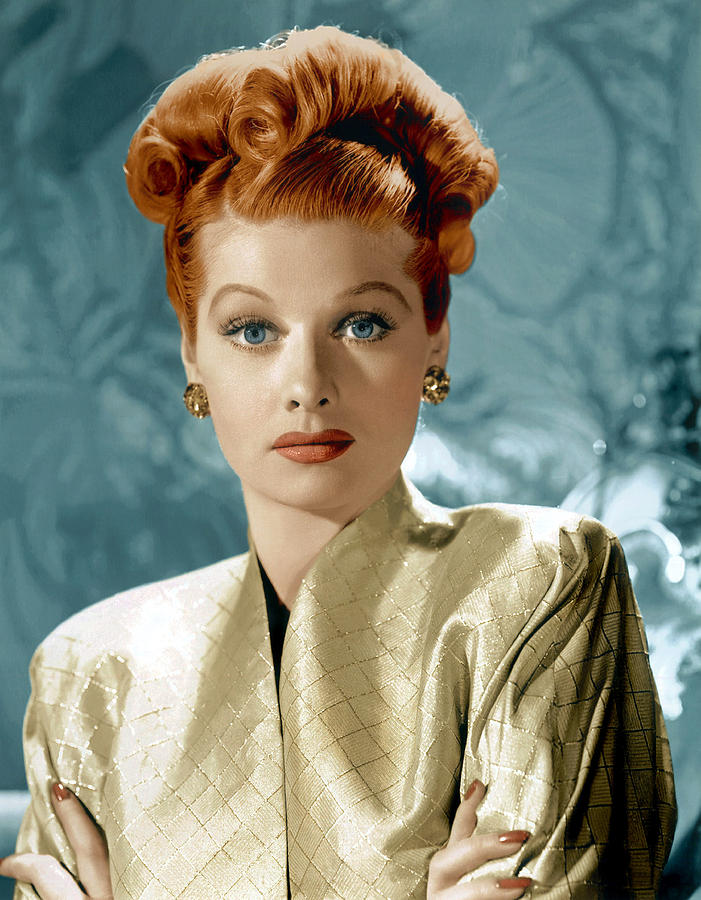 |
| One of the most famous redheads there is. This is Lucille Ball during her Hollywood years. Talk about glamorous. |
A Song for Redheads
Its always good to start with a song.This song is hysterical and whenever I meet a fellow redhead, I have them listen to it. It is by Tim Minchin and is called Prejudice.
https://www.youtube.com/watch?v=KVN_0qvuhhw
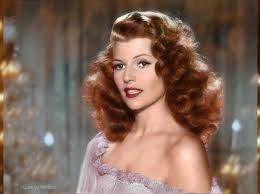 |
| Rita Hayworth as Gilda. Proof that redheads can be femme fatals and that not just blondes have more fun. |
Make-up for Redheads
Any redhead can tell you that makeup can be very hard to find if you are a blessed with fiery locks. Foundations are too dark, as are many mascaras. Bronzers can have a tendency to look muddy on our pale skin and, yes, you can wear red lipstick but it can take a great search to find the right shade for you.To help my fellow redheads, here are some of the products that I have found and use religiously. You will notice that none of these are items that you can get in your local drug store. Makeup is one area where the Frugal Femme spends a little more money. I have very sensitive skin and eyes and I used to always have swollen glands near my eyelashes because I was having an allergic reaction to my makeup. I didn't put two and two together until one day when I was complaining about my lower lash line being swollen again and my husband asked me what type of makeup I used. I told him the cheapest I could find and he exploded. "This goes on your face! Get the good stuff!" And off to the mall we went. He was right though, I have not had an allergic reaction since I have started to use the good stuff. The trick is, that you only get what you need and you don't allow yourself to have impulse buys like you would with drugstore makeup. So the products that I am going to tell you about are, pretty much exclusively, the only products that I use next to face powder.
Mascara
Clinique's Chubby Mascara in Black Honey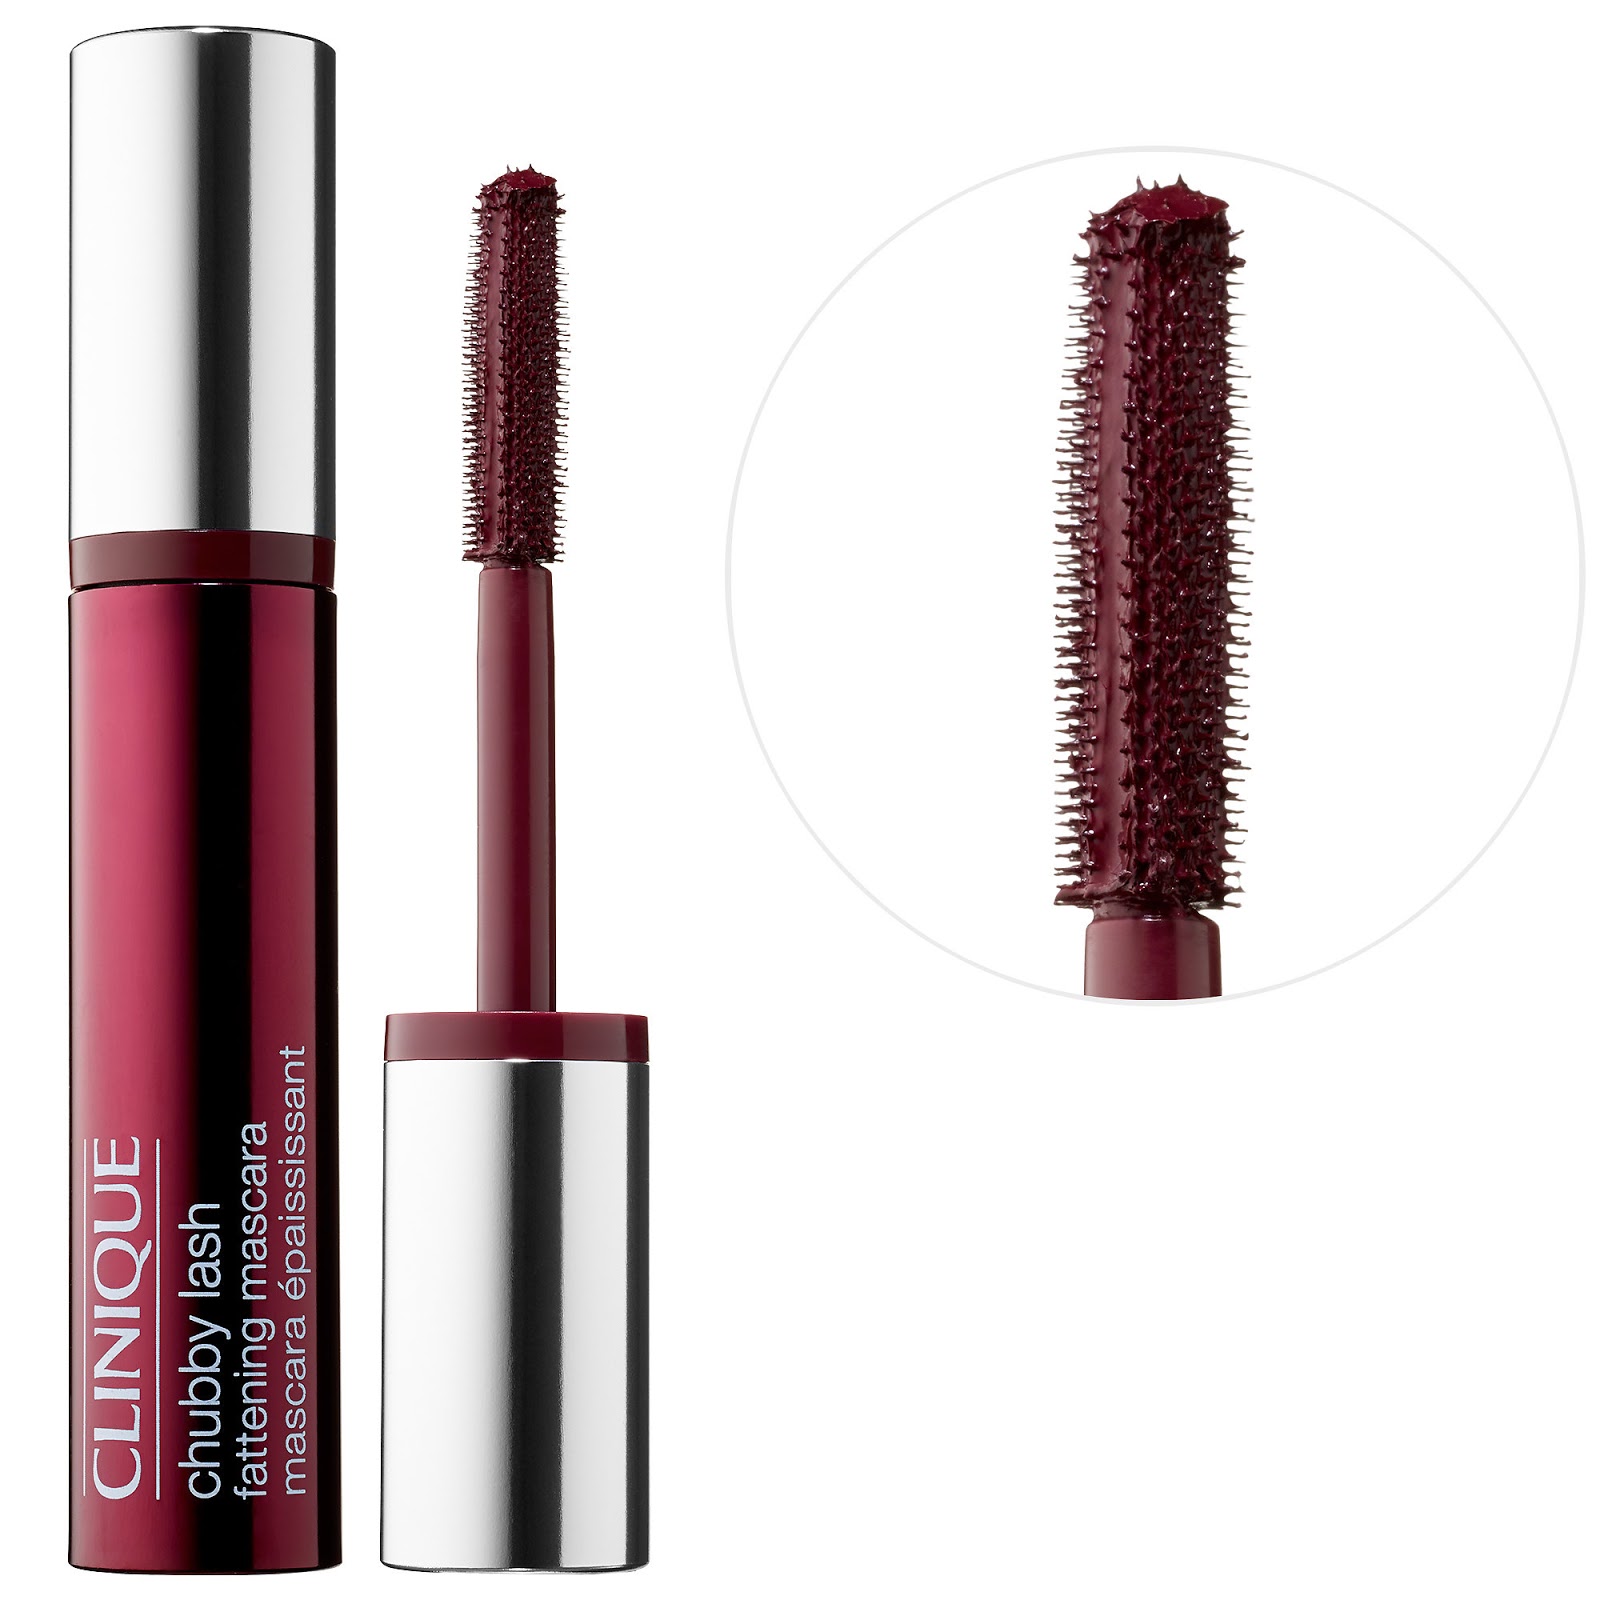 |
| This item is exclusively at Sephora. I have found it nowhere else. Not even at Clinique at the mall. |
This mascara could have been invented for redheads. It has just a tint of maroon that looks lovely on redheads with our pale skin. And it is the most natural color that I have yet been able to find to match my hair.
Bronzer
Tarte's Park Avenue Princess Pink Bronze
Alot of bronzers can look muddy, streaky or just plain weird on the skin of a redhead. For it to look more natural, we need that tint of pink in our bronzer. This product gives me color in my face so that I don't have to look pale as death and makes me look healthy rather than like I am misguidedly trying to contour my face.
Eye Shadow
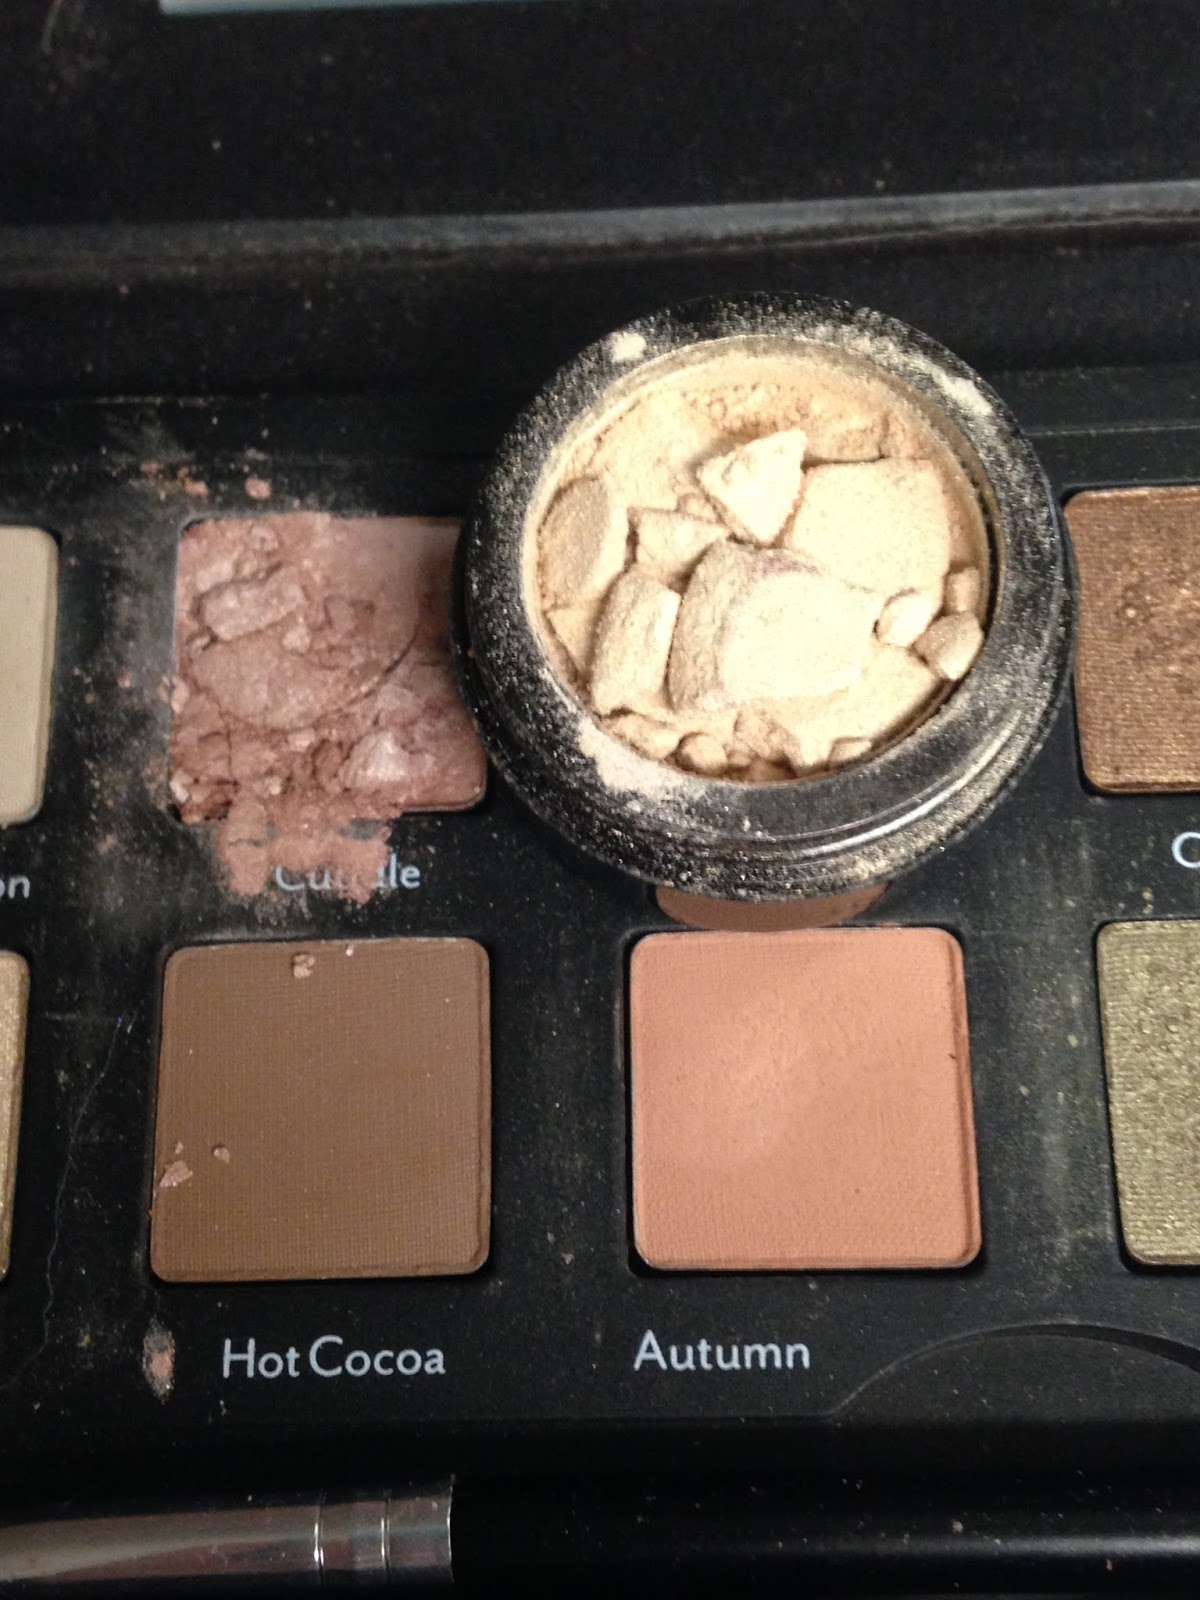
Urban Decay's Naked 3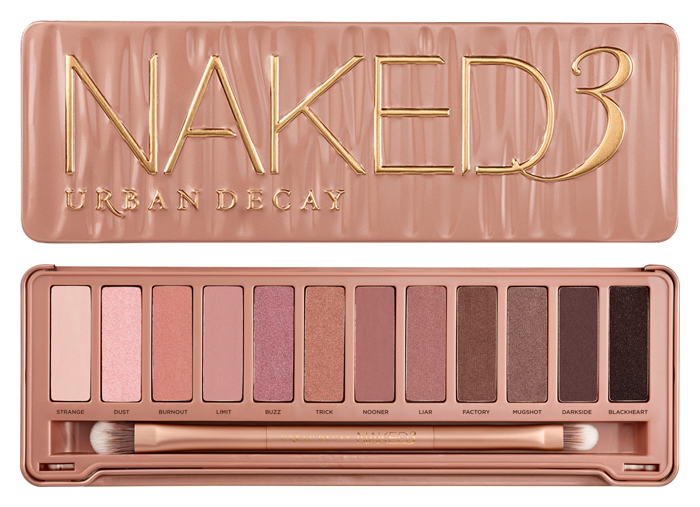
Honestly, all of Urban Decay's Naked eye shadow collections are good to have, but this one seems to have been made for those of us with titian manes. I personally love all the browns with the slightly pink tinge. You would think that you would look like you have an eye infection once you put it on but instead you just look beautiful.
Red Lipstick
MAC Cremesheen Lipstick in Dare You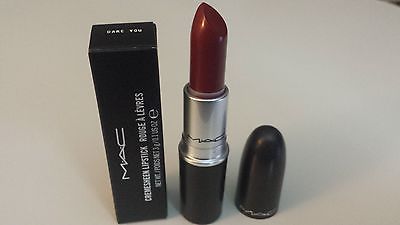 |
| This is the color that I am wearing in the hair photos below. |
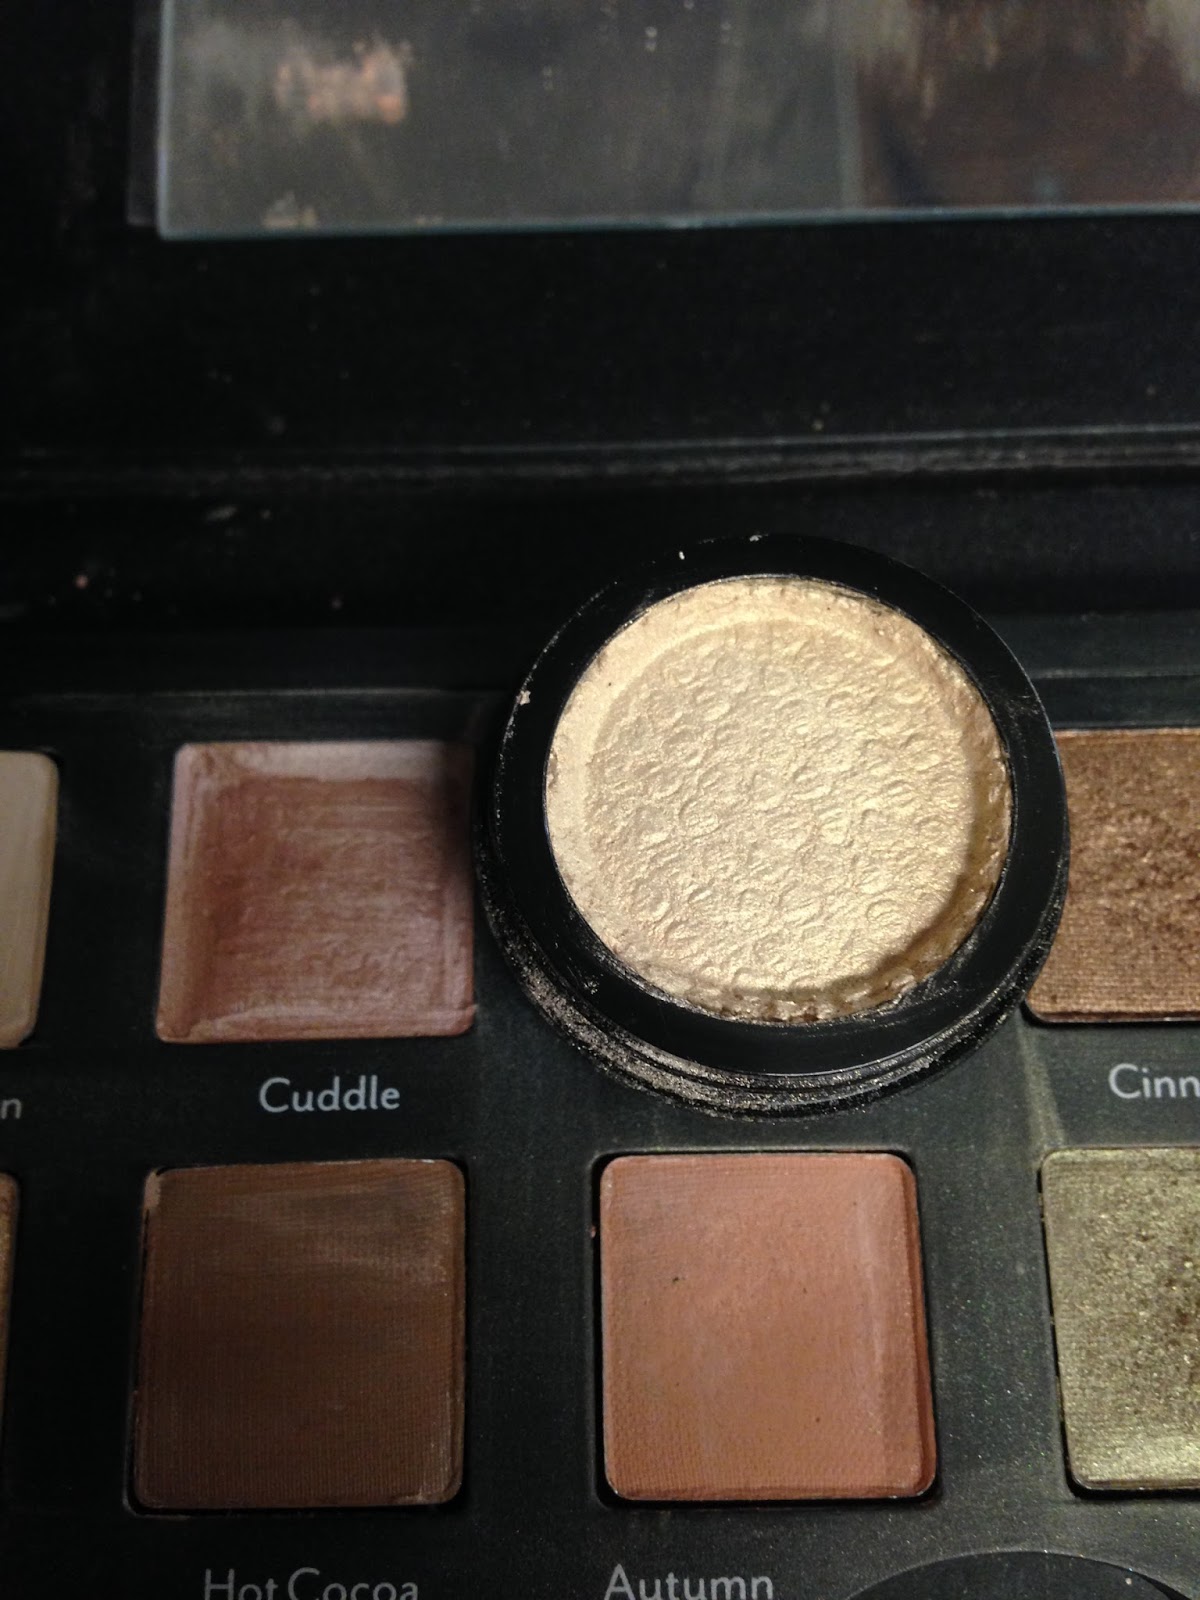
YES YOU CAN WEAR RED LIPSTICK!!!! I don't know how many times that I have heard redheads say that they look bad in red lipstick. WRONG! You just have to find the right color of red. What works for some might not work on others. This is the shade that works for me and, in truth, it is not a true red but is more of a burgundy. It is the second red that I have found and cannot live without. I found it when I was on a mission to replace my first red lipstick love- Chanel's Fatale- after they discontinued it. This is one area where you want to go to the makeup counter and try the color on your lips. The hand test doesn't work, the pink of your lip changes the color of red. Keep trying until you find the red that is right for you, that is why sample counters exist.
Some days, when I am feeling lazy, I just wear a little face powder, and the above face products, minus the eye shadow, and I am ready to face the day.
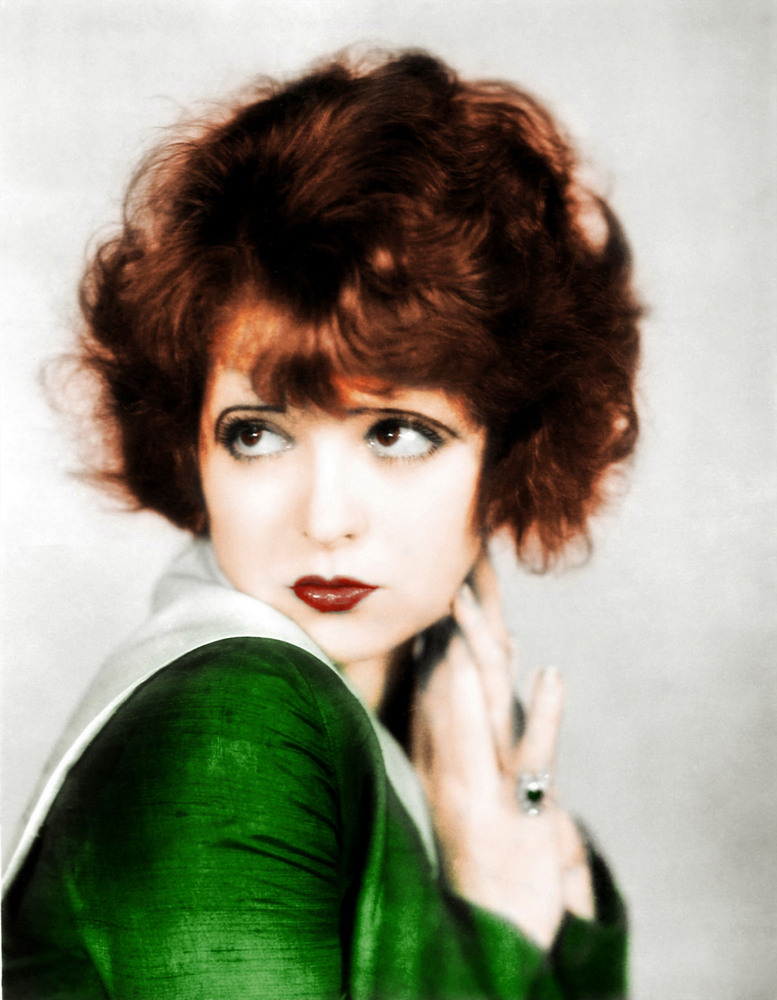
Fun Facts About Redheads
* 2%-4%, depending on the which study you look at, of people in the world are redheads.* The gene for red hair is a mutant gene and is a recessive gene. Because of this, redheads are going to become an "endangered species" and, according to National Geographic, by 2060 natural redheads will no longer exist.
* Redheads are not likely to go grey! The red color just slowly fades out of the strands leaving the hair blonde or white.
* Bees are more attracted to redheads. I haven't found a study on it, but from personal experience I would also say that so are mosquitoes - those little jerks always seem to go for me before anyone else.
* Red heads have less hair than other hairs colors. It just tends to be thicker so that it looks like they have as much hair.
* Marilyn Monroe was a natural red head! As a Marilyn fan, this fact tickles me. On the complete opposite of the color spectrum, so is Dita Von Teese. So, if you are ever thinking about changing your fiery locks, these two color extremes will probably look good on you.
And finally, in honor of the day, I will show you how to do my favorite, easy "out" hair do. Please excuse the pictures, its just me here today while my husband watches the game so I had to selfie them.
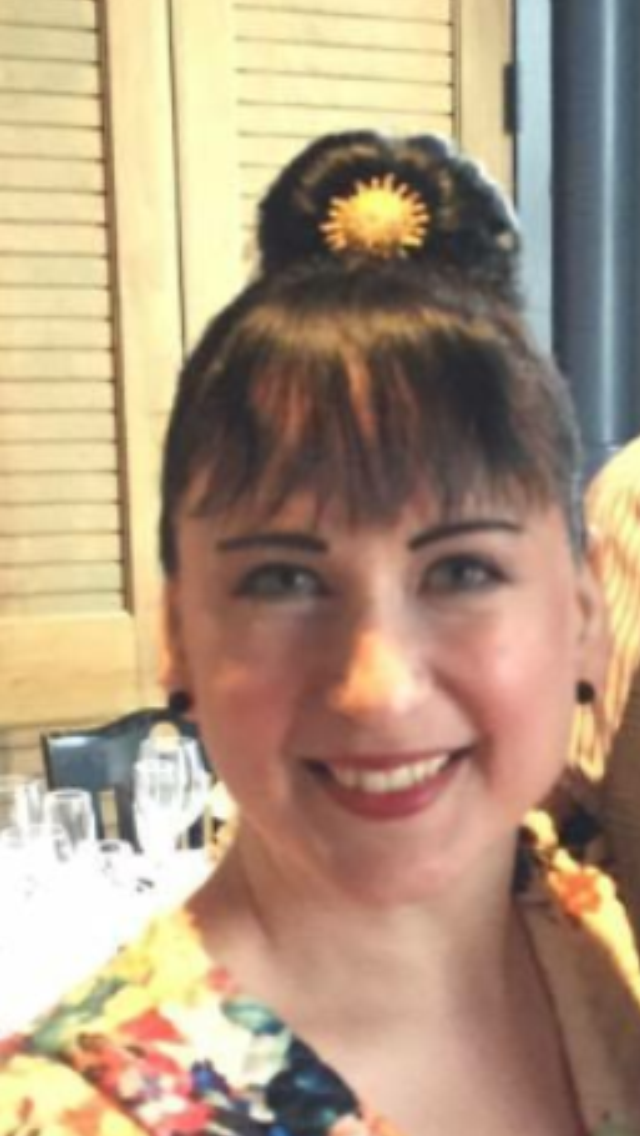 |
| This is one of the rare photos of me without red hair. I had blue black hair for about three months this year, but I thought it was a good picture of the hairdo, so I had to include it. |
Carole's Favorite Up Do
Instructions
1. Start with hair hair that has not been freshly washed. Fresh washed hair tends to be too limp to stay in the hairdo. If you have freshly washed hair use liberal amounts of either dry shampoo or texturizing spray before your start.
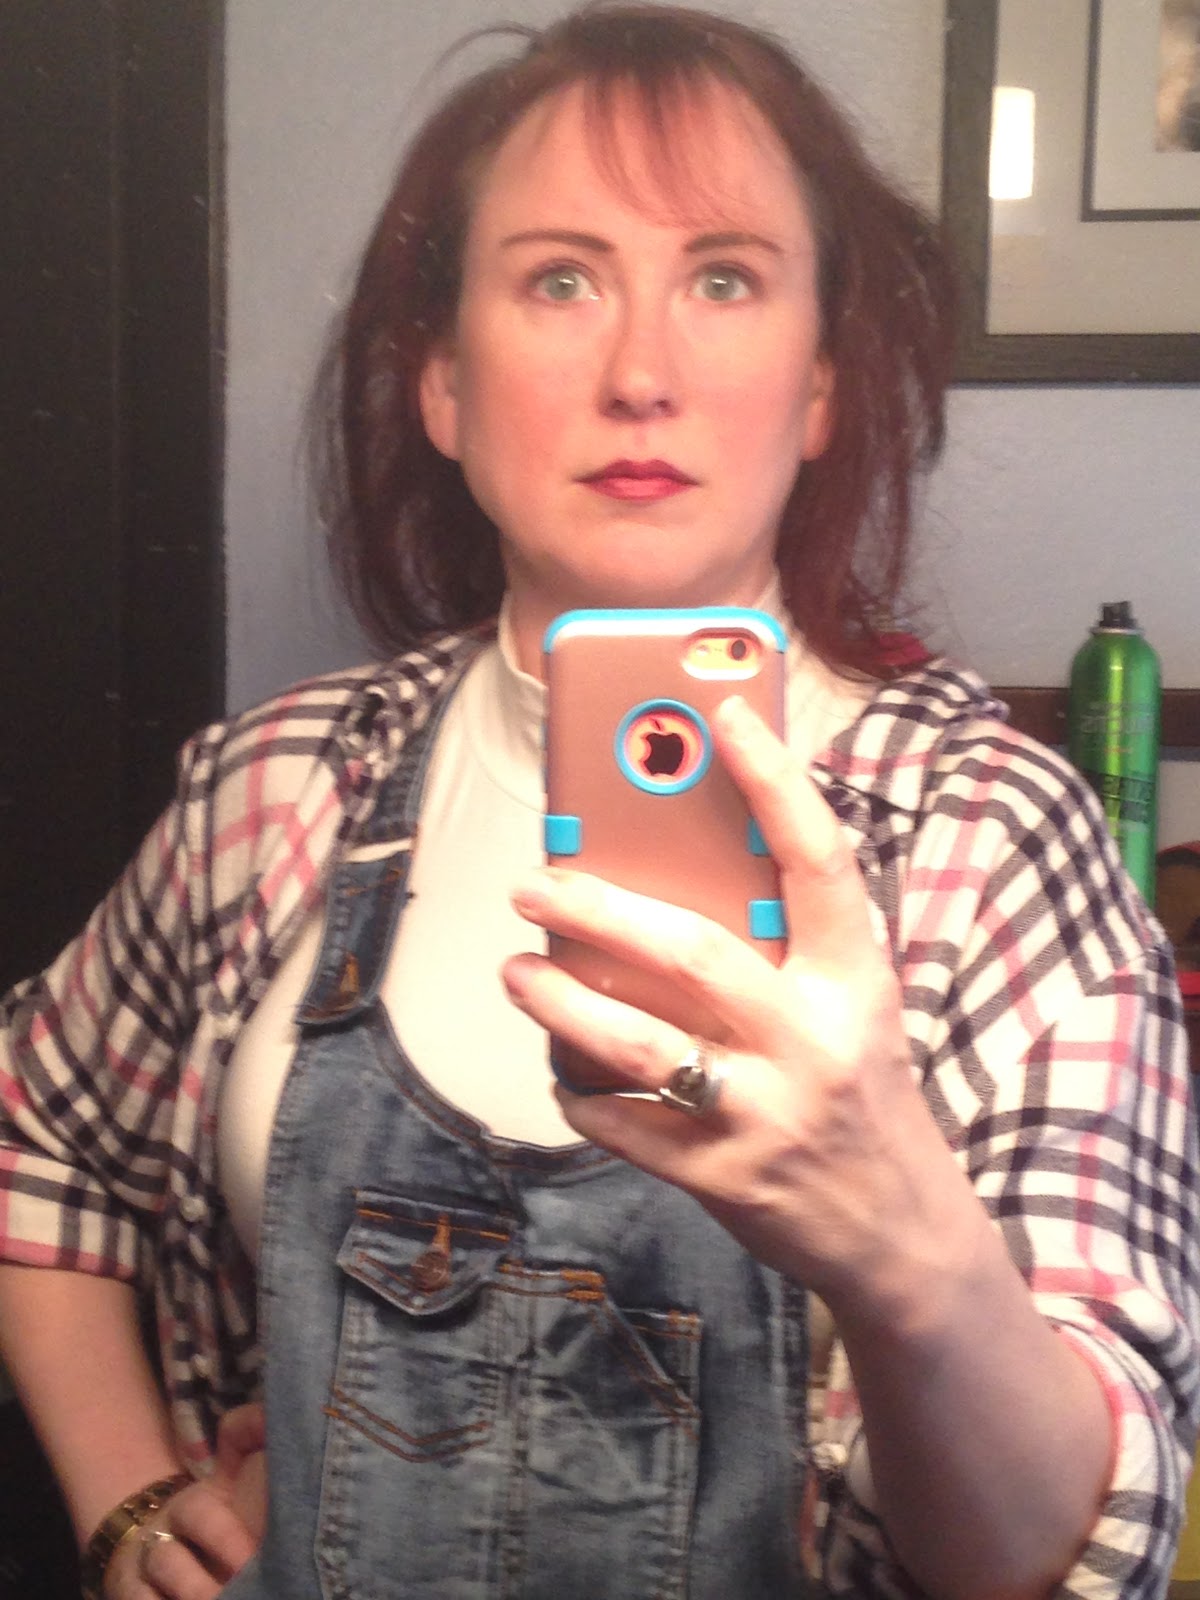 |
| I know, I looks so happy. And my hair didn't want to look good down because I had been wearing it in a bun for most of the day. |
2. Using a bristle brush, I like one made with boars hair, put you hair up into a high and tight pony tail. I mean really high. Think I Dream of Jeannie high.
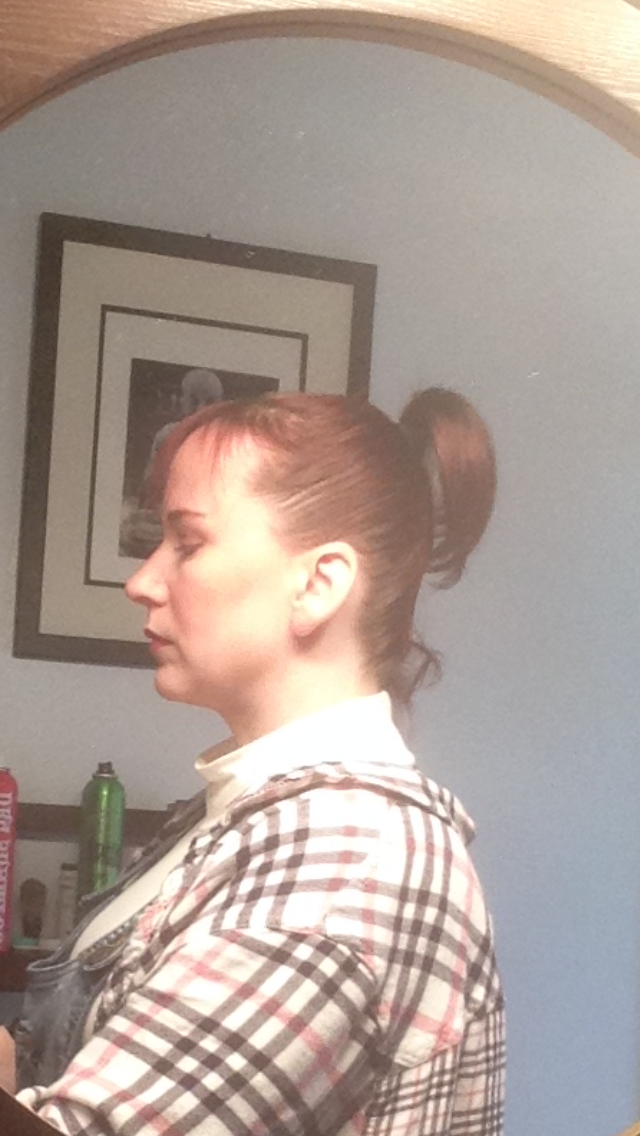 |
| You don't have to worry about the wispy hairs in the back, you can fix those with a couple bobby pins when you finalize your hair style. |
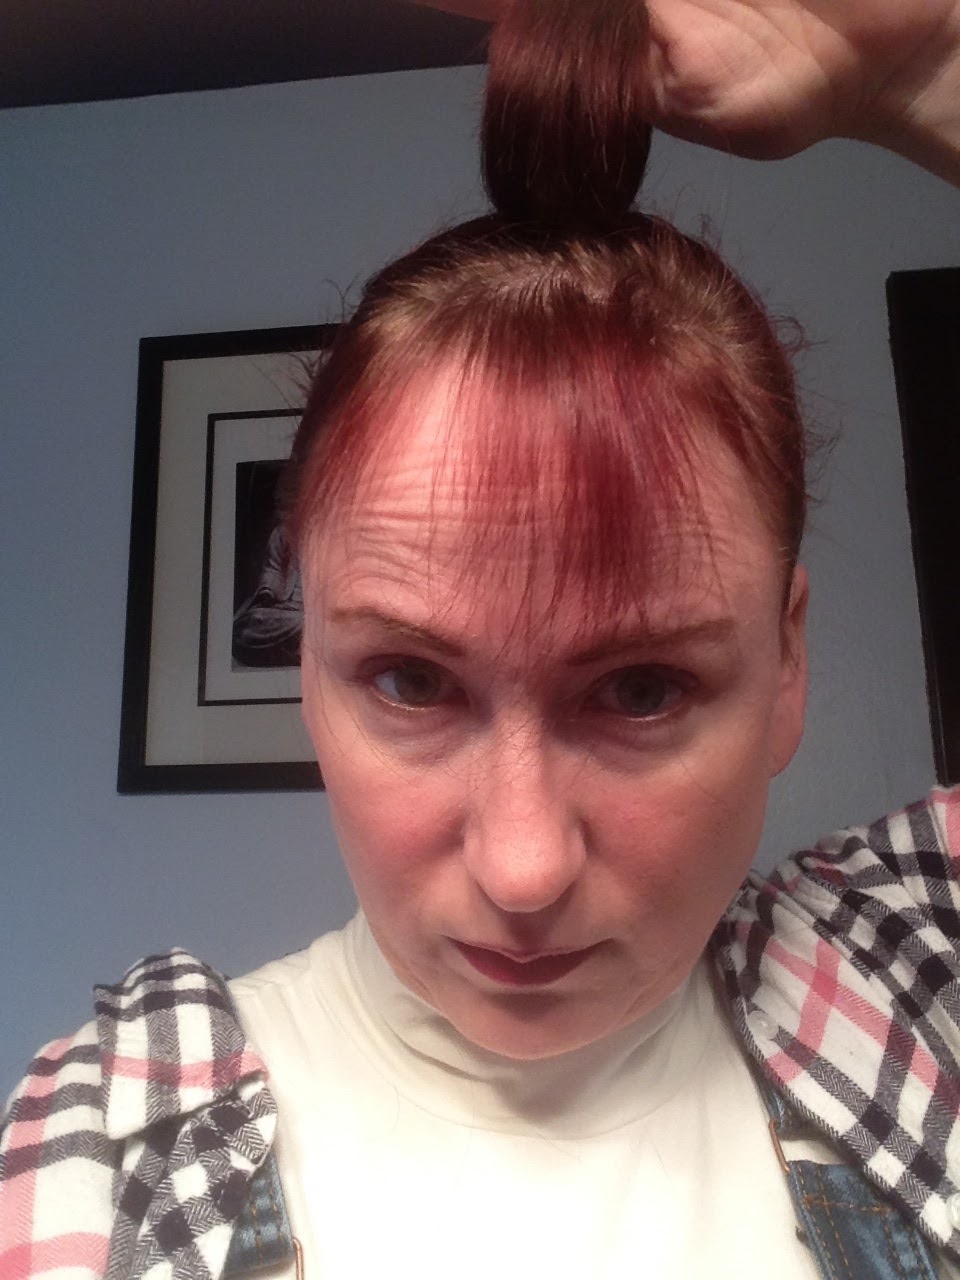 |
| Not the most flattering of photos, I'll admit. |
4. Slide a bobby pin over the ends of the pony tail creating a loop in your hair.
5. Grab the bottom side of one of the loops and pull around to the back of the pony tail holder and hold in place with a bobby pin.

6. Go to the other side of the loop and repeat Step 5. Using a hand held mirror and a wall mirror move the hair until it completes a circular bun. The hair at this point will almost be shaping itself at this time.
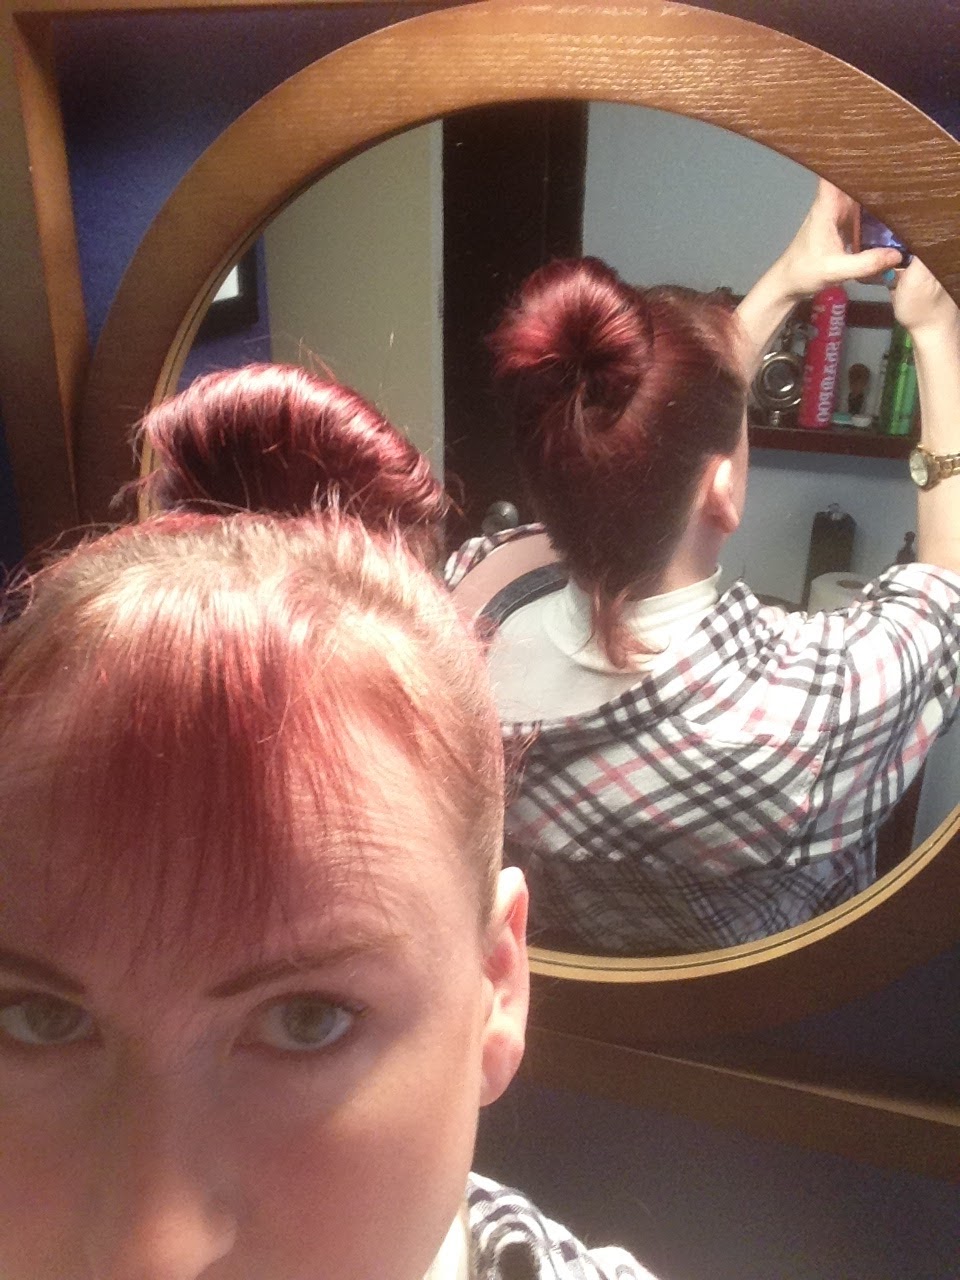
7. Grab one side of the loop and "fan" your hair to create a Holly Golightly type of look. Insert bobby pin on the side of the fan holding down some of the hair.
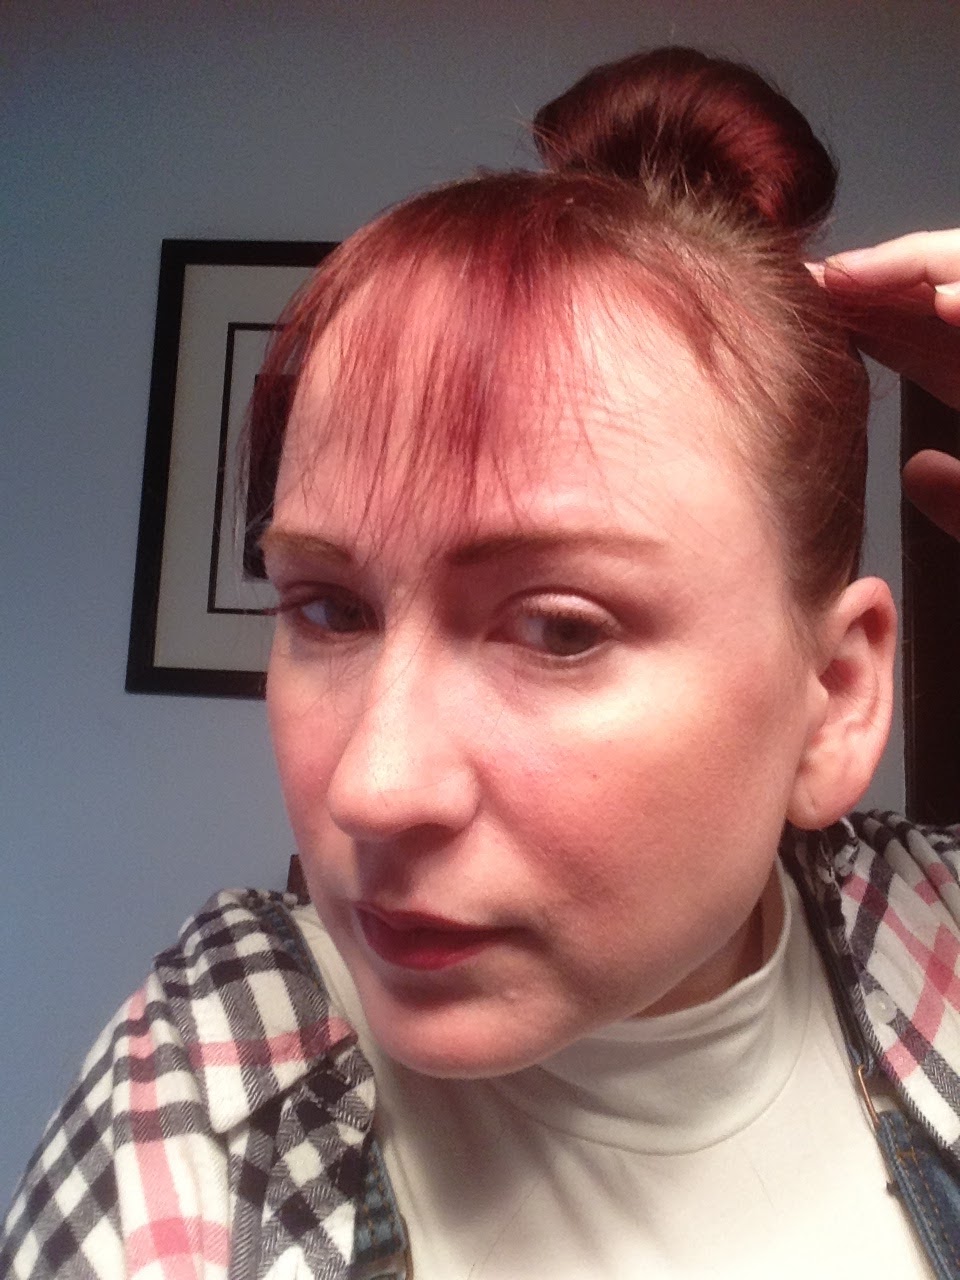
8. Repeat Step 7 on the other side of the "fan" making certain to secure with a bobby pin.
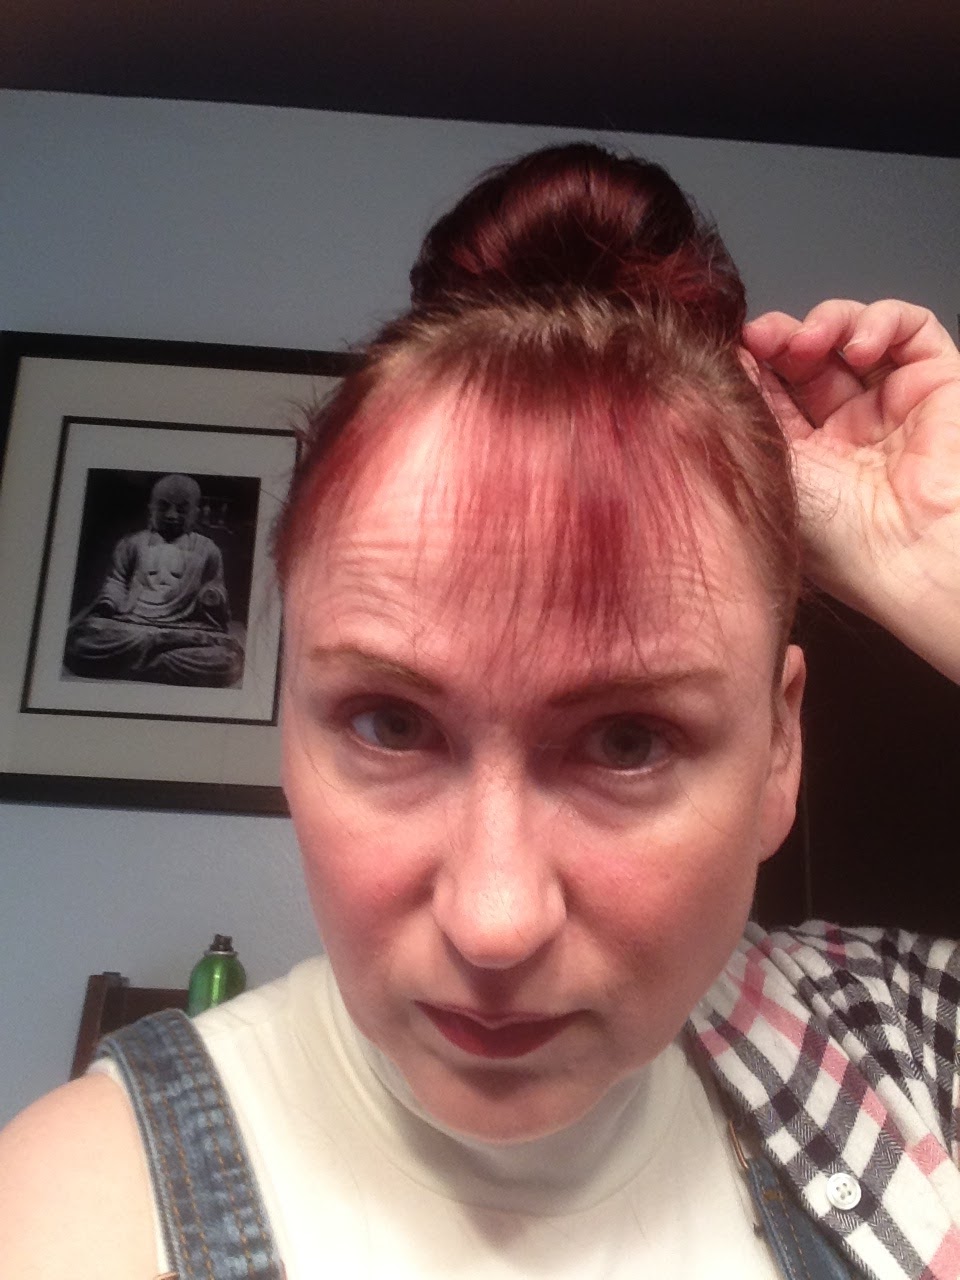
Almost done!
9. If the bun has any spaces then just use your fingers to shift the hair over any thin spots.
10. Spray with hairspray and you are done! If you want to be fancy, you can put a rhinestone comb or barrette and the base of the center of the bun and then you will really look like Audrey Hepburn as Holly Golightly.
 |
| Use a mirror to smooth out your straggly hairs. |
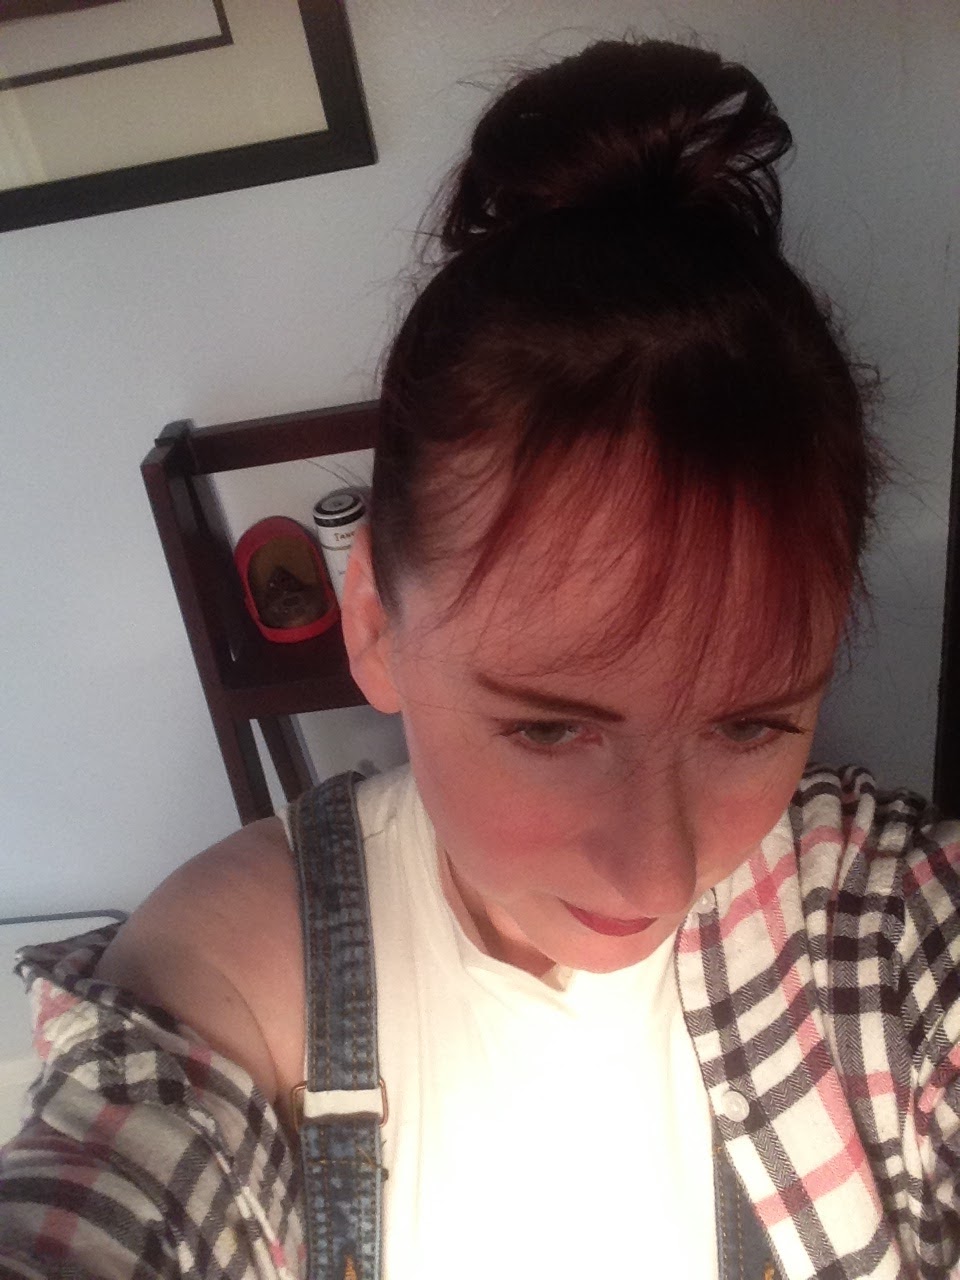 |
| Top view and you can see a thin spot where I need to fan more. |
One of the things that I love about this style is that it makes your hair look way longer than it actually is if you have shoulder length hair.
And that is it for this post. I hope you enjoyed. I'll be coming back soon with more crafts and recipes soon!
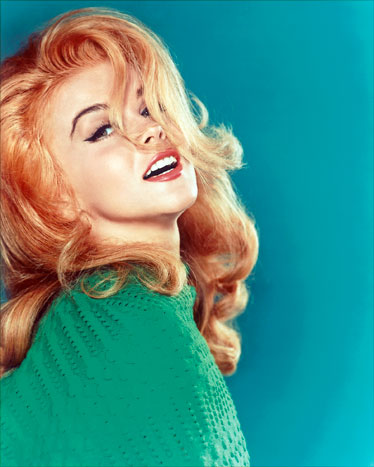 |
| Even Elvis loved red hair! |