Showing posts with label Crafts - Halloween. Show all posts

Sunday, October 30, 2016

Bat Wings Recipe (aka Buffalo Wings Recipe) and some more easy decorating ideas for indoors and outdoors

Hello Everyone!
I am a day behind on my posts as this was the post as this was the posting that I wanted to do yesterday.  However, as so often happens when you are helping to plan an event, I ran out of time to do everything I wanted to do in a day.  What was the event that put me behind you may ask?  The theatre where I work is doing a production of Rocky Horror and, last night, we threw a party with the cast for those who purchased tickets.  After that, we did a midnight run of the show.
At the party, I served the dish that I am going to show you how to make today.  For those who were brave enough to eat it, it was hit.  But these buffalo wings are not for the faint of heart.  Because of their color, they look like they are scorched.  But they are not!  They are wonderfully juicy and tender.

I am really sort of addicted to this whole scene.  I really have to find this movie and watch this.


To do these correctly, you should use a package of just chicken wings and then they will really look like bat wings rather than blackened buffalo wings, but I found a bag of over 60 wings at Costco and, since I was feeding alot of people, I went the more affordable route rather than the artistic route,

Bat Wings

I know, they look like they would taste terrible.  They are very good.

Ingredients
3/4 cups all purpose flour
1/2 tsp. cayenne pepper
1/2 tsp. garlic powder
1/2 tsp. salt
1/2 tsp. Creole seasoning
1/2 package Zesty Italian Dressing Mix
1/2 tsp. freshly ground pepper
20 chicken wings
1/2 cup melted butter
1/2 cup hot pepper sauce (I use Louisiana Hot Sauce, but you use what you like)
1 tsp. Worcestershire sauce
1/2 tbsp. Hoisin sauce
1/2 tsp black food gel (more if your sauce does not get black)

Instructions
1,  Line a baking sheet with parchment paper and heavily grease with cooking spray.


2.  Place the flour, cayenne pepper, garlic powder, salt, Zesty Italian Dressing Mix and freshly ground pepper into a resealable plastic bag and shake to mix.


3.  Add the chicken wings, about three or four at a time and toss until well coated with the flour mixture.  Place the wings onto the prepared baking sheet.  Repeat this for the rest of the chicken.


4.  Once all the chicken is coated and on the baking sheet, place in the refrigerator and refrigerate for at least 1 hour.
You can see how the flour has sort of gelled itself to the chicken

5.  After an hour has passed, preheat the oven to 400 degrees F.
6.  In a large liquid measuring cup, whisk together the butter, pepper sauce, worcestershire, hoisin sauce and black food gel.
7.  Dip the wings into the sauce mixture and place back on the baking sheet.
At the top, I made a batch of wings without the food dye so that you could see the difference.  They are the same recipe, one just looks more terrifying.

 (You will probably want to wear rubber gloves for this part.  I did not and I am still trying to get black dye out from under my nails.)


8.  Bake in the oven until the chicken is no longer pink in the center, about 45 minutes.
9.  Turn the wings over halfway during cooking so they cook evenly.

To serve, remove from oven and serve with Ranch Dressing or Blue Cheese Dressing, whichever is your preference.

So that was yesterday's post.

Today, I was going to show you how to make some outside decorations for the house.  I am no longer an 18 year old, however, and staying up until 3:30am finally pushed my body over the edge and allowed the illness that I have been fending off from my husband to win. 
Here is me in my Wonder Woman costume inspired by the outfit she had in 2005 when they re-imaged her look and they put her in pants.

So I woke up this morning ill and with strict instructions from my husband that I was to do as little as possible.
While I rested, my darling husband decorated the outside of our house.  So I don't have the craft project that I wanted to show you, but I do have some inspirational photos for decorating the outside of your home and one that you can use indoors.

Mouse Guardians on the Roof

I found some rubber rats that were $1.00 each at the dollar store.  I snapped up a dozen and told my husband I wanted to put them up on our roof so that we would like we were infested with them.  He put some up on the corners of our house and then stashed some around the front porch.

They look like two little rat gargoyles guarding my driveway.

Why is when you back light something it automatically makes it look creepier?

Cobwebs 

These are really a staple and a little goes a long way in Halloween decorating.  I bought two bags this year for two for $4.00 and we didn't even need to open the second bag.  So, we are saving that for next year and it is one less thing we have to worry about picking up.

In this picture you can see the cobwebs and you can sort of see the spooky lights we put in the bushes,

Right before Halloween I add the cobwebs and the eerie lights.  It helps to make actual Halloween a little more fun and special.

Hang cobwebs from anything you can think of, lamps, tables, fireplace mantles.  Just make certain, if you have pets, that you keep it out of their reach.

Creepy Lights and Creepy Crawlies

Ask any movie director and they will tell you that lighting sets the mood.  Get some Halloween lights and put them up in yard with cobwebs.  Instant spooky!
This is an ornamental pepper that I found at the Farmers Market.  I love the black leaves.  I thought it just looked super scary.  I was going to put some orange mums in with them, but never got the chance.  The double bonus is that the farmer that sold these to me assured me that the peppers were edible.

My husband added some rubber rats and snakes in with the ornamental pepper.

Sheets Over Furniture

This is one of the easiest things you can do to decorate.  Especially if you already own white sheets and tablecloths.  Drape them over your furniture, add some cobwebs and you instantly have an area that looks like an abandoned haunted house.

This is a picture from the theatre.  I put some white sheets over the chairs, a black tablecloth over the table and added cobwebs to the candlesticks and the mirror.  Dim the lights and add some battery operated candles to the candle holders and it sudden turns a little eerie,


So, I hope that you can use some of these ideas!  And, after Monday, we can start focusing on Thanksgiving and Christmas!


Saturday, October 22, 2016

Edgar Allen Poe Raven Pumpkin

Hello Everyone!
It is time, yet again, for another Halloween craft post.
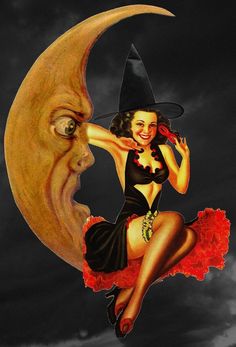
I know its not the first thing that you look at when you see this picture, but look at her shoes!  Those are just the cutest little witches shoes with the turned up toes!!!

As I am sure that I have mentioned, I live in Louisiana.  That means that, even in October, when temperatures are supposed to be dropping and leaves should be falling, the temperatures remain impossibly hot and everything is still green.  While this is a great thing for my herb garden, it is not a great thing for carving pumpkins.  Carving a real pumpkin in Louisiana is something that almost has to be done the day of Halloween or it will be spoiled and rotten before the trick-or-treaters ever arrive on your doorstep.  I love to carve pumpkins.  But I also love to carve very elaborate pumpkins that take me hours to do and I hate to see all my hard work rot after just a day.  Which is why I have started to invest in foam pumpkins and have decorated them in a variety of styles.
The fantastic thing about foam pumpkins as a frugal option is that they do not rot and you can reuse them year after year.  Usually hobby stores have them on sale for about half off during Halloween and, if they don't, that is what half off on any regular priced item coupons are kept for.
Today I will be showing how to make a pumpkin that is designed more for inside your house than outside on your doorstep.  It is very easy to do but, unlike some of my previous craft projects I have shown you so far, this one will take a little bit of skill to do.

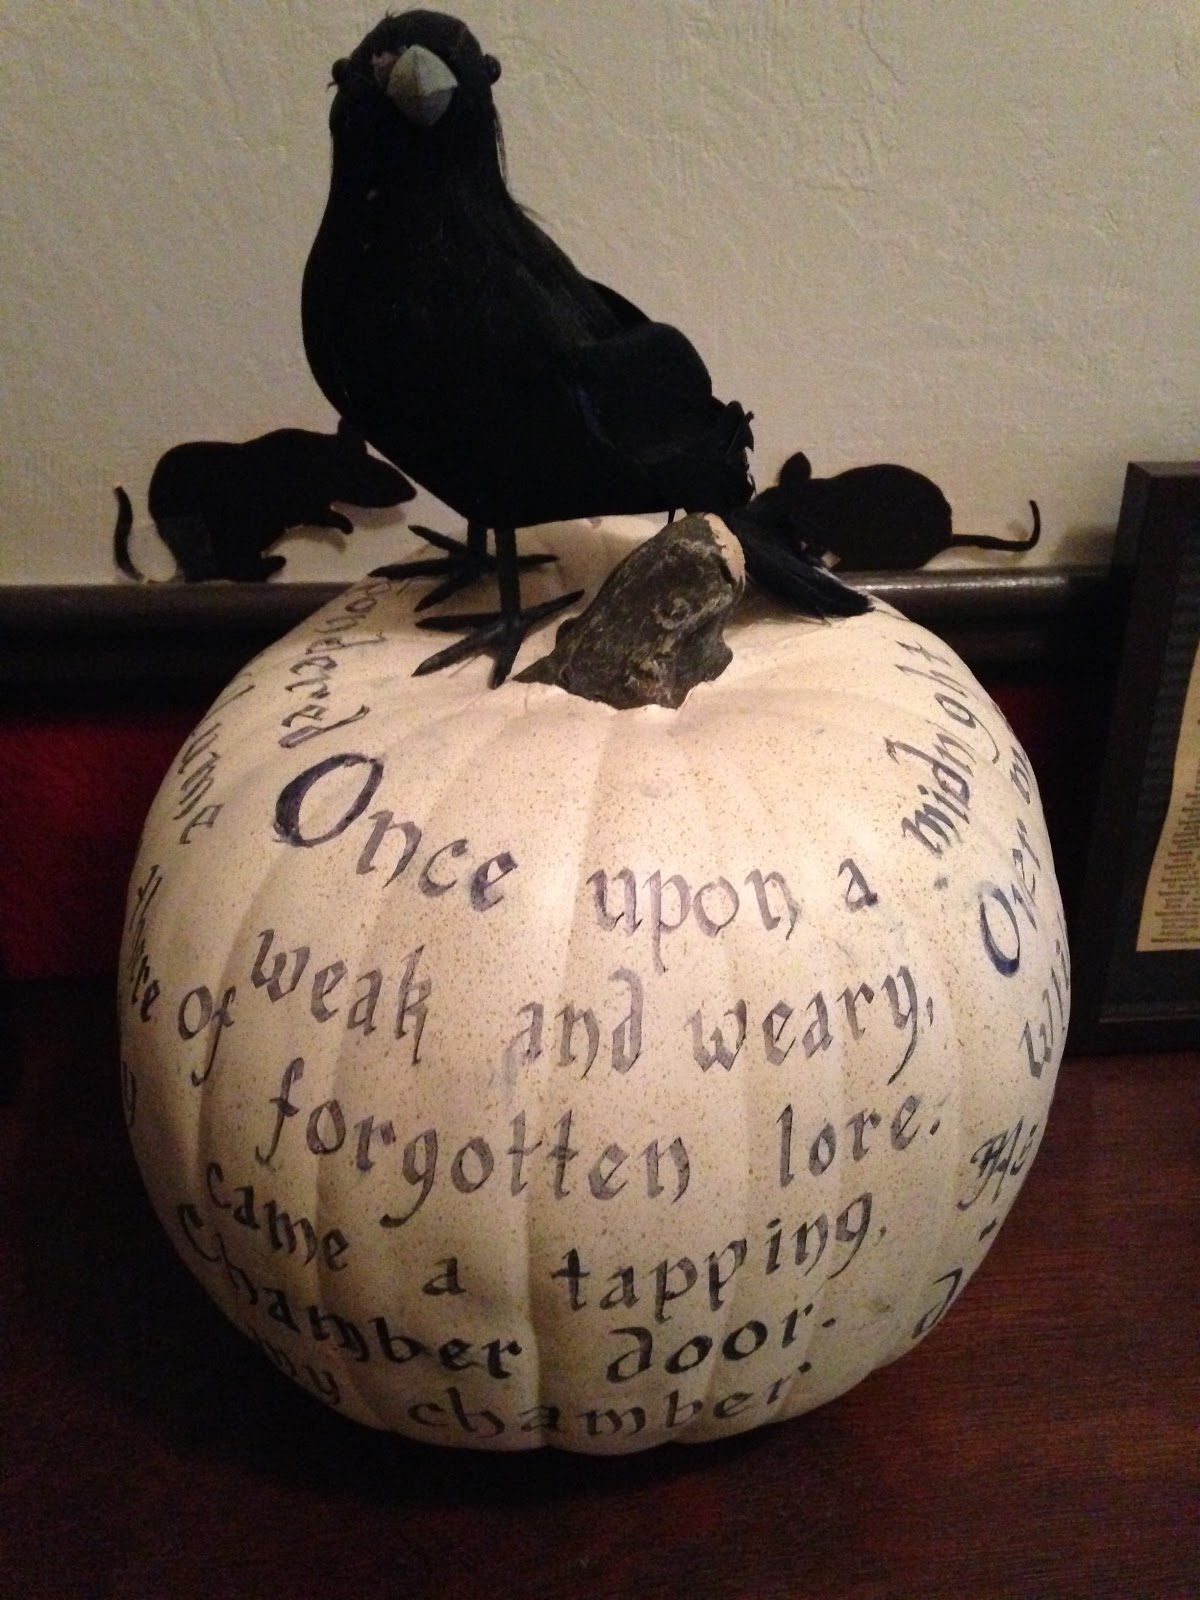
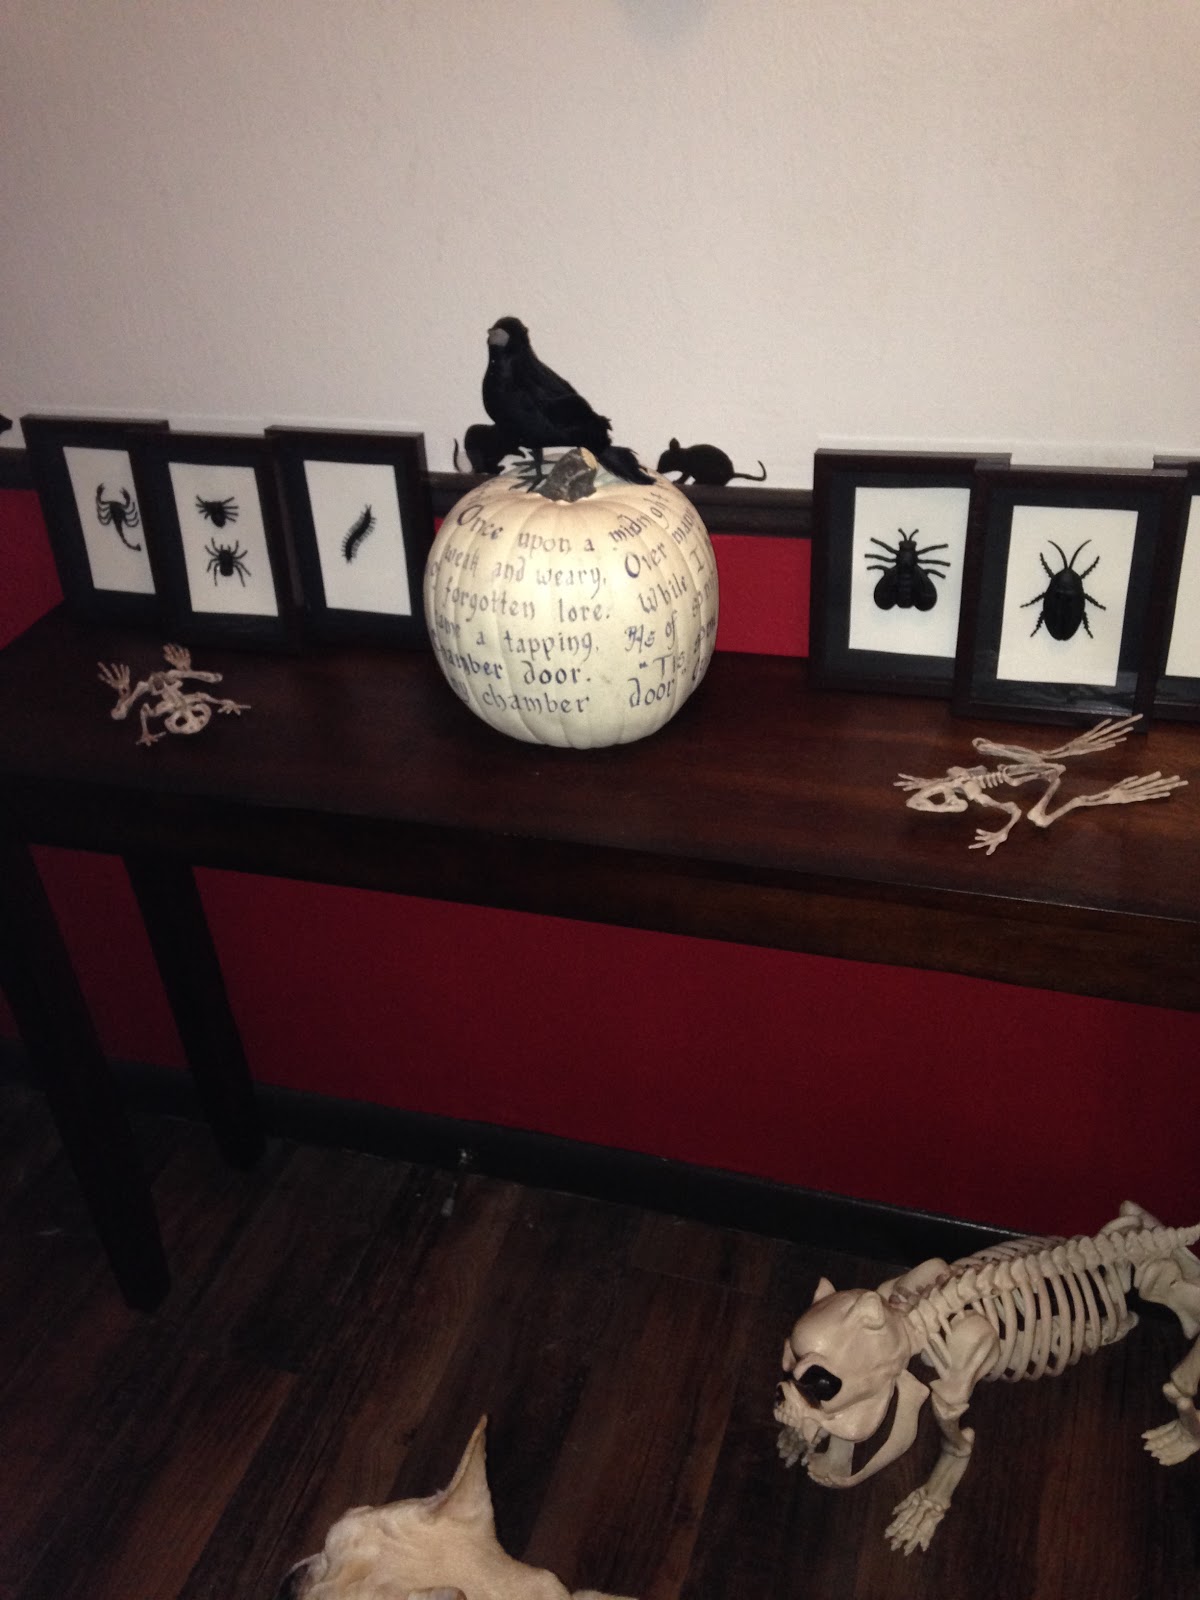
Edgar Allen Poe Raven Pumpkin

I love the little paper mice that I put behind the pumpkin!  I think it just gives it that added spookiness.

Materials
1 white foam pumpkin (I used a white/cream Funkin pumpkin.)
1 black calligraphy marker
1 pencil
Painters tape(Can also use string or rubber band if don't have painters tape)
1 fake crow/raven  (I got mine from the dollar store.)

Instructions
1.  Find a copy of Edgar Allan Poe's The Raven and put the poem where you can easily see it.  You will use this for reference.  (Unless you have the poem memorized.  In which case kudos to you!)
2.  Take your pumpkin and, depending on the size of pumpkin that you have chosen to decorate, and wrap the painters tape around the pumpkin.  The top and bottom of the tape will be the height of your letters, so space the tape appropriately.
I know this pumpkin is orange, but I had actually done the Poe Raven Pumpkin last year before I started the blog.  (And, to be truthful, I didn't draw lines because I can write in a very straight line free hand.)  This pumpkin is what I had this year and is my craft that I am working on for this Halloween.  Hopefully, I will finish it in time and be able to show you the completed project.

3.  Lightly draw lines around the pumpkin going along the edges of the painters tape using an erasable pencil.  Do not press too hard!!!  If you do, you will have a permanent line impression on your pumpkin even after you erase the lines.  The width of your lines is up to you.  I find it easy to just do this width of the tape (about one inch) as this is easy for me to see and trace.  This will be the guideline for your letters.
4.  Once the lines are drawn remove the tape.  Using a calligraphy pen write down as much of the poem as will fit on your pumpkin.
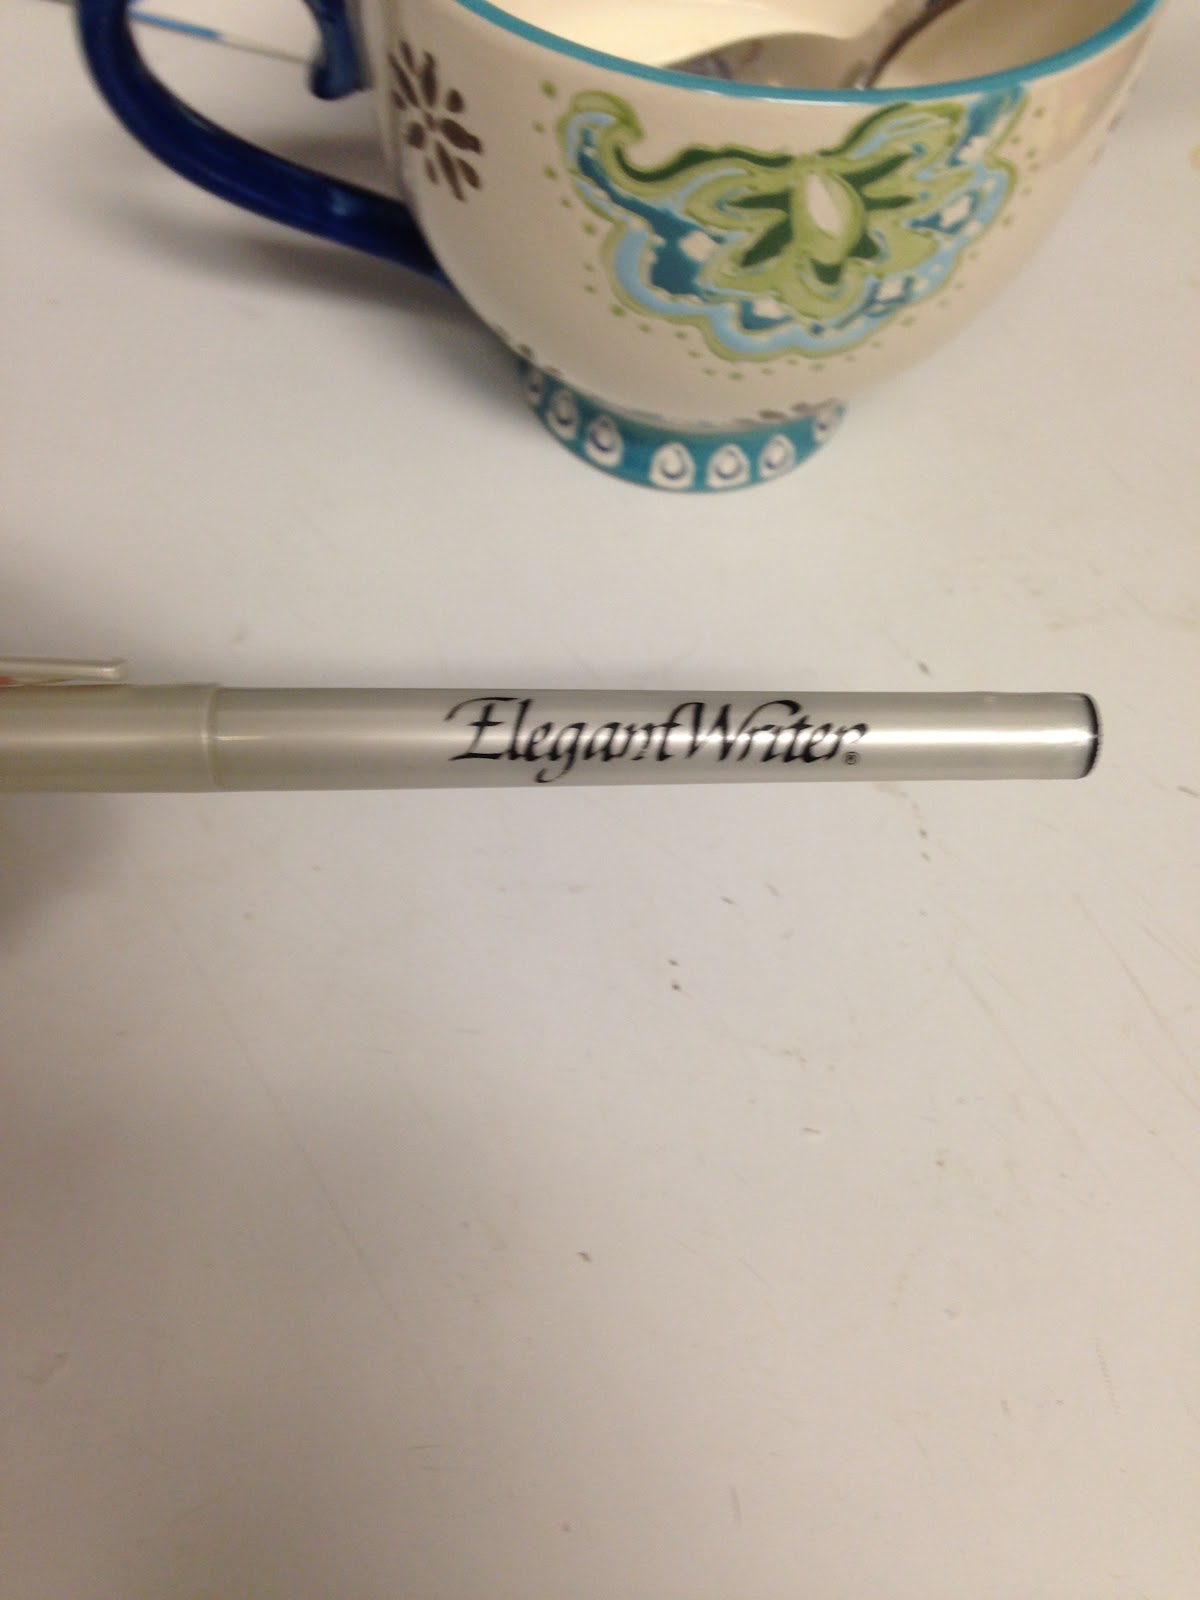
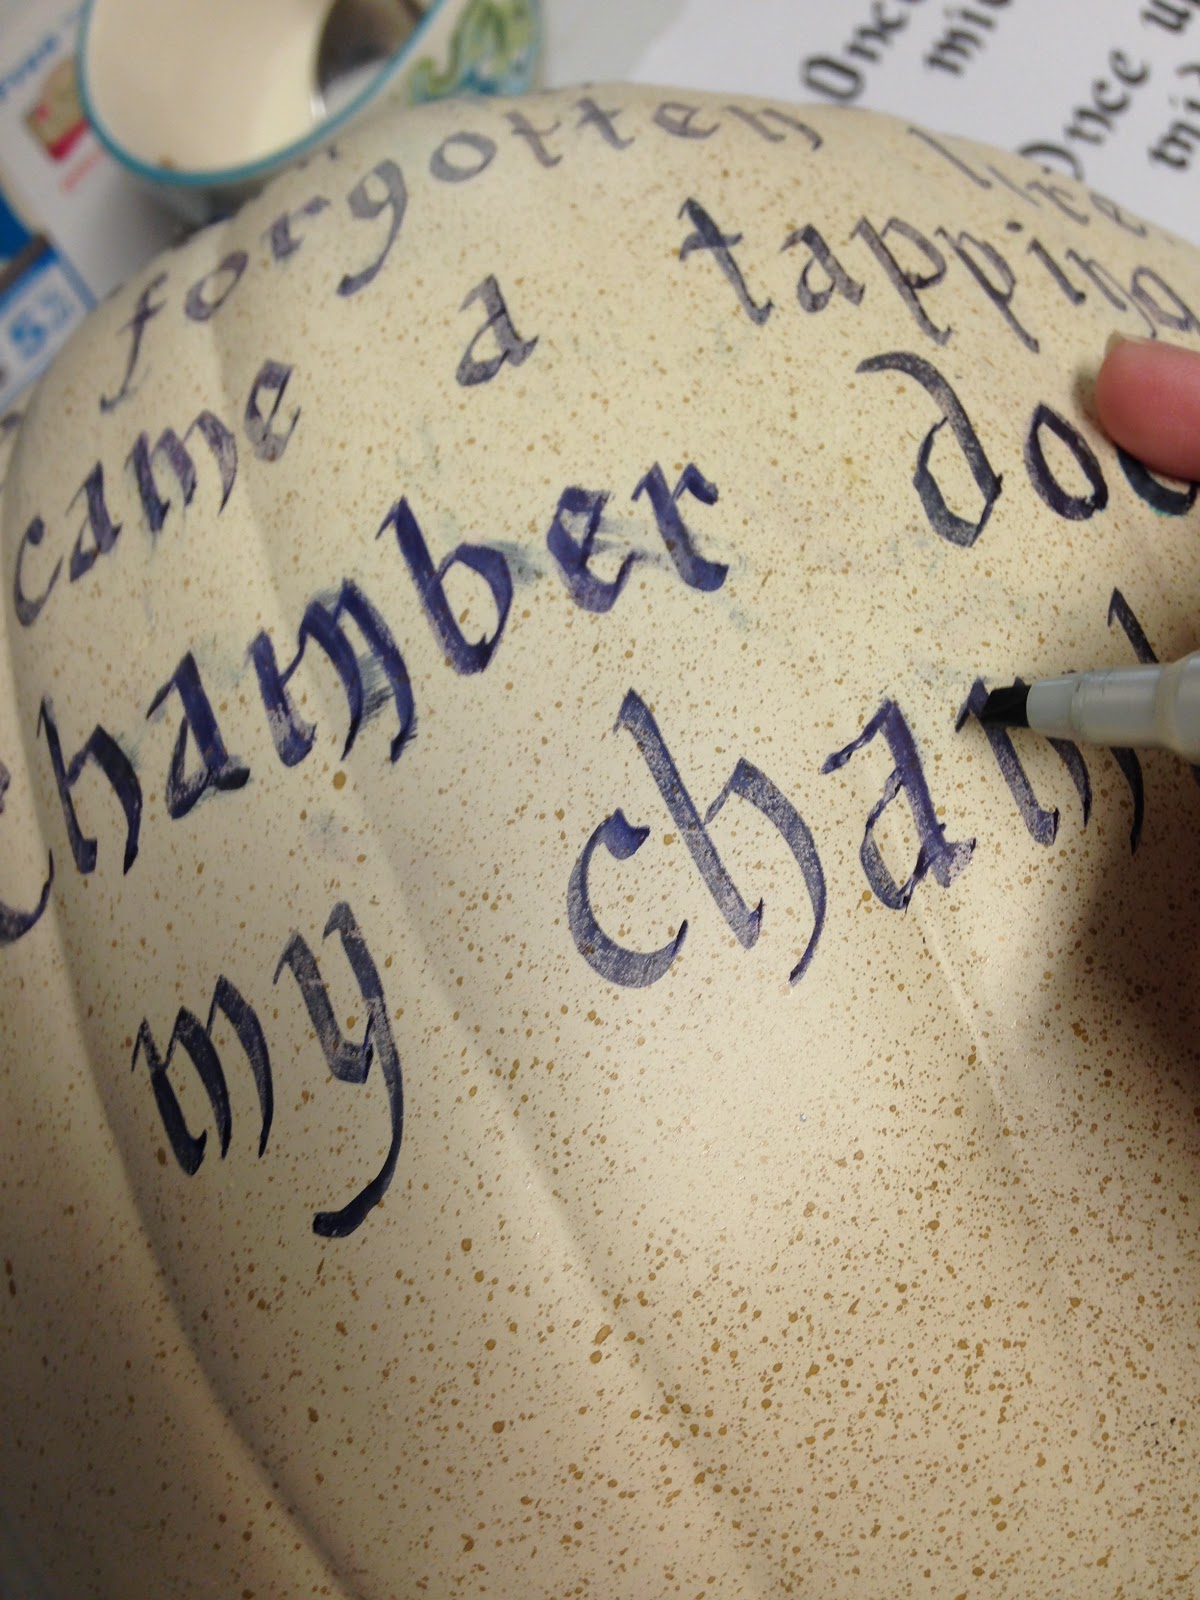
If you get a calligraphy marker like this, it will be easier for you to write on the pumpkin.  I have tried using a regular calligraphy pen, and the ink doesn't dry quick enough.

Again, this depends on the size of both your pumpkin and the size letters that you want to use.  This is where the "skill" comes in as you will want to make certain that you handwriting is legible.  The good news is, if you hold the calligraphy pen correctly, it will do most of the work for you in making the letters look good.

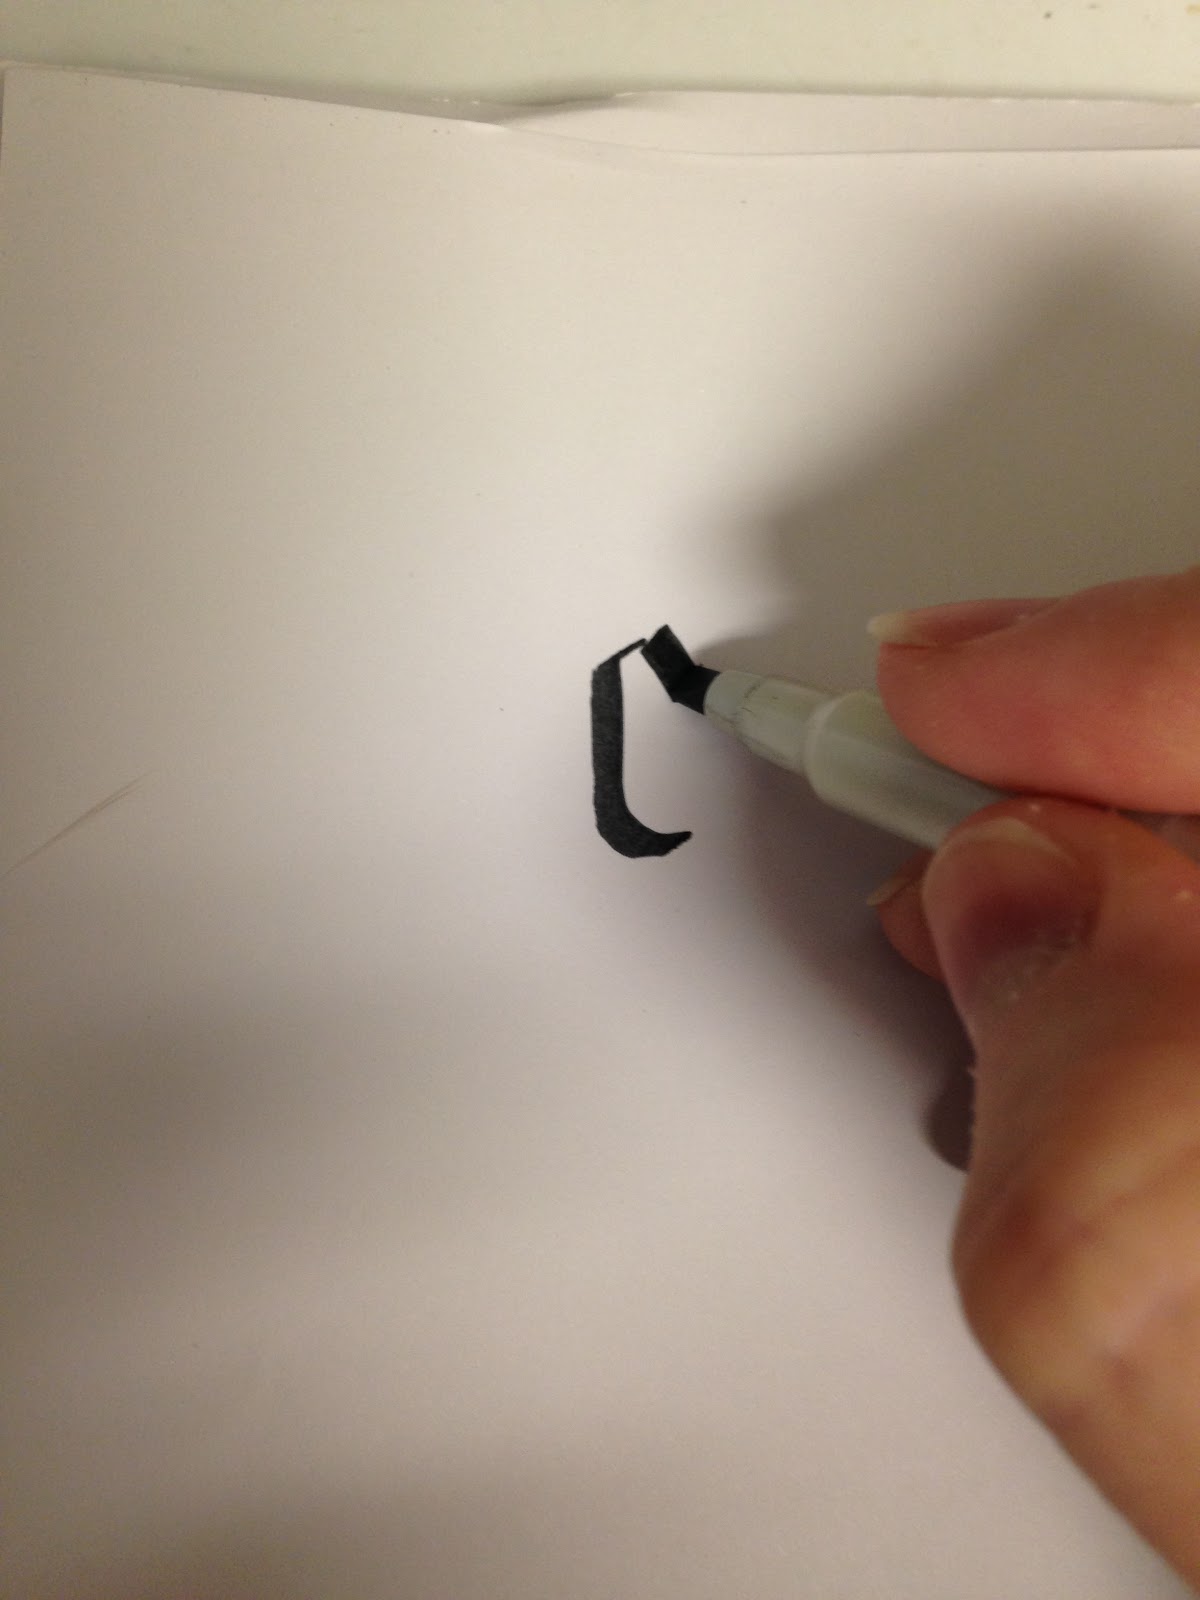
I tried to show you how to hold the marker, but I'm not sure how clear it turned out.  You want to hold the marker so that the flat side of the nib is the one that is on the paper most of the time.

(If you have never used a calligraphy marker before, it is best to practice a little on a piece of paper before writing on the pumpkin.)

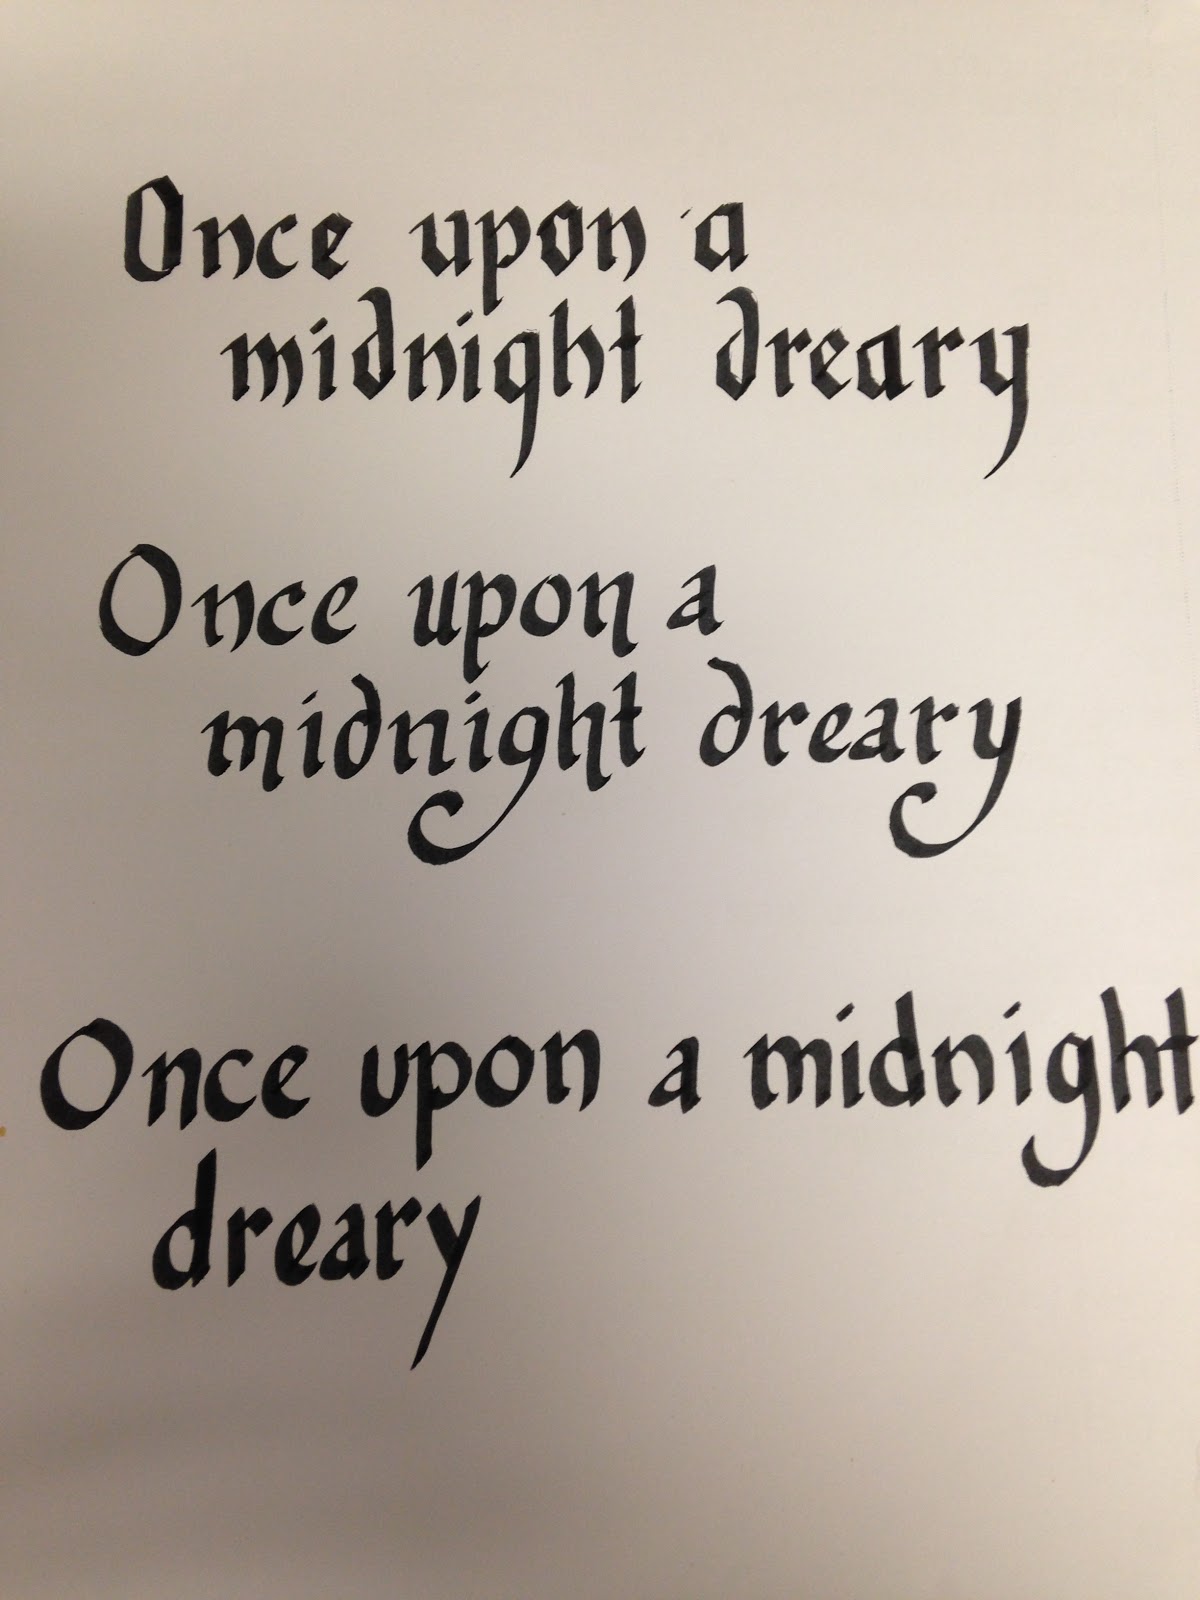
Here are a few samples of the styles that you can do.  One is a more standard, Gothic version of calligraphy, the middle is more modernized, and the bottom is just my regular hand writing using a calligraphy marker.  (I was in a hurry with that one, so it doesn't look as nice.  Sorry.)
Don't worry about going fast.  Take your time.  If you go too fast, you will smear your ink.  I left mine like this, because I thought it added to the creepiness factor, but if I was doing it for anything other than Halloween, I would have fixed it.  You can repair smudges with rubbing alcohol and a q-tip for most calligraphy markers.  Just carefully swab the places where the ink has smeared and is cloudy.

5.  Once the pumpkin is filled with writing, and the ink is dry, erase your pencil lines around your pumpkin.
6.  Place the pumpkin where you want it to be in your home and place the fake raven on top of it.  My raven fits fine on my pumpkin without glue, but you may want to use a hot glue gun to attach your raven to your pumpkin.

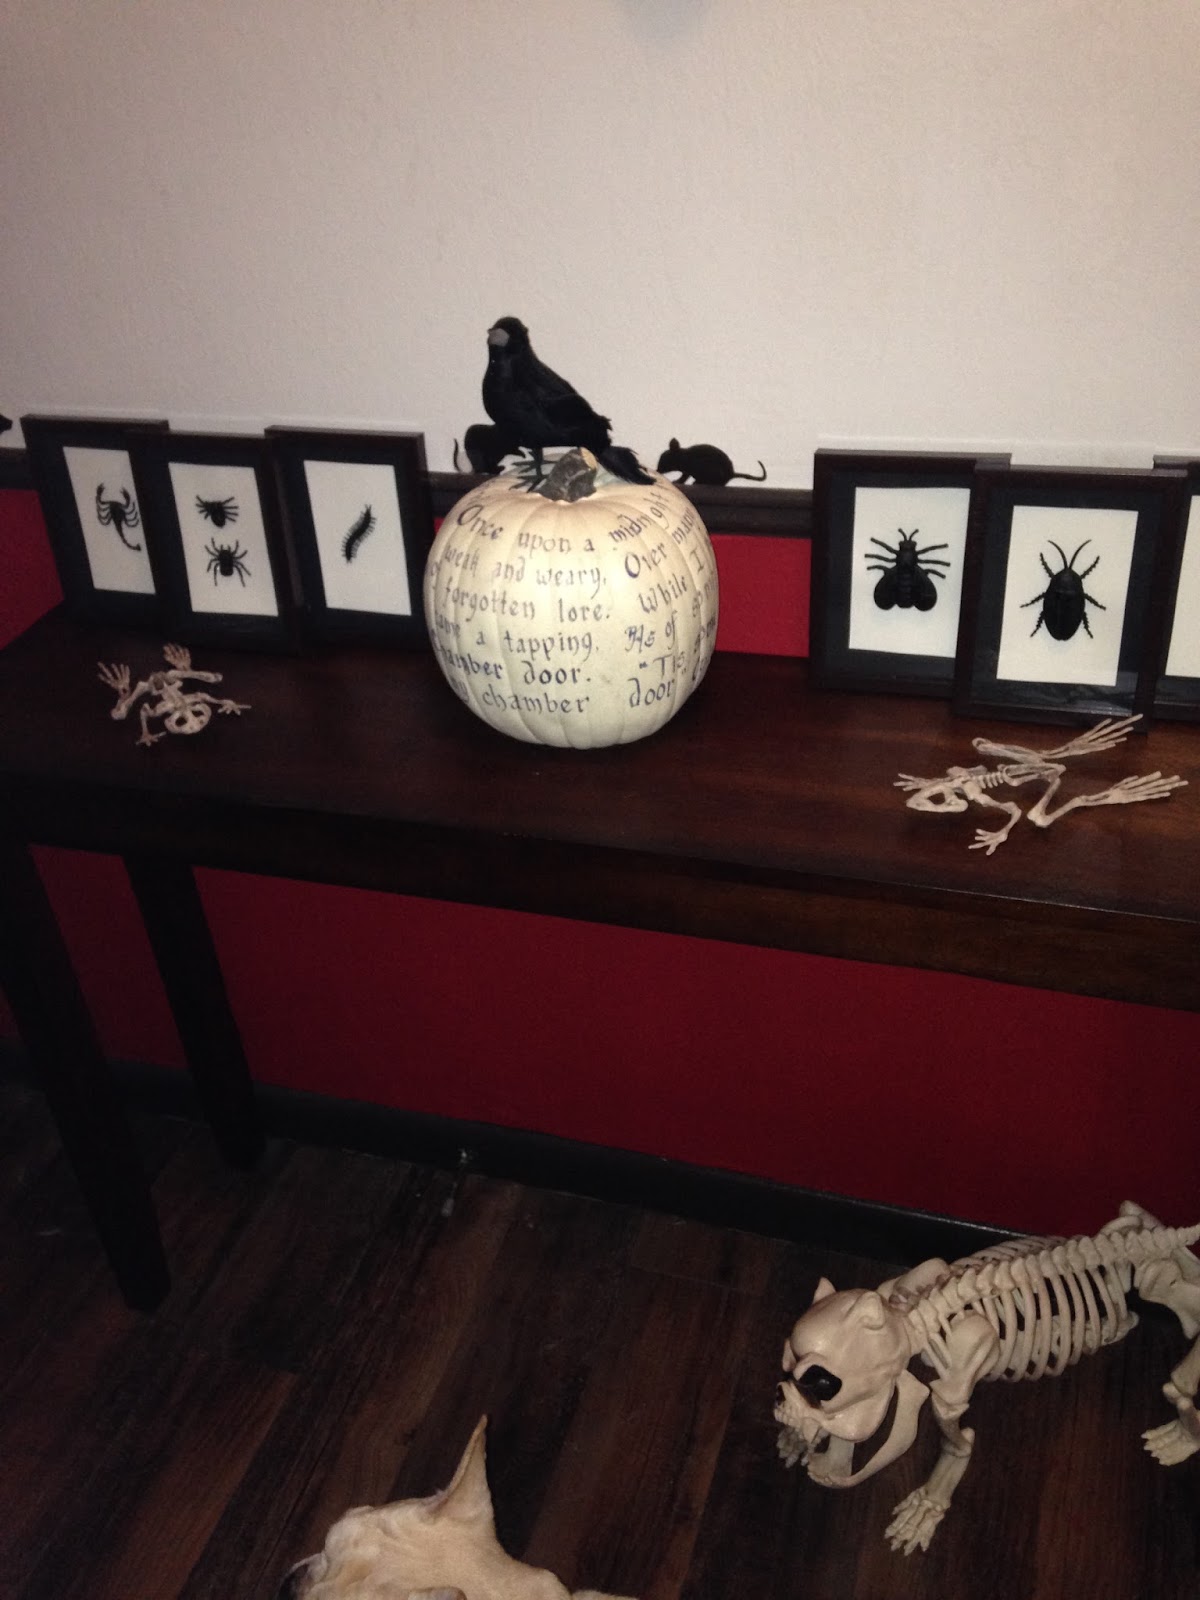
I made the pumpkin the center piece of my hall display this year, but it also looks AWESOME on fire place mantles and as table center pieces for a Halloween dinner party.

That is it!  Another super easy Halloween craft.
If you are wondering how much this one cost, this is one of my more expensive craft projects.  The foam pumpkin cost me $10 and the calligraphy pen $3.  The raven I got at the dollar store was only $1.
So, in total I spent about $15.00 on this one decoration.  But, again, I consider it an investment because I will be using it year after year.
Please keep checking back this week, as I plan to try to kick up the number of postings a little for the week leading up to Halloween to help you prepare for the little ghosts and goblins in your neighborhood!

Sunday, October 16, 2016

Bugs Under Glass - The Height of Halloween Elegance

Hello Everybody!
I have decorated my home for Halloween.  I'm not done yet, but here are some pictures of what I have done so far.  In a few pictures, you will see a couple of the craft projects that I have already posted in previous blogs. You may also notice that, with just a few minor adjustments, a lot of the décor can be modified to look appropriate for fall and Thanksgiving.  I love decorations that can do double duty--its a frugal use of décor that you won't be using all year.

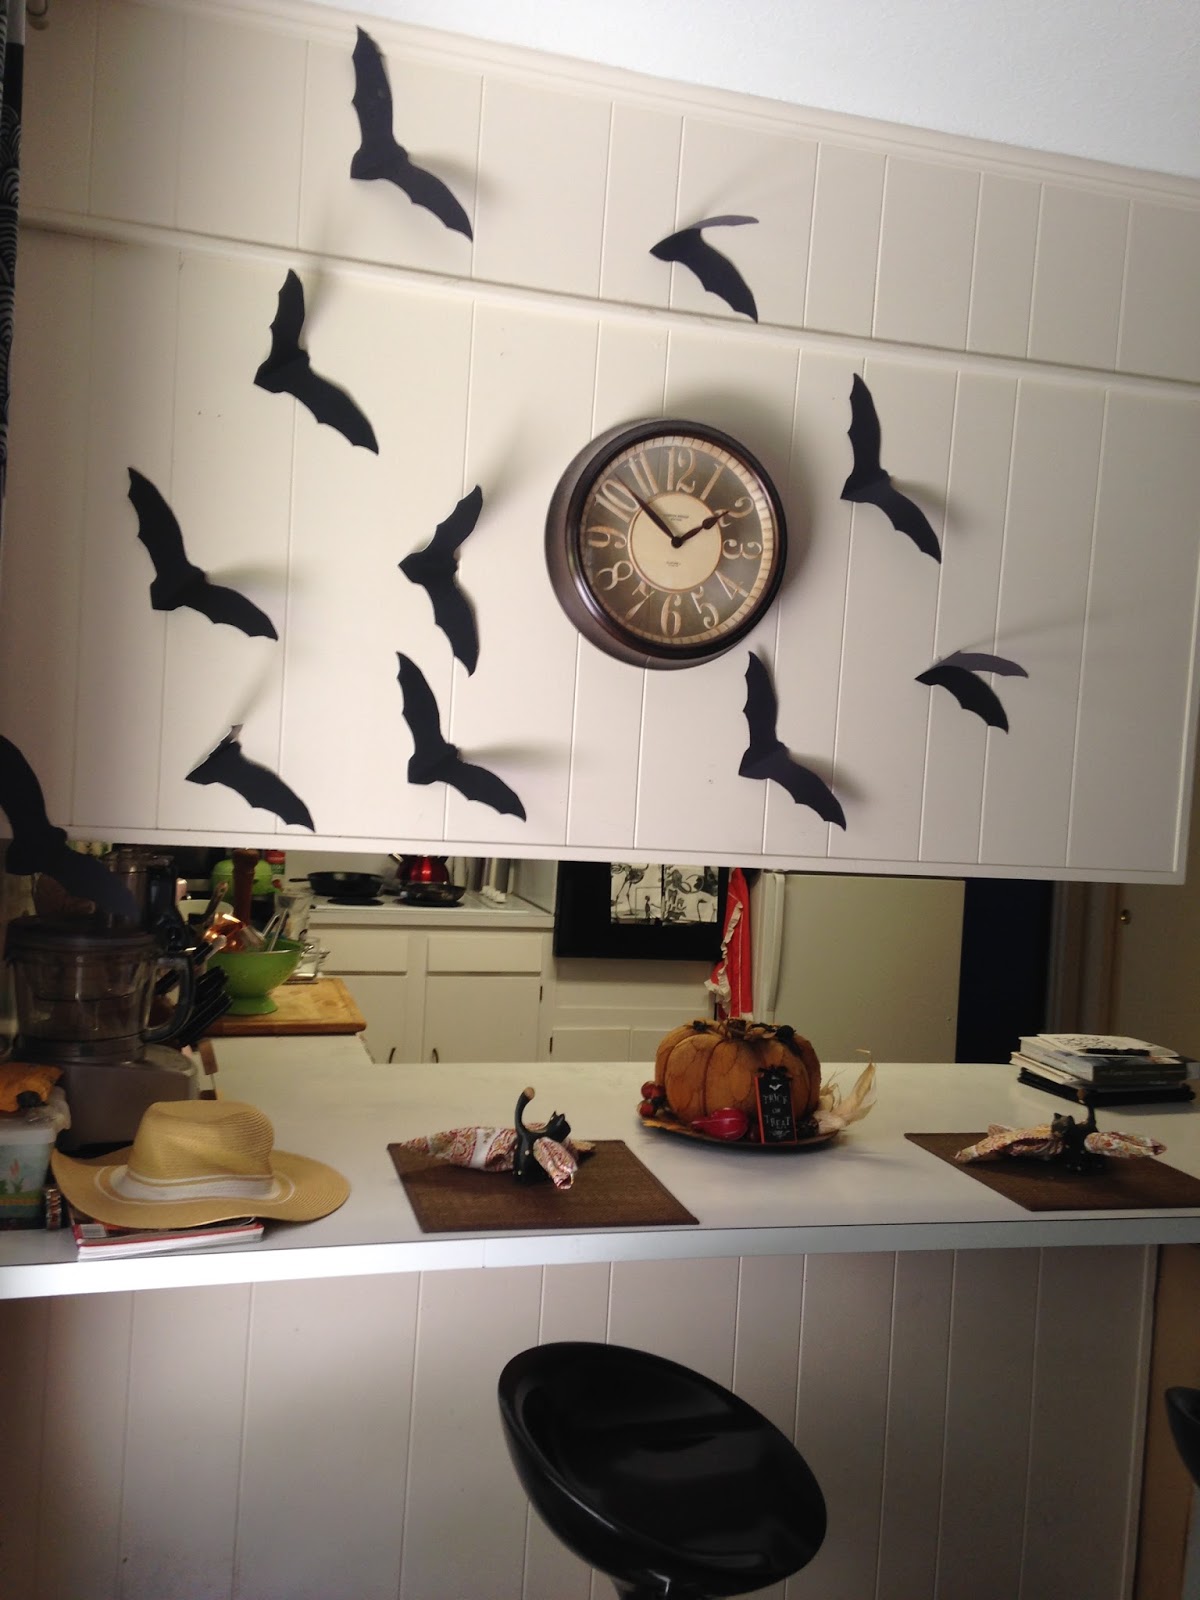
Poster board bats flying above my countertop. For instructions on how to make these and the mice, click below.
http://frugalfemmecarole.blogspot.com/2016/10/creepy-and-crawly-paper-projects-to.html
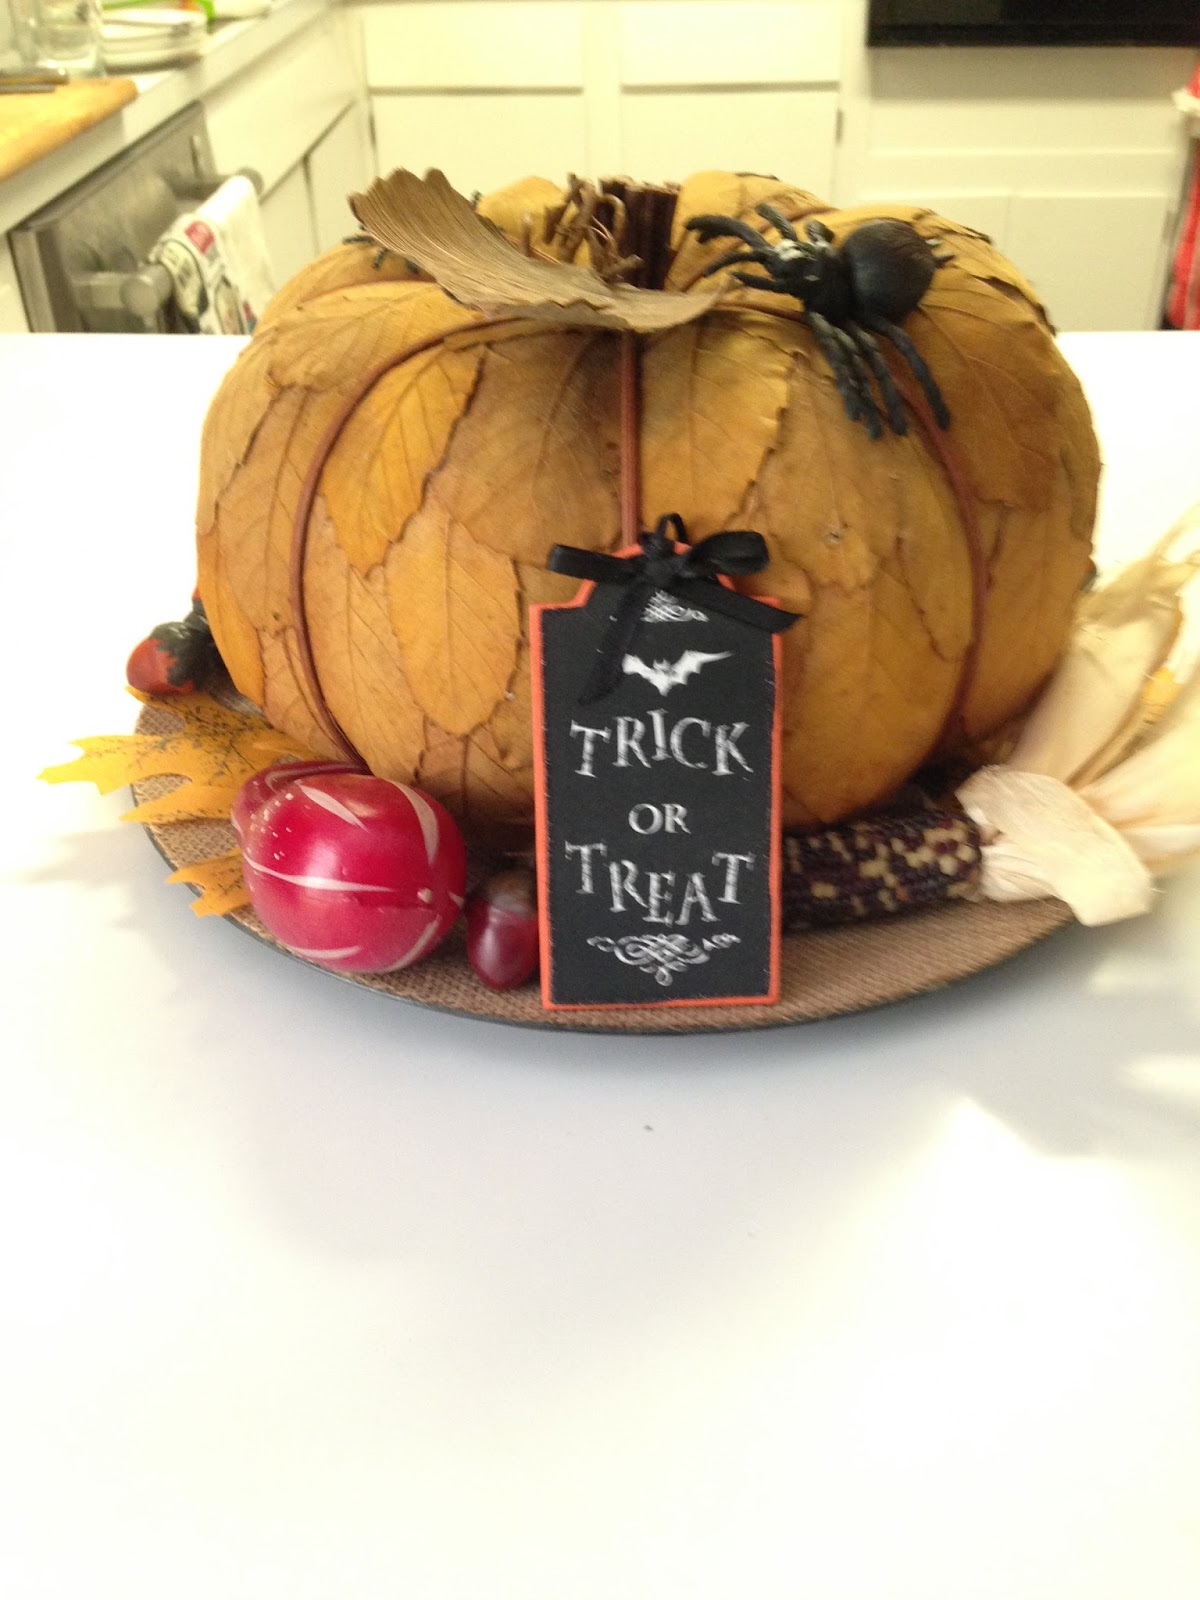
My scary pumpkin on my counter. When Halloween ends, I will take off the trick or treat sign and remove the spiders and it will go from spooky to Harvest festive for Thanksgiving.

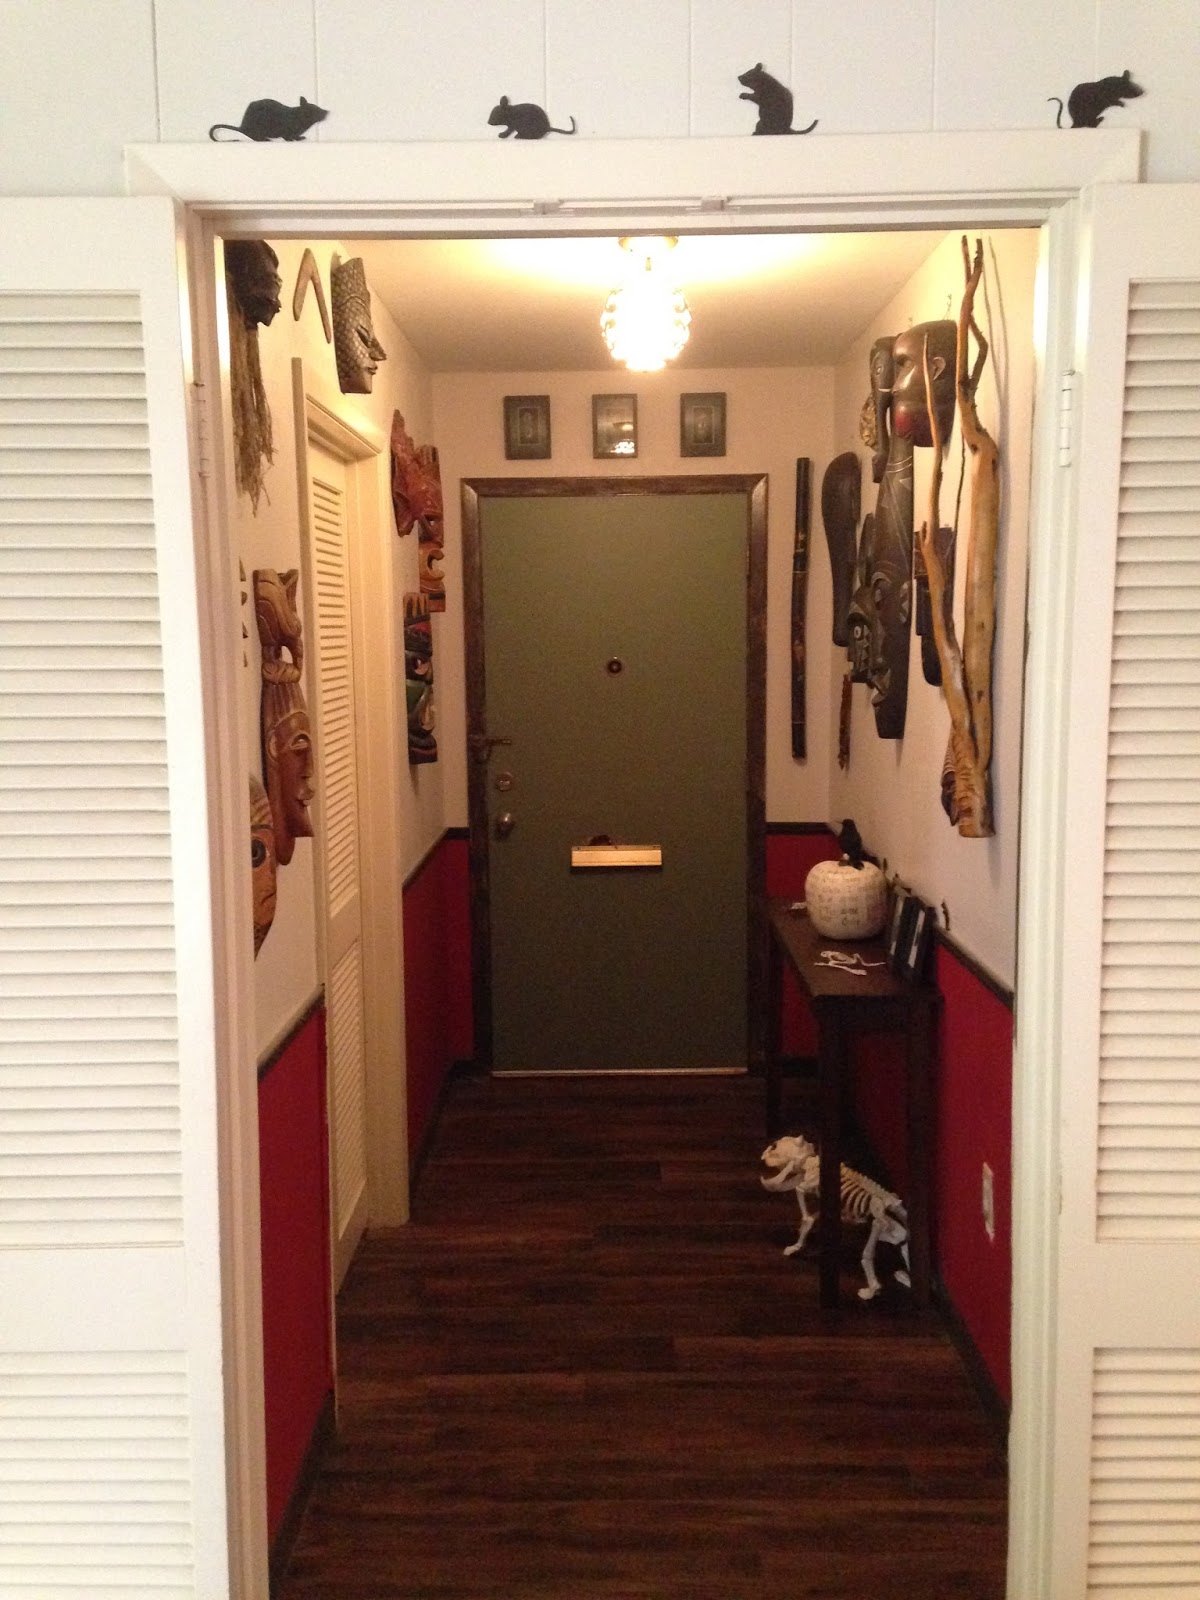
Poster board mice investigating my entryway. 
 
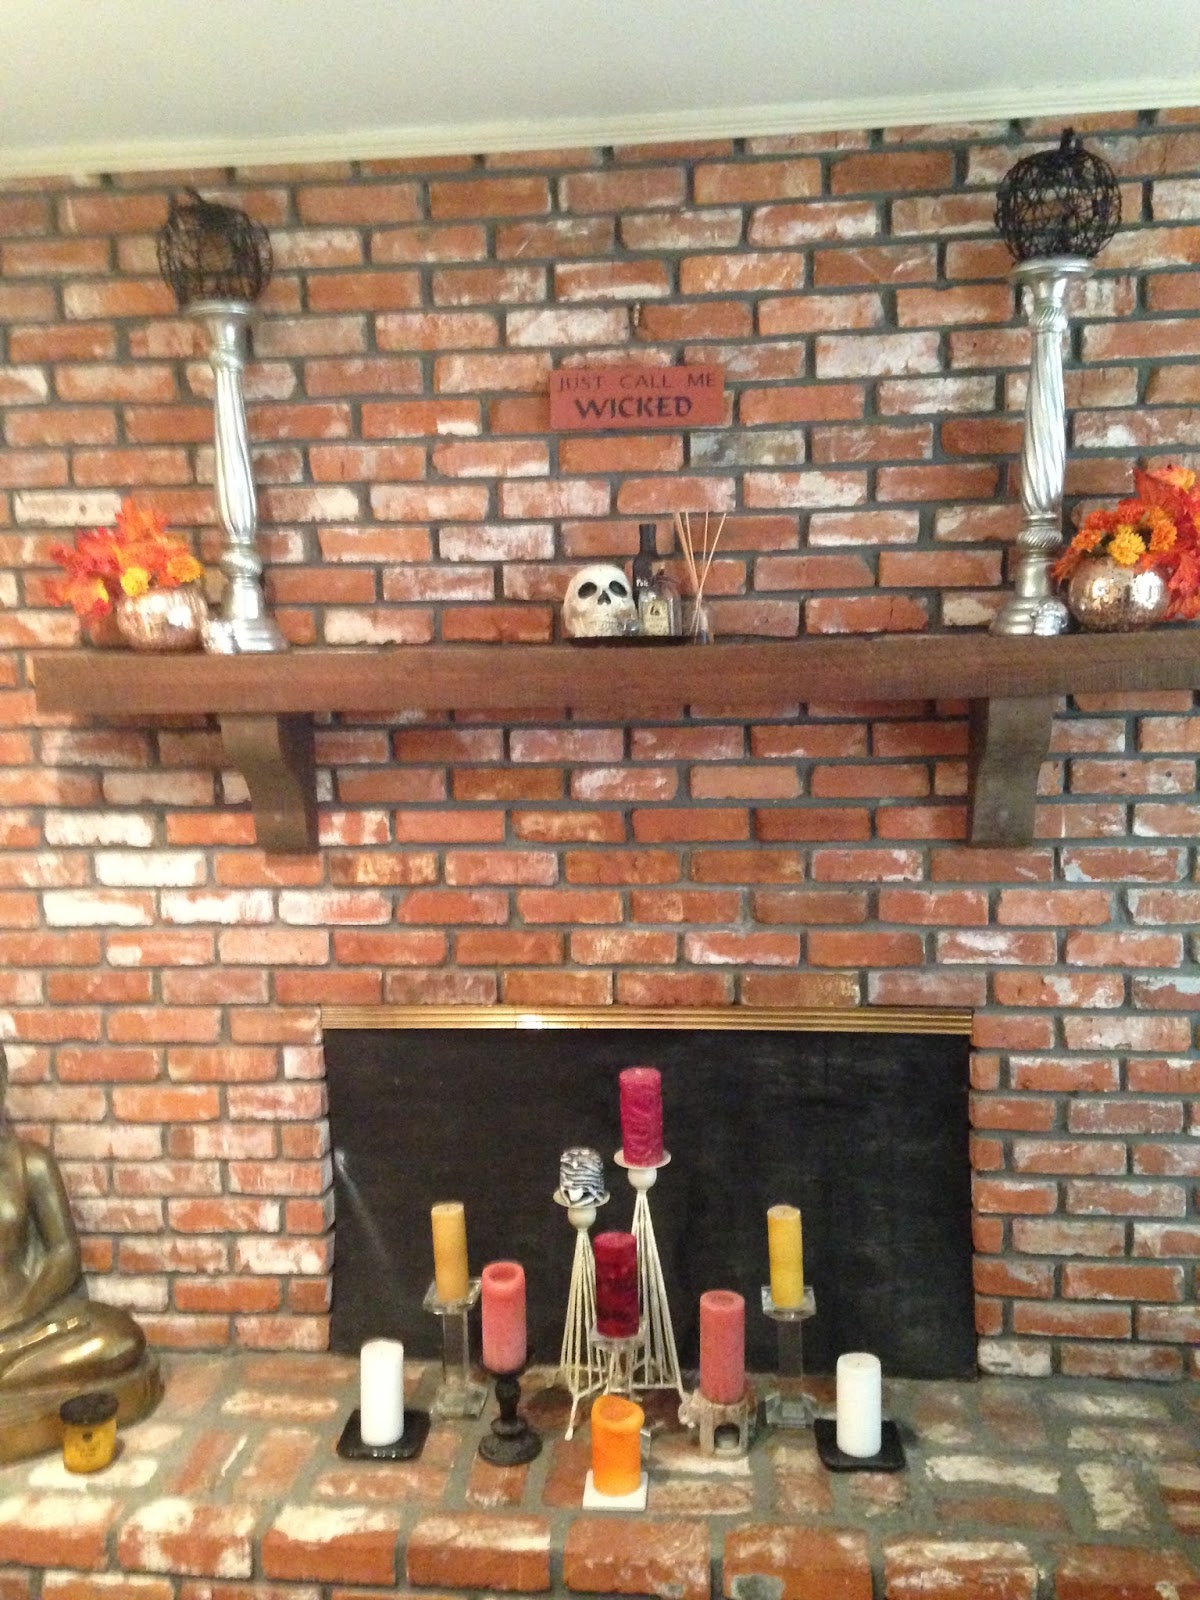
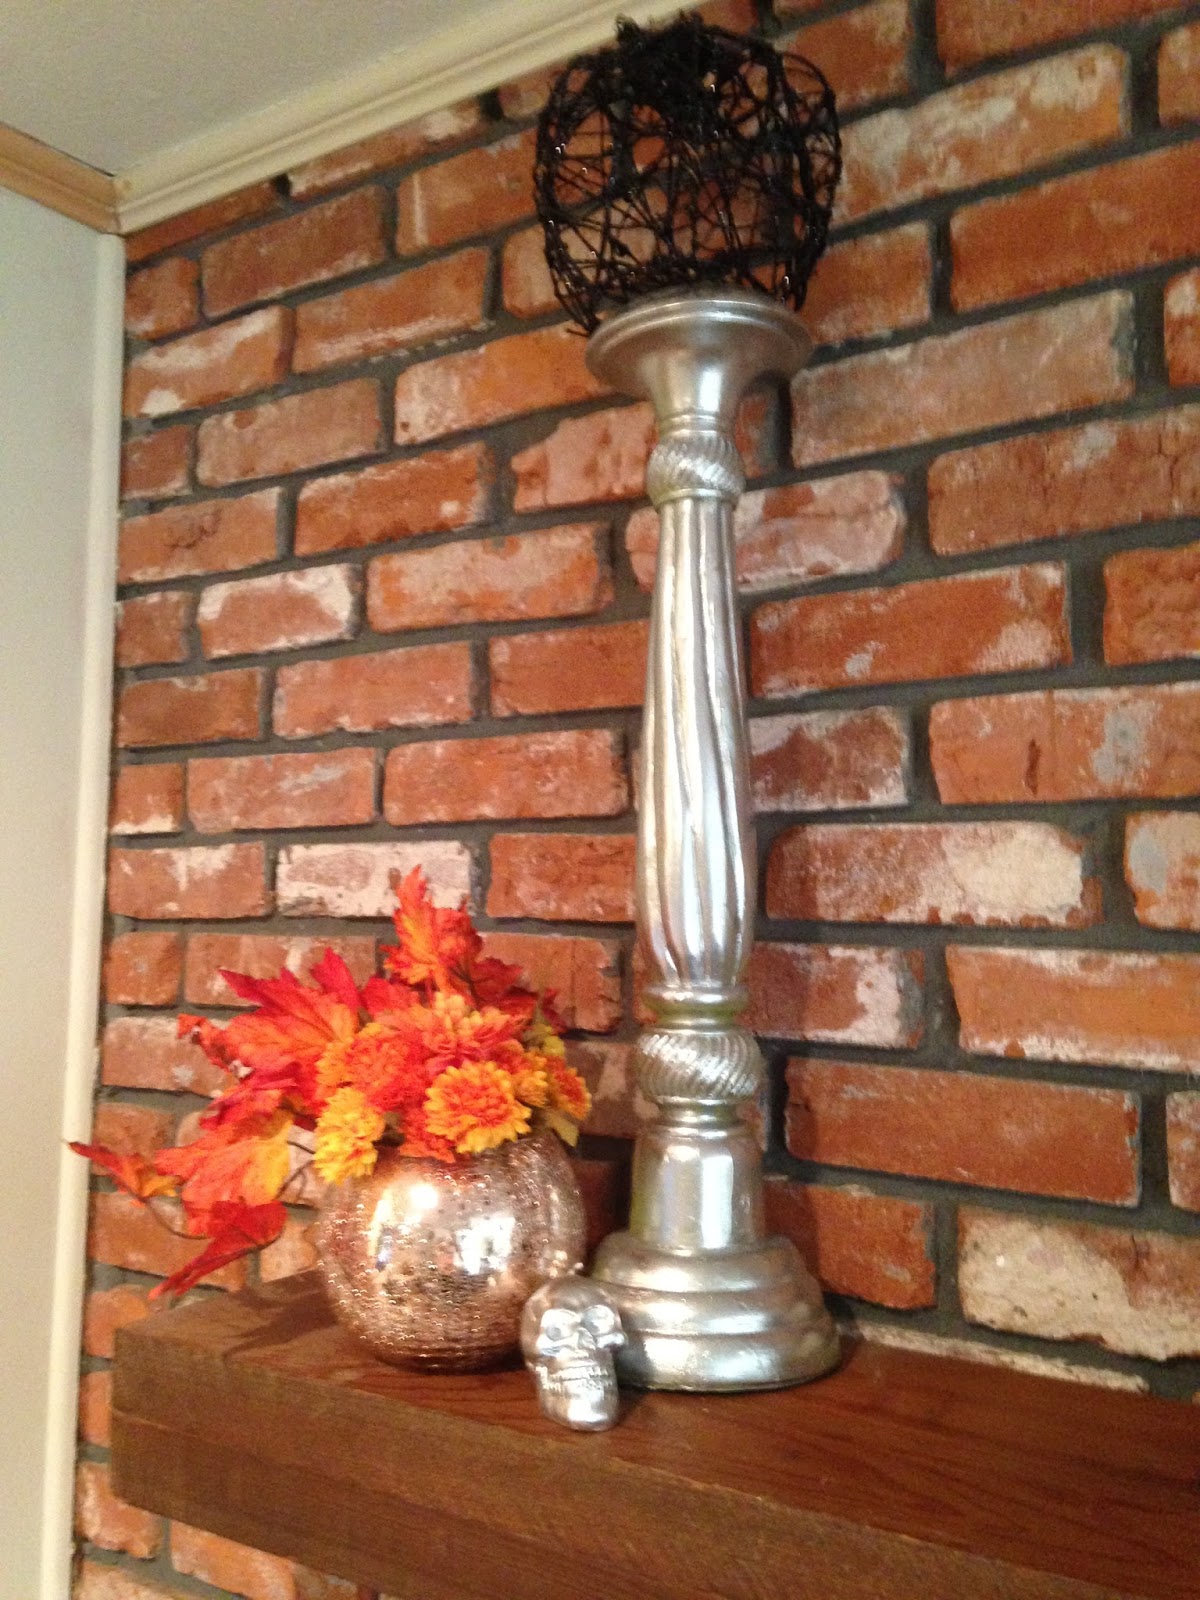
I don't think that I am completely done with the mantle, I think that I want to add some cobwebs and the tiny fairy lights you can put in jars.
 
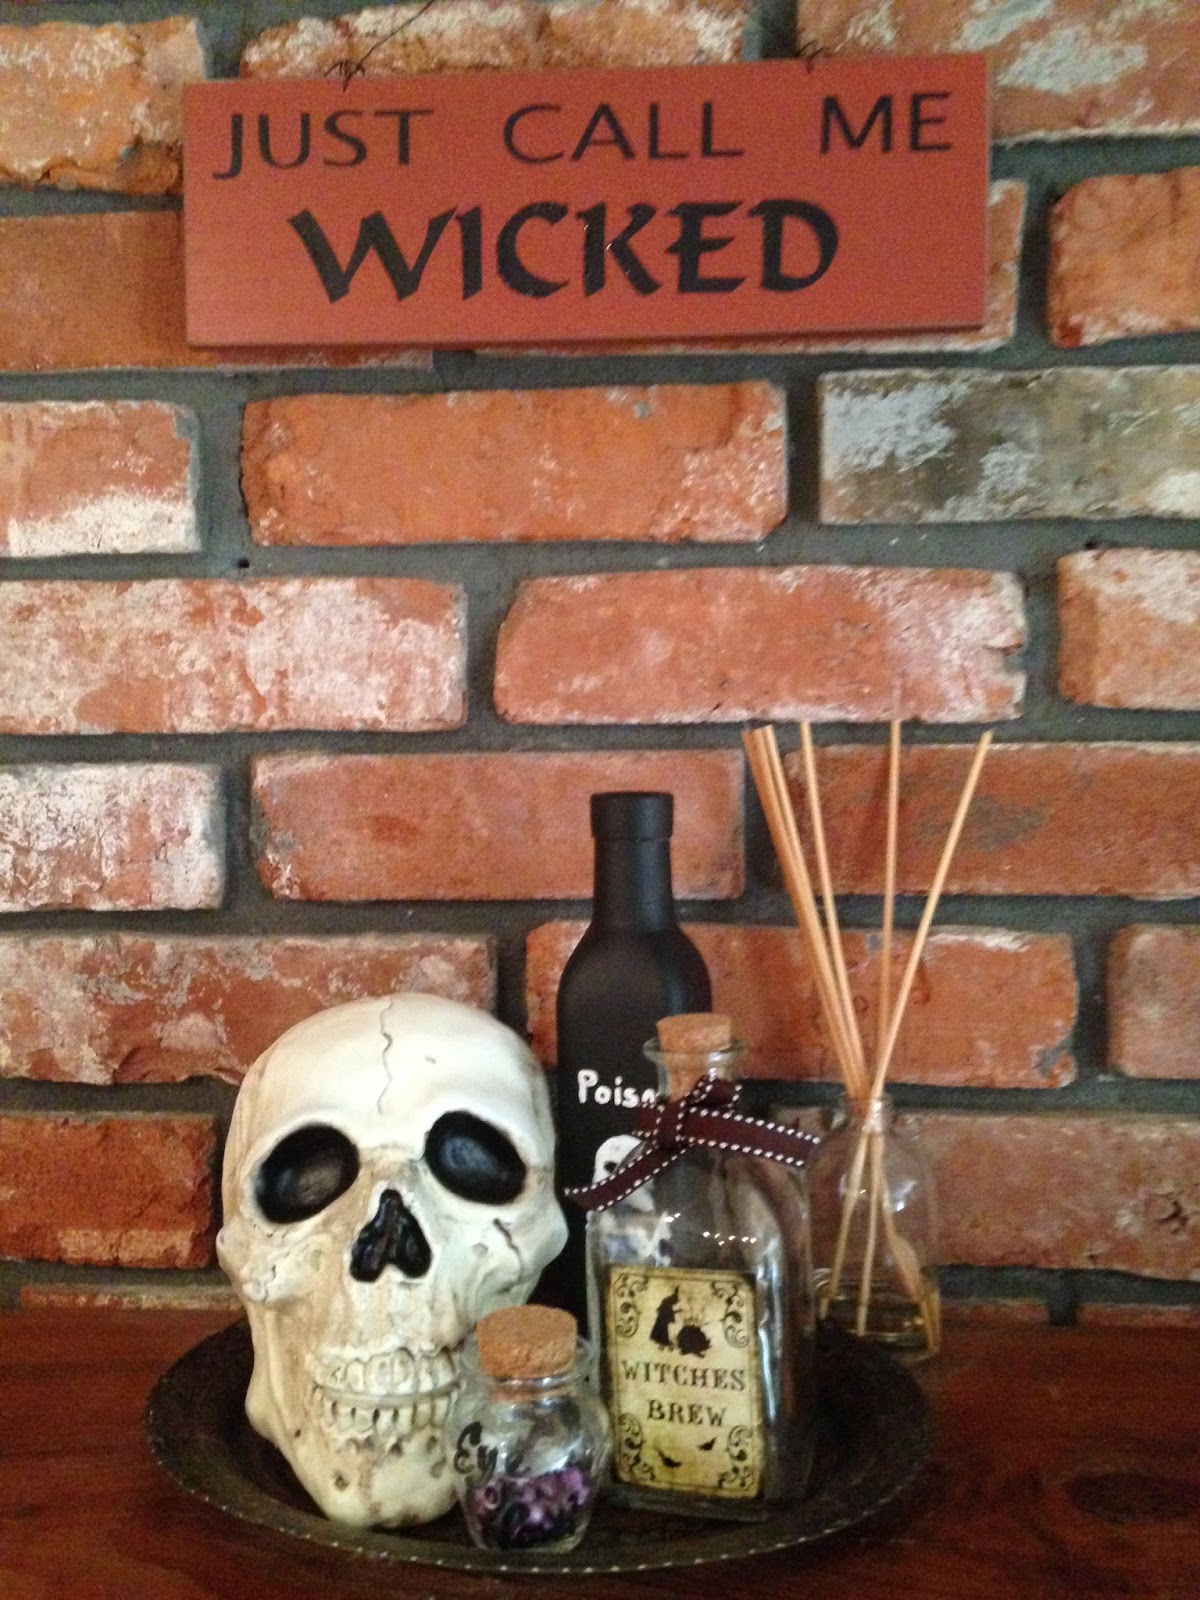
The skull I got at the dollar store, as well as the bottles.  Fill them with water colored with food dye.  The eye of newt were some plastic beads that I didn't use for a bracelet.
The candle sticks that I have on the mantle are actually wood candlesticks that I got at a garage sale.  They were originally a lime green and I spray painted over them with chrome paint.

I have yet another Halloween craft that is easy, inexpensive, and does not take any artistic talent. This craft project may not be for everybody, especially if you are squeamish about insects, but if you are into the slightly crawly for Halloween, this project can't be beat!

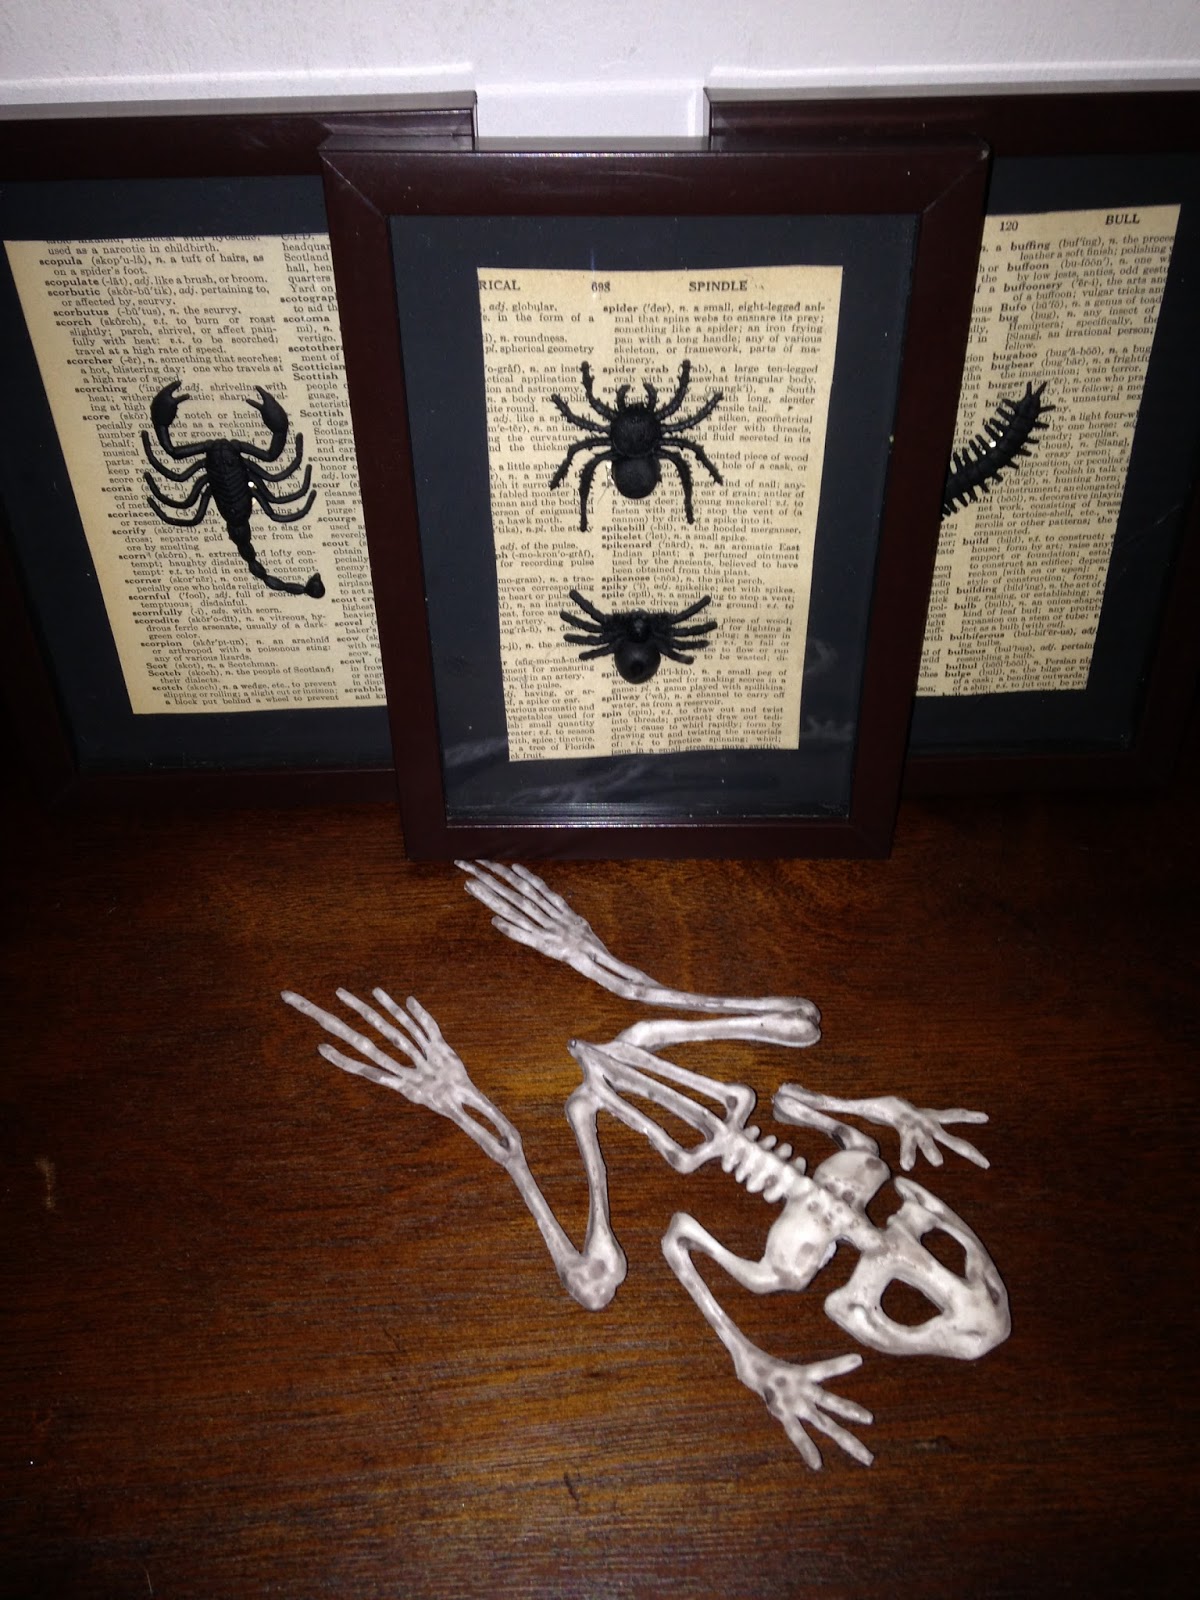
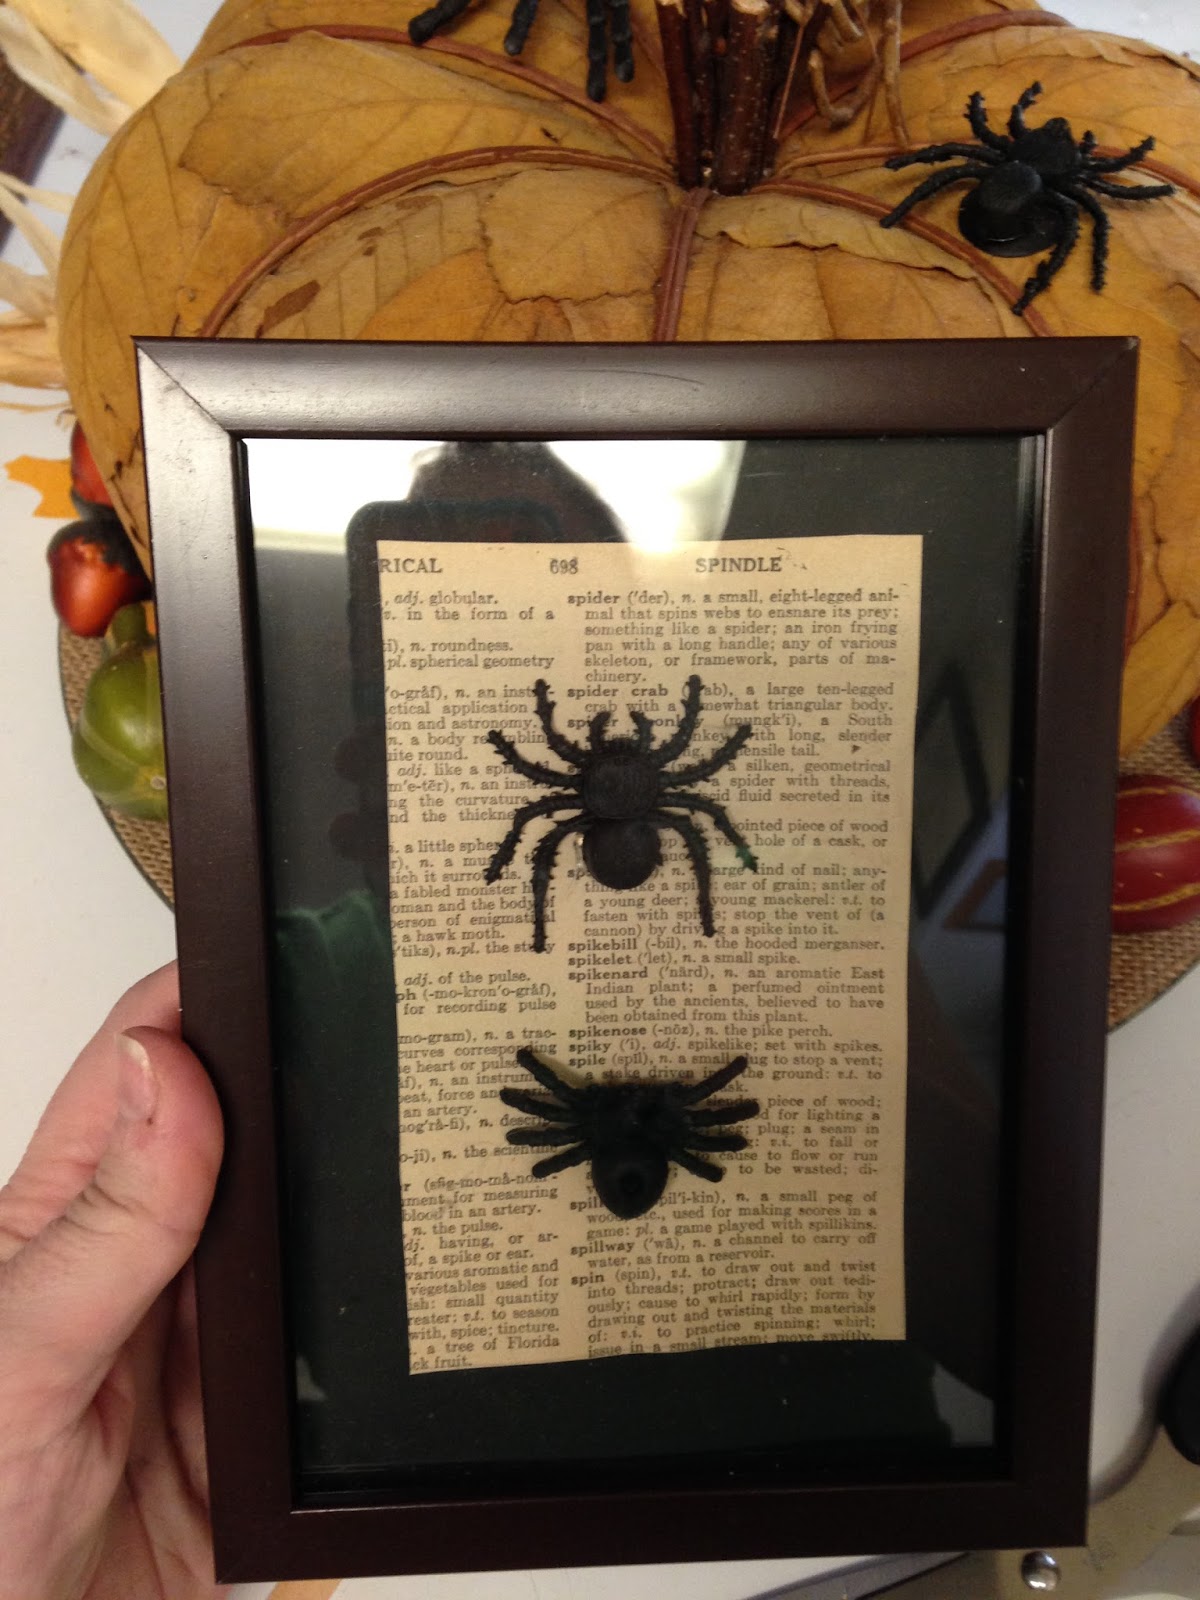
I got most of my items at the dollar store, so the total cost for me was $10.00.  These look so creepily elegant when they are completed.  Once done, you can hang these on your wall or put them on your mantel.
They are a very inexpensive way to set the Halloween mood and, if your friends are anything like mine, they will ask you where you got them so that they can purchase them for themselves.

Insects Under Glass


Materials
Black Poster Board
Vintage Dictionary Pages or White Poster Board
Plastic or Rubber Insects
Picture Frames (Deep enough to hold width of insects) or Shadow Boxes - preferable black
Black Spray Paint (Optional - may not be needed)
Ruler
Pencil
Scissors
Hot Glue and Hot Glue Gun

Instructions
1.  Go to the dollar store and shop for your supplies.  The size of your project will depend on the size of your frames.  When I was looking for frames, I was actually looking for shadow boxes and I had tried to find them in my local craft store.  But the cost of shadow boxes was way out of my budget and I quickly changed my plan to see if I could find frames that would work at the dollar store.  Look for frames that have a little bit of space between the glass and the back cardboard.  The ones I ended up finding were 5x7 frames in a maroon so dark that they almost looked black.    Also be on the lookout for toy bugs.  The ones that I found were "realistic" looking and were in color.  I wanted them to be all in black, so I used spray paint I already had on hand to spray them black so don't let color deter you.
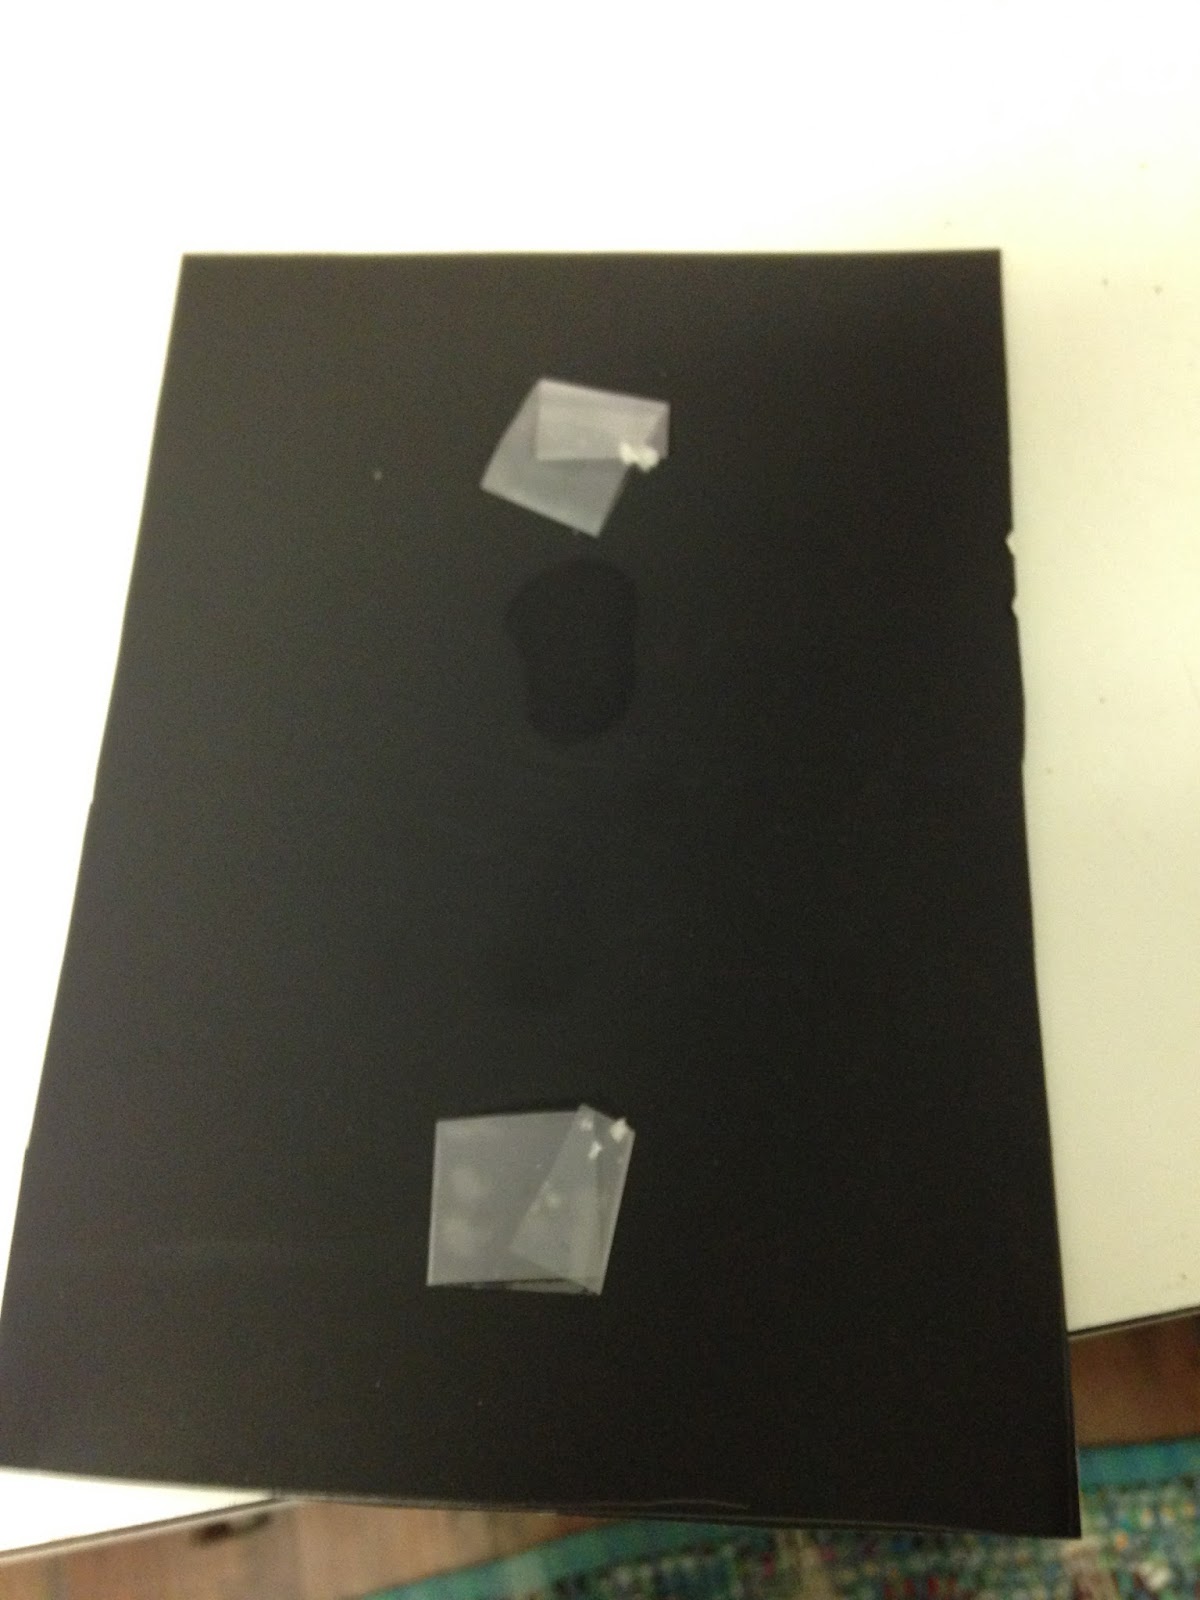
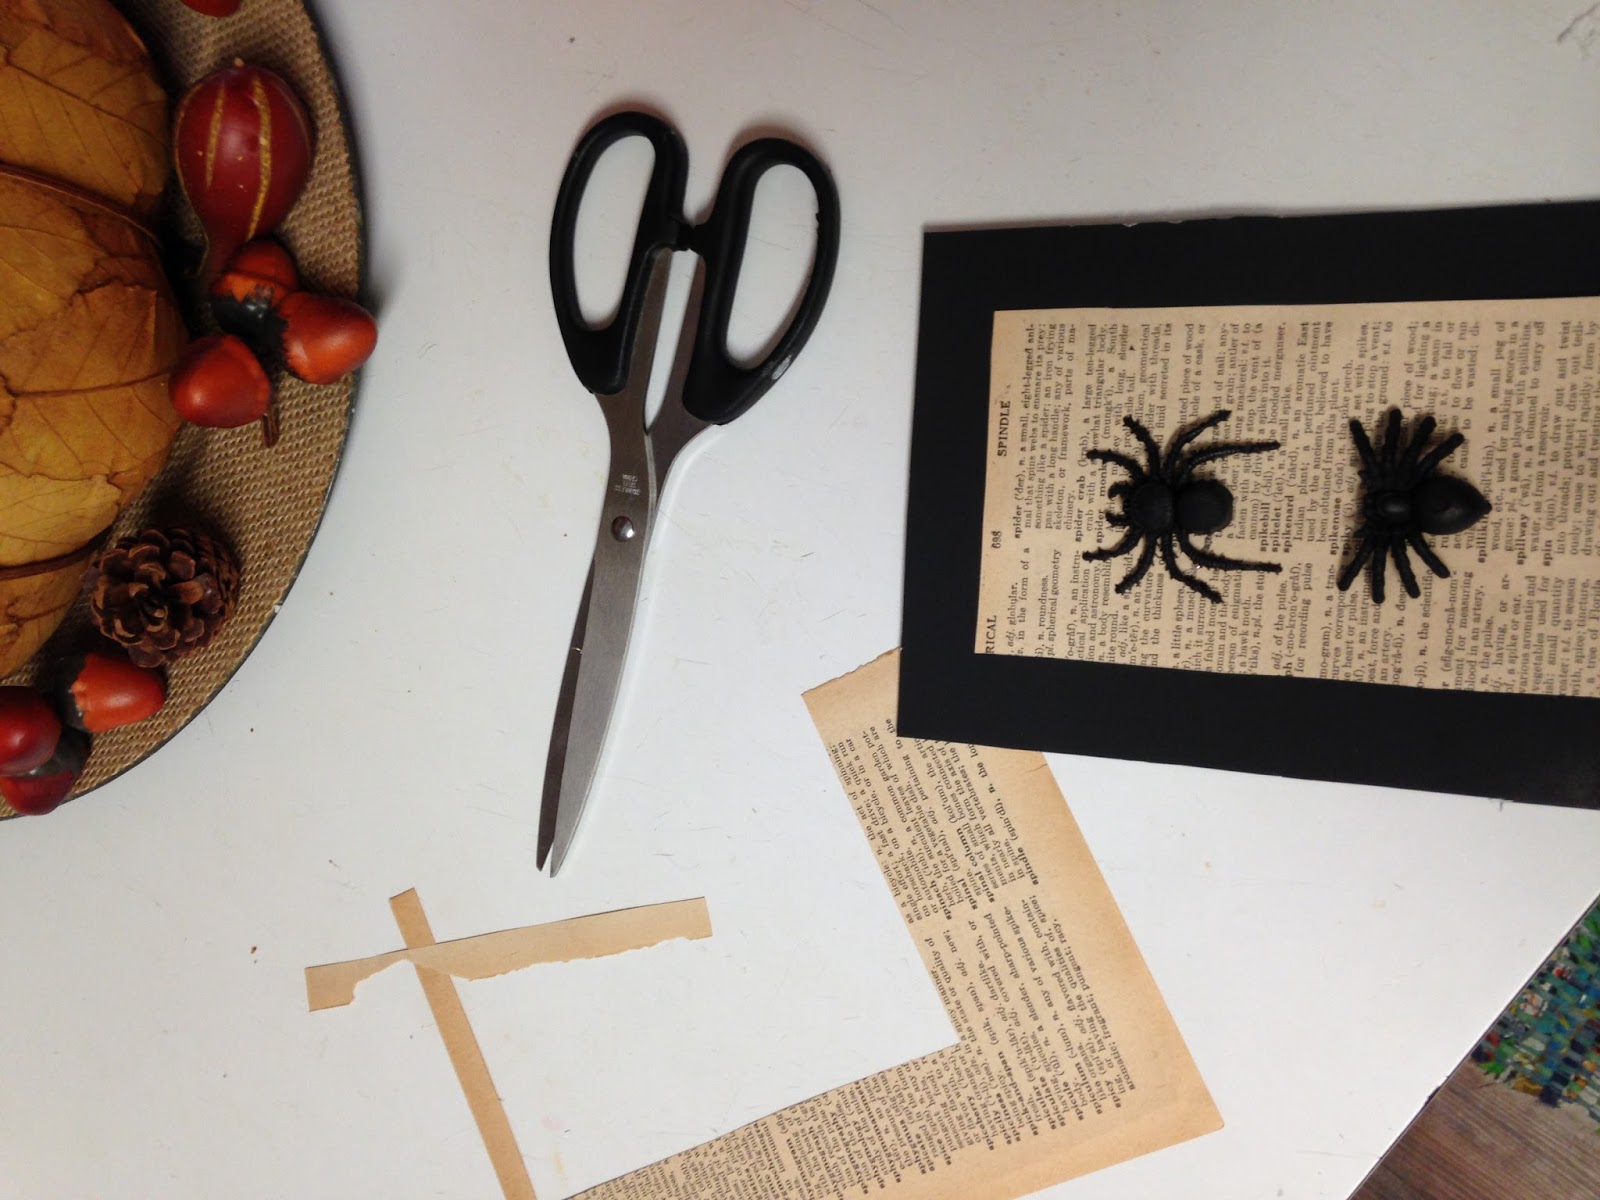
2.  Once home, open your frames and use the papers inside as your template for the black poster board.  Trace around your "template" with a pencil and cut out with scissors.
I forgot to take the picture before I added tape.  Oops! :-)

3.  If you are using dictionary pages, choose which pages you wish to use as the backgrounds for your insects.  I used an old vintage dictionary that was falling apart and was being thrown away by my place of employment.  Old dictionaries are pretty easy to find inexpensively as they are considered sort of an obsolete item in today's time with the internet and you can find them for mere cents at used bookstores.  If you have a vintage dictionary, your pages are going to be fairly thick.  If your dictionary is a "newer" dictionary your pages will be thinner and you should glue them to white poster board to make them thicker and keep them from buckling.
I like to choose pages that are in some way related to what I am gluing on them.  Some ideas for pages that you can look for depending on the insects that you have are:

                         Insect
                         Entomology
                         Beetle
                         Roach
                         Scarab
                         Spider
                         Bug
                         Centipede

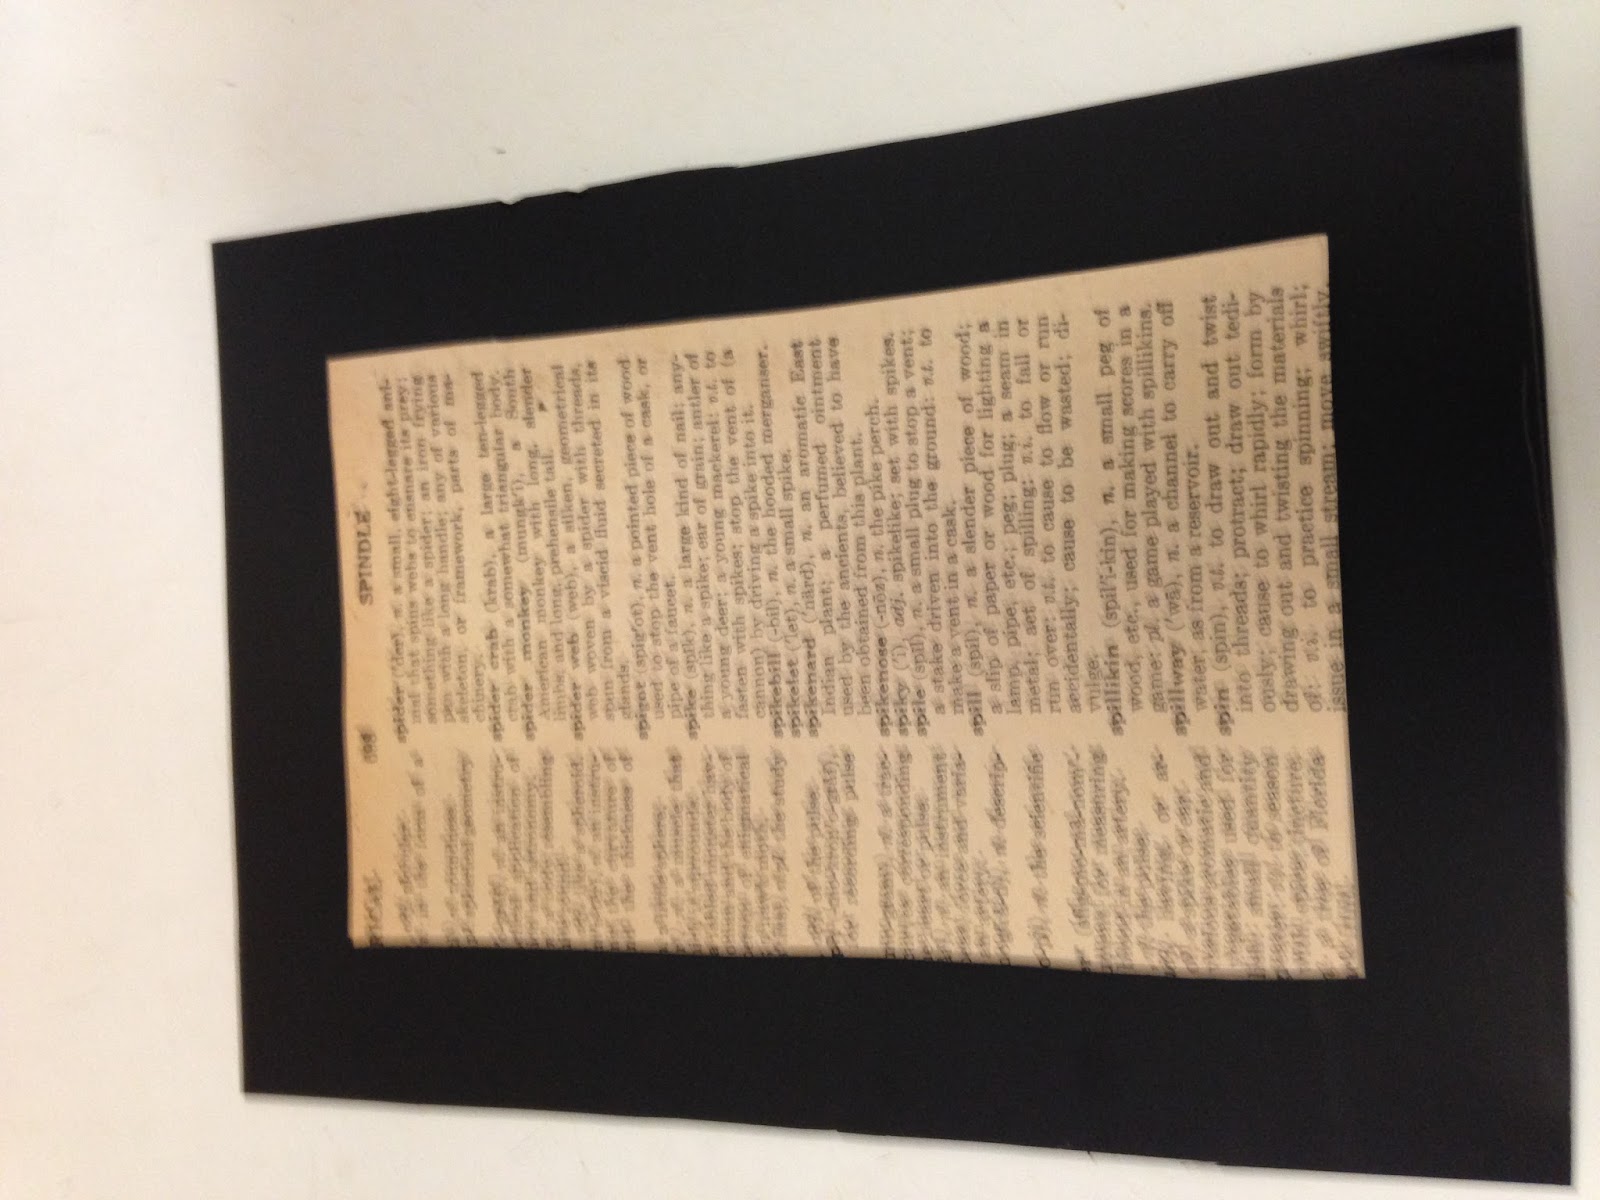
4.  After you have chosen your pages, figure out how big you would like your background to be - I wanted my black poster board to look like matting, so I cut my dictionary pages so that they left an inch of black around the pages making it look like my bugs were professionally framed.  I cut mine at 3.25 in. wide and 5.25 long.  But remember, this is completely dependent on the size of your frames.  My frames said they were 5x7, but when I measured them, they were actually 5.5 in. wide and 7.5 in. long, thus my measurements were a little longer than you might expect.  Once you determine what size you would like your background to be make yourself a template.
5.  Place your template on the dictionary page and determine where you want you main word to show.  This depends on the size of your insect and where the word you are wanting to make certain is visible is located on the dictionary page.  You are going to center you insect in the center of the page, so you do not want your word to be in the center of the page or it will be covered by your insect.  Once you have determined where on the page you want your template to be, trace around your template and cut out with scissors.


6.  Center the cut dictionary page on the black poster board you have cut out using your template and center the cut dictionary page so about one inch of the black is showing on all four sides.
7.  Tape or glue the dictionary page to the cutout black poster board.  (If you do not want to use dictionary pages, you can use plain white poster board or you can use a patterned scrapbook paper.  I think that scrapbook paper with a damask pattern looks awesome behind the insects, but you use whatever inspires you and fits your decor.)


8.  Place your black insect in the center of the dictionary page.  Once you have determined where you wish to place your bug, hot glue the back of the insect with hot glue and carefully place the insect in the center.

9.  Give the glue a few moments to cool and then reassemble your frames placing your insect mounted on its paper first and finishing with the back of the frame last.


10.  Mount or place the frames anywhere in you house you would like.  I have put mine on the hallway wall, on my mantel and on the hallway side table.  The options are endless.


I took this picture of my entryway before I switched out the background to dictionary paper on my insects.  So you can see what they look like if you want to use plain white poster board.  I am going to show you how to make The Raven pumpkin in another post.


These really do look very elegant.  They don't have to be just for Halloween.  If you have a library or a study in your house, this project works very well in those rooms.  To make them look more decorative and less spooky, you can hand write in calligraphy, or type if you don't do calligraphy, a label with the insects scientific name and place it under the bug.  Voila!  It now looks very studious.

That is it for today's post, but I still have a few more crafts and ideas to help you get your house ready for the year's scariest holiday so please check back in!  

Abercrombie, my pub's mascot, decked out for the Halloween season.


Monday, October 3, 2016

Creepy and Crawly Paper Projects to Decorate Your Home for Halloween


Hello Everyone!
It is now officially October.  The time of season when we can enjoy everything pumpkin and can start preparing for Halloween.


In my last blog, I showed you how to make a wreath out of little more than a ceiling medallion and paint.  In this post, I will give you the links to make your own paper bats and paper mice to decorate the inside of your home.  Again, I am sad to say, that these are not my ideas.  I saw one of them, the mice, in a Martha Stewart "Real Living" magazine about a decade ago.  Lucky for you and for me, this project seems to be very popular and you can now find the instructions for how to make them online.
I thought about just attaching link, but I thought that it may be helpful if I put the instructions here.

Paper Mice

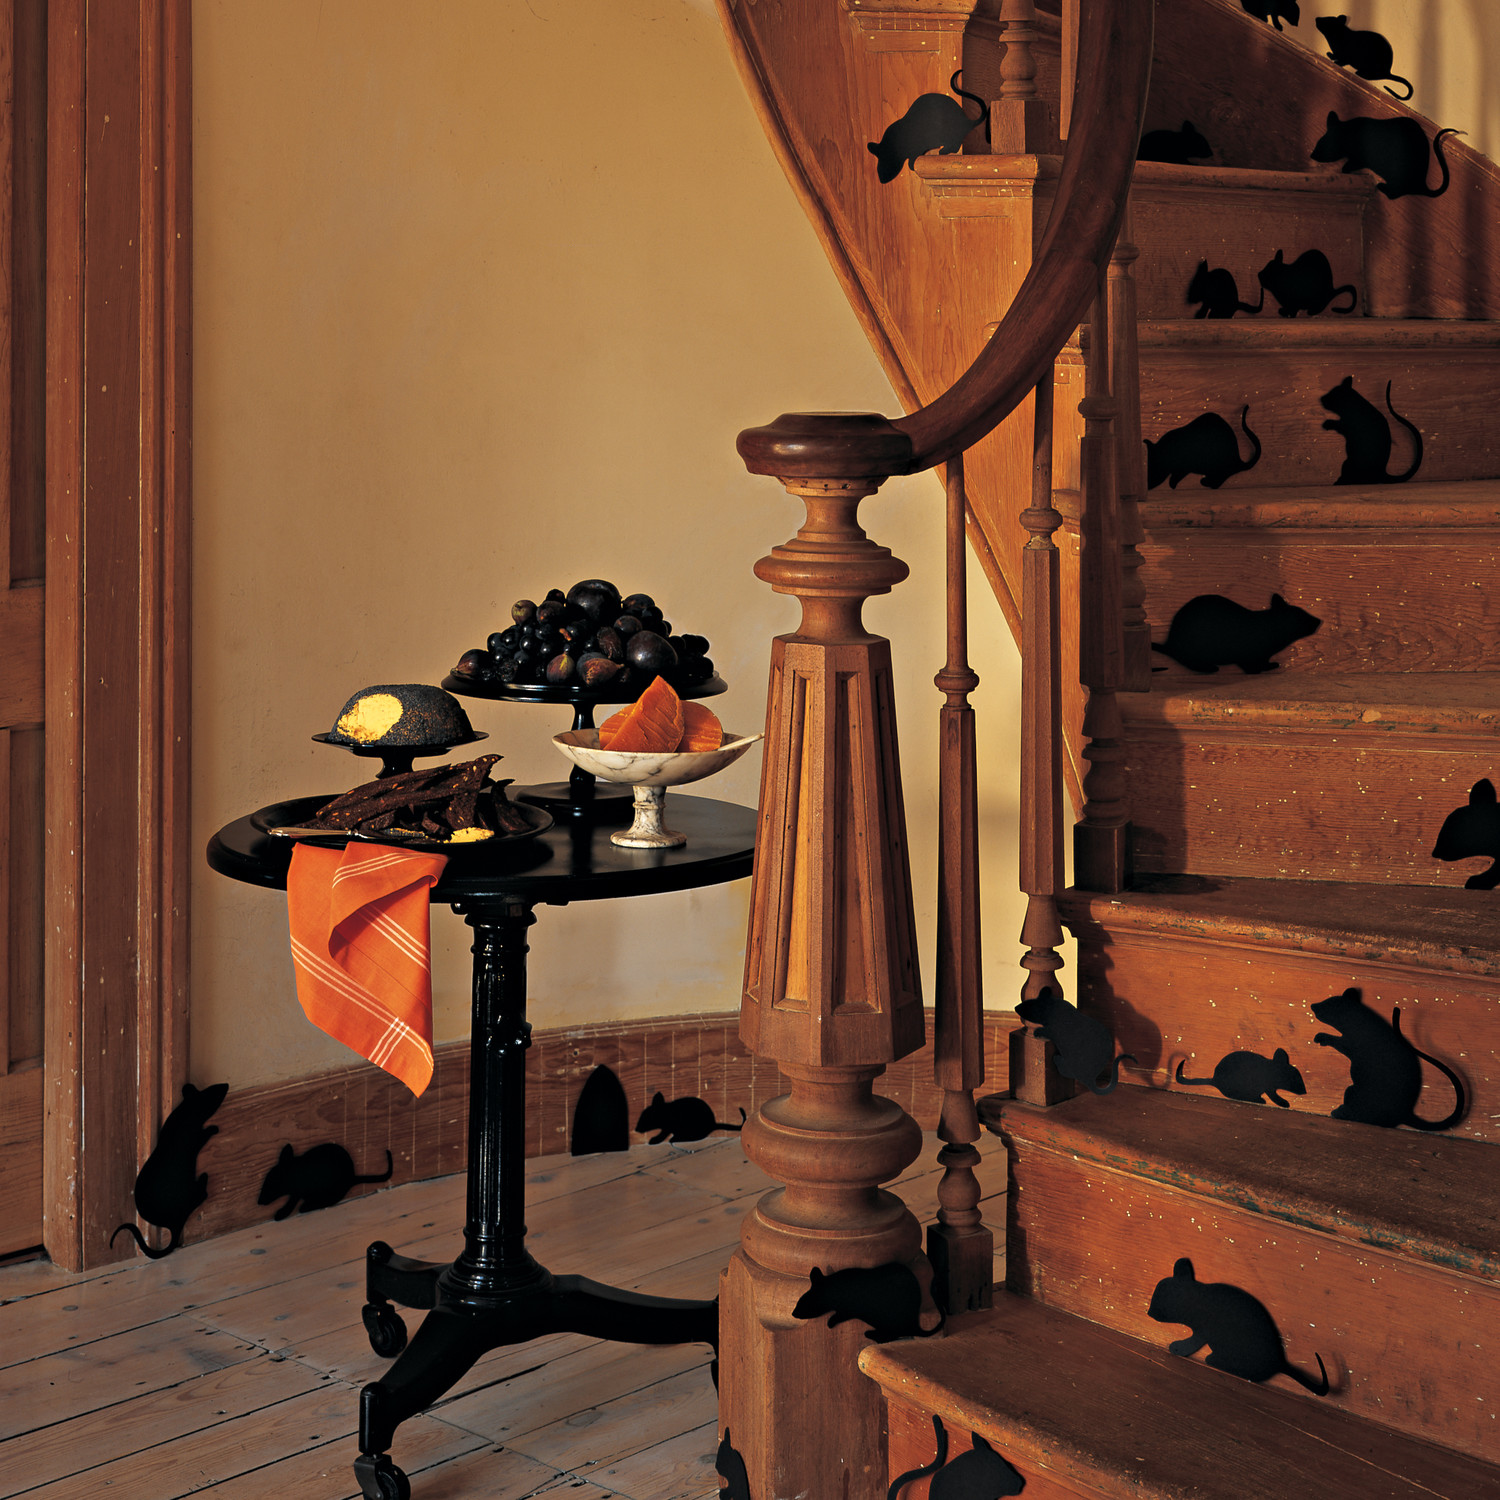
This was the picture I saw in the magazine that made me want to do this project.  I did not take this picture.  Some very talented person working for Real Living did.  Aren't the mice adorable?!?!?

Materials
Black construction paper or scrapbook paper
White pencil or gel pen
Scissors
Tape
Access to a printer

Instructions
1.  Click on the link below and print the templates on stock paper.  (You can use regular paper but its easier to trace around the template if the paper is slightly thicker.)

http://assets.marthastewart.com/d4/1005/1005_creepymice.pdf

2.  Carefully cut around the mice.  (Be very careful around the tails, they are quite fragile and can tear off very easily.
3.  Place your mice templates on black construction or scrapbook paper and trace around them with a white pen or pencil.  (You can use a regular pencil, but this is harder to see.)  Trace the amount of mice that you wish to do for your project.  Personally, I like to have a lot of mice, so I did a couple dozen.  I like to tape them to walls, mantles, on furniture that touches the floor.......... You're getting the idea.
4.  Carefully cut the mice out.  Again, be careful of the tails.
5.  Using tape, attach them to anything that you think mice would get on. 

Sticking with the rodent theme, it is now time to move on to paper bats. I saw this in a Home and Gardens magazine a few years ago and fell in love.   How can you not love something that is so simple, easy, and cheap to do that changes your house décor so quickly?   I cannot find the original ones that I use, but Martha Stewart didn't let me down and has her own paper bat templates.
Again, I have included instructions.

Flying Paper Bats

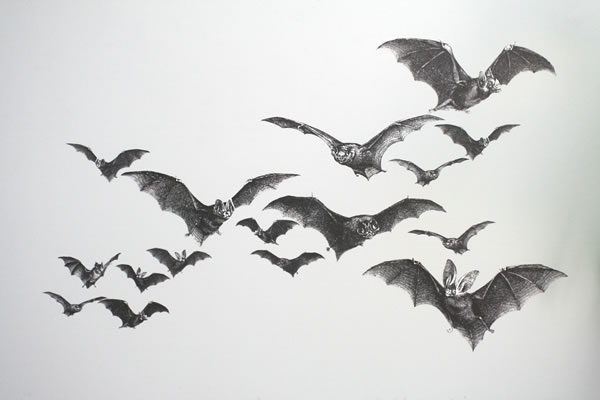
This is actually a drawing of bats, but this is sort of the pattern that you want to put your bats in to make them more realistic.

Materials
Black scrapbook paper  (You can use construction paper, but it doesn't work as well.)
White pencil or gel pen
Scissors
Tape
Access to a printer

Instructions
1.  Click on the link below and print the template on stock paper.  (You can use regular paper if no stock paper is available.)

http://images.marthastewart.com/images/content/web/pdfs/2012/good-things-bat-wings-msl1012.pdf

2. Carefully cut around the bat templates.
3.  Fold the black scrapbook paper in half.
3. Place the bat templates onto the folded edge of the black scrapbook paper and trace around them using a white pen or pencil. 
NOTE: You don't have to use black scrapbook paper, but I would highly recommend it.  These bats are going to be folded and placed on the wall.  You want them to hold their shape and not look wilt-y and that is not going to happen for very long if you use construction paper.
4.  Cut bats out of the paper.  (This process is a lot like making creepy paper snowflakes.)  Again, the amount you want is up to you, but I like to do a couple dozen.
5.  Fold the wings along the body of the bat.  (See the template for where to fold.)
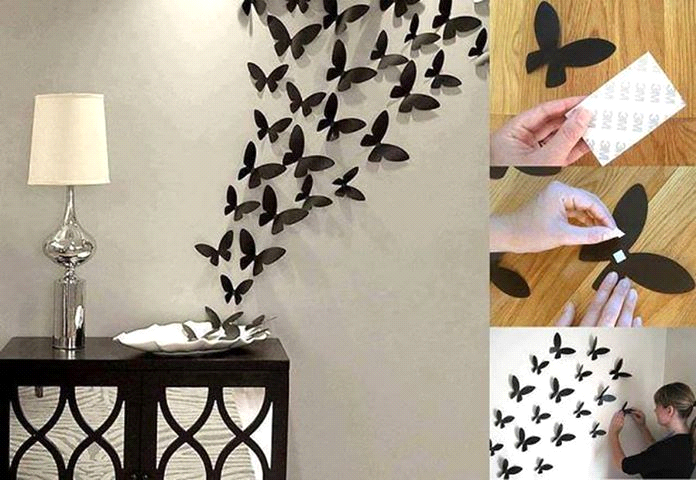
6.  Put tape on either of the wings or the center of the bat.  Switch them up so all of the bats look different.  When you tape them to the wall, start with one or two and then fan them out using more and more of them.  This will give the look that happens when you have bats flying out of a cave.


I know these are butterflies!  But this best shows the shape I am trying to describe.

 
Well, there you go.  Two very easy and very frugal ways to decorate your home for Halloween!  You can throw them away at the end of the season, but, if you are like me, you will save them and reuse them year after year.  Just make certain that you store them somewhere where they cannot get bent.  If you are careful removing the tape, you should be able to use them for years!

Keep coming back to the site because I have more simple, easy Halloween crafts that I am going to be posting!

Sunday, September 25, 2016

Make a Hallloween Wreath for Under $20!!!!

Hello Everyone!
Okay, I tried, but I just can't wait!!!!!  I had to start sharing some of my Halloween craft ideas. I know that it is a week before we even get to October, but I figured a little early Halloween crafting isn't necessarily a bad thing.


I have several different easy Halloween crafts that I want to post this year, but I am going to start out with a super easy Halloween wreath.
I have something of an addiction to wreaths in general.  I love a wreath on my door for almost any occasion and Halloween is no exception.  I wish I could say that this wreath was my idea and creation, but in truth, it is a modification of a craft idea that I saw in a Better Homes and Gardens special Halloween Tricks & Treats magazine published in 2014.


Isn't this so cute?!?! I had to make one.  This is the original wreath which, they say, takes less than 10 minutes to make.

I saw this wreath and fell in love with it and just had to create it.  So I went on a search in Lowe's and Home Depot to find the ceiling medallion or at least to find one that looks a lot like it.  (I already had the orange glossy spray paint because my mother-in-law had already made her wreath and she was nice enough to give me the magazine and  her can with the leftover paint.) 
I found the medallion at Lowe's and was appalled to find out that it cost $30!  This went way over my top budget for wreaths--which is nothing over $20.  I was all set to go home empty handed when I spotted another medallion and had a Eureaka moment. They had a sort of circular medallion that, to me, looked like a white spider web.  And it was just $15!!!!  So I purchased it and decided that I would modify the wreath and make mine look a little more like a spider web.  It would take a little more time, but I was determined.
Here is the final result:

I know, it doesn't have quite the elegance of the other one.  But I still love it!


This is super easy to do, so the instructions for this are going to be virtually non-existent.


Super Easy Ceiling Medallion Halloween Wreath

Materials
1 unpainted ceiling medallion
1 can glossy orange spray paint
1 bottle glossy acrylic paint
1 small paint brush
1 can glossy clear enamel spray paint (optional)
1 decorative spider  (Or Halloween themed ornament of your choice)
1 black ribbon.  (You can use any width that you want, mine is 2 inches wide and I used some black and white ribbon that I already had from another project that I had previously purchased at Hobby Lobby.)

Instructions
1.  In a well ventilated area, preferably outdoors, spray paint the ceiling medallion with the glossy orange paint.  I did three coats and let the paint dry for at least 15 minutes per coat. But how many coats you do is your own personal choice.  (I tend to do light coats and layer.  Others I know like to do one thick coat and then just leave it alone until it dries.)
2.  Once the orange paint was dry, I painted the raised "outline" areas of the medallion.  This created the look of the "web"
3.  Let sit overnight so paint can dry.
4.  Once paint is completely dry, spray with glossy clear enamel. (You don't have to do this stage, but it will help the black acrylic paint to stay on the medallion and not be so easy to scratch off.)
5.  Let the enamel dry.
6.  Measure your ribbon for how low you want your wreath to hang and how big you would like your bow to be. 
7.  Put the ribbon through the center whole with both sides of the ribbon being of equal length.
8.  Slide your spider ornament down the ribbon and center it in the center of the medallion.

I got my spider for $1.00 at Michael's.  I think that it is supposed to be one of those Halloween tree decorations as it came with both the wire that I used to hang it from the ribbon and a clip.  I loved that its body was faceted like a little black diamond.

9.  Tie the ribbon in a bow.
10.  Hang wreath using the knot part of the bow.

Voila!!!
You are done.
And it was super easy to do.

I do have one piece of advice.  You may have noticed in the picture with the close up of the spider that there is a spot on the upper right area of the wreath where it looks like the paint has been "smooshed".  This was not like this when I finished the wreath last year.  This happened from storing the wreath in the attic and placing a plastic bag full of pine cones on top of it.  The extreme heat of the attic melted the wreath!!!!
So, if you live in Louisiana, store your wreath where it is air conditioned so that it doesn't melt in the attic.
Keep checking back in as I will be posting even more super easy and fun craft ideas for Halloween.  I will also post some super yummy Halloween inspired recipes!