Showing posts with label decorating. Show all posts

Wednesday, November 23, 2016

Rags to Riches Fall Table Runner and Napkins

Hello Everyone!
Life is seriously getting in the way of my Thanksgiving and my Thanksgiving blogs.  My plan for this post and the next post was to show you how to make a table runner out of flannel shirts and an old sheet along with the matching napkins and then to show you how to make a cornucopia out of bread stick dough along with two amazing cheese ball recipes. I was also going to show how awesome the table was going to look set with all the table decorations from the last few posts.  Only some of this is going to happen.

My husband went out to search for ingredients for my cornucopia and cheese balls.  He went to four different stores and could find no Pillsbury Bread Stick Dough canisters anywhere.  I went online and it looks like no one can find them.  I hate it when things you love are discontinued.  So, until I find a recipe that I like for bread sticks, my cornucopia will be on hold.  Which is a shame because it is an awesome way to impress your relatives and was going to be my center piece to show y'all.
I also realized that I am not going to be able to show you the set table because my table, along with my good china, is quarantined away in my pub/library.  (We are currently trying to get rid of moths in the pub/library, so we have all the doors taped and sealed while the poisonous vapors do their work.)
However, I am not one to back away from a challenge, so I have done my best to show you what the table would look like.
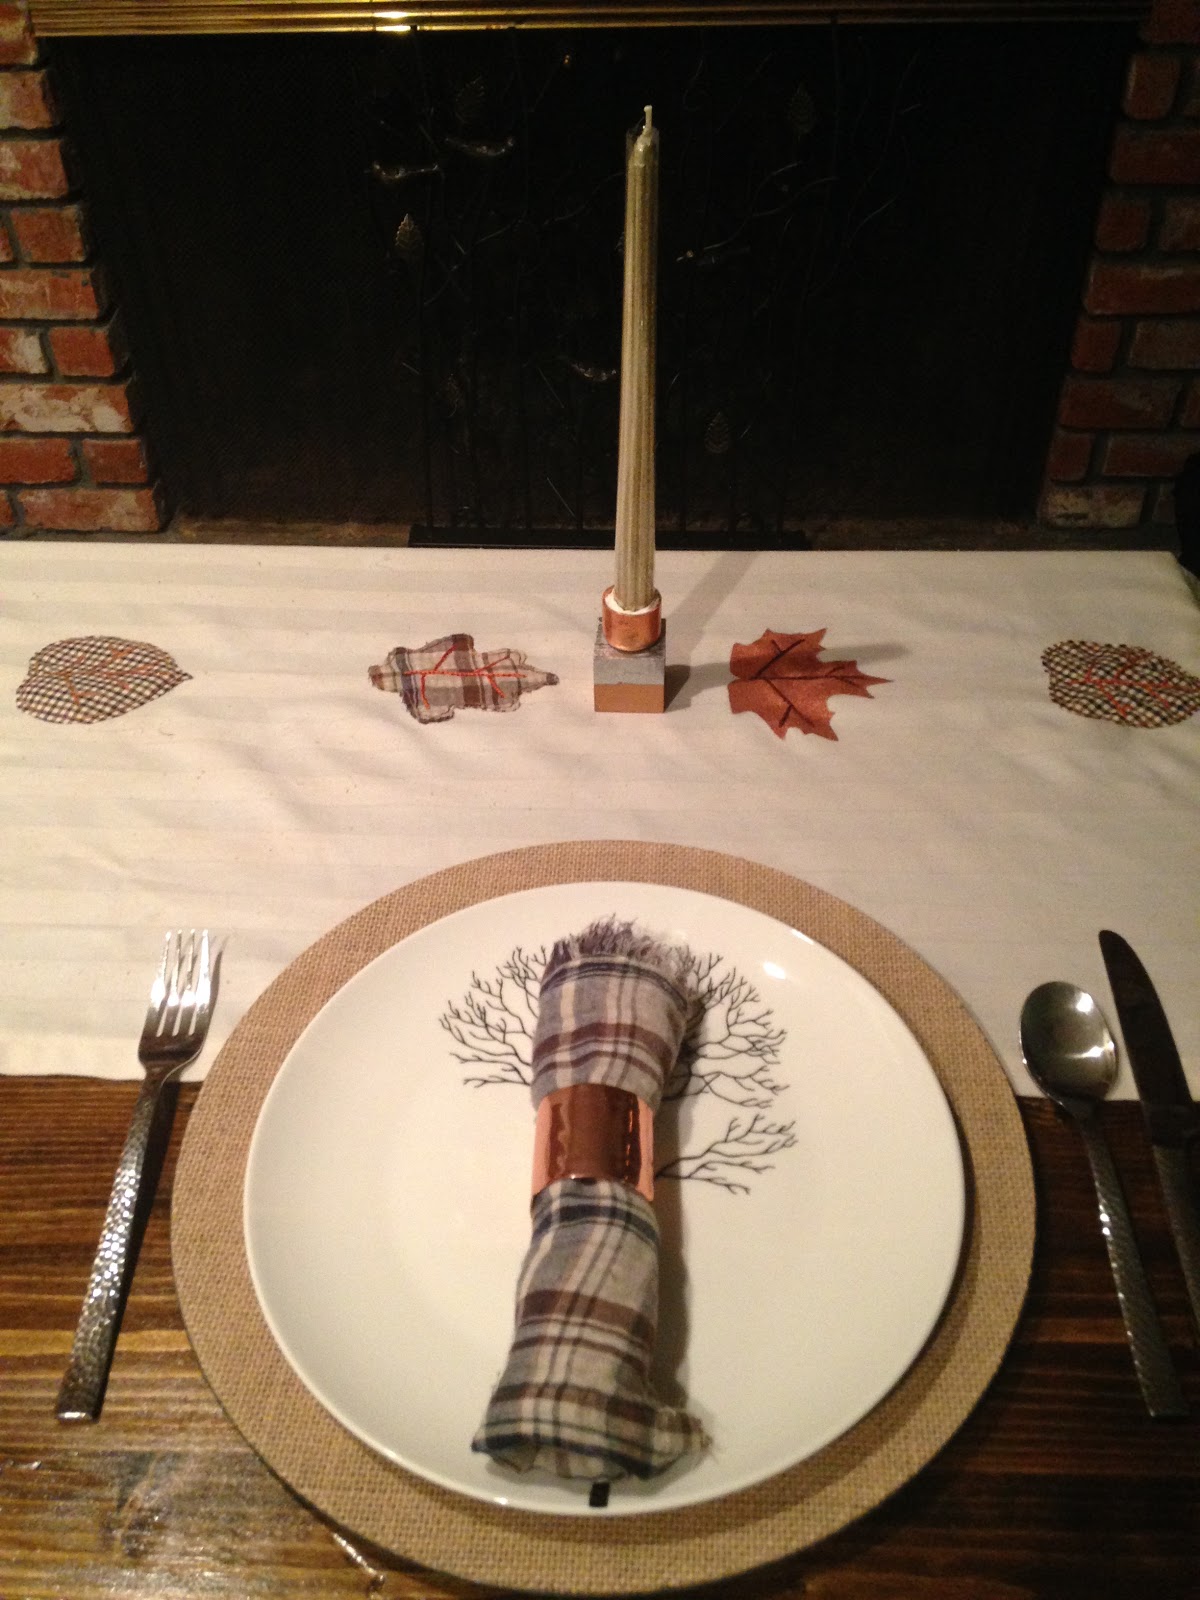
Here is a picture containing the napkins, napkin ring, candle holder, and table runner.  The plate that I used is my daily plates because my good china is currently trapped.  The burlap charger was my one big splurge for my table.  They cost $3.00 each at Hobby Lobby.

Flannel Napkins

I wanted to create an elegant table, but I also wanted it to be rustic.  I thought the best way to do that would be if I used flannel shirts in coordinating prints and colors to make napkins.  With the leftover scraps, I would decorate the table runner and I would have matching decor for my table.

Materials
2 flannel shirts (I did not have any old plaid shirts so I got mine from Goodwill for $3.00 each)
Thread
Scissors
Sewing Machine (You can do the seams by hand, but it would take forever)

Instructions
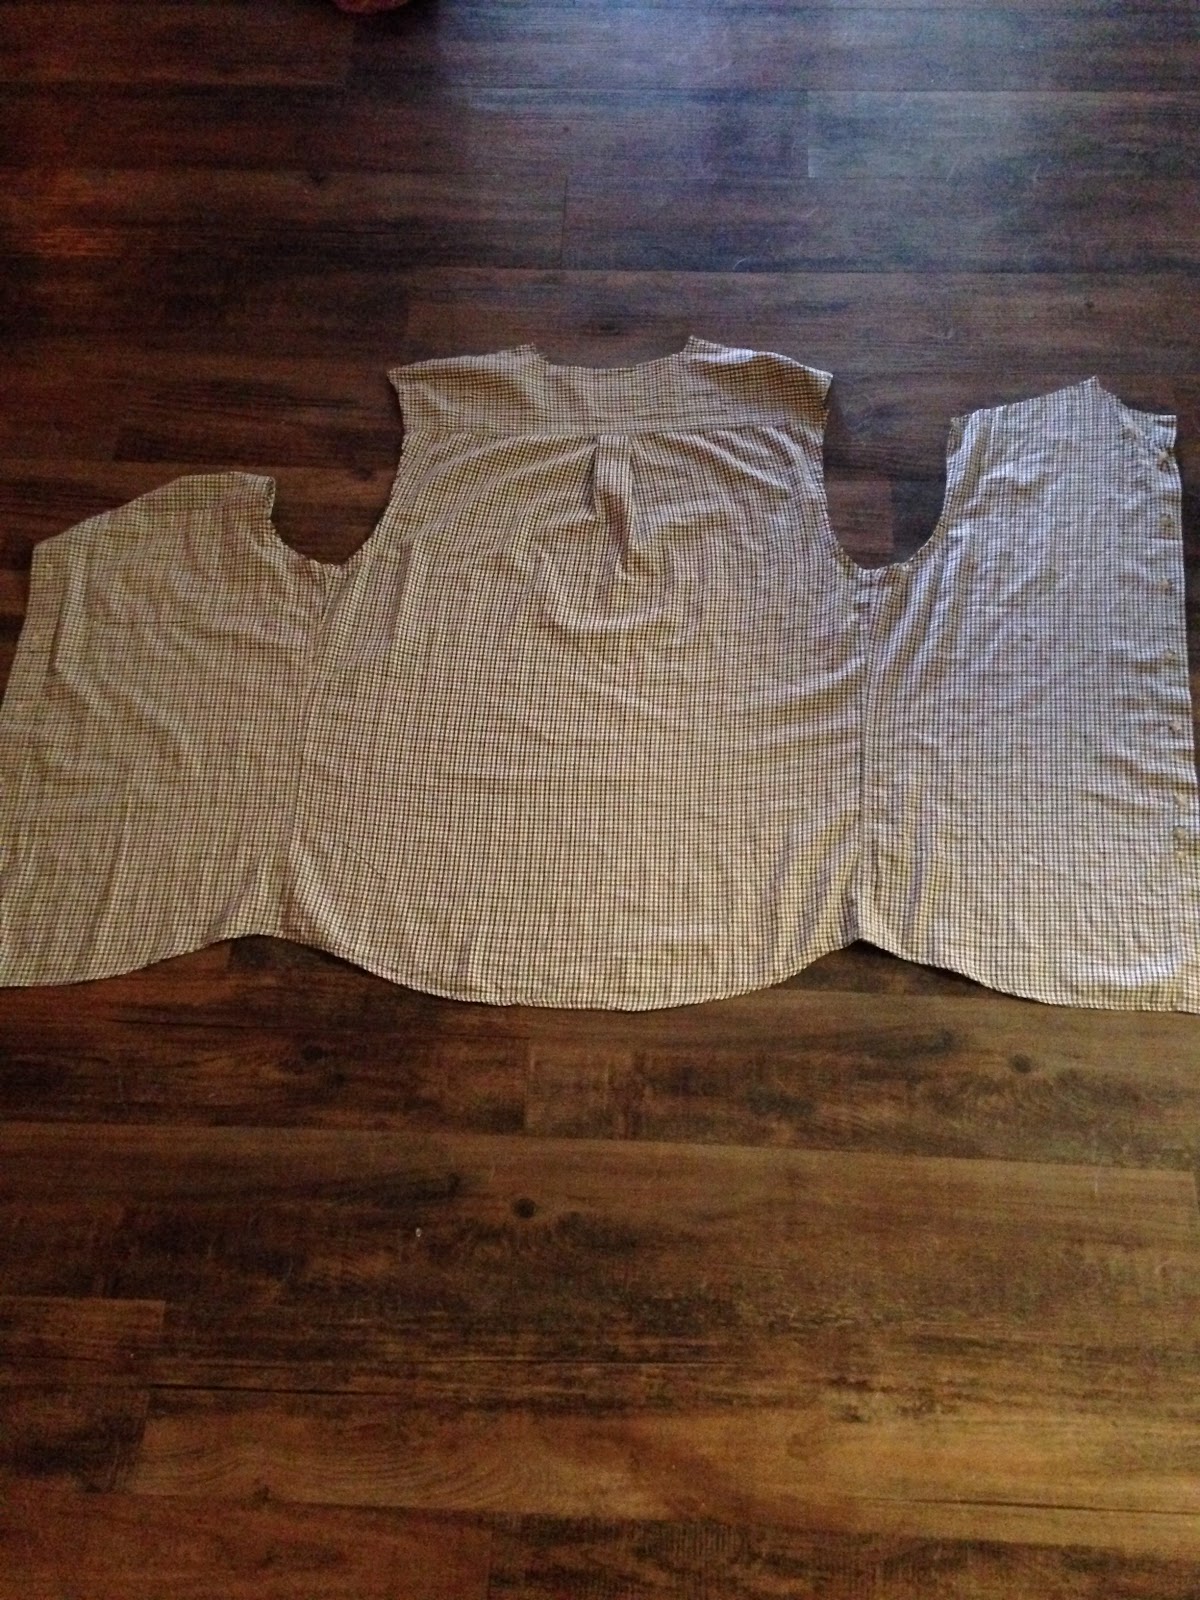
1.  Cut of the sleeves and collars of the shirt so that the fabric will lay flat.
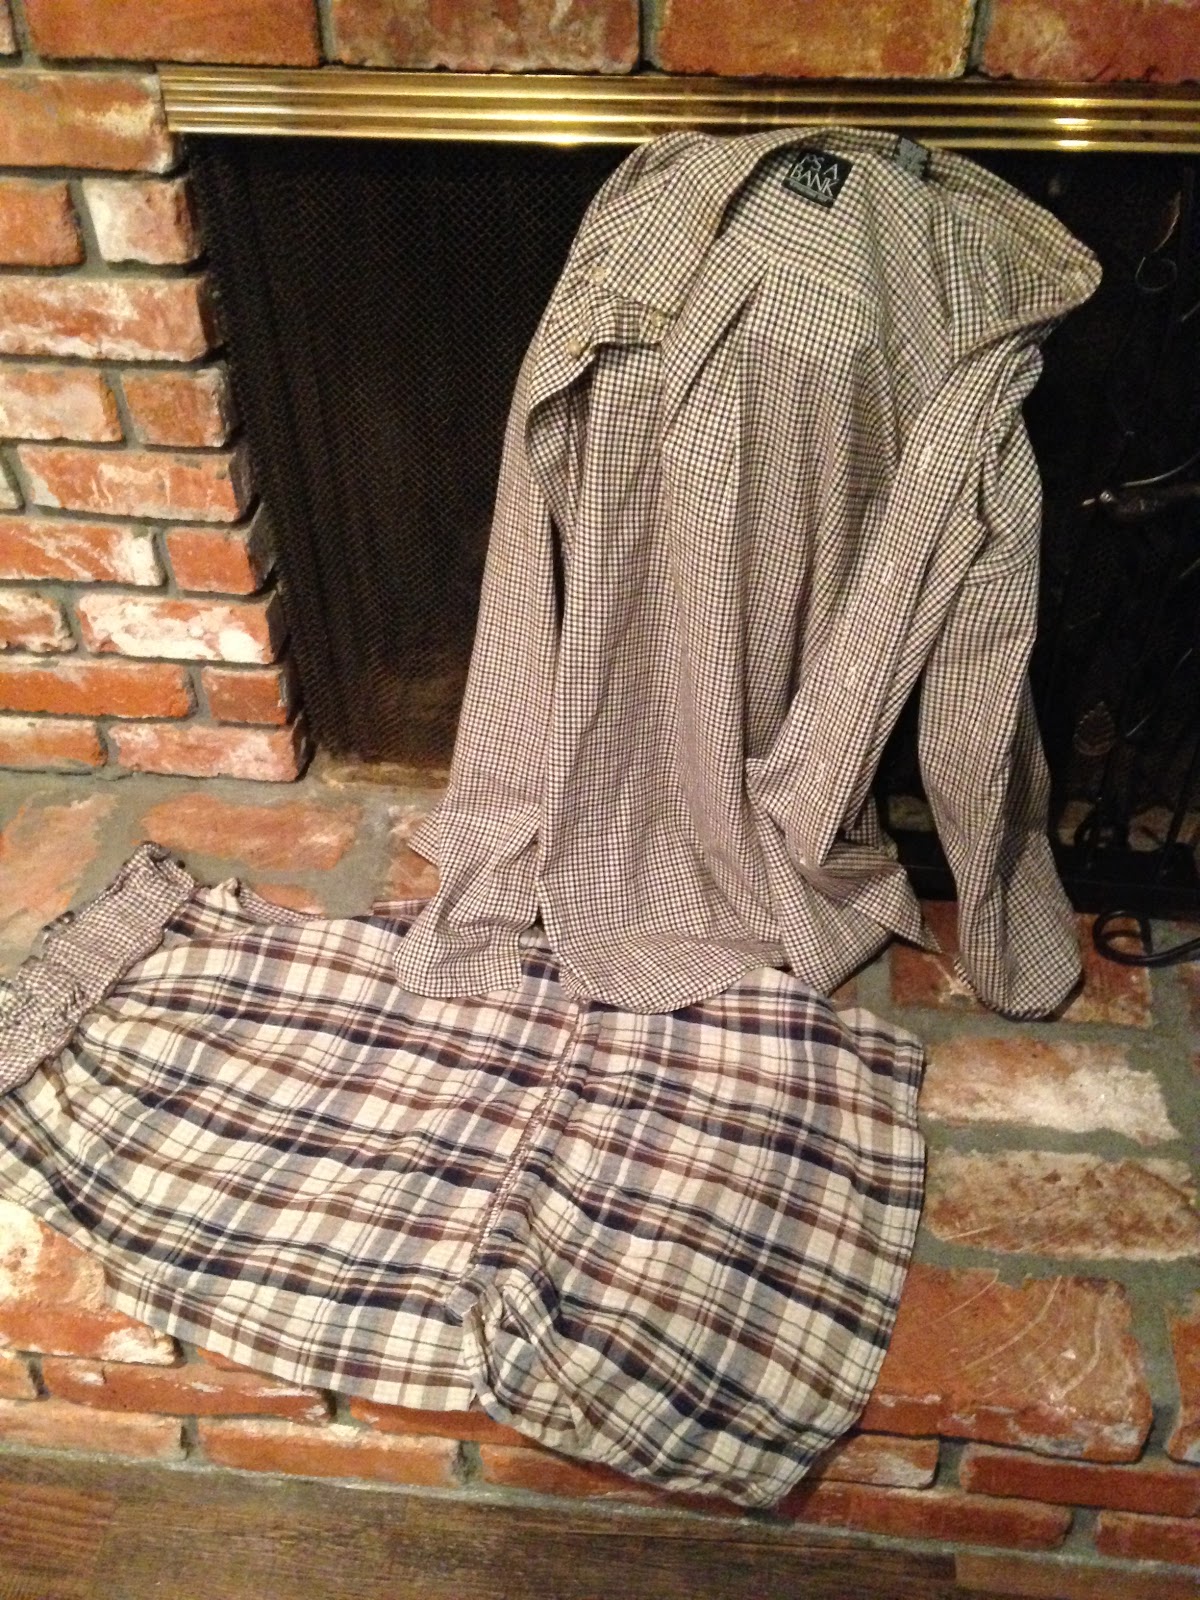
I couldn't find two flannel shirts that had colors and prints that coordinated, but I did find this little flannel jumper and I made that work for me.
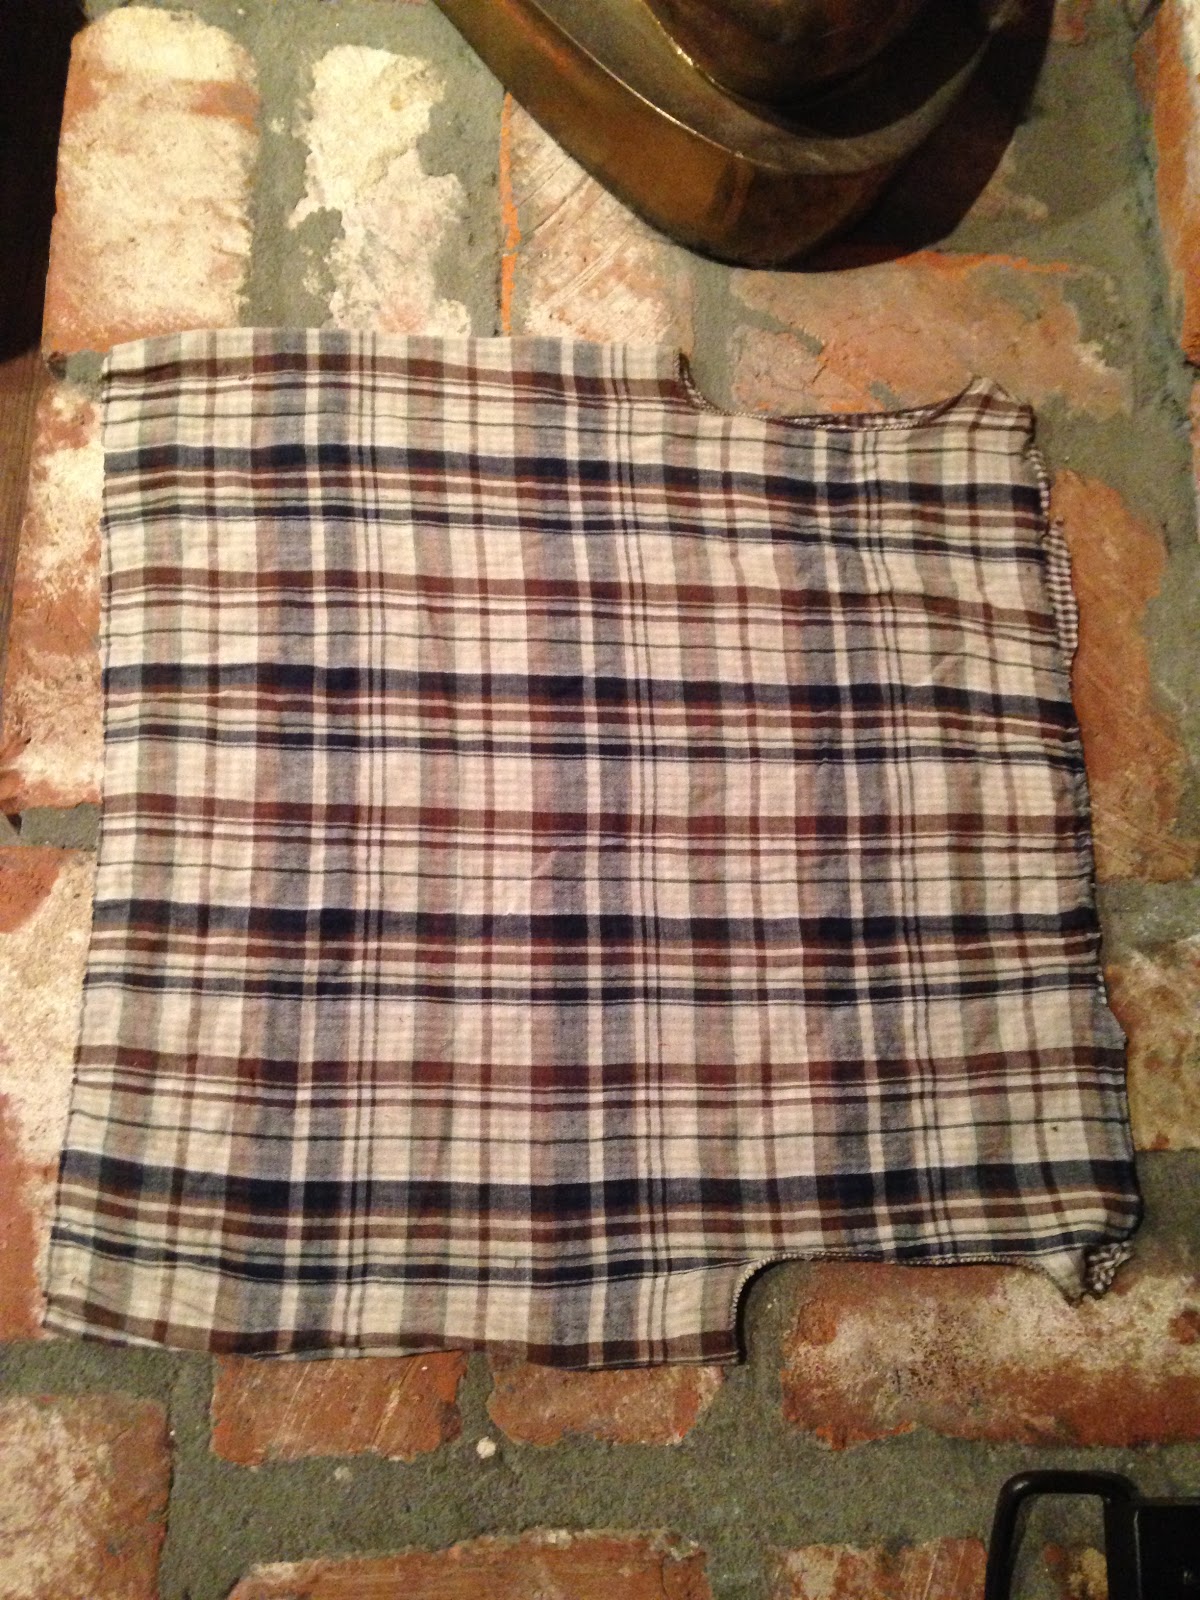
This is the jumper with all the seams and elastic cut away.
Flannel shirt with the collar and sleeves cut away.

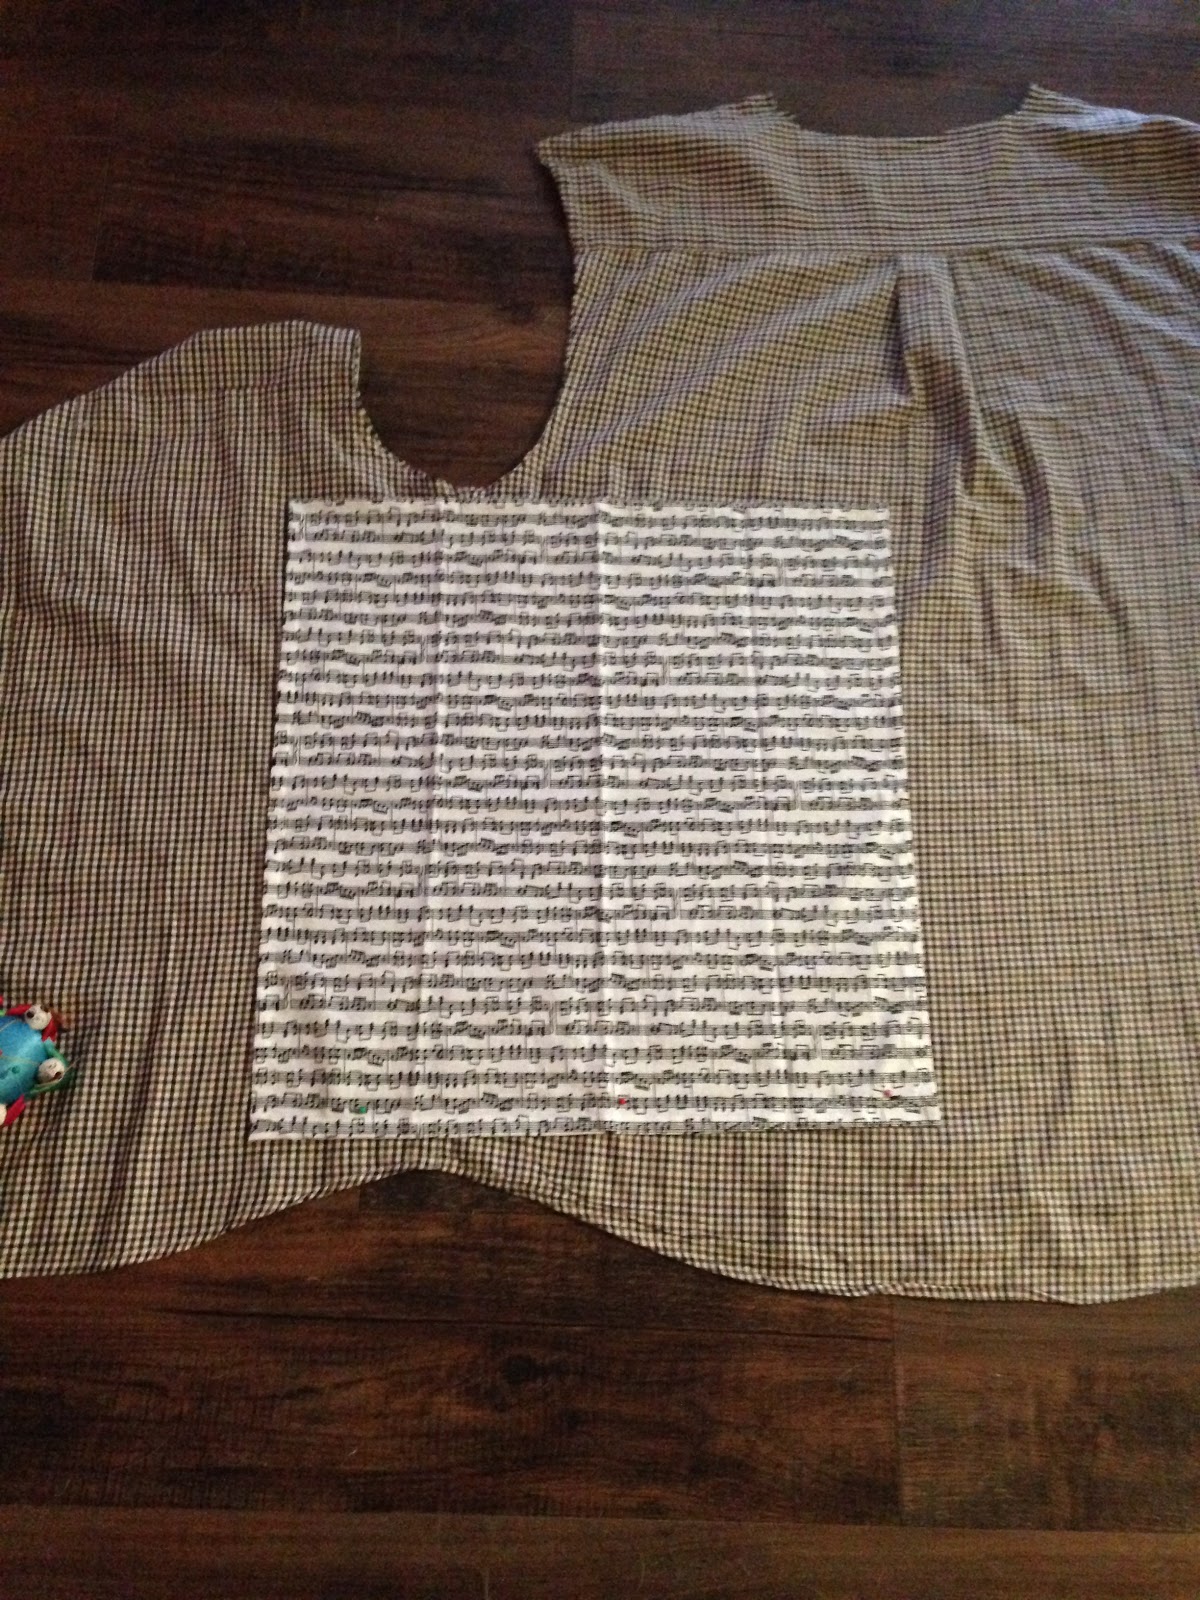
2.  Lay down whatever you are using for your napkin pattern.  There are two distinct sizes in napkins.  14 inch and 18 inch.  I did not have enough fabric in my jumper to make a 18 inch, so I am making 14 inch napkins.  Fortunately for me, I have a napkin that size already and I used it for my pattern.  Because I was limited in the amount of material, I knew that I could not do a regular hem, which is when I decided that I would fringe the edges of my napkin.  Pin the pattern to you material and cut.  Be careful not to cut your pattern and make your lines as straight and even as possible.


3.  Remove the pattern from the fabric. Using a  sewing machine or hand stitching, sew around the edge leaving 5/8 of an inch going all the way around the fabric edges.  (If you do not want to do the fringe, make your napkin about one inch bigger on all sides and then hem the edges.
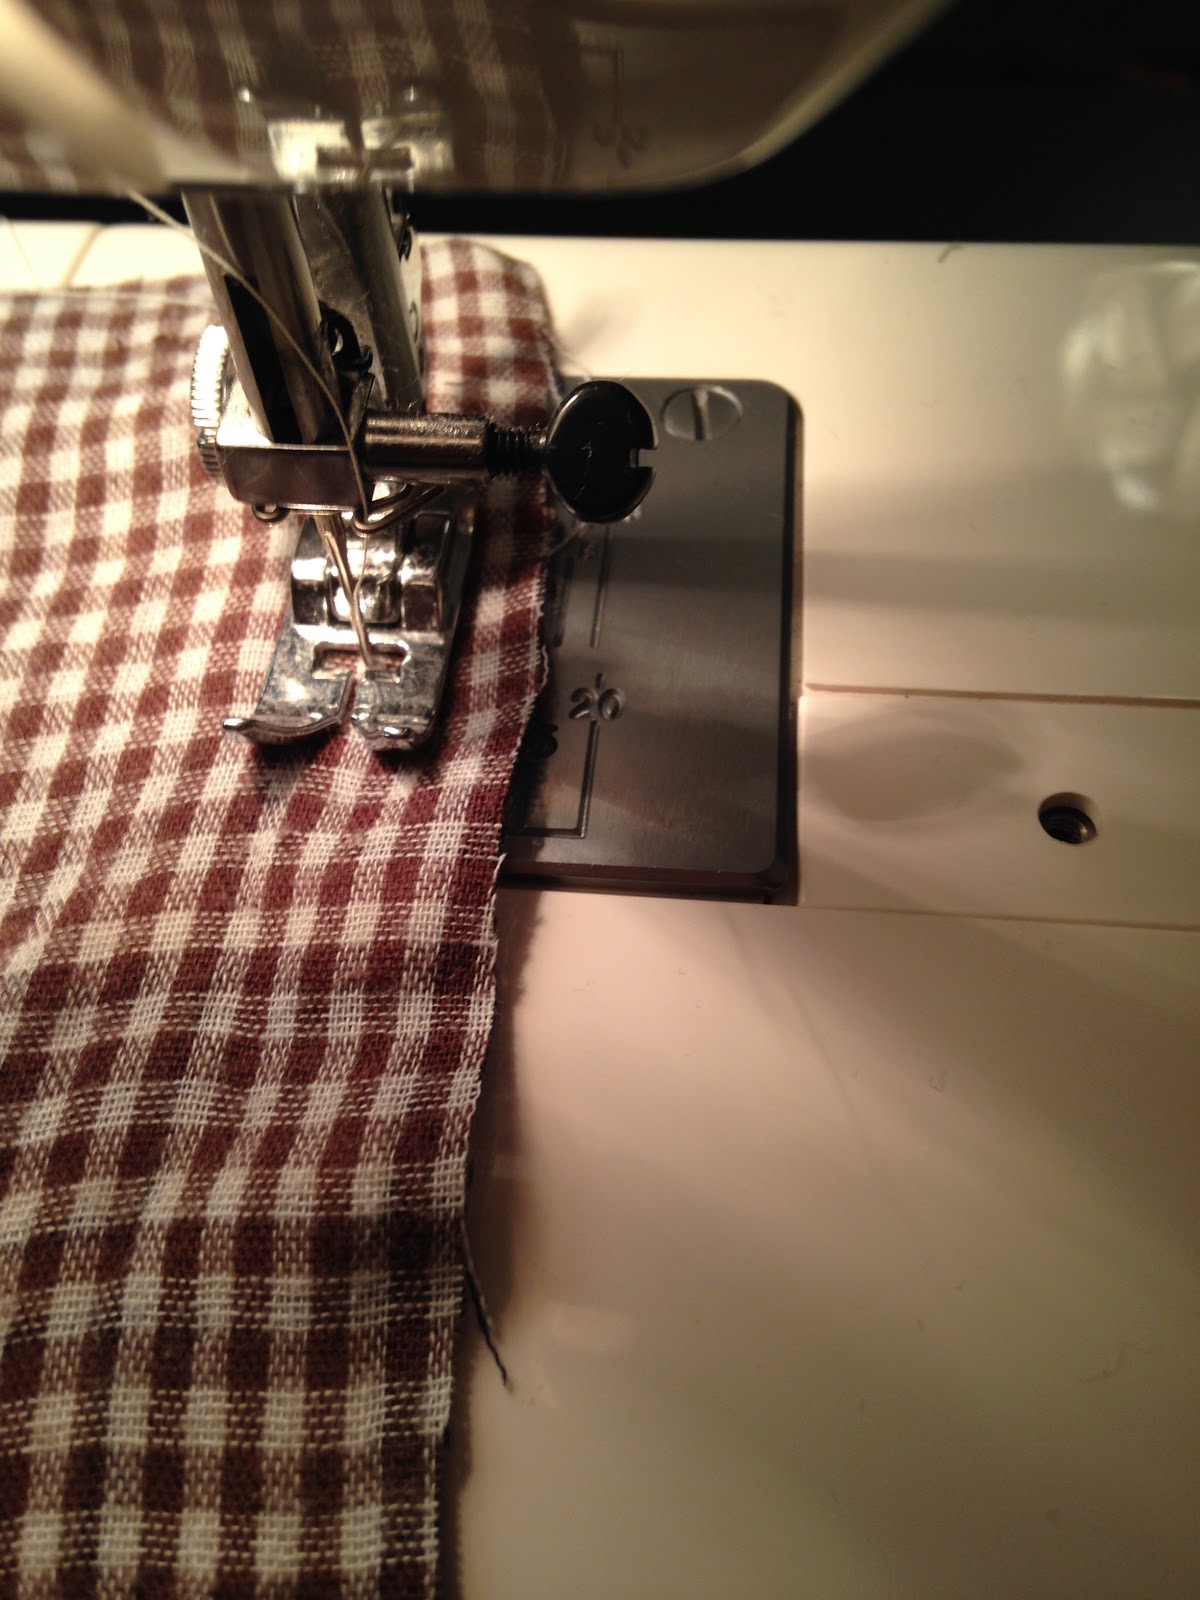

I tried to show that I am following the 5/8 line on my machine but I don't think that you can see it.
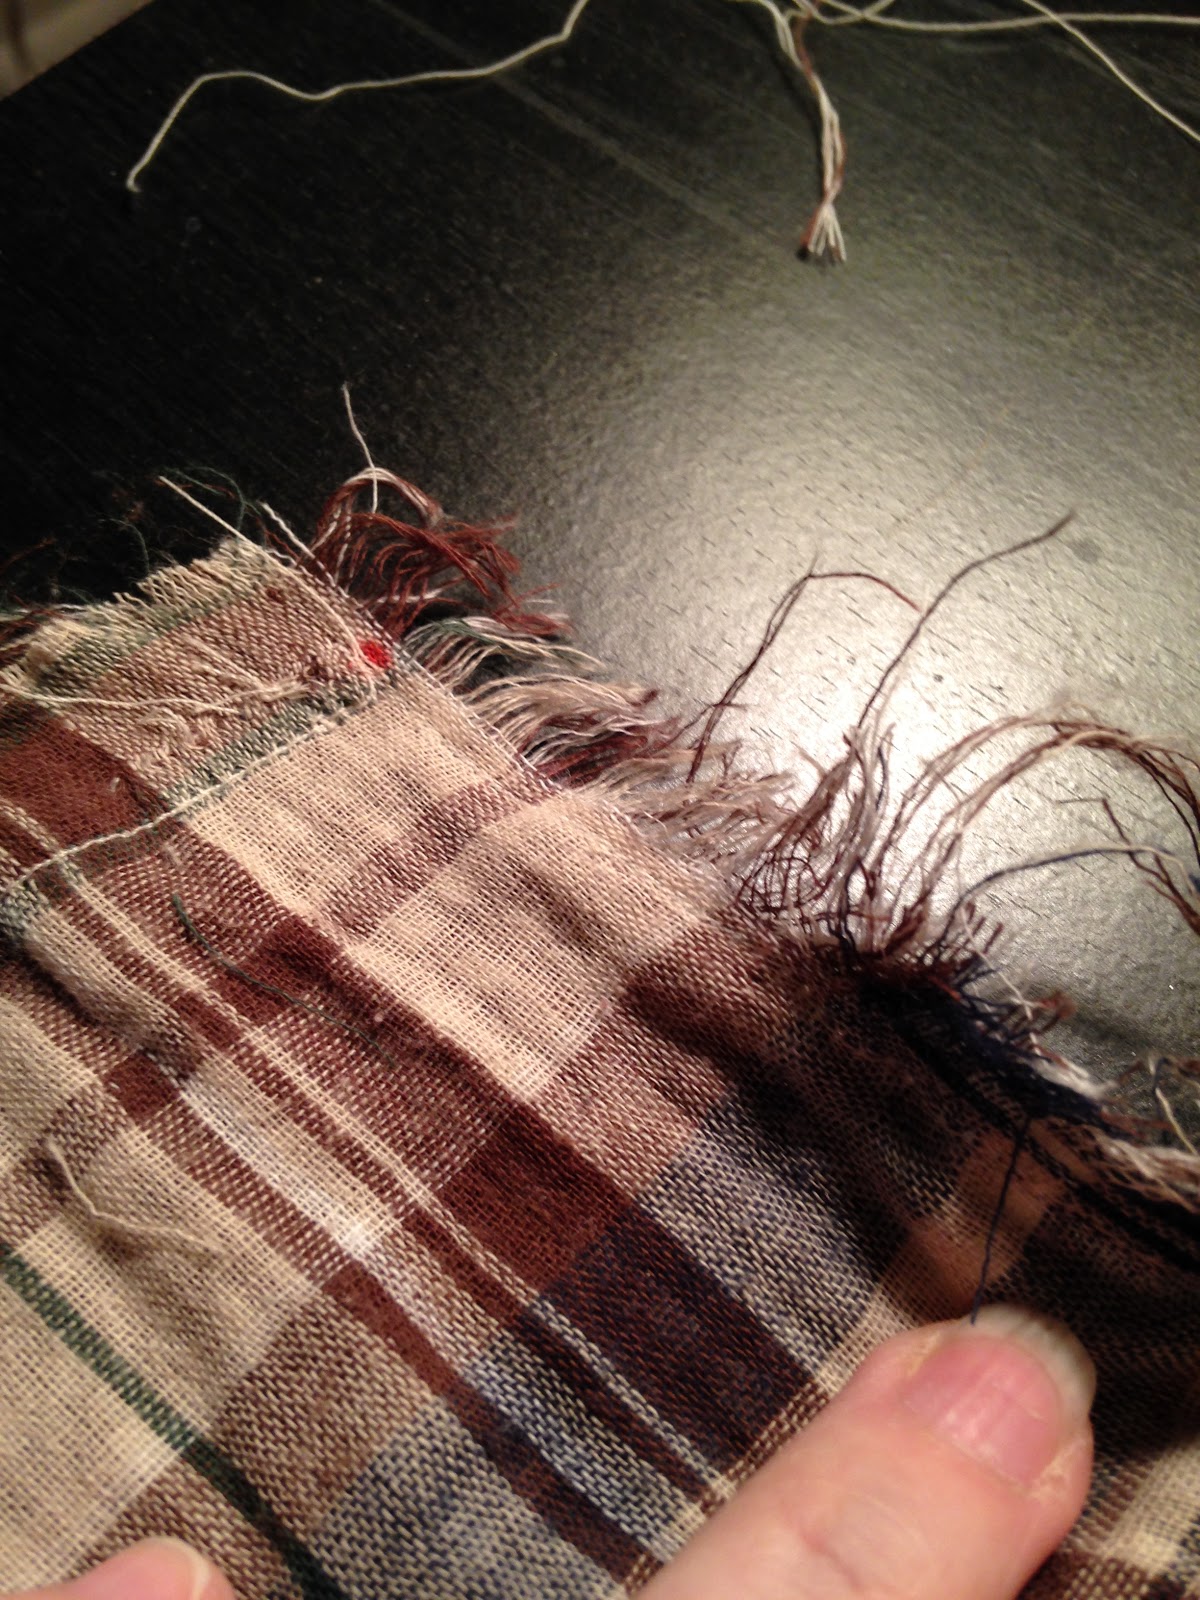
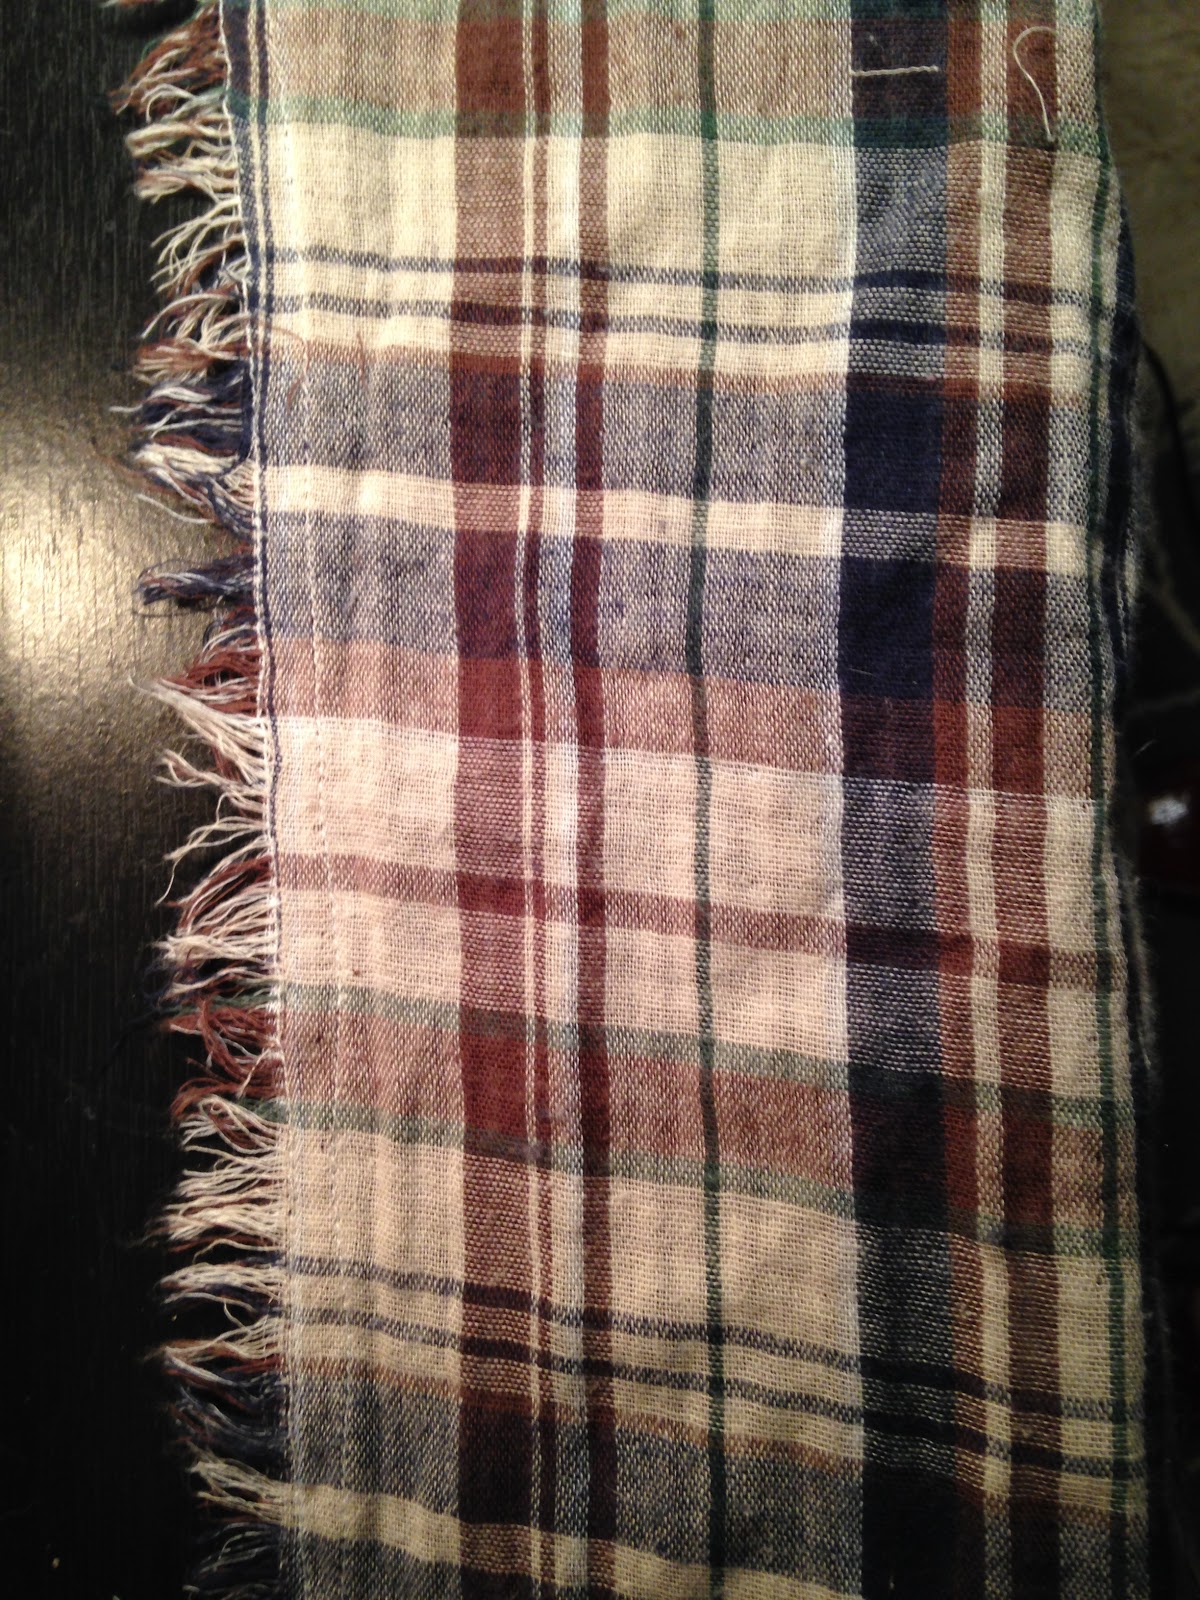
4.  After the edges are sewn, use your fingernails to lift the the threads going across up moving all the way down the edge.  This will help to loosen the threads.  Then start pulling the threads going across away from the vertical threads leaving the stitches you sewed as a guide.  I had to trim my cross threads every once in a while to make them easier to manage. Don't panic if it looks bad at first.  As you go along, it does get better.

It does not look pretty when you first start out.
But it gets better as you go along.
5.  Once you have the threads completely pulled, another stitch the edge again using a 5/8 stitch.  Repeat on all sided until the napkin is done.  

Repeat these steps until you have as many napkins as desired.
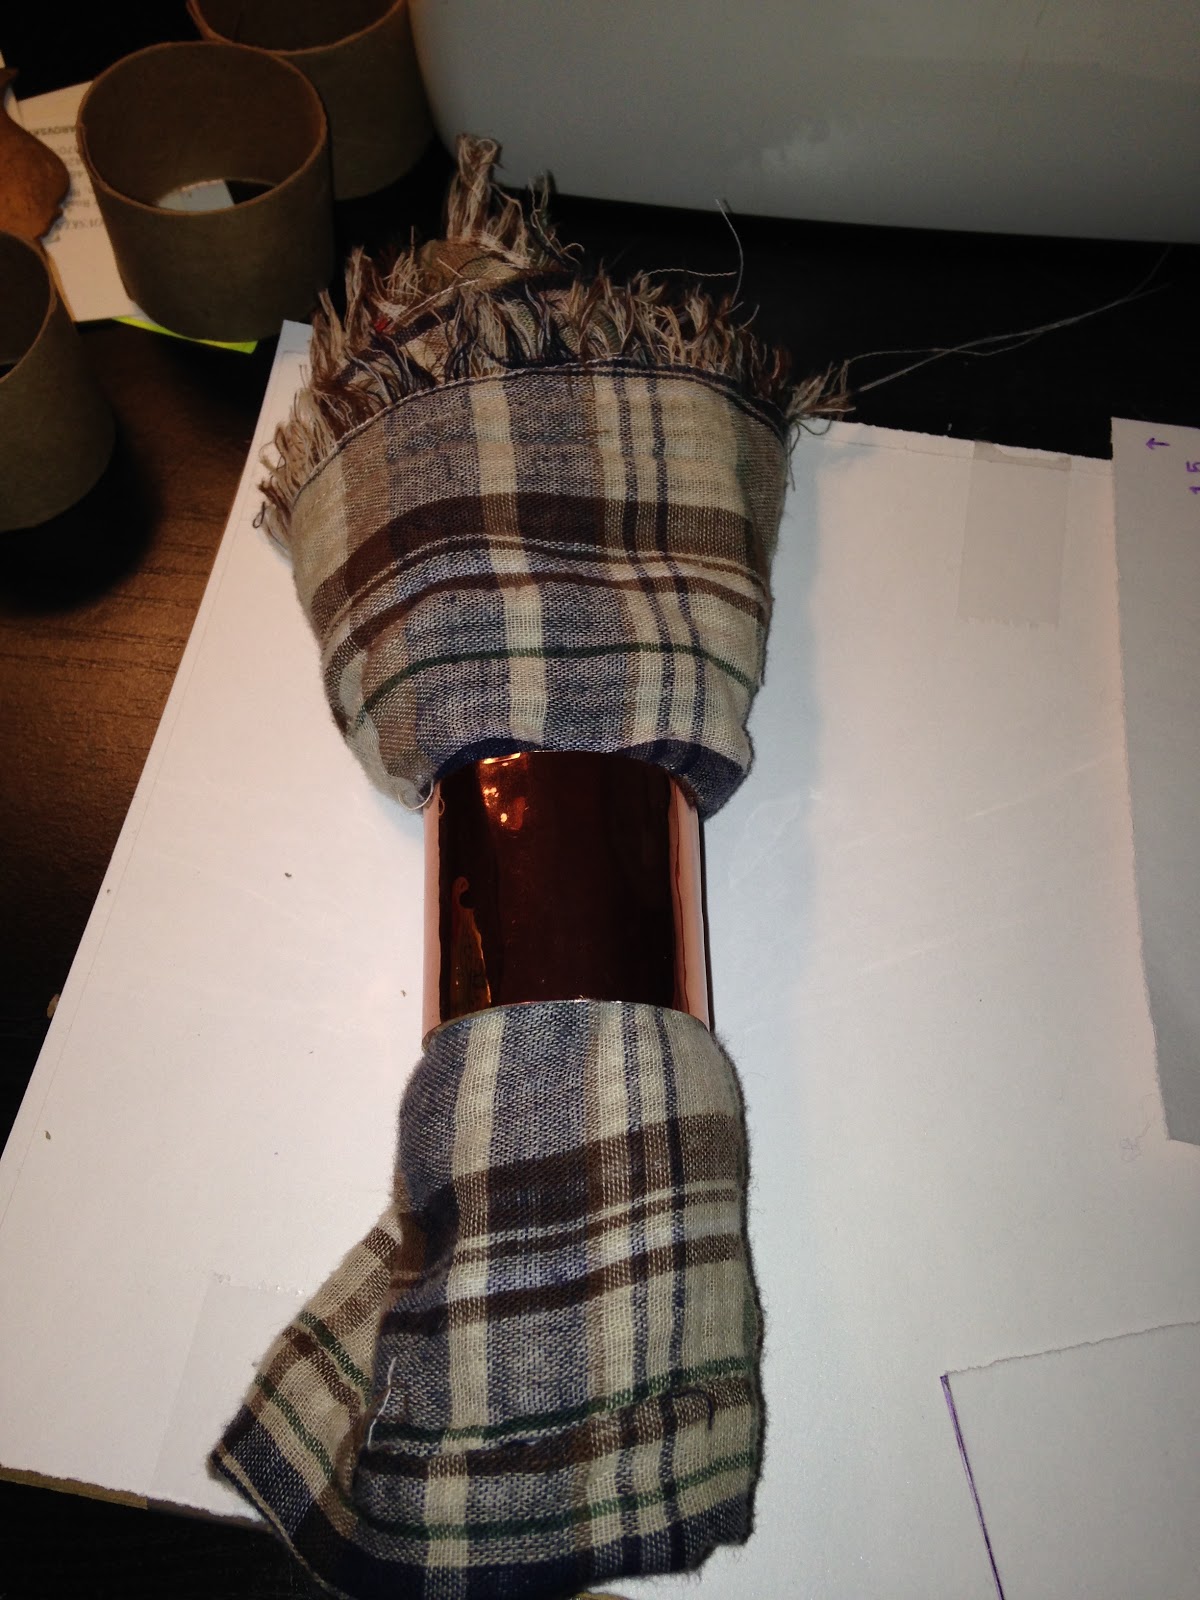


NOTE:  Keep the sleeves of the flannel shirt.  I am going to show another SUPER EASY project with those in the next few days.

You will now have leftover scraps from your shirt.  You will use these scraps to make the leaves for your table runner.

Falling Leaves Table Runner

This project is not hard, but it does take more time than most of the crafts that I have posted so far.

Materials
1 flat sheet
Flannel scraps
4 tea bags
Scissors
Spray Craft Glue
Needle and Thread
Copper Acrylic Paint
Paint Brush
Yard Stick
Leaf Template

Instructions
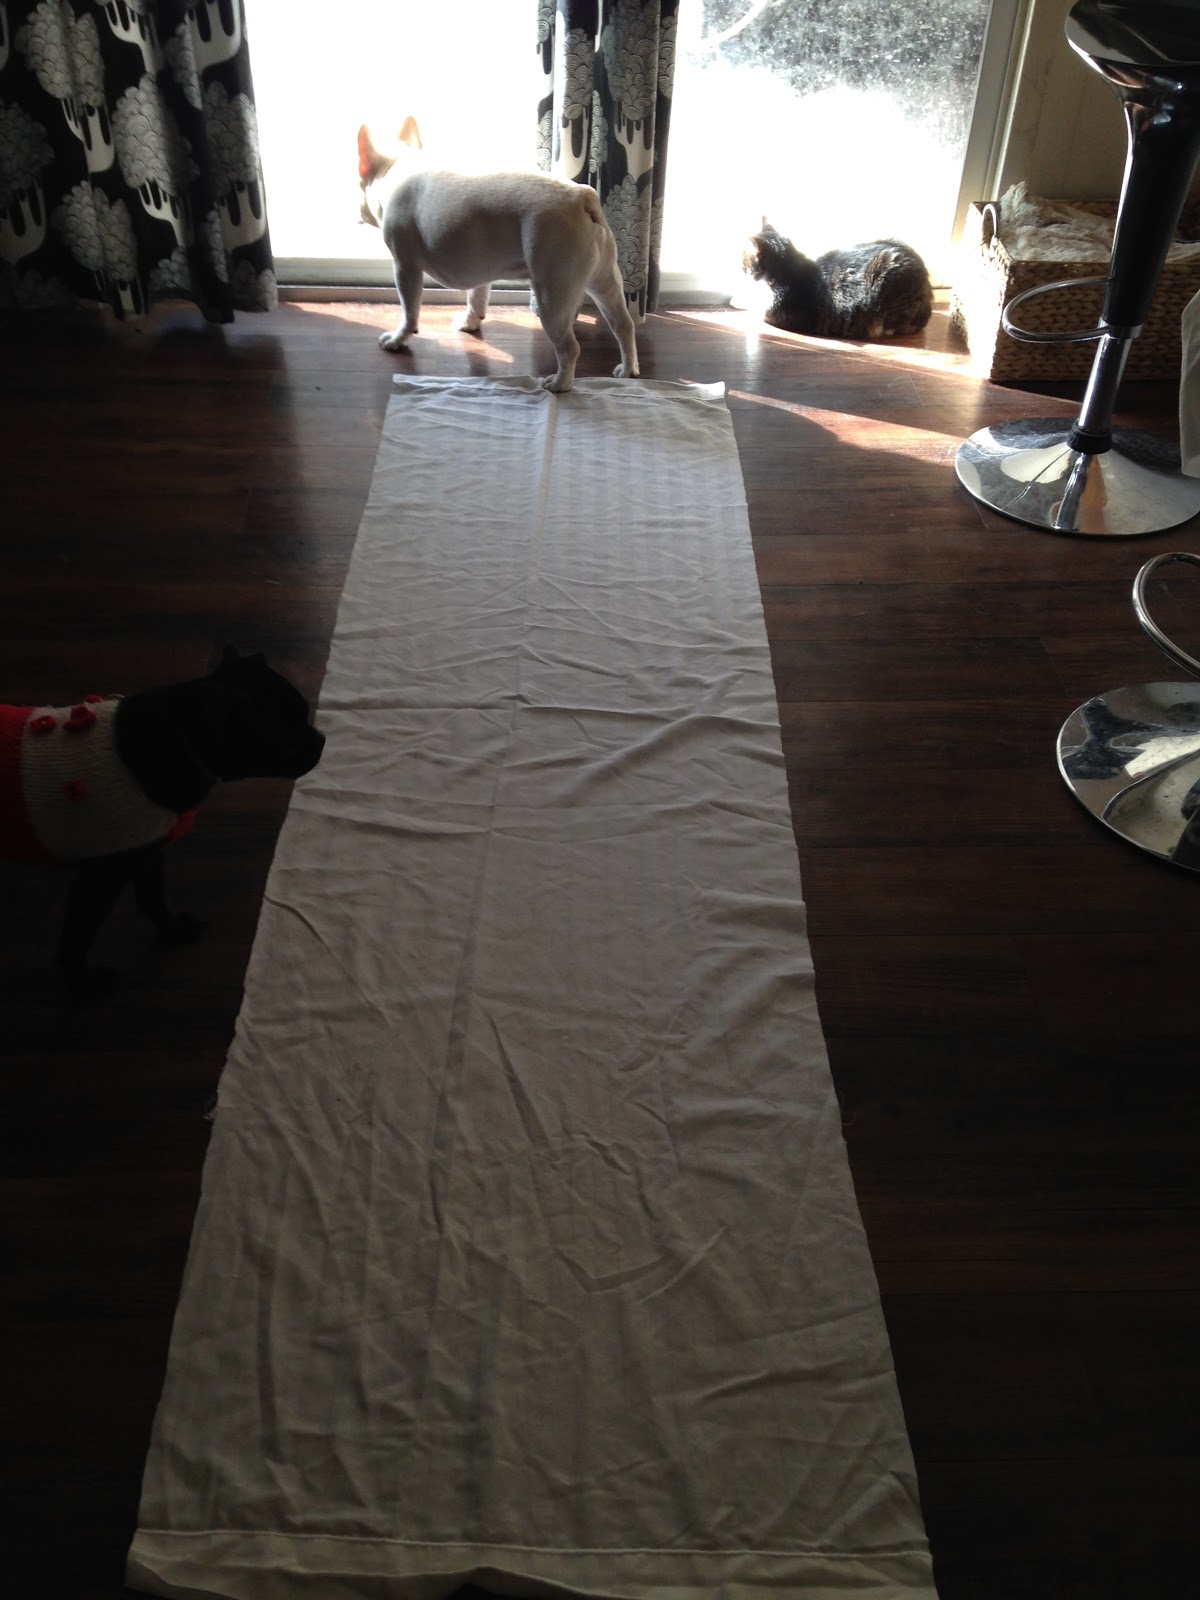
1.  Take one flat white sheet and lay it flat.  My sheet was one that I had leftover from when I worked at a hotel.  Hotels will frequently throw away sheets when they are stained and can no longer be used for guest rooms.  I would keep some of these sheets and use them for various craft projects.  For this project, I chose a sheet that had white on white strips and was a little thicker than your average sheet.  Measure 25 inches and cut along the length of the sheet, leaving the length of the sheet the same.  (If you do not cut the length of the sheet, your two ends will be hemmed and that is less sewing that you have to do.)  Cut with scissors, being careful to cut a very straight line until you have a complete 25 inch wide length of fabric cut.
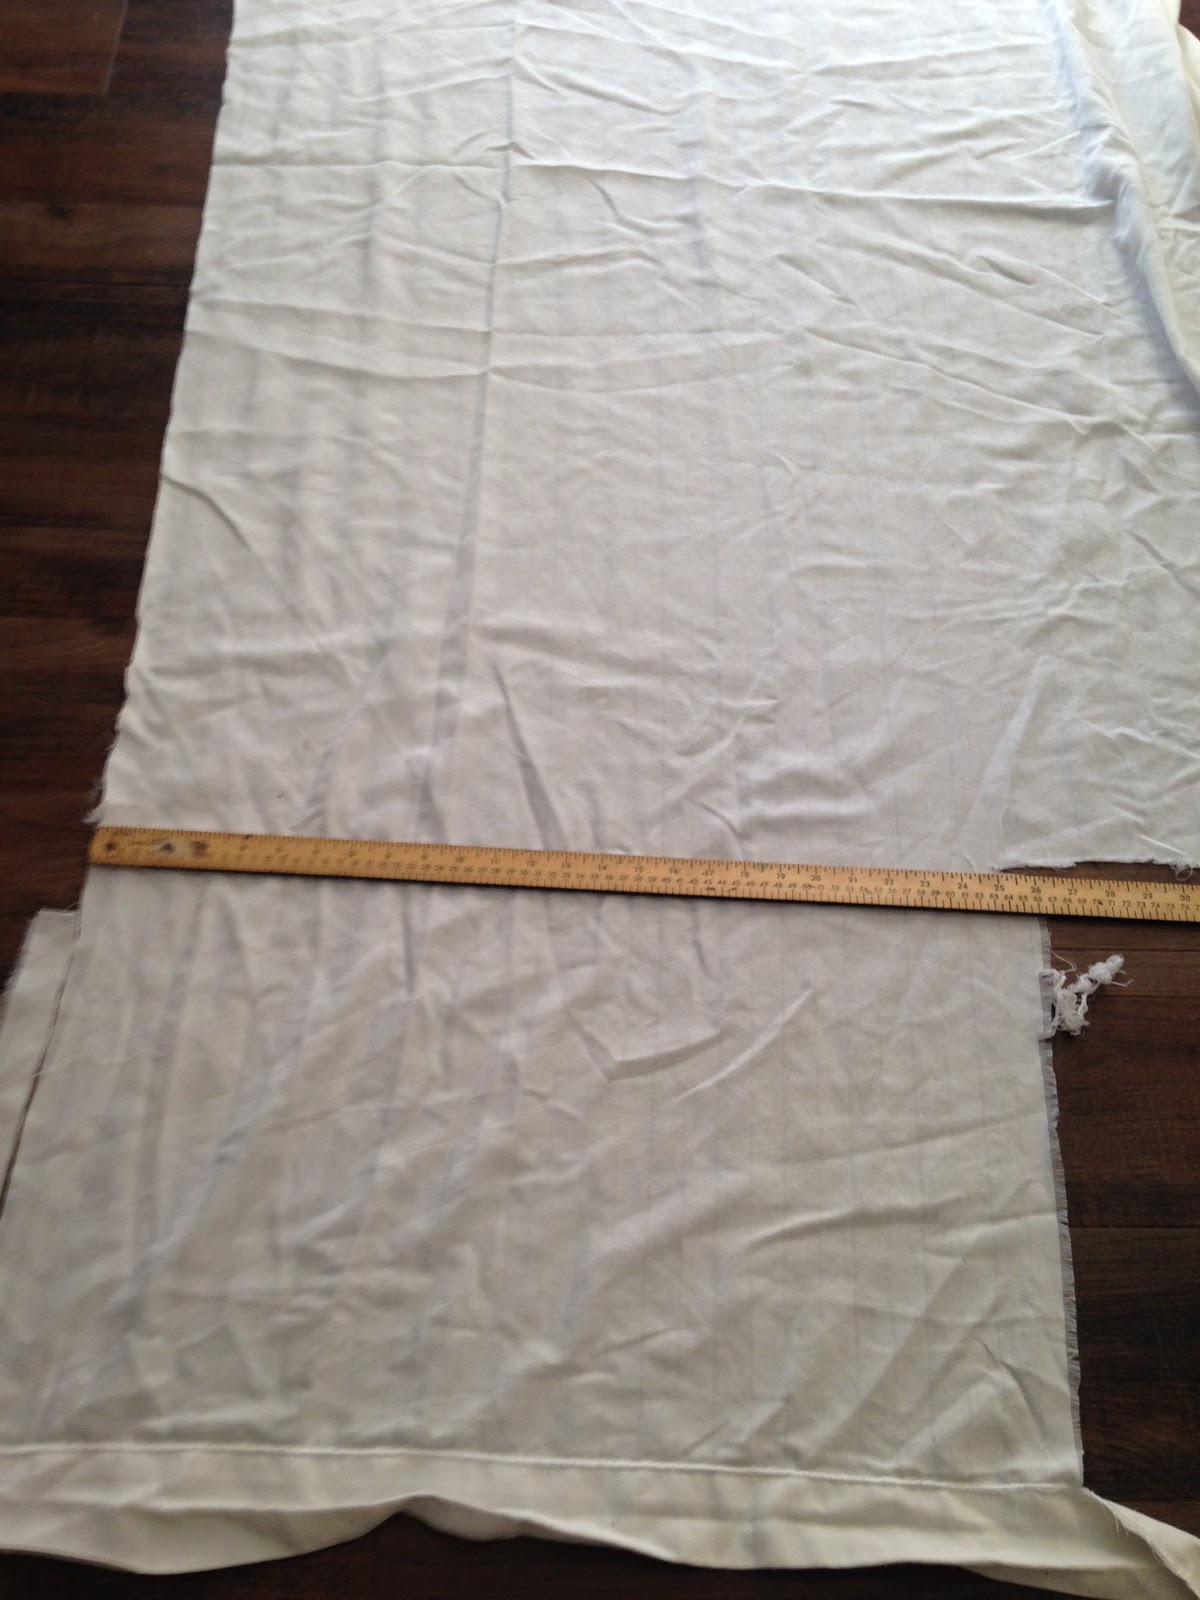
As you can see, I had already cut into this sheet to make something else.

The pets love to craft with mommy.

2.  My sheet was white, and I did not want it to be.  I wanted it to be more of a cream color.  So I decided to tea dye it.  If you have never tea dyed anything, tea dying is great if you want to antique a piece of cloth or subtly change the color to a slight brown or cream. 
Here are the steps to tea dye.
             A.  Put water in a large pot and add four tea bags.
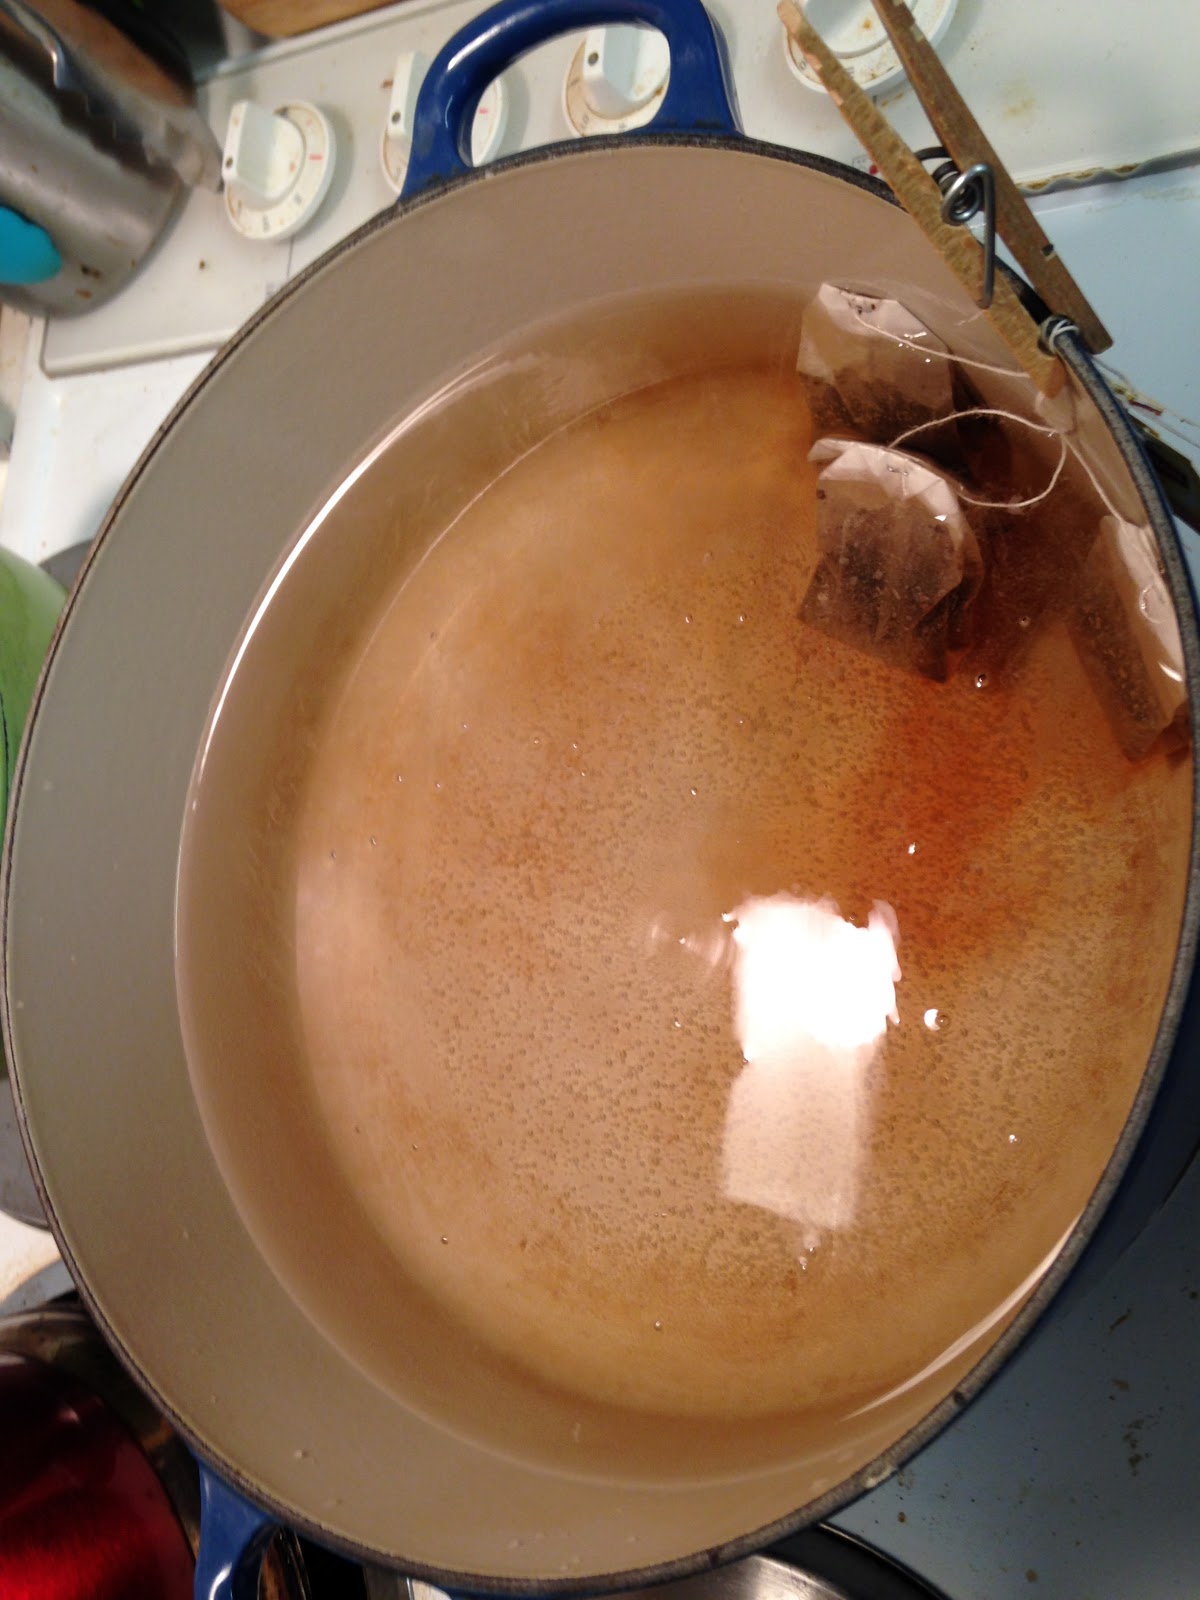
You may have noticed that I have used a clothes pin to clip my tea bags to the pot.  This is so that I don't have to fish them out of the scalding hot water.
              B.  Let you tea steep until your liquid is a lovely rich brown color and then add your fabric.


              C.  Soak fabric for at least one hour.  If you wish it to be darker, steep it longer.
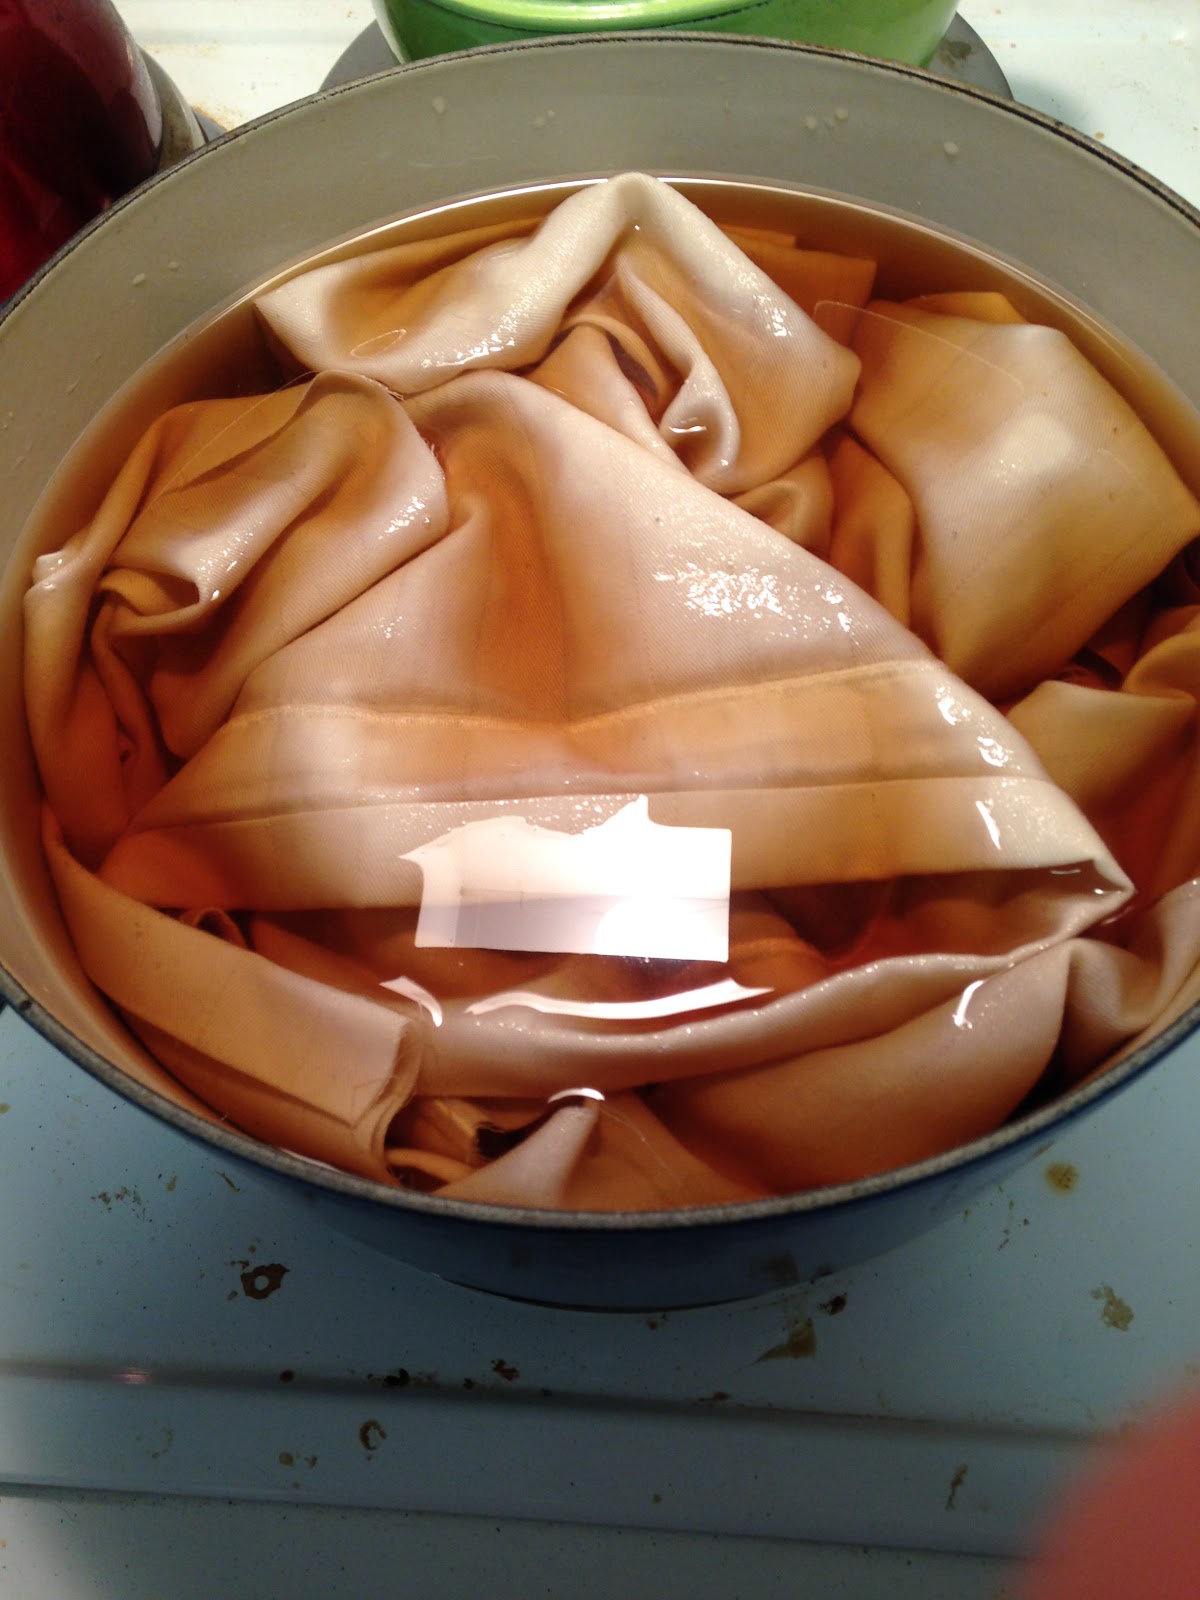
  
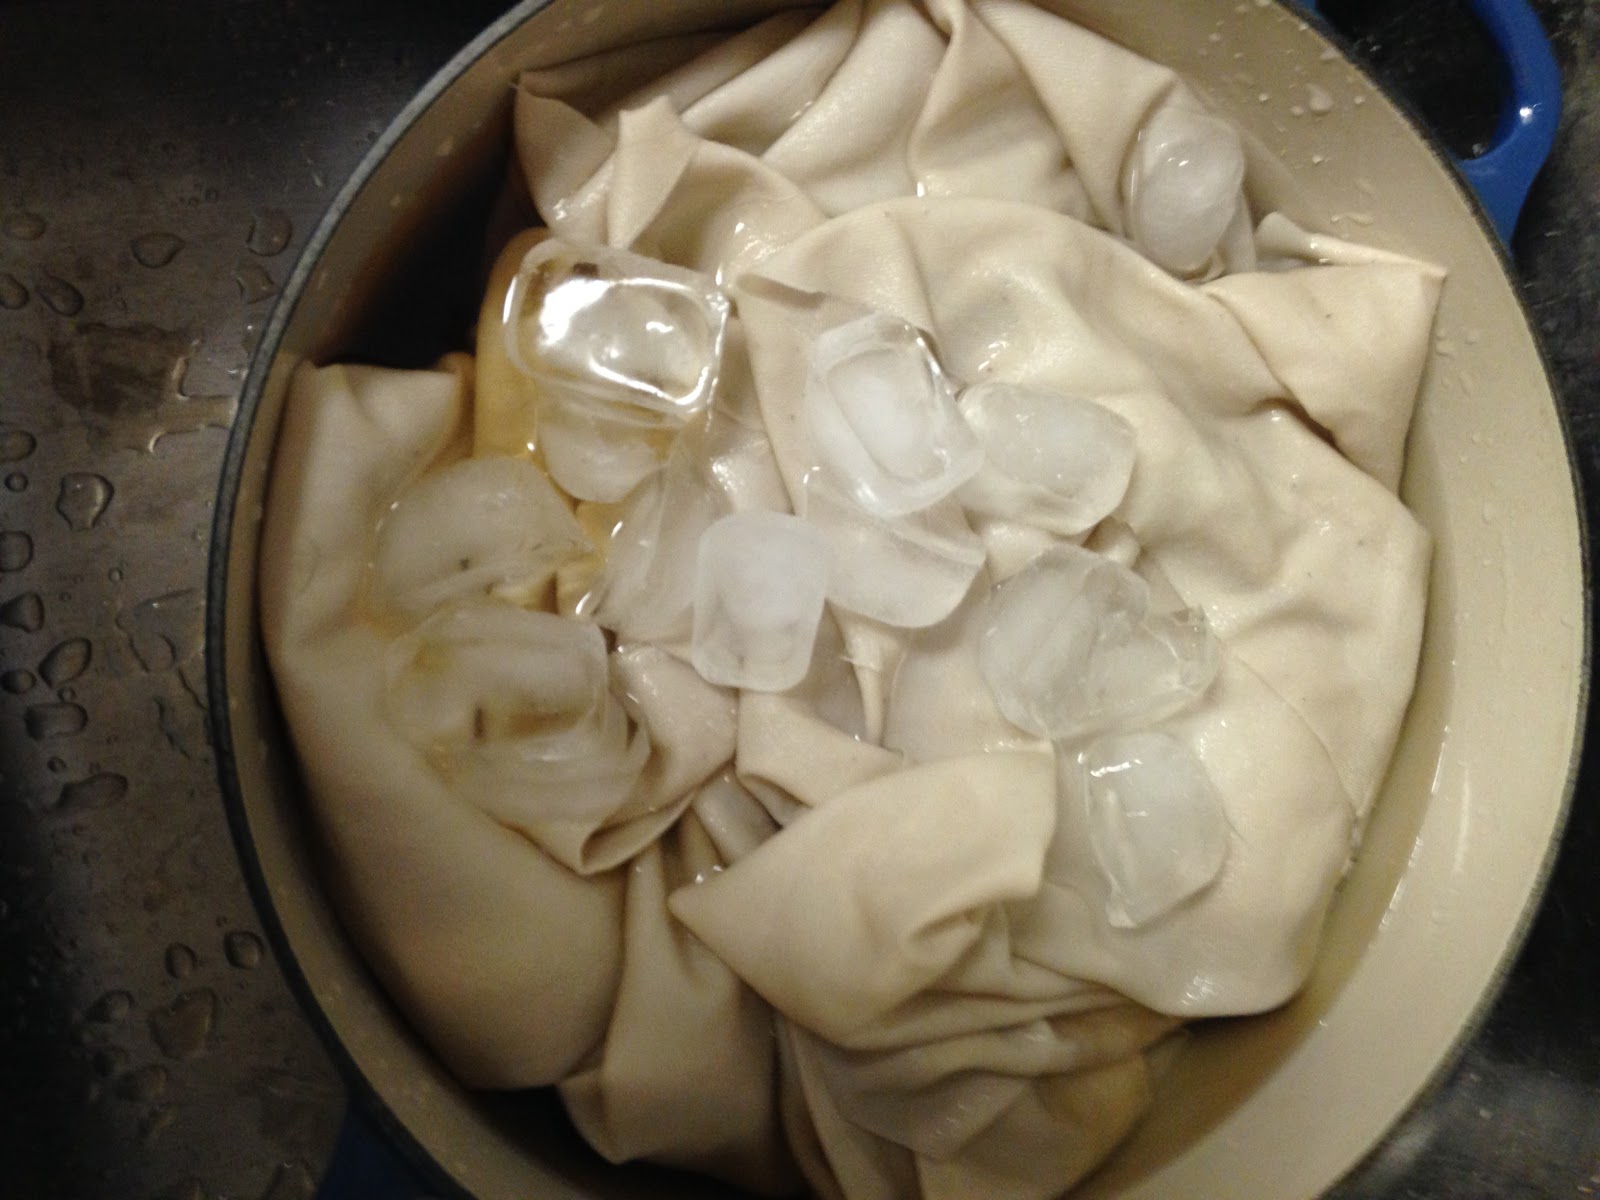
              D.  Once fabric has achieved desired color, remove fabric from pot and place in an ice bath.
                    Rinse the tea out, gently wringing with your hands.
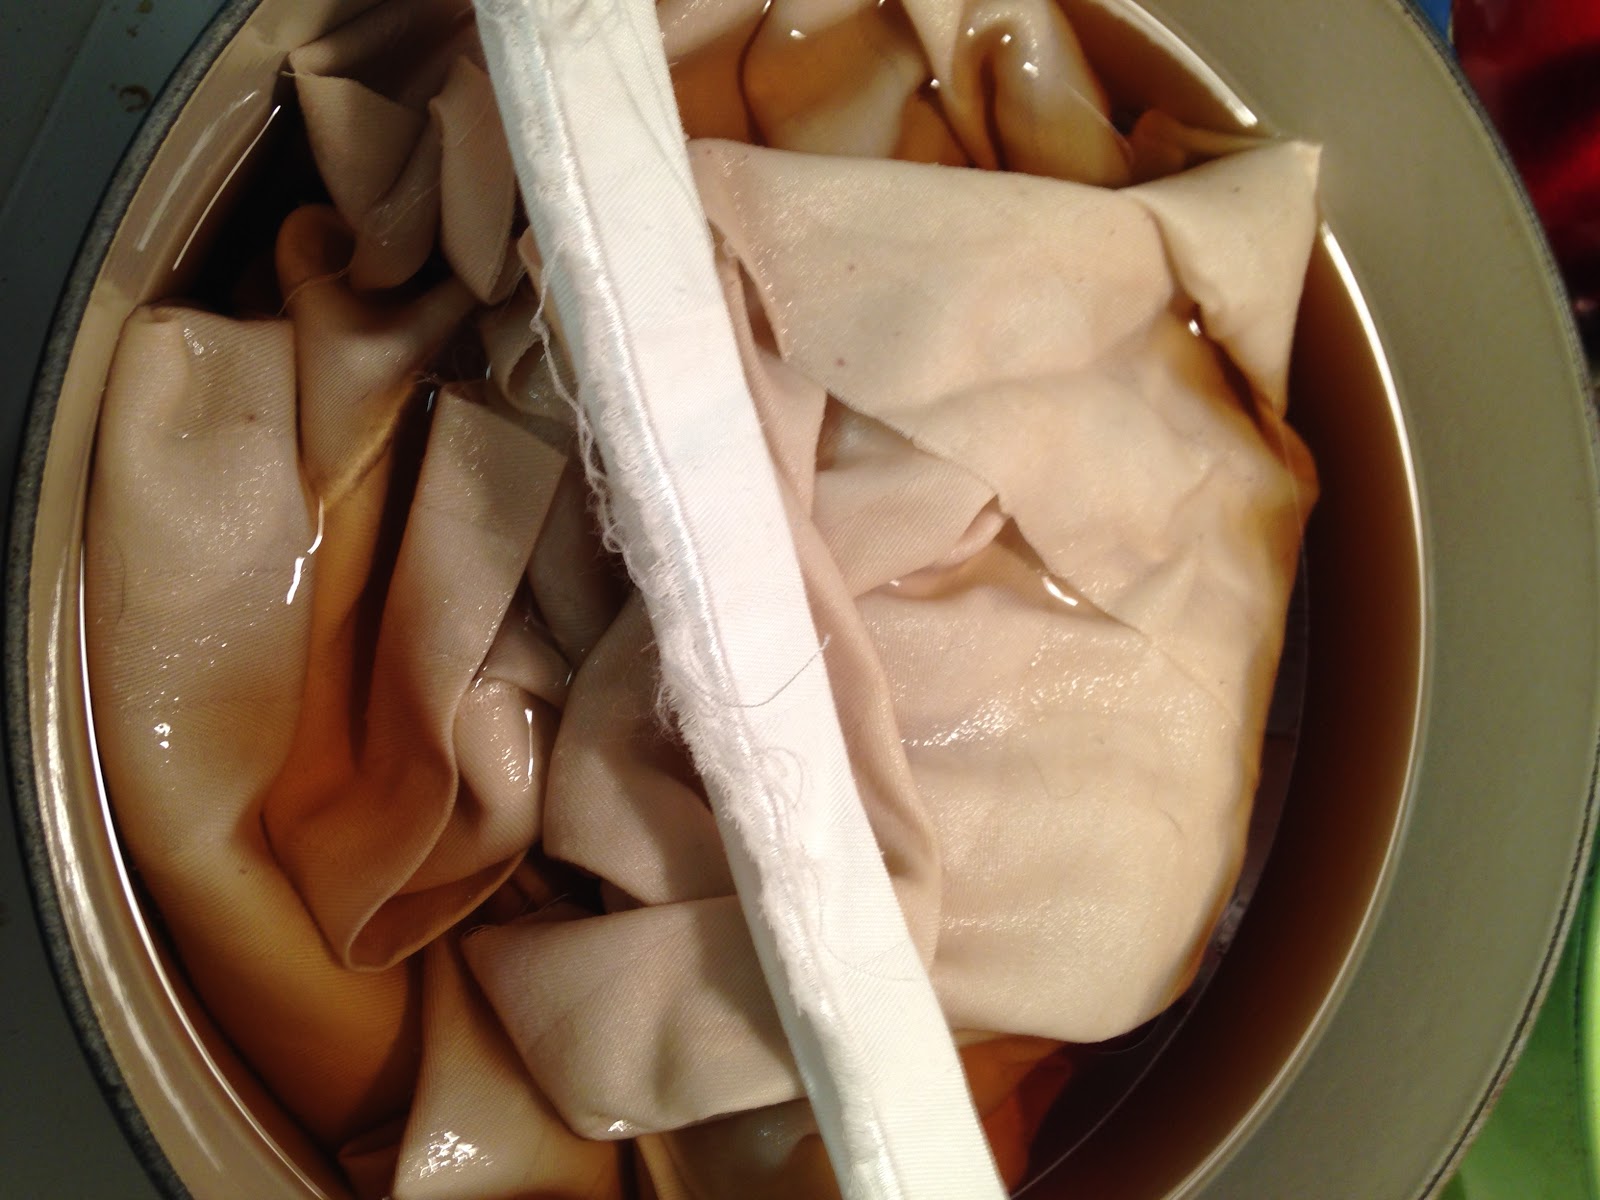

On the top is a slice of the original sheet.  You can see how the color has darkened to a lovely cream color.
Ice bath.
                  E.  Place in washer and dryer and clean of any remaining tea.

2.  After you have tea dyed the sheet, hem the edges.  I folded my to 5/8 inch and ironed along the edge.  Then I folded to 5/8 inch and ironed again to create a double hem and to have a nice clean line running down my table runner.  (This is another area where having a striped sheet was very helpful.)
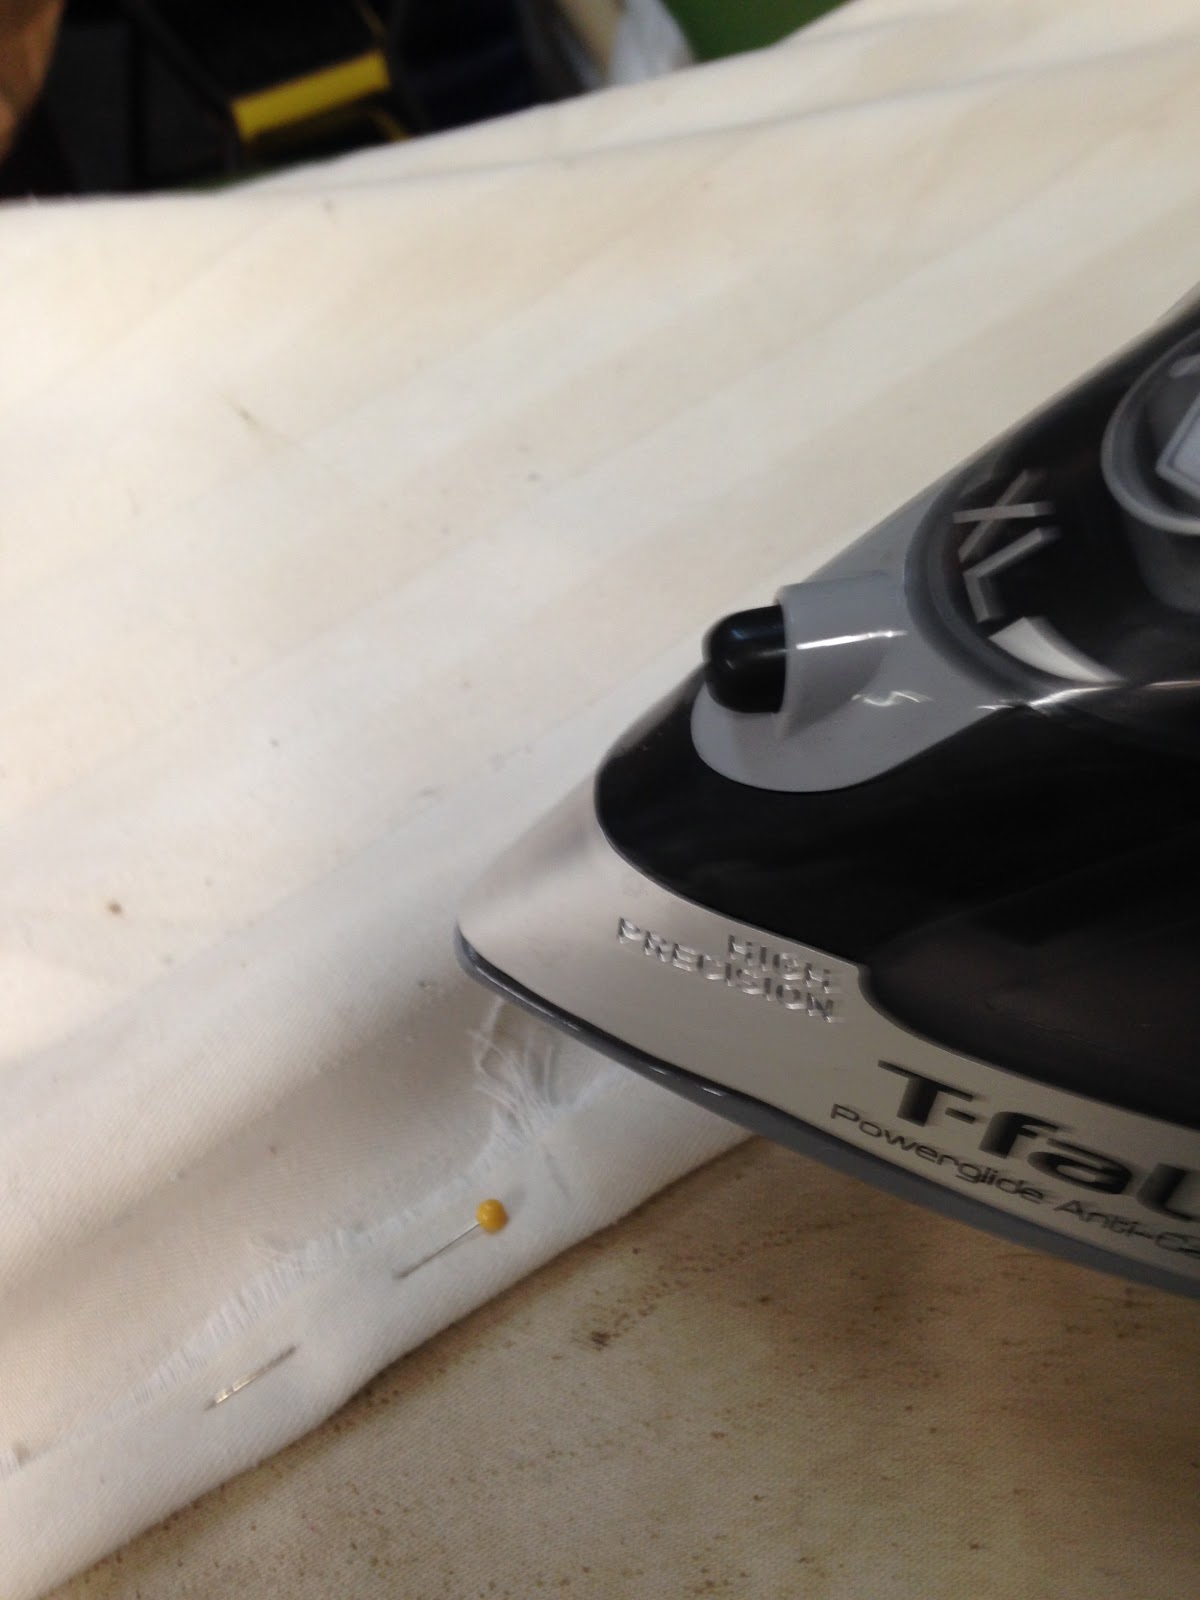

3.  Using a sewing machine or hand stitching, sew your hem using a 5/8 marker on the sewing machine.  (You can also use hemming tape.  I don't because I have a machine, but this is the best solution if you do not have a sewing machine.)
4.  Now you can decorate your table runner.  I used the scraps of flannel that I had left over from my napkins so that I would have a matching table setting as the material for my leaves. You can draw your own leaves, but why reinvent the wheel when Martha Stewart has already done it for you?
Below is the link for the Martha Steward Leaf Template:

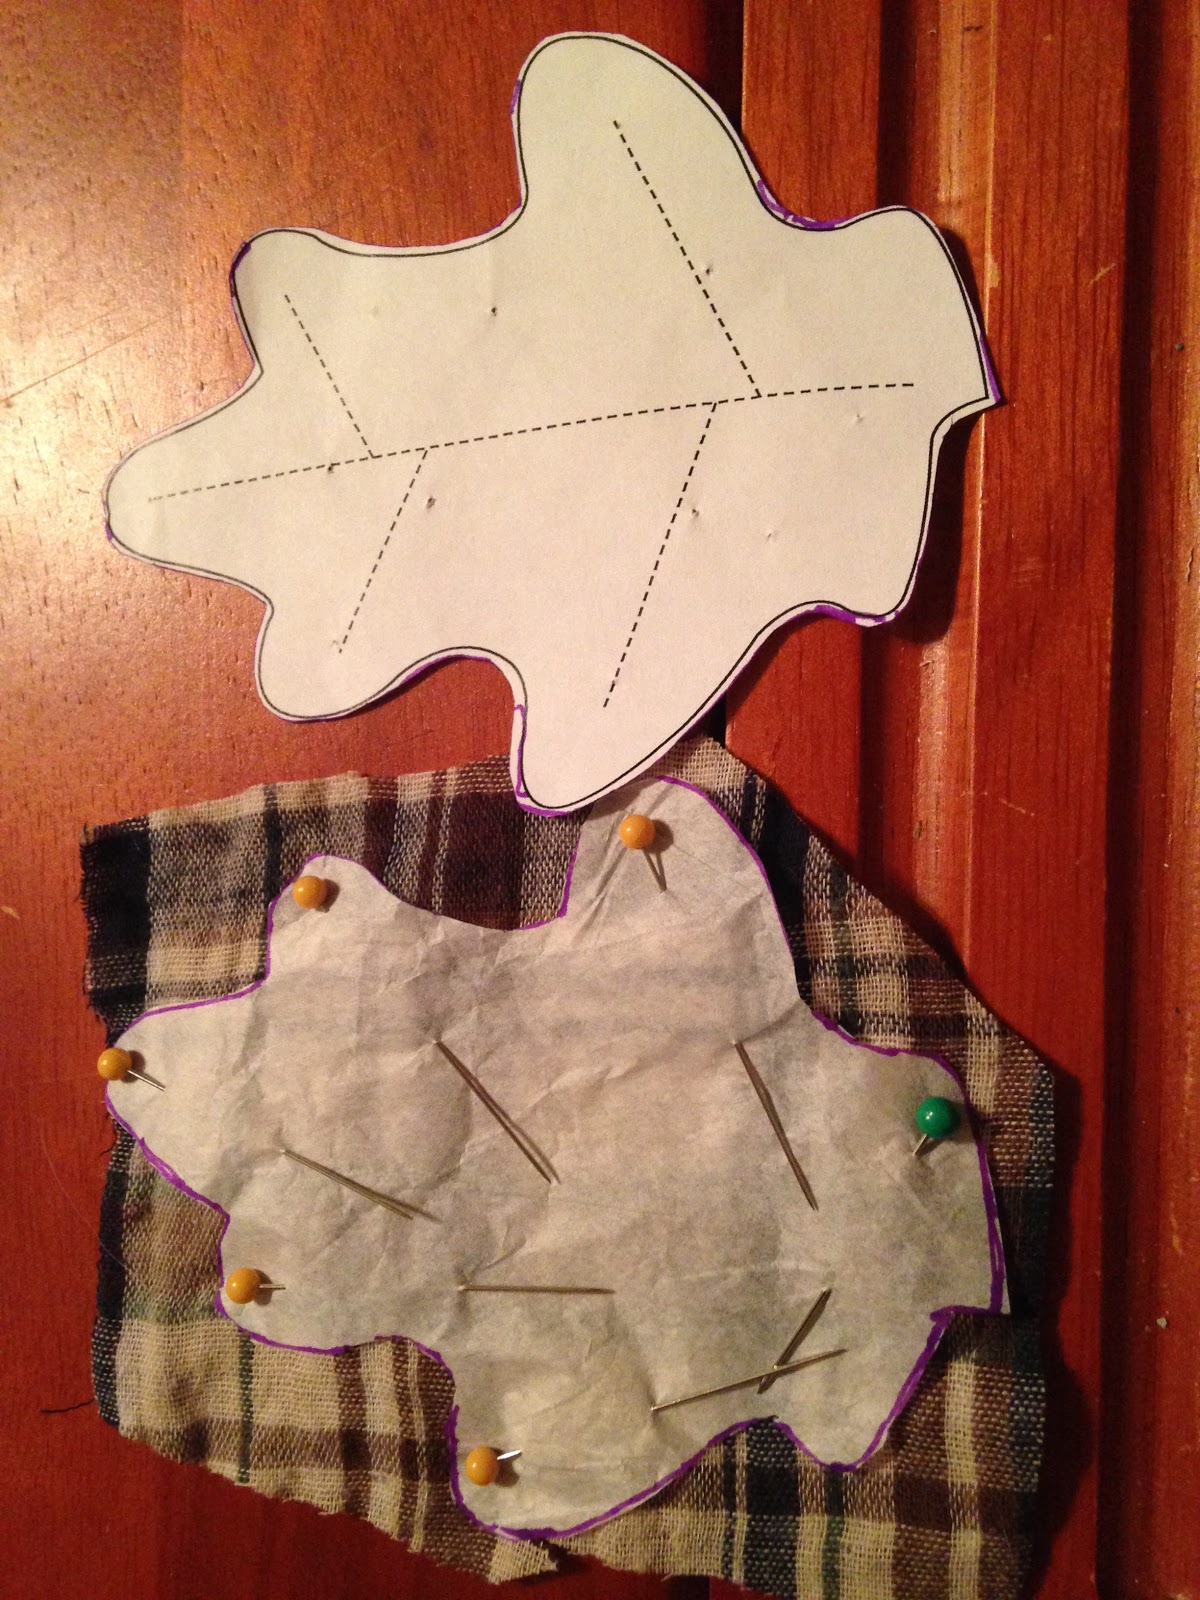
Pin the templates to the fabric and cut out as many leaves as you desire for your table runner.  I cut out four each of the oak and redbud and decided that I would trace around the maple and paint the maple leaf.  (I did this because flannel is very thin and it very hard to cut around when you are using a pattern.  To do the maple was just more of a challenge than I felt like taking on.


5.  Once the leaves are cut, figure out the layout you would like for your table runner.  I decided that I wanted to keep it simple and just have the leaves run down the middle of the runner.
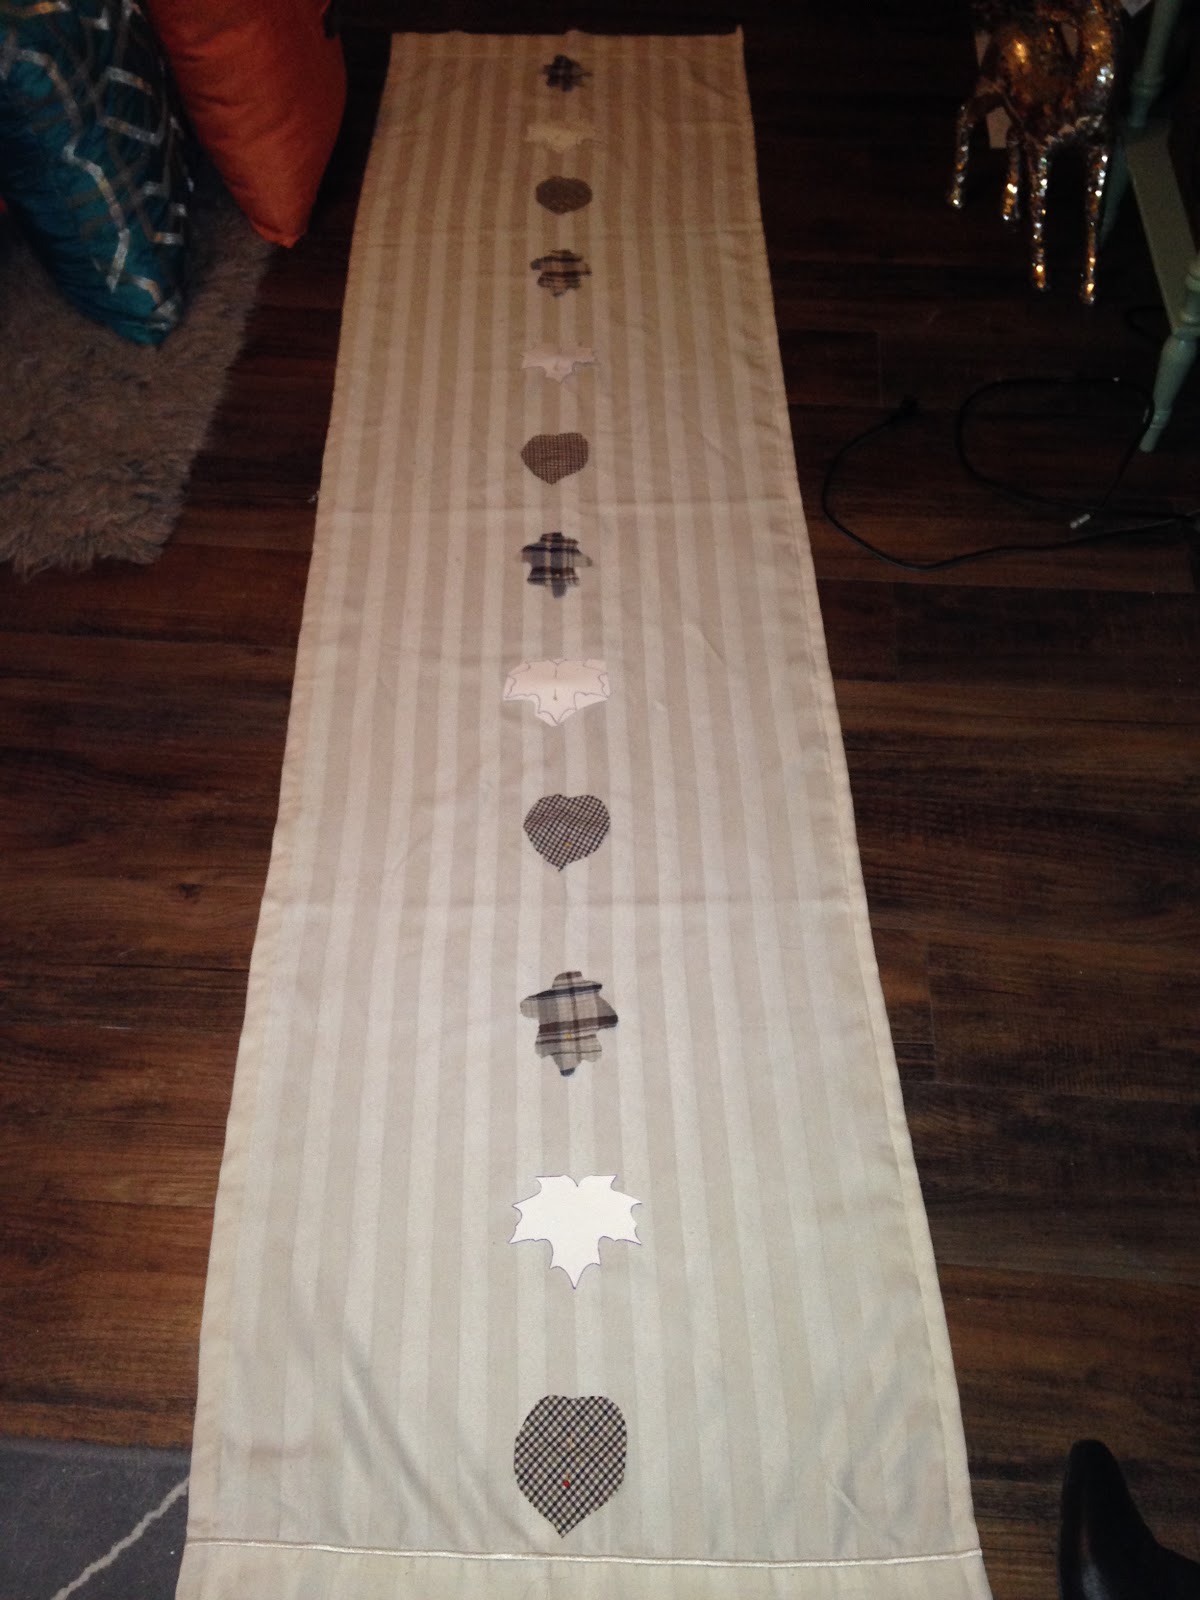
You may notice that the maple leaves are white.  This is because I have not yet traced around the leaves and painted them, but I wanted you to see the layout.

6.  When you know where you want the leaves, spray the back of the leaves with glue and stick to the runner.  This will help keep the leaves in place when you do your outline stitching.
7.  Using a contrasting thread from your material, stitch around the outside of the leaf leaving about 1 centimeter between the edge and the stitch.  
8.  Using three strands of embroidery floss, stitch the veins in your leaves.  I wanted to match the copper I planned on using for maple leaf, so I used a coppery orange embroidery floss for my veins.  (You can paint the veins in first and then stitch so that you have a guideline.)
9.  Repeat steps 7 and 8 for all of your fabric leaves.
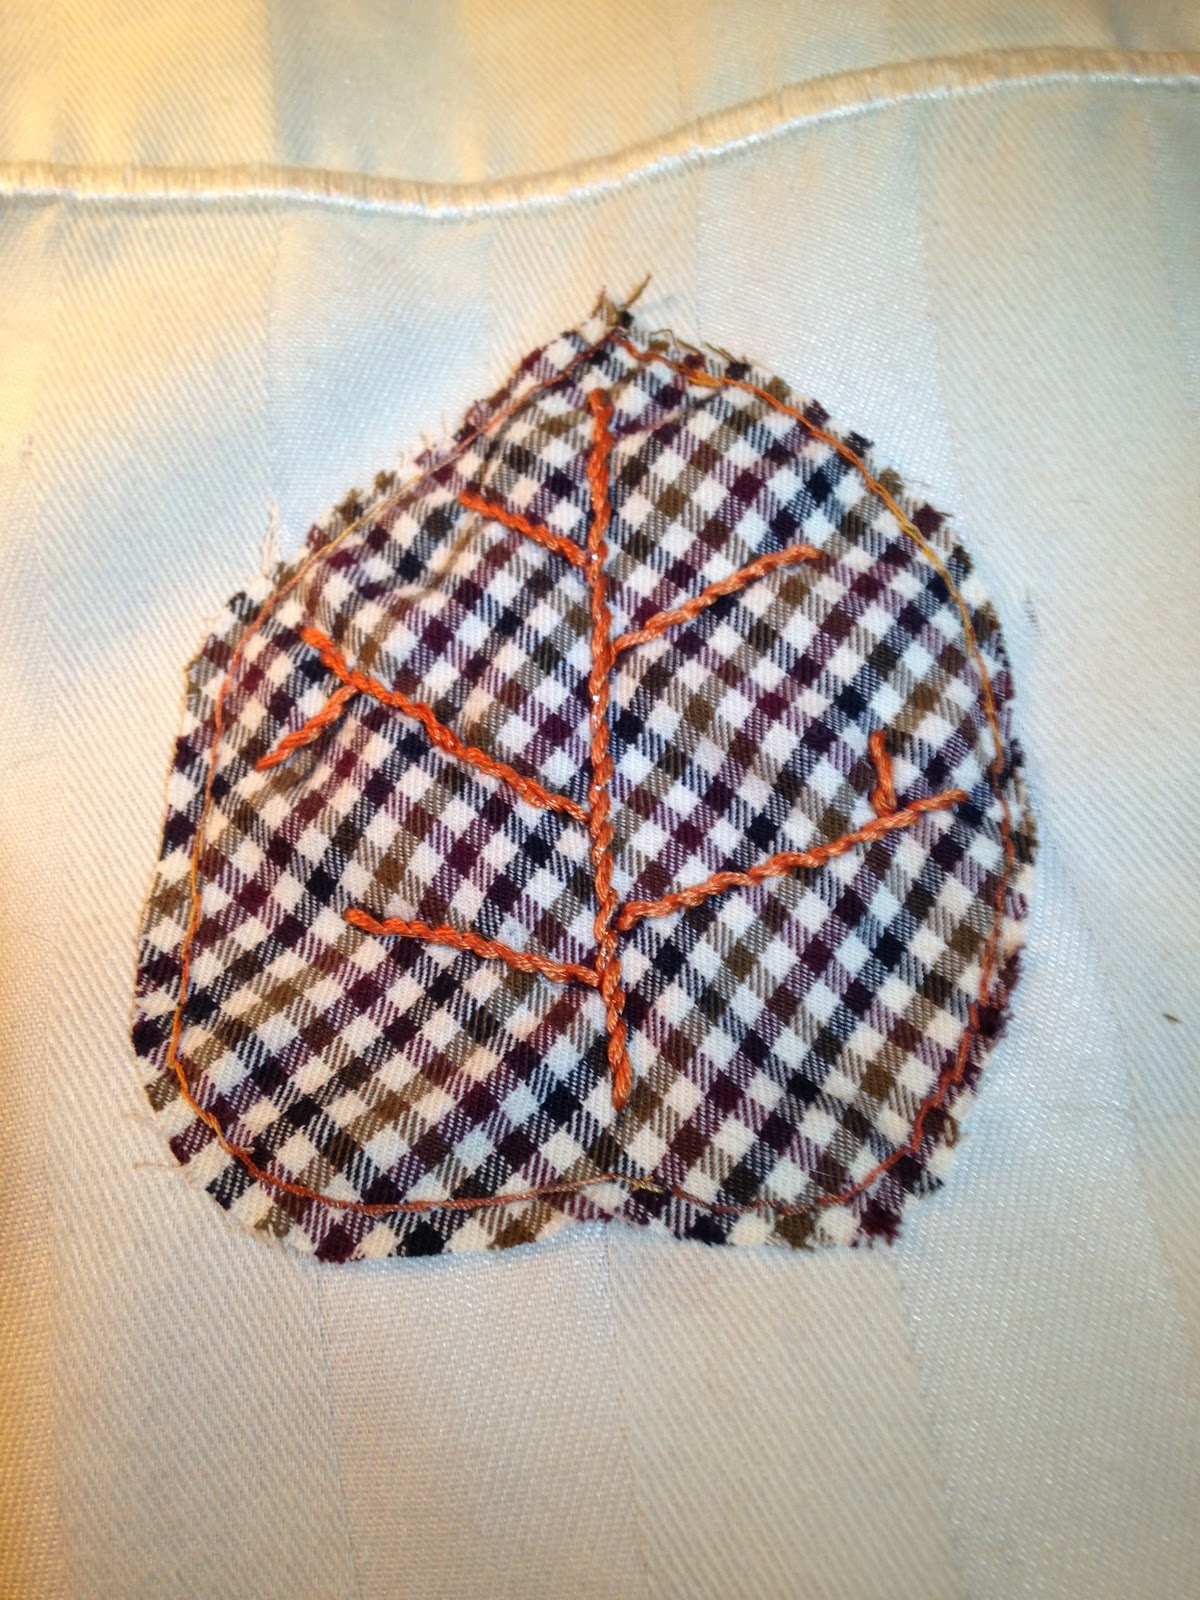
Front View

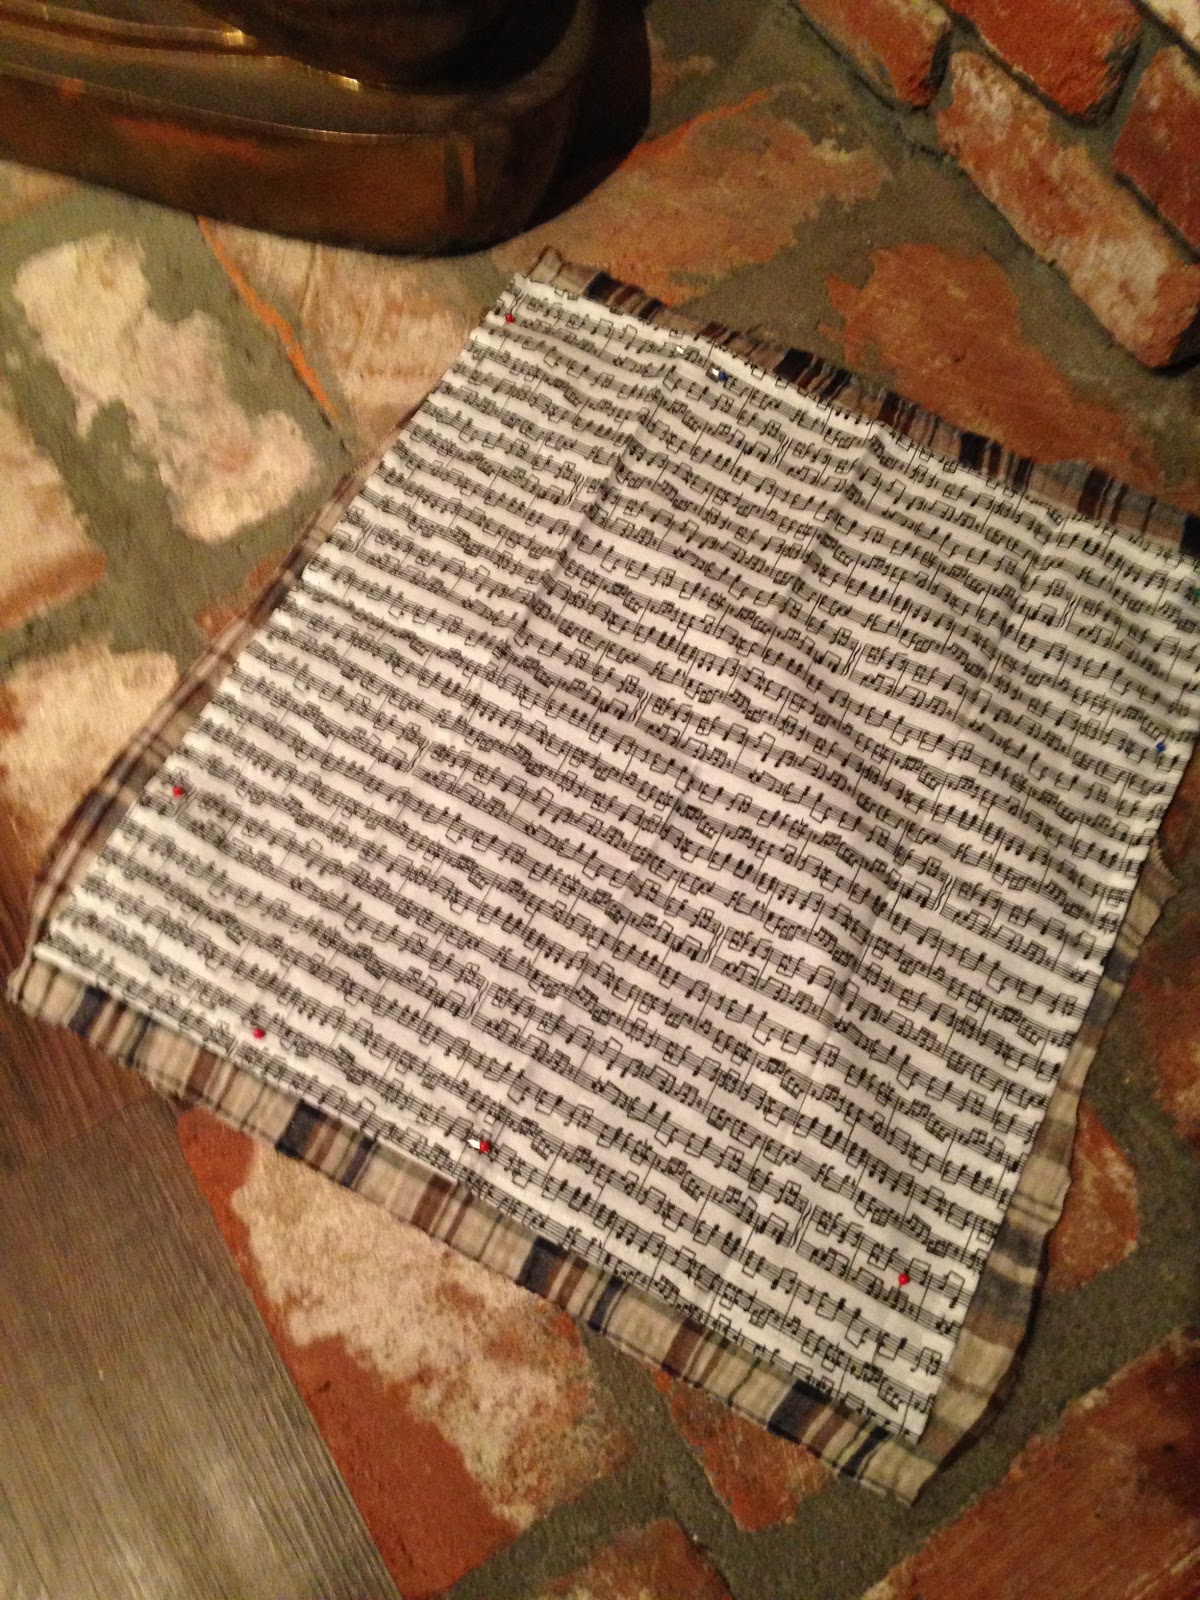
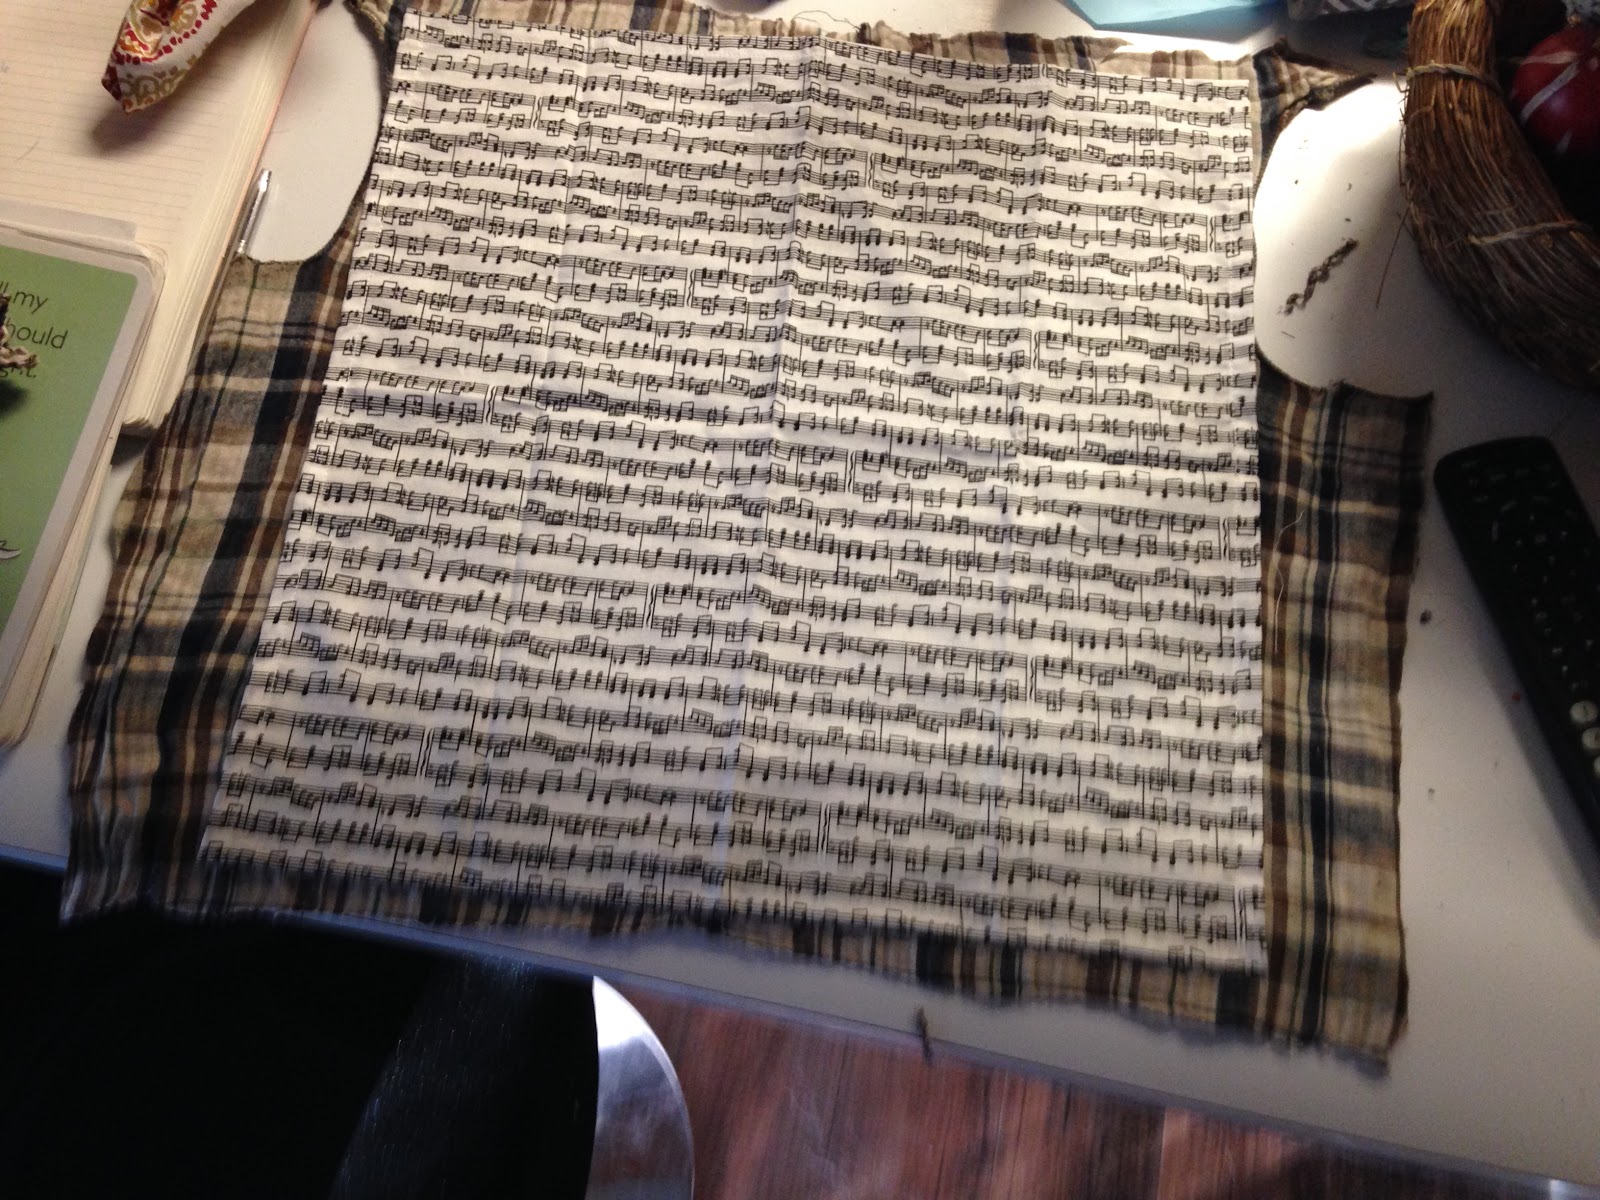
Back view.
10.  Using a pencil, trace around the maple leave template.  Paint with copper acrylic paint.  I could not find copper fabric paint, but I know, from experience on my own clothes, that acrylic paint does not like to come out of fabric, so I decided to use it for my runner.
11.  When the paint is dry, use three strands of contrasting embroidery floss to make the leaf's veins.  I used a dark brown embroidery floss.
12.  Repeat steps 10 and 11 until all of your maple leaves are completed.
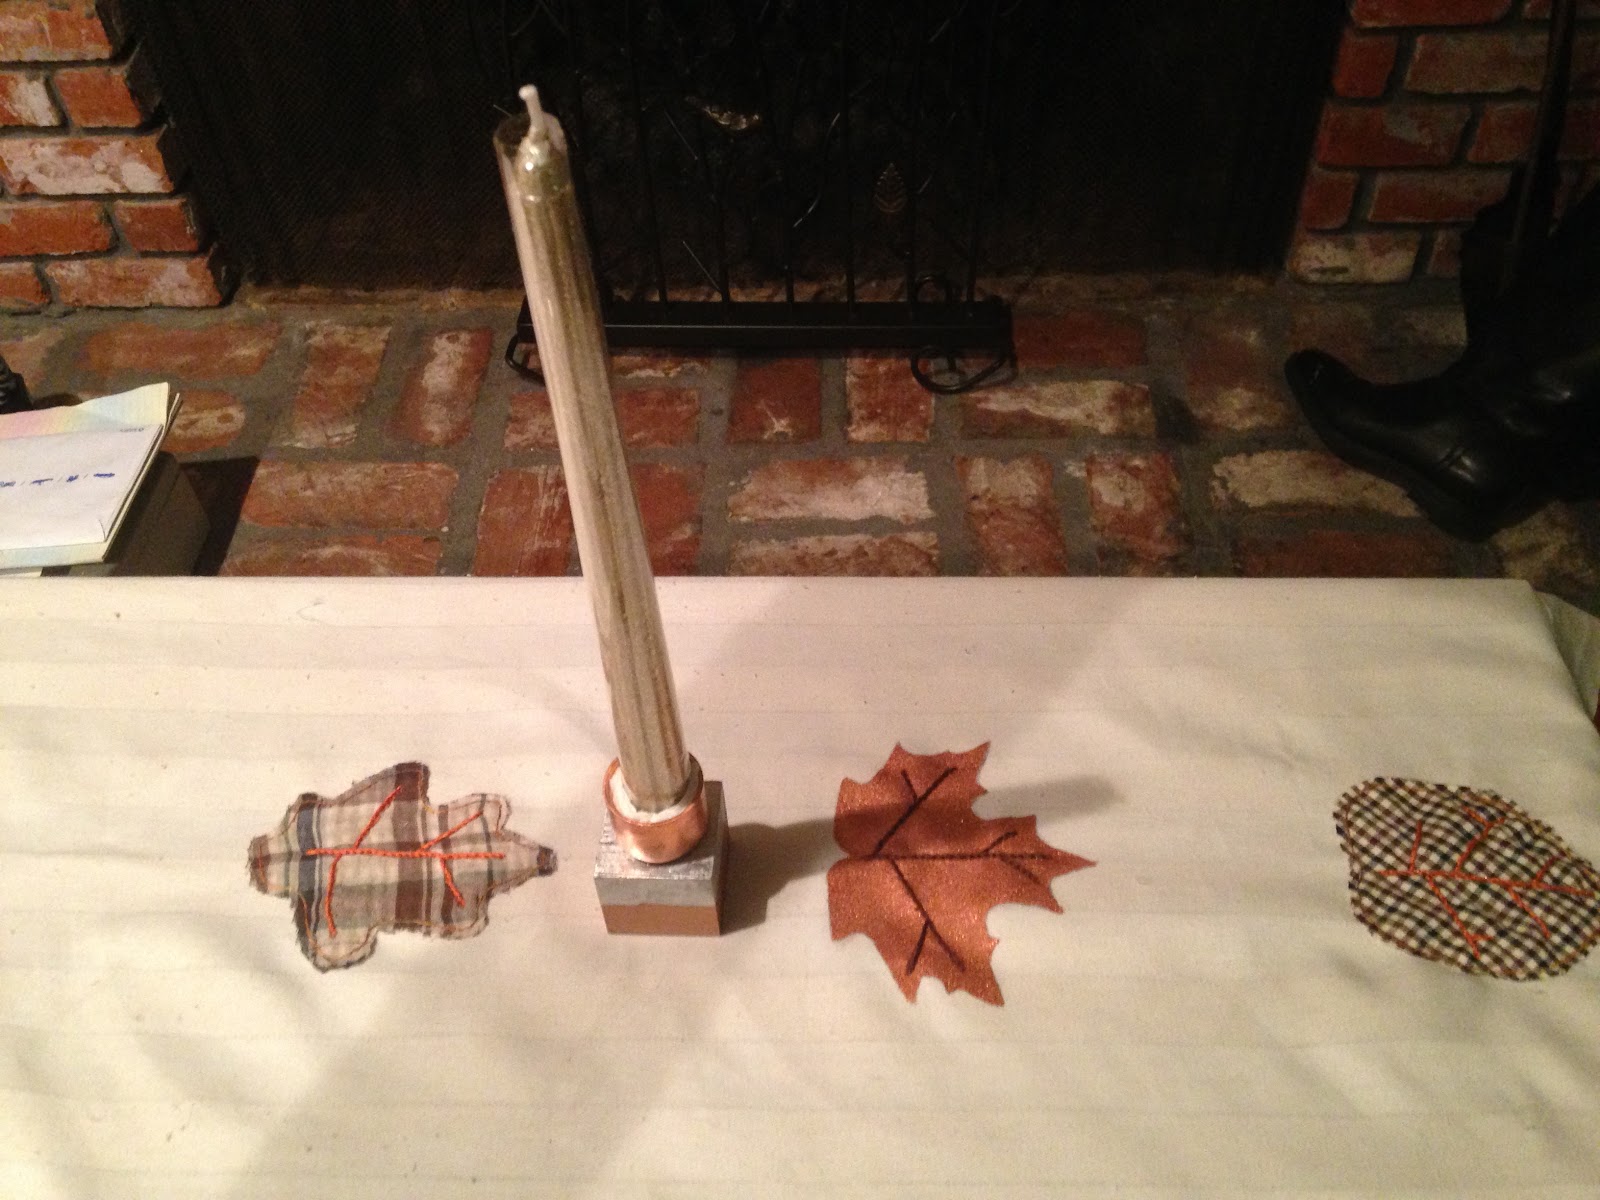


Put on your table and garnish with delicious plates of food!

Well, that's it for table decorations for Thanksgiving.  I hope your Thanksgiving is wonderful and I will be back soon with some more holiday posts!


Sunday, November 20, 2016

Thanksgiving Table Hardware - How to Make a Beautiful Table Using Items from the Hardware Store - Candle Holders and Copper Napkin Rings

Hello Everyone!
Thanksgiving is fast approaching and it is time, if you haven't already started, to start preparing for your holiday meal.  In my opinion, that means not only planning a menu full of family, traditional favorites, but also planning out how you are going to decorate the table and make it beautiful.


This is often a skipped step among many for Thanksgiving.  After all, your guests are usually family and if anyone will forgive you a blank, non-decorated, table its family.  But, I think that this is a grave mistake.  Studies have proven that food actually tastes better if you are sitting in an inviting environment.  Scientists still don't know why the human brain works this way, they just know that it does.  (I just heard this on NRP a couple of days ago, so if you want to look for this study, that is where to start.)  Also, the Thanksgivings that I remember the best are the ones that my family pulled out Grandma's good silver and china and made Thanksgiving an occasion and not just an excuse to stuff your face with turkey and dressing.  We actually dressed nicely and sat down to a table that was elegantly dressed and enjoyed a grand meal in a grand style.
I firmly believe that more people should do this.
Now, I know that not all of us are lucky enough to have inherited grandmother's good china and silver. (I know that I was only lucky enough to get the good silverware.) I also know that napkins, tablecloths/table runners, place mats, napkin rings, candle stick holders and center pieces can add up and be very expensive.  So, in the next few posts, I am going to show you how you can create a beautiful table using items that you can find in the hardware store, your local Goodwill, and the craft store.  The goal that I had for these items was that they had to be significantly less expensive than if you bought the items retail.  Otherwise, it didn't make any sense to craft an item when you could go out and buy them.
To cost compare, I will include a retail item that is similar to the one that I am showing and will show the price.  I will also do the same for my homemade version and will add up our savings!
So lets get started!

Contemporary Copper Block Candle Holder

I am in love with all things rose gold and copper right now, so I wanted to decorate my table using copper. However, my fine china, that my husband gave me as an awesome birthday present, is white and silver.  
This is what my fine china looks like.  It is Parchment by Mikasa and I adore it.  My husband got it for my birthday when Macy's was running a crazy good sale.  Which is good, because it has since increase in price by ALOT.

So I had to figure out a way to make silver and copper live together on my table, one of the ways that I decided to do this was with candlesticks to help out as part of my center piece.  

I went online, looking for inspiration and was appalled by the cost of copper candlesticks and nothing tied in my silver.  Always trying to problem solve, I combined two of my favorite candle sticks and made them into one!
Below are the two candlesticks that inspired my artistic vision.

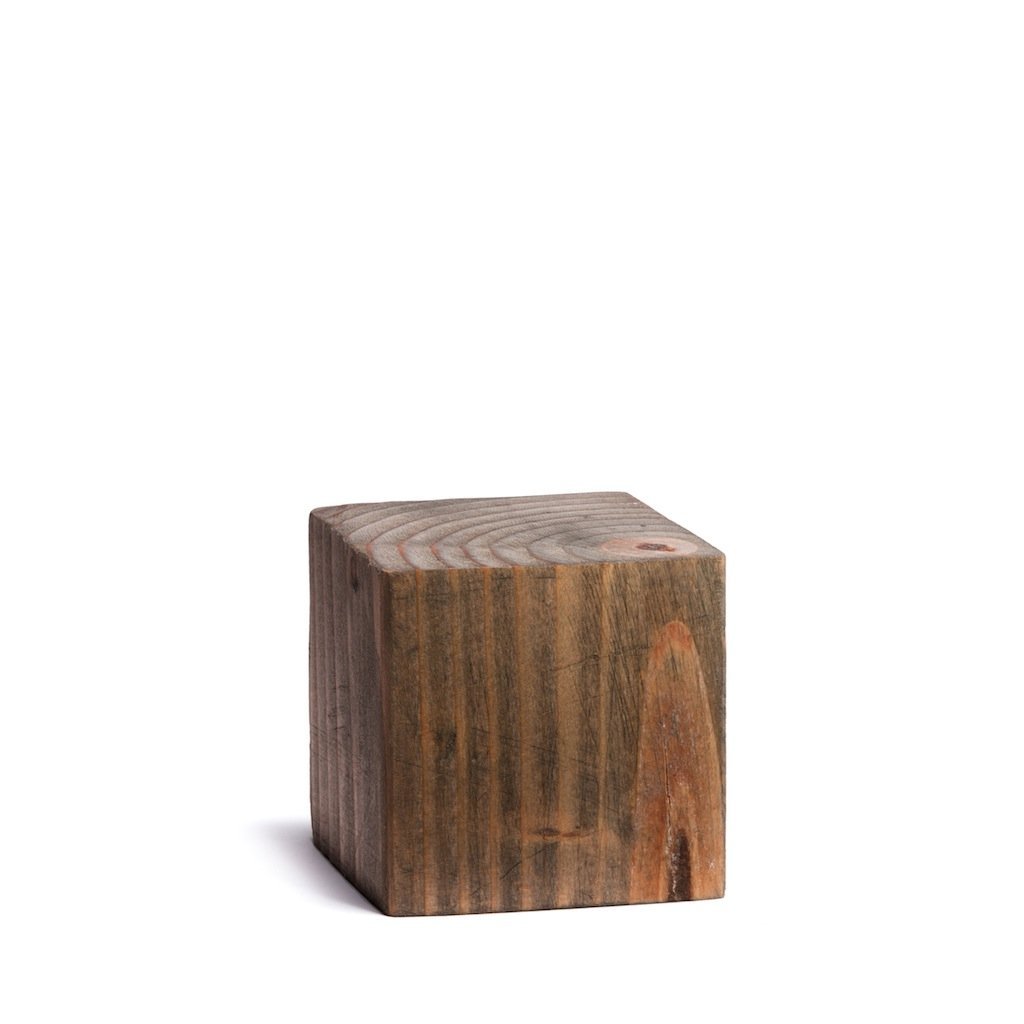
Ebony Wood Block Candle Holder

https://www.amazon.com/Stone-Candles-Candle-Holder-3-5-Inch/dp/B01DOSC7IW/ref=sr_1_1?ie=UTF8&qid=1479694920&sr=8-1&keywords=Block+Candle+Holder

This little block candle holder you can get on Amazon.
It is made of ebony, so that explains some of the price.
It currently is $7.00 per block plus $7.50 shipping.
Two of these, at a bare minimum would cost me $21.50 and that is assuming they combine shipping.


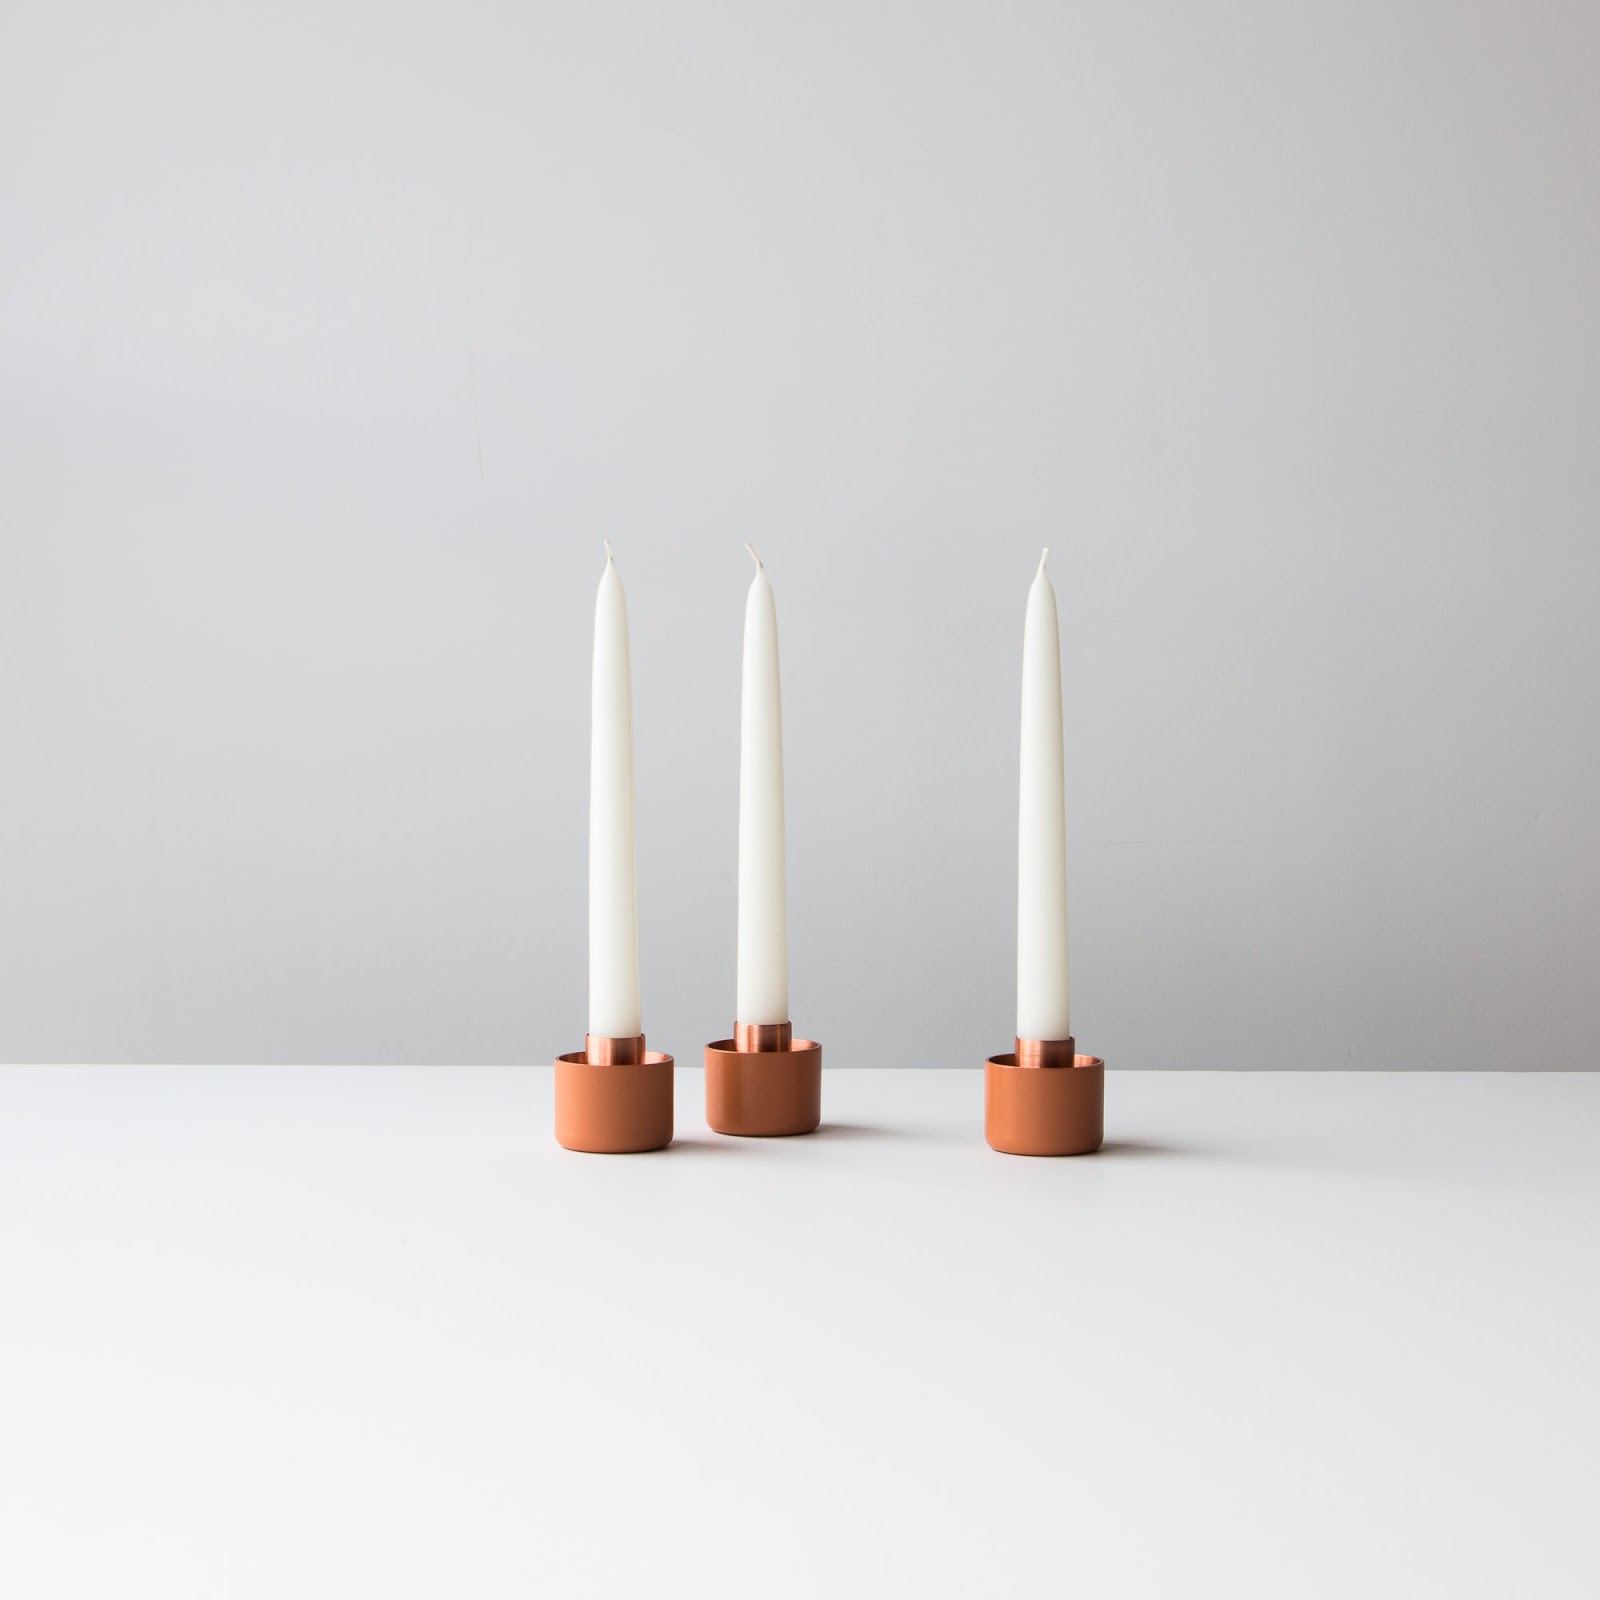
Contemporary Polished Copper Candle Holder


https://www.chicbasta.com/products/polished-copper-candleholder


You can get these candle holder from www.chicbasta.com.  And they are beautiful.
These candle holders are handmade so this usually means the price will go up because they are not mass produced in a factory.
I still have yet to be able to figure out if the pricing on this is for a single candle holder or more.  But I'm pretty sure that the cost is per holder.  So the cost per holder is $29.00 per candle plus shipping. I did not price shipping because, I figured that know that two of these would be $58.00 was enough.

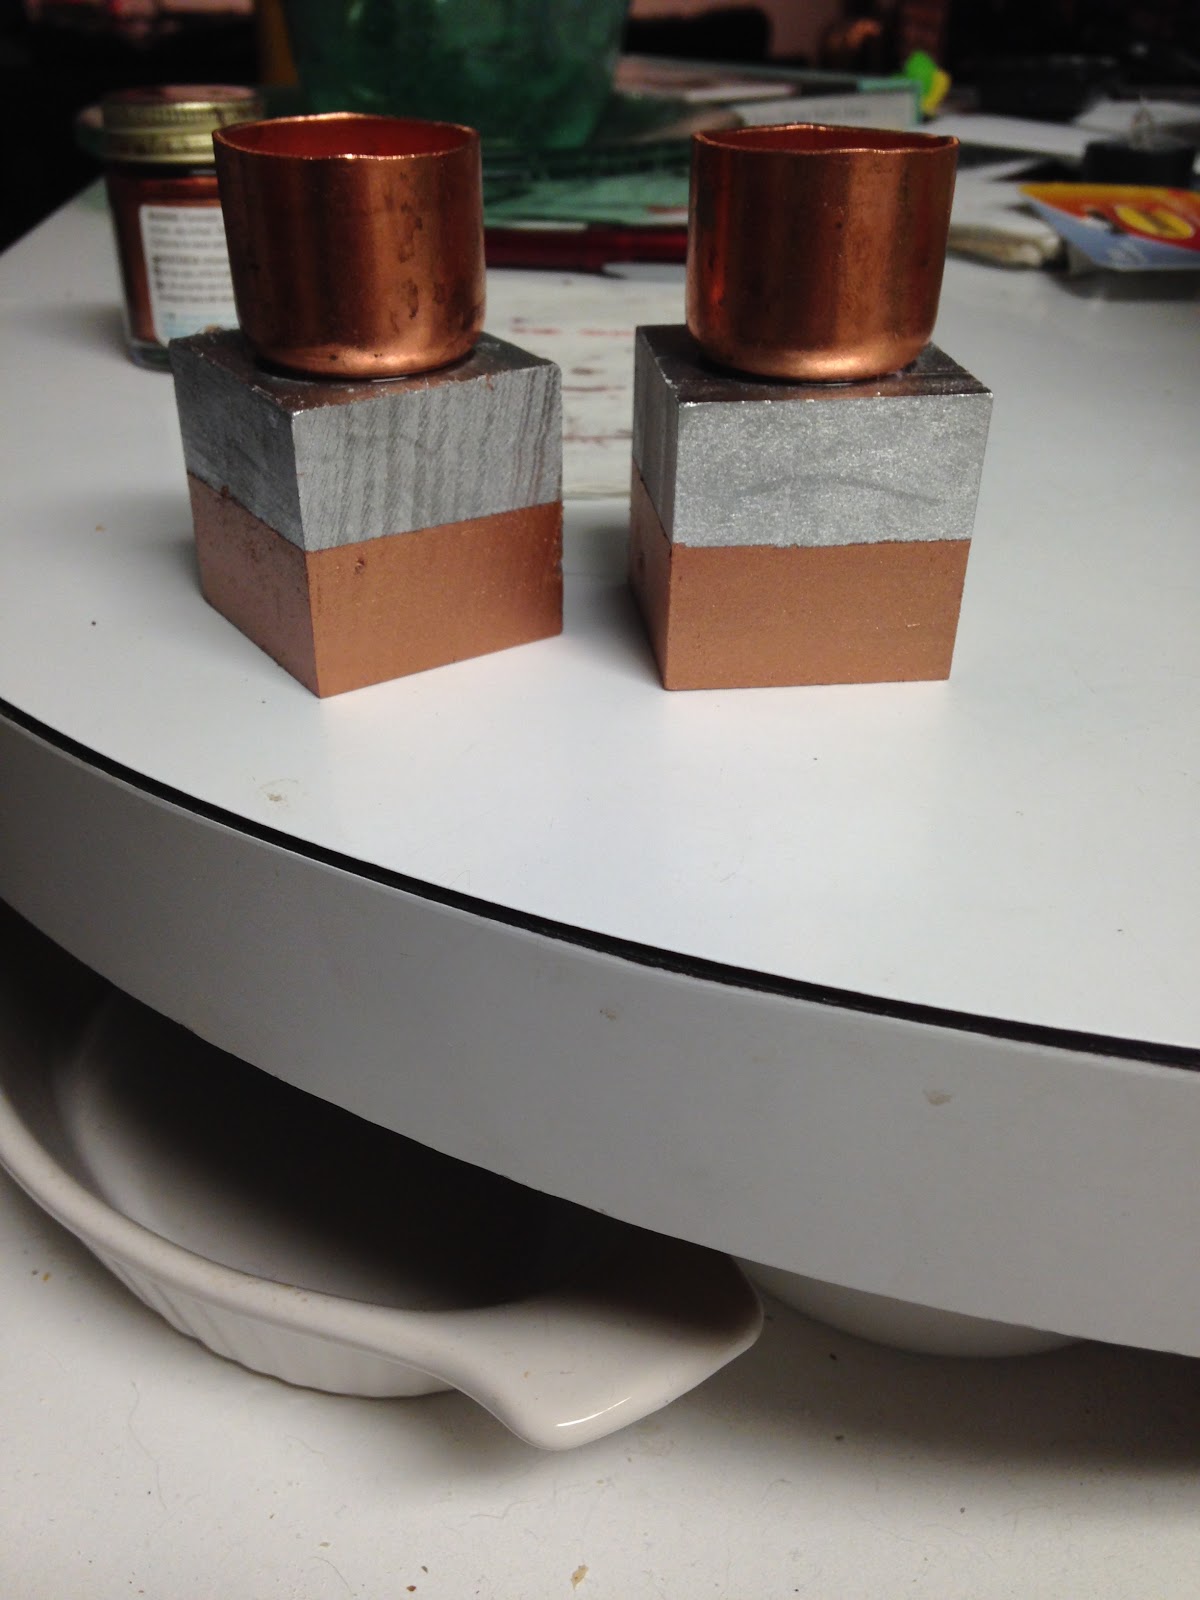
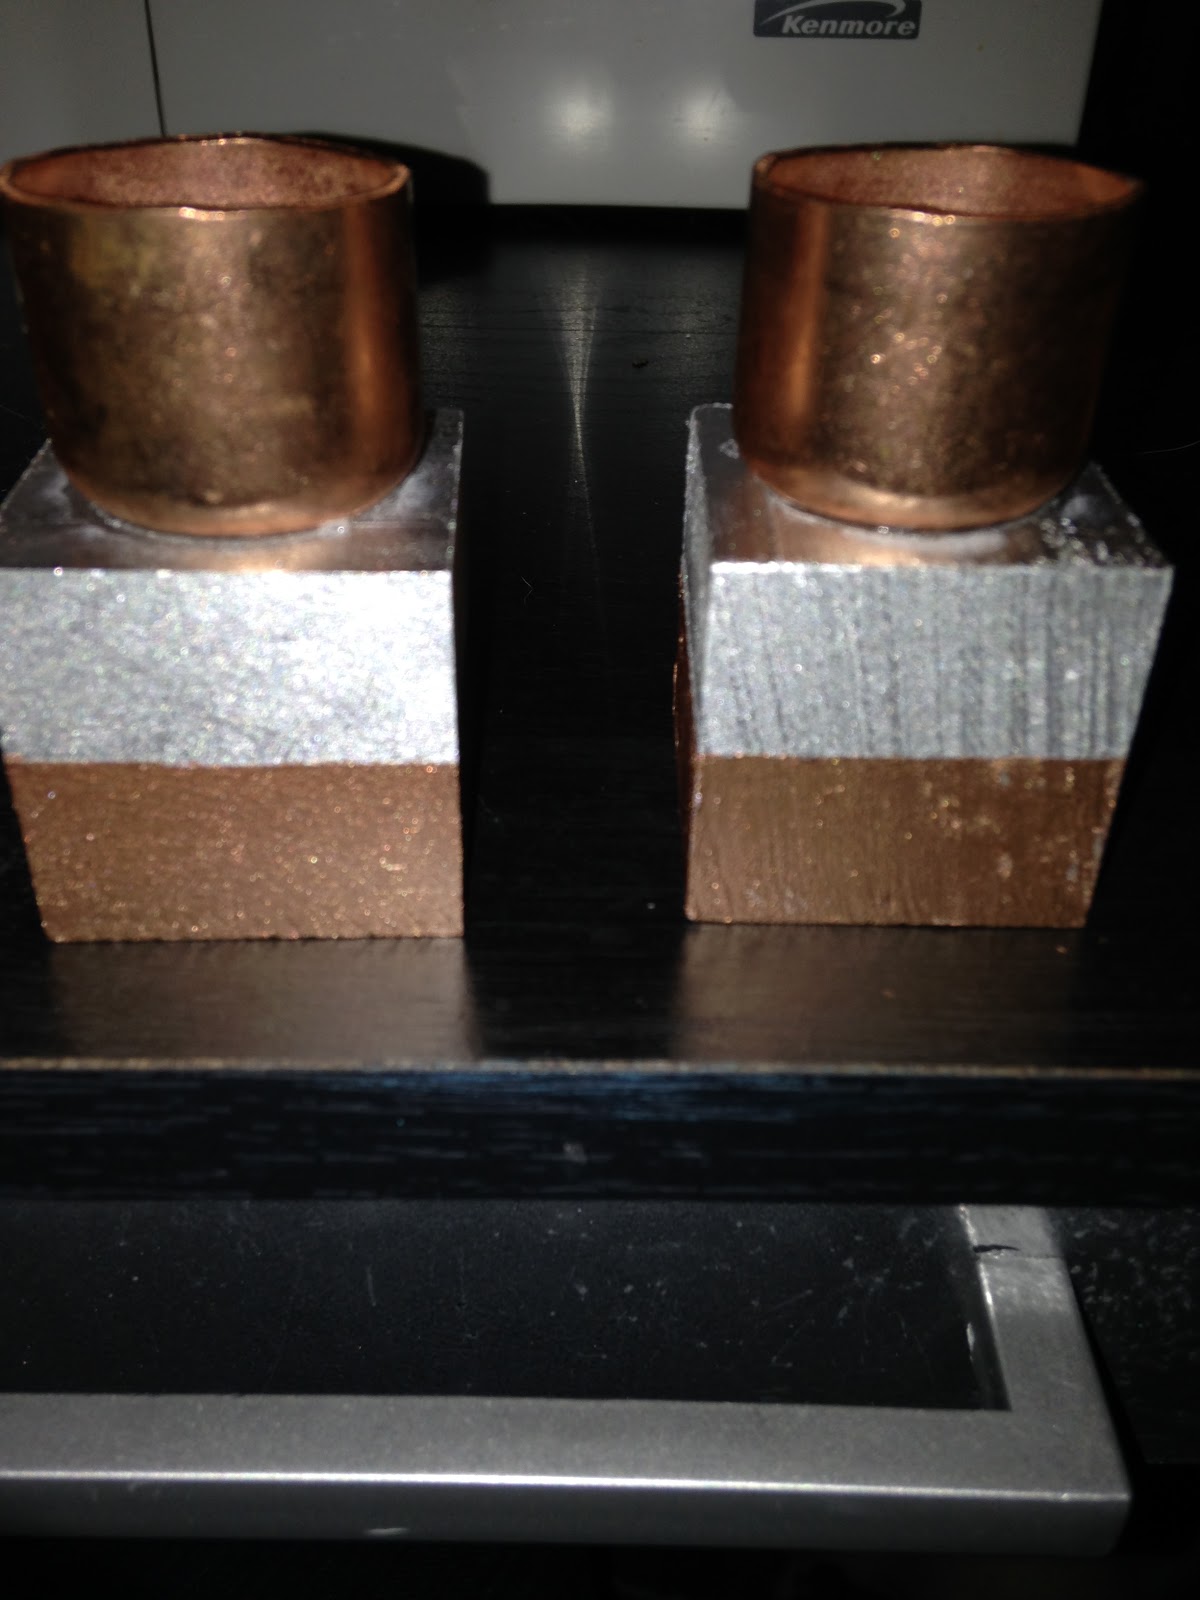
And here's mine.  The pictures aren't as pretty, but I'm not a professional photographer.
Contemporary Copper Black Candle Holders


I think these turned out pretty cool.

Materials
2 Copper End Caps (Lowe's $1.25 each)
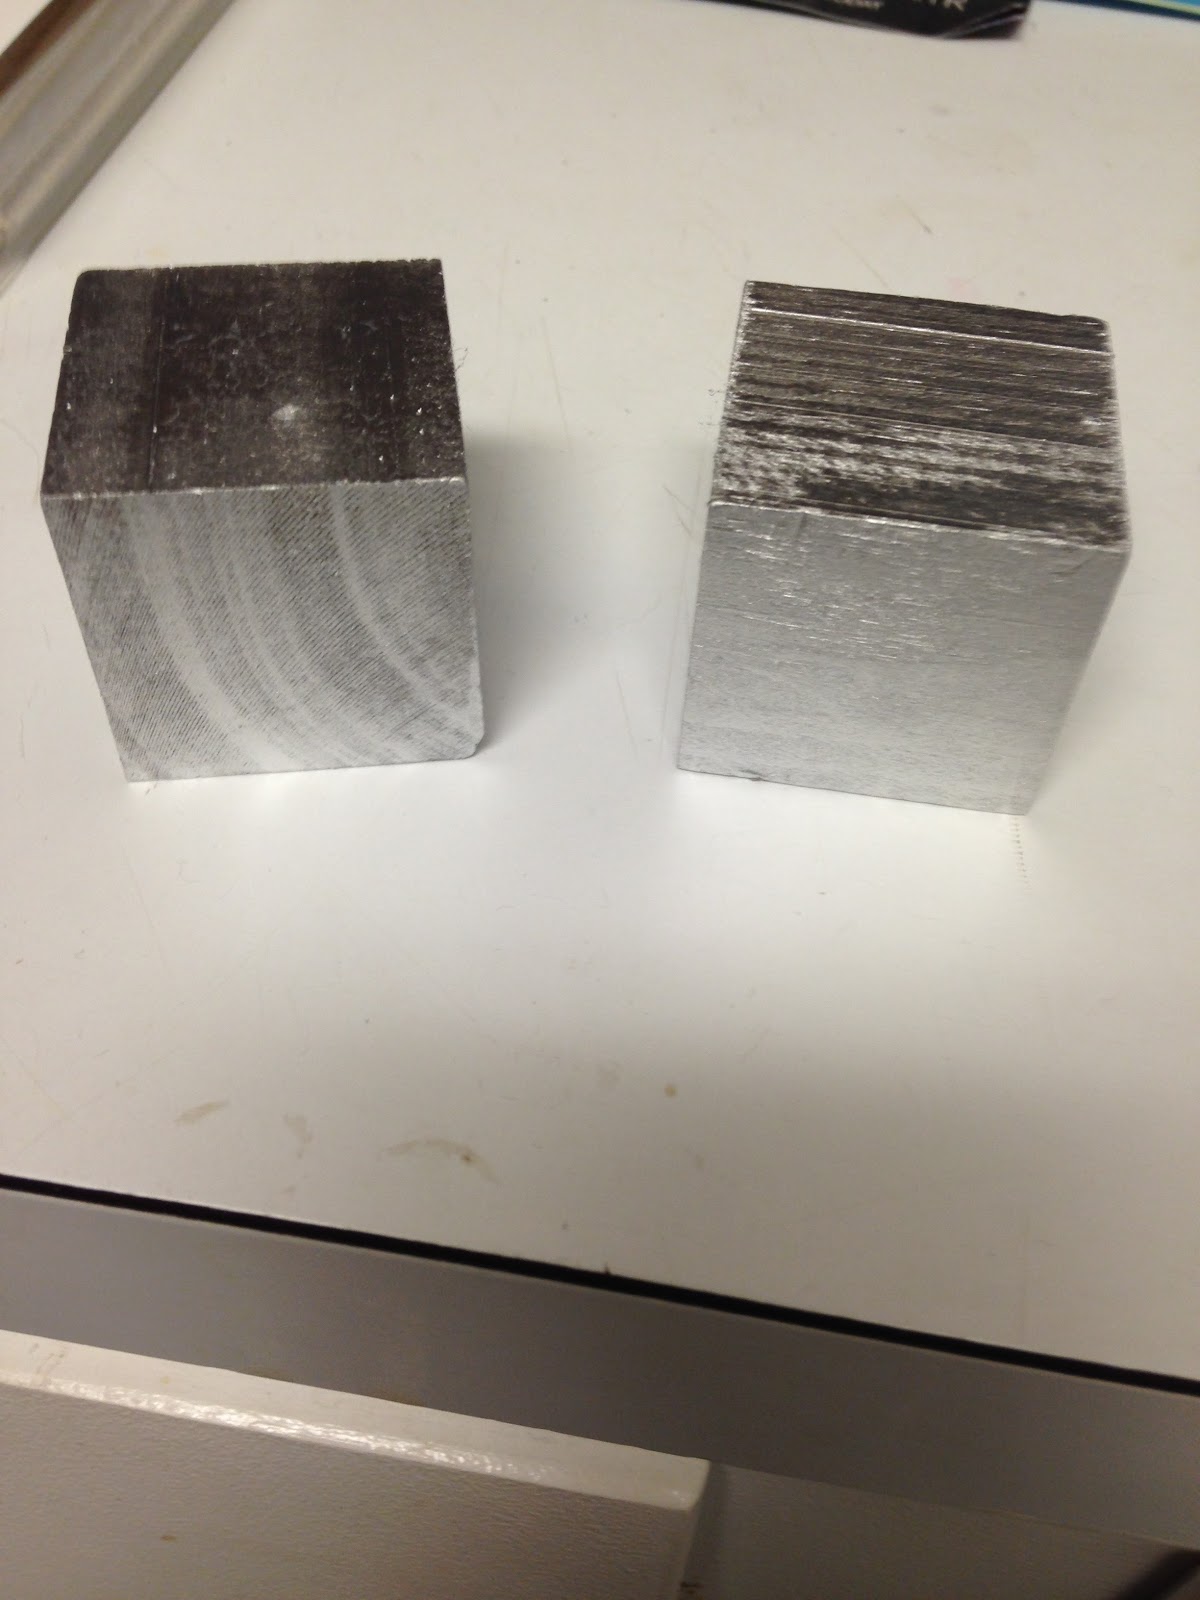
2 Wooden Blocks (Michael's $1.30 each)
Painters tape (Already had on hand)
Rustoleum Chrome Spray Paint (Already had on hand but $3.00)
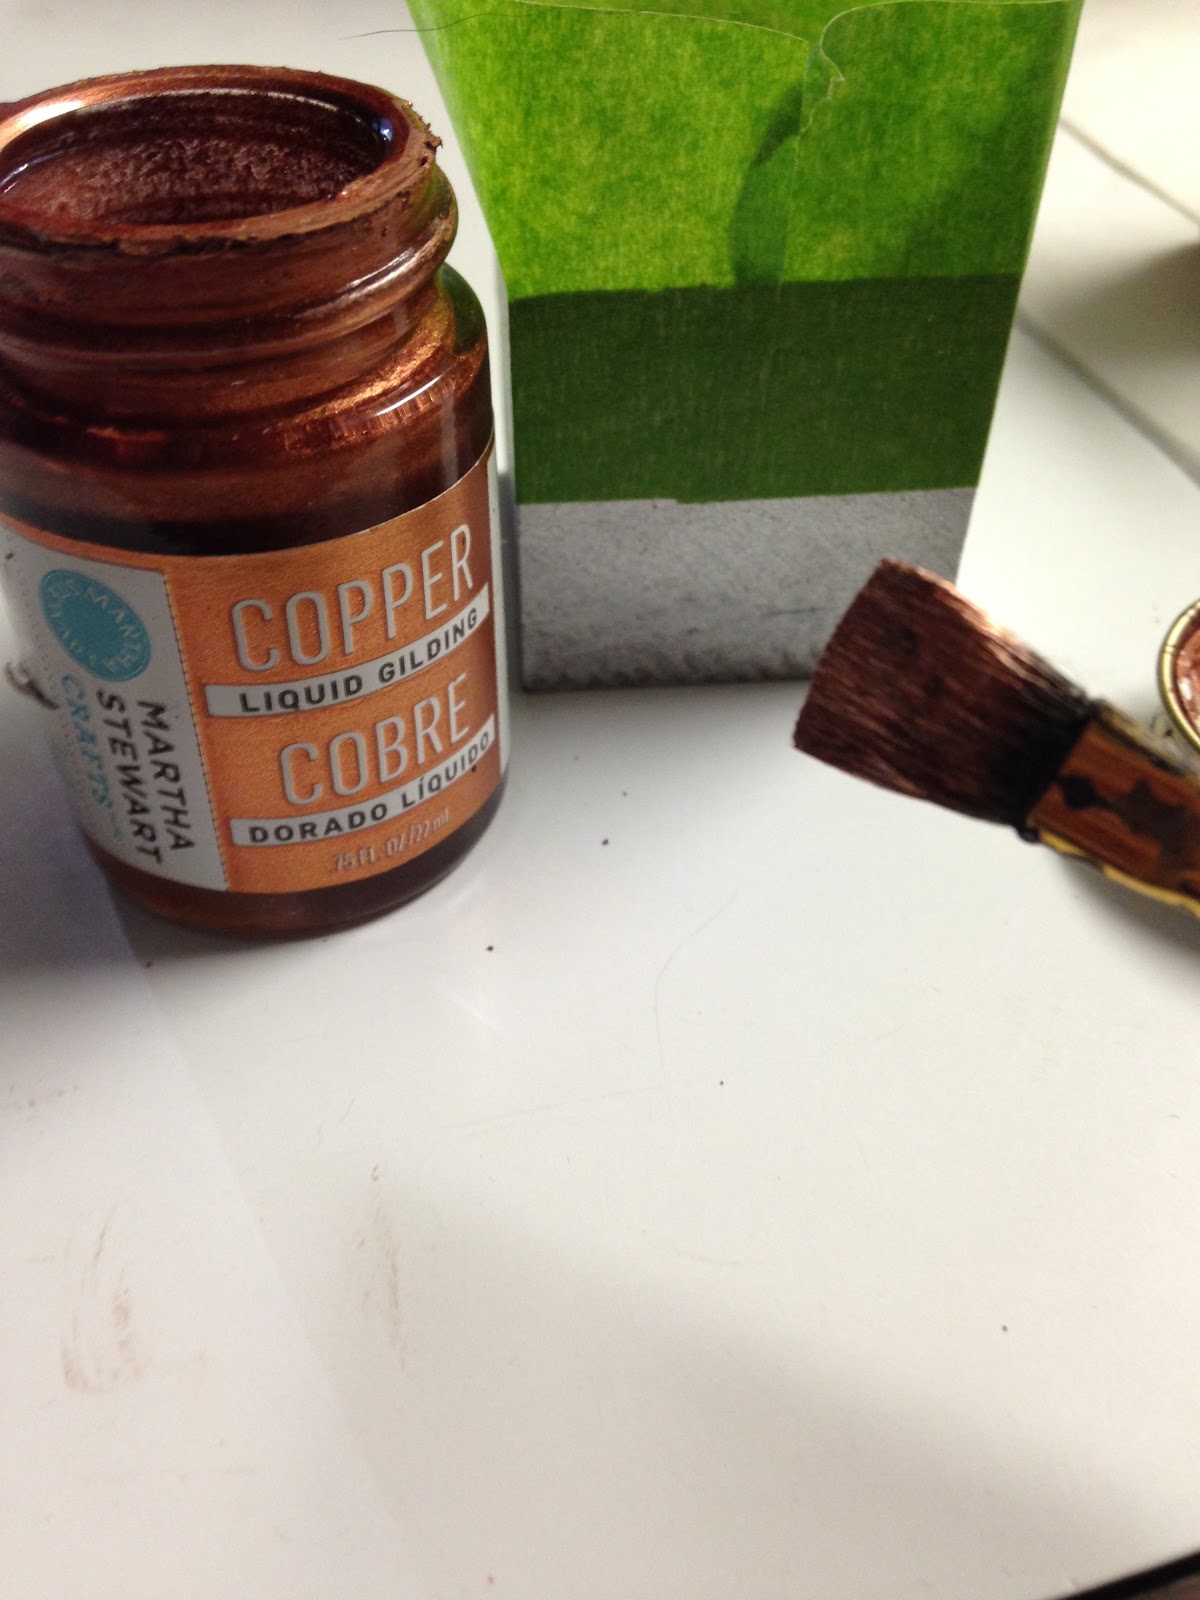
Martha Stewart Copper Liquid Gilding  (Already had on hand $5.00 or get copper acrylic paint for $1.50)
Super glue (Already had on hand - don't even know the price.)

So, for me, the total cost was $5.10 for two.  If you have to get the paint, the total cost will be around $10.00.
Still better than the two above.
NOTE:  The least expensive way to get candlesticks is to get them from a garage sale or Goodwill, but most of these are very traditional and are made of brass.  Its also hit or miss if you will be able to find them.

Instructions
1.  Spray wooden blocks with chrome spray paint leaving the bottom unpainted. OR paint the blocks using silver acylic paint.  (I find spray painting easier.)


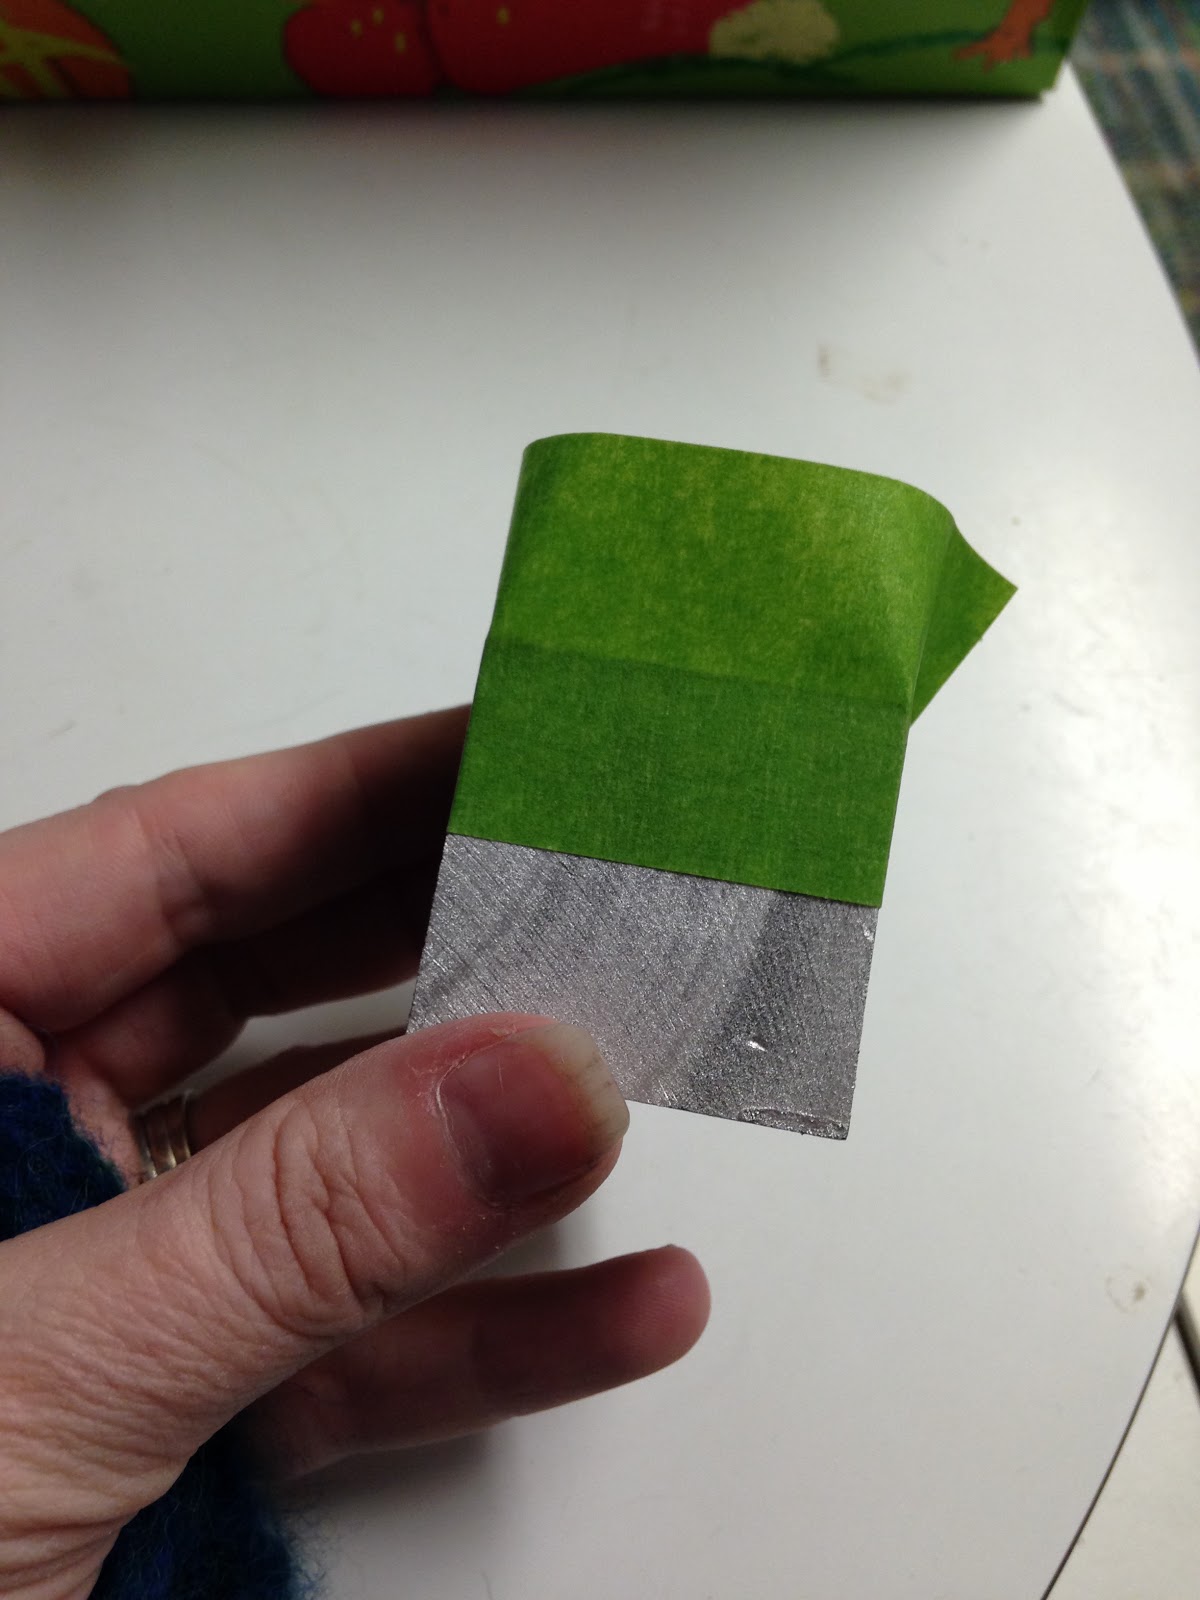
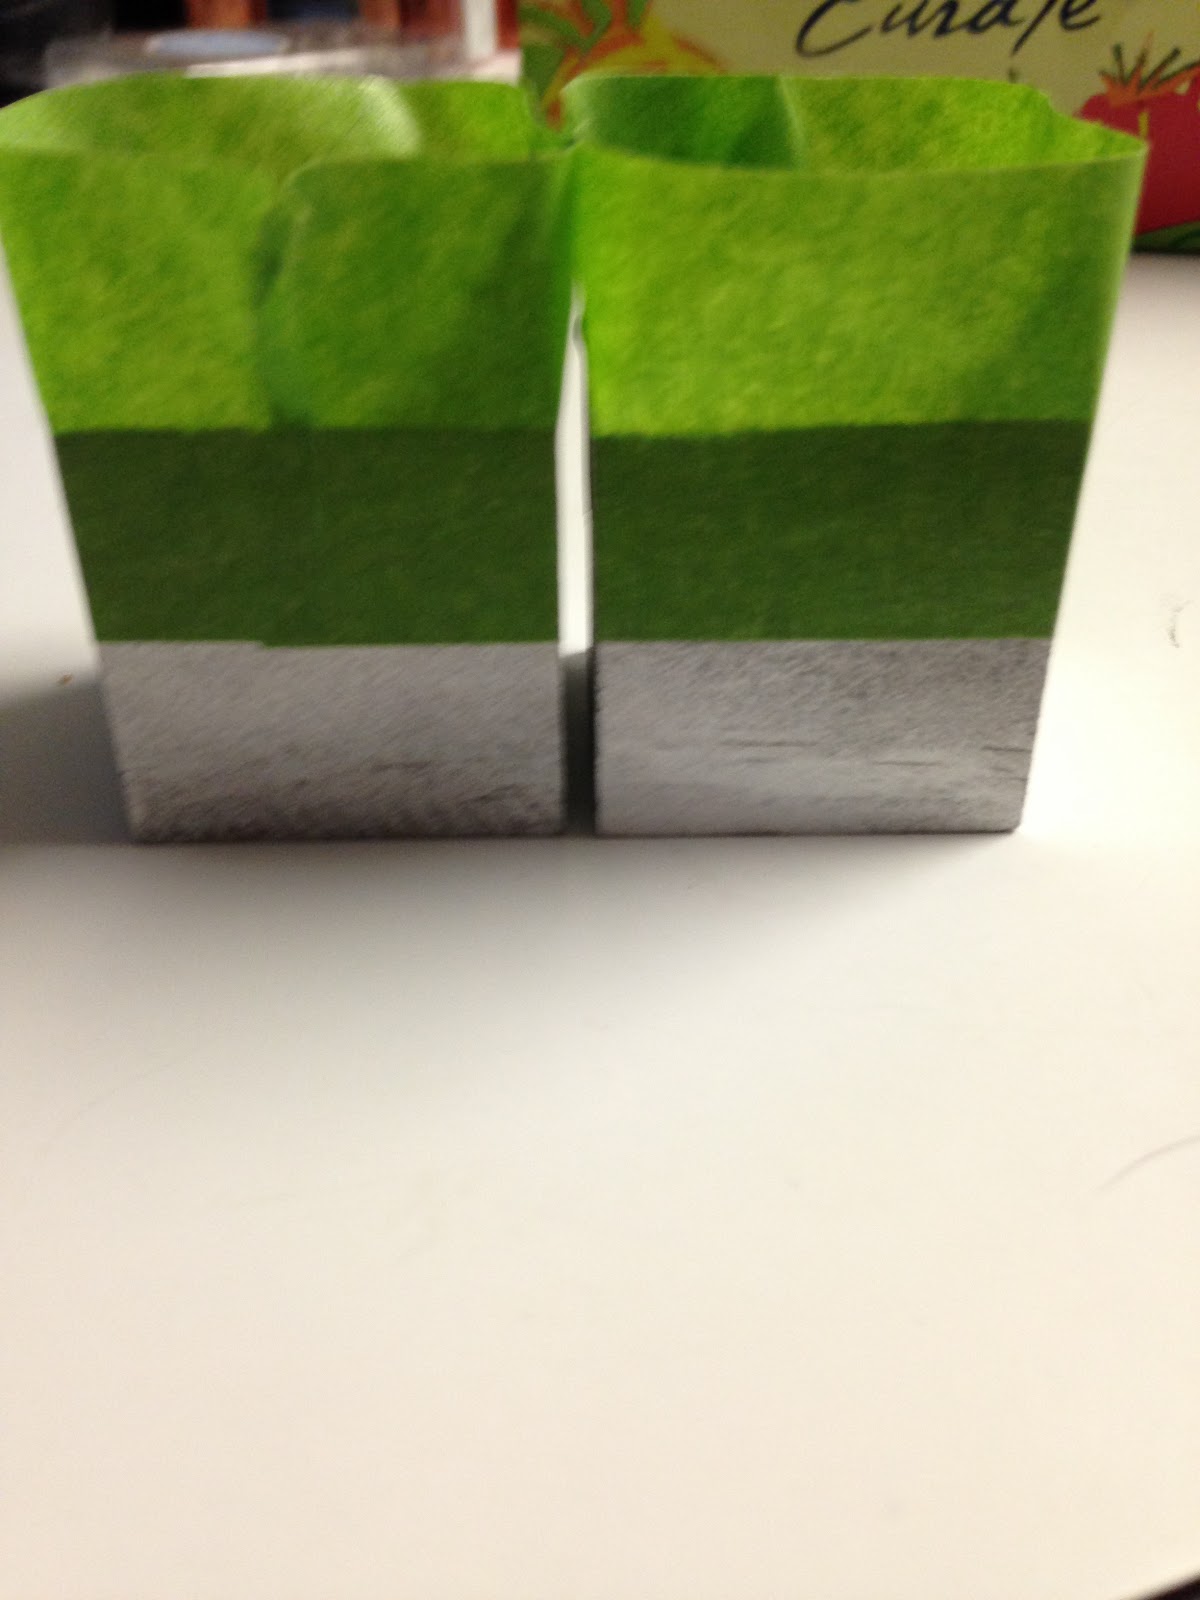
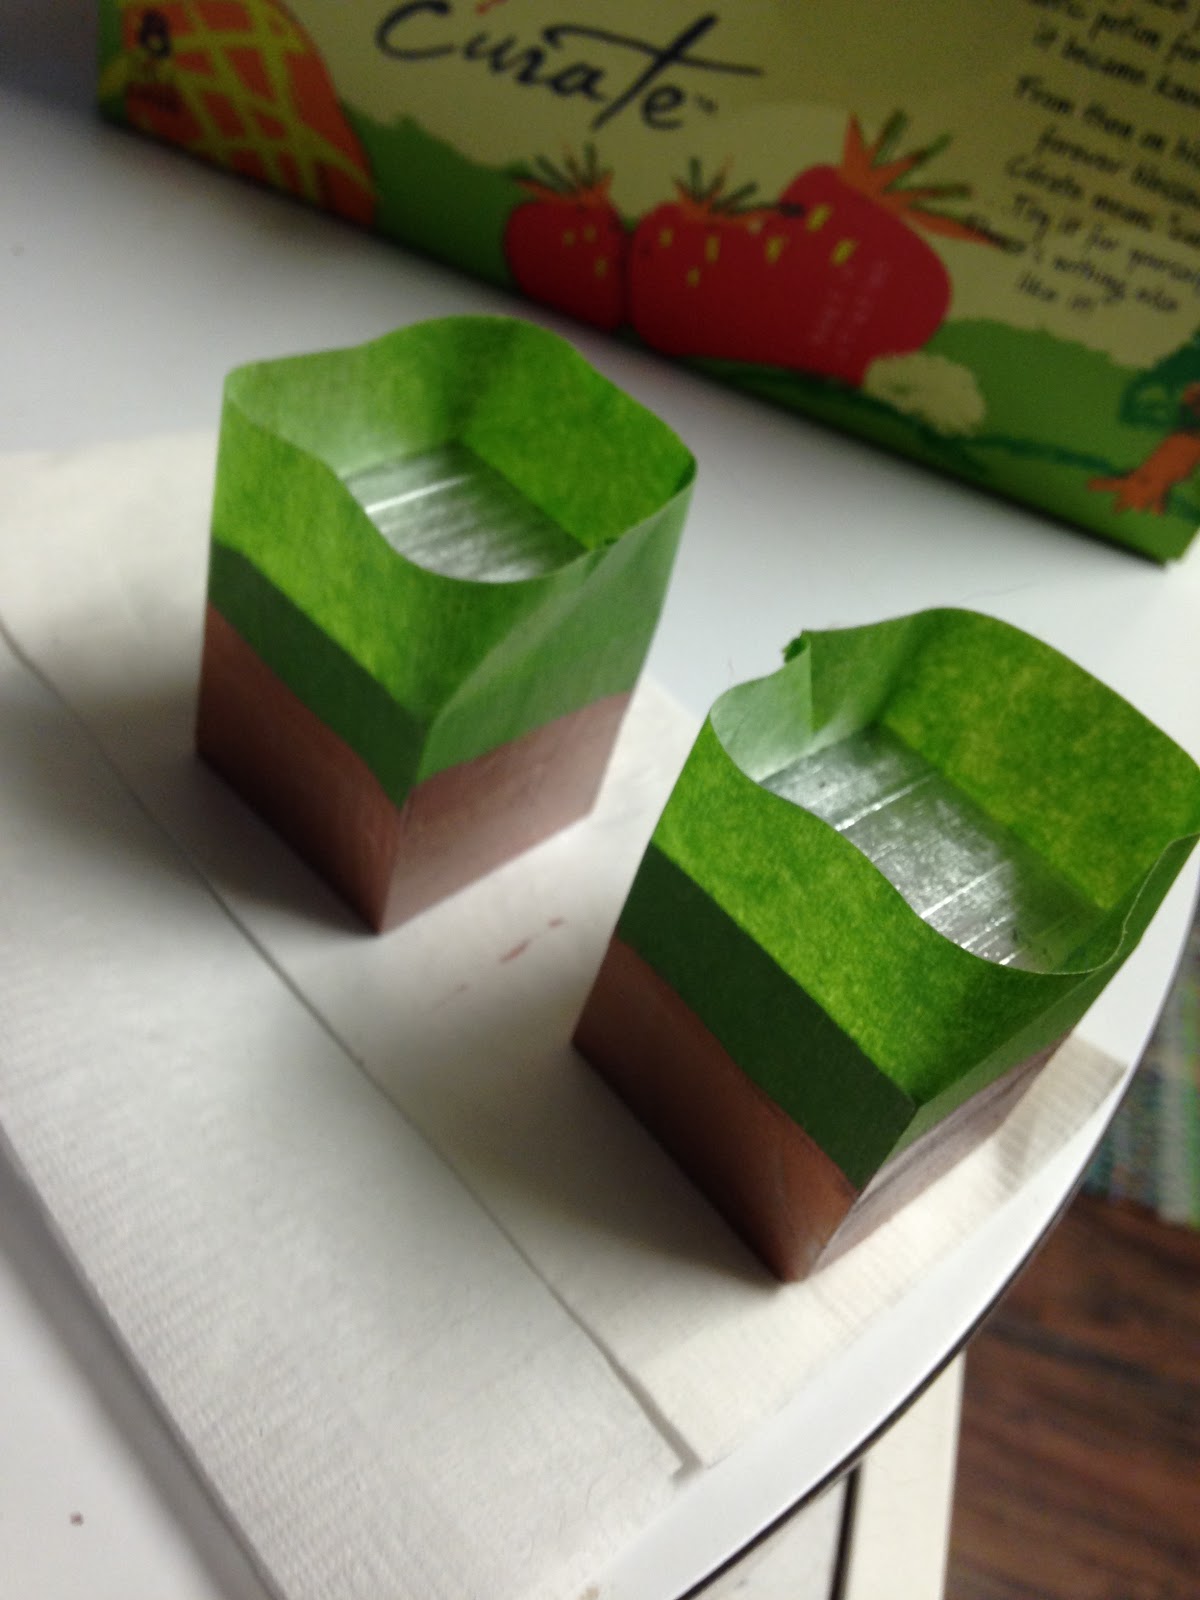
2.  Once the silver paint has dried, put painters tape on the blocks, leaving whatever part you want to paint uncovered.  I chose the bottom that I wanted to paint copper.


3.  Make sure to match the tape on the second block so that they candle holders will match.


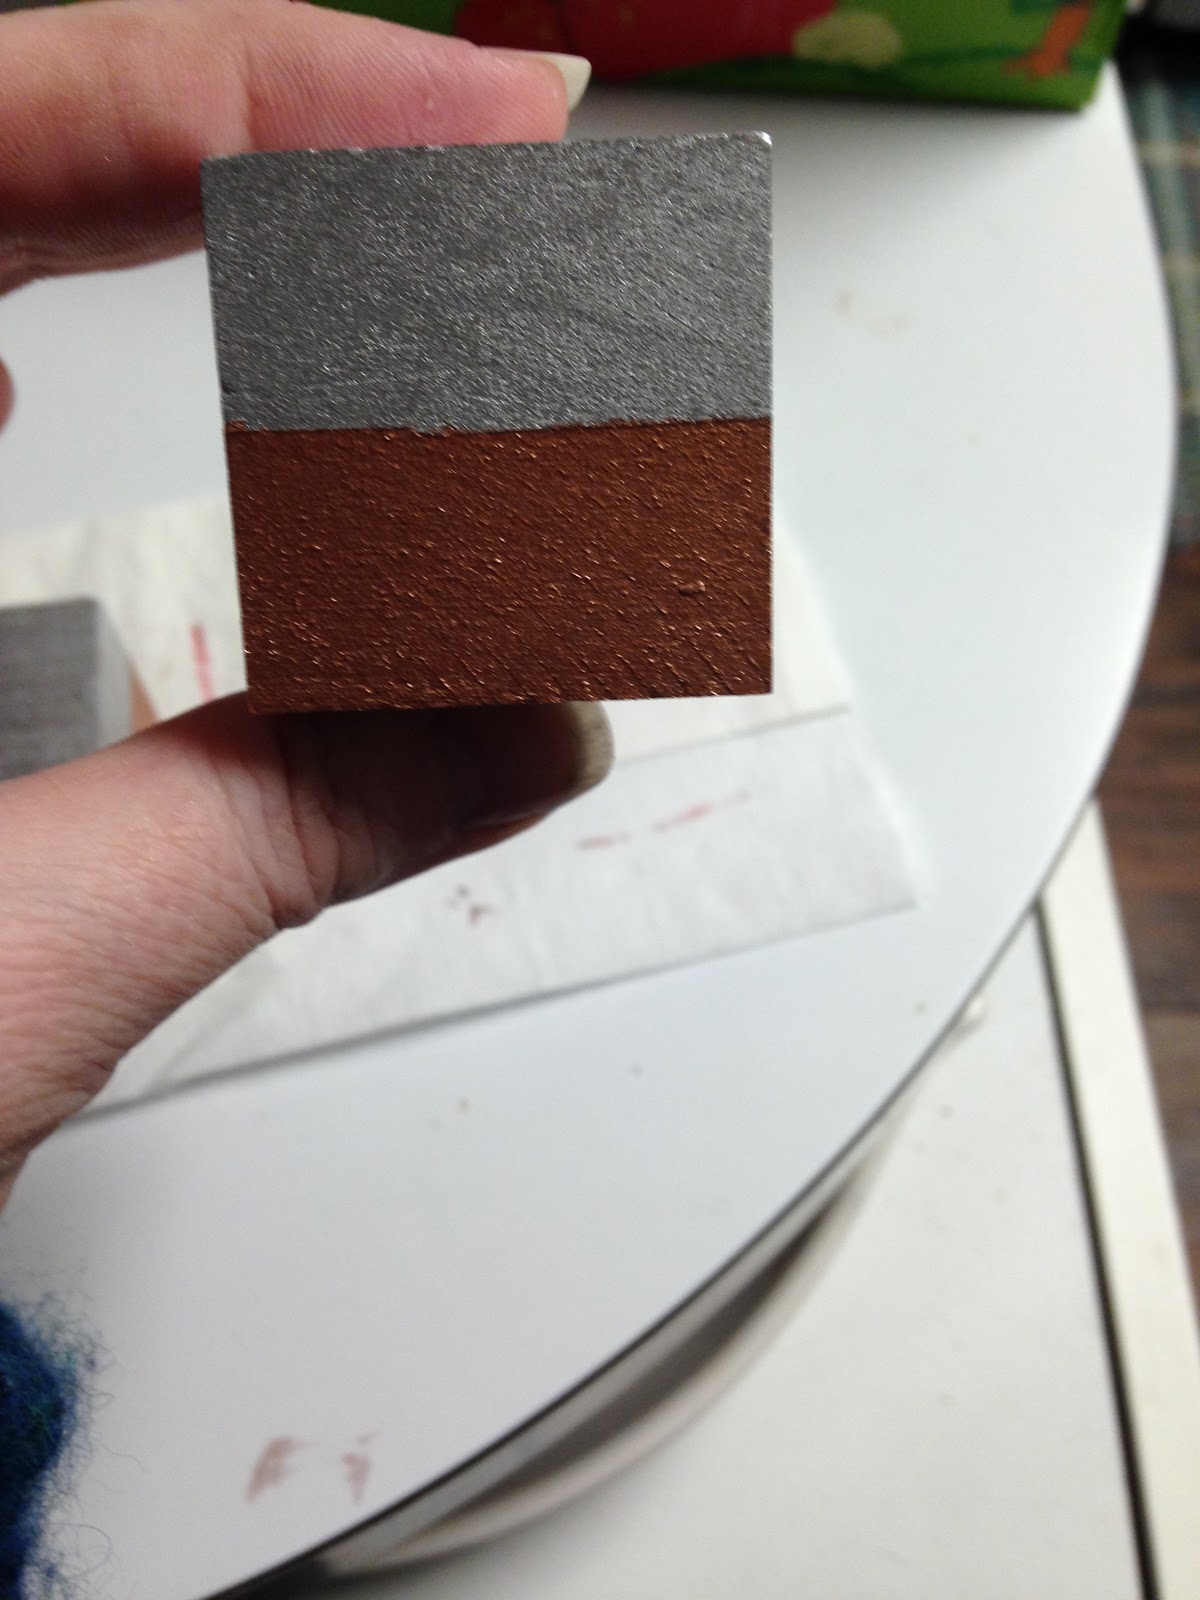
4.  Paint the un-taped parts of the blocks copper.


5.  Once the paint has dried, peel off the painters tape.

We're more than halfway there!
6.  Put an even, thin film of super glue on the bottom of the copper caps and place on the top of the block trying to be as centered as possible.  (You have about 15 seconds of time that you can move the cap around. After that, it stays where you glued it.)


These are going to be larger than a taper candle.  I do have a few solutions for you.
A.  Glue a smaller copper coupling into the copper caps.  They have a size that will fit a taper candle perfectly.  This will also look more like the handmade candle holders in the picture above.
B.  Put silly putty around the bottom of the candle the width of the space between the candle and the copper cap.  This has the advantage of being fun.
C.  Use a lighter and slightly melt the wax on the bottom of your candle.  Before the wax gets cold and hardens again, push gently into the candle holder.


Voila!  Contemporary candle stick holders!

Now we move on to napkin rings.
Keeping with the copper theme, I decided to do copper napkin rings.  Again, not inexpensive.

Copper Napkin Rings

I am going to show you two ways to make copper napkin rings as one way requires a tool that almost none of us have and I wanted you to be able to have options.
But first, I will show you my price comparison napkin ring holders.


http://www.ozmeximports.net/index.php?app=ecom&ns=prodshow&ref=113200&sid=4lorf013khcq96105sy4646kh27ob267

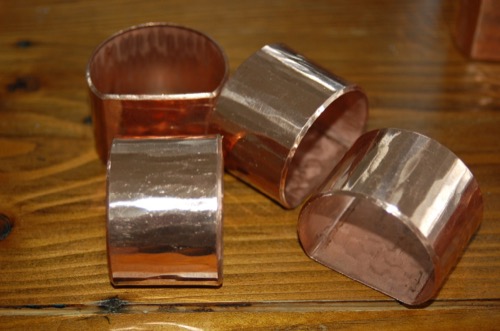
These copper napkin rings are flat on the bottom and are handmade in Mexico.  As far as I can tell, they do not come in sets but have to be purchased individually.
The cost is $7.60 each plus shipping.  So $30.40 for a set of four.


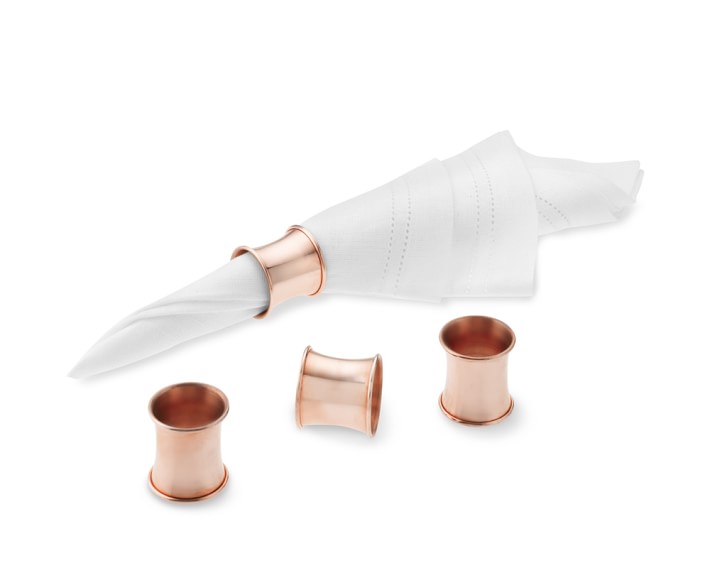
http://www.williams-sonoma.com/products/2423601/?catalogId=27&sku=2423601&cm_ven=Google_PLA&cm_cat=Shopping&cm_pla=default&cm_ite=default&kwid=productads-adid^45527543503-device^c-plaid^83089552903-sku^2423601-adType^PLA&gclid=CjwKEAiAsMXBBRD71KWOh6fcjRwSJAC5CNE19wlpZw_eZknPvpmlLg3z4KXe8e1qkgN97AudG7zZVhoCQfvw_wcB

These copper napkin rings have a lovely beveled edge.  So these are fancier than the ones that I will show you how to make.
Cost for four is $31.96 at Williams-Sonoma.

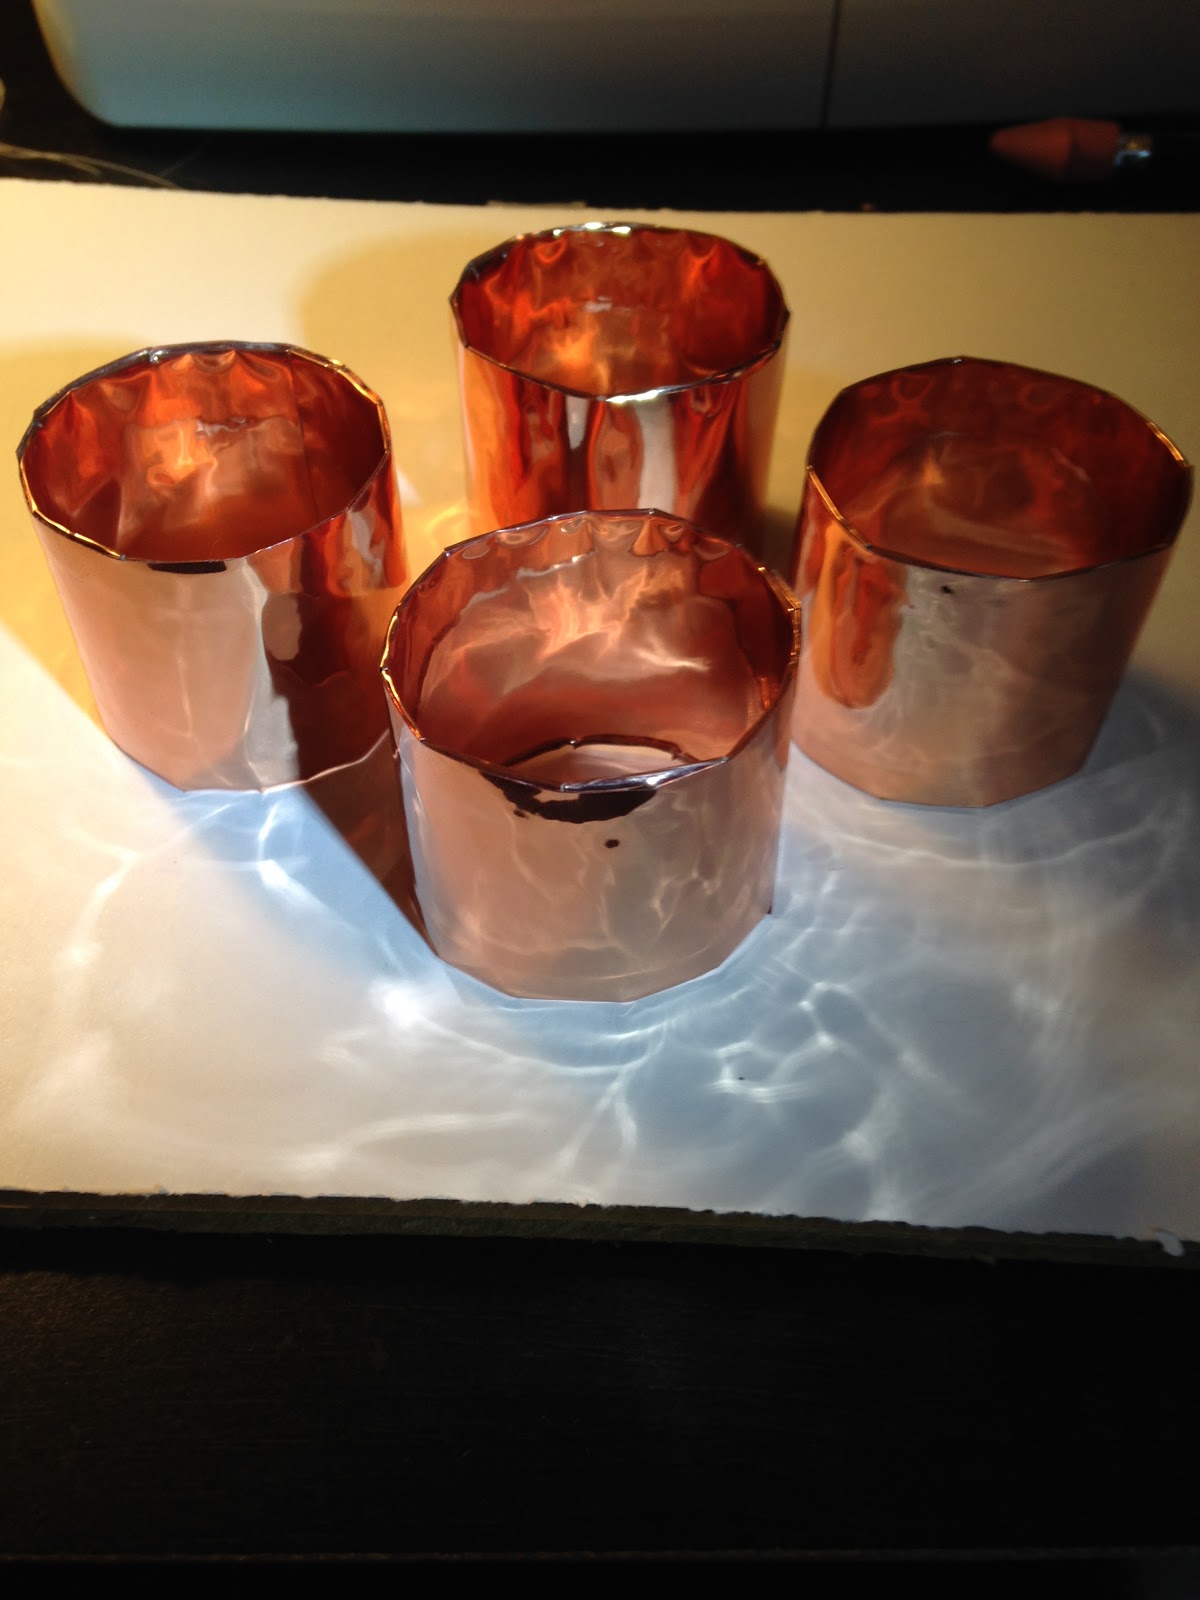
And here's mine!
This is the first option made out of toilet paper rolls.  They cost me a total of $6.48.
These may be my favorite thing that I have ever made from a toilet paper roll.
Materials 
2 toilet paper rolls
1 Sheet Self-Adhesive Chrome Sign Vinyl in Copper (I got three sheets on Ebay for $6.48)
Ruler
Dressmaking tape measure
Scissors
Exacto Knife

Instructions
1. First, determine how wide you would like your napkin rings to be.  I like a width of 1.5 inches for my napkin rings.  This meant that I needed two toilet paper rolls.  If you would like your napkin rings to be 1 inch thick, you only need one toilet paper roll because a roll is 4 inches long.
Then, using a ruler or tape measure, mark the width of your napkin rings on the toilet paper roll.

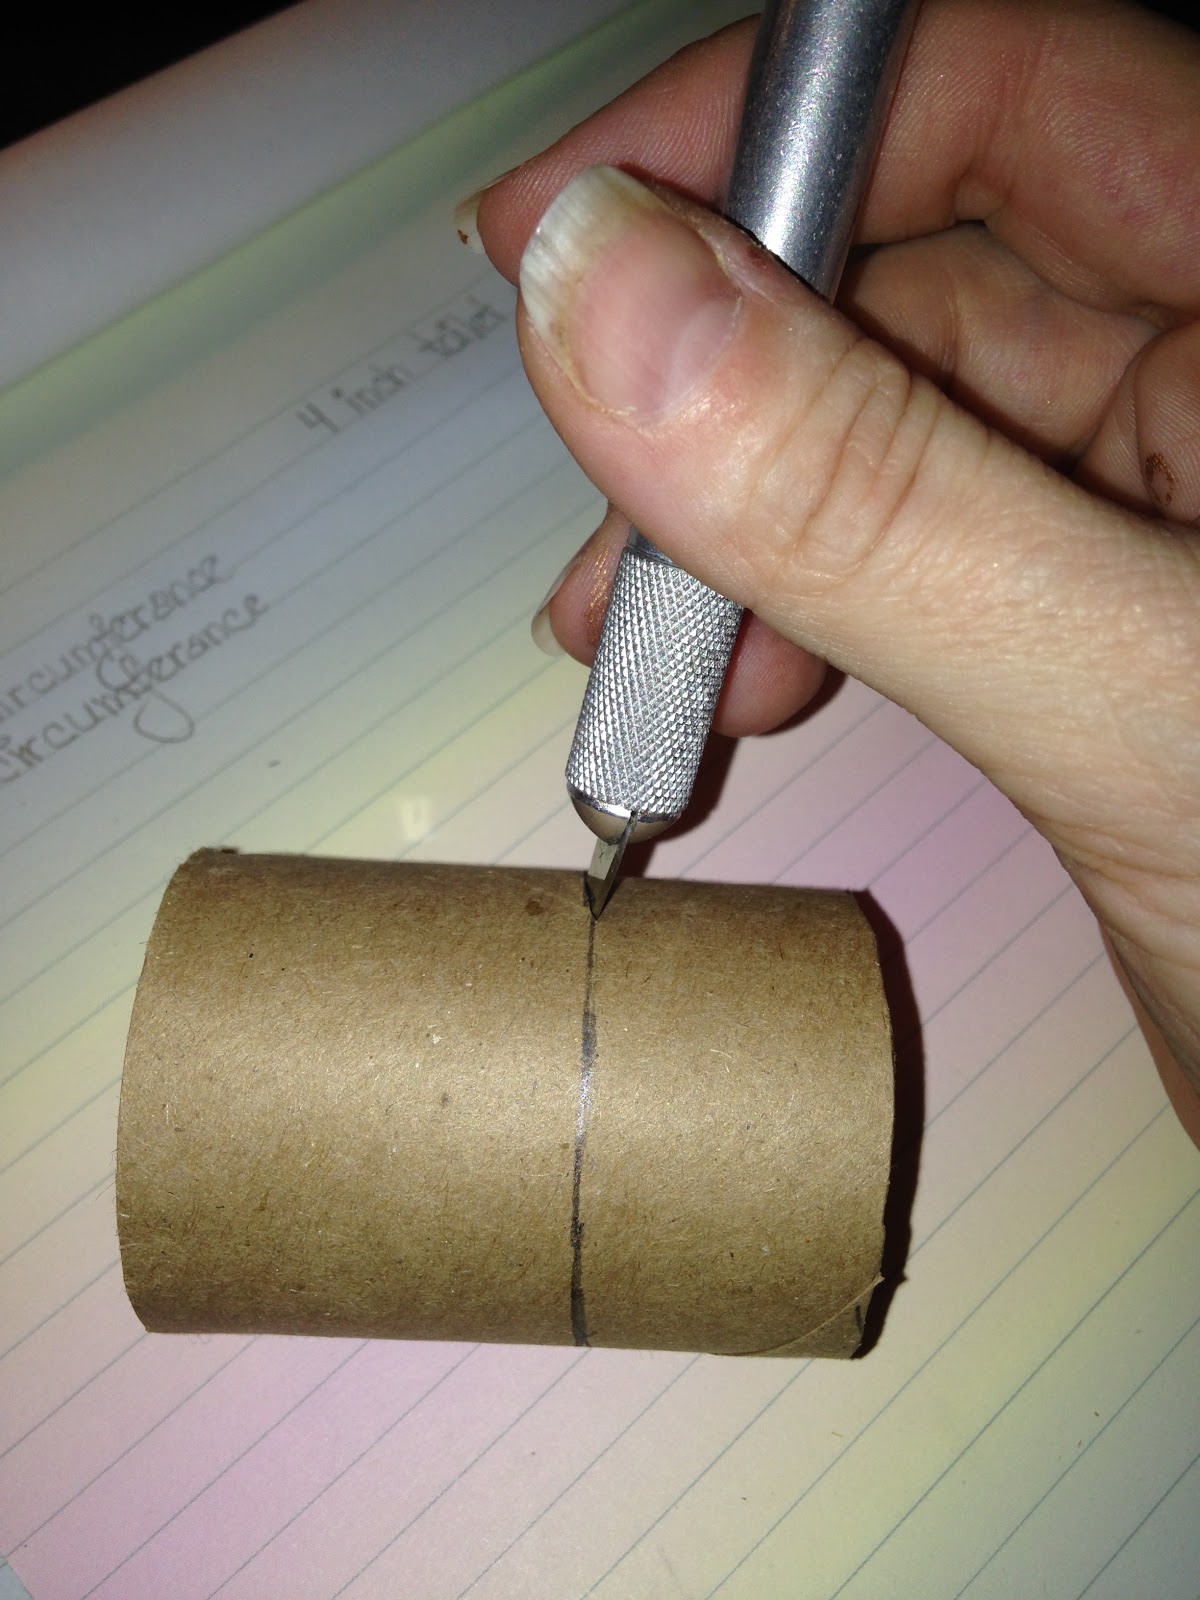
Make marks about an inch apart.  Once the tube is marked, use the tape measure, line it up with you marks, and trace a line around the tube.
2.  Using an Exacto knife or scissors, cut the tube along the line.

3.  Repeat steps one and two three more times.
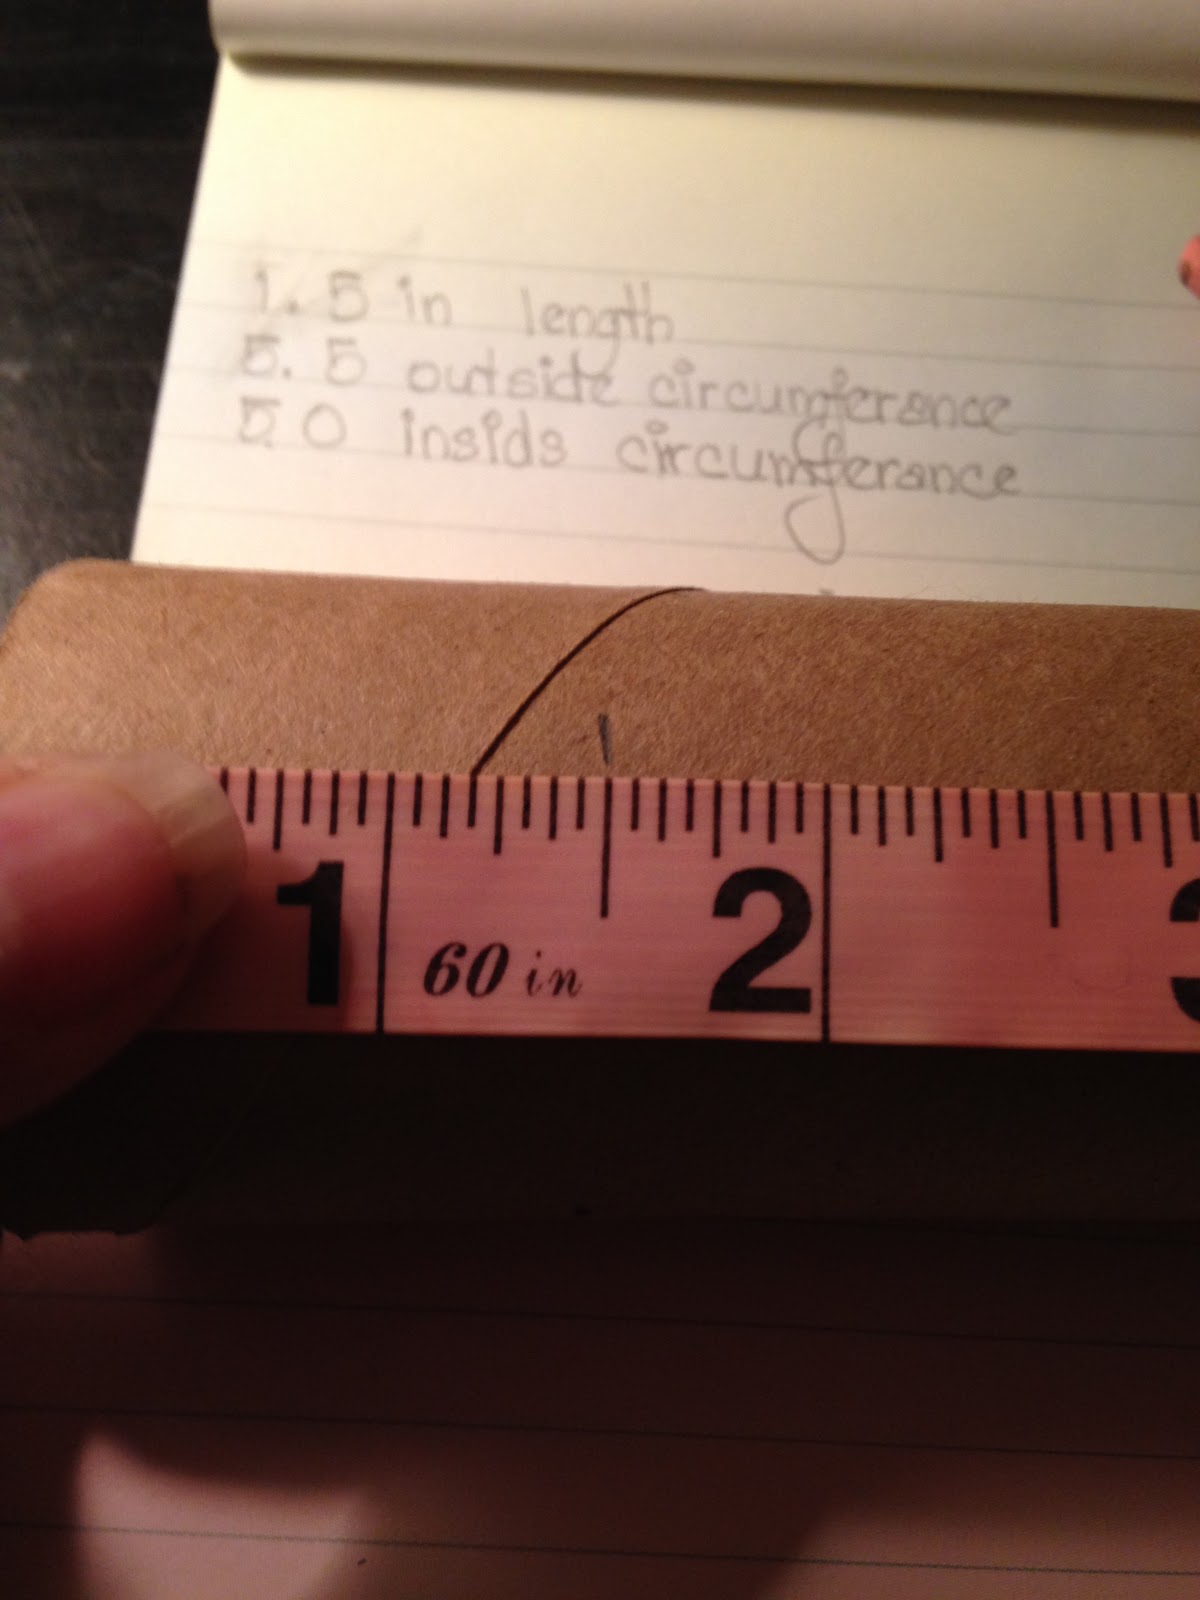
4.  Measure around the toilet paper tube using the tape measure.  The outside measured 5.5 inches.  The inside of the tube measured 5.25 inches.  These will be the lengths of the vinyl to cut.
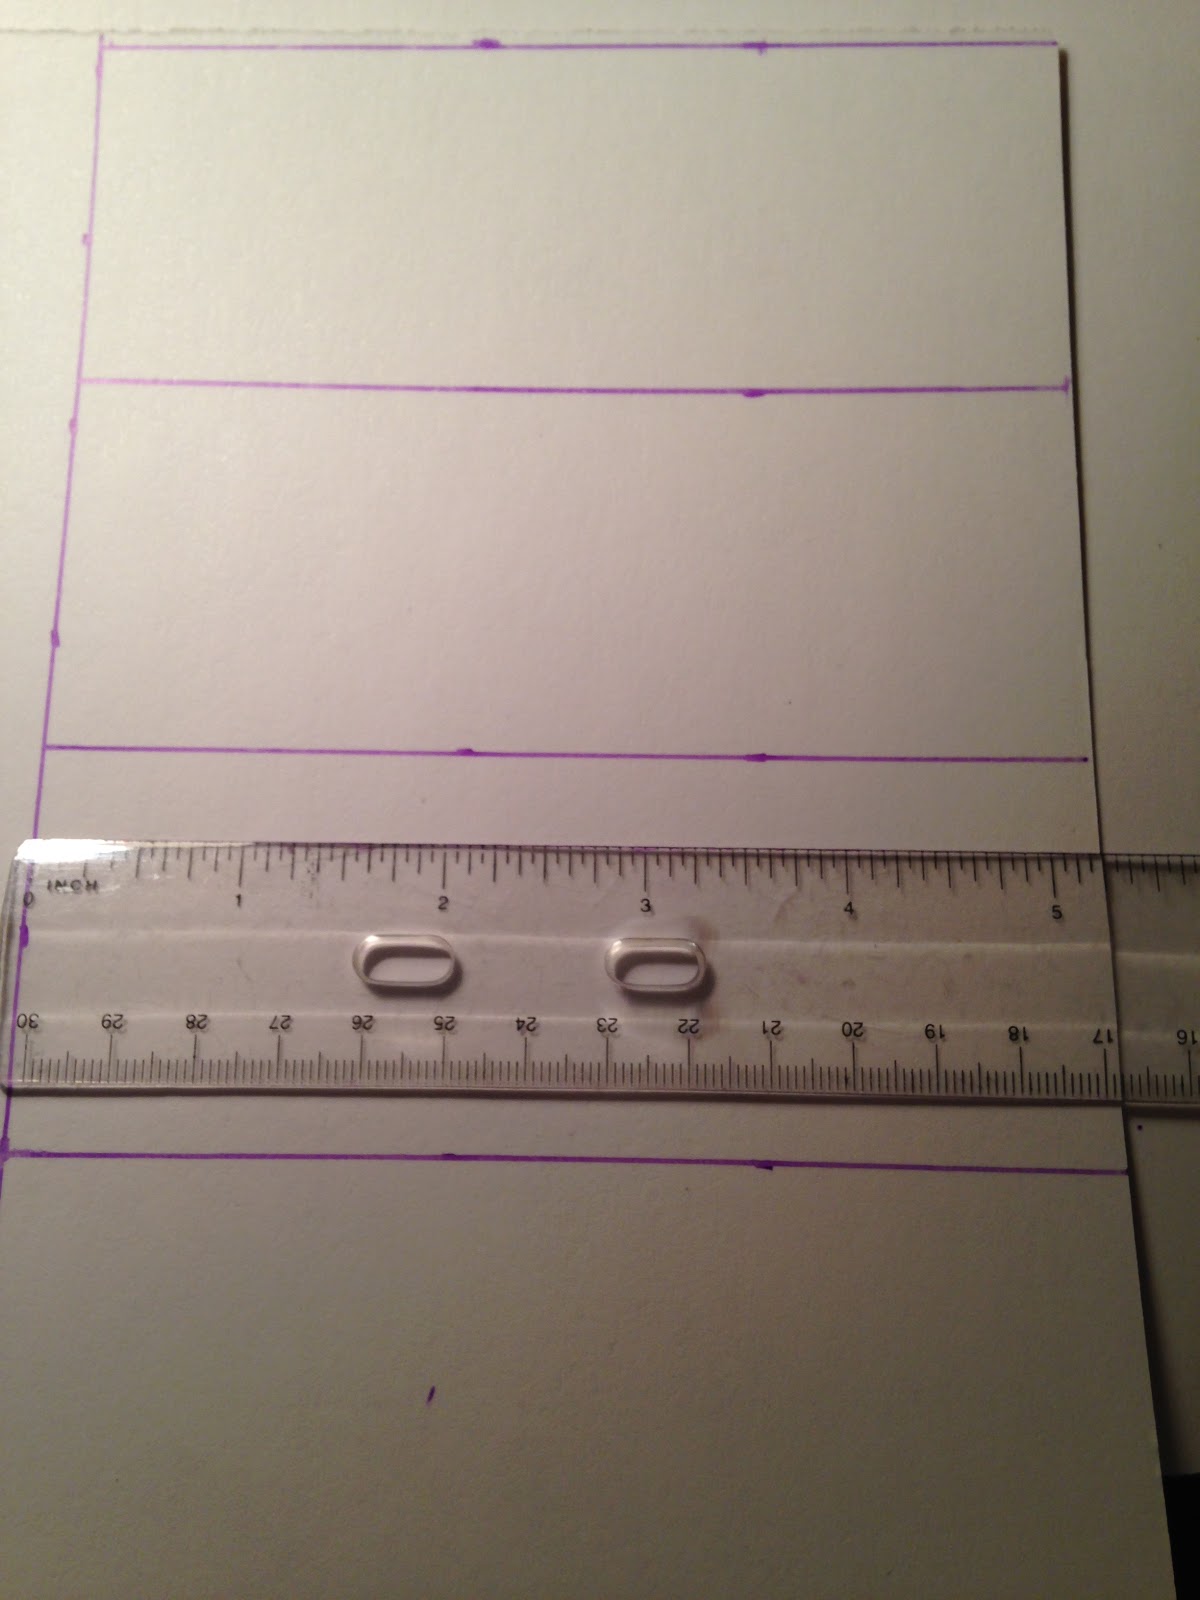
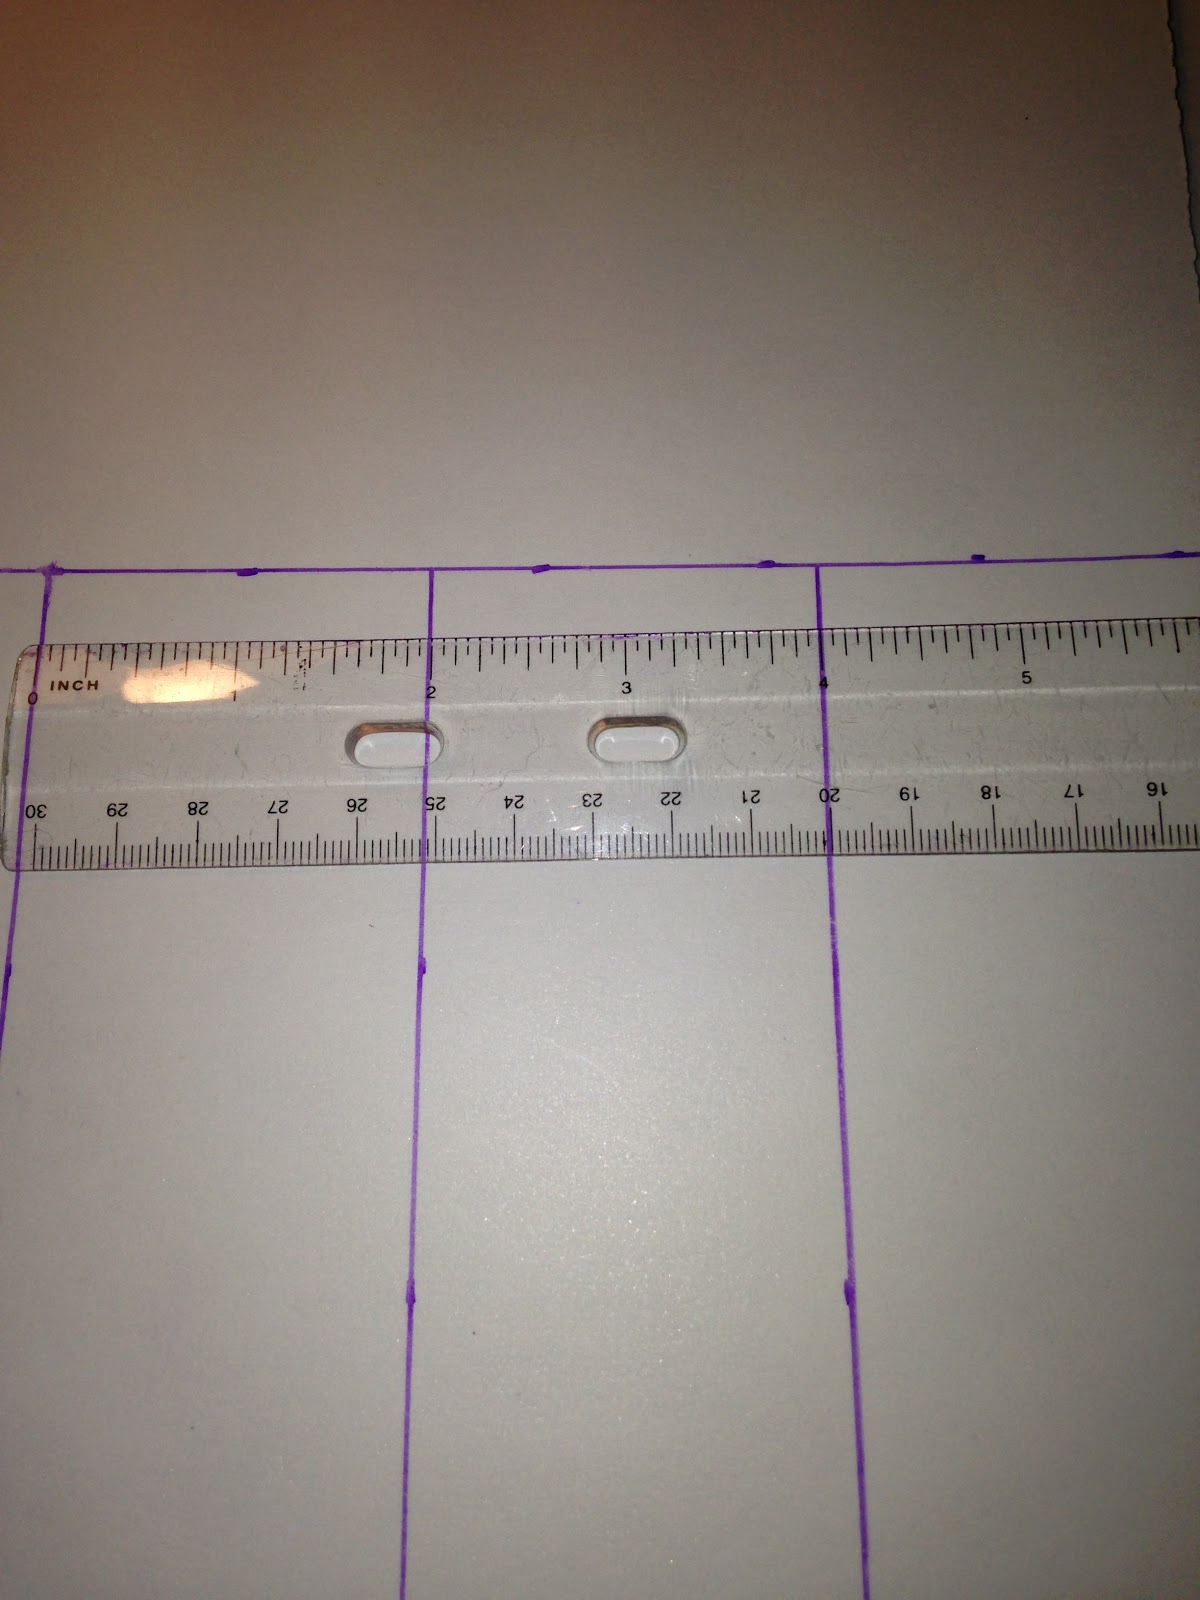
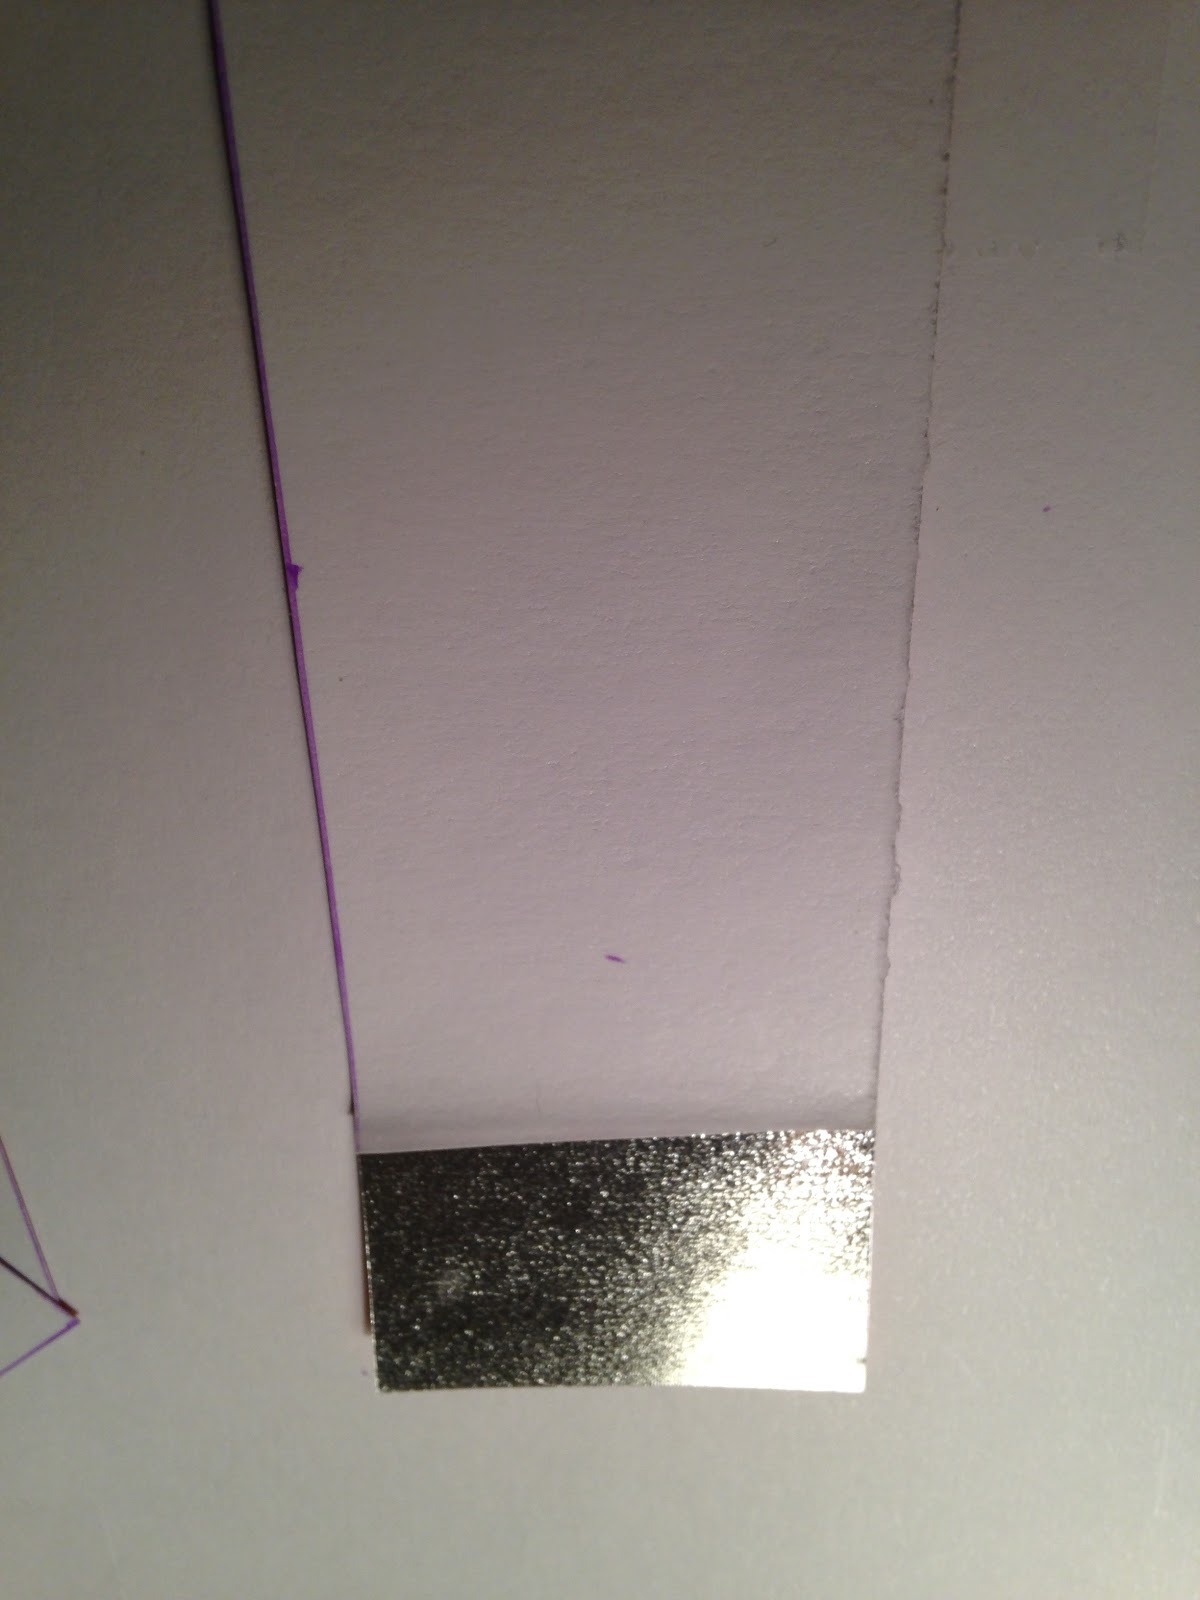
Using a ruler, mark your vinyl on the back with the measurements.


The width of the  outside vinyl to cut is 1.5 inches or, whatever width you cut your napkin rings to.
The width of the inside vinyl needs to be wider than the outside so you can fold it over.  I did 2 inches.

5.  Cut the vinyl strips with scissors.  You should have eight strips.  Four longer ones for the outside and four shorter ones for the inside.
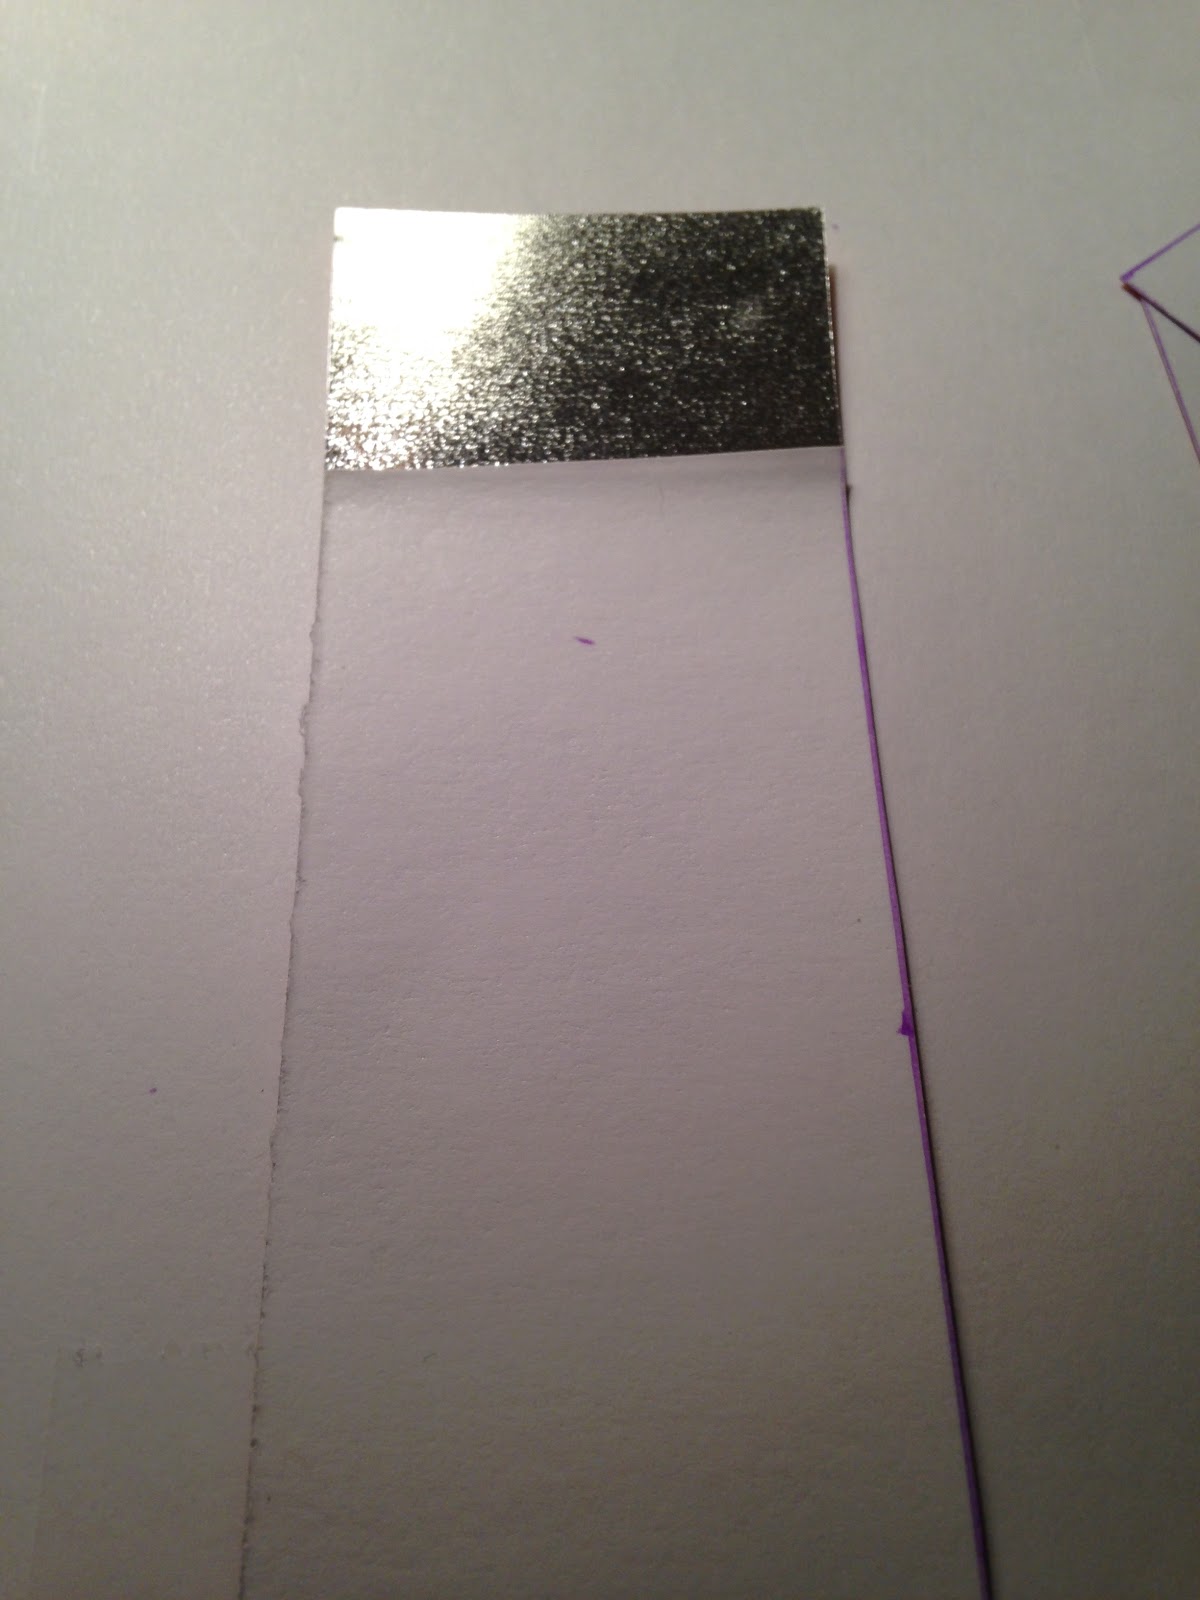
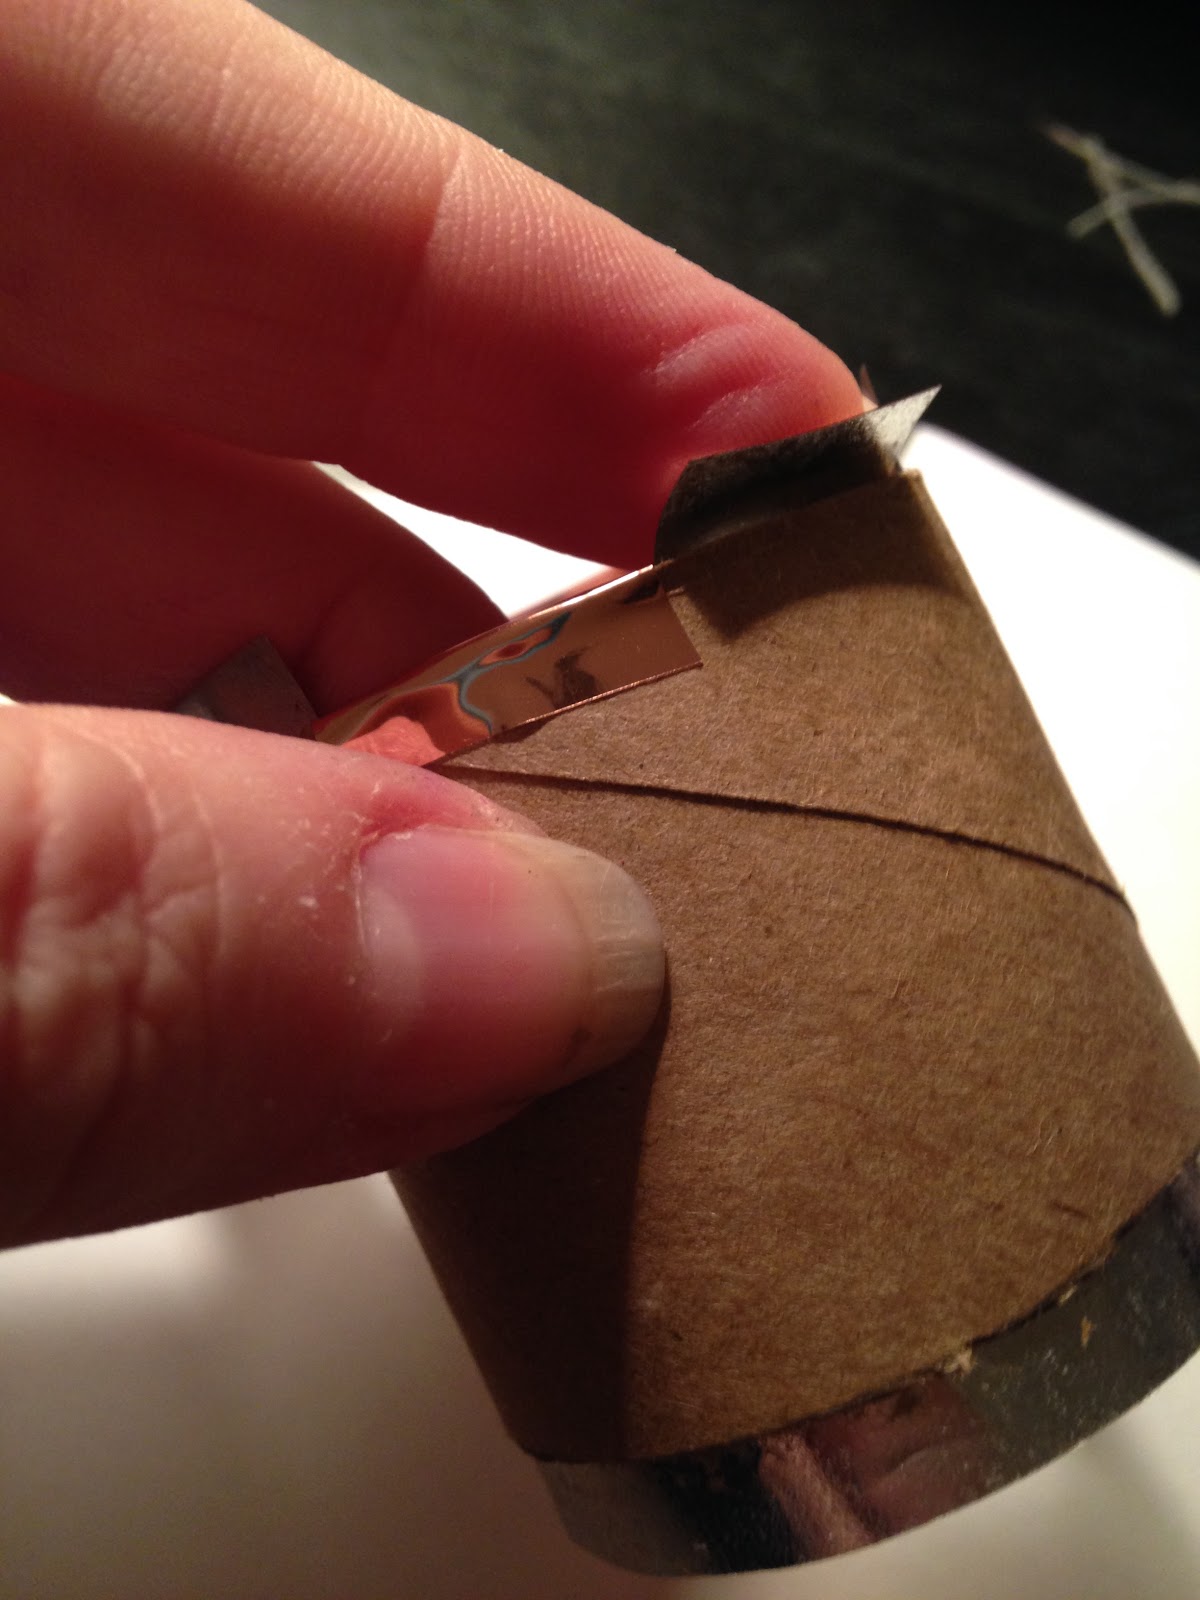
6.  Start with the shorter inside strip.  Peel the paper off the back off of the back of the vinyl about 1-2 inches in length and cut with scissors.


Roll the paper with the tacky side facing outside so that it easily slides inside the toilet paper tube.

Using your fingers, press the tacky side to the toiler paper roll leaving approximately the same amount of vinyl on along each edge.
Use your finger to press the vinyl onto the tube.  Slowly peel the paper off of the back of the vinyl as you press.  This will prevent air bubbles.
7.  Cut the slits into the excess vinyl.  Basically following the same pattern that you would use to cut pizza or pie.  First slitting in half and then in quarters.  Fold the edges down onto the front of the toilet paper roll going all the way around the edges on the top and the bottom.

8.  Peel the back off of one of the front strips by an inch and cut with scissors.

9.  Place sticky side on the front of the toilet paper roll.  Make certain that your vinyl is straight or the strip will slowly go diagonally as you go along the tube.  Press the vinyl down on the toilet paper tube using your finger to press down.  Peel the back off the vinyl as you go around the tube, pressing as you go to avoid air bubbles.
10.  One down!  Repeat these steps three more times to create four napkin rings.

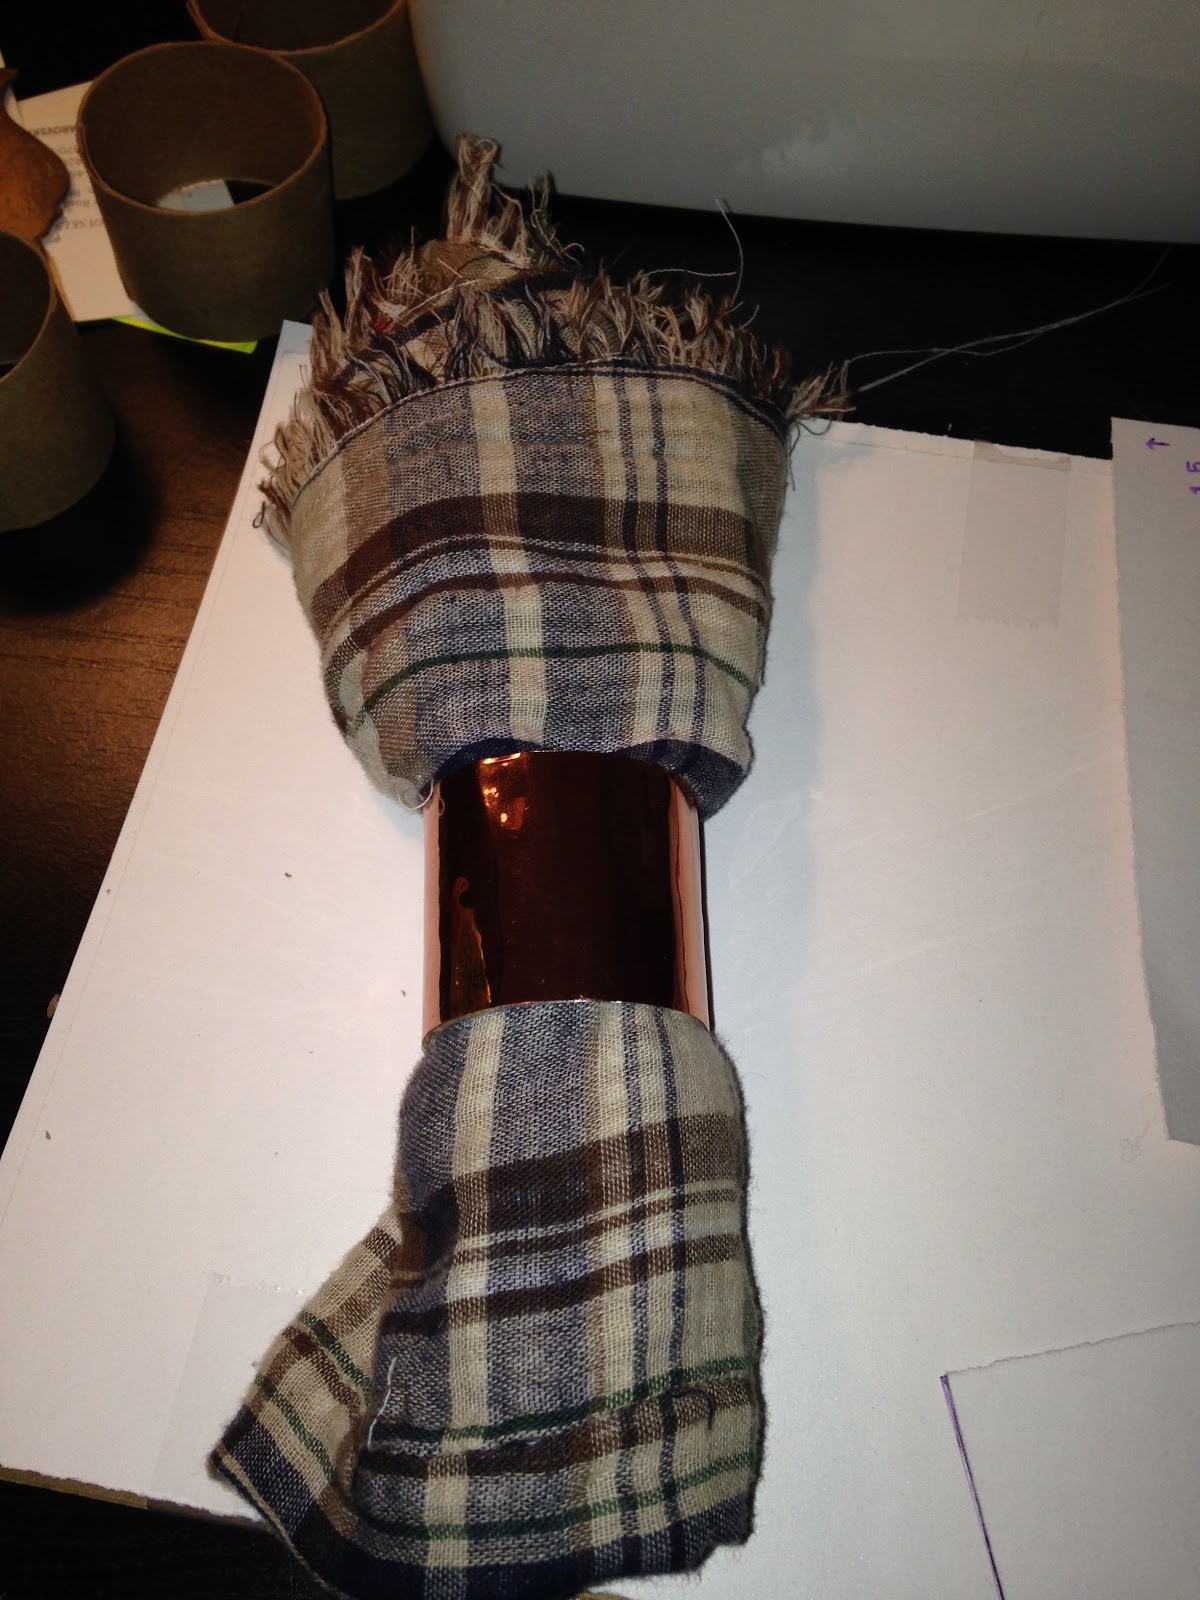
Here is a preview.  I am going to show you how to make the napkin in an upcoming post.
Copper Coupling Napkin Rings
These napkin rings are actually easier to make, but it requires tools that not everyone may have, so I wanted there to be another option.

Materials
2 copper couplings (1 inch wide and 2 inches long $2.97 each)
Painters tape
Pipe cutter or hacksaw
Fine grain sandpaper

So this round of copper napkin rings cost about $6.00 for a set of four.

Instructions
1.  Place painters tape on copper couplings so that each half of the coupling measures one inch.
2.  Cut along the edge of the tape using a pipe cutter or hacksaw.
3.  Remove tape and sand cut edges with fine grain sand paper to round the edges.
4.  Repeat to steps to other copper coupling.

That is it for this post.  So far, we have two candle holders and four napkin rings and I have spent approximately $11.00.
I still have a table runner, napkins, and a center piece to go.  My goal is to do this all, including the items above for less than $25.00.  Please check back to see if I succeed.