Showing posts with label recipe-beef. Show all posts

Monday, December 12, 2016

Beef Burgers with Shallots and Boursin Cheese and Stuffing "Hushpuppies" - Tuesday, One Week Menu

Hello Everybody!
This meal was inspired by the television show "Bob's Burgers".  My husband and I have purchased the cookbook with recipes based on the burger of the day board that they have in the cartoon and have been trying to prepare one of the burgers each week.


I couldn't, in good conscience, do a burger from the book when I had so many items left over from Thanksgiving, but I decided that I would create my own burger of the day using leftovers.  It is not a turkey burger.  (I don't care for turkey burgers.  When my husband and I first got married, we had a month when our paychecks fell strangely and we were VERY limited on what we could purchase for food.  I got us ground turkey because you could get alot for very little cash and, added bonus, its healthier than ground beef.  So I got some and for two straight weeks its all that we ate...... in many, many, many different forms.  No matter what I made, it wasn't as good as it would have been using another meat.  It wasn't bad, it just wasn't as good.  And my husband and I haven't really eaten it since.)  But I do use the leftover scallions and the leftover cornbread stuffing that I had from Thanksgiving dinner.  That's two sides re-purposed! I know that not alot of you did the pan roasted scallions as a side.  So I am including the recipe here so that you will have an idea of what the flavor is like.

Pan Roasted Shallots

Ingredients
1 pound shallots, peeled and sliced
1 cup chicken stock, homemade is preferable
1/2 cup dry white wine
3 tbsp. unsalted butter, split
1 tbsp. sugar
1/2 tsp. kosher salt
freshly ground pepper, to taste

Instructions
1.  In a large heavy bottomed skillet, place the shallots making certain that all of the shallots fit in the pan in a single layer.
2.  Pour in the chicken stock, white wine, 2 tbsp. unsalted butter, sugar, kosher salt and pepper.  The liquid should mostly cover the shallots, but it will be fine if a few poke above the liquid.
3.  Bring to a boil over high heat and then reduce heat to medium-low and bring liquid to a simmer.  Cook the shallots, uncovered, stirring occasionally, until the shallots are tender, about 10 minutes.
4.  Raise the heat to medium and cook shallots, stirring frequently, until the shallots start to brown all over and are coated in a thick syrup.
5.  Once the shallots are brown, stir in the remaining tablespoon of butter and stir until completely melted.

Note:  These should be served warm, so time your meal so that they are one of the last items to go out on the table.


Beef Burgers with Shallots and Boursin Cheese

Ingredients
1 pound ground beef
1 egg
1 slice bread, crumbled
2 tbsp. garlic and herb bread crumbs
1 tsp. Worcestershire Sauce
Sprinkle of garlic salt, to taste
Freshly ground black pepper, to taste
1 tbsp. butter
1/2 cup leftover pan roasted shallots
2-4 tbsp. Boursin Shallot and Chive Cheese (Or Cream Cheese)
Hamburger buns

Instructions
1.  In a large bowl, use your hands to  mix together the ground beef, egg, bread, bread crumbs, worcestershire sauce, garlic salt, and pepper.
2.  Divide the meat mixture in half.  Then divide these halves in half.  This should form four equal sections of meat.
3.  Take each section and roll into a ball, then pat and flatten until it is the shape of a hamburger patty.Over
4.  Over medium high heat, heat butter in a large skillet or grill.  Once the pan is hot, place your hamburger patties on the surface.  Cook four minutes and then turn to cook the other side and cook for another four minutes.
5.  While the burgers are cooking, put your leftover shallots in a microwave safe bowl and cook on high heat for 1 minute and 35 seconds.
6. Now we get to the fun part of assembling the burger!
Assemble your burger in the following order
bottom bun
hamburger patty
shallots
Boursin Shallot and Chive Cheese (1 tbsp. per burger, but you can put more or less as per your taste)

The warm shallots will make the soft cheese melt and your hamburger won't be dry.  So I suggest that you try it this way first before you add your usual condiments.


Bacon and Cheese Leftover Stuffing Balls

I don't know about you, but I love stuffing for the Thanksgiving meal but I hate eating it afterward.  This is why I came up with this recipe to turn the leftover stuffing into "hushpuppies".  This can work with any leftover dressing or stuffing, it does not have to be cornbread dressing.

Ingredients
2 cups leftover stuffing
1 egg
4-6 slices bacon
1 cup shredded cheddar cheese

Instructions
1.  In a heavy bottomed skillet, cook your bacon to desired done-ness.  I usually cook mine so that it is crispy on the outside but still a little tender on the inside, this way it won't over-cook when the stuffing balls go to the oven.  Remove the bacon from the skillet and drain on a paper towel.  Reserve your bacon grease.
2.  Once the bacon has cooled enough to handle, crumble the bacon into small crumbled pieces.
3.  In a large bowl combine the stuffing, egg, bacon, and cheese.  Mix together with your hands until all of the items start to stick together.
4.  Preheat oven to 350 degrees.
5.  Using a brush, brush bacon grease onto a baking pan, non-stick is best.  Roll the stuffing mixture into balls.  (The size is really up to you, but I like to use an ice cream scoop to measure out my stuffing ball size.) Place the balls onto the greased baking sheet.
6.  Put the baking sheet in the oven and bake for about 8 minutes.  This will be just long enough to set the stuffing balls.

You can eat them plain or you can dip them in the sauce/condiment of your choosing.

Well, that is it for this set of leftover recipe, I will try to post a couple more today so that we can catch up from my internet being down.  But I also want to get some Christmas posts up.  Grrr.  I hate technical difficulties-but, hopefully, I will be caught up soon.


Sunday, November 27, 2016

Turkey Piccata Pasta and Roasted Root Vegetables - Sunday, One Week Leftover Thanksgiving Menu

Hello Everyone!
I hope everyone had a great Thanksgiving and enjoyed a lot of good food.  I actually had two Thanksgivings this year as I celebrated the actual holiday with my husband's family and then had a Friends-giving two days later on Saturday.


I have to admit that Friends-giving is my favorite because I can cook whatever I want and have my lovely friends come over and eat it and then we play games and drink wine.  It is a great sendoff for the Christmas season.
For my Friends-giving, I prepared the following menu:
Bread Cornucopia
Pear Shaped Blue Cheese Ball
Apple Shaped Cheese Ball
Oil and Vinegar Dipping Sauce
Roasted Turkey
Mashed Potatoes and Gravy
Ratatouille
Pan Roasted Shallots
Cornbread Dressing
Mini Apple Tarts
Mini Pumpkin Pies
Homemade Whip Cream
(I know, I didn't make a lot, but I was trying to keep it simple this year.)

I did figure out how to make my cornucopia, even though they discontinued my refrigerated bread sticks so I had to find another solution.  I was very pleased with the result and I will be sharing that recipe with y'all next Thanksgiving since I missed this one.

I usually decorate this more when I am doing a fancy Thanksgiving and using this as the center piece, but this was Friends-giving and I had to use my kitchen counter rather than my serving table, so I went a little more casual than is my usual this year.

I just love that this center piece looks good but is also delicious.  By the end of the evening, none of this tray was left except for the real apples.
I will also include the cheese ball recipes when I share the cornucopia recipe.

So, even though I prepared less this year, I still had leftovers.  The food items that I had remaining were:
Turkey
Cornbread Stuffing
Pan Roasted Shallots
I also had a leftover beef roast from the previous evening's dinner.  (Nicholas' family usually makes a turkey and a beef roast for Thanksgiving, so these are the two meats that are usually leftover to turn into other dinners)

Because I didn't have as many leftovers this year. and because I will be in rehearsals to work backstage for "A Christmas Carol" this year, I will not have the opportunity to make a two week menu.  (Next week will be soup and sandwiches for my husband and I.)  Instead, I am giving y'all a one week menu,  showing you how to make other delicious dinners out of the leftovers that I had from my dinner.  (I think most of you will have the same leftovers barring the Pan Roasted Shallots, so I will show you how to make the shallots quickly when they come into play for one of the recipes.)

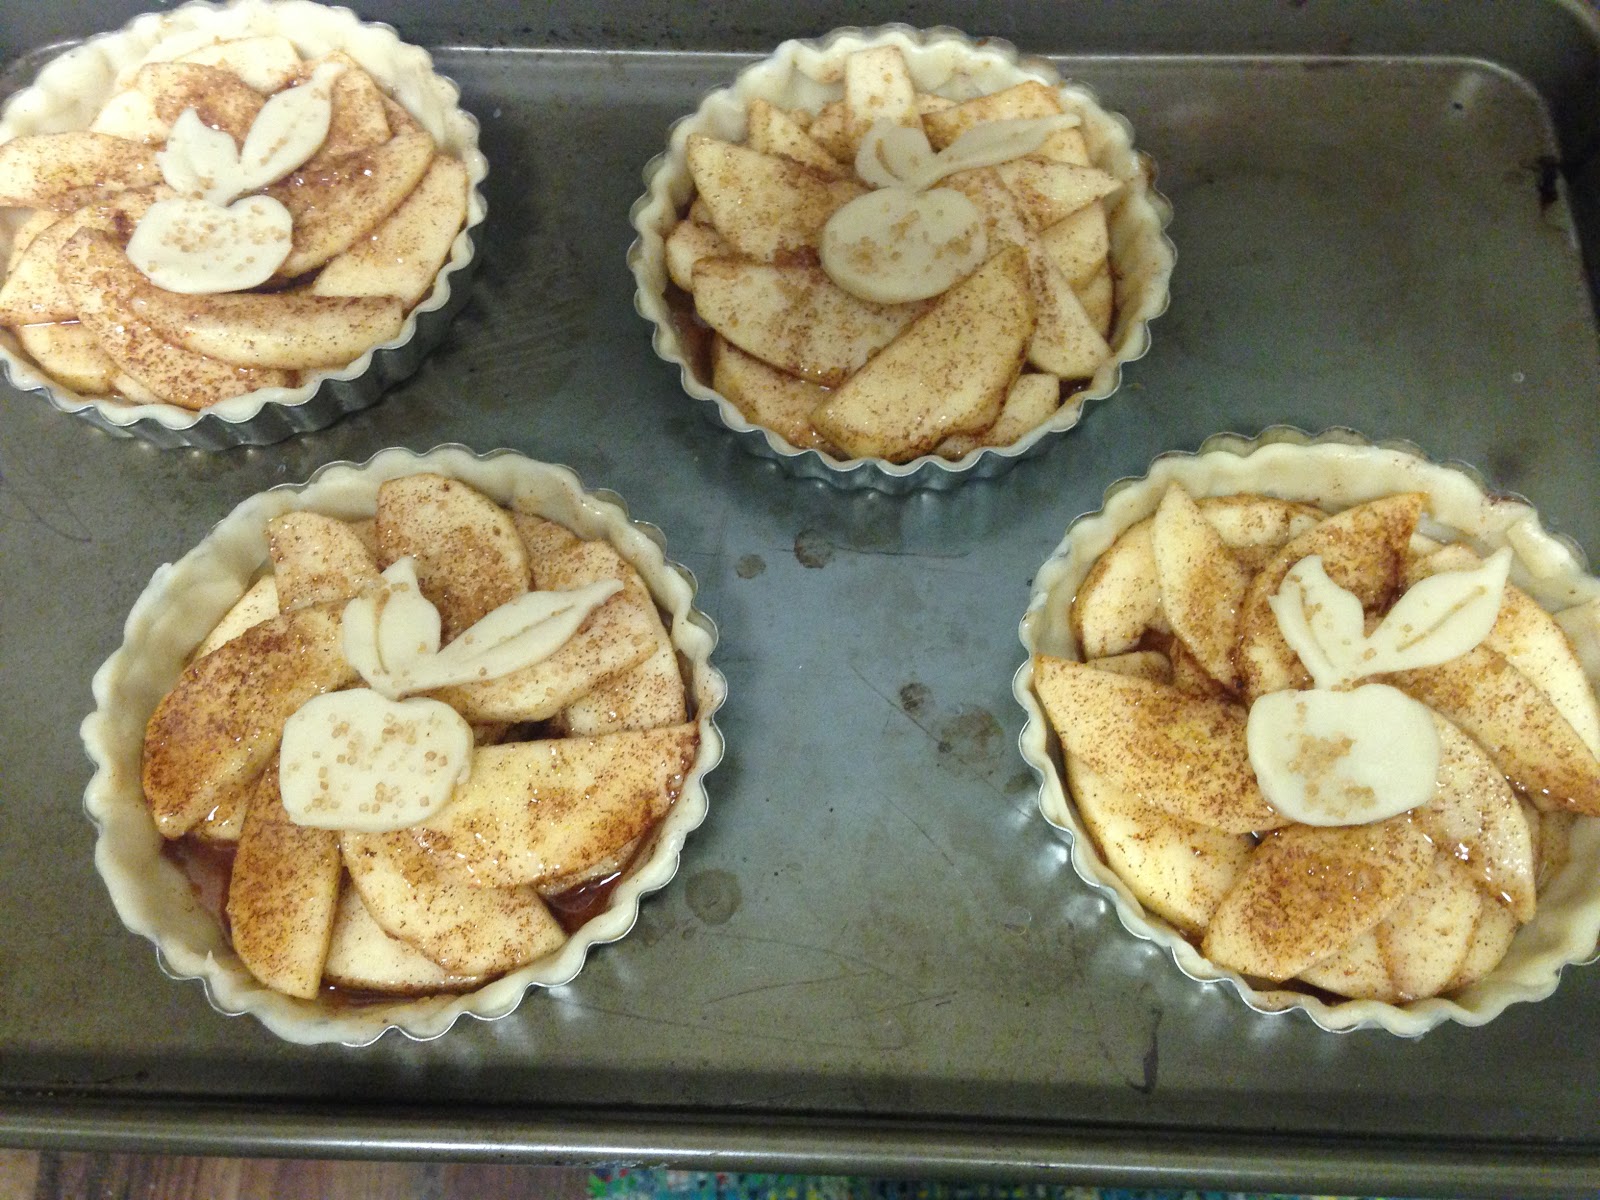
Just because I think they are pretty, I am showing you the mini apple tarts before they went in the oven.  Aren't they cute?!?!?!?  I just love miniature versions of food.


One Week Menu

Sunday -  Turkey Piccata Pasta and Roasted Root Vegetables (fresh veggies I had leftover from the Ratatouille that had to be prepared before they went bad)
Monday - Turkey and Sausage Gumbo with Rice and Salad 
Tuesday - Beef Burgers with Scallions and Cream Cheese (or chevre) and Leftover Stuffing Balls (Mock Hush Puppies made out of stuffing)
Wednesday - Leftover Turkey Pasta Soup and grilled cheese sandwiches 
Thursday - Grilled Chicken Breast with Scallion, tossed salad and simple wild rice pilaf
Friday - Leftover gumbo sandwiches served on french bread (The au jus for dipping is the liquid base of the gumbo) with sweet potato fries (I don't have leftover sweet potatoes, but tis the season so I am including a recipe)
Saturday - Mincemeat Pies (Or for the more cautious of you, I have included a Beef Pot Pie Recipe.  The Minced meat will need to be prepped on Sunday and then eaten on Saturday.  If you are eating the beef pot pies instead, eat those on Sunday and move all the other dinners down one day.)

Now that we know the Agenda, lets get started!

Traditional Mincemeat Mini Pies

Fooled you!  We're not starting with the turkey pasta.  Why?  Because first we have to prepare the mincemeat for Saturday.


I know that most of us here in the United States have not had mincemeat pies and when we do think about them at all, we tend to think of them as a Christmas dish.  But mincemeat pie was one of the dishes that scholars know was served at the first Thanksgiving so I am bringing it back.  Most modern day mincemeat pie recipes do not contain meat, but they did back during the first Thanksgiving and they are going to in the recipe that I am going to show in this post today.  This mincemeat pie recipe is based off a version that was featured in a cookbook published in 1861 call Mrs. Beeton's Book of Household Management.  Ideally, the mincemeat filling should be prepared at least two days and preferably two weeks prior to the making of the pies so that the flavors can combine and meld.  But most of us, myself included are a little cautious when it comes to leaving meat in the fridge for two weeks, so I am going to do mine for a little less than a week.

Ingredients
Crust
1 pckg. Pillsbury Refrigerated Pie Crust Dough  (You can make your own pie crust dough, but I don't like the hassle of making dough unless I absolutely have to.)

Filling
1 cup finely chopped beef suet  (Some people can get this from their butcher.  If you cant, freeze a cup of butter - real butter- and finely chop that.  Try to touch it with your hands as little as possible because you do not want the butter to melt.)
6 tbsp. currants
6 tbsp. chopped rump steak or roast
1/4 cup raisins
1/4 cup packed dark brown sugar
1 tbsp. brandy
1/2 tsp. and 1/4 tsp. chopped candied citron peel
1/2 tsp. and 1/4 tsp. chopped candied lemon peel
1/2 tsp. and 1/4 tsp. chopped candied orange peel
1/2 tsp. fresh lemon juice
1/8 tsp. to 1/4 tsp. nutmeg  (I would start with 1/8 tsp. and if you want a stronger nutmeg flavor, move up to 1/4 tsp.)
1 granny smith apple, cored and finely chopped
grated zest of 1/4 to 1/2 lemon  (Again, do 1/4 and if you want more lemon than add the rest)

Instructions
1.  In a bowl, combine beef suet, currants, rump steak, raisins, brown sugar, brandy, citron peel, lemon peel, orange peel, lemon juice, nutmeg, apples and lemon zest.  Mix well.
2.  Transfer mixture to a large mason jar and screw on the lid.  Refrigerate for two days to 2 weeks.


That is all you are getting of that for now.  I will continue this recipe on Saturday when I actually make the dish.  I will also include the beef pot pie recipe at that time.  Don't worry, I will include the full recipe on Saturday.  I just did this so you would know how to prepare the mincemeat.


Turkey Piccata Pasta

This is a nice lighter dish after eating some of the heavier dishes you get during Thanksgiving.

Basil wants some pasta.


Ingredients
1 handful linguine, dry
2 tbsp. unsalted butter
2 tbsp. bottled capers, rinsed and drained
1/4 cup reserved pasta water
1 1/2 tbsp. lemon juice, freshly squeezed
1 cup cooked turkey meat, bite-size
1 1/2 tsp. dried dill
1/2 tbsp. extra virgin olive oil, (You can used flavored olive oils, garlic is good with this one as is a Tuscan blend)
Kosher salt and freshly ground pepper (to taste)
1/4 cup parmigiano-reggiano cheese, freshly grated

Instructions
1.  Cook linguine according to package directions until pasta is al dente.
2.  Meanwhile, melt butter in a medium sized, heavy bottomed skillet over medium high heat.  Add capers and cook, stirring constantly, until fragrant.  (This will take about two minutes.)
3.  Add 1/4 cup pasta water and the lemon juice into the skillet and bring to a simmer.
4.  Drain the pasta and add to the skillet along with the turkey and dill.
5.  Simmer the turkey, tossing with tongs, until the turkey is heated through and the pasta is coated with sauce.  (About two minutes.)
6.  Remove the pan from heat and stir in oil.  Salt and pepper to taste.  Toss with cheese and serve.

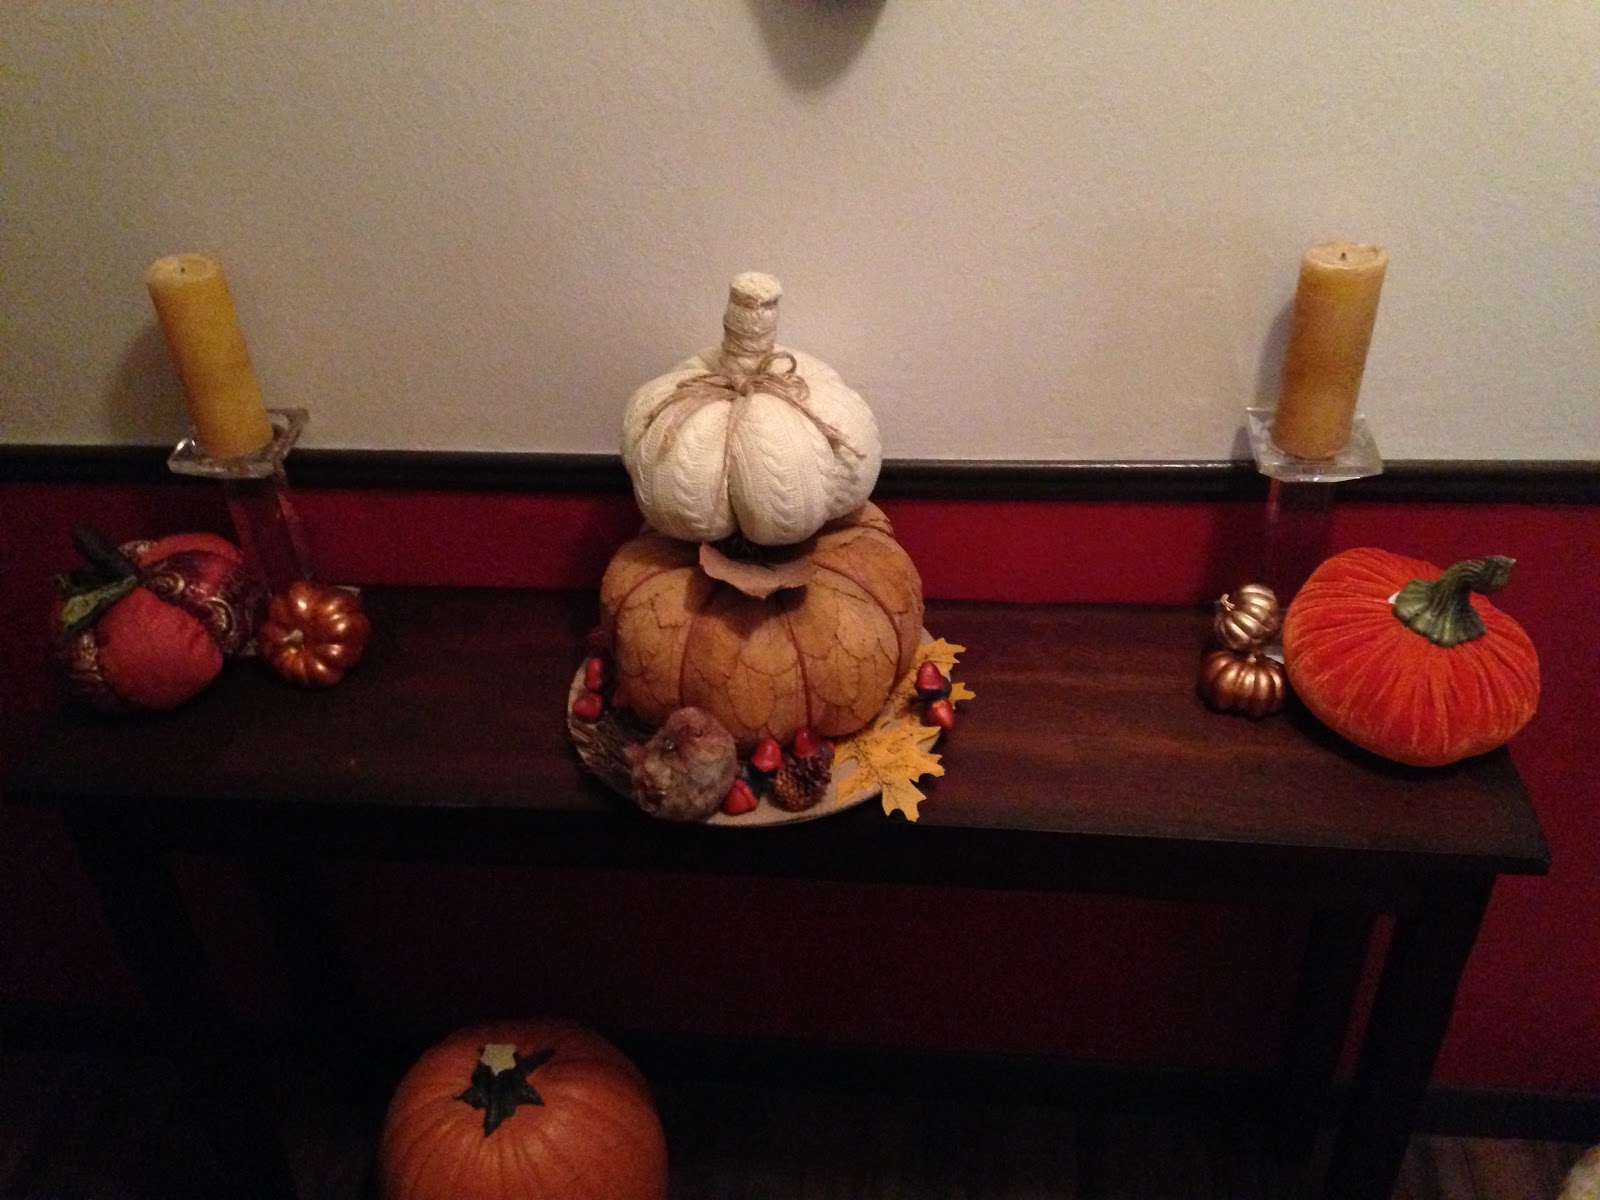
One more picture of fall decorations and then, we move into Christmas.

Oven Roasted Vegetables

I did not put any beets or turnips in my oven roasted vegetables, but I just loved this picture.

This next recipe is totally not my recipe.  I stole it off of a Lipton Savory Herb and Garlic Soup Box.  I have modified it a little, but only so you know what vegetables that I used.  This is a definite cheat recipe, but it is easy and tastes good.  (They don't all have to be handmade. :-) )

Ingredients
1 envelope Lipton Savory Herb with Garlic Soup Mix
1/2 eggplant, roughly diced
1/2 zucchini, roughly diced
1/2 green bell pepper, roughly diced
1 celery, roughly diced
1-2 carrots, roughly diced
1/2 onion, roughly diced
1- 2 tbsp. olive oil (I eyeball it.  All the vegetables should be covered and there should be an enough oil so the vegetables don't stick to the pan.)

Instructions
1.  Preheat oven to 450 degrees.  
2.  In a 13 x 9 inch baking or roasting pan, combine all ingredients.
3.  Bake, uncovered, 20 minutes or until vegetables are tender. (Stir once about halfway through <10 minutes> baking time.)

I will continue to post more leftover Thanksgiving recipes, but I will also be showing you some craft ornaments to start gearing up for Christmas on a limited budget and I will start posting for the Christmas Season!
Good Bye Fall!

Fall decorations packed up and ready to go in the attic.
Hello Christmas!
She looks entirely too happy sitting with her bare thighs on that snow.  And if you look at the penguins, I think that they think she is, just a little bit, crazy.


Sunday, April 17, 2016

Frugal Femme Two Week Menu #2: Week Two, Saturday: Grilled Steaks, Savory Grilled Corn and Twice Baked Potatoes

Hello Everyone.
I'm so excited!!!!  My onion is sprouting!  Last week I had planted  dried onion bulbs in the hopes of growing my own red onions. Every day I would go out and check their progress and it seemed like nothing was happening.  Then, yesterday, like magic, I had three sprouts!!!!   I'm so stoked.  I have no idea how long they take to mature, I'm going to have to research that on the internet, but they are growing and that is all that I can ask for right now.
Since I am a meal behind, we are doing the steaks tonight.  This means that I will do the prep work, but my husband will man the grill. 


I love these fifties images.  Everything looks so cheesy.  Look at me!  I am all that is man, as I pose like I am getting ready for a Captain Morgan's Rum commercial.

I don't know why, but I have never learned how to grill on an outdoor grill.

Although I do know better than to let smoke blow up my skirt and allow the neighbors to see my stockings!

But, I never have learned.  Thus, whenever I want anything grilled I ask my husband if he would mind grilling for me.  I am certain that I could learn to grill, but now it feels like tradition and I enjoy having an adult beverage or glass of wine while my husband grills.

In this particular meal, the sides are going to take way longer than the steaks so you want to do them first in the order that I have given in this post.

Savory Grilled Corn

Corn was one of the few vegetables that I would eat even when I hated vegetables.  But their sweetness actually disturbs me.  So most of the recipes that I come up with for corn try to make them a little more savory.  This recipe is no different.


Ingredients
1/2 cup mayonnaise (No, do NOT use Miracle Whip, it comes out too tart.)
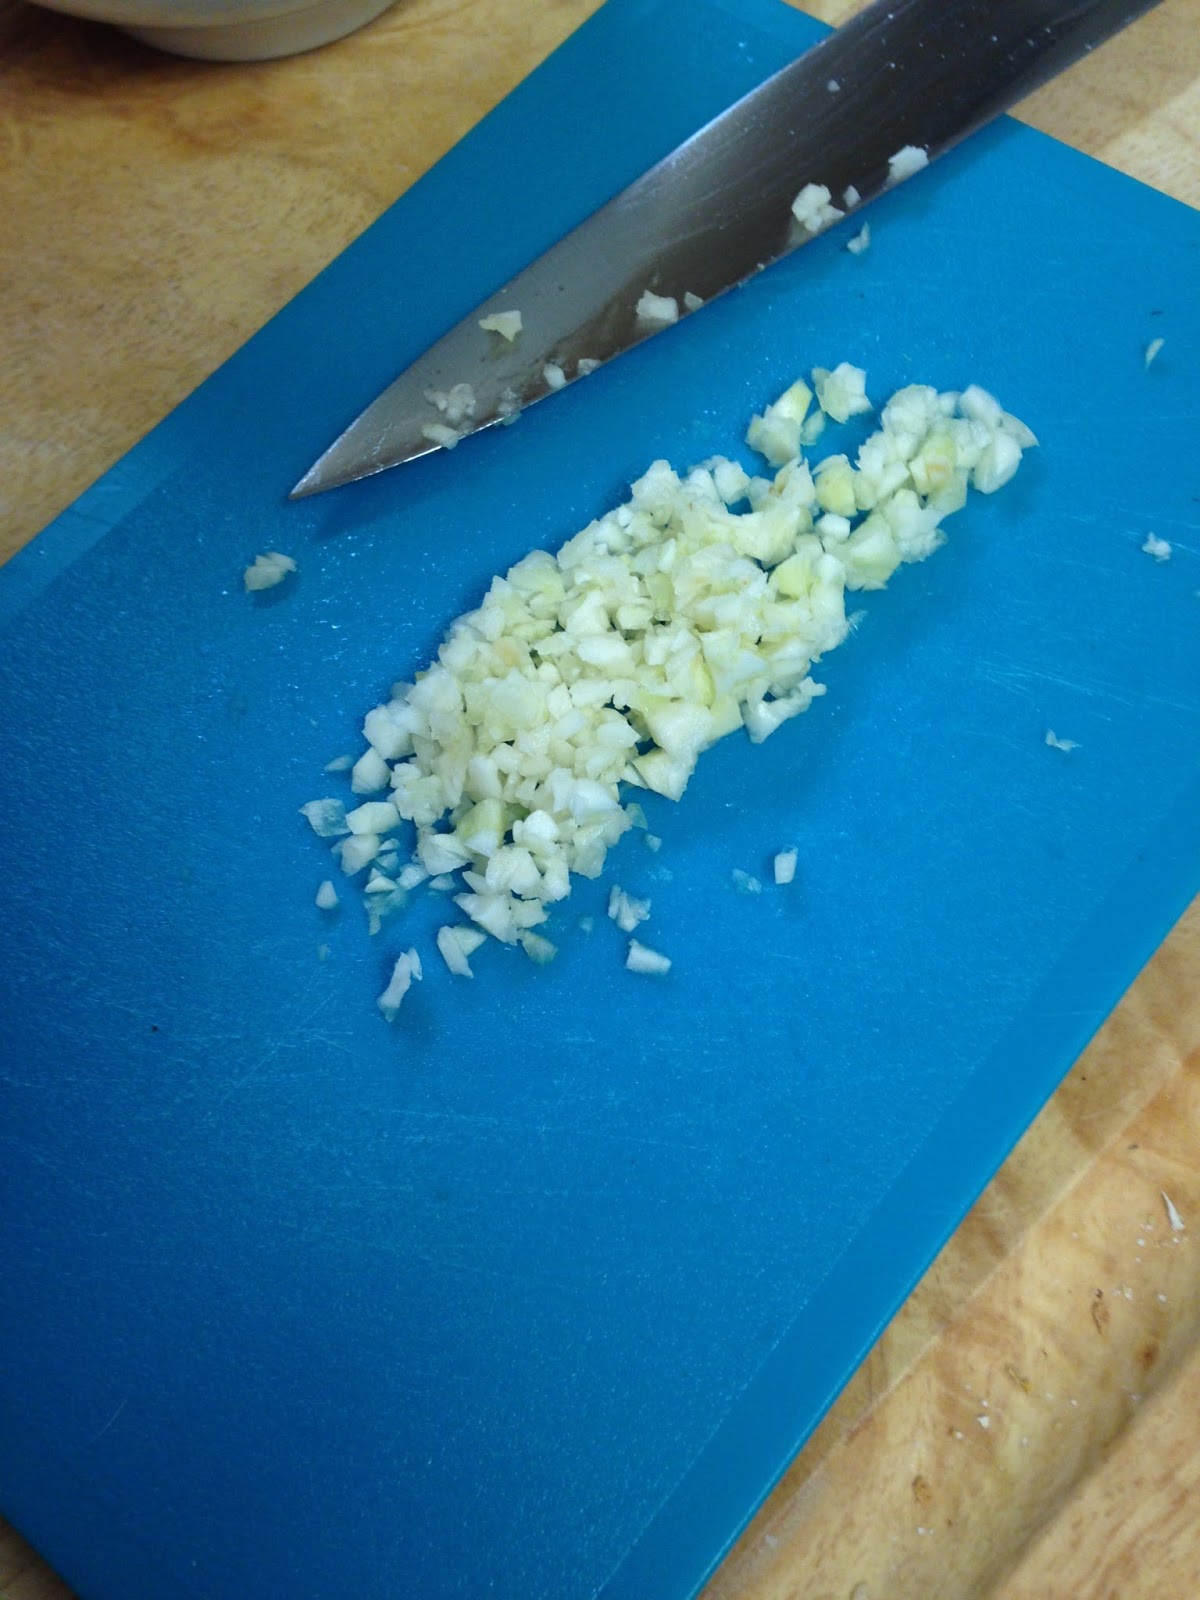
2 large cloves garlic, minced
1 tsp. dried minced onion
1 tsp. dried dill
1/2 tsp. paprika
1/4 tsp. kosher salt
1/4 tsp. freshly ground pepper
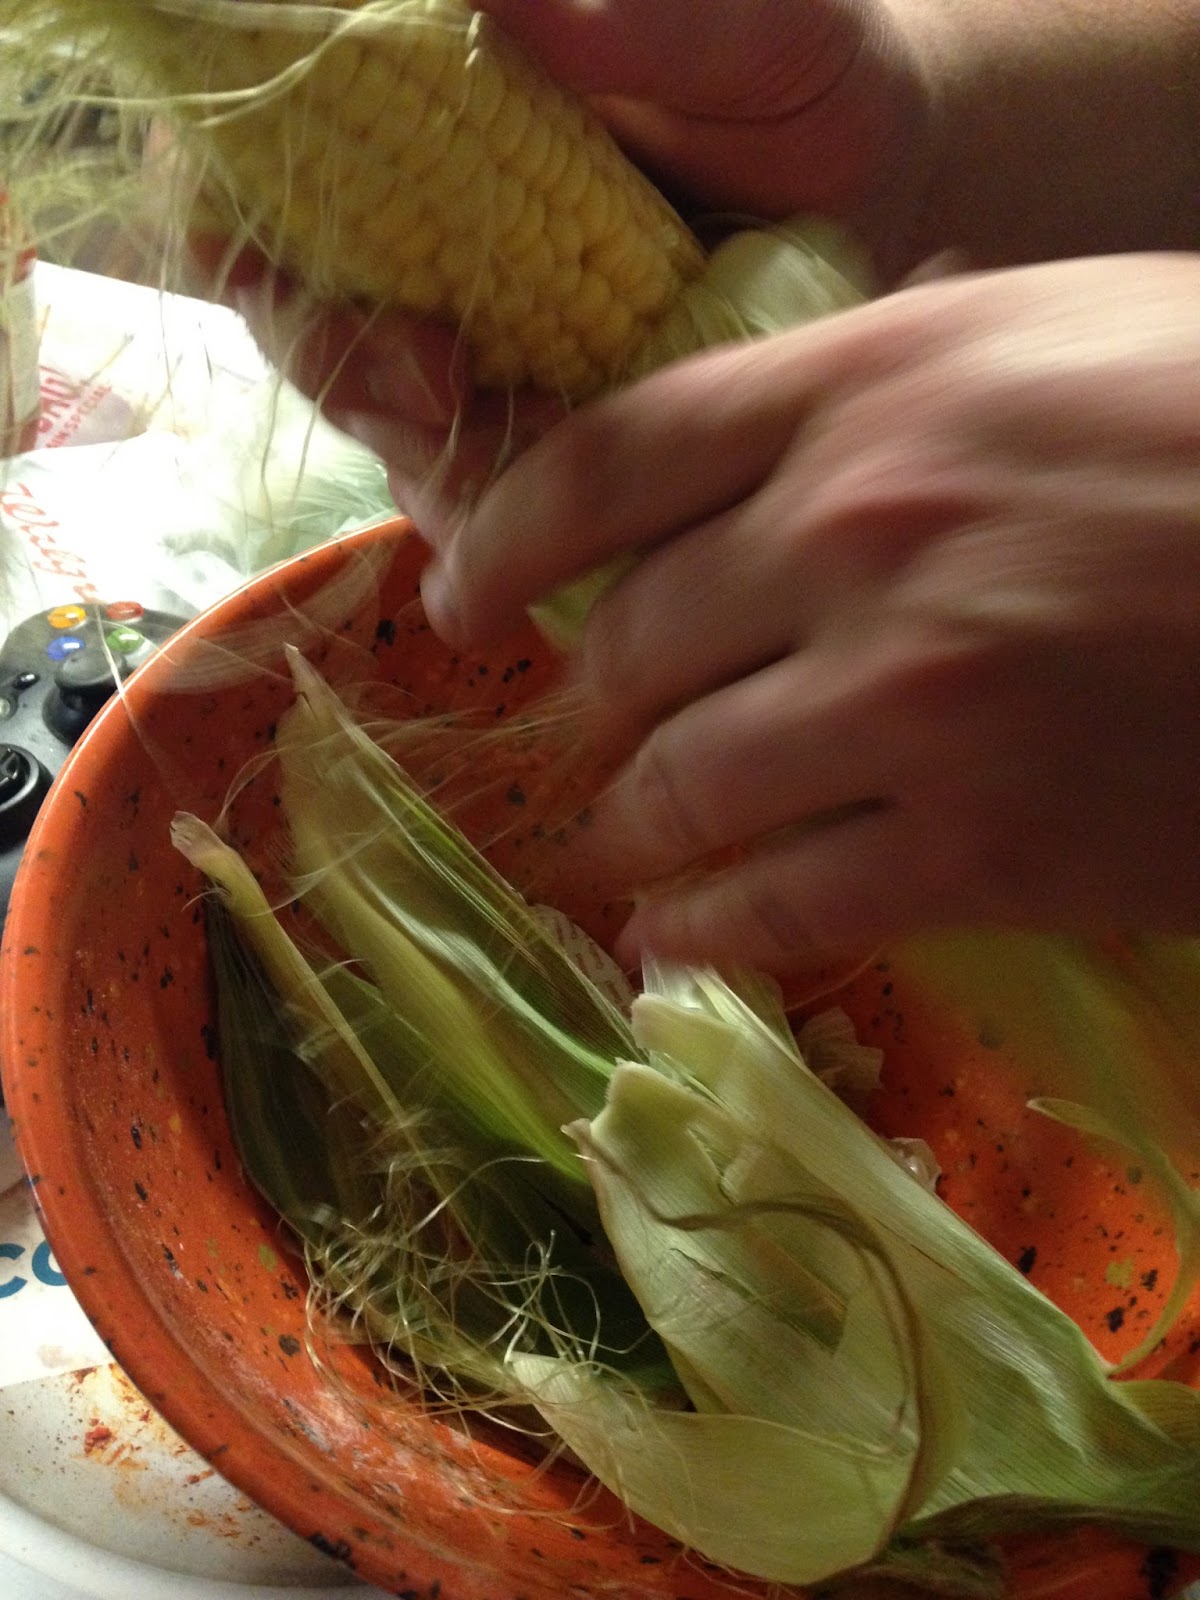
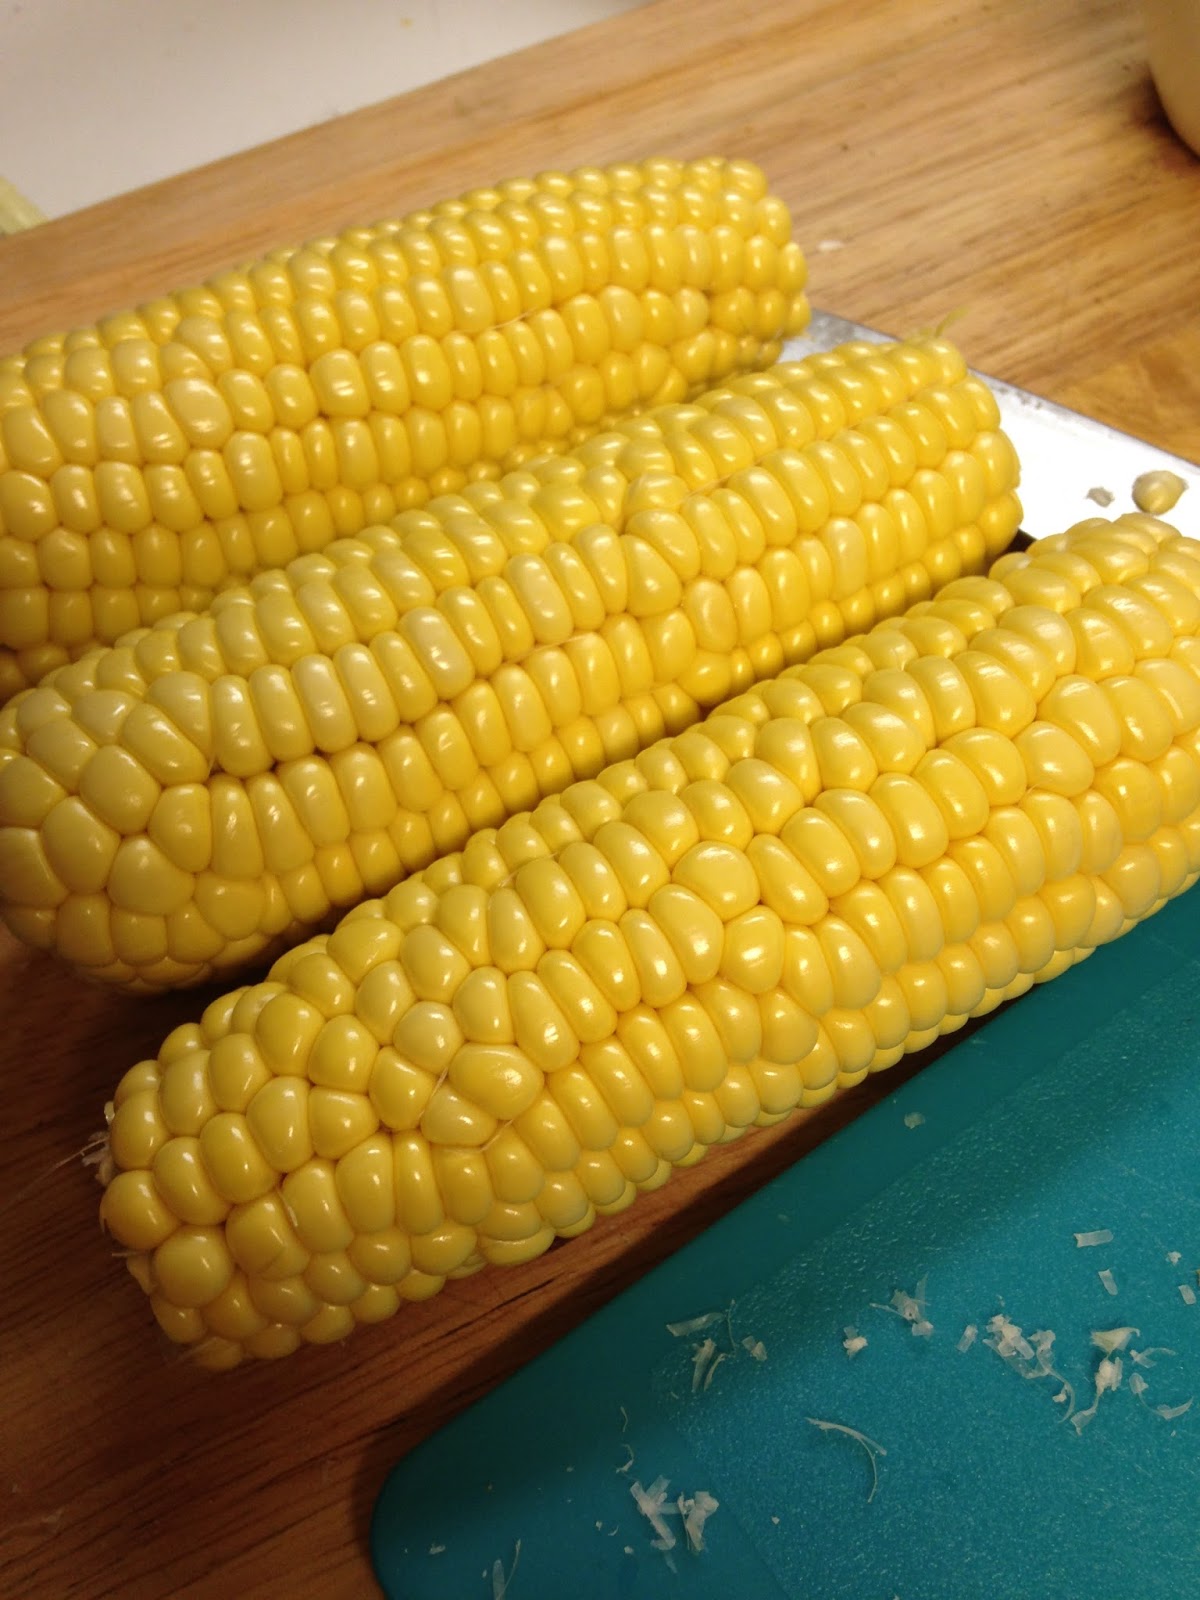
3 medium ears sweet corn, silk and husks removed
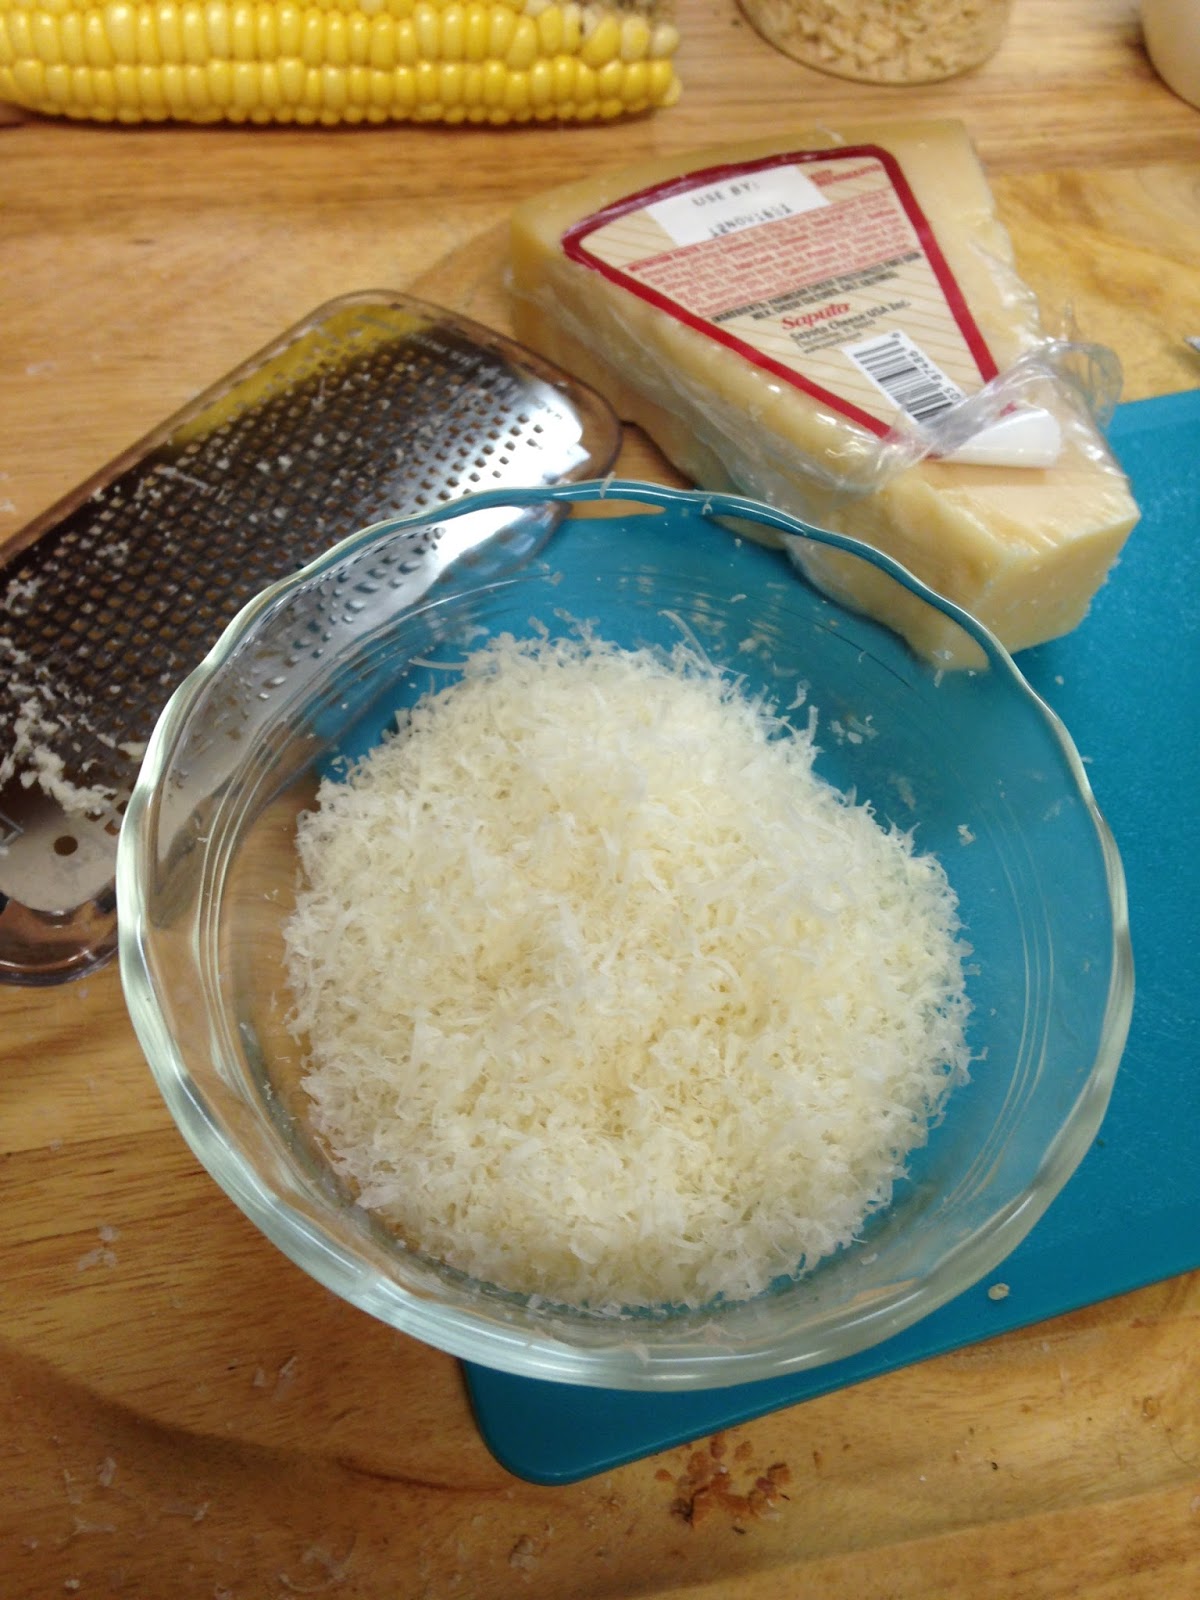
1/2 cup grated parmesan cheese

Instructions
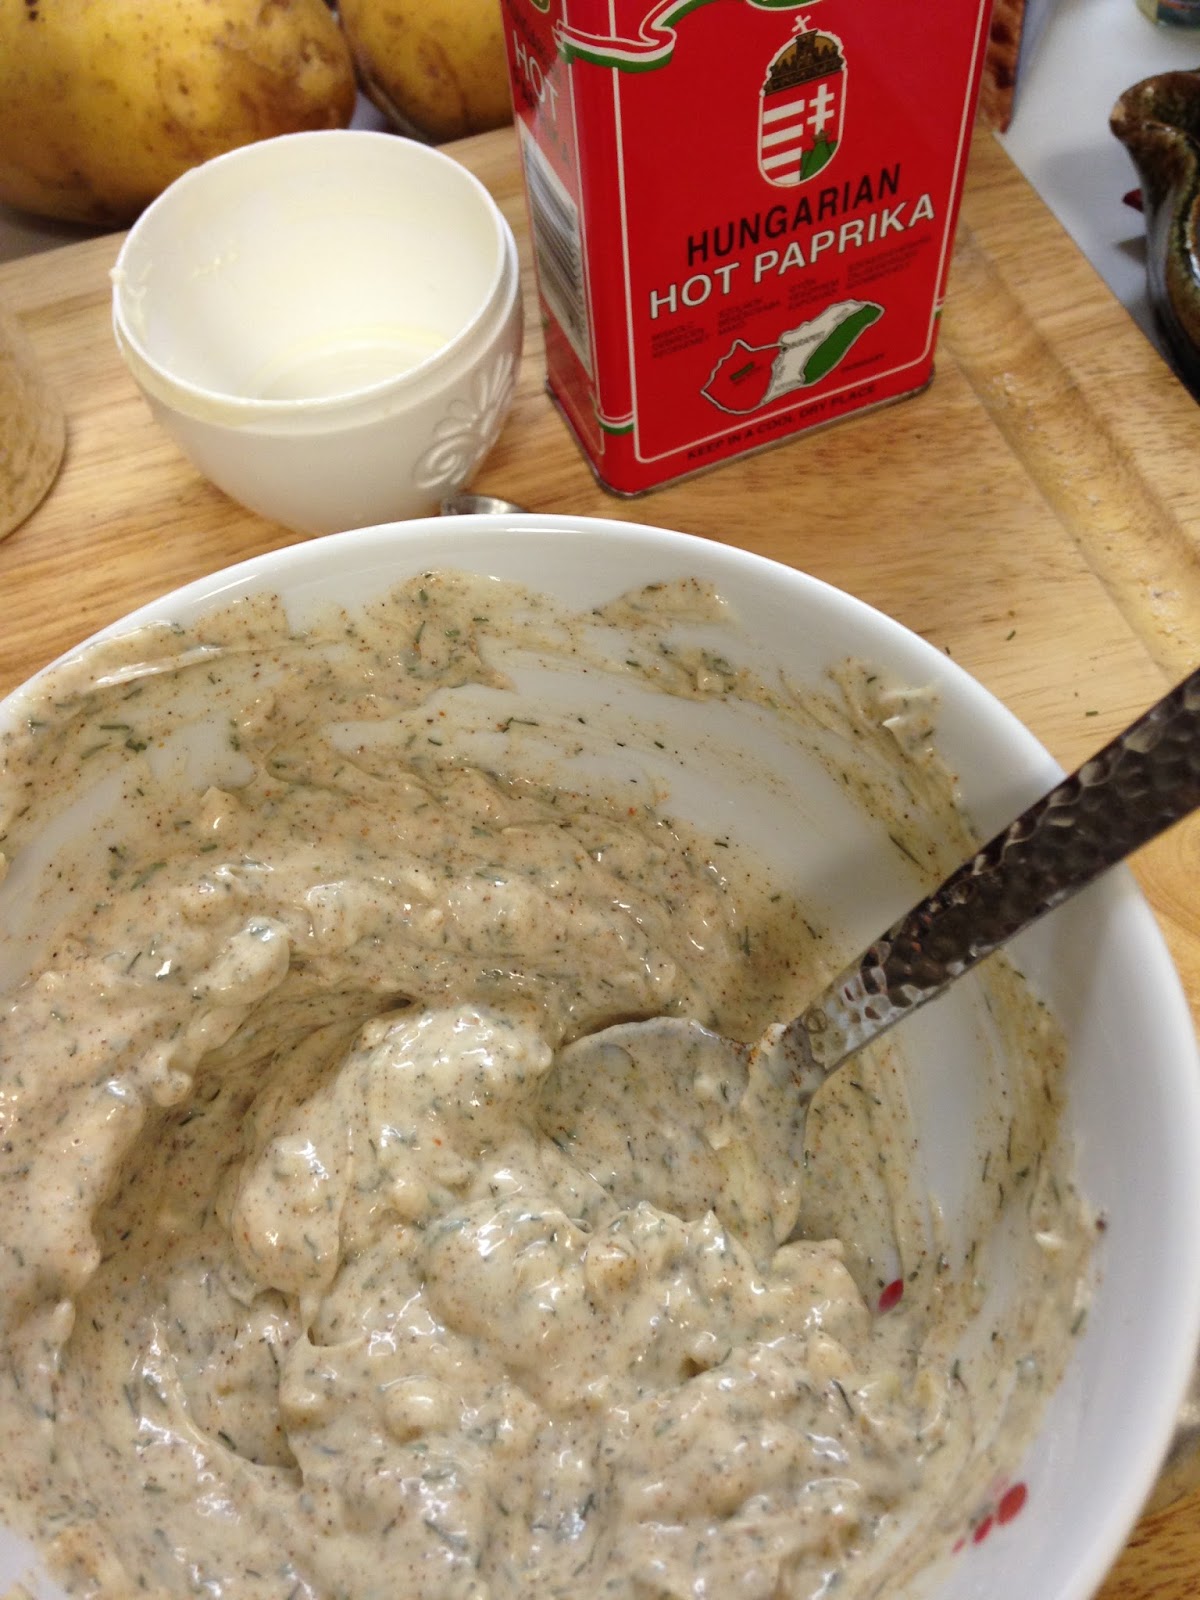
1.  In a small bowl combine the mayonnaise, garlic, dried minced onion, dill, salt and pepper. Mix until combined.


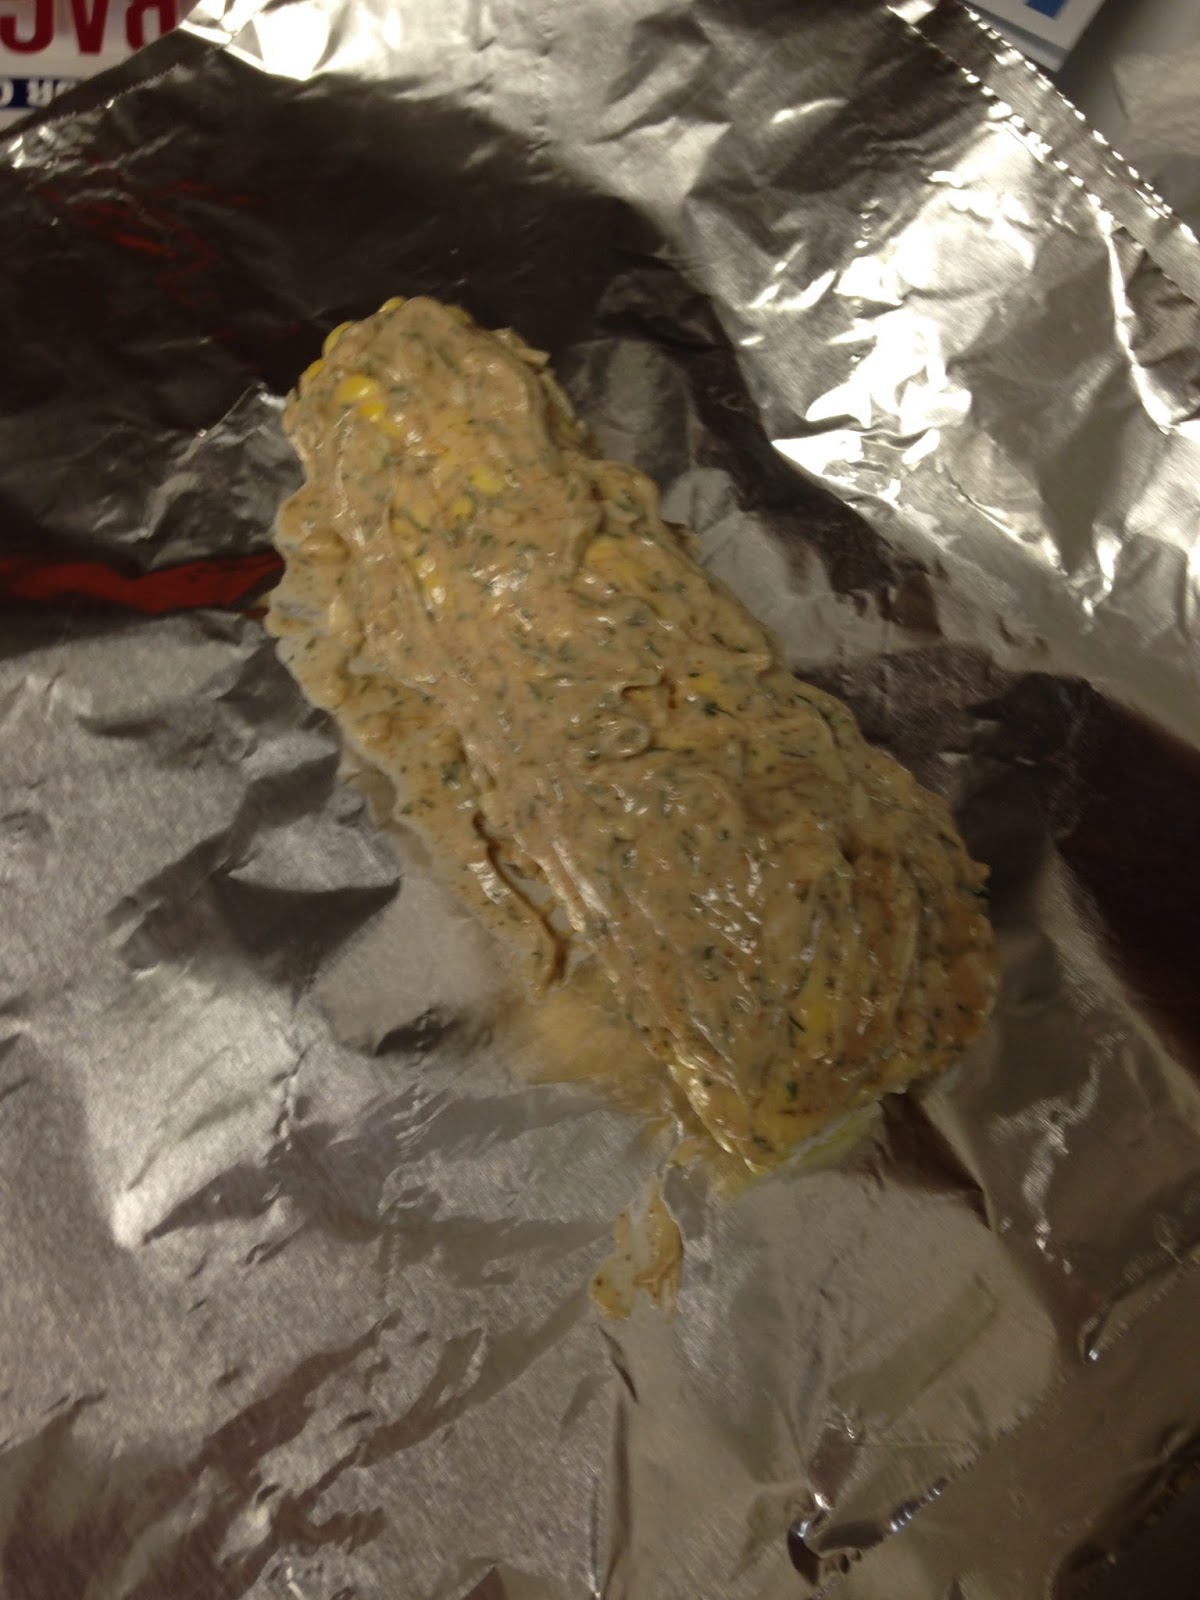
2.  Spread over the corn.


3.  Sprinkle with parmesan cheese.


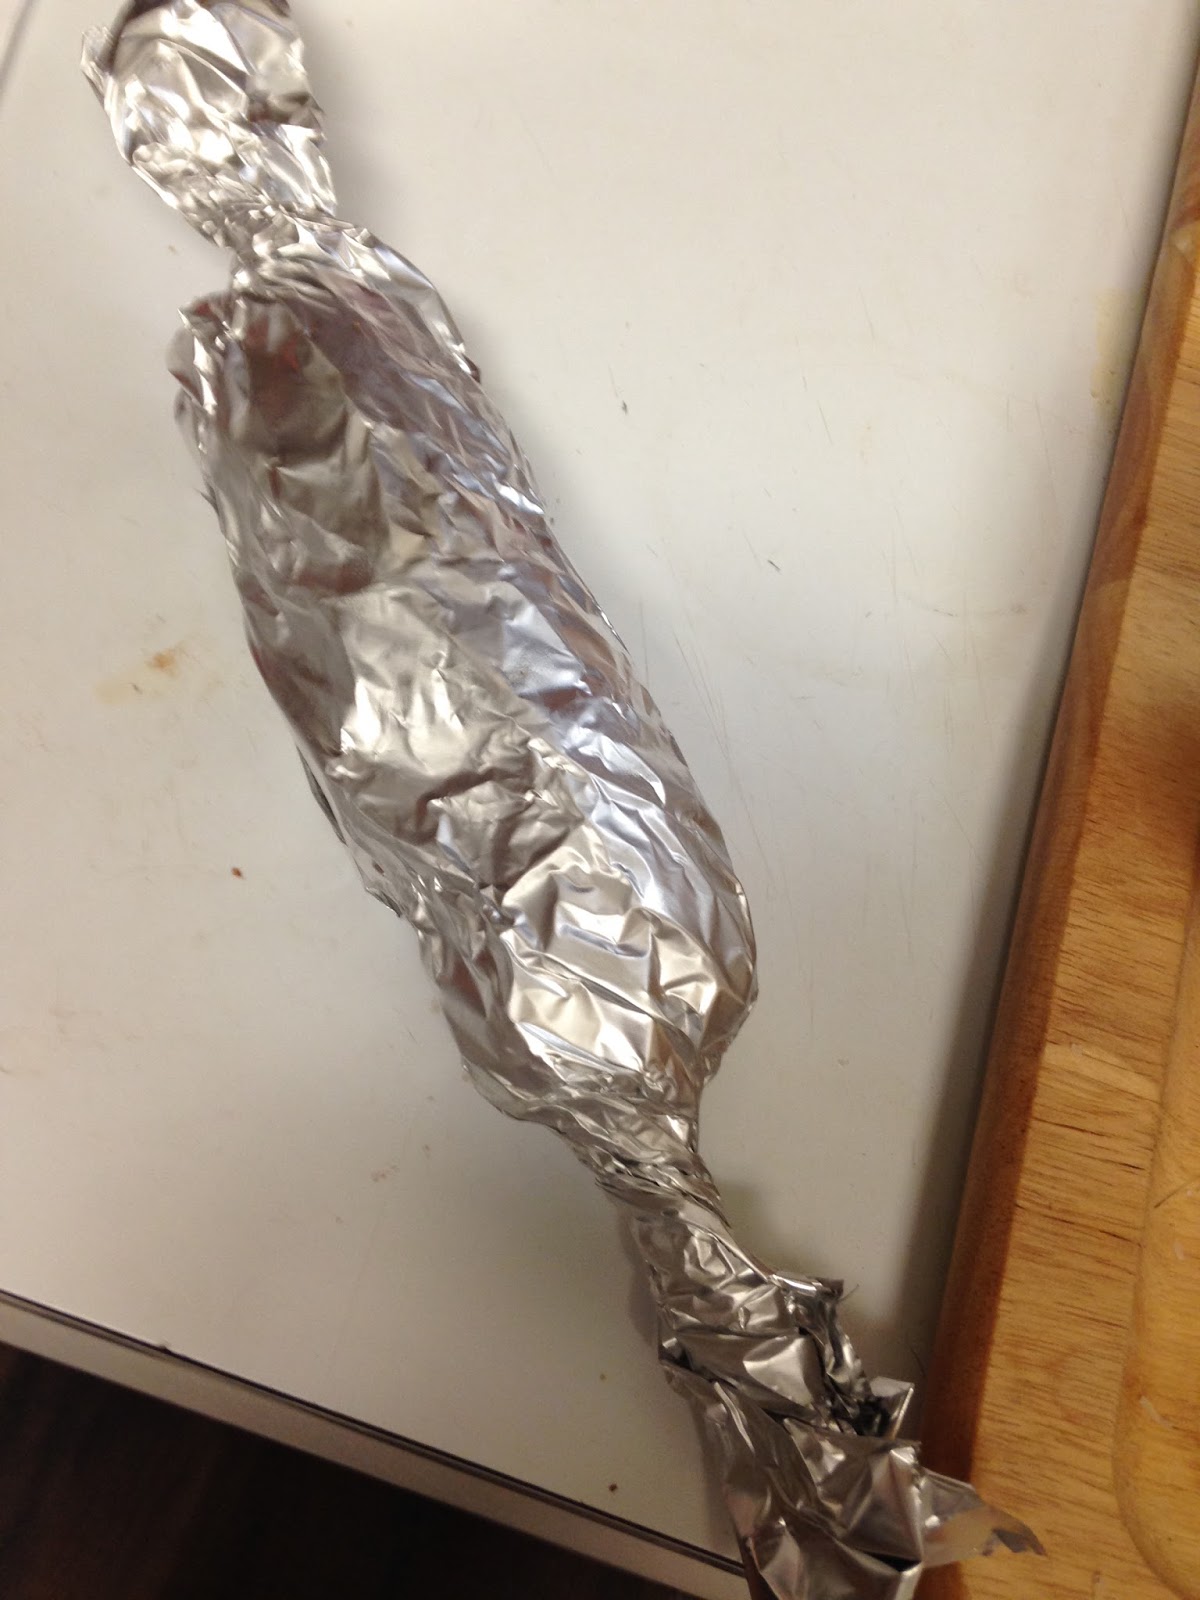
4.  Wrap each ear of corn in a double thickness of heavy-duty foil that has been thoroughly sprayed with oil.  (I like to use olive oil spray.)


5.  Grill, covered, over medium heat for 30-35 minutes or until the corn is tender, turning occasionally.


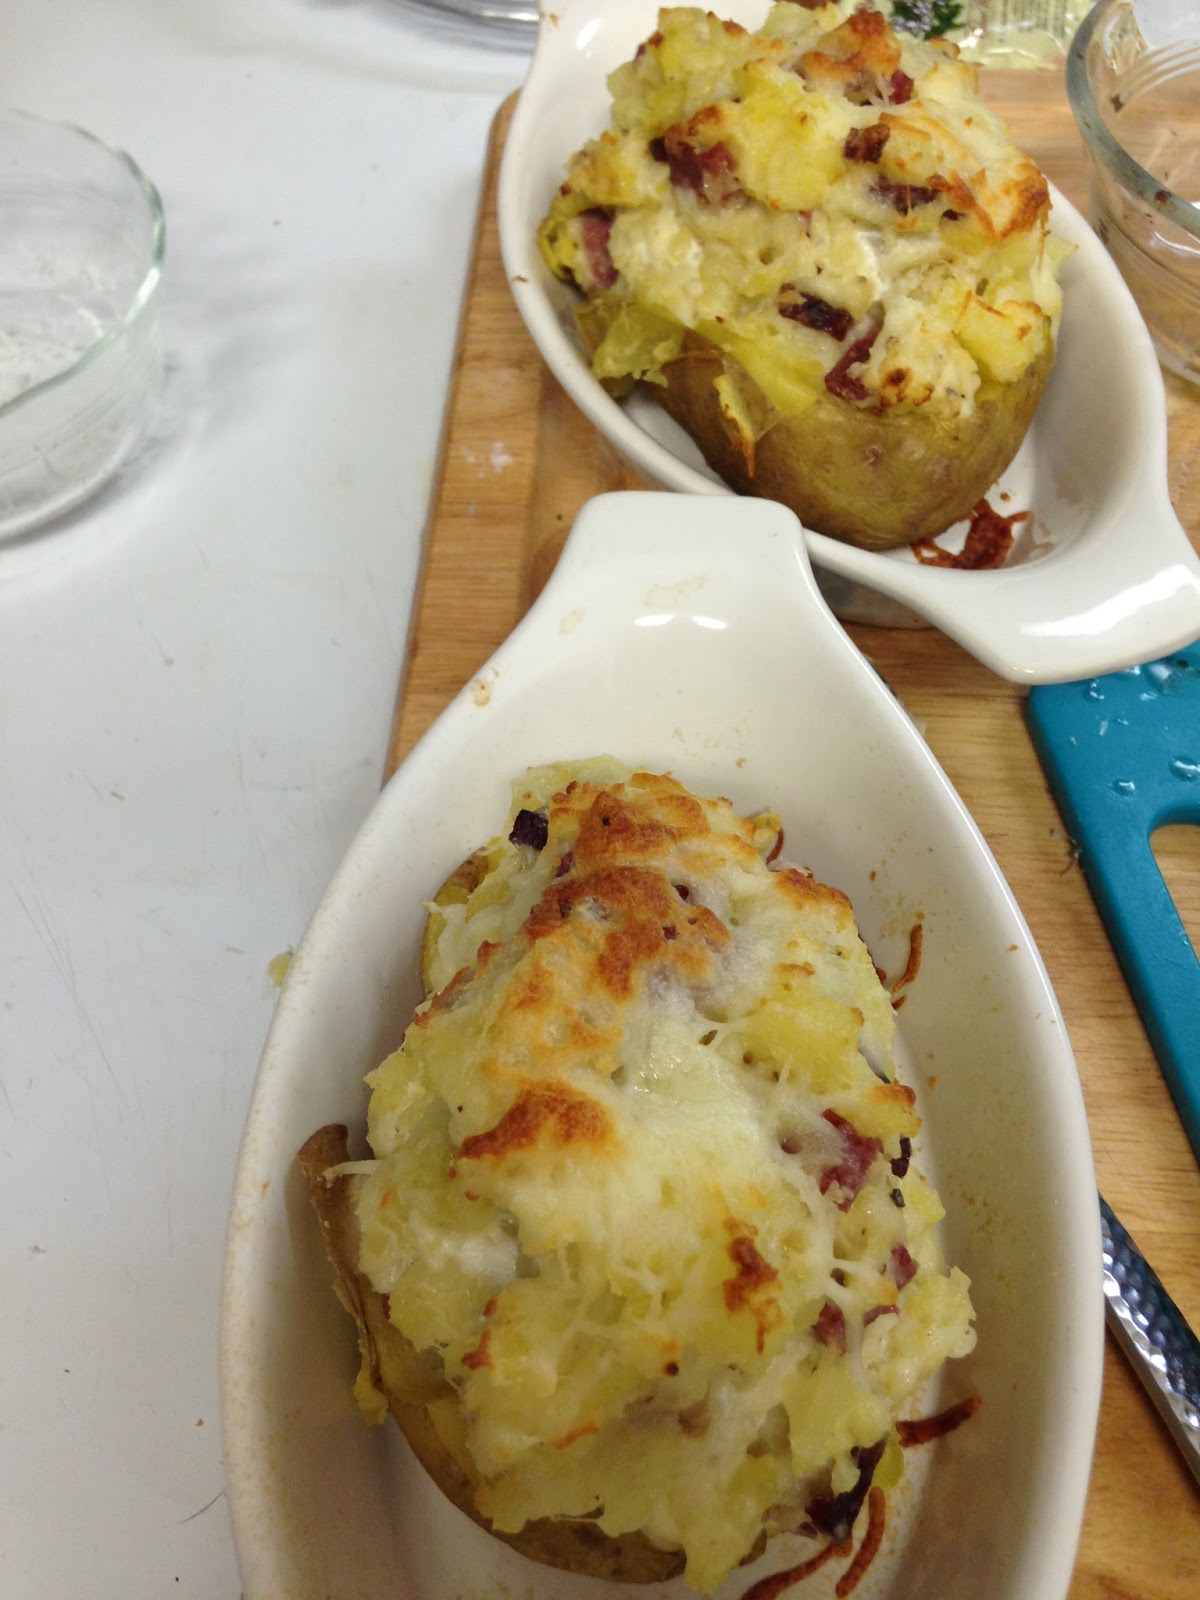
Twice Baked Potatoes

Okay, so I have done this the correct way, and then I figured out how to cheat.  This is the recipe where I show you how to cheat.
Also, there are no wrong ingredients in a twice baked potato.   I used leftovers that I had from other meals, but you can use anything you like on your potato.  When in doubt, look at what is served on potatoes in restaurants and put that on your potato.
Also, the measurements for this are not set in stone.  You can put more or less depending on your personal tastes.  Basically what I am telling you, is just use this recipe as a guideline so that you know cooking times and temperatures.

Ingredients
2 large potatoes, Idaho potatoes are the best for this, but I had golden potatoes so that's what I used
1/4 cup sour cream
2 tbsp. unsalted butter
1/2 cup Italian shredded cheese mix
1 tsp. dried dill (although I skipped it this time because I of the dill in the corn.)
2 slices bacon, cooked and crumbled
Onion salt and freshly ground pepper to taste

Instructions
1.  Preheat oven to 375 degrees.
2.  Scrub two large potatoes and put them in them in the microwave for 10-14 minutes.  (Timing depends on the size of the potatoes, test them after 10 minutes, if they are squishy when tested, they are good to come out of the microwave, if they still feel firm, cook them the full 14 minutes.)
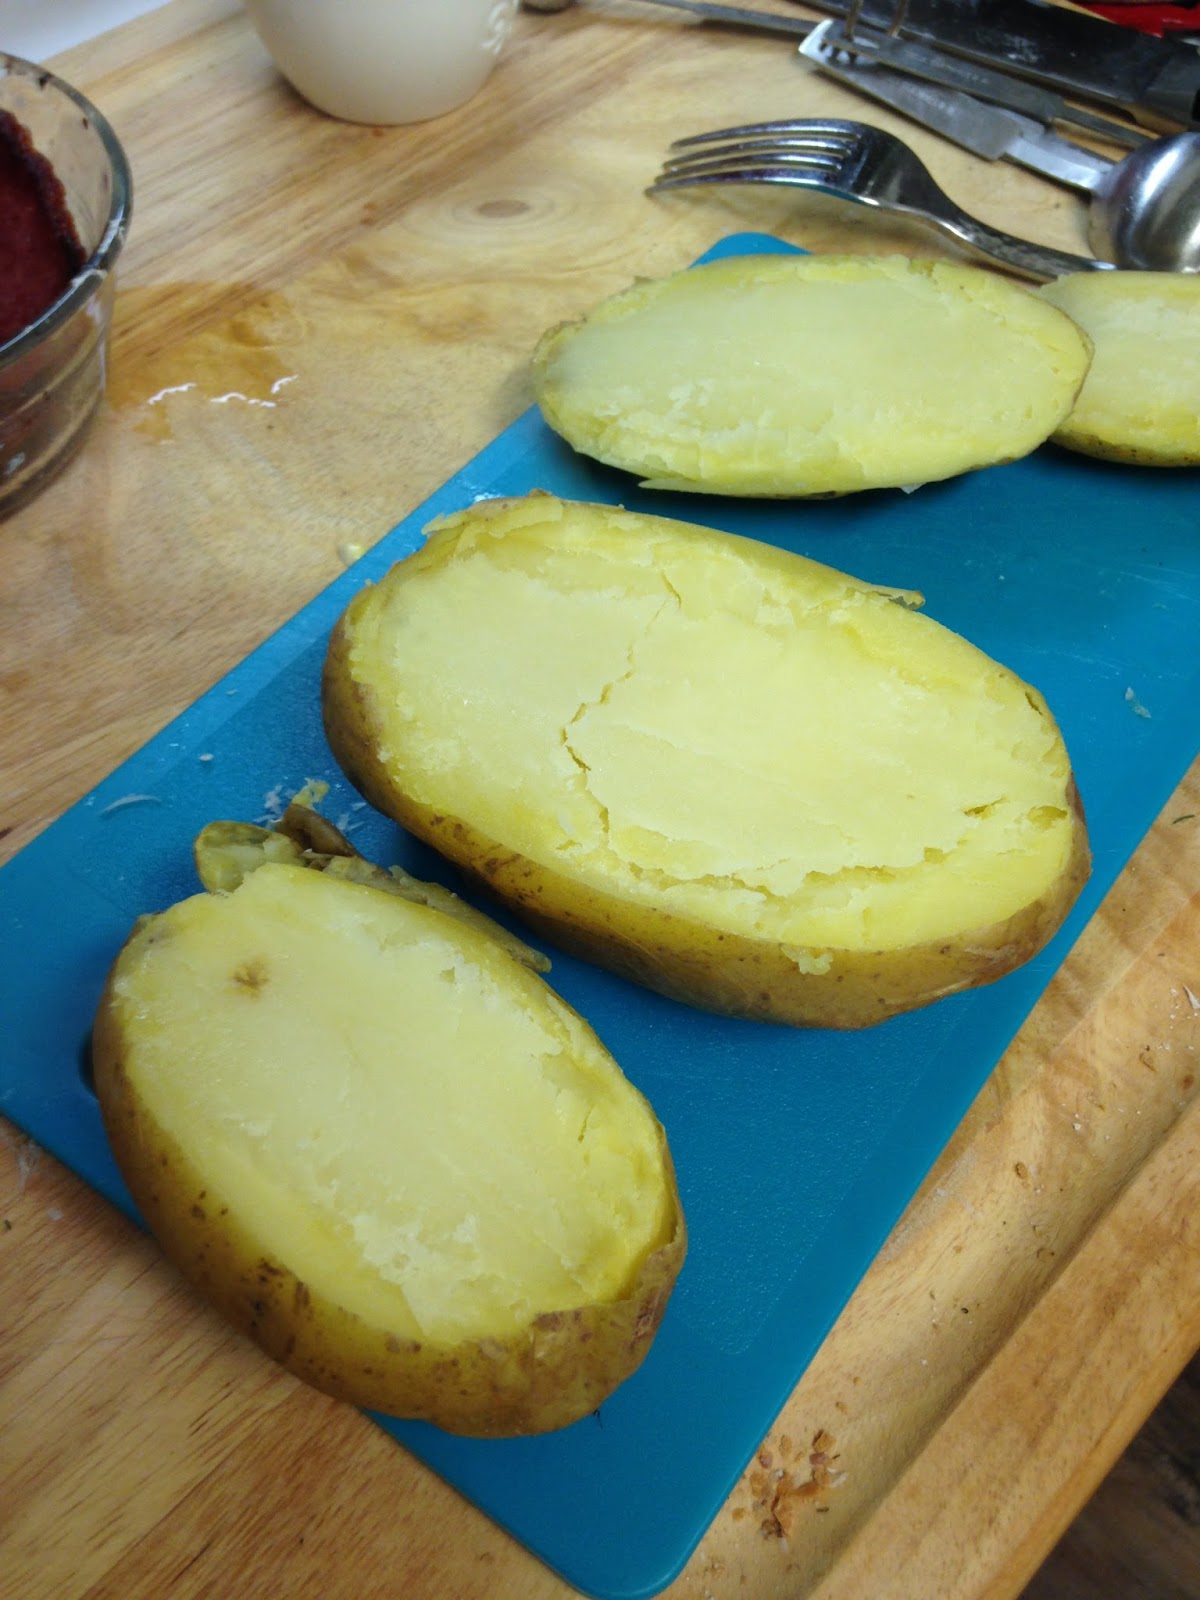
3.  Once the potatoes are done, remove them from the microwave.  Let them cool for at least 5 minutes so that you can handle them- if you try to do the next few steps as soon as they come out of the microwave, you may burn yourself.
4.  Cut off the top quarter of the potatoes and scoop the potato out of both the top and the bottom, making  an empty bowl of the bottom of the  potatoes. Put the empty potato skin shell bowls into a baking dish or into individual baking dishes


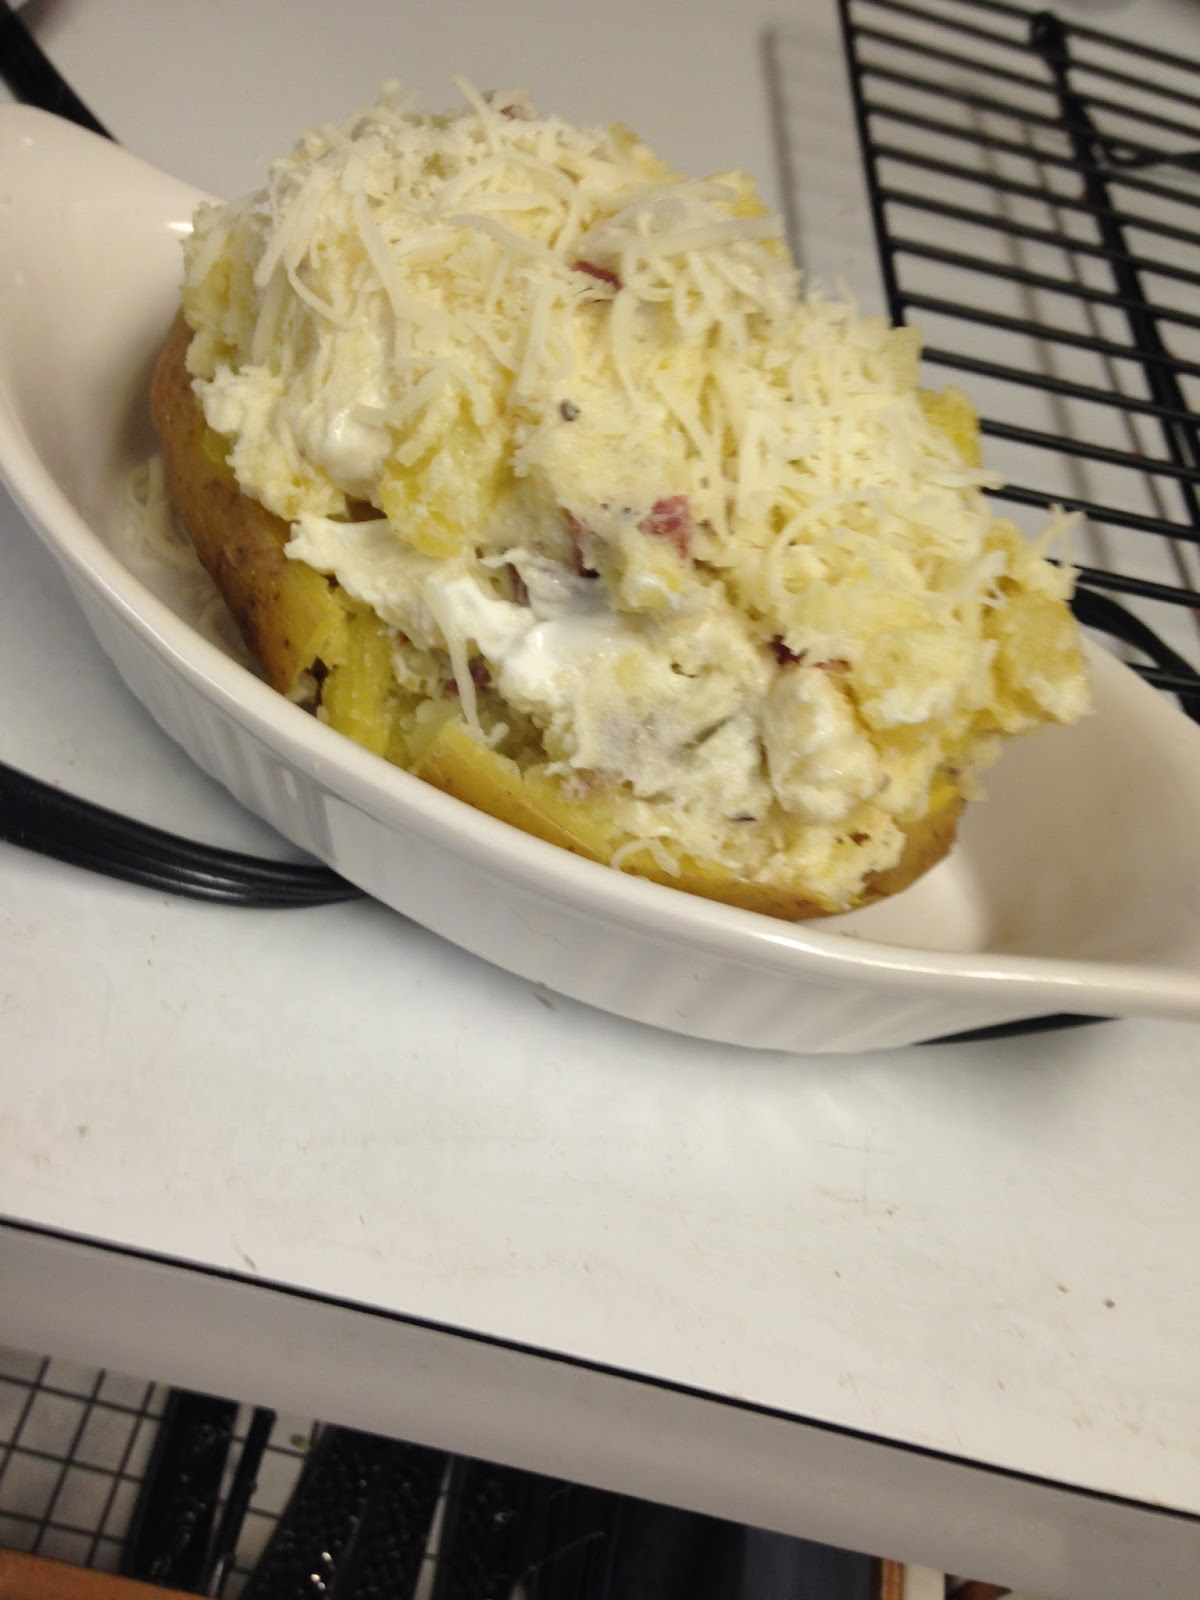
5.  In a small bowl combine the pulp of the potato, and the remaining ingredients; mash with a fork until all ingredients are thoroughly combined.


6.  Put the potato mixture back into the empty potato shells.  Sprinkle the tops with cheese.


7.  Place the potatoes in the oven and bake for 15 minutes until the tops are a lovely golden color.


Grilled Steaks

Steaks are possibly the easiest of foods to prepare.  It is the cooking  where everything can go so, so, wrong.  This is a very simple steak recipe as it does not involve a marinade.   For this recipe you will want to make certain that you have good cuts of meat or the steaks will only be okay instead of a little piece of heaven on earth.

Ingredients
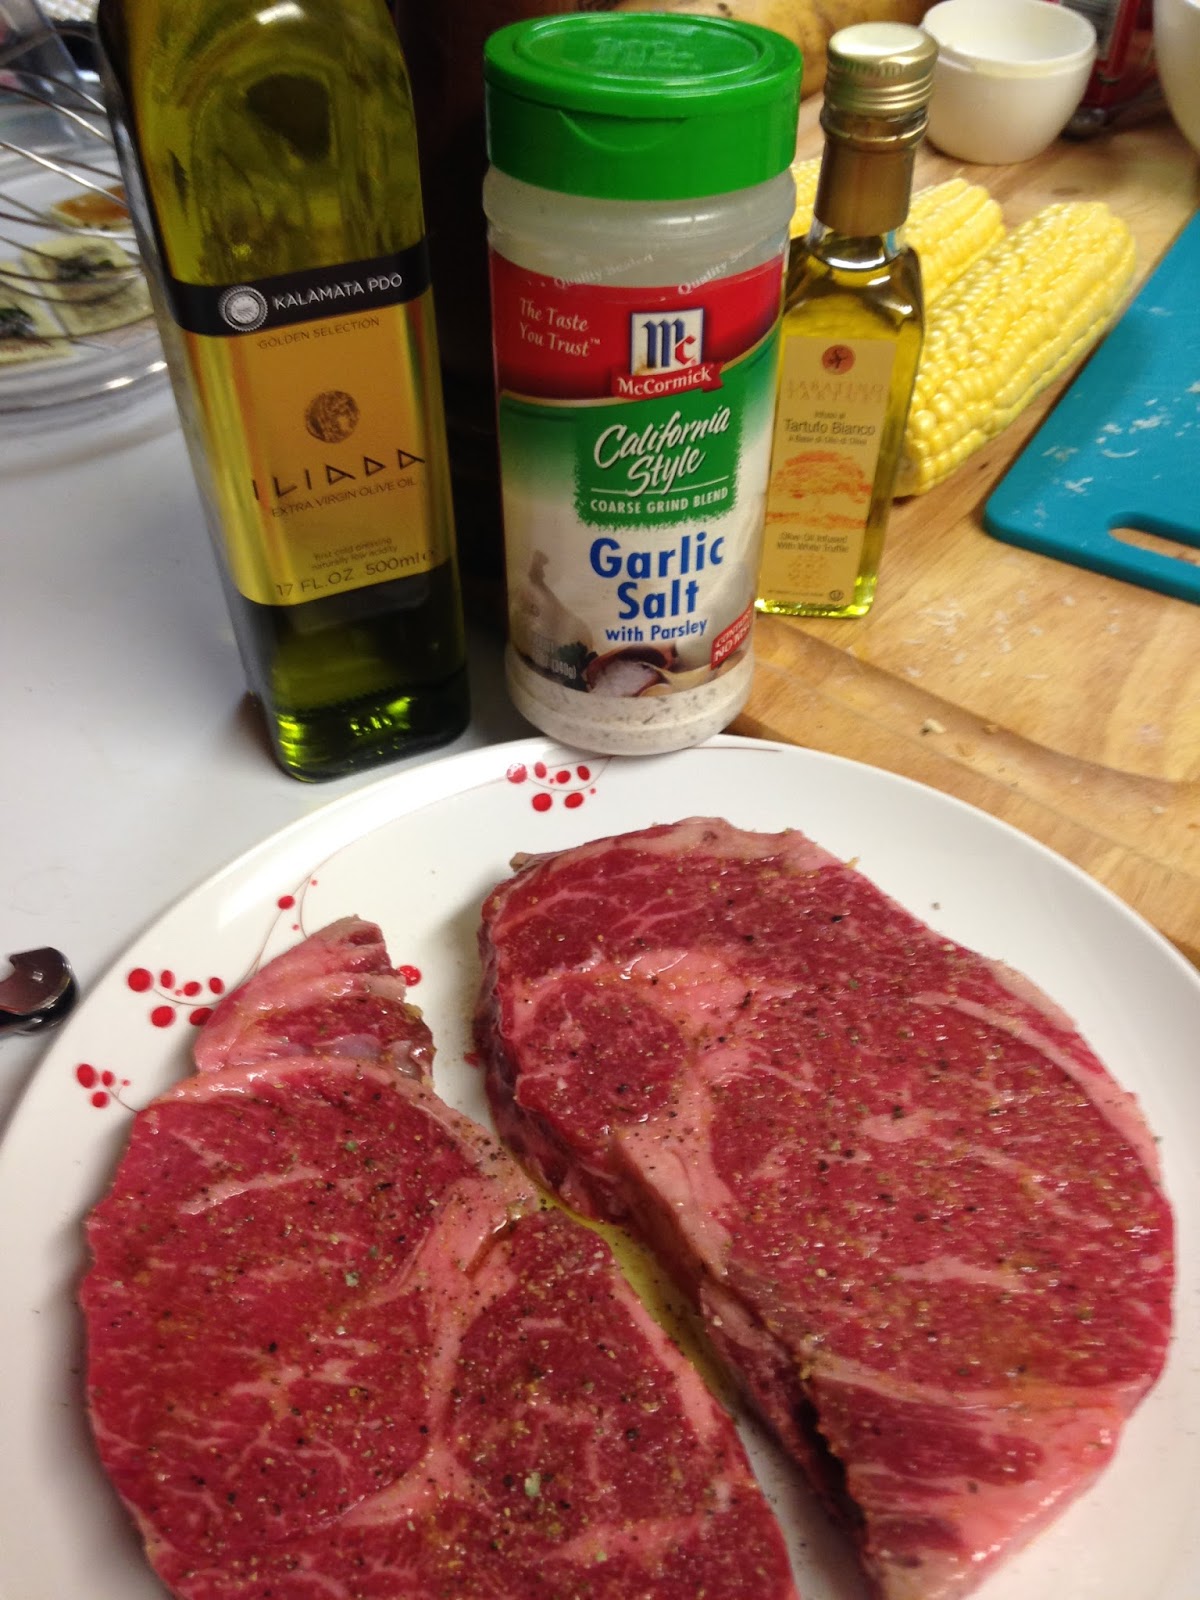
2 steaks  (I like rib eyes, but you choose the cut that you like best.)
2 tsp. olive oil
8 drops white truffle oil (4 per steak, two per side)
garlic salt and freshly ground pepper to taste
1 tsp. garlic salt

Instructions
1.  Let the steaks sit for 30 minutes to 1 hour to get closer to room temperature.
2.  Rub the olive oil, truffle oil, garlic salt, and freshly ground pepper onto all sides of the steak.


3.  Let the steak sit with the salt and oil for 30 minutes.
4.  Place on the grill and cook until desired doneness.  If you want your steaks medium rare that would be about 4 minutes per side.
5.  Remove from the grill and cover loosely with foil.  Let sit for 15 minutes to allow the meat to settle. 
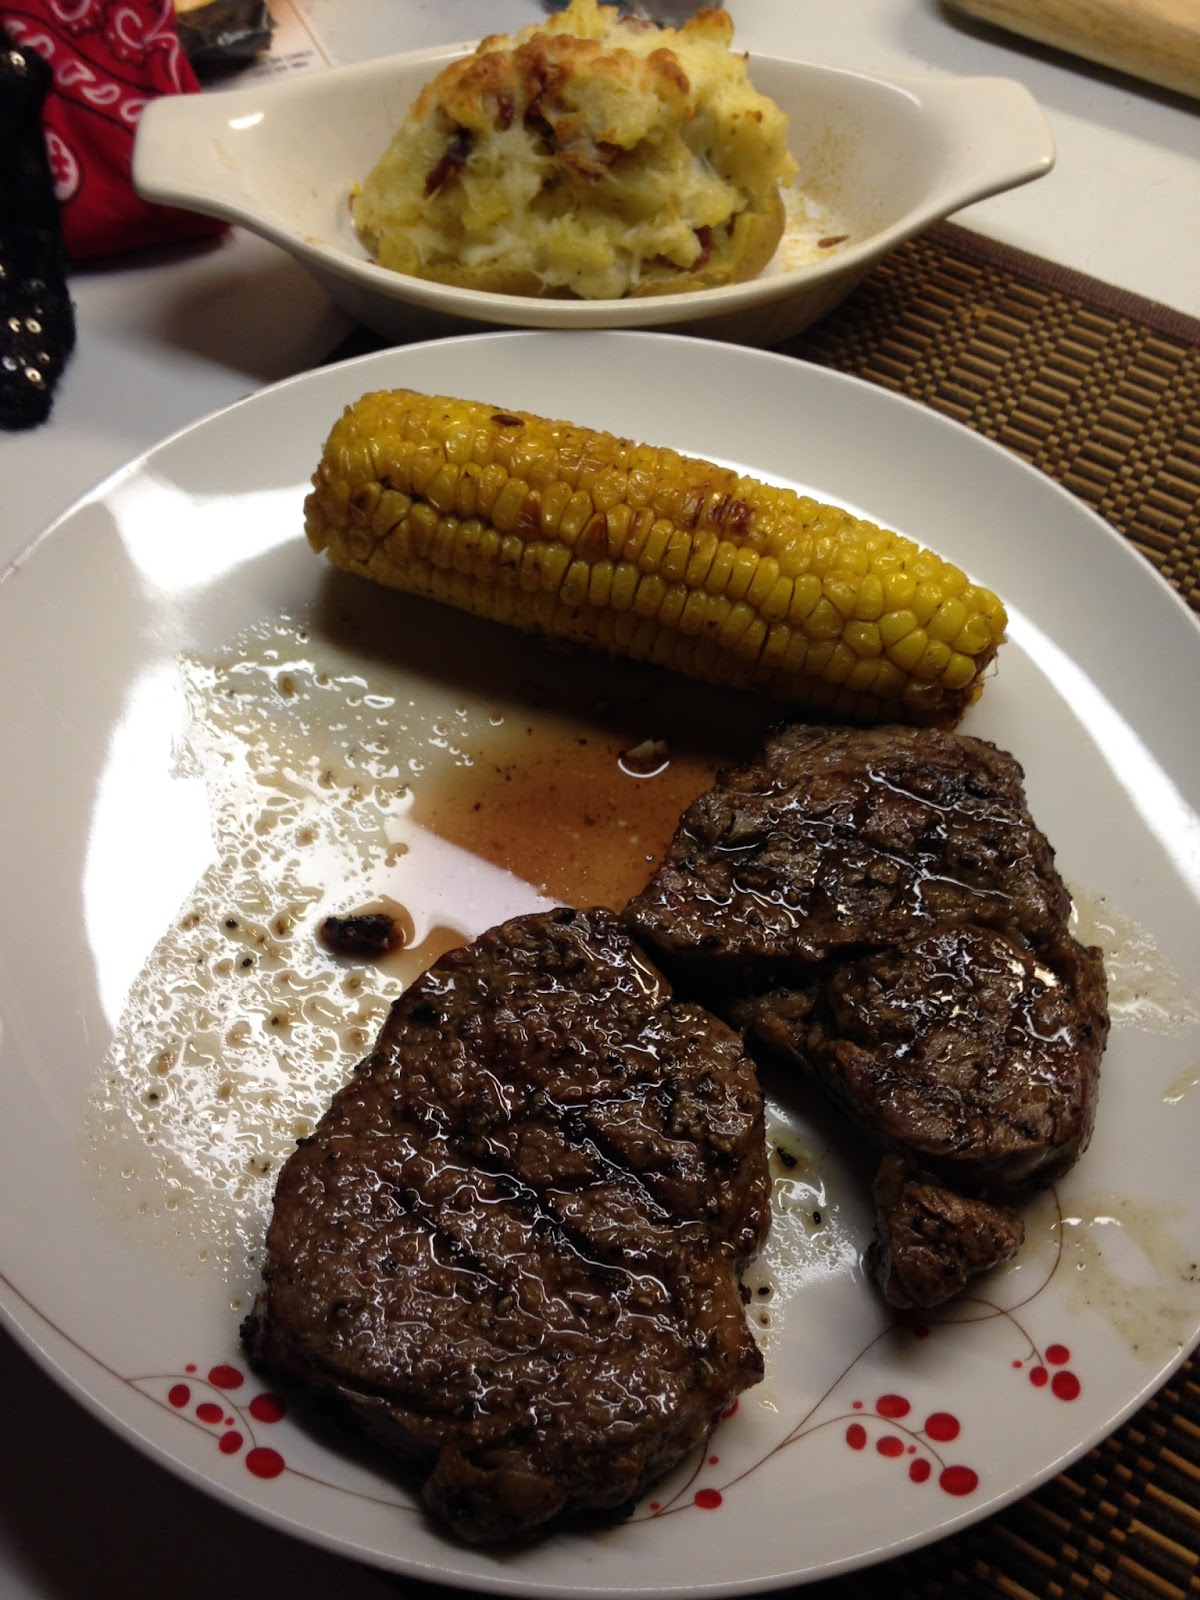
6.  Serve with your prepared sides.

This makes the final meal of this round of the Frugal Femme Two Week Menu!!!!  I will be posting later this week to give the recipes that I promised to pull off an amazing Mother's Day Brunch.

Wednesday, April 13, 2016

Frugal Femme Two Week Menu #2: Week Two, Tuesday: Classic Beef Stew for Two, Strawberry Salad with Poppyseed Dressing, and Country Herb Croissants

Hello Everyone!
Sorry about the delay in the post.  I was still working on this blog after midnight, and I finally had to give up and go to bed.
So I had to wait to finish the blog until I was on my lunch break and then finish it up and post it right after I got off work.
Its strawberry season in Louisiana!  This means that gorgeous, yummy strawberries can be found in Farmer's Markets and road side stands all around town.  I want to grow strawberries one day in a berry garden.

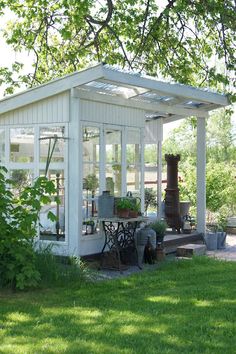
I saw a structure a little like this at Costco and fell a little bit in love.  But all of the windows were screened sliding doors. My little mind just started buzzing with ideas.  Something like this will be a thing in my life and it WILL happen sooner rather than later.
 
Isn't that a beautiful garden nook?  I want to do something like that in my backyard and put berries all around it- along with perennial flowers and some evergreens.  It will be my outdoor reading nookI also love a recipe that doesn't just use strawberries as dessert.  The recipe below is one of those recipes/

Strawberry Salad with Poppy Seed Dressing

I am going to give you the ingredients for the super-healthy, low fat version of this salad AND I am also going to give you the ingredients for the not as low-fat version.
Both are equally delicious, it just depends on what I have on hand.

Ingredients
1 1/2 tbsp. Splenda  (I use this in both versions, or you can do 3 tbsp. sugar.)
3 tbsp. light mayonnaise (or plain Greek yogurt)           OR          3tbsp. mayonnaise
2 tbsp. fat free milk                                                         OR          2 tbsp. 2% milk
1 tbsp. poppy seeds
1 tbsp. white wine vinegar
1 (10 ounce) bag romaine lettuce, roughly chopped  (Or you can do it yourself and not buy the bag.)
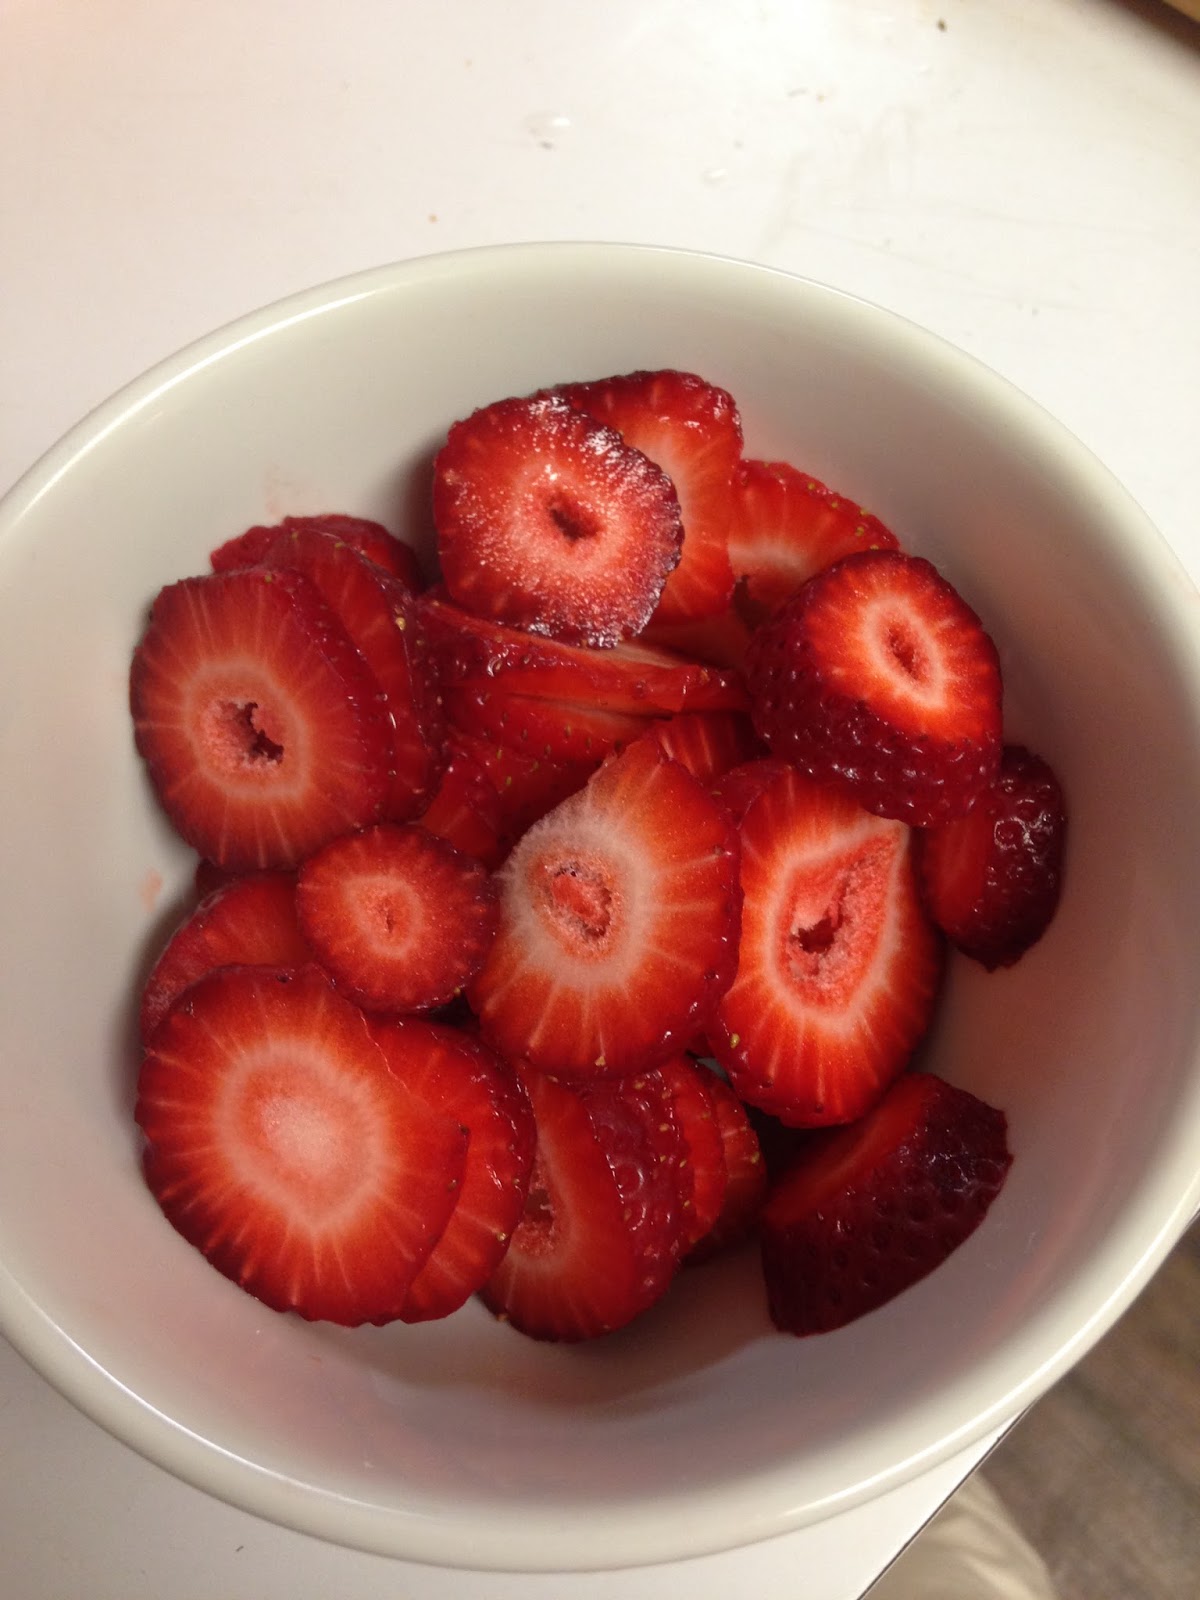
1 cup strawberries, sliced

Instructions
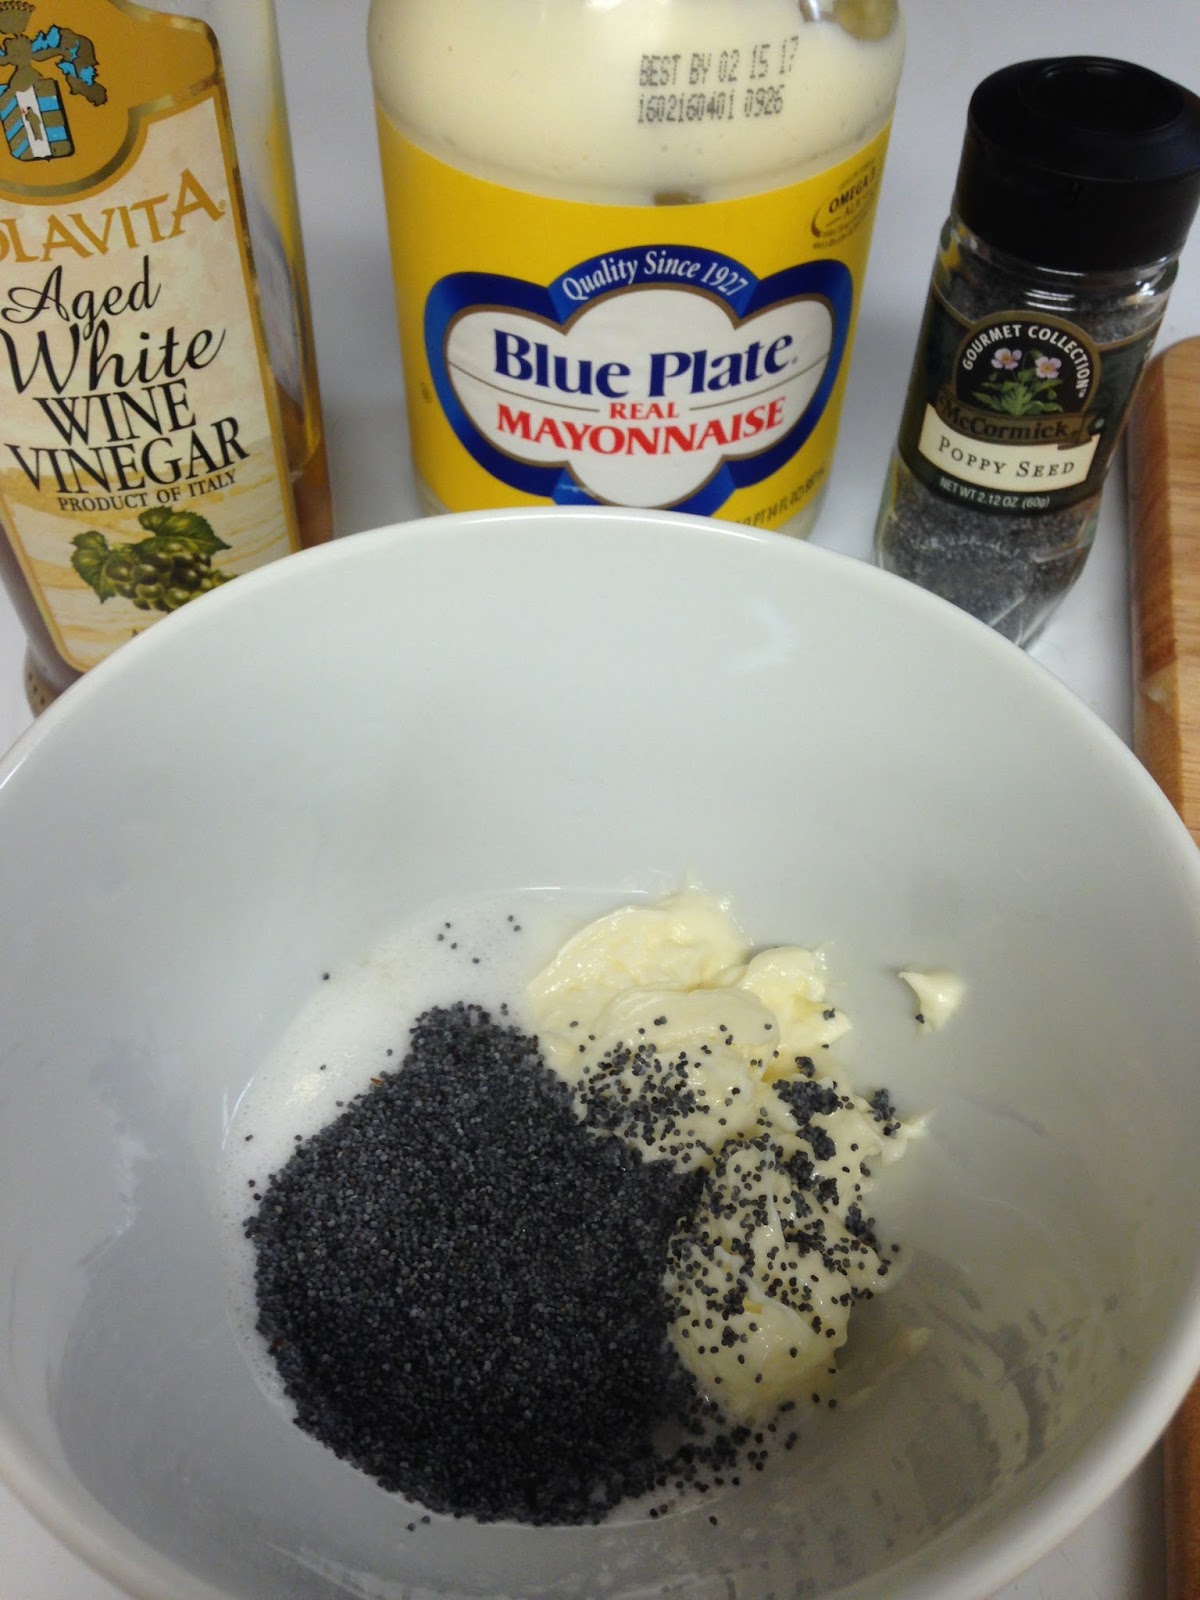
1.  In a small bowl, combine the Splenda (sugar), mayonnaise, milk, poppy seeds and vinegar and whisk until all ingredients are combined.  Store in the refrigerator until you are ready to serve the salad.

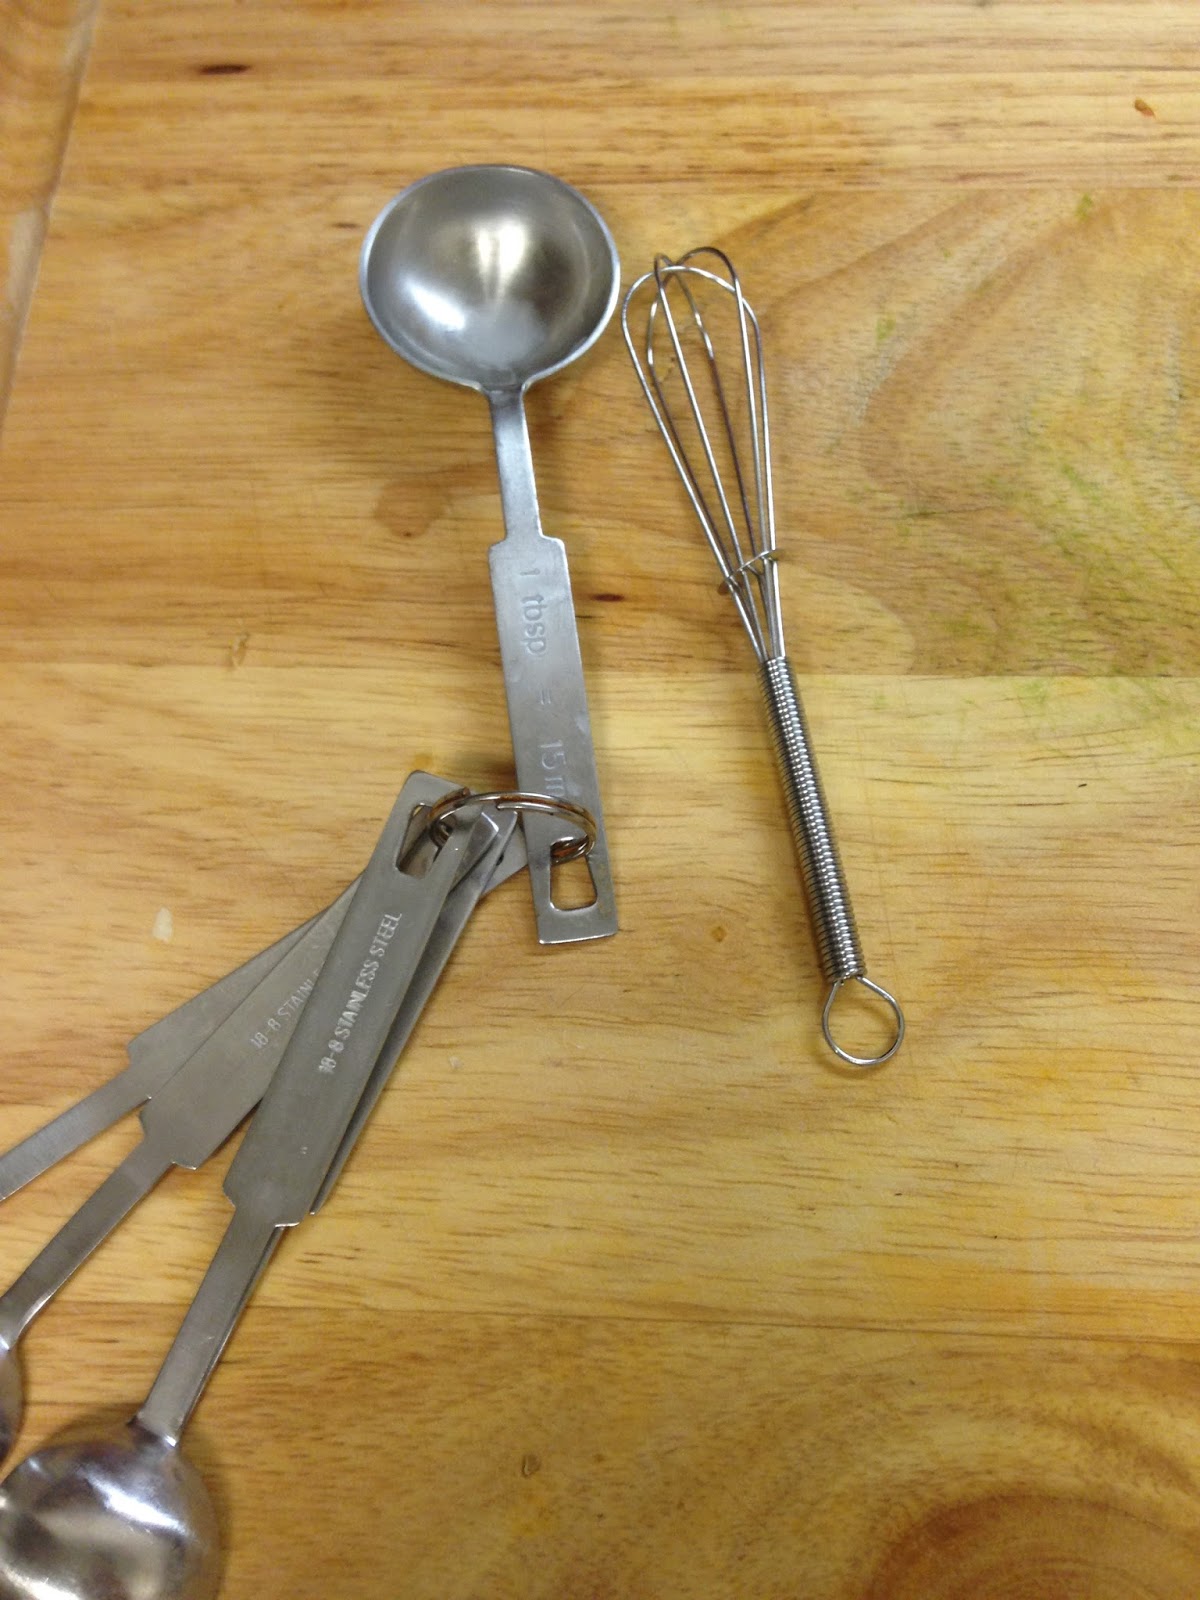
I love using my mini whisk for dressings and small amounts.  Here it is pictured with my tablespoon measure.  Isn't it cute?!?!?!


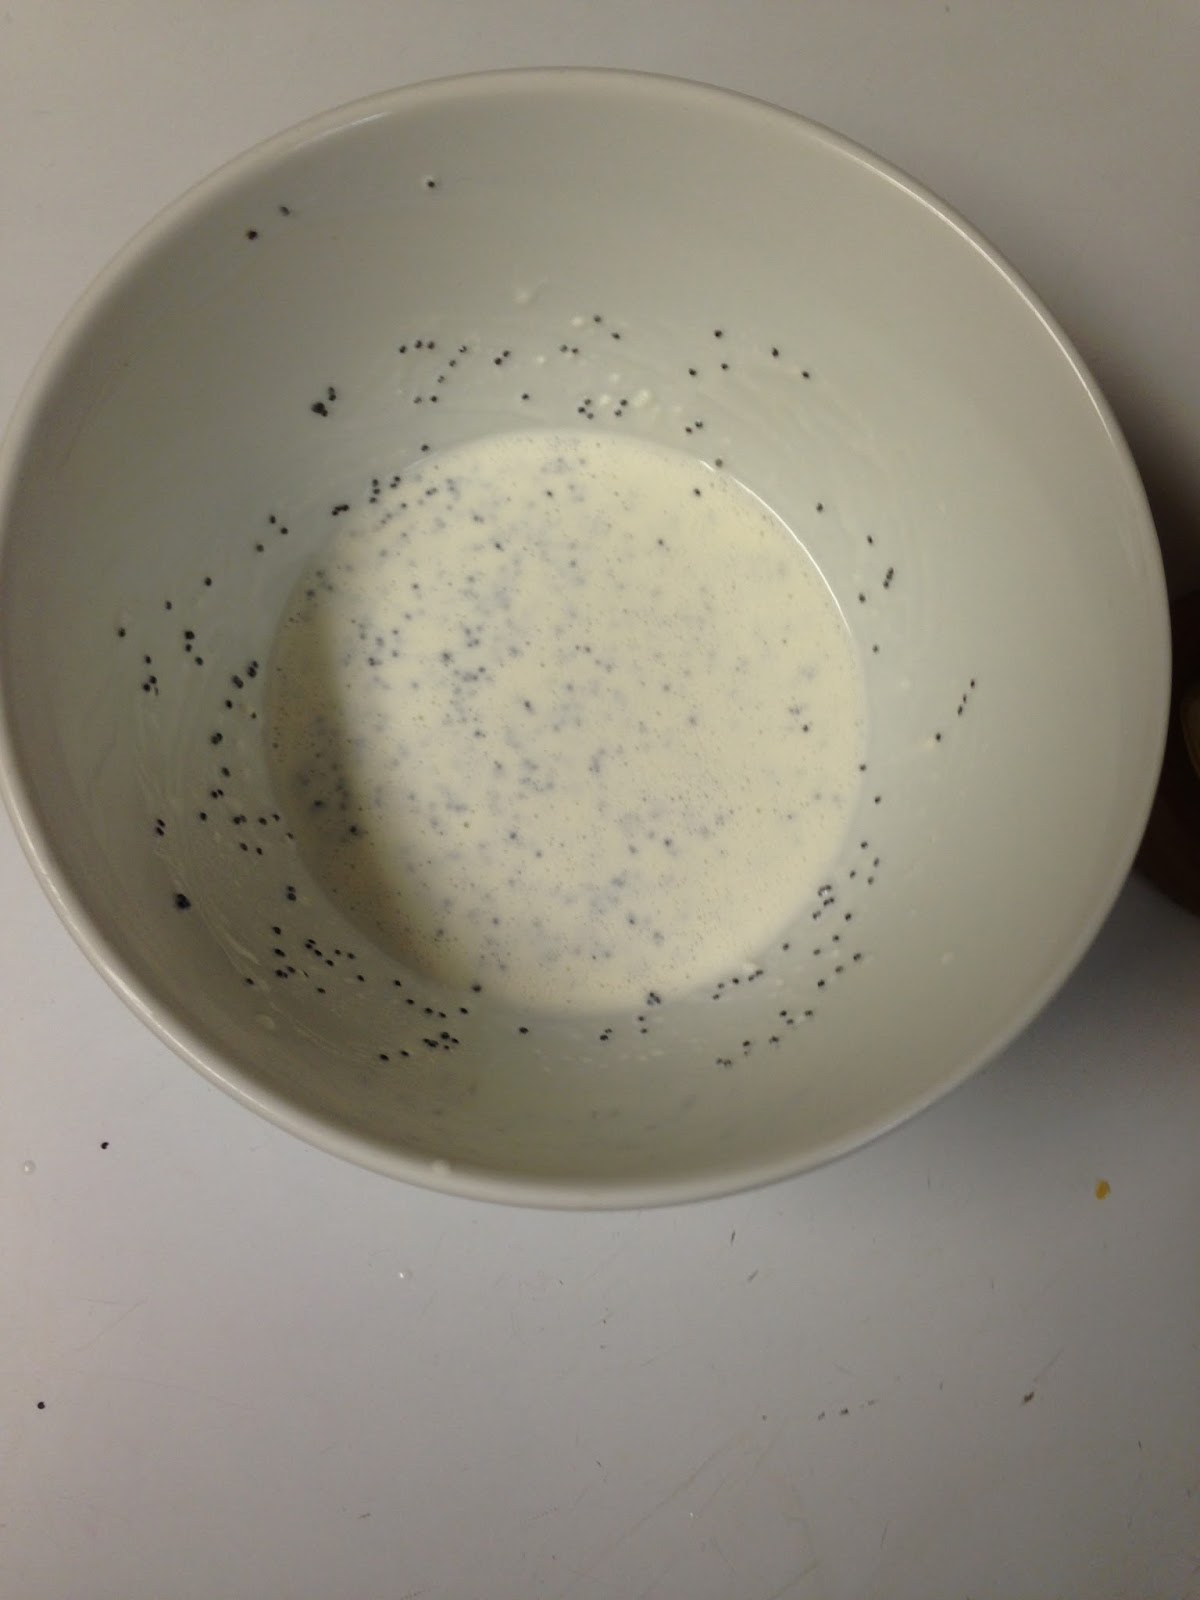
When you're finished mixing, it should like this.

2.  Place the lettuce and sliced strawberries in large bowl and toss to combine.

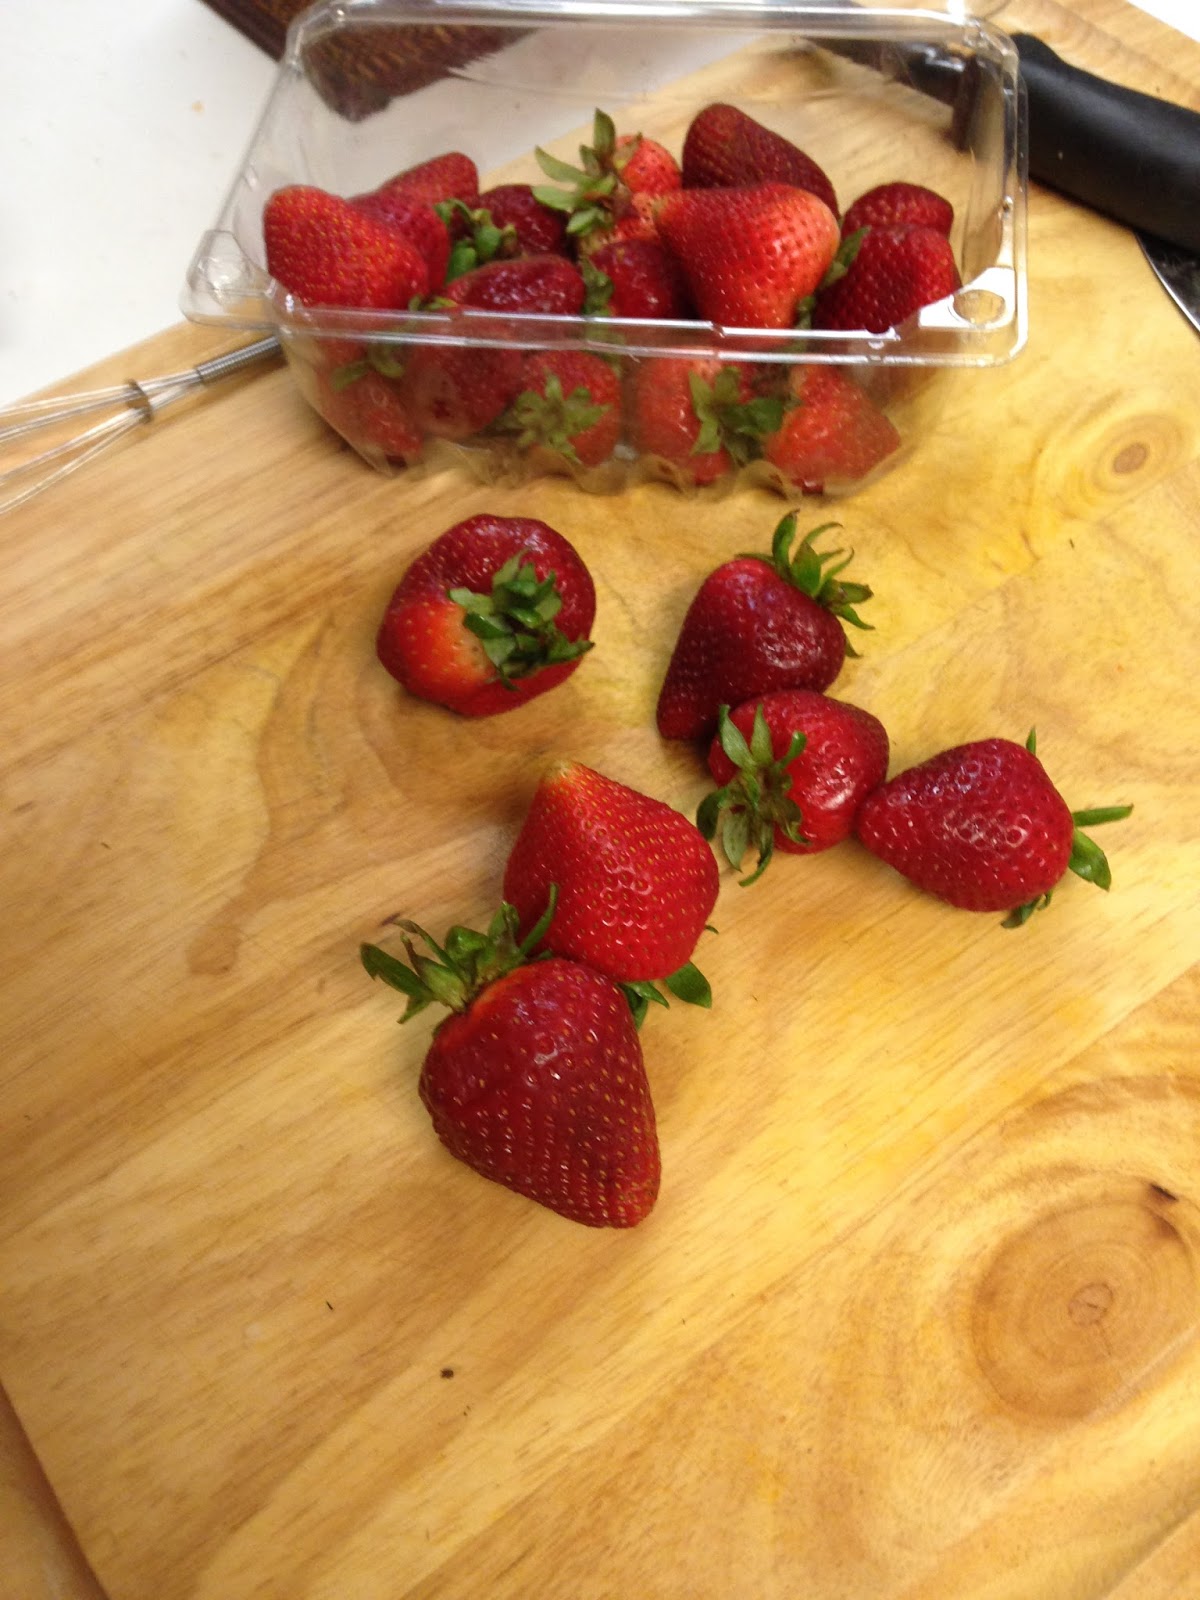
The strawberries were so big and beautiful.  And I have some more leftover to make a yummy dessert for two later this week!

You can leave them sliced like this, or you can slice them and cut them in half.  It all depends on the size of your strawberries.  I find if you leave the strawberries like this, there's more surface room to be covered by the dressing.
 Drizzle with the poppy seed dressing and toss until everything is evenly coated.  You can also put the lettuce and strawberries on individual plates and then drizzle with the poppy seed dressing.

I am always on the hunt for a week-night beef stew recipe.  Some stews involve marinating, which I almost never remember to do the night or morning before.  Other stews cook for 3-4 hours and I don't have time to wait that long during the week.  (My max week-night timing for a dinner is 1.5 hours. That way, since I get home around 5:30 I eat no later than 7pm.)  Other stews the serving proportions are enough to feed a bevy a hungry cowboys and, though I love stew, I don't want that much hanging out in my freezer.  So, after some experimenting, this is the recipe that finally fit my criteria.

Classic Beef Stew for Two

Ingredients
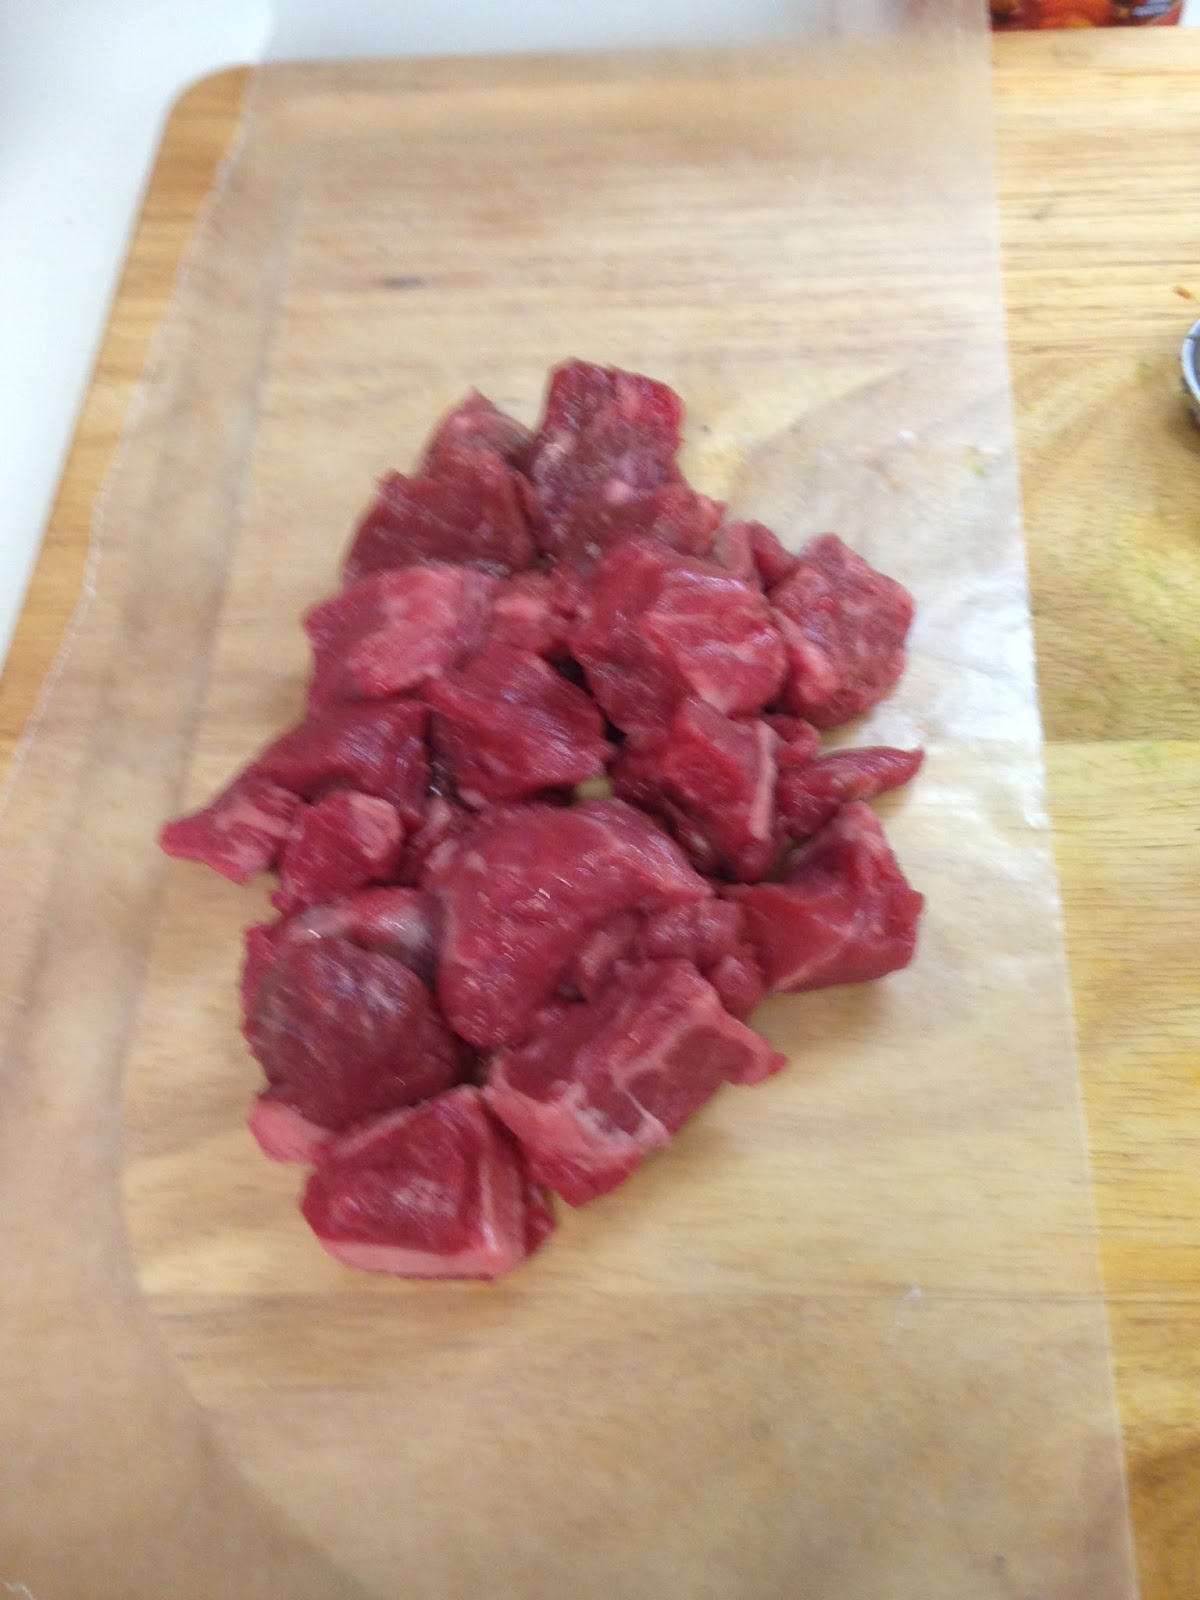
1/2 pound beef stew meat cut into 1 inch cubes, (I got mine left over from the roast that I did not cook Sunday.)
1/2 tsp. Creole seasoning
1 tbsp. canola oil
1 small onion, chopped fine
3 garlic cloves, minced (If you are not a garlic fan, cut down to 1 or two cloves, I LOVE garlic.)
1 tsp. tomato paste
1/2 tsp. fresh thyme, minced
1 tbsp. all-purpose flour
1/2 cup dry sherry
1 1/2 cups beef broth (Possibly one more cup late during cooking)
1/8 - 1/4 tsp. cayenne pepper
2-3 tsp. Worcestershire sauce
2 tsp. soy sauce
1 bay leaf
1- 2 tsp. fresh dill, minced
1 large Yukon gold potato, cut into 1 inch pieces
2 medium sized carrots, sliced into 1/4 inch coins
1/4 cup flour
1-2 tbsp. milk
          OR
For the flour and milk you can substitute 1/4 water and a heaping teaspoon of cornstarch.

Instructions
1.  Preheat oven to 300 degrees. Make certain that your rack is on the middle shelf so that you have room for your oven safe pot.
2.  Pat the beef dry with paper towels and season with Creaole seasoning.  In a medium size, oven-safe, pot heat oil over medium-high heat.
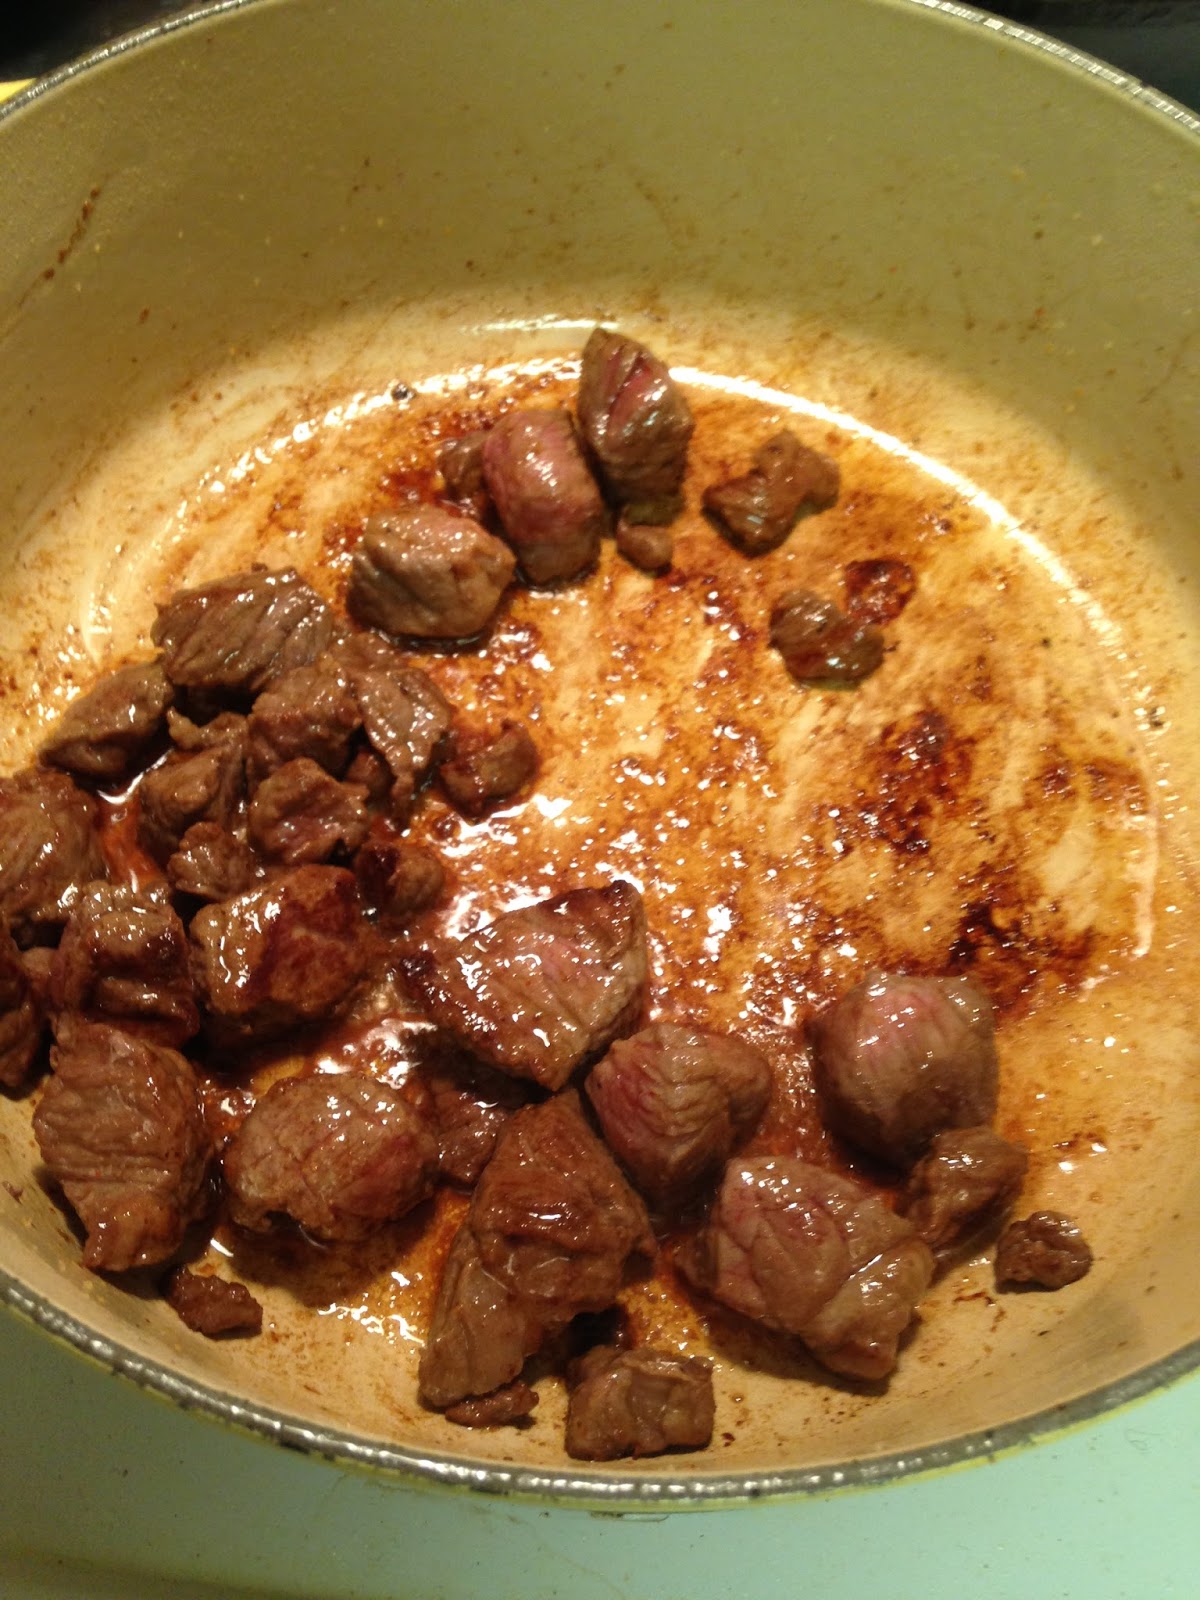
These chunks are kind of large, they are more two inch than one inch.  But I was in hurry and the bigger pieces worked just fine.


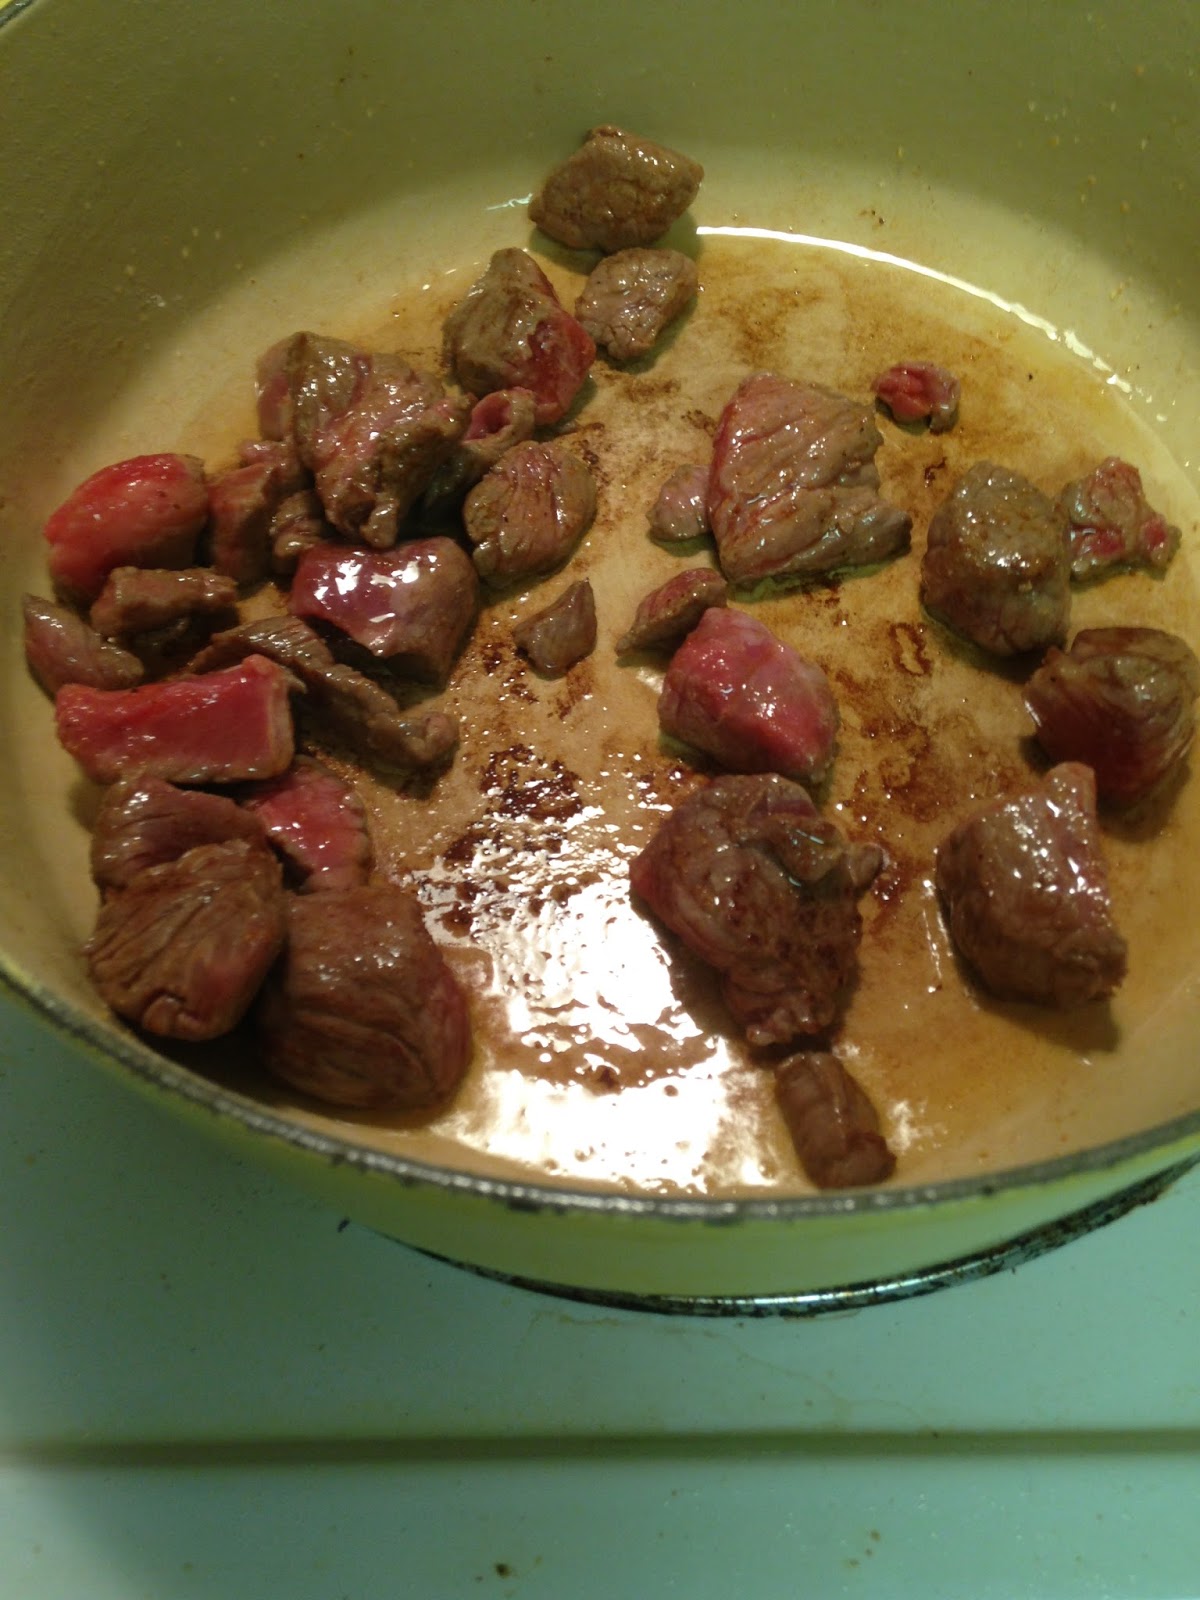
3.  Once oil begins to "glimmer" add the beef cubes to the pot.  Brown beef on all sides, about 8 minutes; transfer to a bowl.

This is the meat just moments after I put it in the pot.  The meat will start browning very fast.

This is after the 8 minutes.  See the brown goodness at the bottom of the pan?   You want that to happen, that is where the flavor comes from.


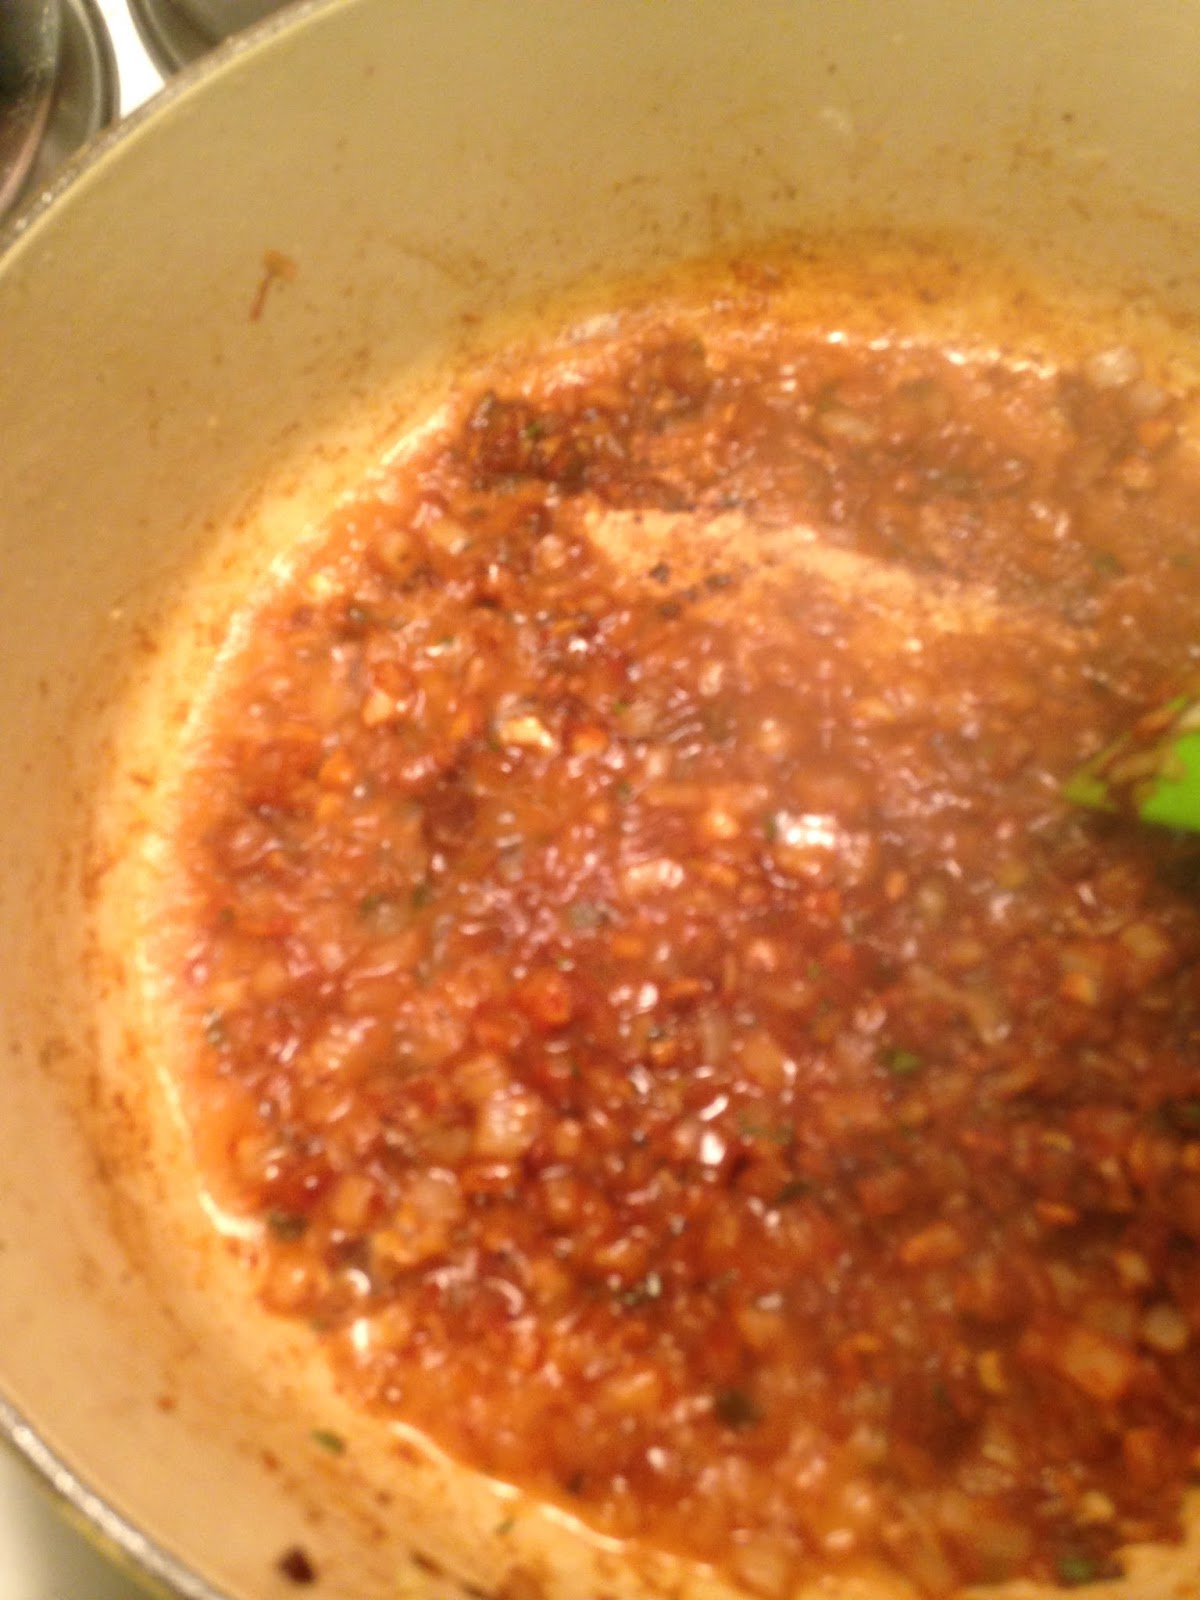
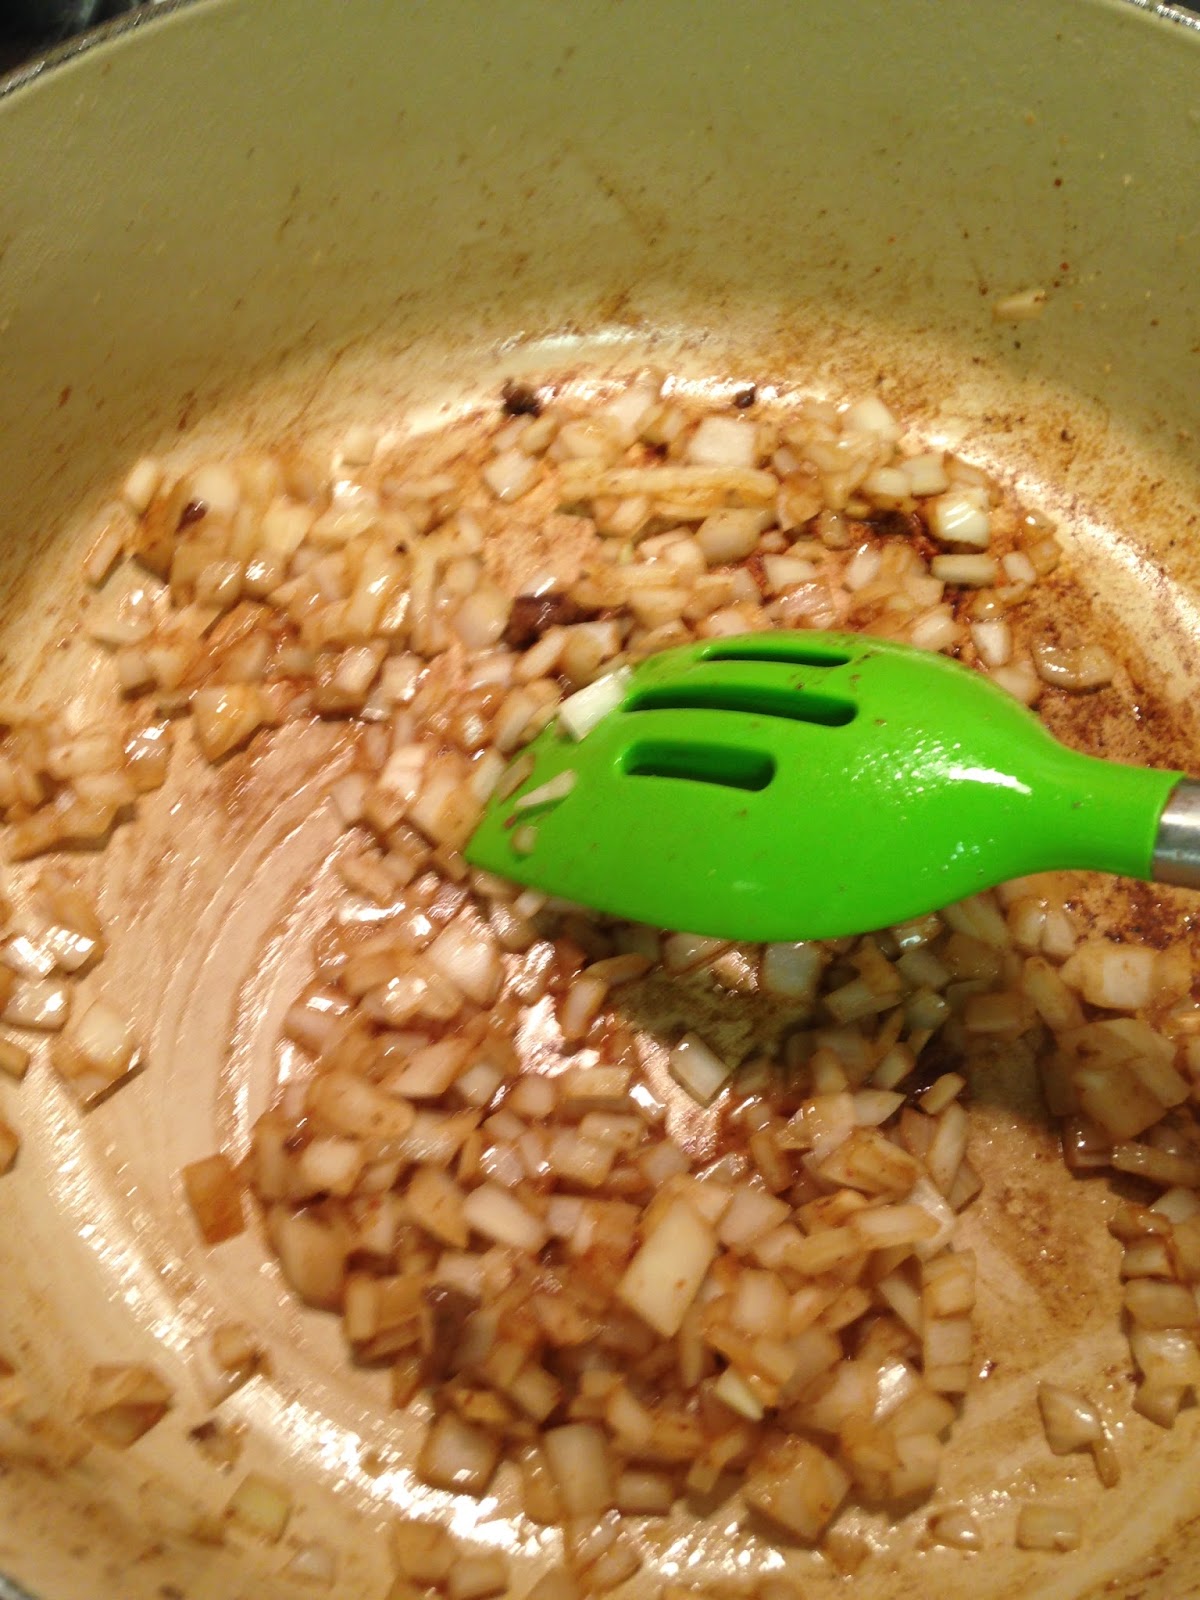
4. Lower heat to medium and add onion to fat and oil left in the pot and cook until softened, about 5 minutes.

As soon as you add the onions, they will start to look brown as they pick up the brown goodness left in the pot by the beef cubes.

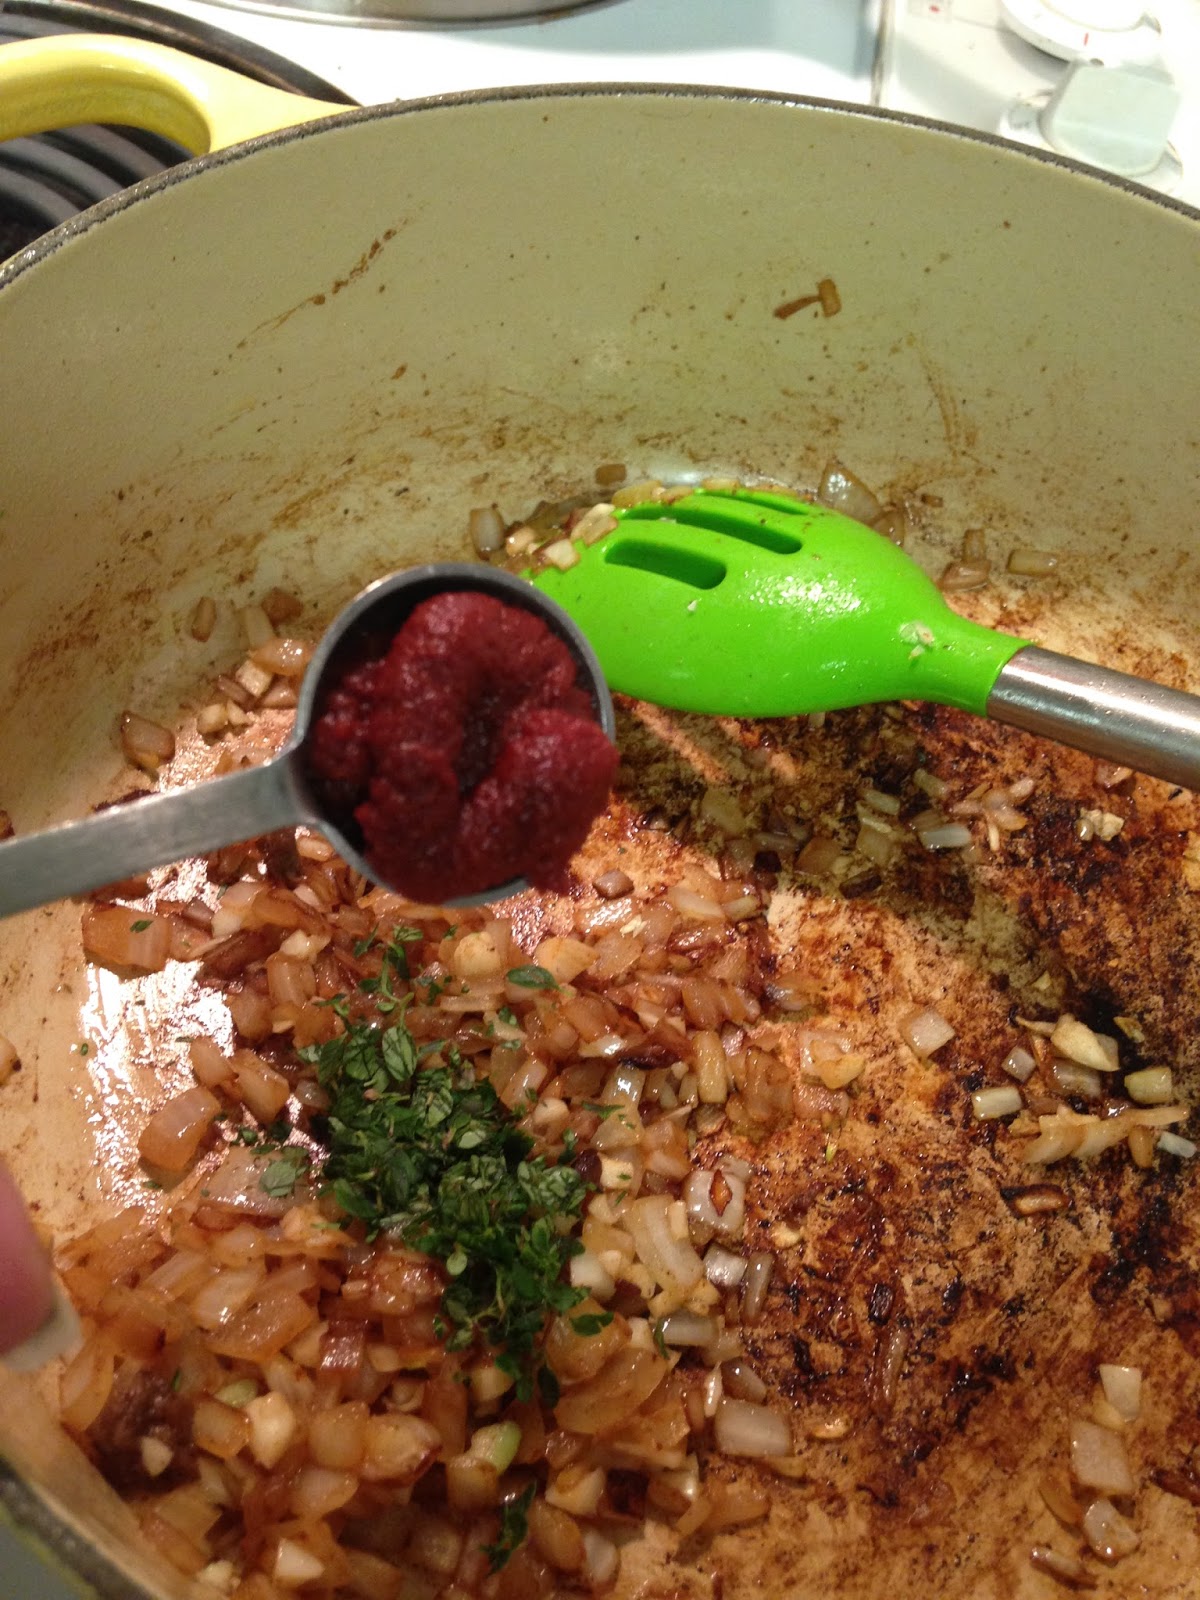
5.  Stir in garlic, tomato sauce and thyme and cook until fragrant, about 30 seconds.


6.  Stir in flour and cook for one minute.

Don't worry that parts of the pot are getting browner, this will be taken care of in the next step when you "deglaze" the pot.

7.  Slowly and steadily mix in the sherry, whisking constantly, scraping up any brown bits that may be on the bottom and smoothing out any lumps. 

Pour the sherry slowly while scraping the bottom with your spoon.  If you poor it in all at once quickly, it will boil away and you will lose the flavor.

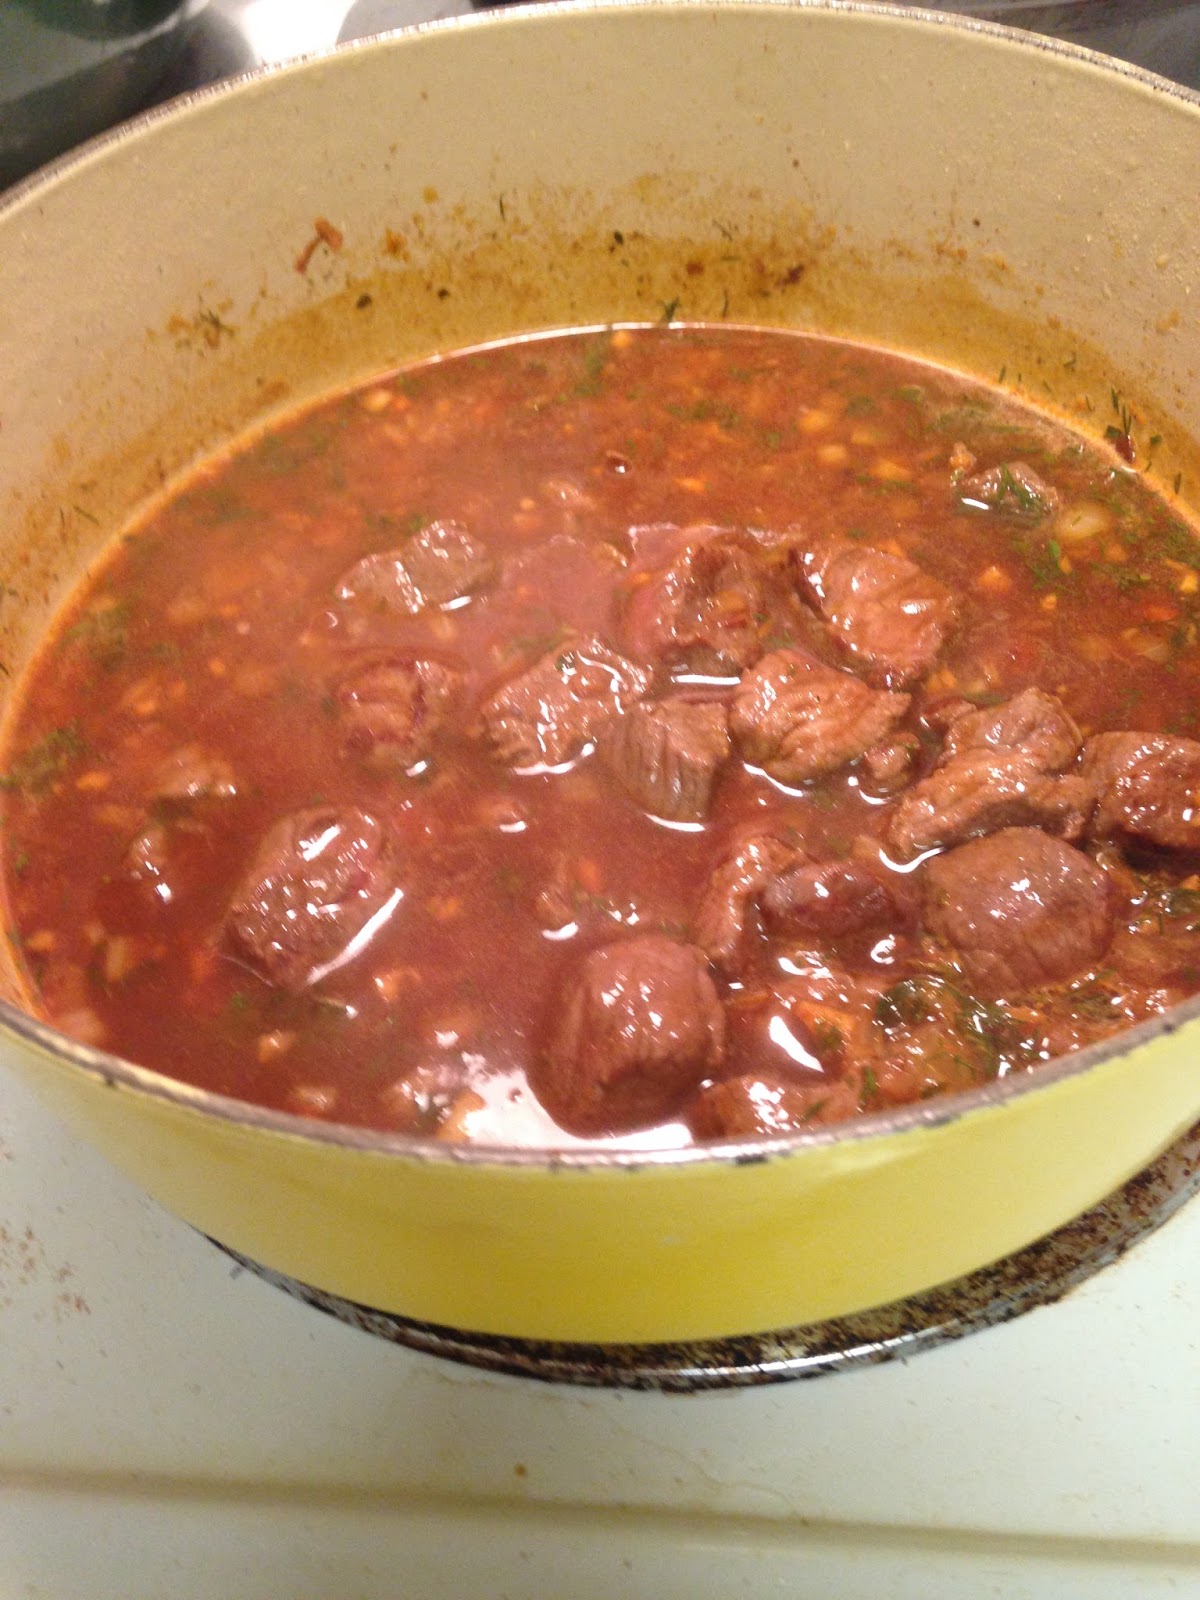
Stir in broth, cayenne pepper, Worcestershire sauce, soy sauce, bay leaf, fresh dill and browned beef.  (Also pour in any juices that may have accumulated in the bowl the meat was sitting in.)


.
8.  Cover with a lid and place in the oven for 30 minutes.
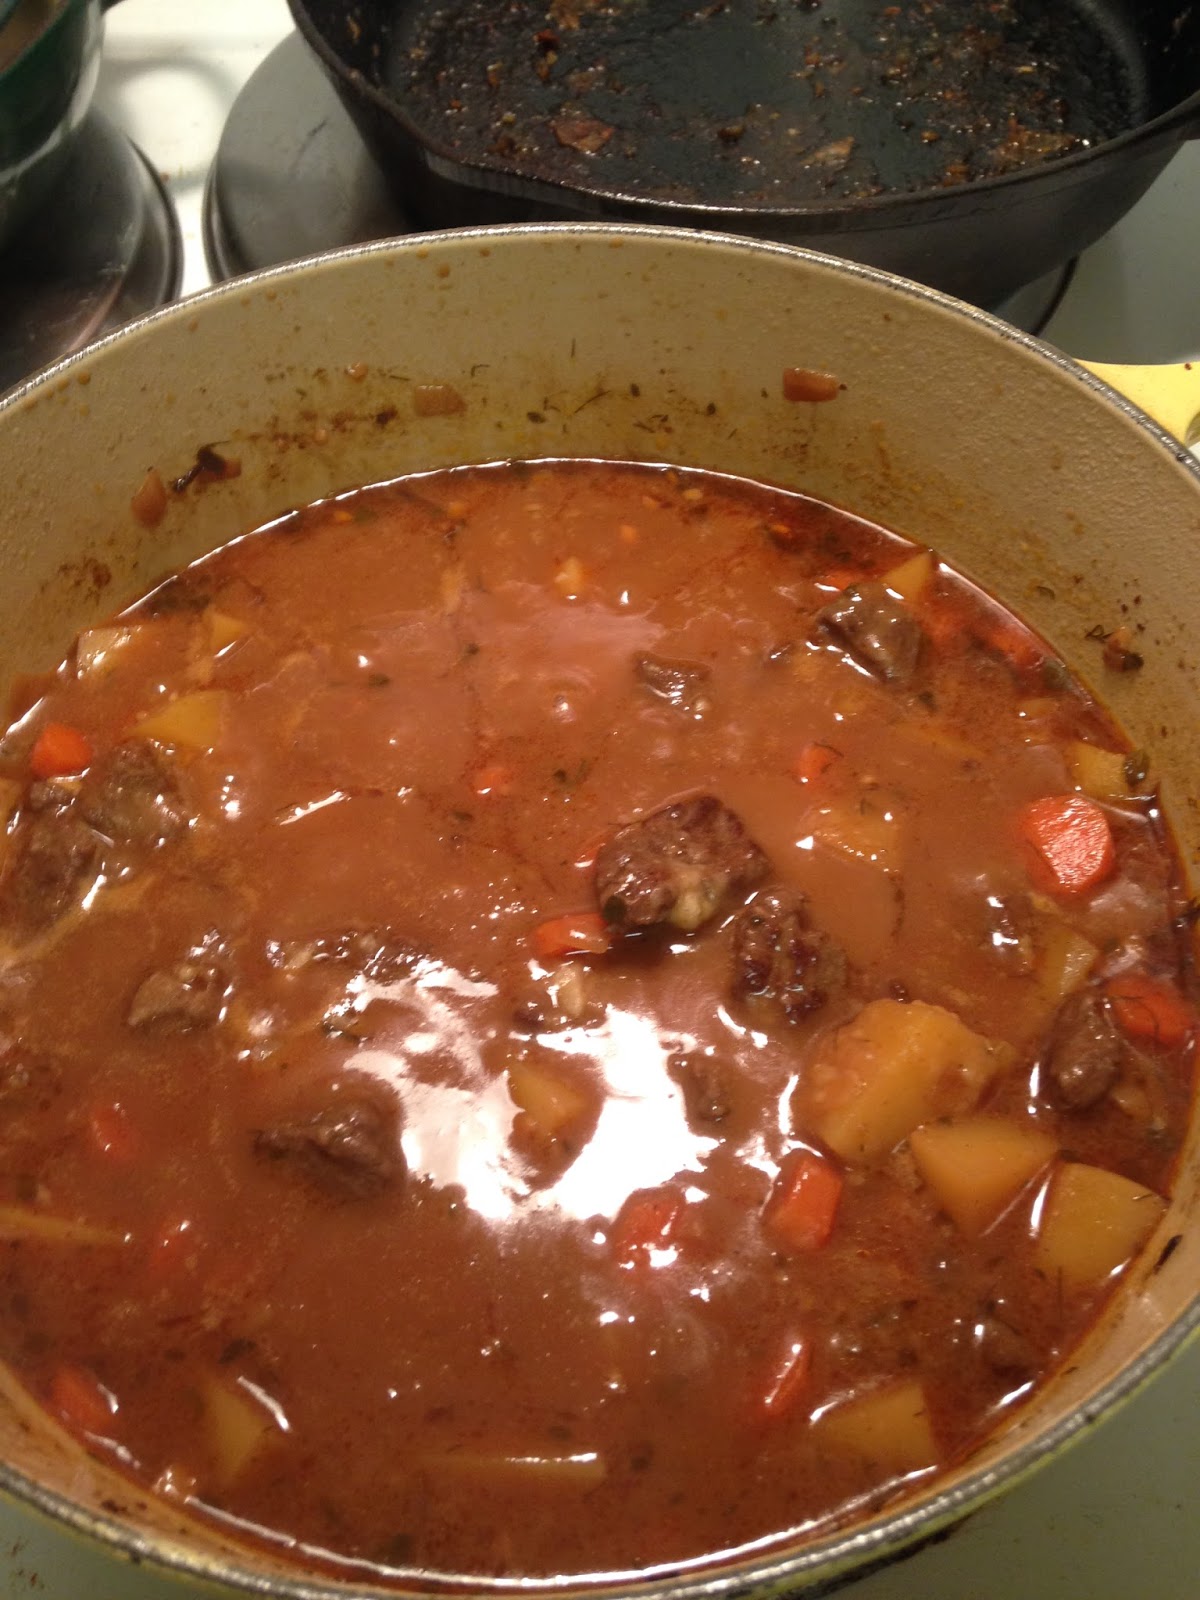
9. Stir in potatoes and carrots and continue to cook in the oven for another 30 minutes, until the beef and vegetables are tender. (You may need to add more beef broth.  You want enough liquid to cover the potatoes and carrots that were added.)

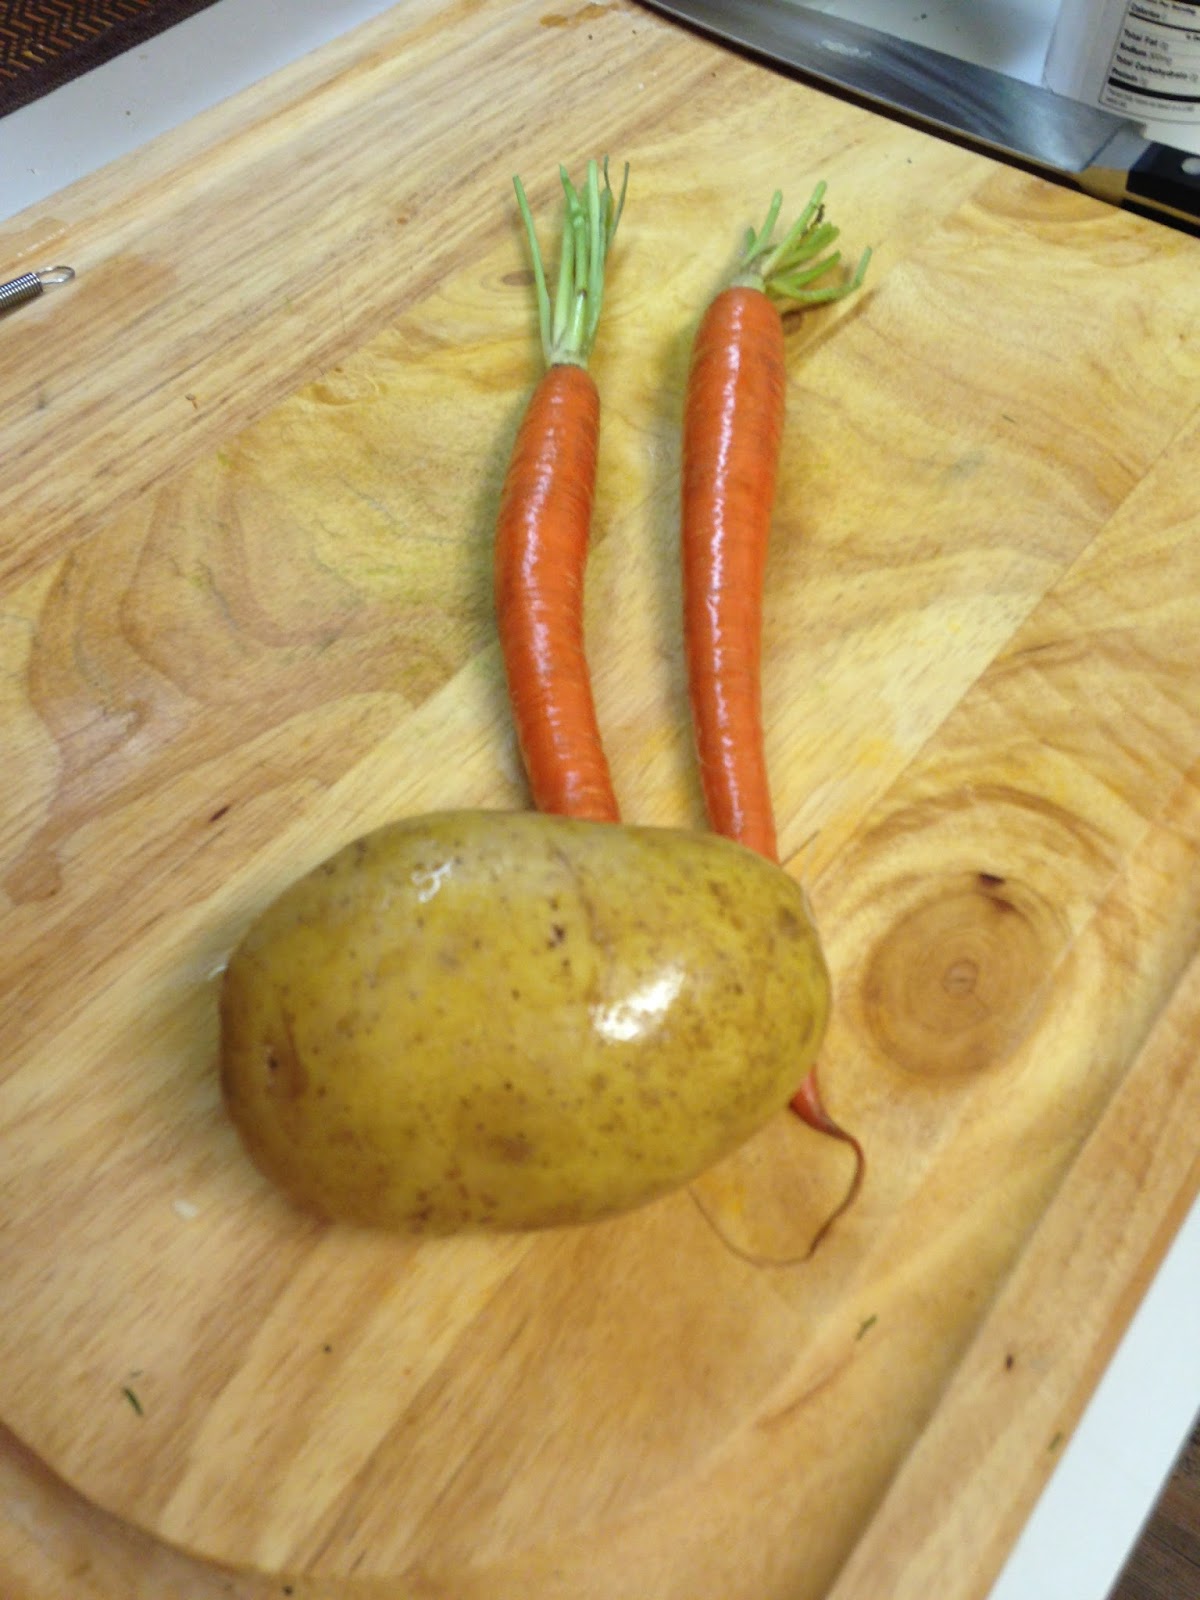
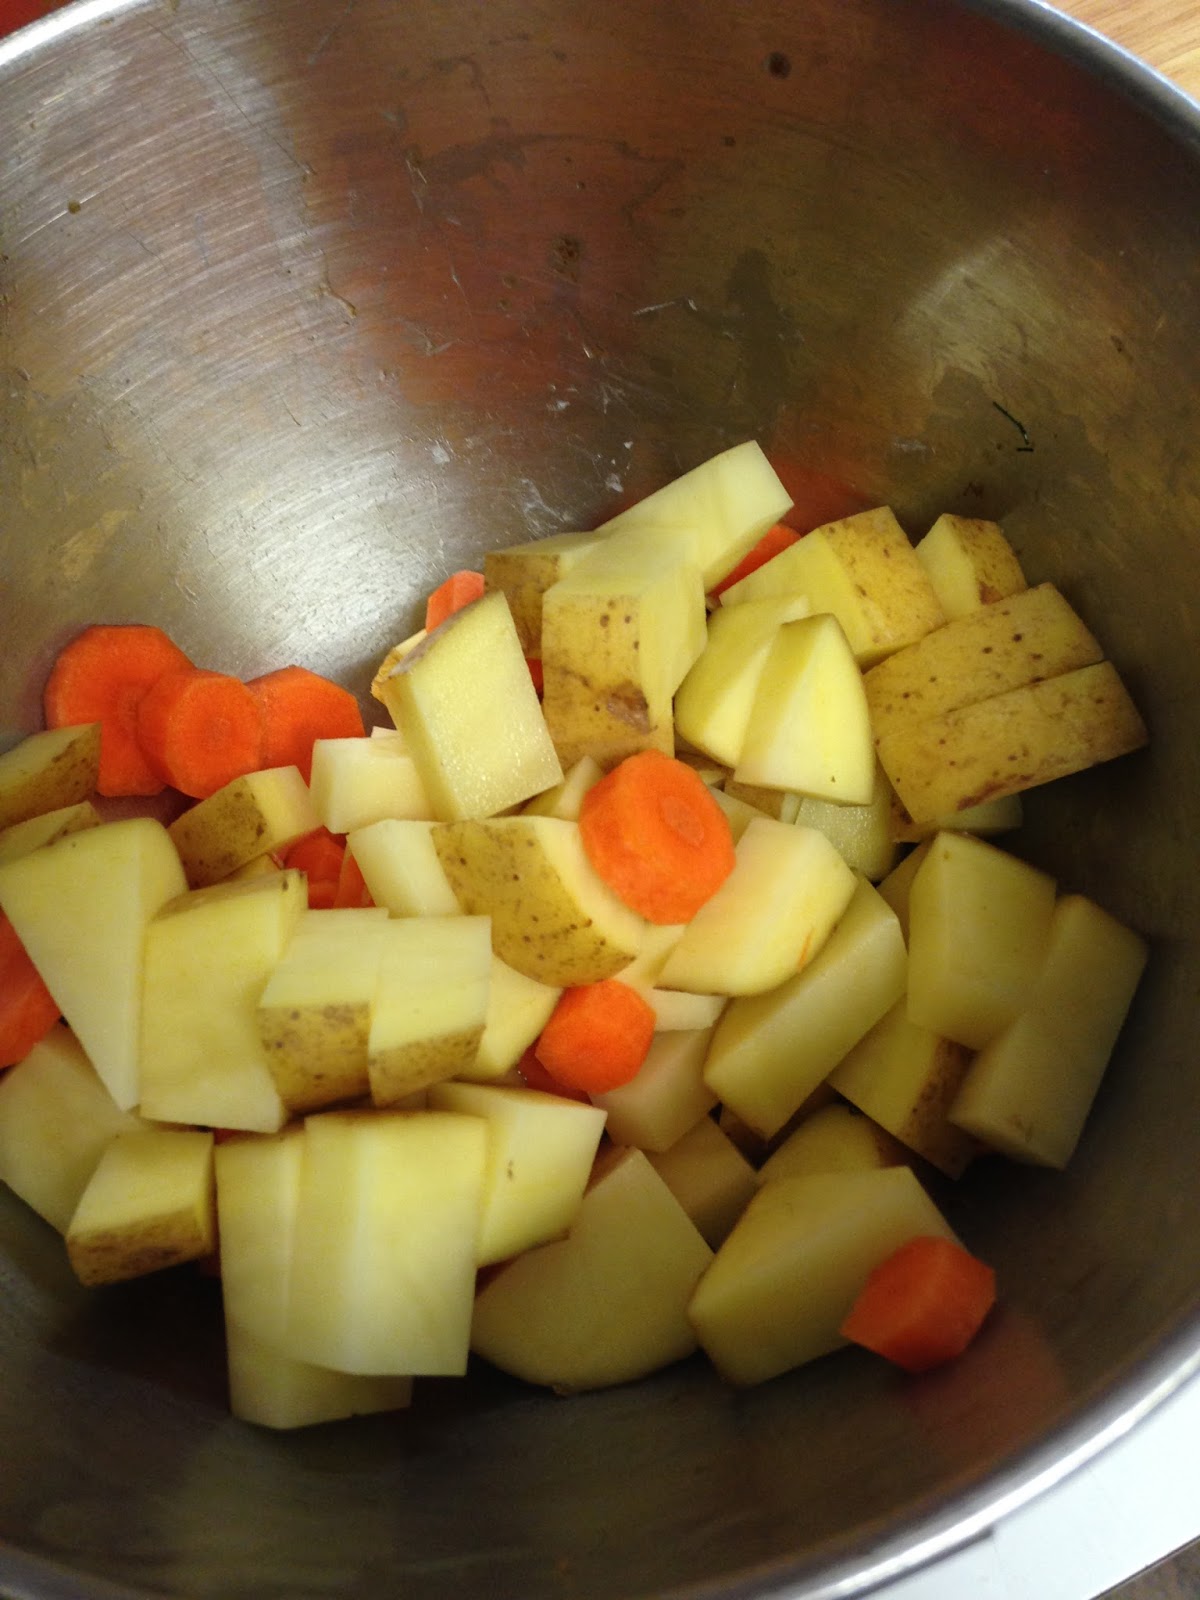
This all the carrots and potato that you will need.  I know it doesn't seem like enough, but trust me.

You can actually cut these however you would like, but I find they cook better and reach the best consistency when they are cut this way.
 
10.  Remove the pot from the oven and place on the stovetop on low.  The broth will be a little thin.
11.  In a small bowl combine 1/4 cup flour and milk.  You may have to add more flour or milk until you get the desired consistency for the slurry.  You want it to look a bit like Elmer's glue. I know that's not a food, but it is what it looks like.
12.  Pour the flour and milk mixture into the pot and stir until combined and smooth.  Simmer on low for another 15-30 minutes to allow to thicken.

If you want, or if necessary, you can skim the grease from the top with a large spoon.  This batch wasn't too bad, but some cuts of meat are greasier than others.


In my humble opinion, all good soups and stews need a bread so that you can dunk the bread into the broth.  This recipe is easy and goes very well with this stew.  Unfortunately, I have yet to manage the skill of making them look as pretty as the crescent rolls you see in commercials and on the package.

Country Herb Croissants

Ingredients
1 tube (8 ounces) refrigerated crescent rolls
1 tbsp. sour cream
1 tbsp. fresh green onion, minced
1-2 tsp. onion powder
1/2 tsp.  dried dill, (If you use fresh, put in about 2 tsp.)
1// tsp. dried rubbed sage
1/4 tsp. celery salt

Instructions
1.  Preheat oven to 375 degrees.
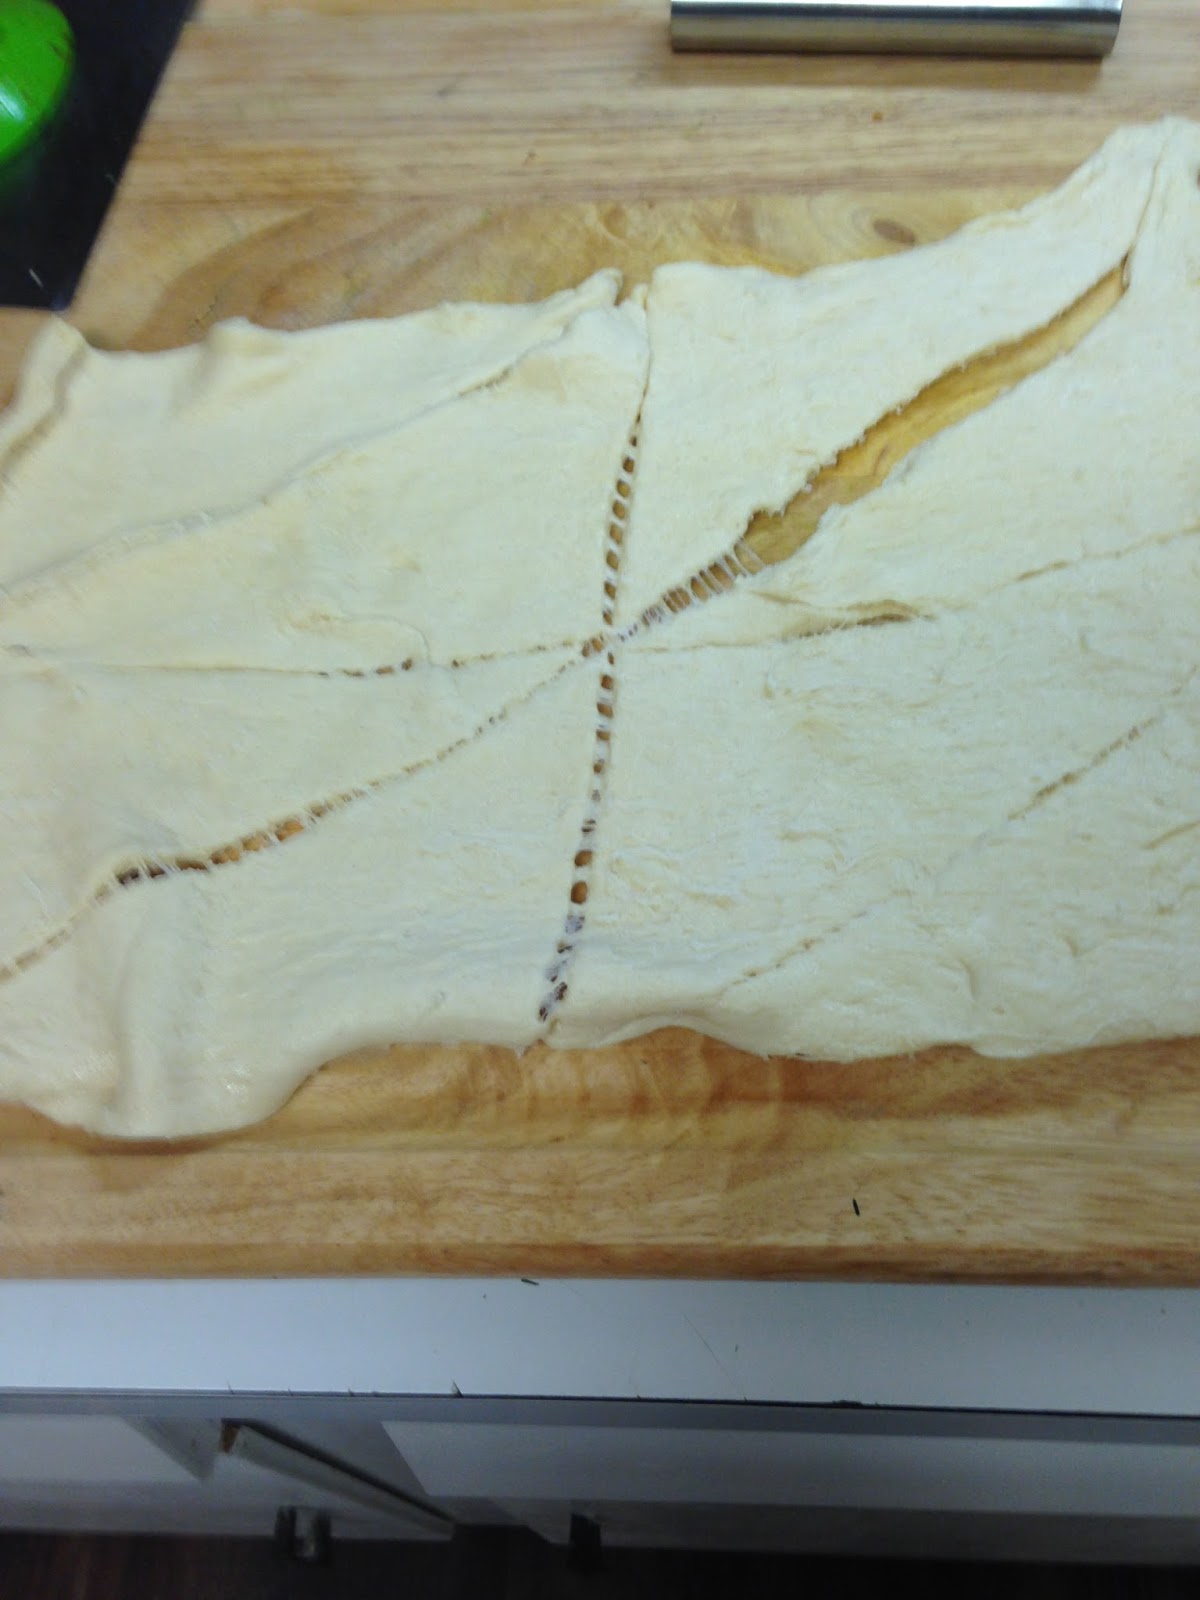
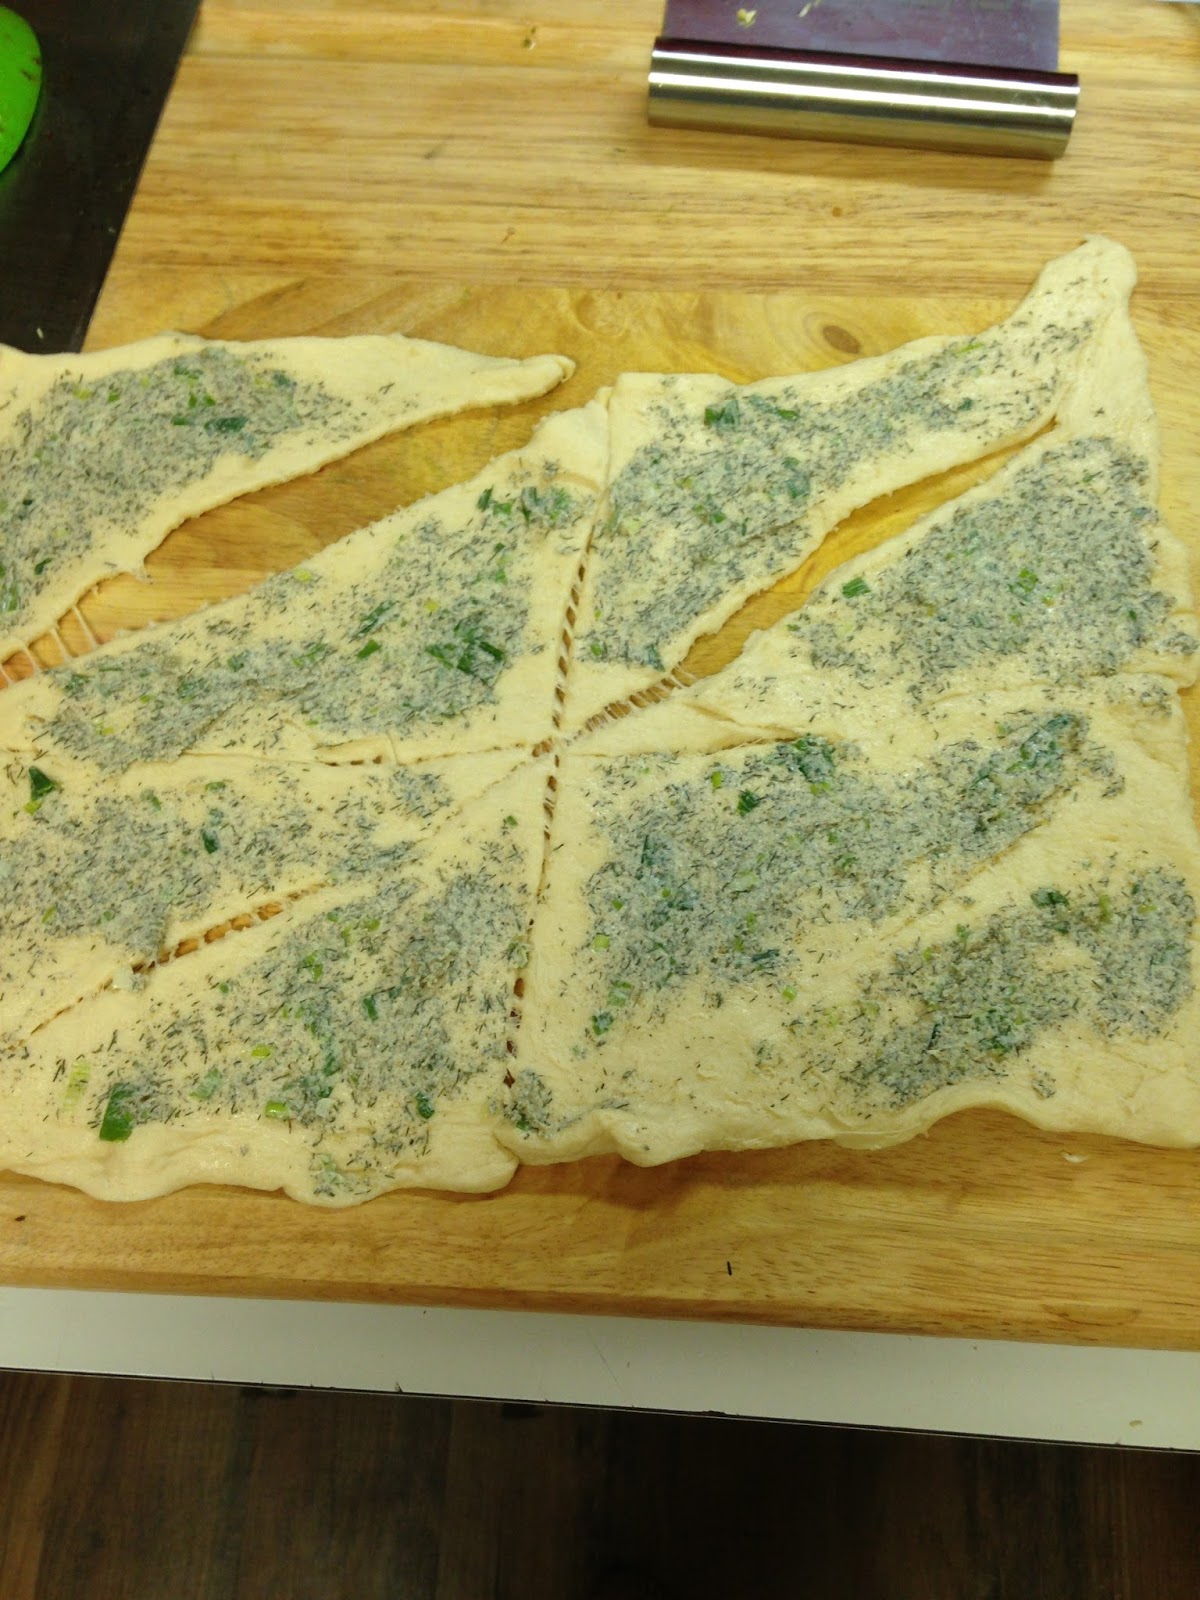
2.  Unroll crescent roll dough and separate into triangles.  (This is where my downfall is, my triangles always get stretched out no matter how hard I try for them not to.)


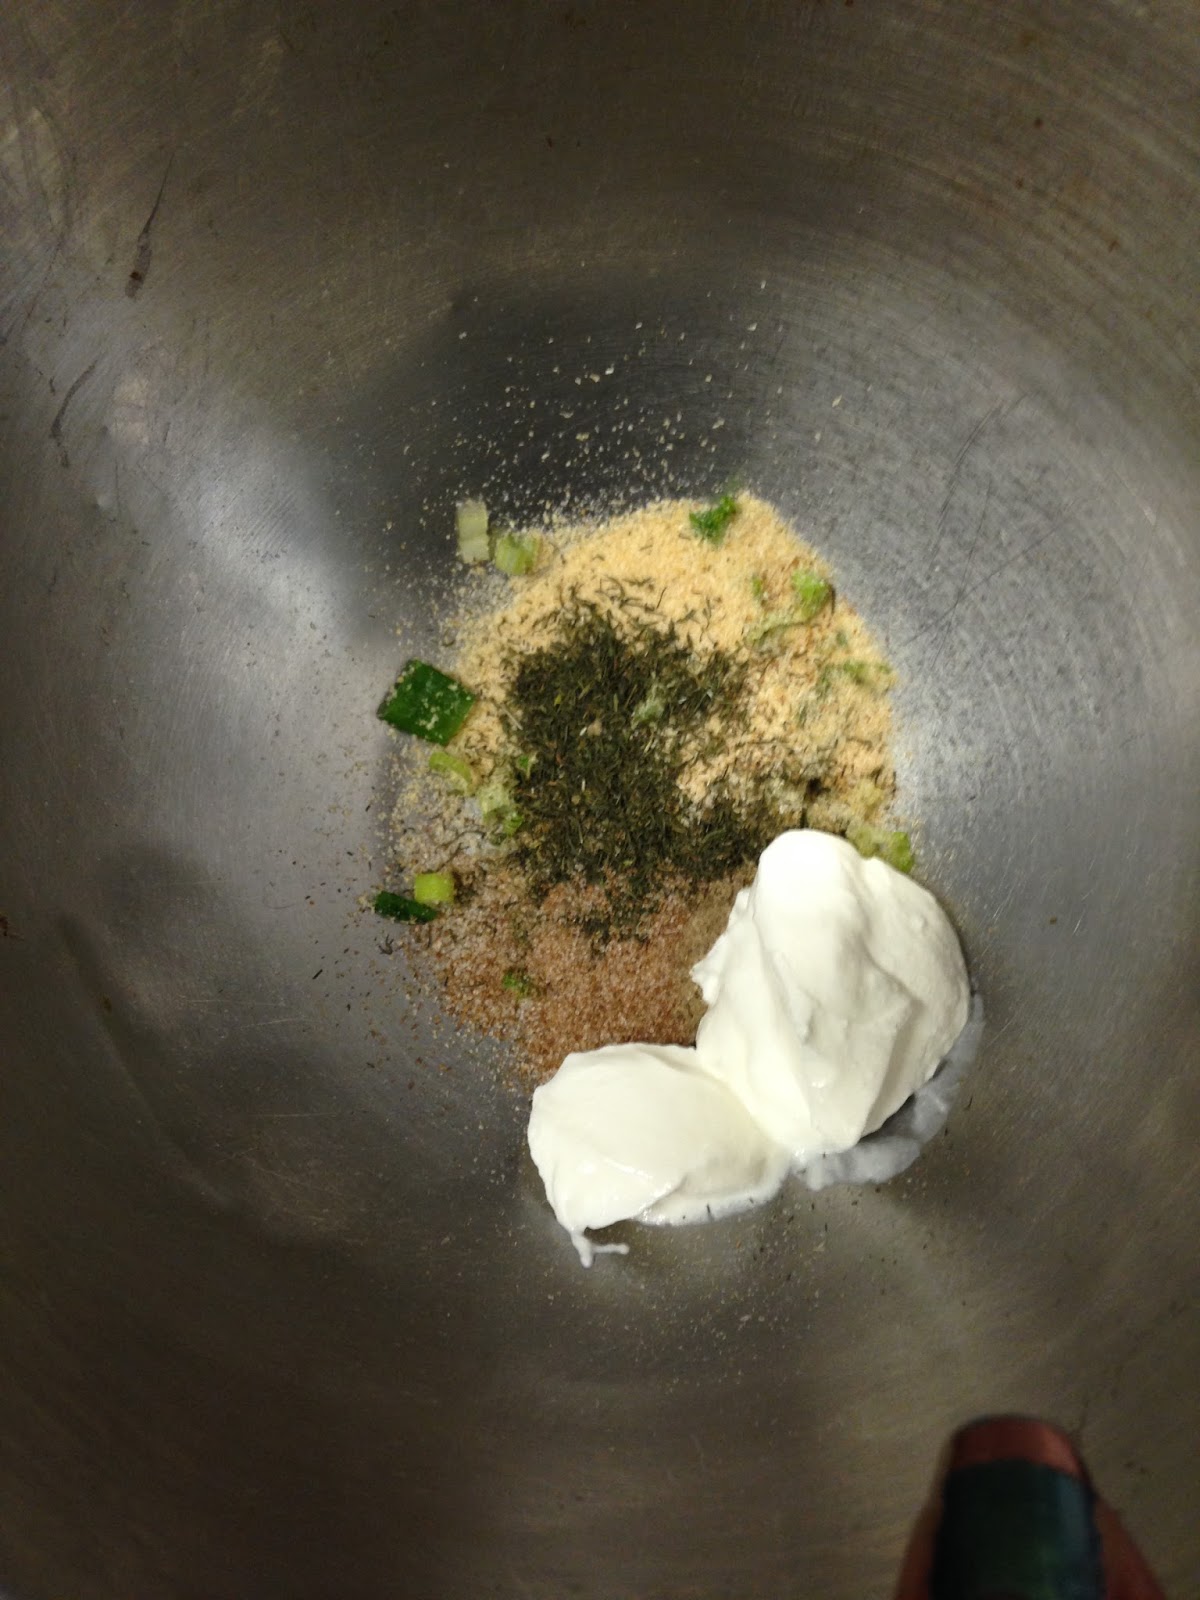
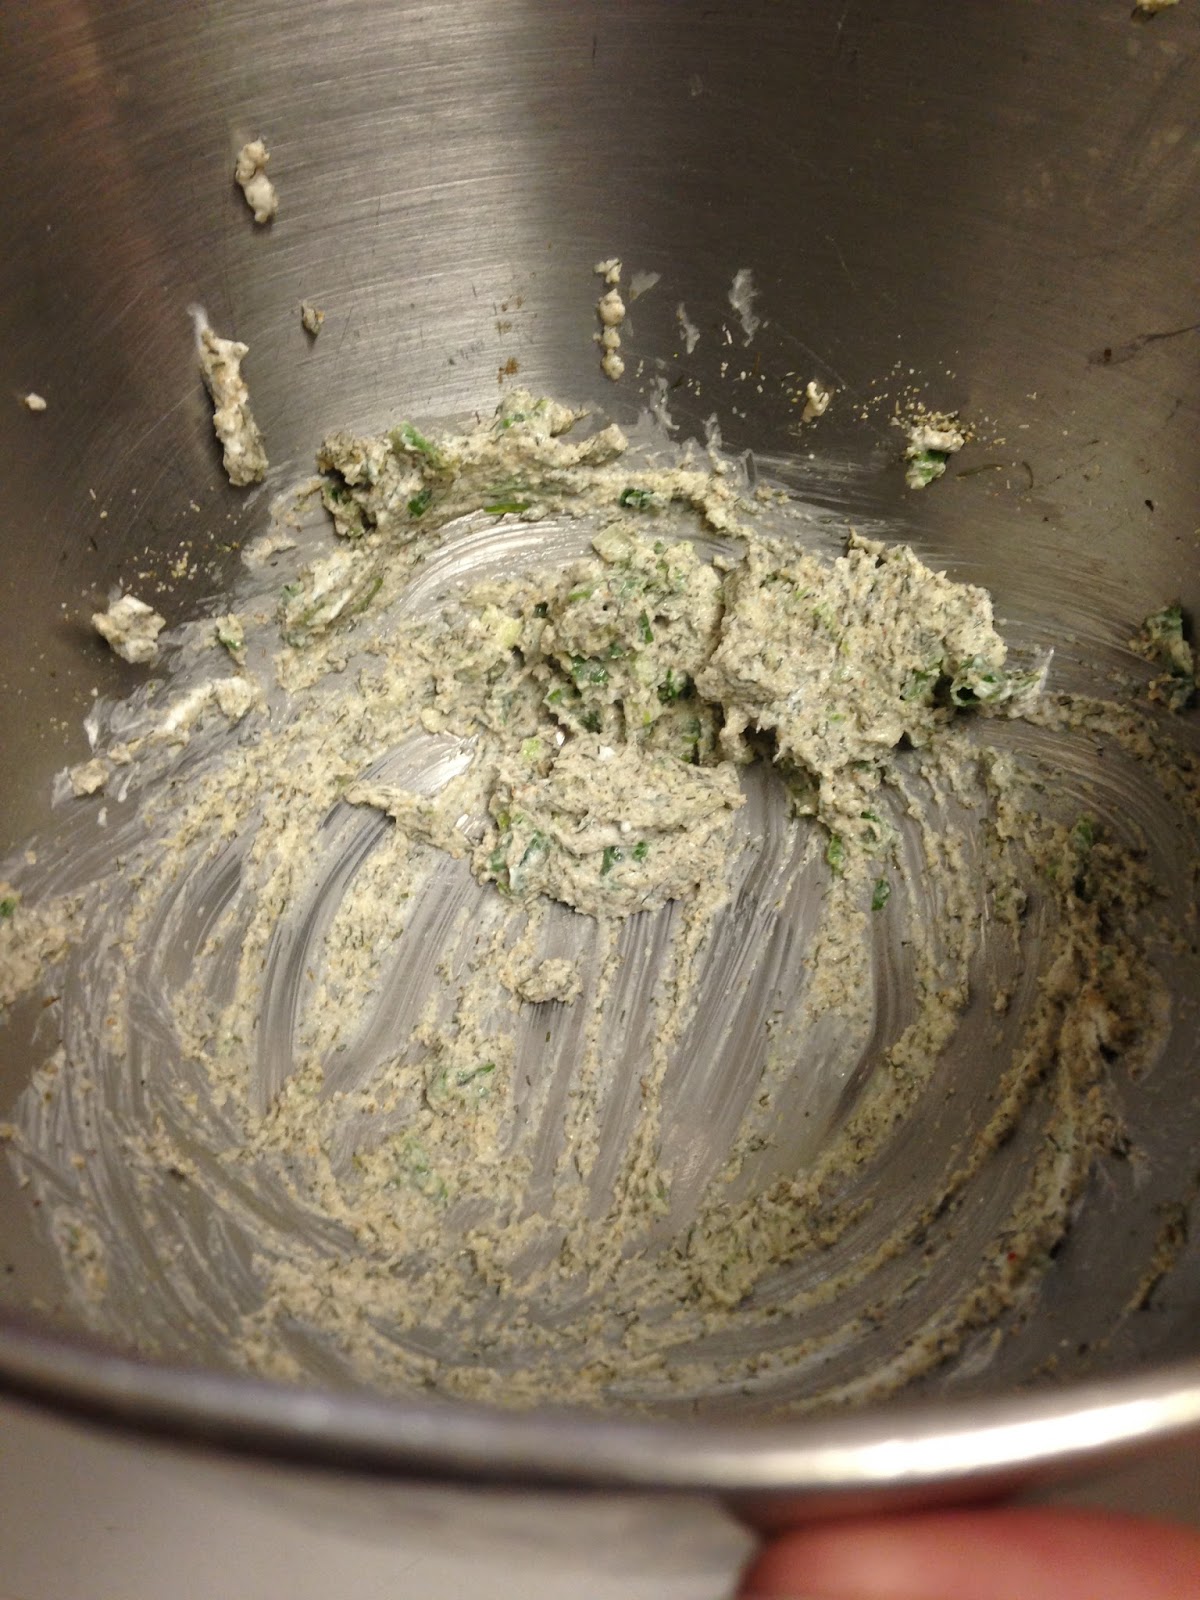
3.  In a small bowl, combine the remaining ingredients and mix until all ingredients are integrated into the sour cream.
 

This mixture will be very thick and will almost have the consistency of room temperature butter.

4. With a small spatula, spread the sour cream mixture over in a thin layer over the dough.


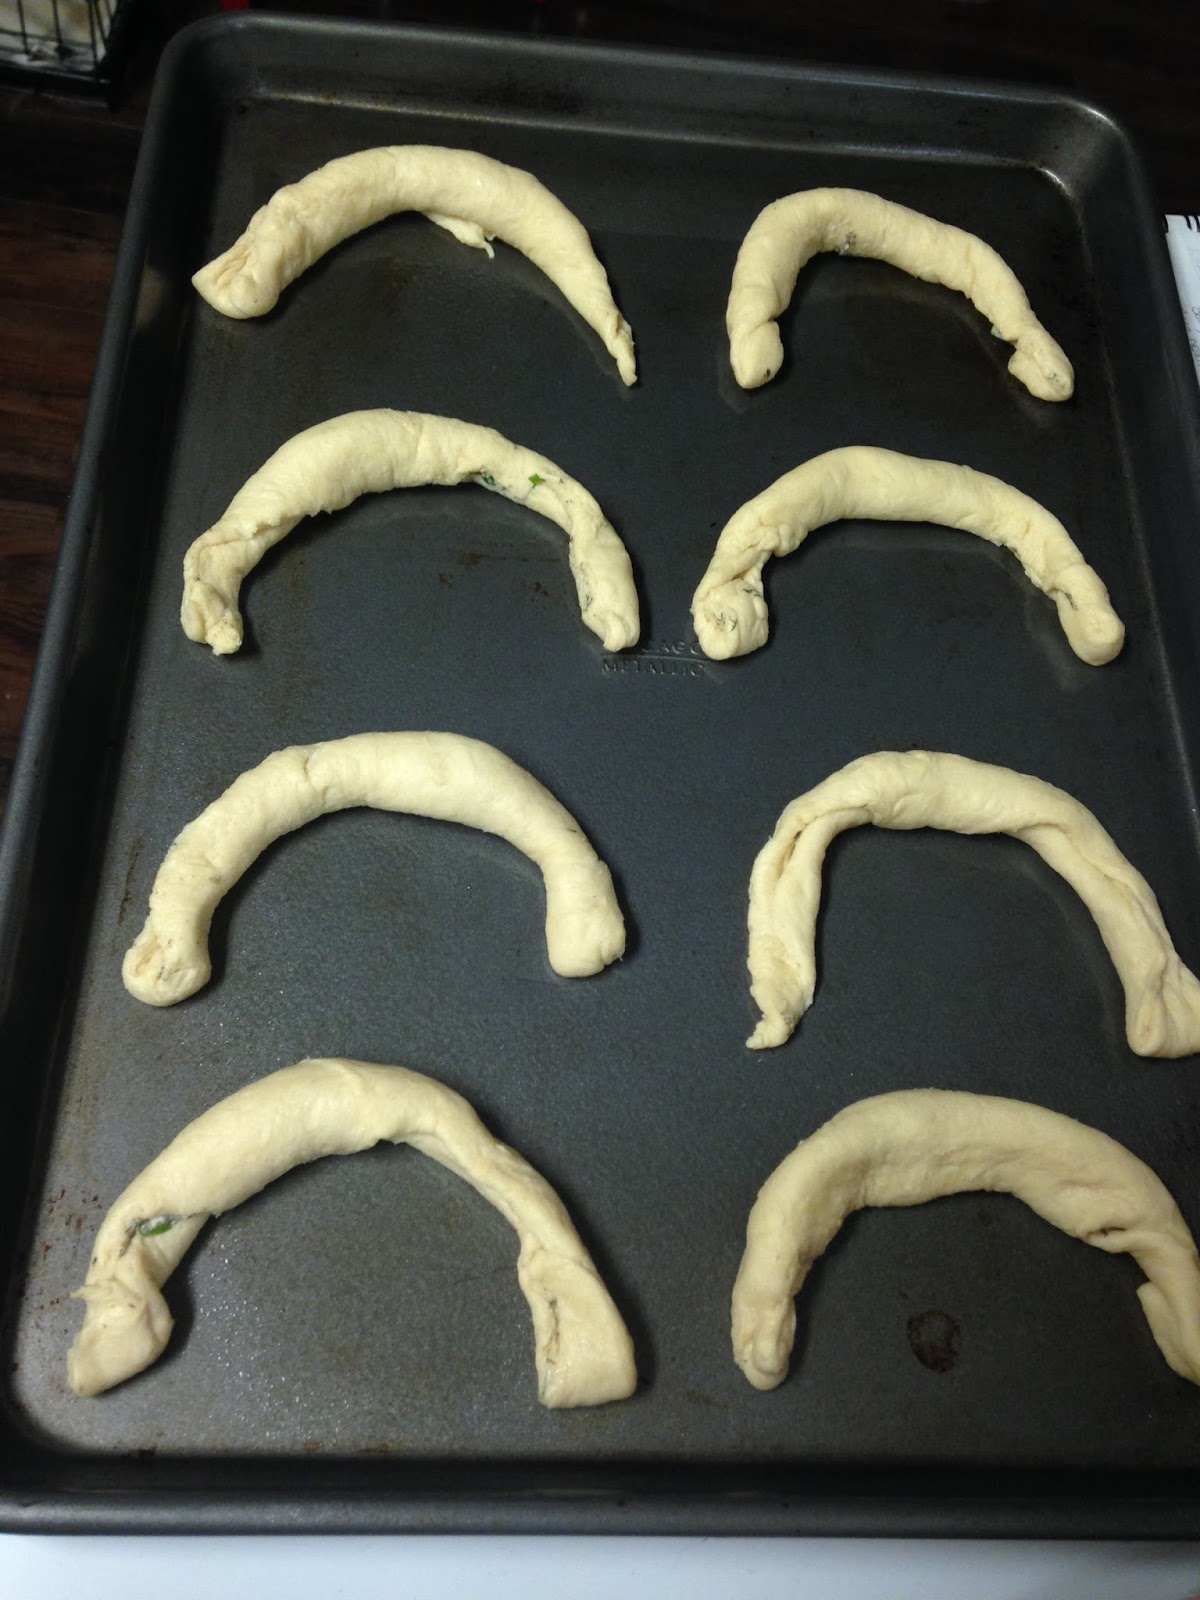
5.  Roll each triangle beginning with the wide end, and place the pointed side down on a greased baking sheet.

I told you I wasn't any good at rolling.
6.  Place rolls 2 inches apart from one another on the baking sheet and turn the ends down to create a half moon or "crescent" shape.
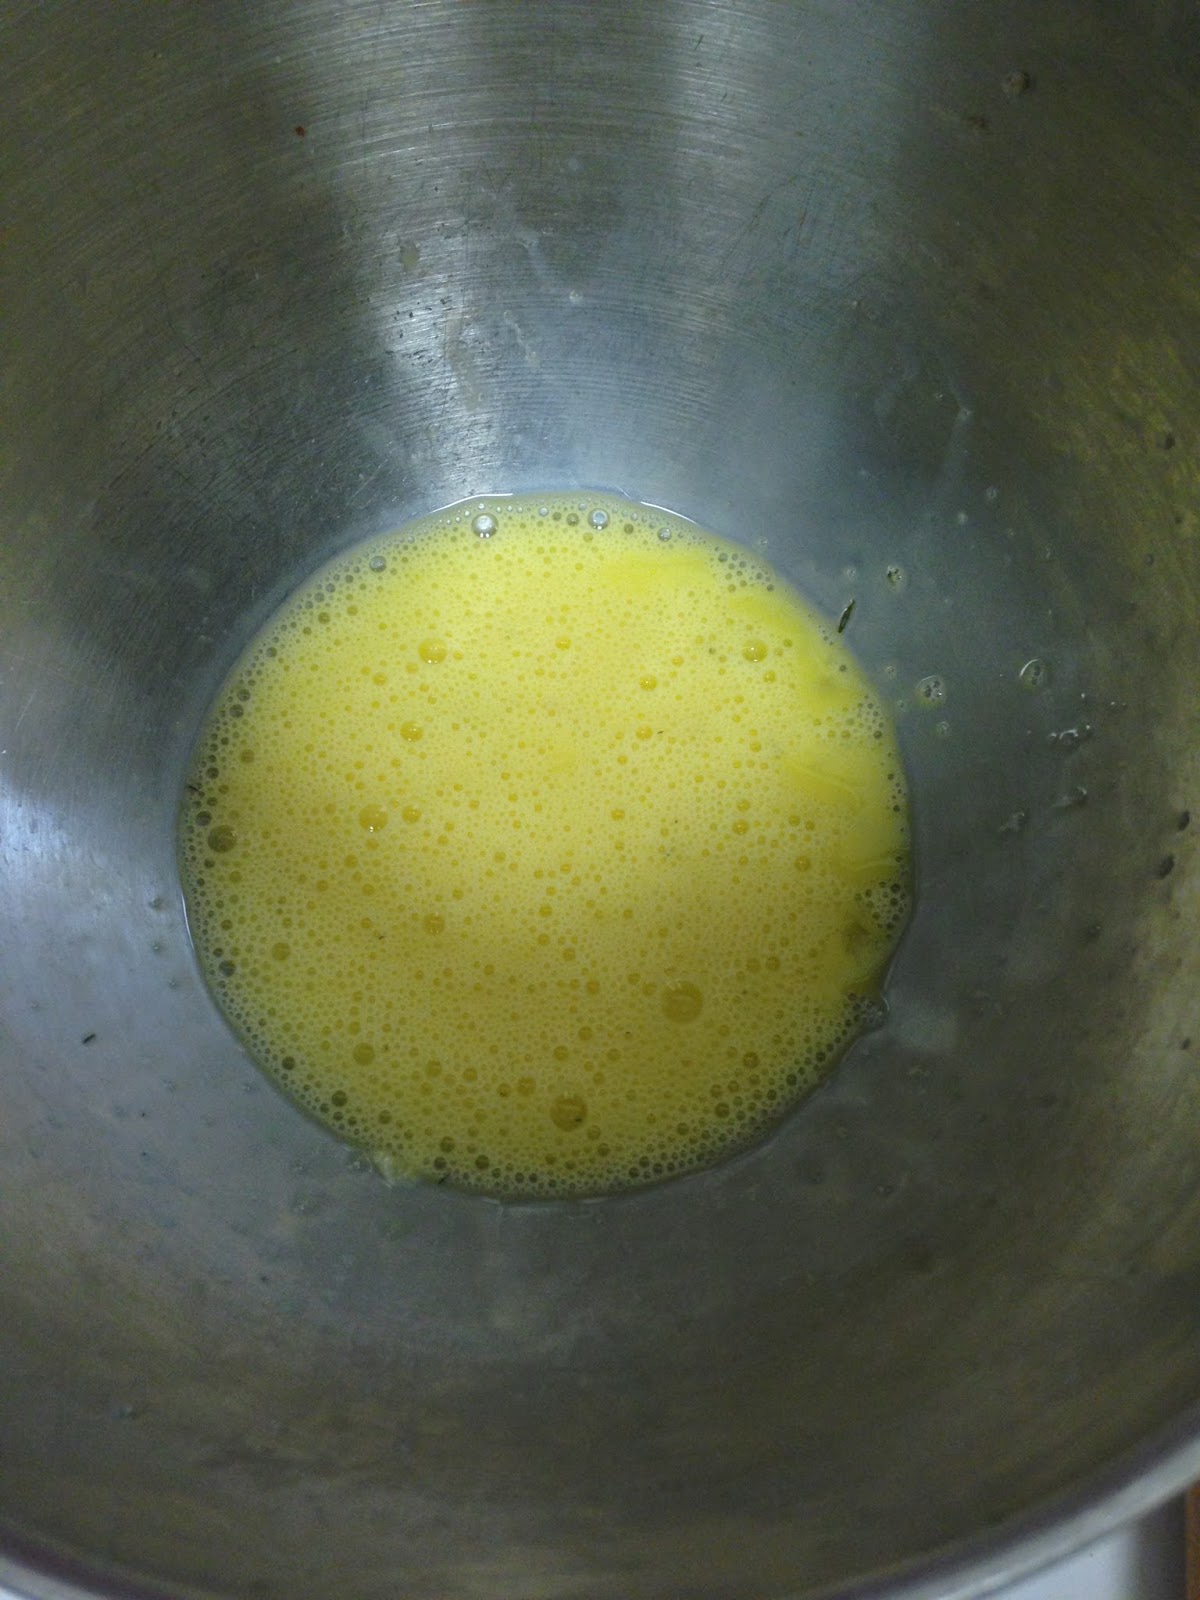
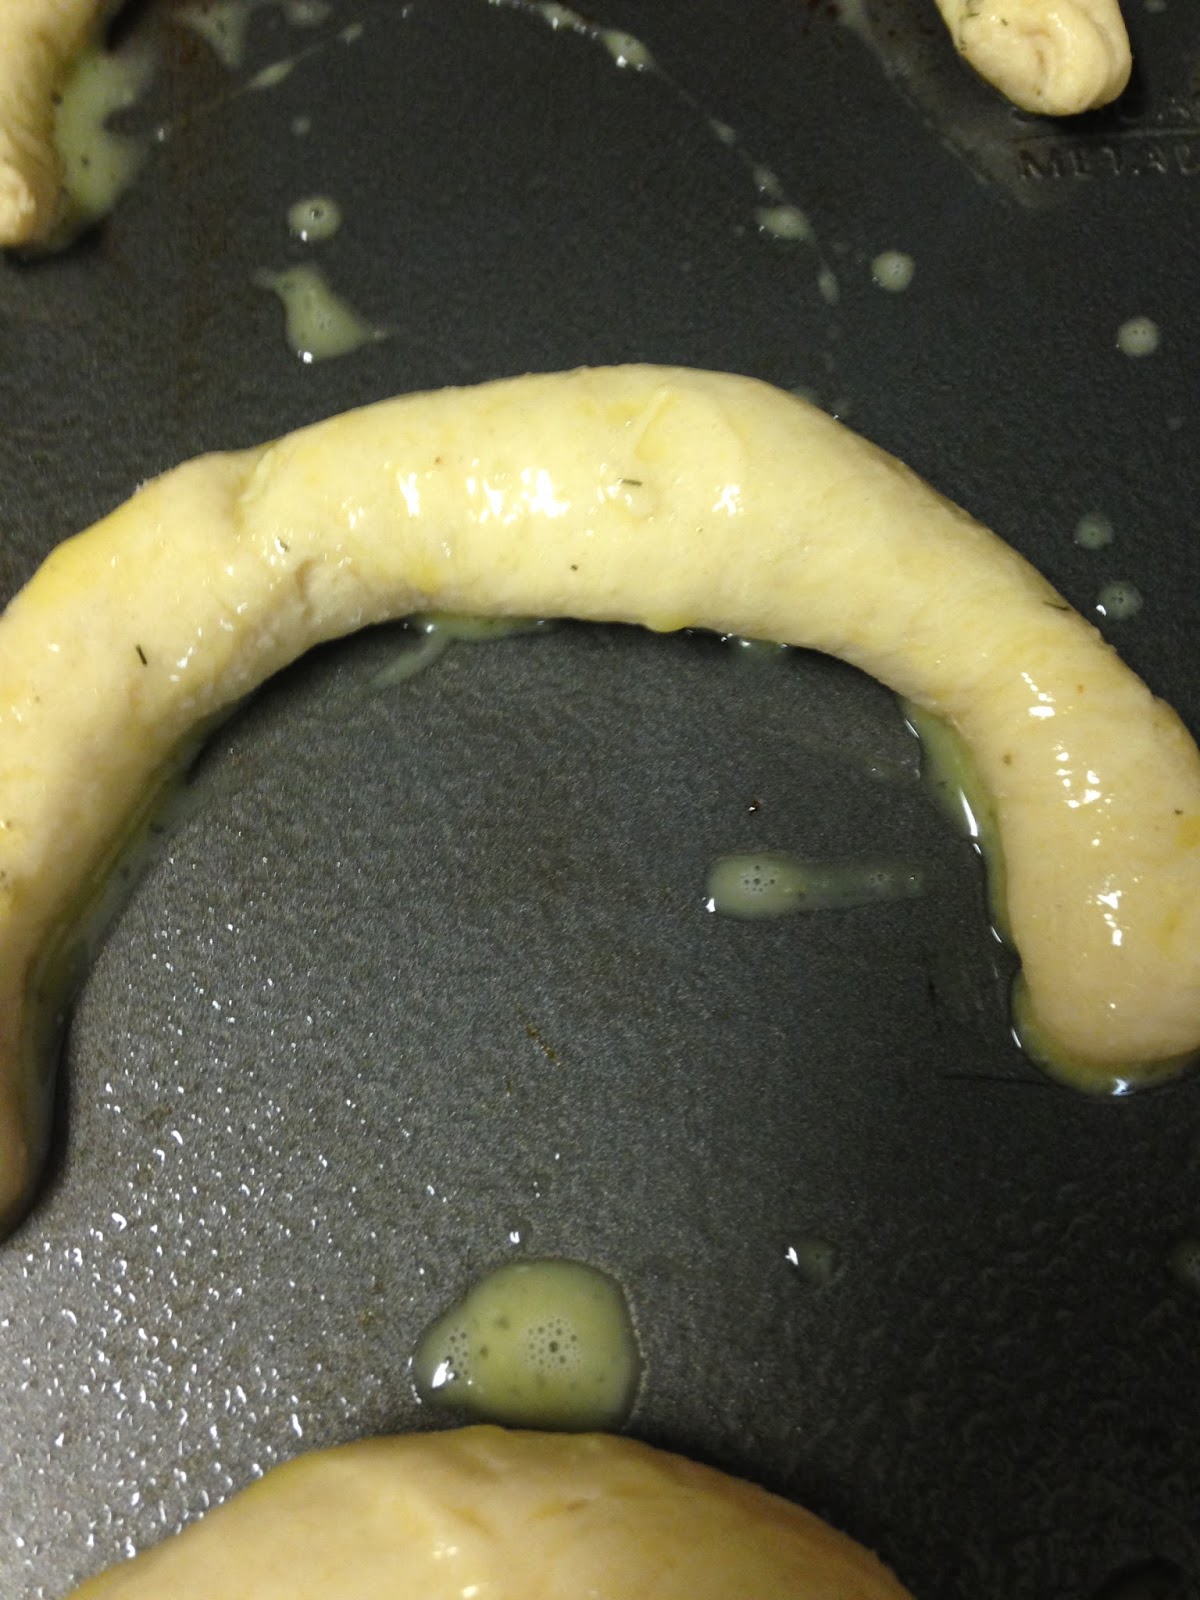
           Optional Step!!!:  I like to do an egg wash at this point and brush it on the dough.  You do not have to do this step and the final product would be just as yummy.  To do this step, which is what I do, mix one egg with 1 tsp. water and whisk until combined.  Using a pastry brush, brush the egg mixture onto the crescents.


7.  Bake for 11-13 minutes, turning your baking sheet about halfway through the baking process.  Keep an eye on them, depending on your oven, they could take less time.  They are ready when they are a lovely golden brown color.

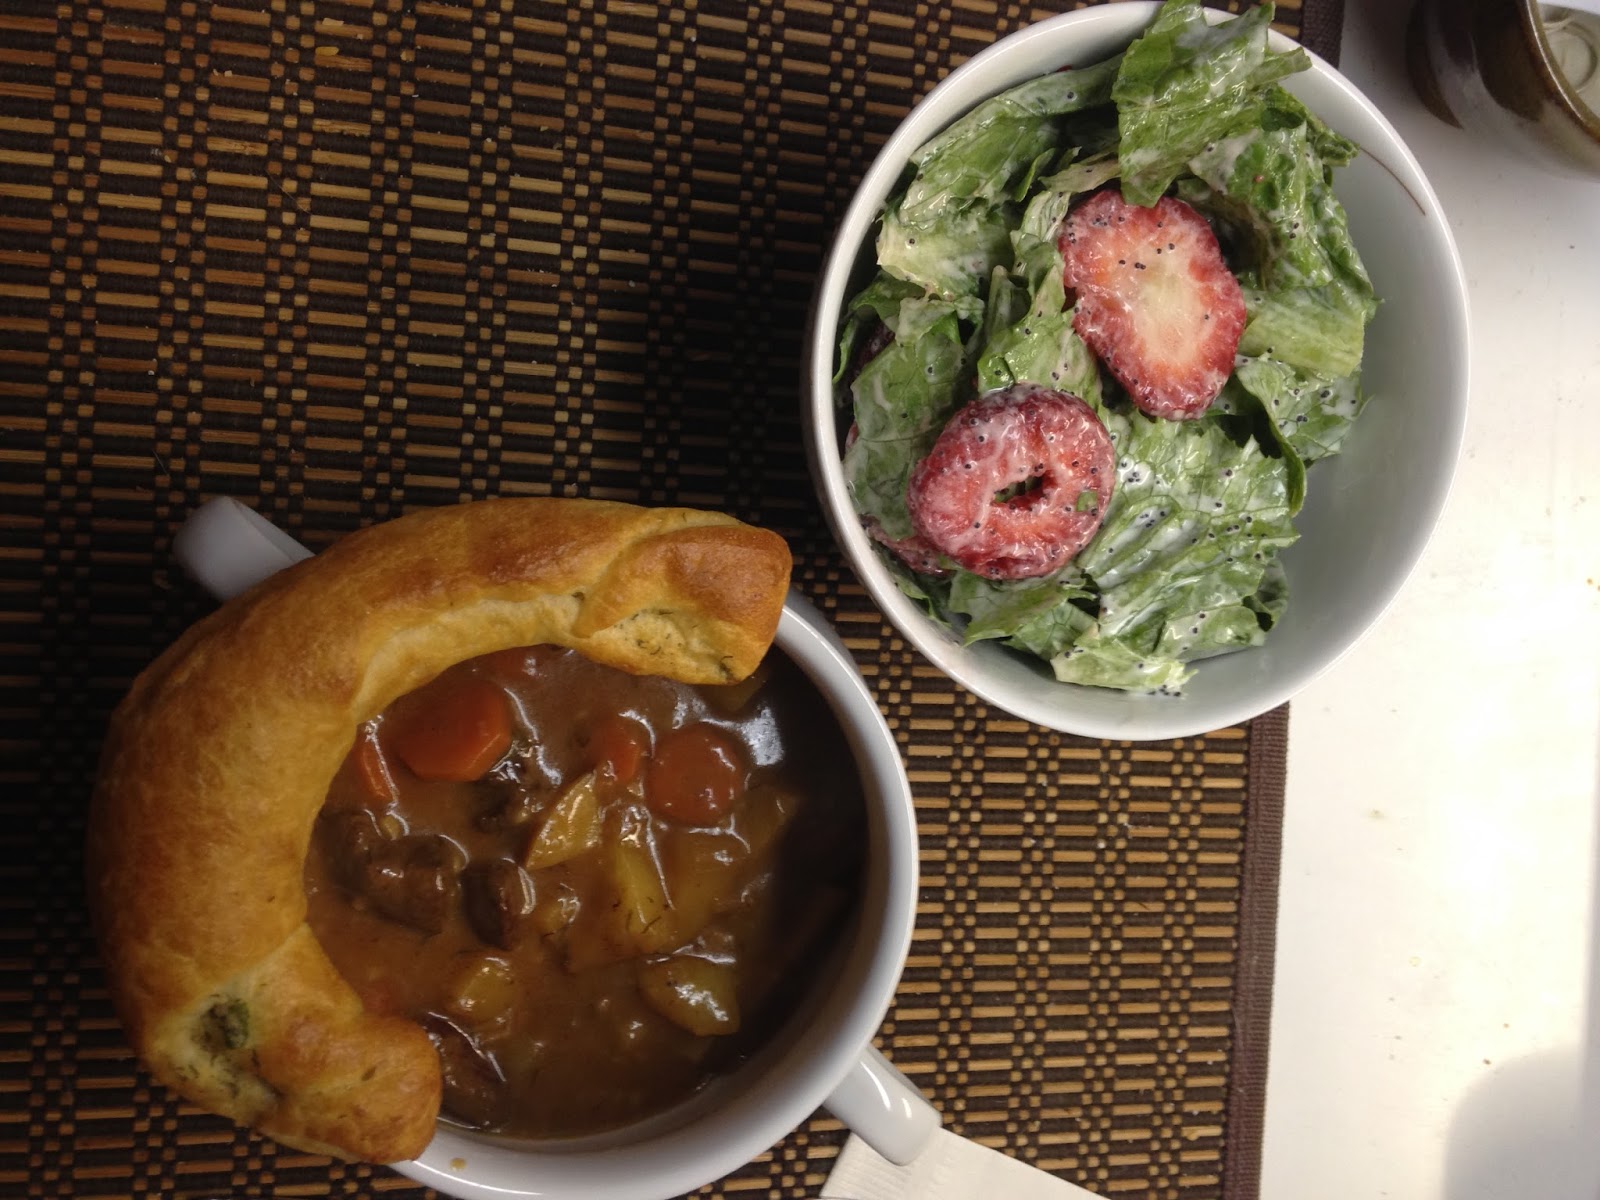
Here's a picture of the entire meal.  The bread may not look pretty, but it fits perfect on the side of my bowl.


These can be eaten just by themselves they are so delicious but I like to dunk them. :-)

Later this evening I will post the Frugal Femme Meal for Wednesday which will be Grilled Chicken, Carrot Curry soup and scallion pancakes