Sunday, November 13, 2016

Pumpkin - Its What's for Breakfast!


Hello Everyone!
I woke up this morning, there was an almost-crisp chill in the air, and I decided that I wanted to have a Fall inspired breakfast.  For me, my two most favorite Fall fruits are apples and pumpkins.  Unfortunately, I didn't have any apples, having eaten the last of them the night before for my evening snack, but I did have one of my pumpkin smoothie packets remaining.  Using this as inspiration, I decided that I would create Pumpkin Pie Waffles!

Pumpkin Pie Waffles

I admit, I cheated on this recipe and did not make "homemade" waffles.  Instead, I got some help from Pioneer Brand Baking Powder.  Its just plain easier than measuring flour and baking powder, etc.  For those of you who are purists, I apologize but I was out of the homemade pre-made stuff.  (That recipe will follow at a later date.)

Ingredients
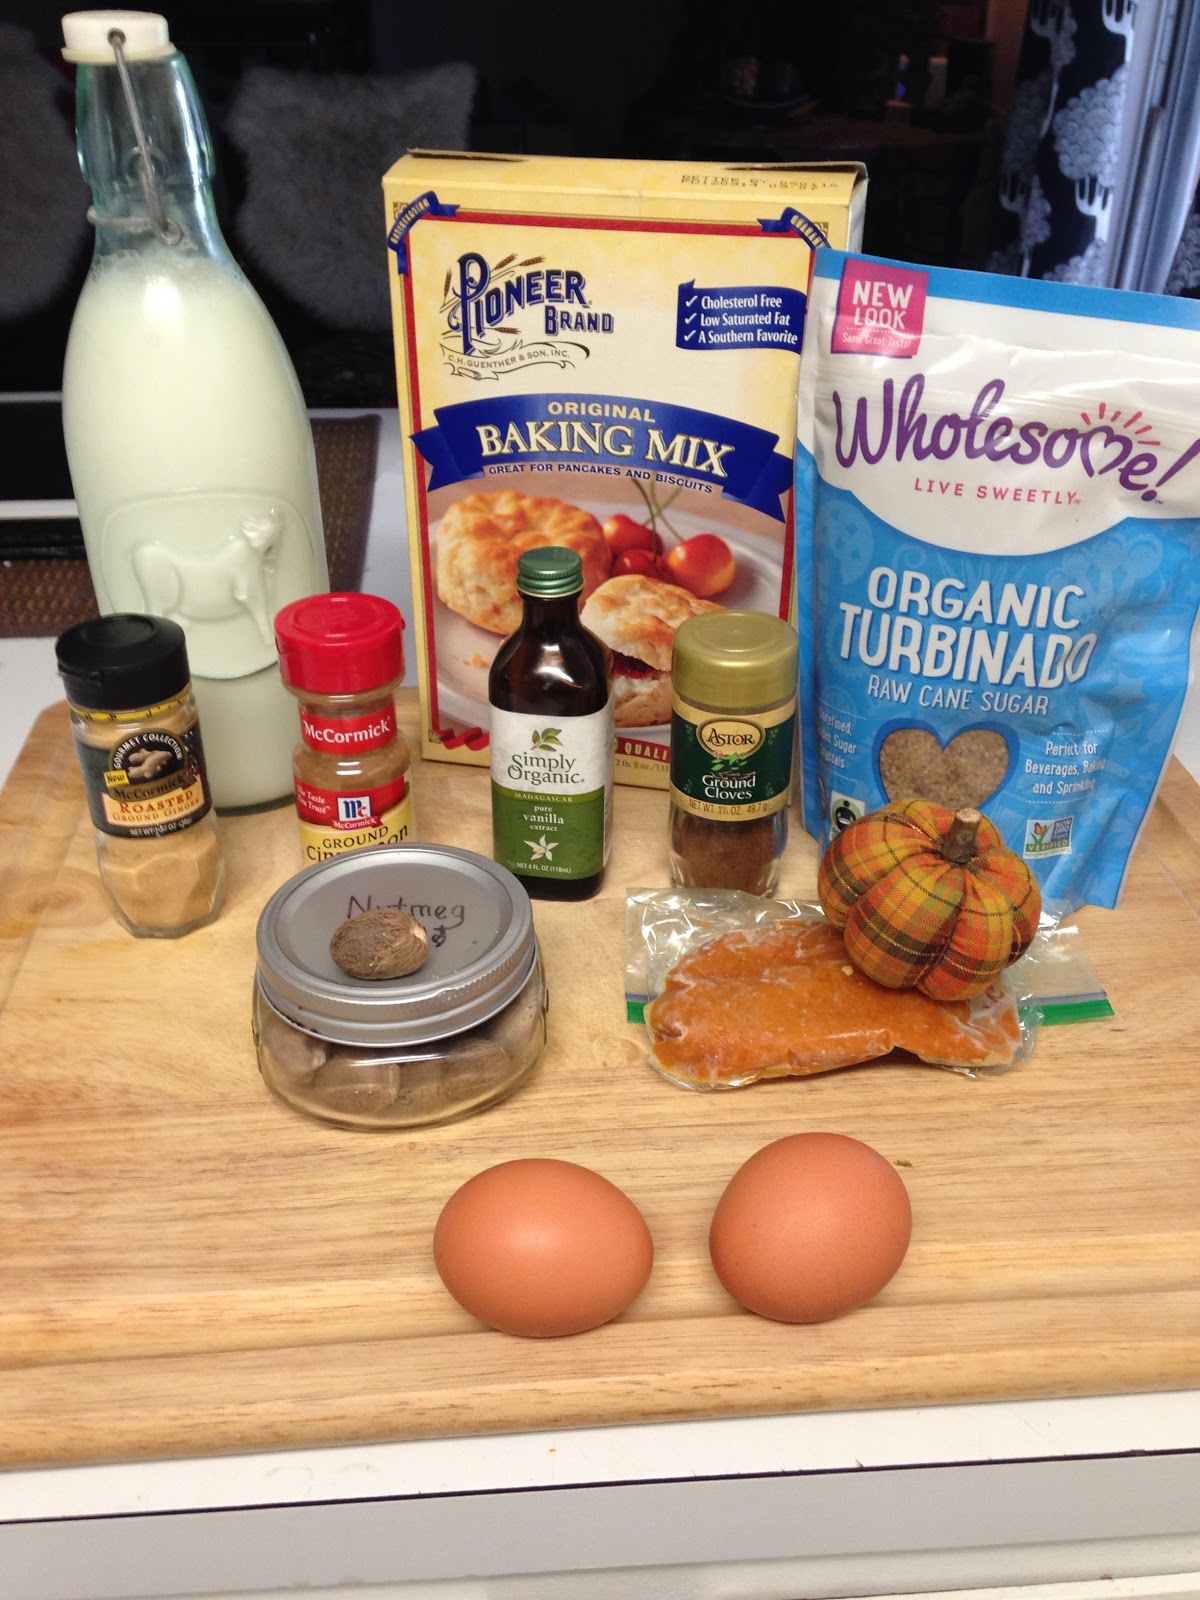


1 cup baking mix  (I used Pioneer, and that may make a difference on the wet measurements)
1 egg
1/4 can of pure pumpkin puree  (If you are measuring, this is slightly less than 1/2 cup pumpkin)
3/4 cup milk or buttermilk
1/2 tsp. vanilla
1/4 tsp. ground ginger
1/4 tsp. ground cloves
1/4 tsp. ground nutmeg
1/2 tsp. cinnamon
1 tsp. raw cane (Turbinado) sugar

Instructions
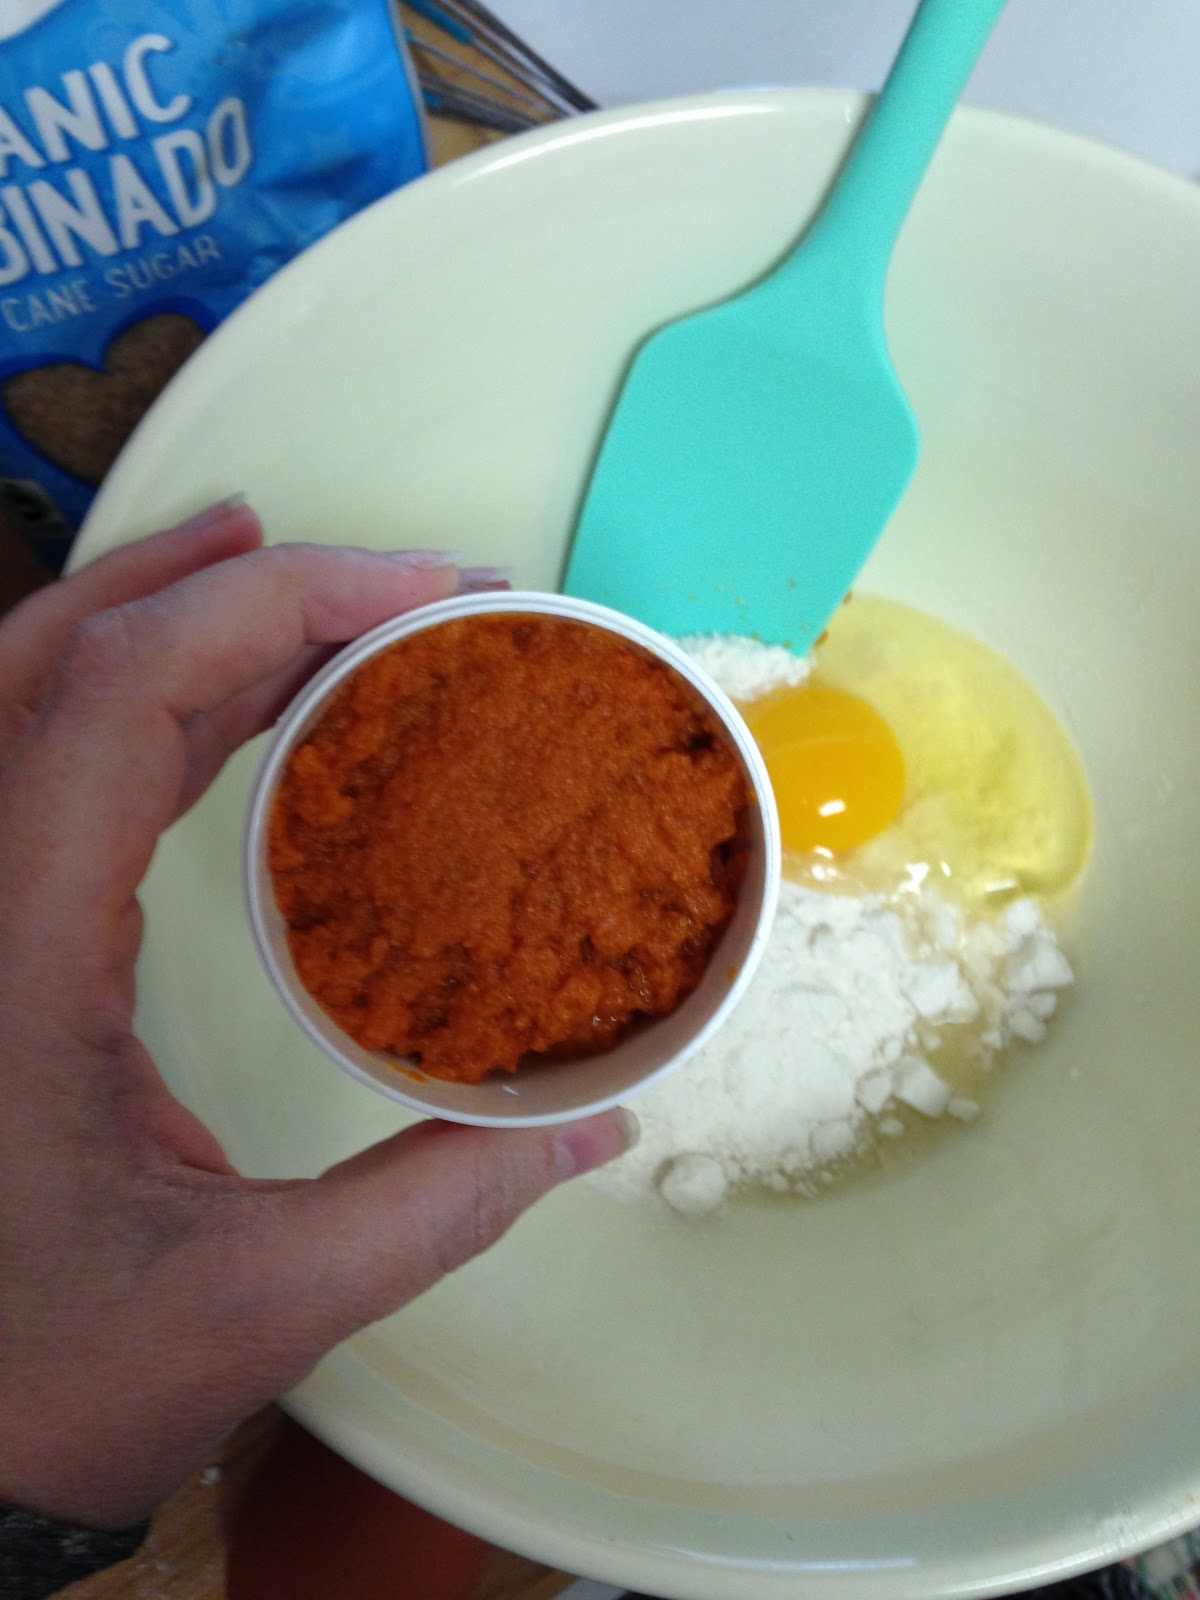
1.  In a large mixing bowl combine the baking mix, egg, pumpkin puree and milk and whisk until all the ingredients are combined.  (If you follow my blog, you can see from the picture above that I used one of the packets I created for my pumpkin smoothie. (For instructions on the smoothie, please see the link below.)

http://frugalfemmecarole.blogspot.com/2016/10/pumpkin-pie-smoothie-its-not-as-scary.html

If you too are using one of your frozen packets, you will need to gently squeeze the defrosted pumpkin to get some of the extra liquid out of the pumpkin left over from the ice crystals formed during the freezing process.)
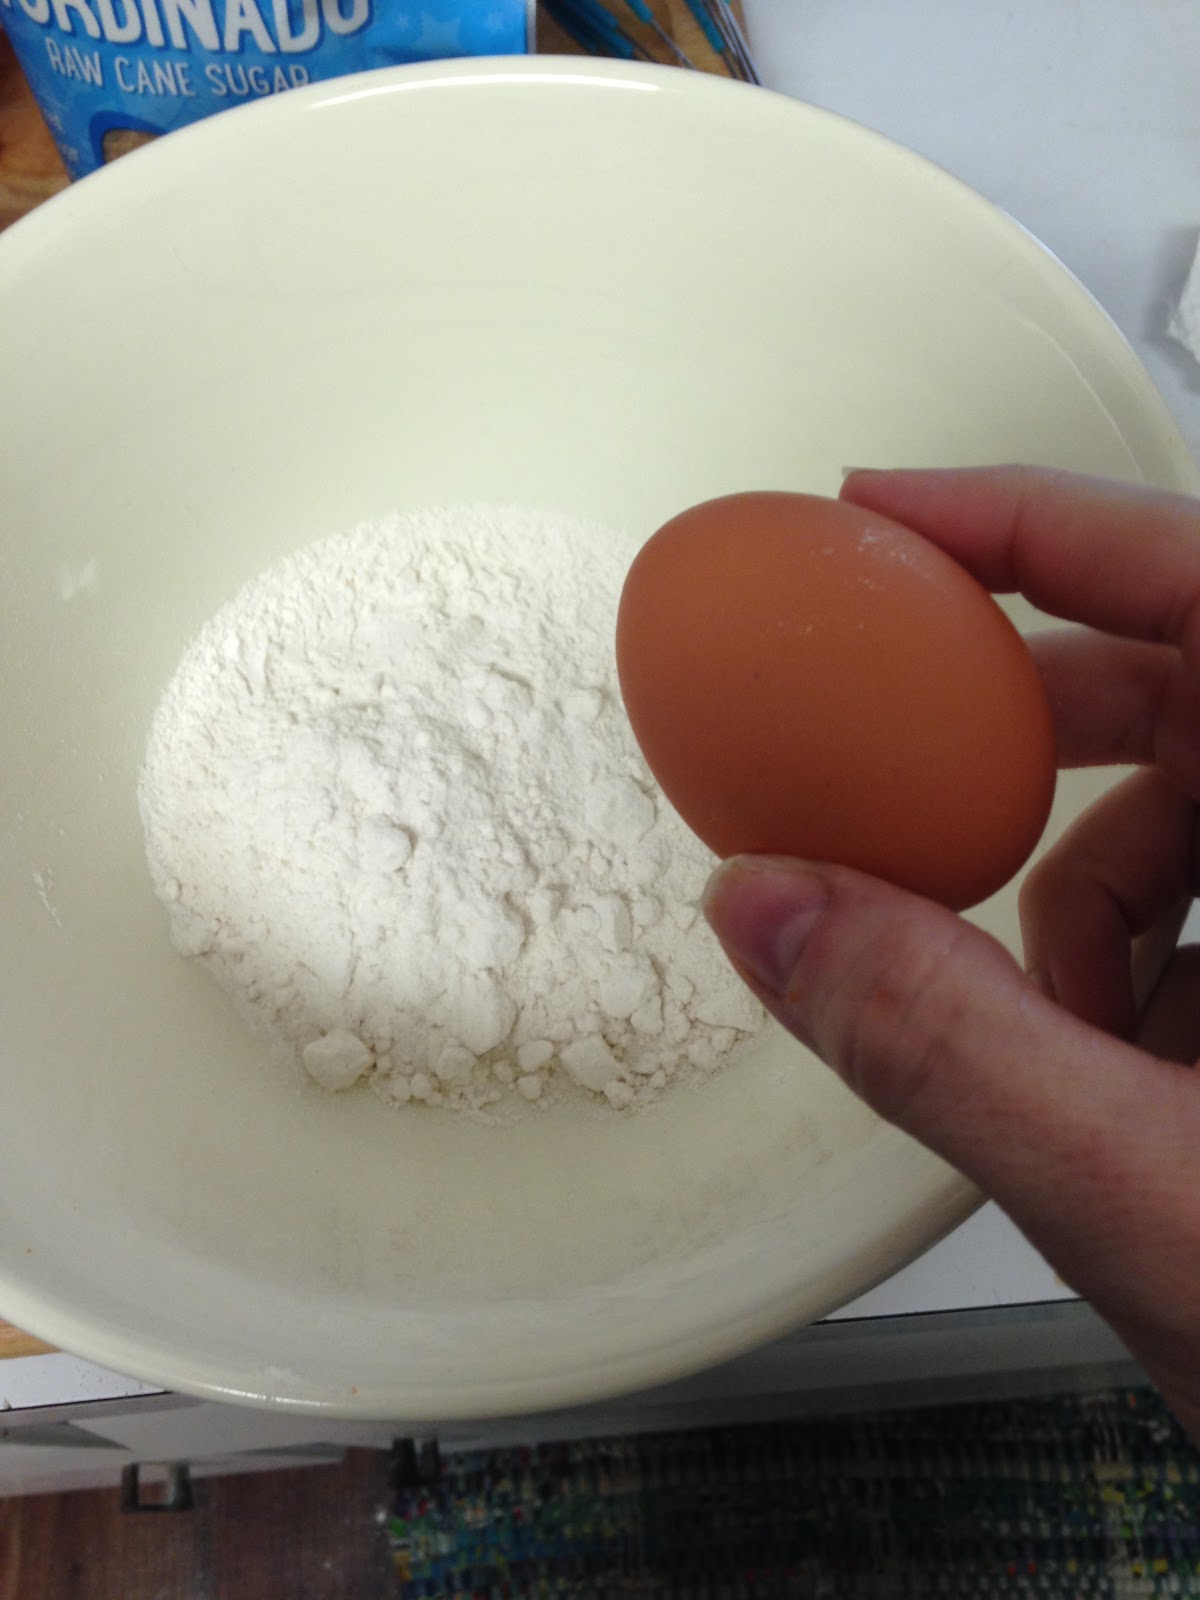
Adding the egg to the baking mix
As you can see by the picture, 1/4 of a can of pumpkin puree is slightly less than 1/2 cup of pumpkin.
 
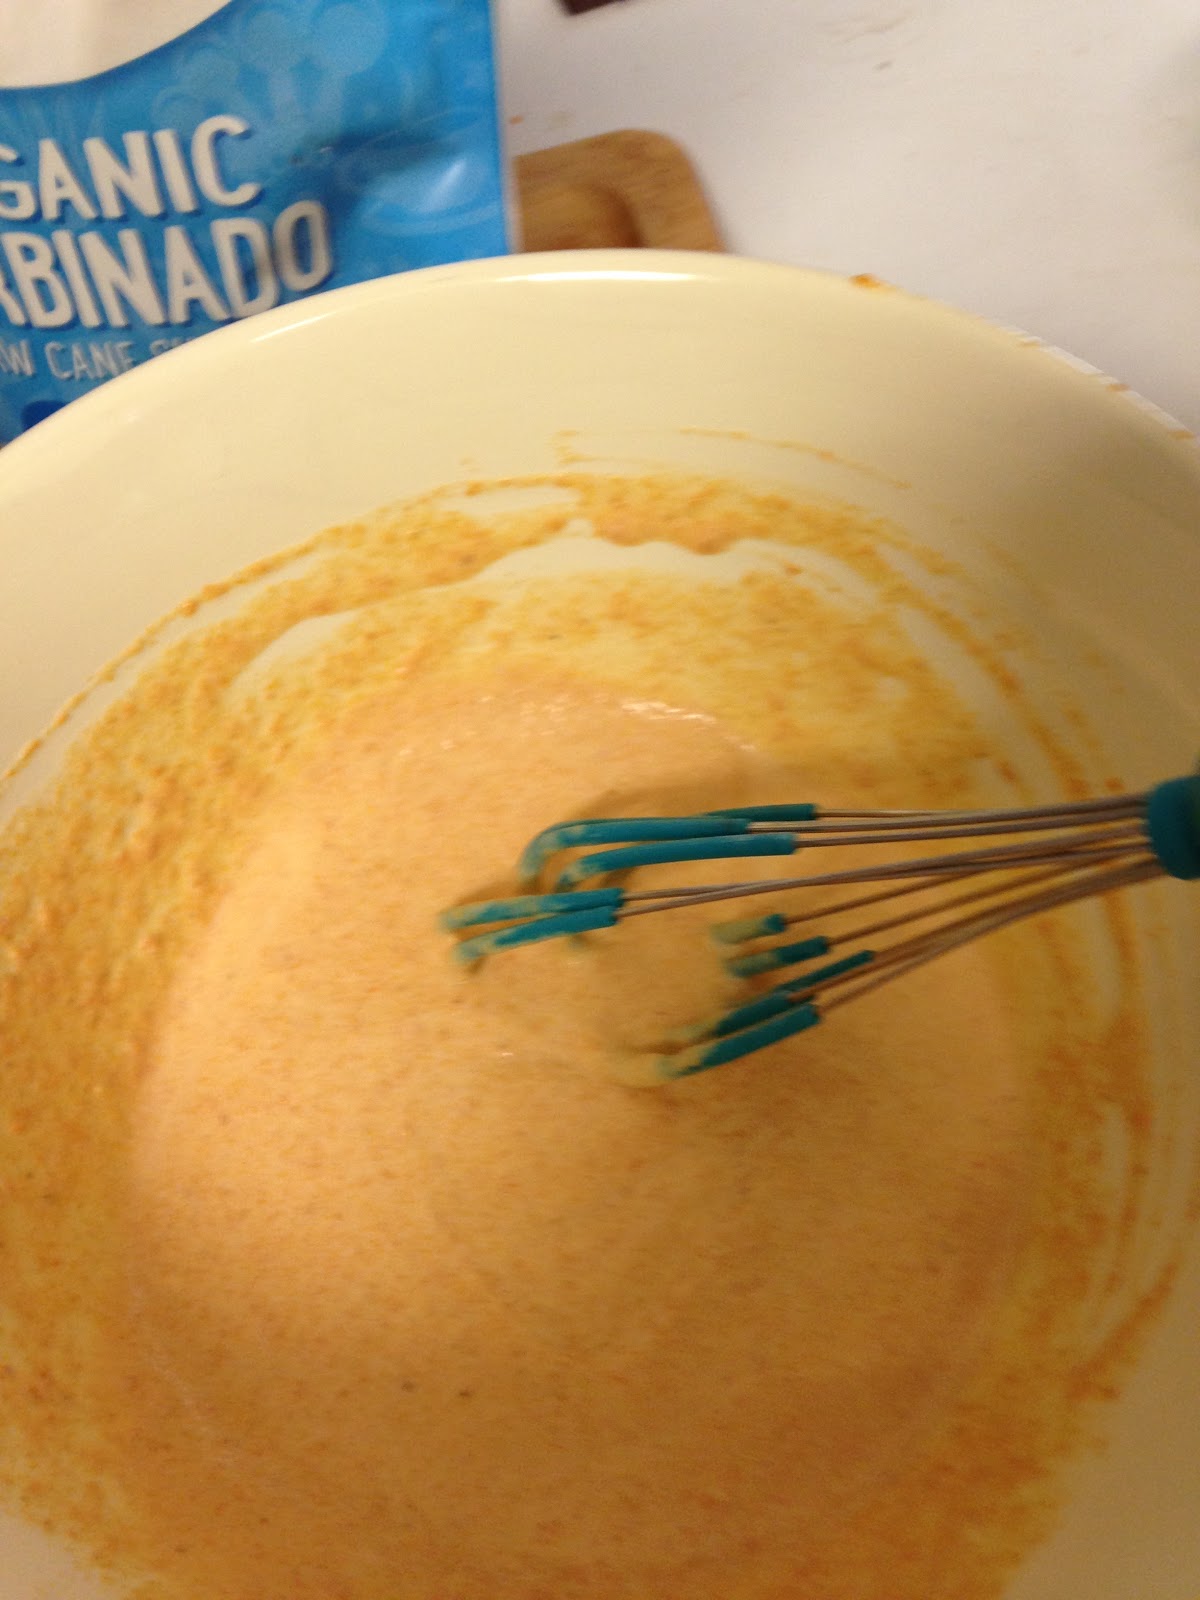
Once you have mixed everything together, it turns this lovely orange color and really looks like you are making pumpkin pie.                                             
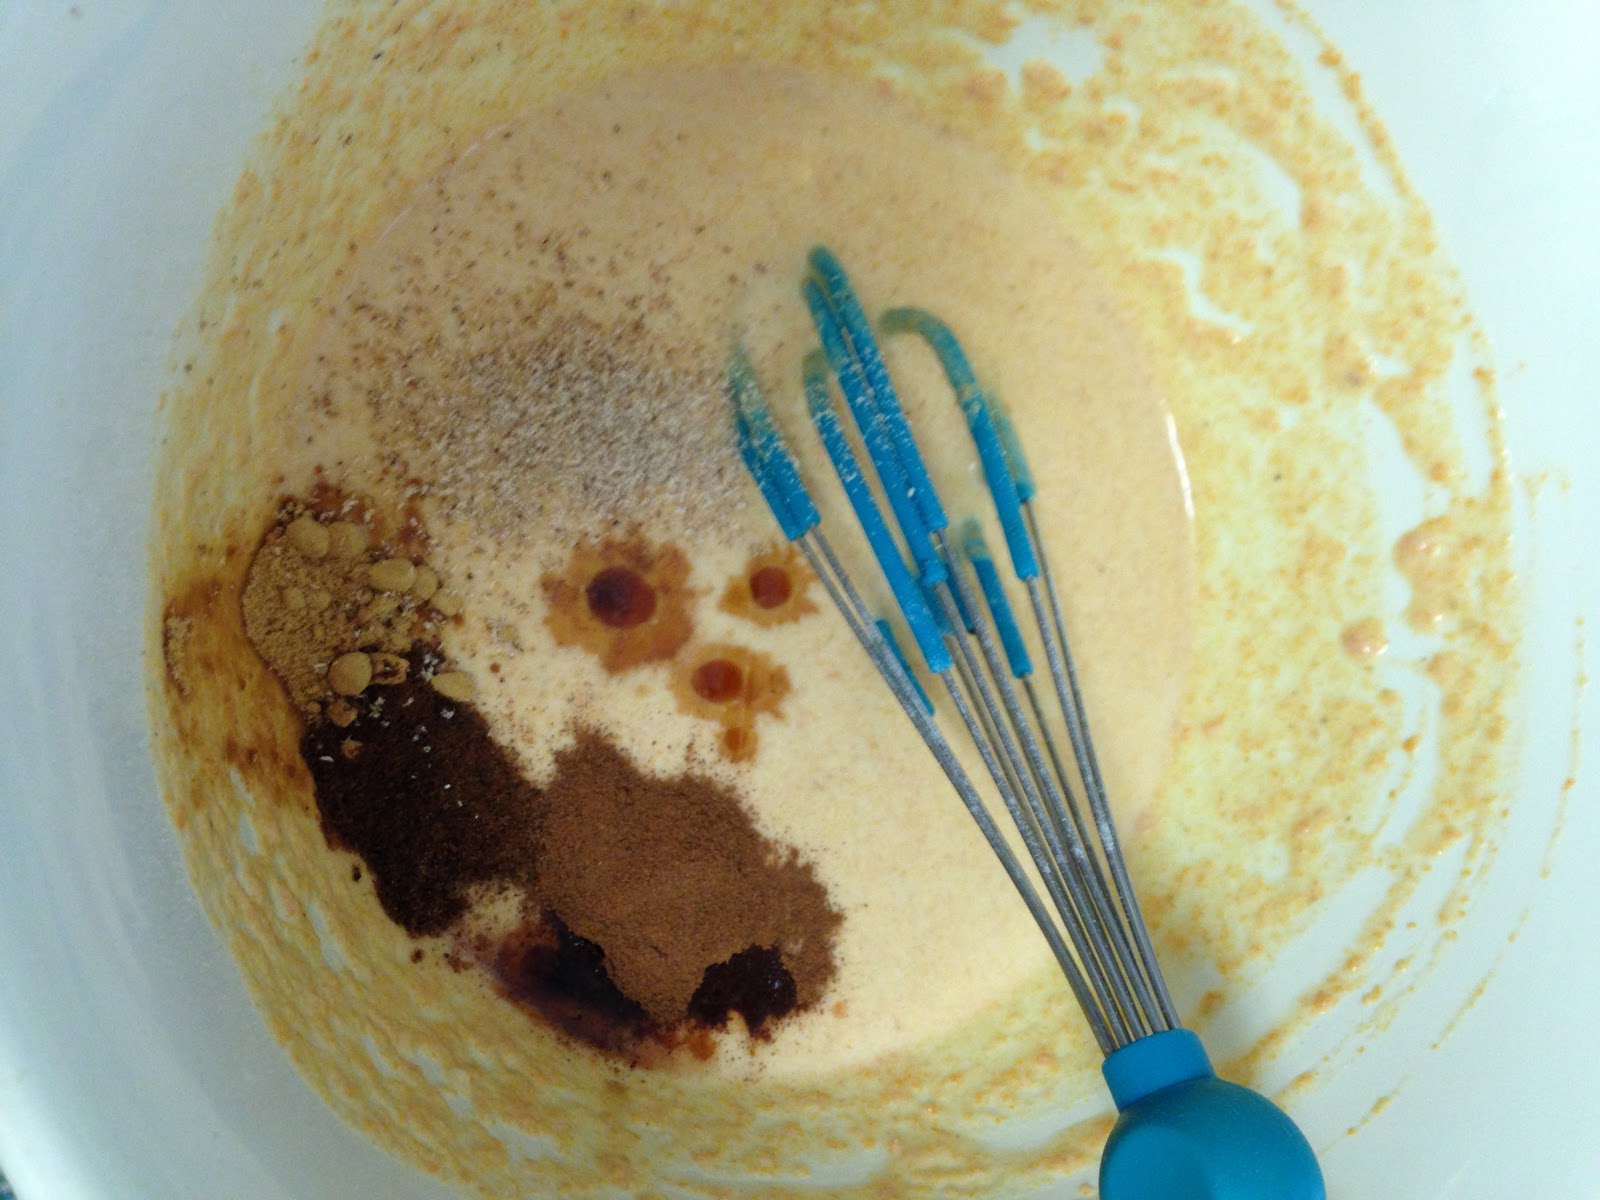
2.  Add the remaining ingredients to the pumpkin mixture.

I know it looks like alot of spices, but trust me.

Gently whisk until all of the spices are combined into the pumpkin mixture.
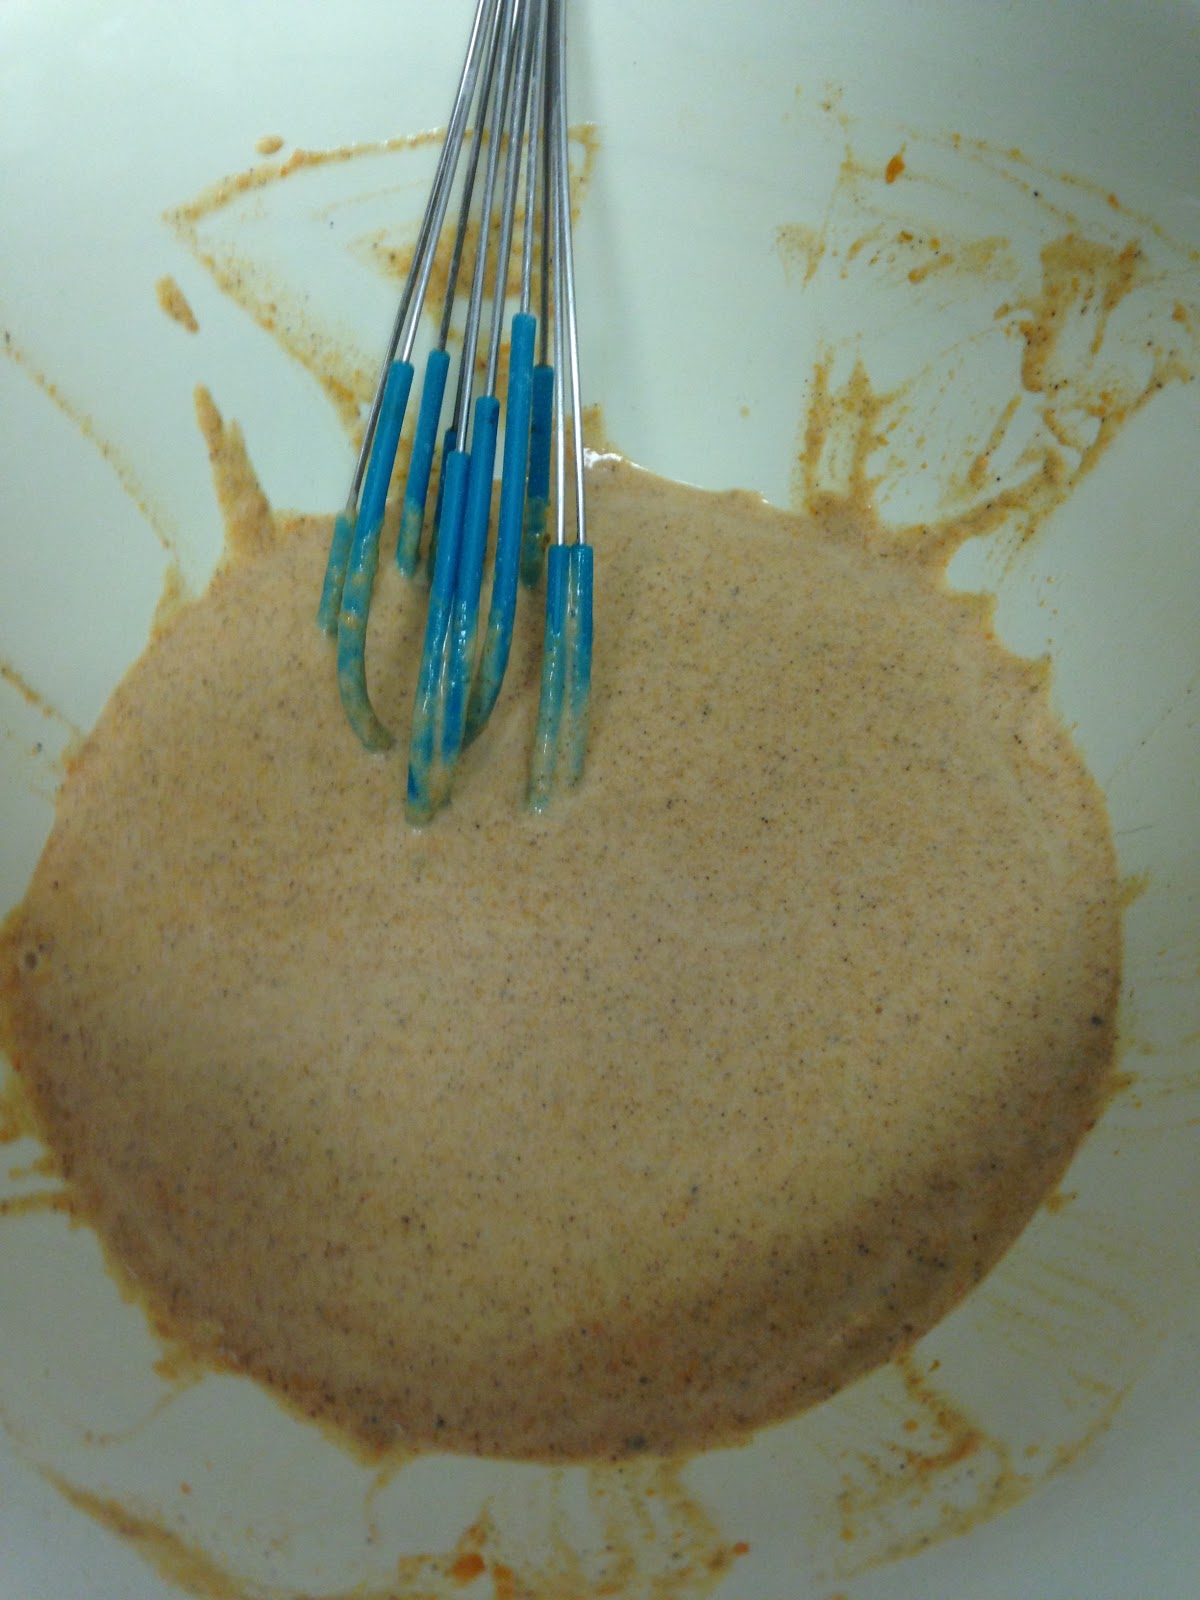
With all the ingredients in the bowl.

3.  The next few steps you will need to follow the instructions for your particular waffle machine.  So I am speaking in generalities when it comes to cooking your waffles.
Spray your waffle machine with oil or non-stick spray.  (This is a good idea even if your machine has non-stick plates.)
Ladle the waffle mixture into the machine. Making sure to fill it as full as your machine instructions advise.
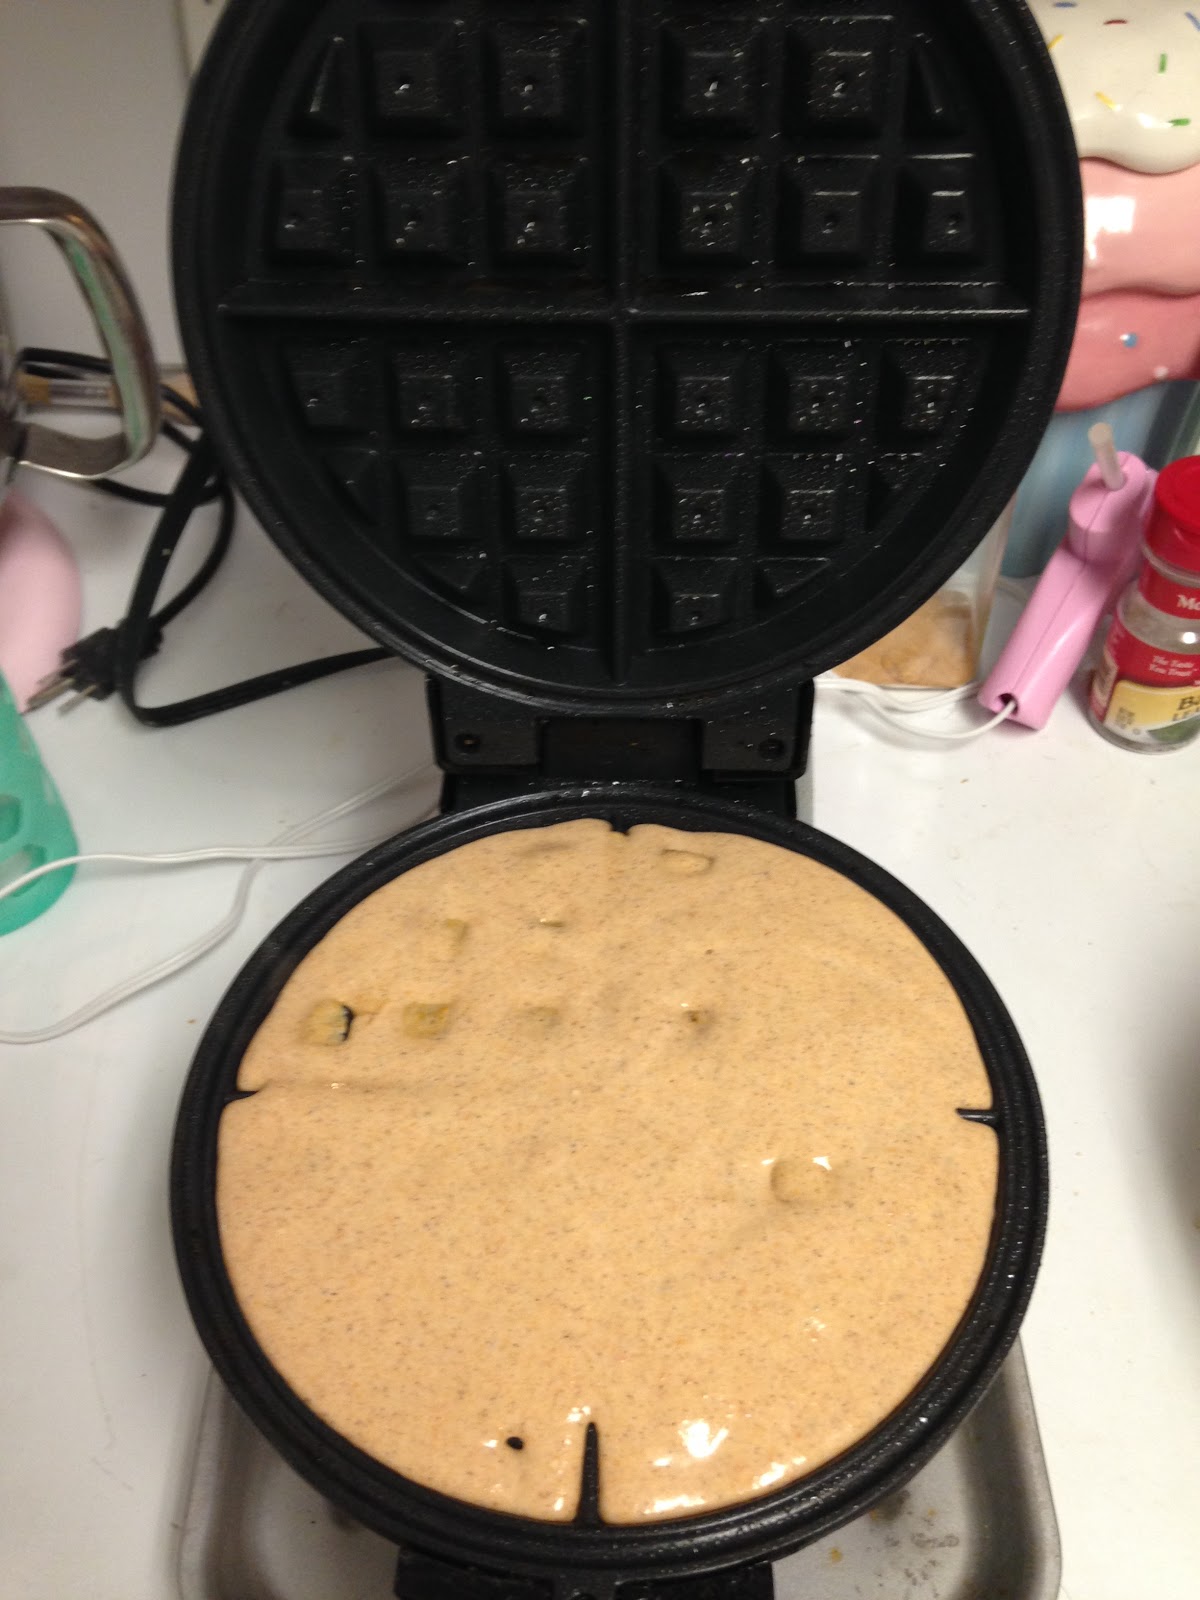


4.  Close the lid and cook until done.  (This ranges from machine to machine.)
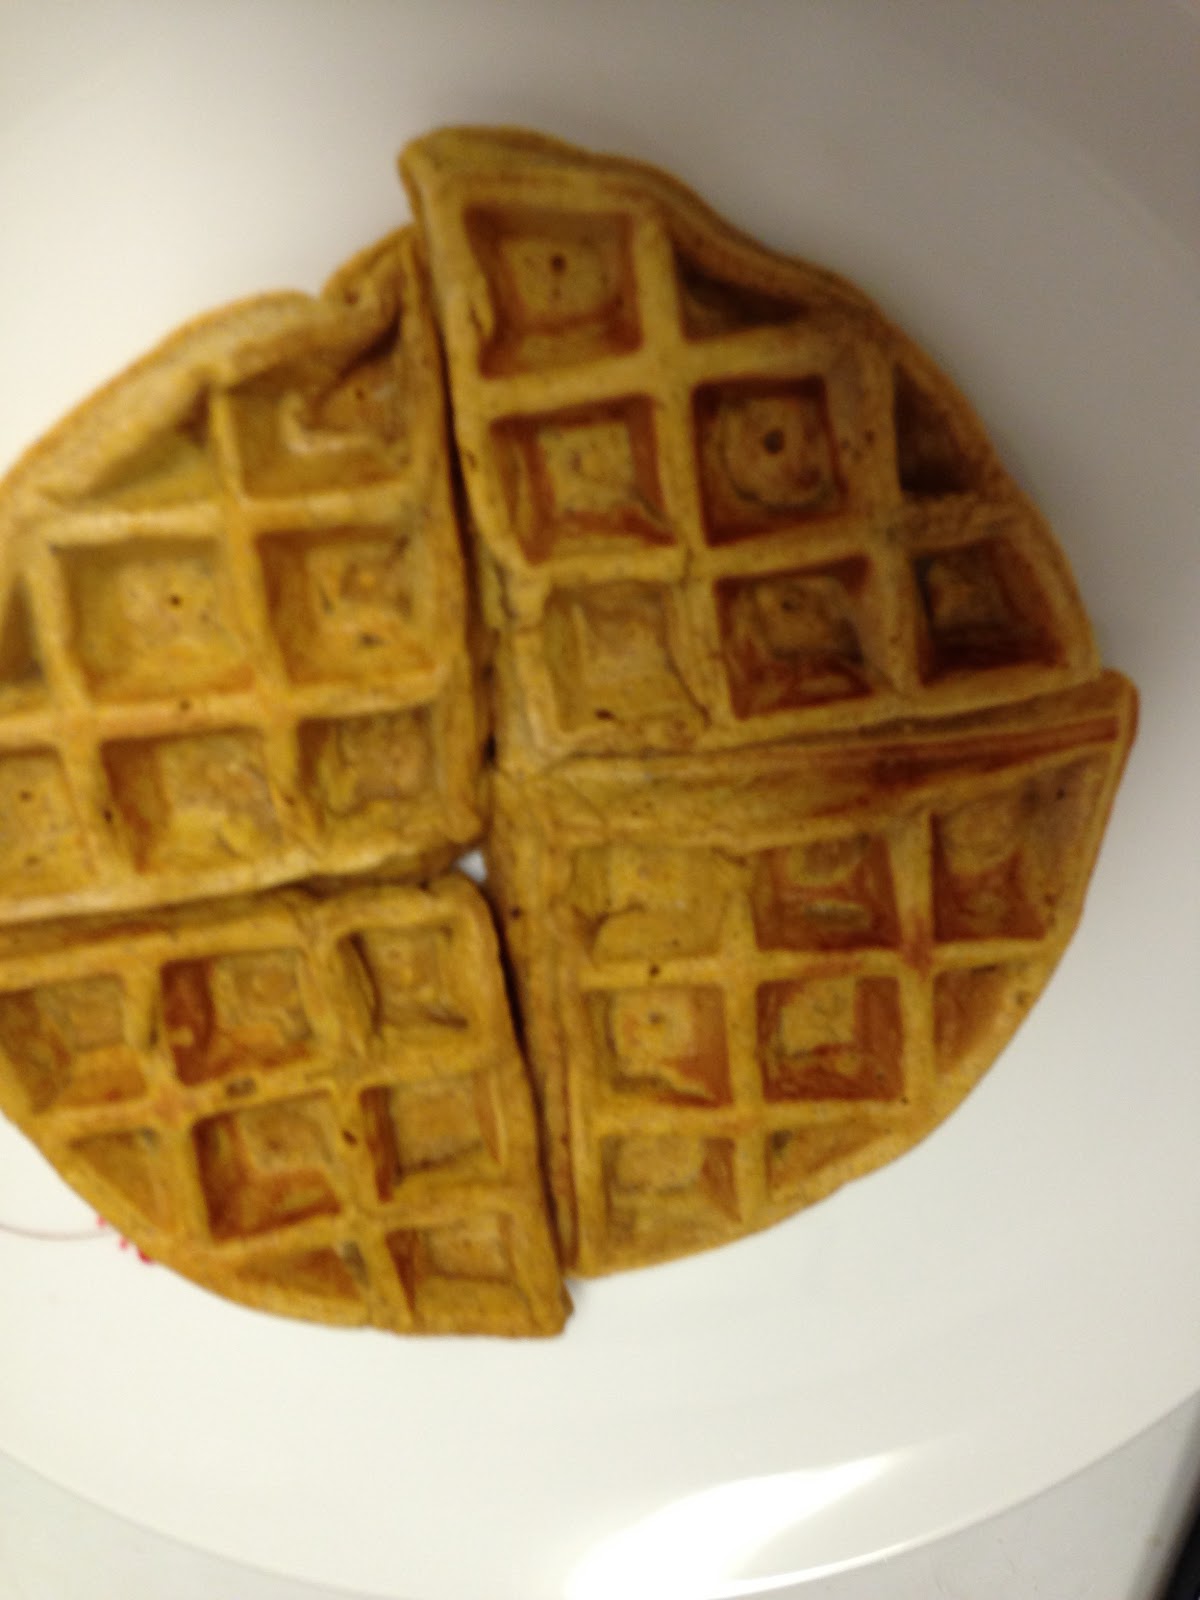
Yum.


Serve warm.  

Serving suggestions:  I served my waffles with butter and REAL maple syrup.  But this would also be good with apple butter, or powdered sugar.

For many, breakfast wouldn't be breakfast without coffee.  I am a tea person myself, but I do love all the different flavors for coffee that become available for the fall and Christmas.  If you don't want to go to Starbucks in the morning but would rather stay in your pj's, and you want a REAK pumpkin creamer for your coffee rather than just something that is pumpkin flavored and full of corn syrup, here is the recipe for you!

Spiced Pumpkin Pie Coffee Creamer

Sorry, I don't have pictures for this one, I was focusing more on taking pictures of the waffles.  But its super easy to do, so I don't think you will have any trouble making this, even without pictures.

Ingredients
2 cups heavy cream, half-and-half or milk of your choice  (You can even use almond milk.  This will effect the flavor however and, if you are using Vanilla almond milk, do not put in the vanilla and only use 2 tbsp. of sweetened condensed milk.)
1 12-oz can sweetened condensed low fat milk (I like Carnation)
3 tbsp. pumpkin puree  (NOT pumpkin pie filling)
1/4 tsp. ground ginger
1/4 tsp. ground nutmeg
1/4 tsp. ground cloves
1/2 tsp. ground cinnamon
1 tsp. vanilla

(You do no need to add any sugar to this.  It gets plenty of sweetness from the sweetened condensed milk.)

Instructions
1.  In a large measuring cup or medium size bowl, combine all of the ingredients and whisk to combine.
2.  Pour into a 1 quart canning jar or resealable container.  (I really like those plastic containers with the flip top lid for pouring.  I think they are technically for salad dressing, but they work great for this.)
3.  Store in refrigerator for up to two weeks.  (I find that the heavy cream and half-and half last the longest in the fridge, but you can do a more low fat version with the milk.  Especially if you use 2% milk.)

Serving Suggestions:  Shake before using.
This recipe will make about 3 1/2 cups of creamer.
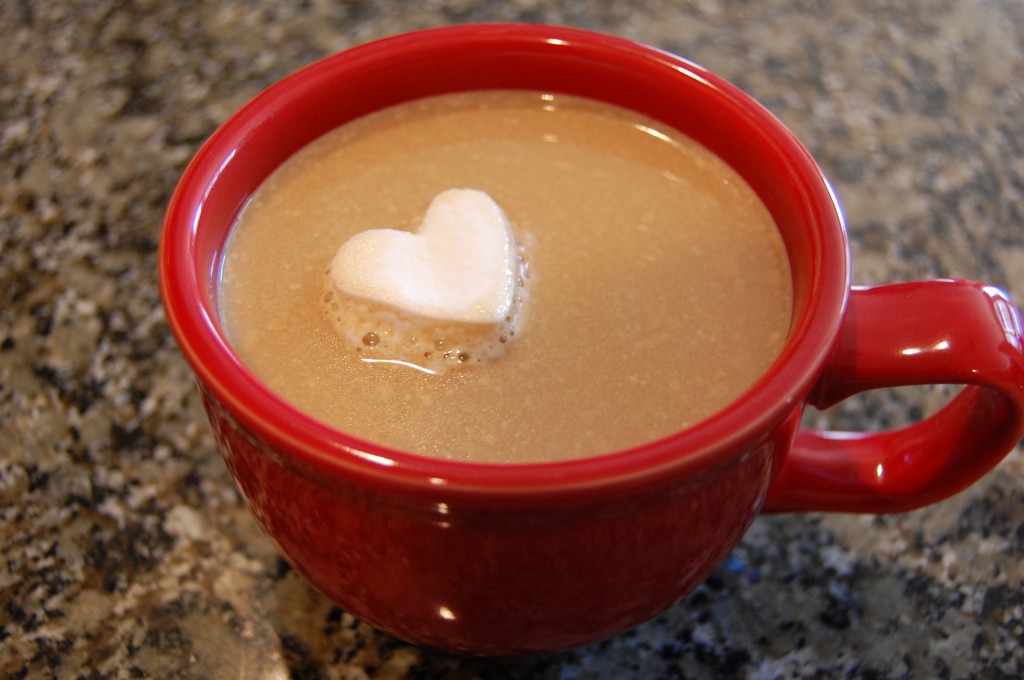

I took this picture off of another website because I think it is adorable.  So the credit goes to her.  If you would like to see the website and her recipe for vanilla creamer, go to this link: http://www.cozycakescottage.com/2012/02/10/diy-project-homemade-coffee-creamer/


I hope you enjoyed this Fall inspired breakfast!  Soon I will be posting instructions on how to make your own table decorations for Thanksgiving and Thanksgiving week will be the start of another two week menu inspired by the Thanksgiving holiday.  


Tuesday, November 8, 2016

Thanksgiving Elegance - A Harvest Gold Bird Wreath for under $20!!!


Hello Everyone!
I don't know if it is because it is an election year, or if it is because 2016 has, in general, been beating everyone up - but the entire nation seems to already be ready for Christmas and we haven't even had Thanksgiving yet!  If you go into Walmart or Micheal's you will find the entire store dedicated to Christmas and NOTHING for Fall and Thanksgiving.  Now, I love Christmas.   And I do mean LOVE Christmas.  But I believe each holiday has their own time and that we should let them have their moments and Thanksgiving is no exception.  So, I have decided, for those of you who would still like to decorate for Thanksgiving and Fall before we get into the Christmas spirit, that I will dedicate the next few posts to helping you achieve a frugal and elegant Thanksgiving season.


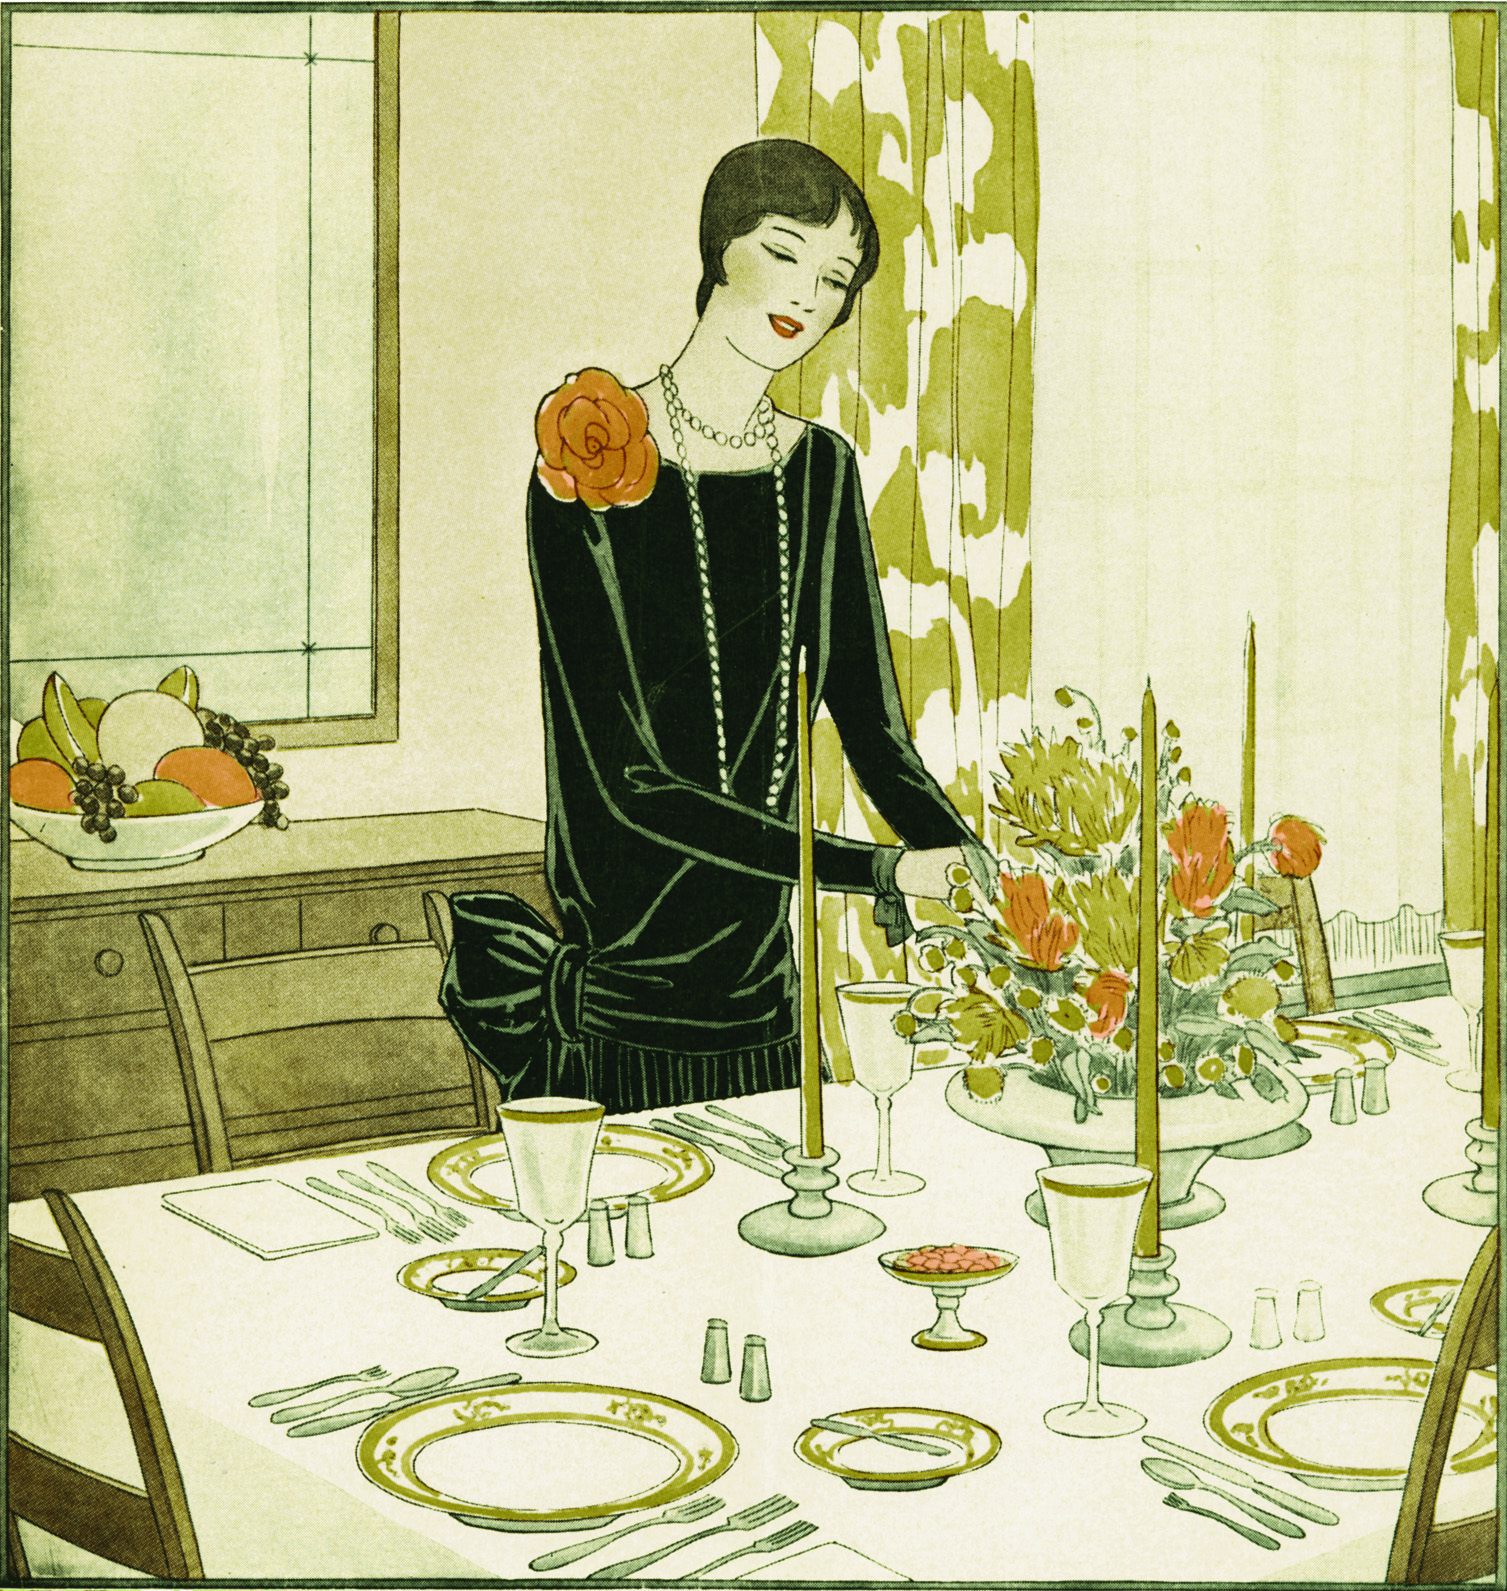
This picture is how I like my Thanksgiving's to be.  An occasion.  A reason to dress nicely and eat wonderful food on your grandmother's good china.  And this is the motif that we will be striving for in the upcoming month.
This season, I am going to focus on an elegant Thanksgiving/Fall holiday.  Most of the decorations for this time of year focus on the farm and country life.  It makes sense.  It is the harvest time for pumpkins, gourds and haystacks.  And because of this, much of the decor is sort of a country/shabby chic style with scarecrows and gingham.  Although I think that style is cute, it is not my personal taste.  So, this year, we will focus on vintage elegant with a modern twist for our decorating.  That means there will not be any scarecrows, pilgrims or turkeys in any of the things that I will show you. (I think.  I could change my mind.)
To start off the season, I am going to show you how to make an elegant wreath for your front door or mantle.  

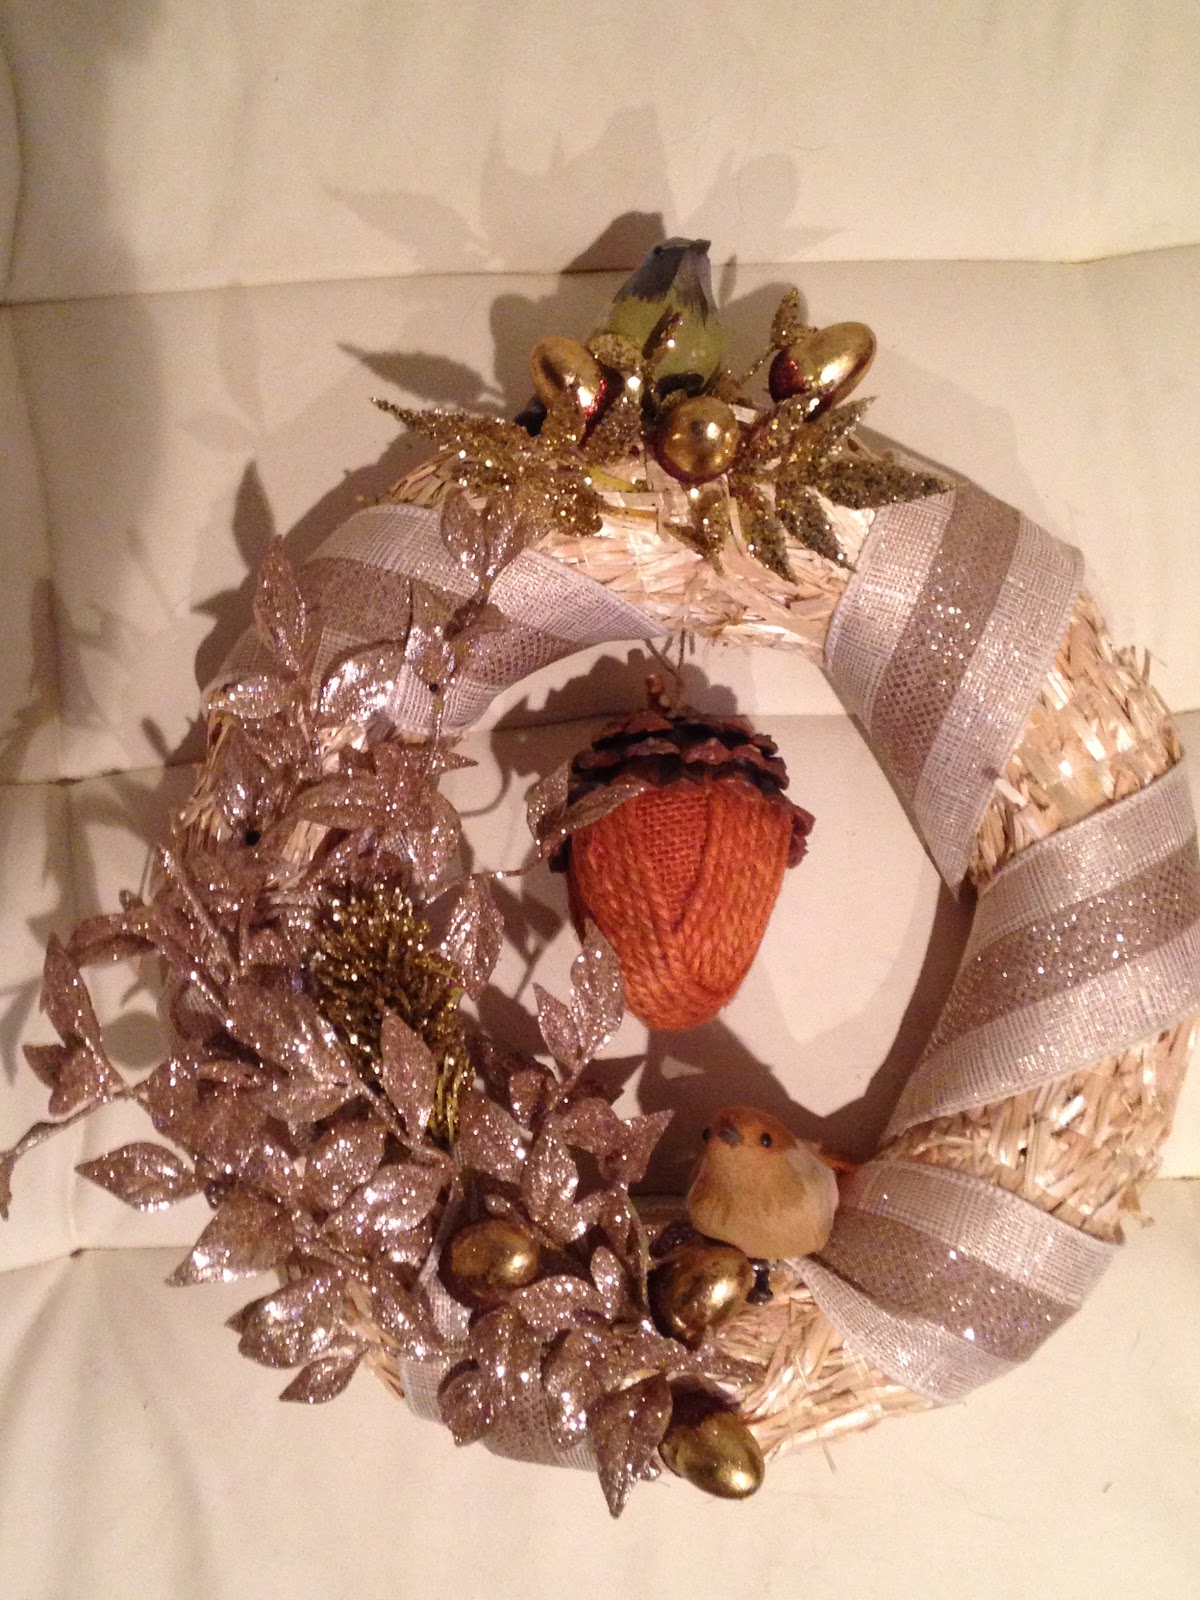
Harvest Gold Bird Wreath

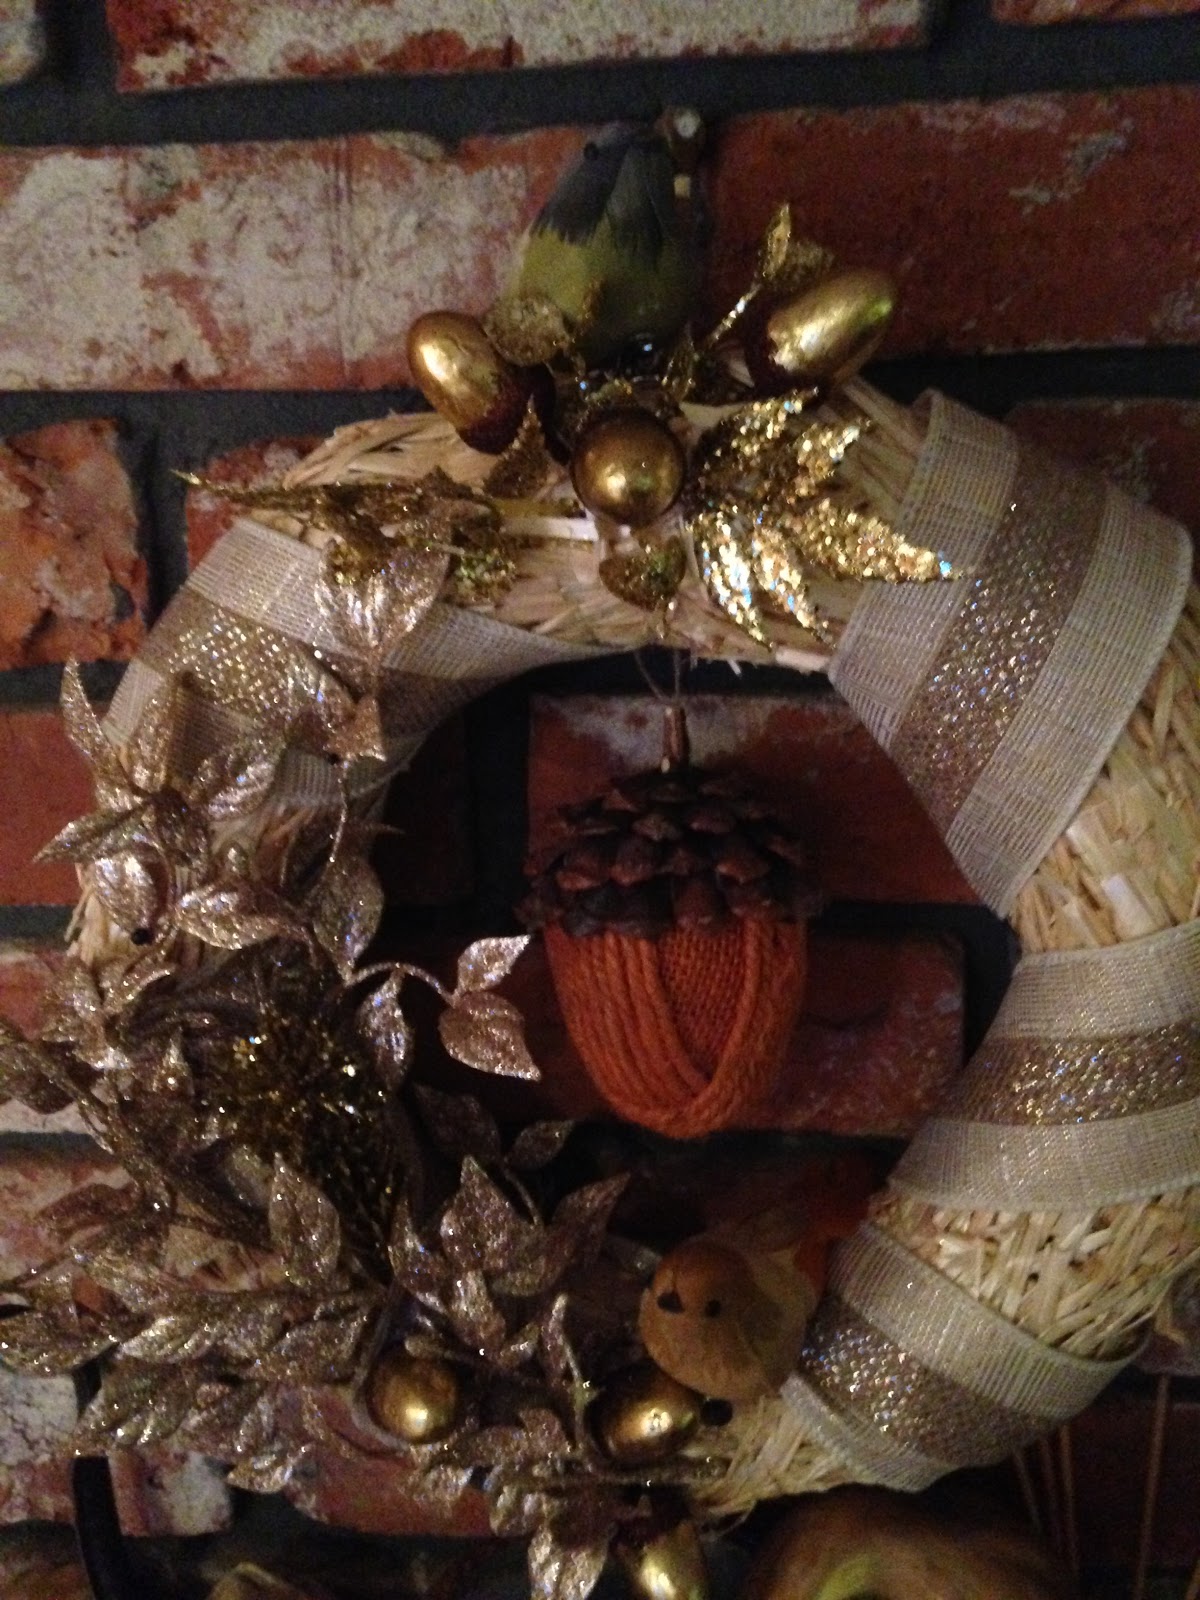
I have better shots of this further down in the post.  This, so far, has been the hardest thing I have photographed for the blog yet.

Sometimes, the best laid plans just get ruined.
I went to Michael's today with a plan for a wreath in my head.  I was going to use a styrofoam wreath form, a brown feather boa, some orange leaves and the acorn made out of pine cone and rope that I had purchased there a couple of weeks before for $1.50 and make myself a wreath for the mantle.

Only one of those things happened.

When I got there, ALL of the fall items were gone and Christmas was everywhere, but I was not deterred.
I found the boas and was appalled to find out that they were $10 a piece for the ones that I wanted and I would need two.  Strike that idea.
The styrofoam wreath form was $15.  That, literally, would have only left me $5.00 for the rest of items to go on my wreath.  Strike that idea too.
Therefore, I had to rethink my plan.  So I roamed the store looking for inspiration.  
First, I had to find a wreath base.  I lucked out and found a straw wreath base for $3.59.  It seemed a little country, but I thought I could fix that by making sure my other decorations were sparkly and elegant rather than country.  Not a problem since the decrease in the cost of the wreath base left $16.50 for decorations.
Near the straw wreath I found some little life-like birds for $2.50 a piece.  I bought two.
To replace the feather boa, I found some ribbon that was burlap with some gold accent down the center. Although this was in the Christmas stuff, it looked fall-ish to me and could help to hide the straw in my wreath base.  Cost $2.50.
I decided that I wanted the color theme for my Thanksgiving to be rose gold or copper.  I love these colors and, it just so happens, that Michael's had some rose gold colored "greenery".  I picked up two rose gold glitter branches for $3.00.  And then found one with gold leaves and copper and gold acorns for $2.00.
(This rose gold/copper is a theme that is going to continue throughout the month in the projects that I show you.)
And, with my treasures in hand, I went to create a completely different wreath than the one that I had first imagined.

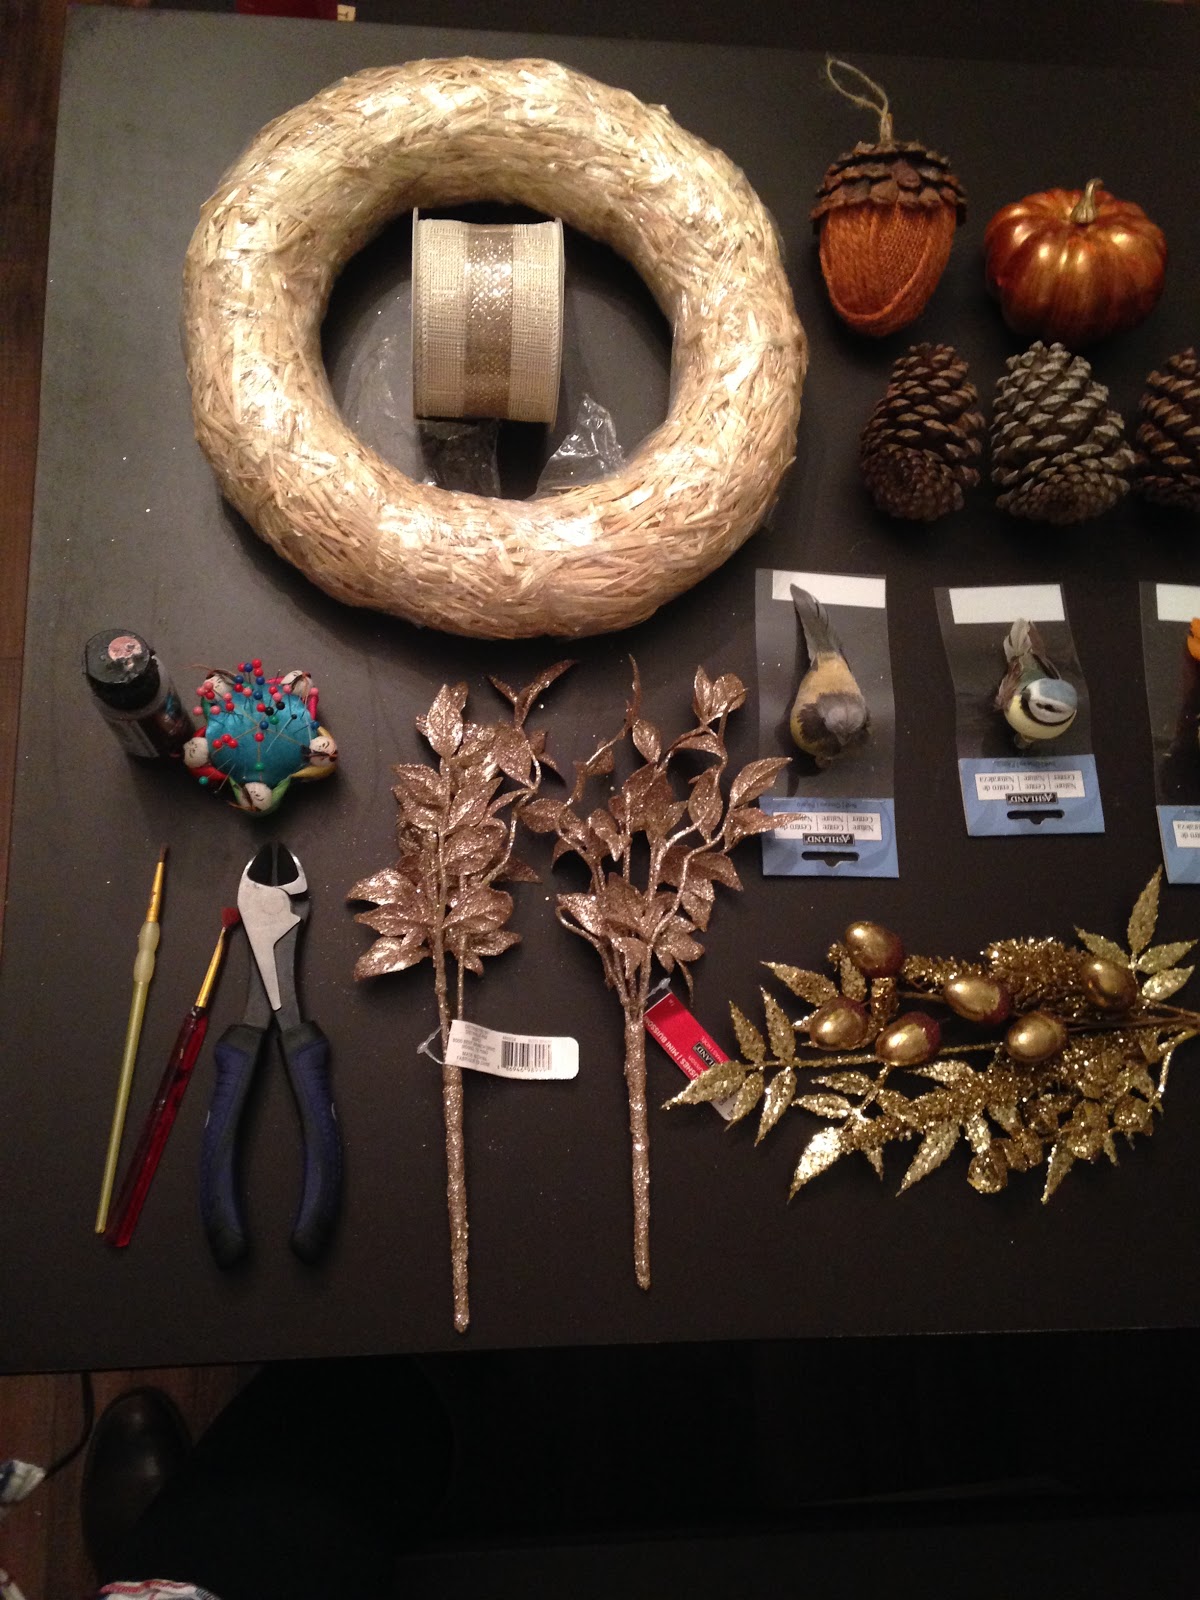
This picture also has more items than I actually used in the wreath.  I had thought to paint the tips of some pine cones that I had gathered from the yard with copper paint and add those to the wreath.  I was also thinking of adding the pumpkin.  But once I had the floral and birds on the wreath, I decided that was plenty.  But use your imagination.  If you wanted to add painted pine cones, go for it.

Tools 
Scissors
Wire Cutters

Items
1 Straw Wreath Form
1 roll of ribbon
2 rose gold glitter floral branches
1 gold branch with acorns
2 clip on feather birds
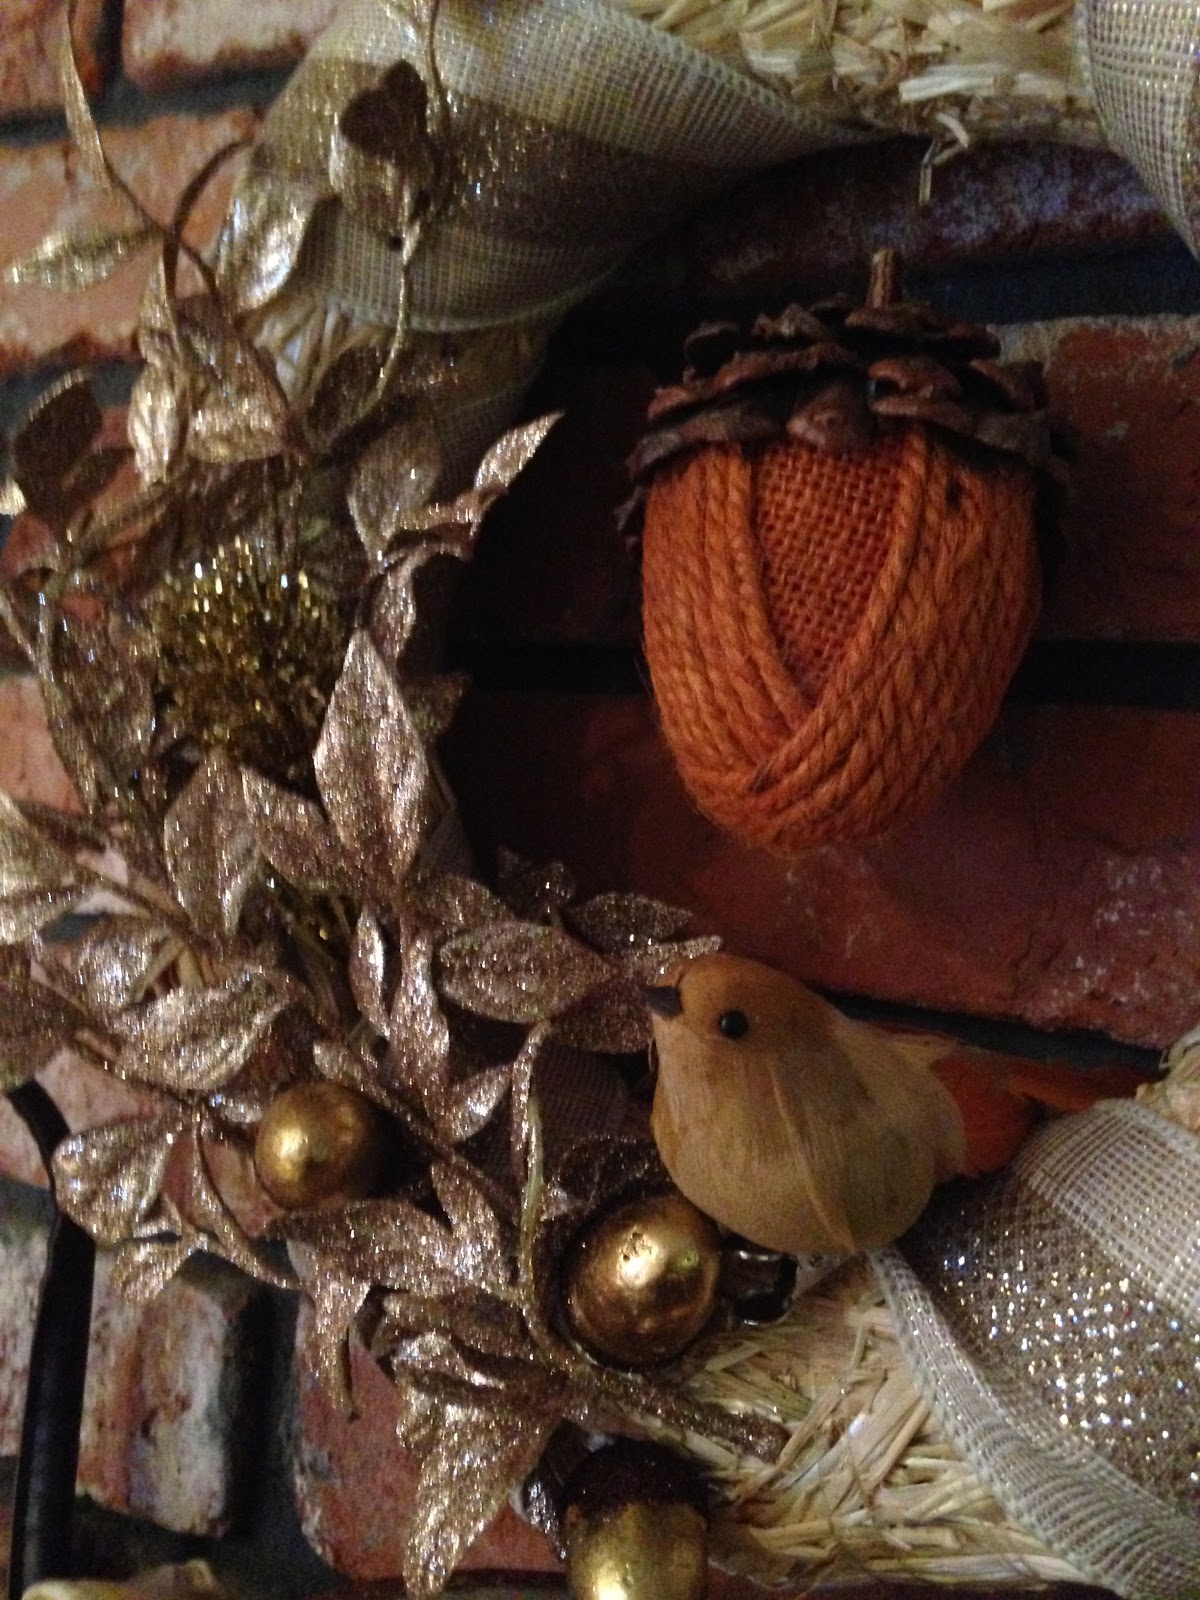
1 pinecone and rope acorn.  (Since you can get these at Michael's anymore, a good substitute would be to hang a pine from the center.  Try painting the tips with copper or gold paint to make it "gilded"
Several straight sewing pins
Twine

Instructions
1.  Unwrap the wreath from plastic wrap.  (You may want to do this outdoors because the straw gets everywhere. )
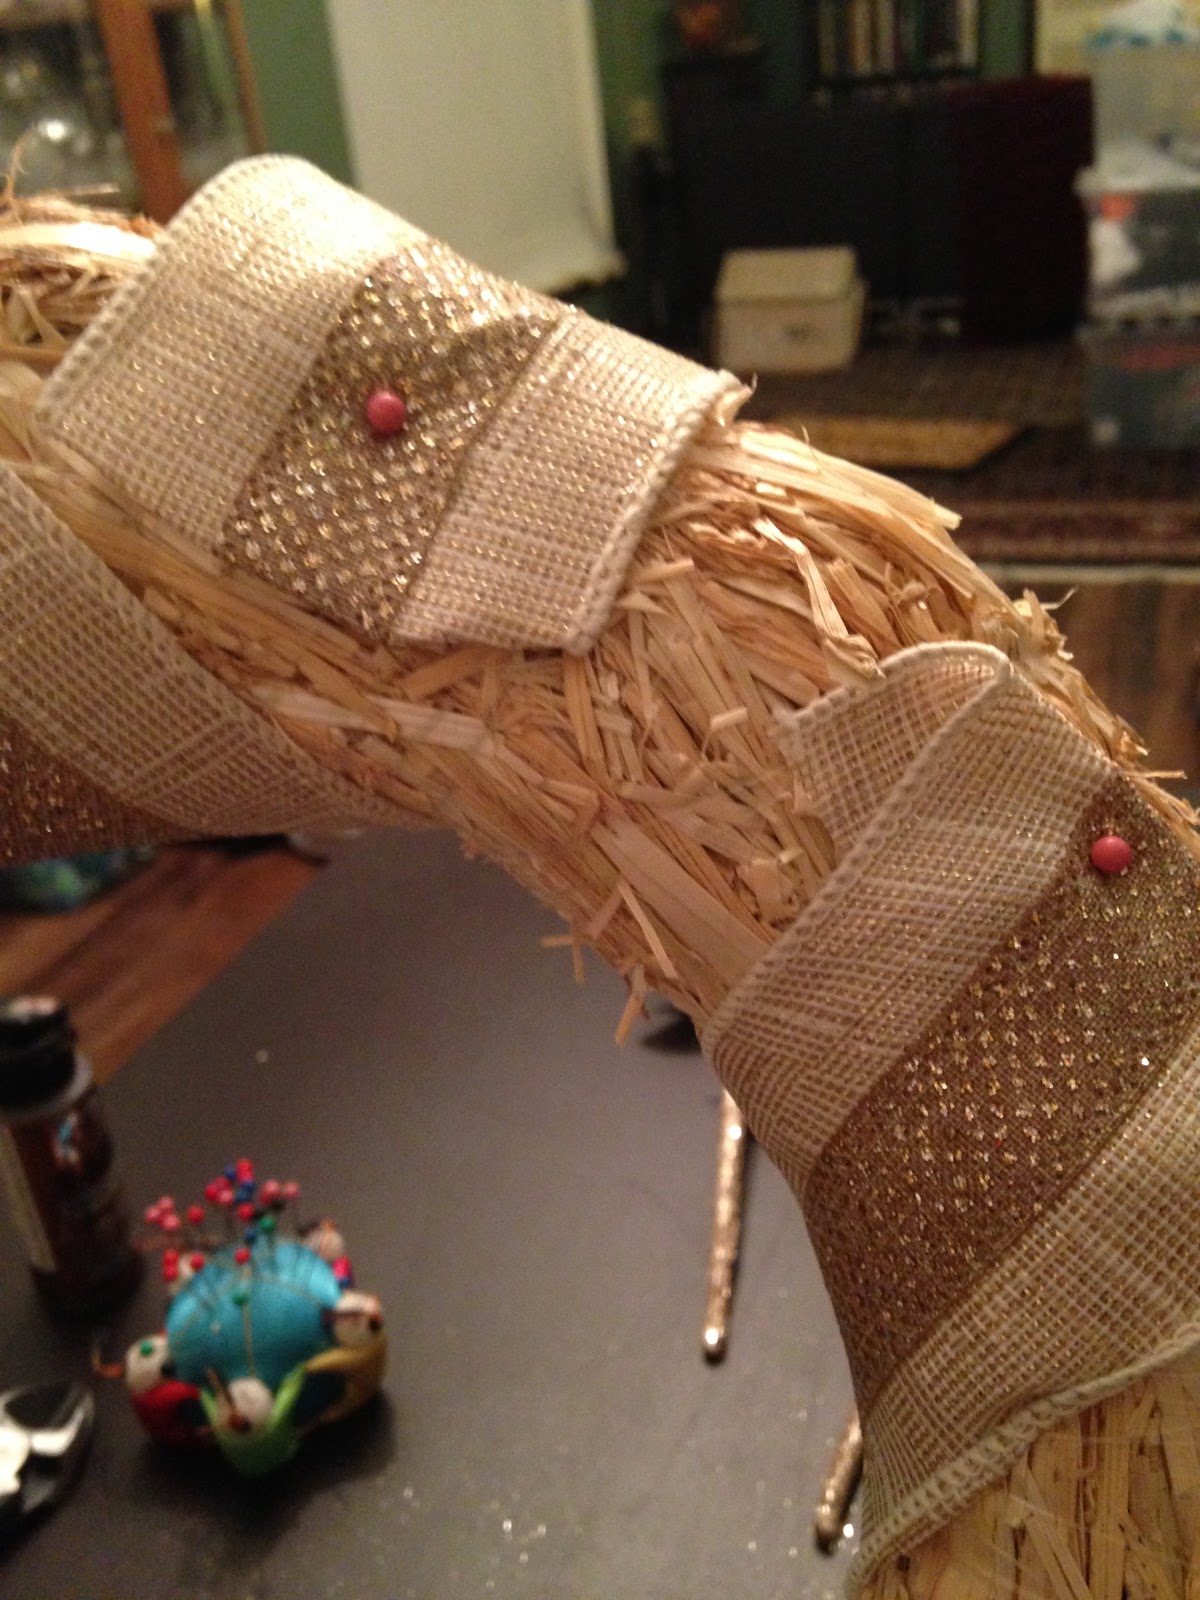
2.  Starting at the back of the wreath in what you have deemed the center, put a straight pin in the back of the wreath and the folded ribbon end to attach the ribbon.

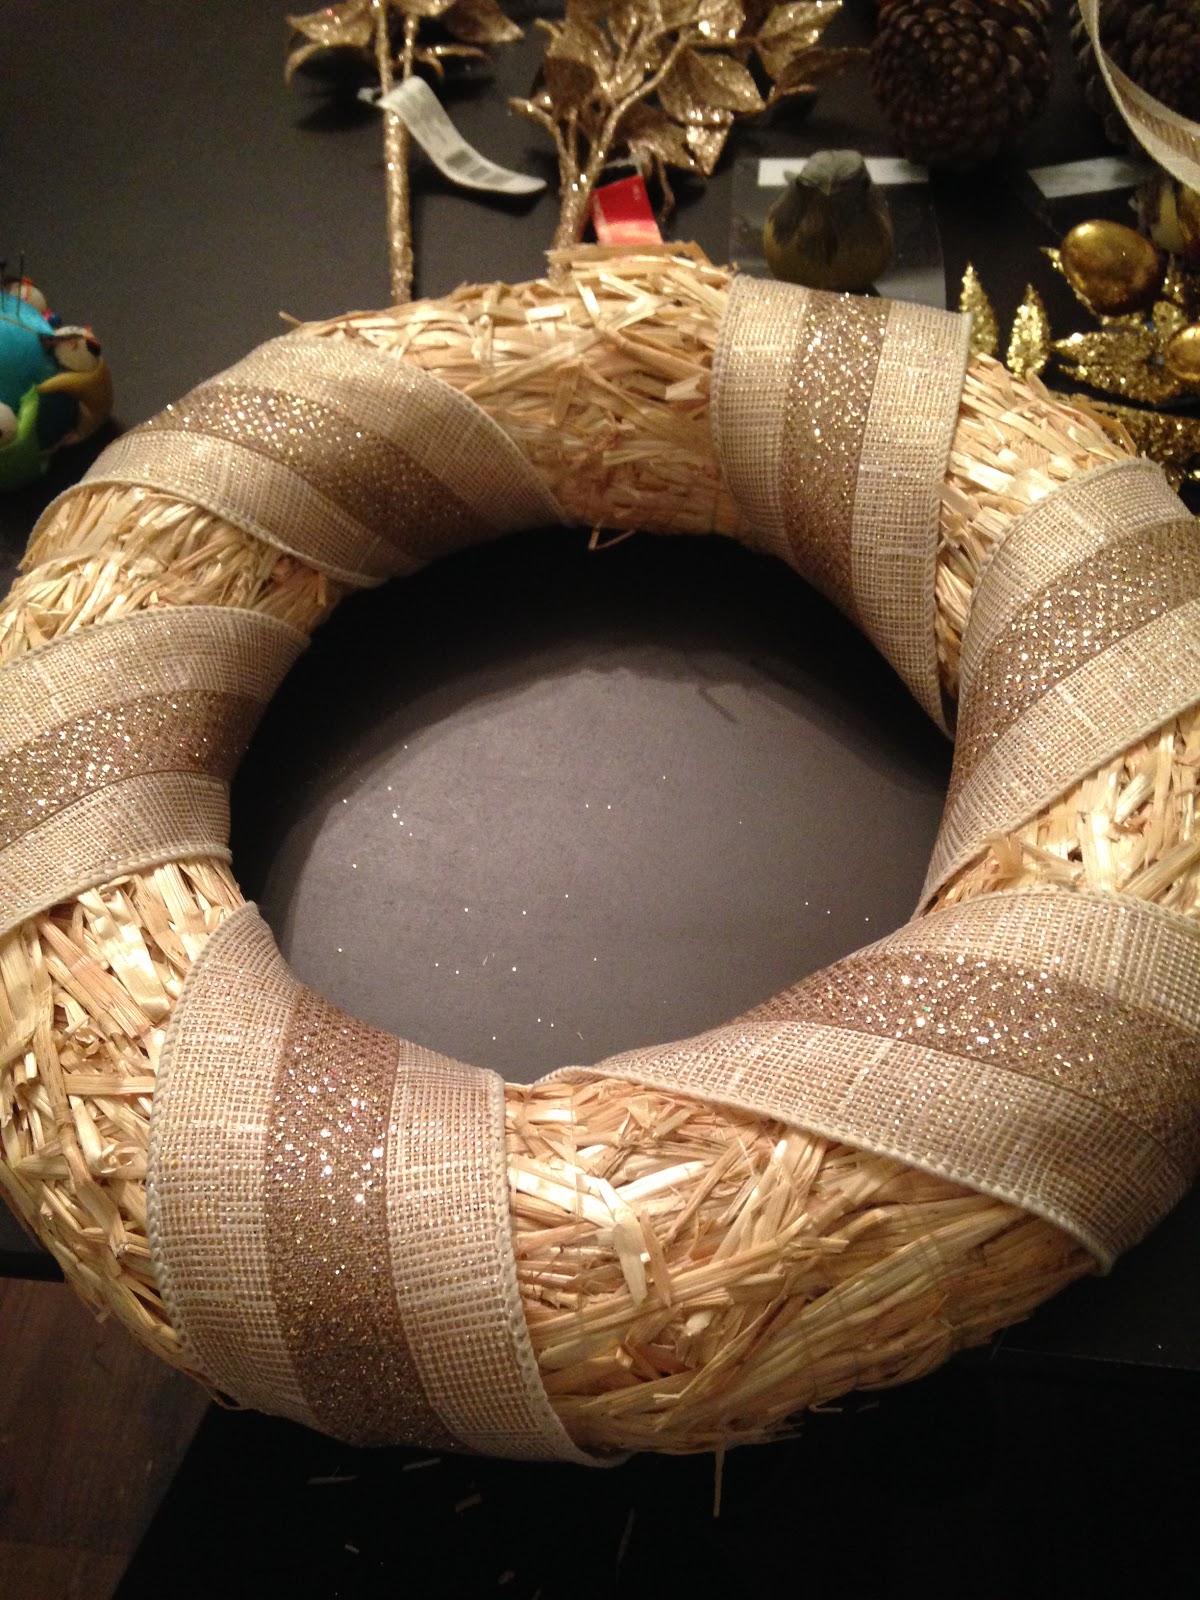
This shows the ribbon at the beginning and end.  As you can see, I fold over the ribbon and then put a pin through both the ribbon and the wreath.

3.  Wrap the ribbon around the wreath.  You can cover the straw completely or you can leave some showing.  My husband really liked the straw and thought that it looked very Fall.  I kind of agreed with him, so I left about two inches of straw showing between each spiral of the ribbon near the center of the wreath.
Once the wreath is wrapped, fold the end of the ribbon and attach to the back of the wreath with a pin.


4.  Turn your wreath to where you would like your top and bottom to be and start decorating.  I will tell you what I did, but this isn't a science, you should do what moves you.  If you want to cover the entire wreath with items, DO IT!!!  This is your wreath and should make you happy.
5.  Take one of the rose gold branches and stick it, base first into the left side of the wreath.  (I didn't not cut this at all, I just put it in the wreath and then fiddled with it until it looked like I wanted it to.)
6.  Using your wire cutters, cut the branches off of the other rose gold branch and put them down near the base of the wreath.  (When you cut them, you should leave enough wire so that you can just "pin" them into the straw using their wires.)
Add some of the gold leaves attached to the acorn branch so that you get some color difference in your "greenery".

You can see, its already starting to come together

7.  Using the wire cutters cut away three of the acorns and put them in the rose gold branches wherever you think they would look good.
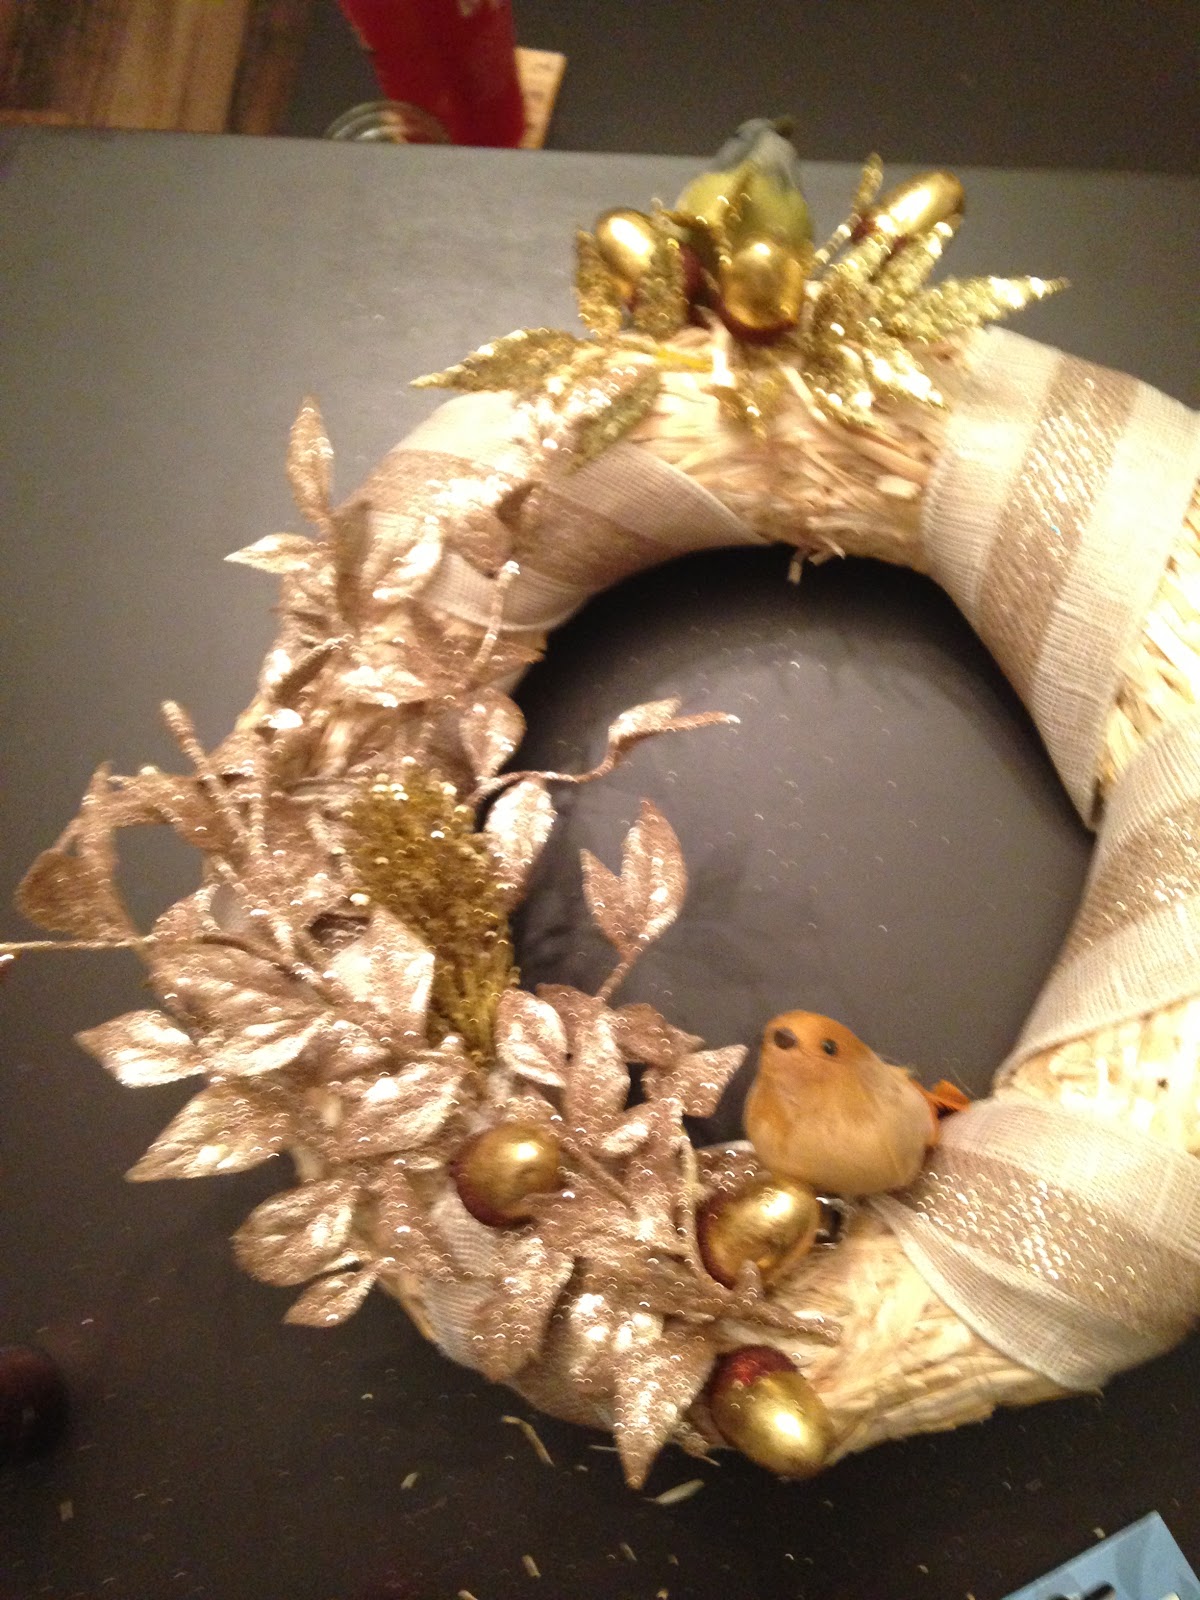
8.  Using the clip, attach one of the birds to the ribbon at the bottom of the wreath.  Do the same with the second bird at the top of the wreath.  Place your remaining acorns around the birds as well as some of the gold leaf branches left from your acorn branch.

I think these little birds are so much cuter than turkeys.

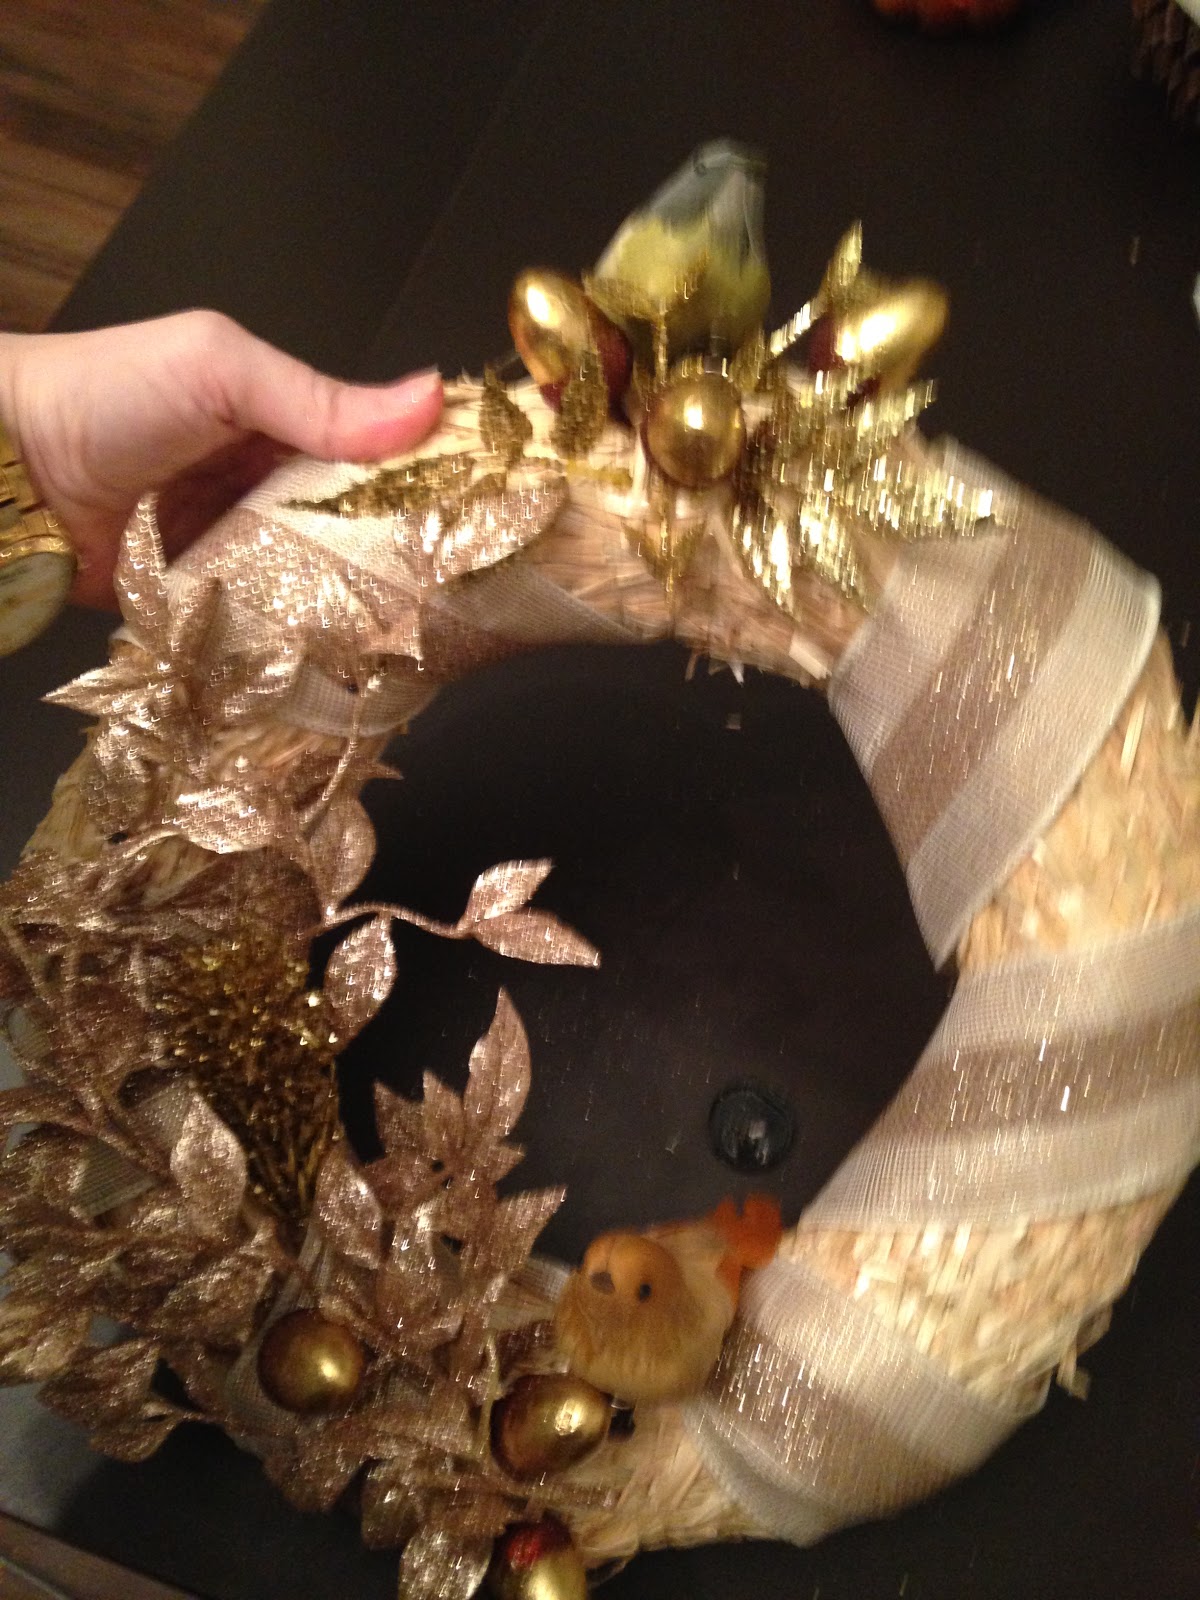
This picture is a little blurry, but you can see the bird on top better.
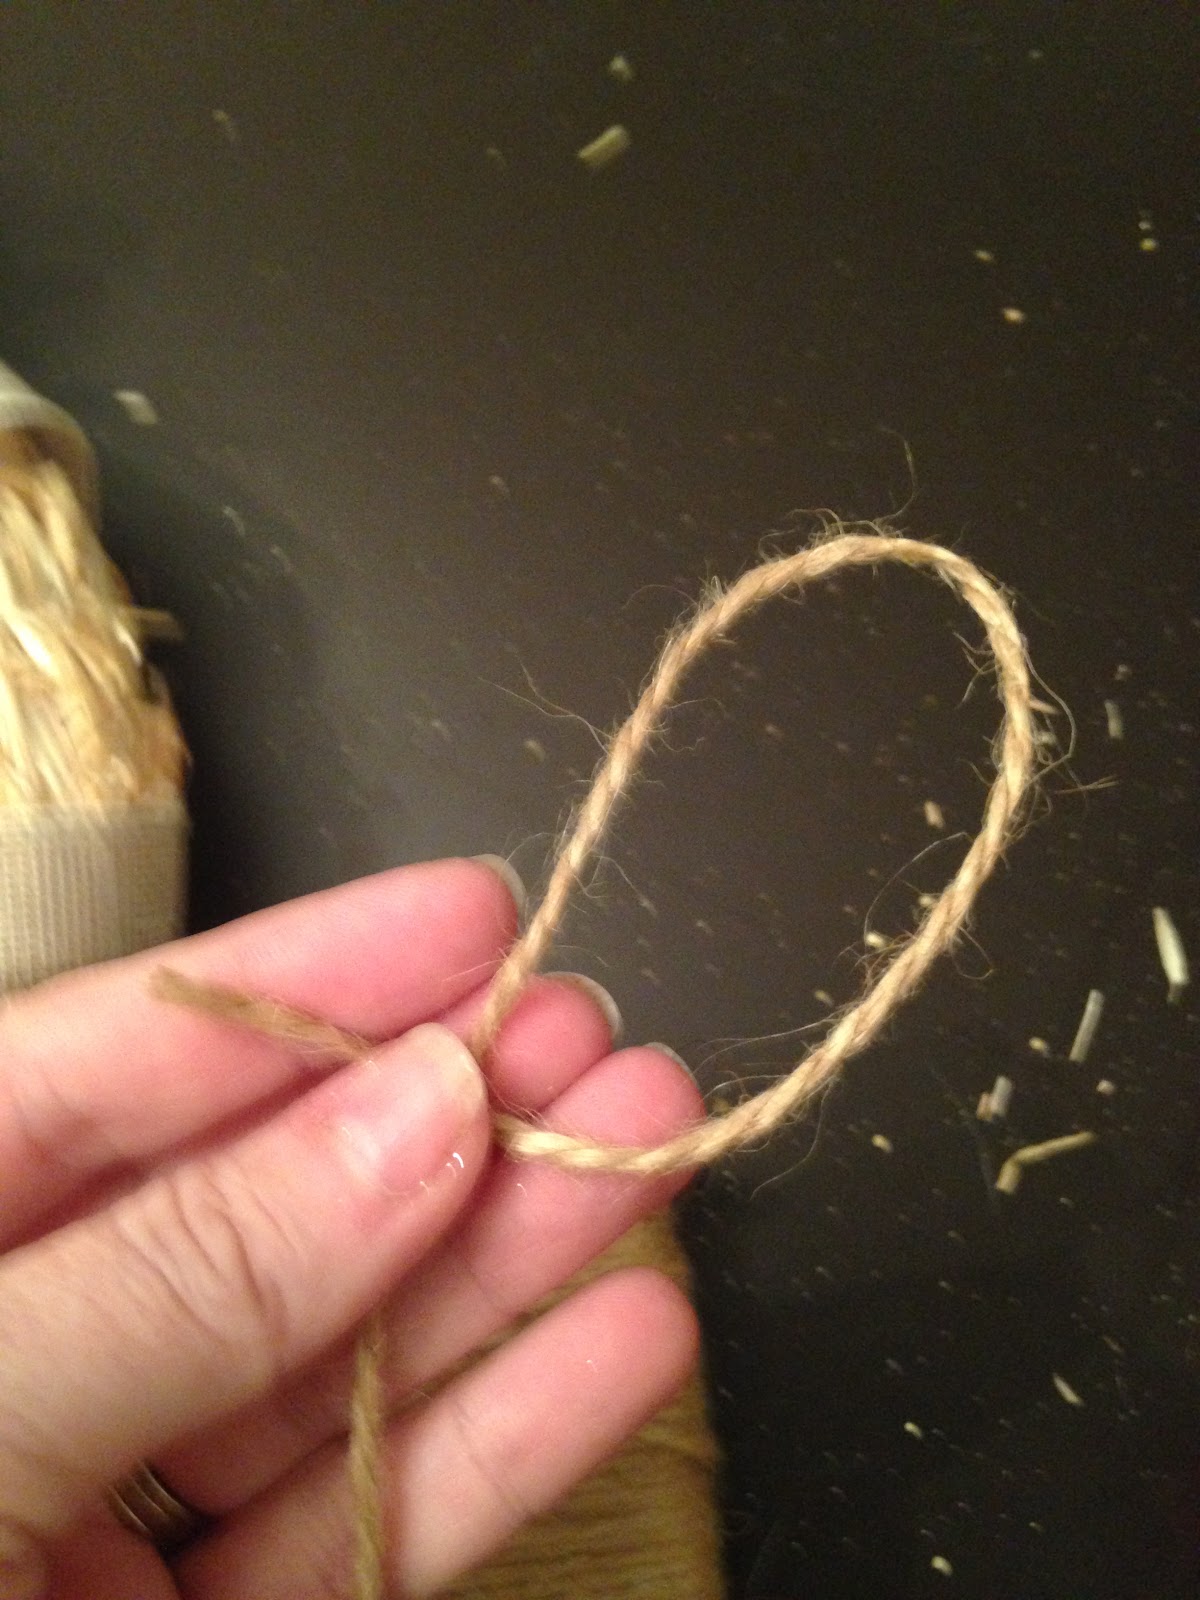
9.  At this point, the wreath is almost completed.  Now you have to make it hang-able.  Take some twine and cut it at about six inches.  Make a loop and tie together at the ends with a double knot.


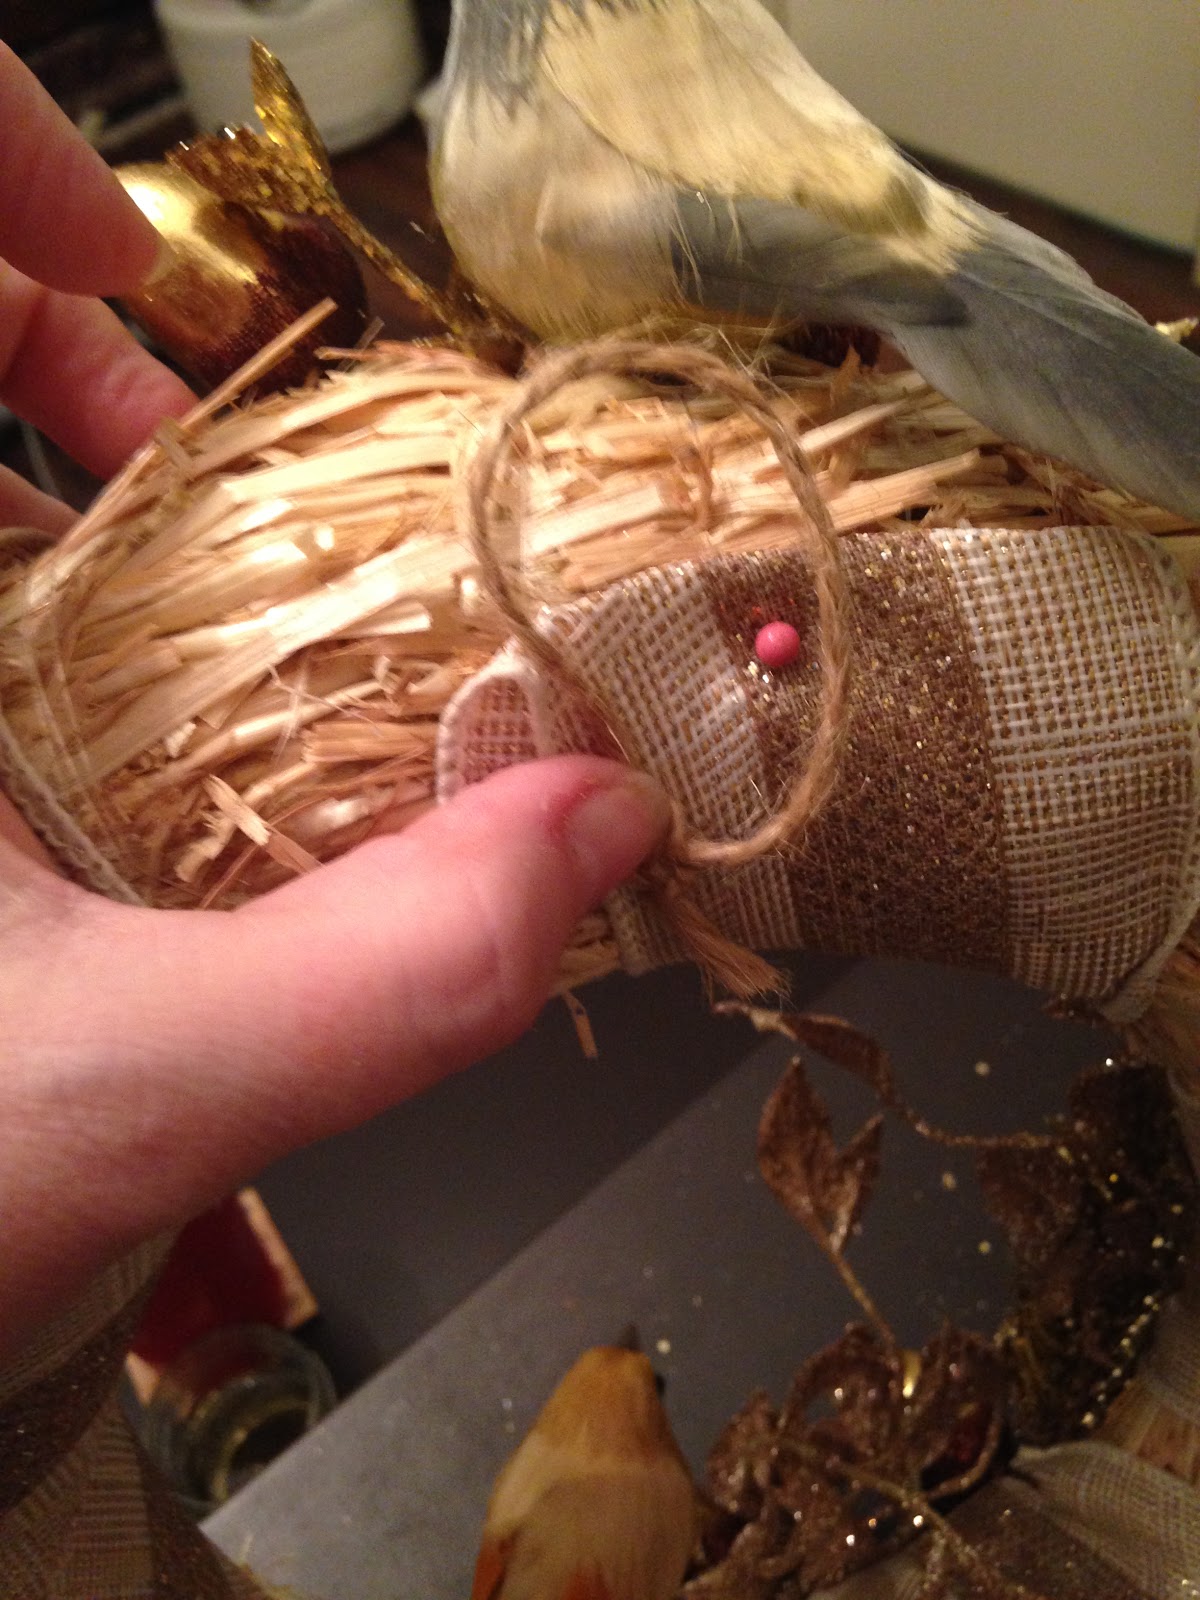
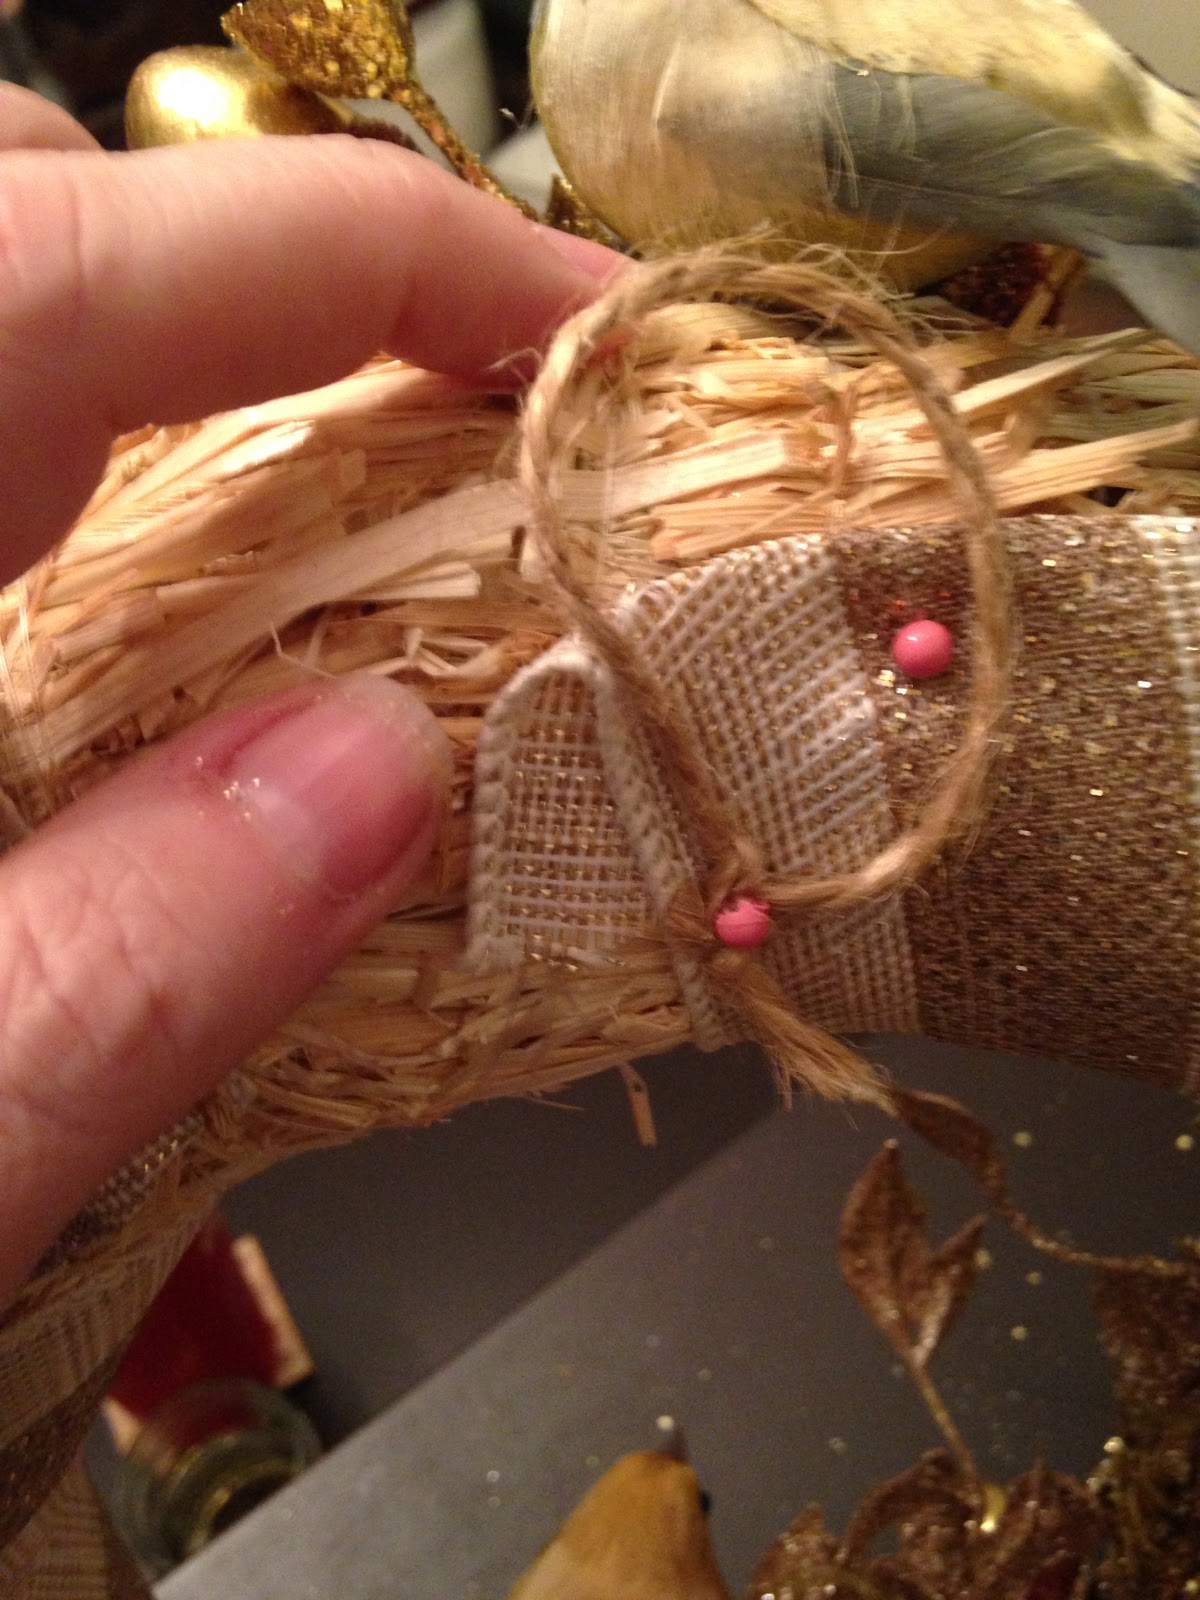
10.  Attach the twine to the back, top, center of the wreath by placing a pin in the middle of the knot and the wreath.

Put the pin where my thumb is holding the knot.

11.  Use another straight pin and attach the yarn acorn or the pine cone you have painted to the back center of the wreath, making certain that it hangs where you would like it to hang in the center of the wreath.  (If you are using a pine cone, you need to attach some twine to the stem of the pine cone and then pin that to the back of the wreath.)


12.  Some of the leaves in your branches will not want to cooperate and lay exactly where you would like them to lay.  This is an easy fix.  Take your straight pins and pin your leaves where you would like them.  For this instruction bit, I have used sewing pins but, to pin your leaves down where you want them for your project, use corsage pins so that the pins will not be visible.

Hang on your mantle above the fireplace or on your door and enjoy!

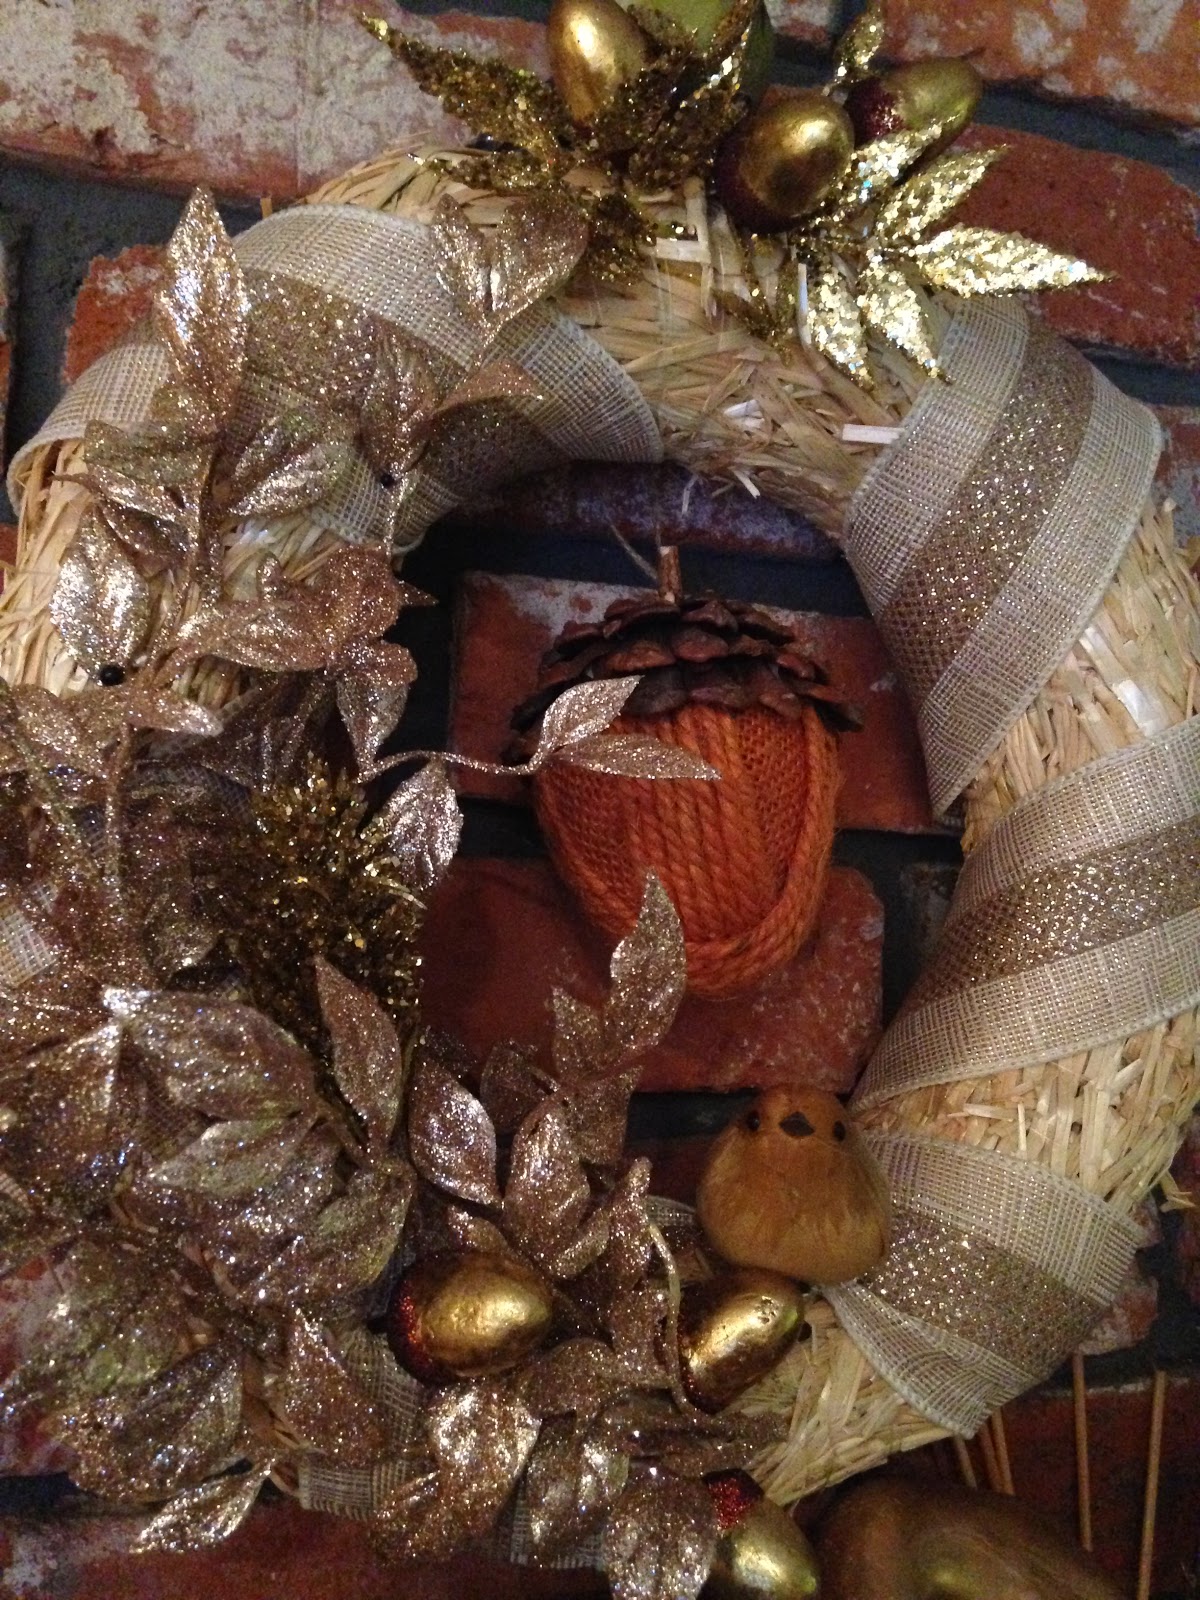
The mantle, ready for fall.

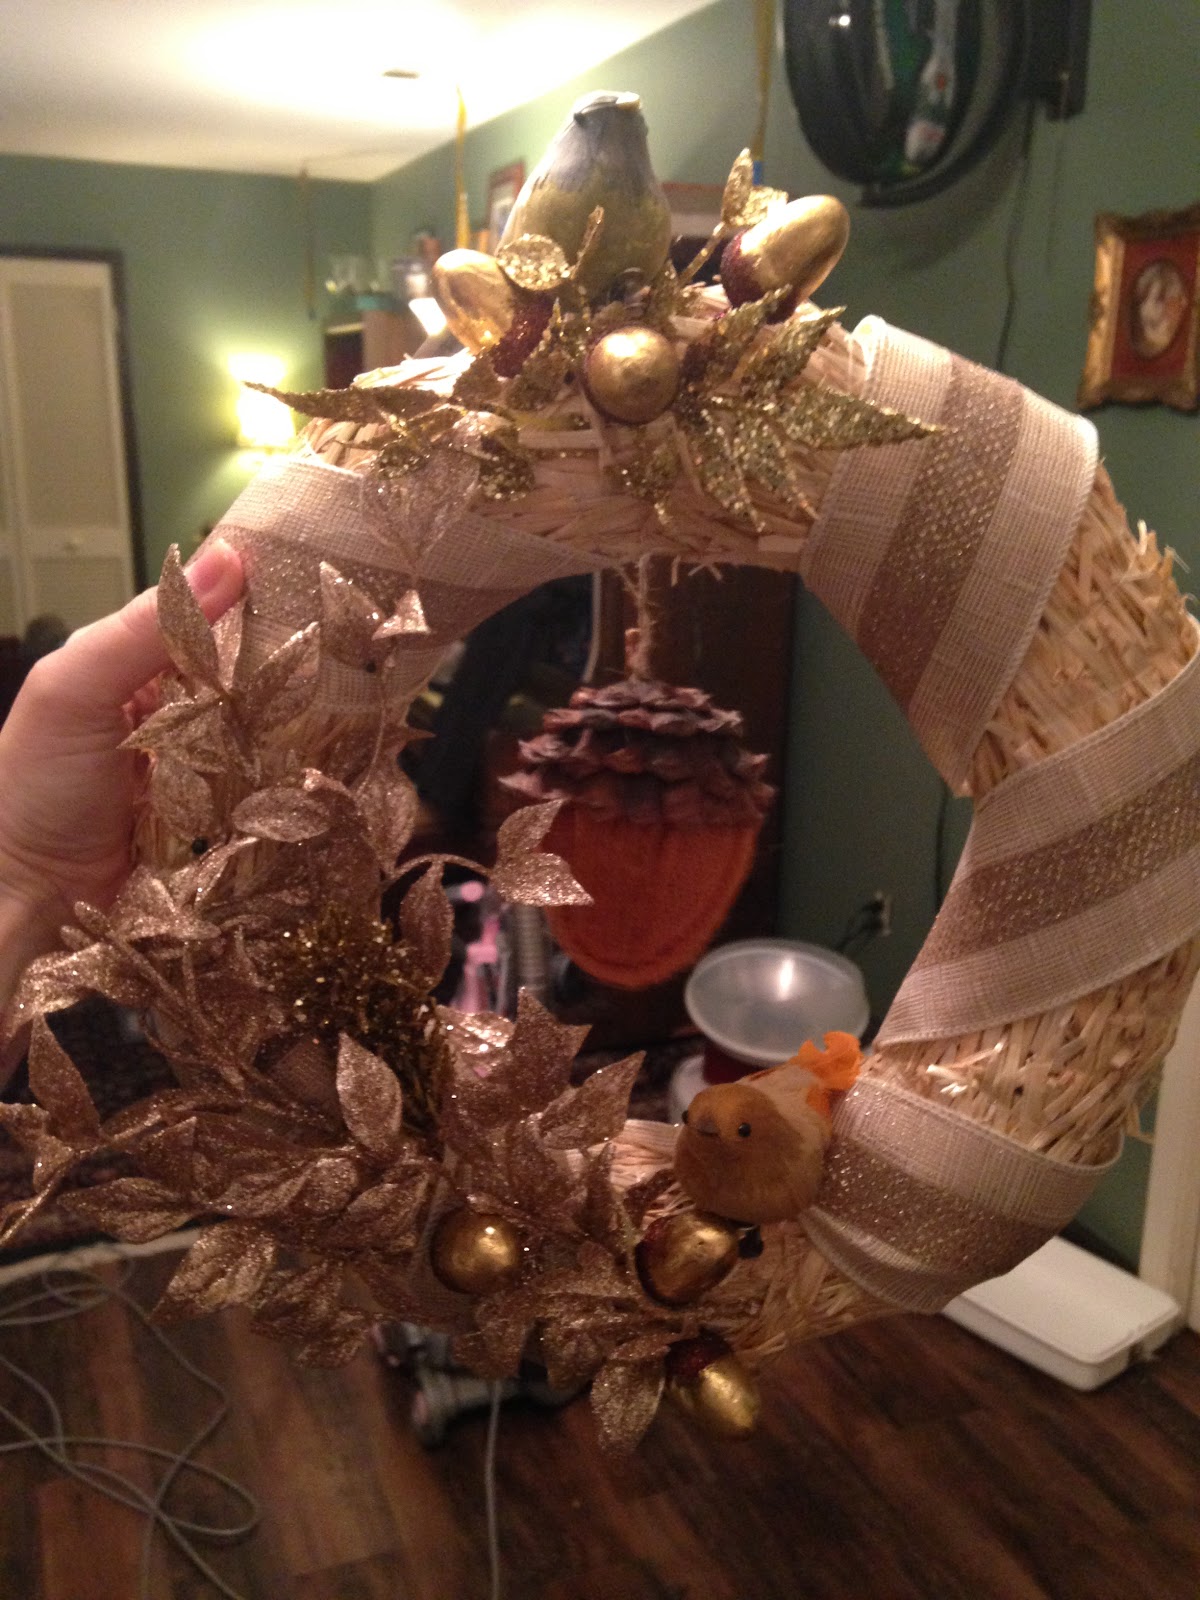
I tried to get a couple shots of the wreath.
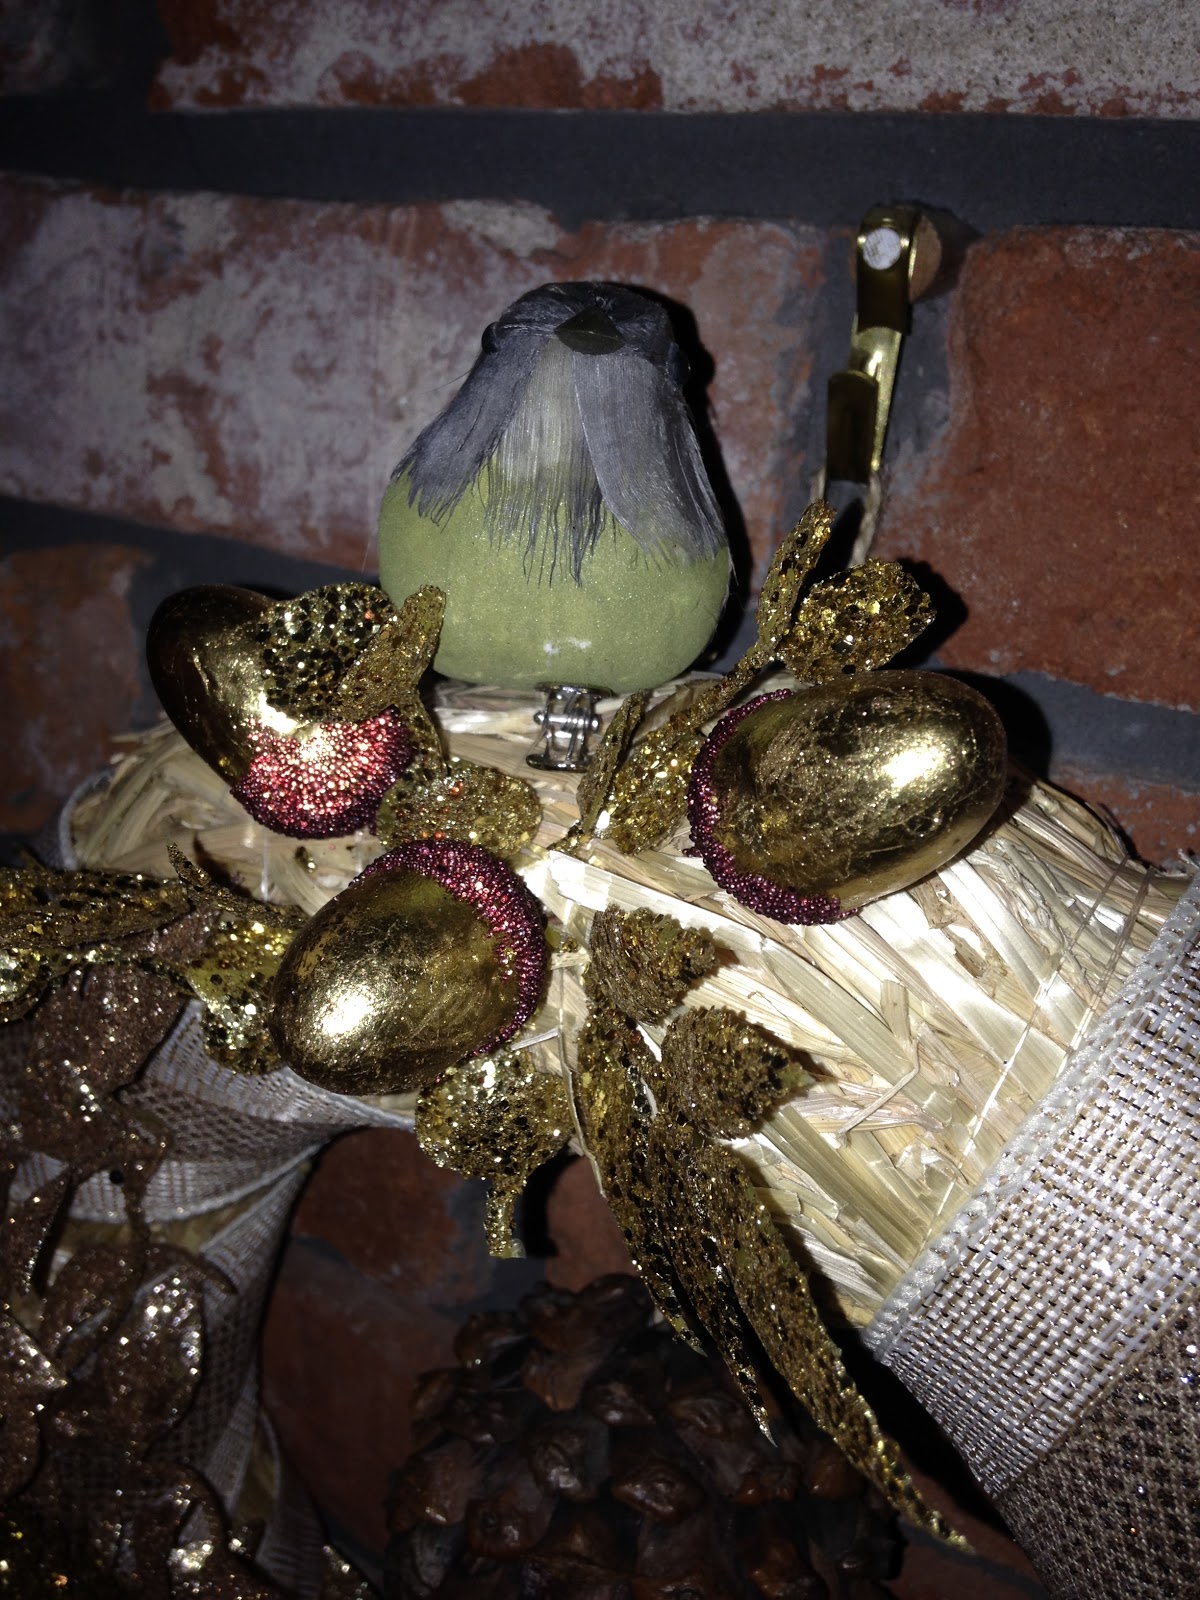
Getting a good picture of the bird on top was not easy.

So here's a picture of the top birdie, even though its not a great shot.
Well, that's it for this post.  I hope you enjoyed it!  I will post a few other ideas for table decorations, etc. on a budget in the upcoming posts and then, should everything go as planned, I will do a two week menu based on the Thanksgiving meal and items you will have remaining in your fridge.
Please let me know if there is anything that you would like to see for the Thanksgiving/November posts and I will see if I can't make it happen


Saturday, November 5, 2016

It's National Love Your Red Hair Day!!!

Hi Everybody!
It's national Love Your Red Hair Day!!!  Until last month, I didn't even know that was a thing.

Because it is National Love Your Red Hair day, I thought that I would break from usual posts about crafts, household hints and food and focus on some red head things for a moment.

I have naturally red hair, but I hate my color of red.  I refer to it as dishwater red because I think it is so boring, so I color my hair but I almost always try to stay with a shade of red.
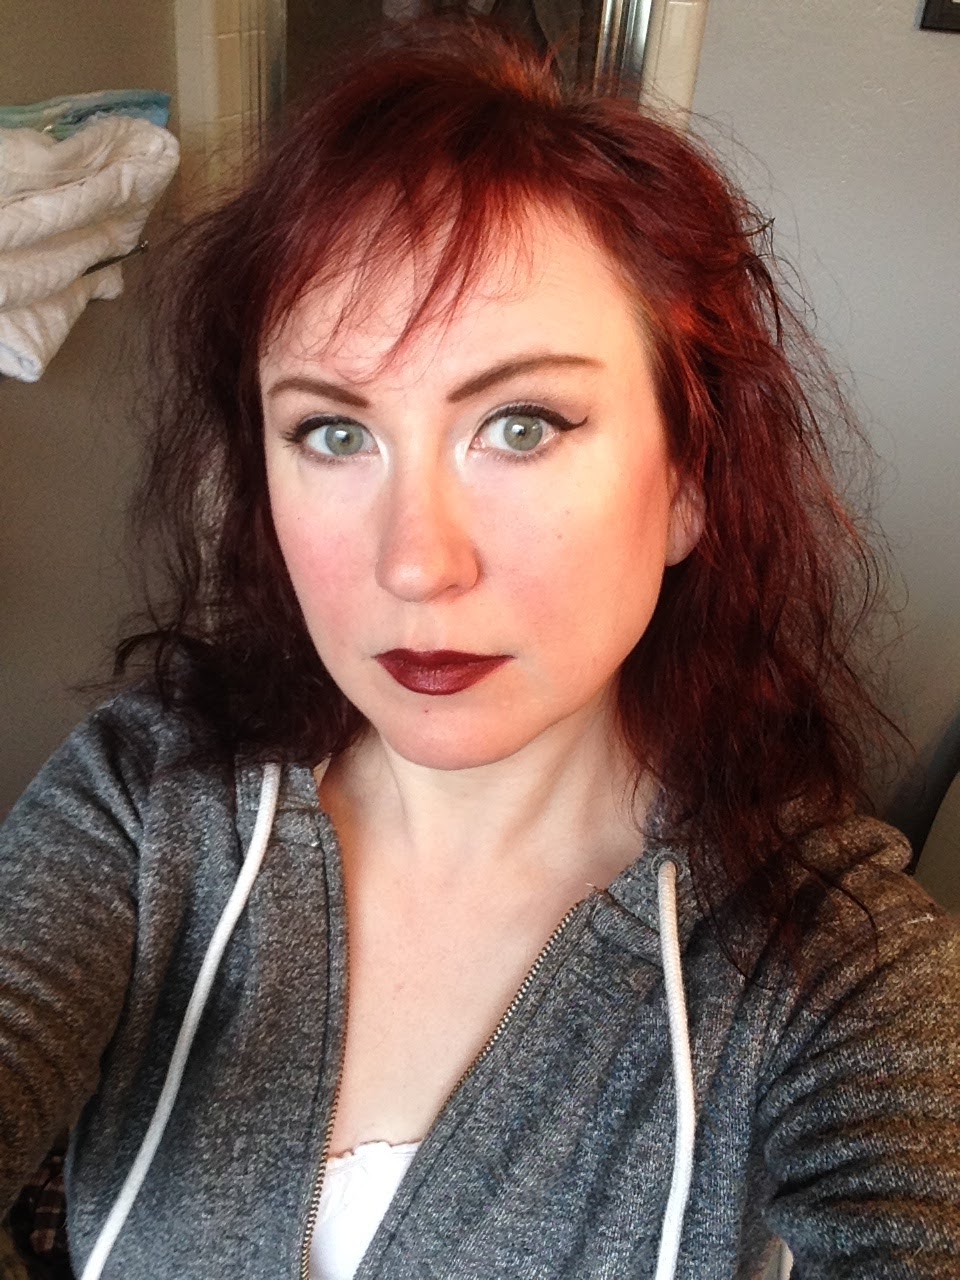
Here is a shot of my hair almost under control.  This shade of red is just one shade darker than my natural red.

Here is my crazy Irish wave if I just let my hair dry naturally without straightening it.  This is also the color red I tend to love the most,

As I am part of a hair minority - I love that quote from Elle Woods in Legally Blonde - I thought that I would share with you some of my red head wisdom and some redhead facts that I have gathered for the day.

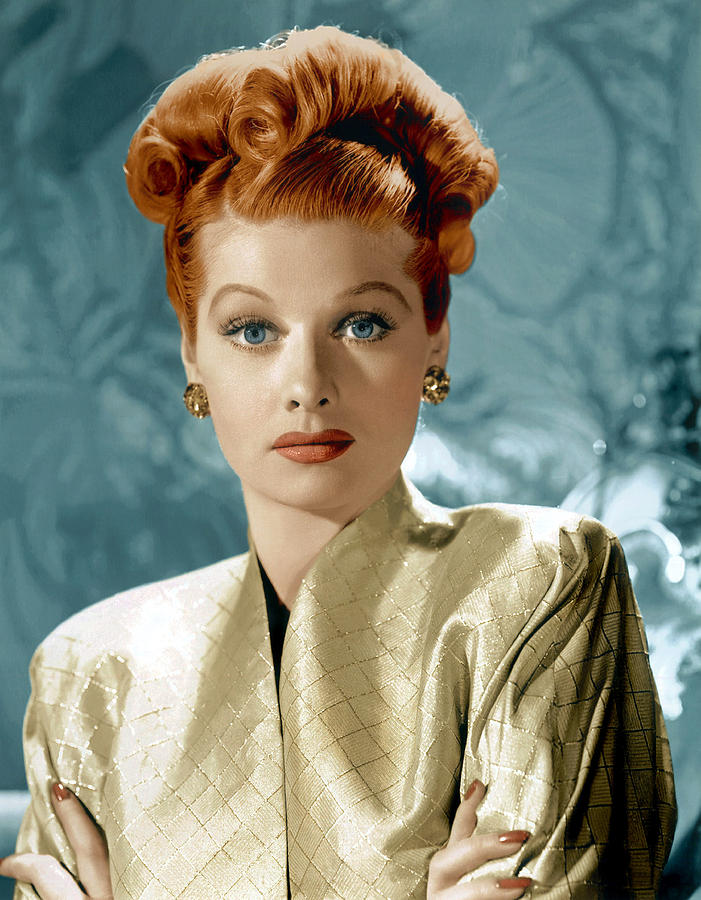
One of the most famous redheads there is.  This is Lucille Ball during her Hollywood years.  Talk about glamorous.

A Song for Redheads

Its always good to start with a song.

This song is hysterical  and whenever I meet a fellow redhead, I have them listen to it.  It is by Tim Minchin and is called Prejudice.

https://www.youtube.com/watch?v=KVN_0qvuhhw

Rita Hayworth as Gilda.  Proof that redheads can be femme fatals and that not just blondes have more fun.

Make-up for Redheads

Any redhead can tell you that makeup can be very hard to find if you are a blessed with fiery locks.  Foundations are too dark, as are many mascaras.  Bronzers can have a tendency  to look muddy on our pale skin and, yes, you can wear red lipstick but it can take a great search to find the right shade for you.

To help my fellow redheads, here are some of the products that I have found and use religiously.  You will notice that none of these are items that you can get in your local drug store.  Makeup is one area where the Frugal Femme spends a little more money.  I have very sensitive skin and eyes and I used to always have swollen glands near my eyelashes because I was having an allergic reaction to my makeup.  I didn't put two and two together until one day when I was complaining about my lower lash line being swollen again and my husband asked me what type of makeup I used.  I told him the cheapest I could find and he exploded.  "This goes on your face! Get the good stuff!"  And off to the mall we went.  He was right though, I have not had an allergic reaction since I have started to use the good stuff.  The trick is, that you only get what you need and you don't allow yourself to have impulse buys like you would with drugstore makeup.  So the products that I am going to tell you about are, pretty much exclusively, the only products that I use next to face powder.

Mascara

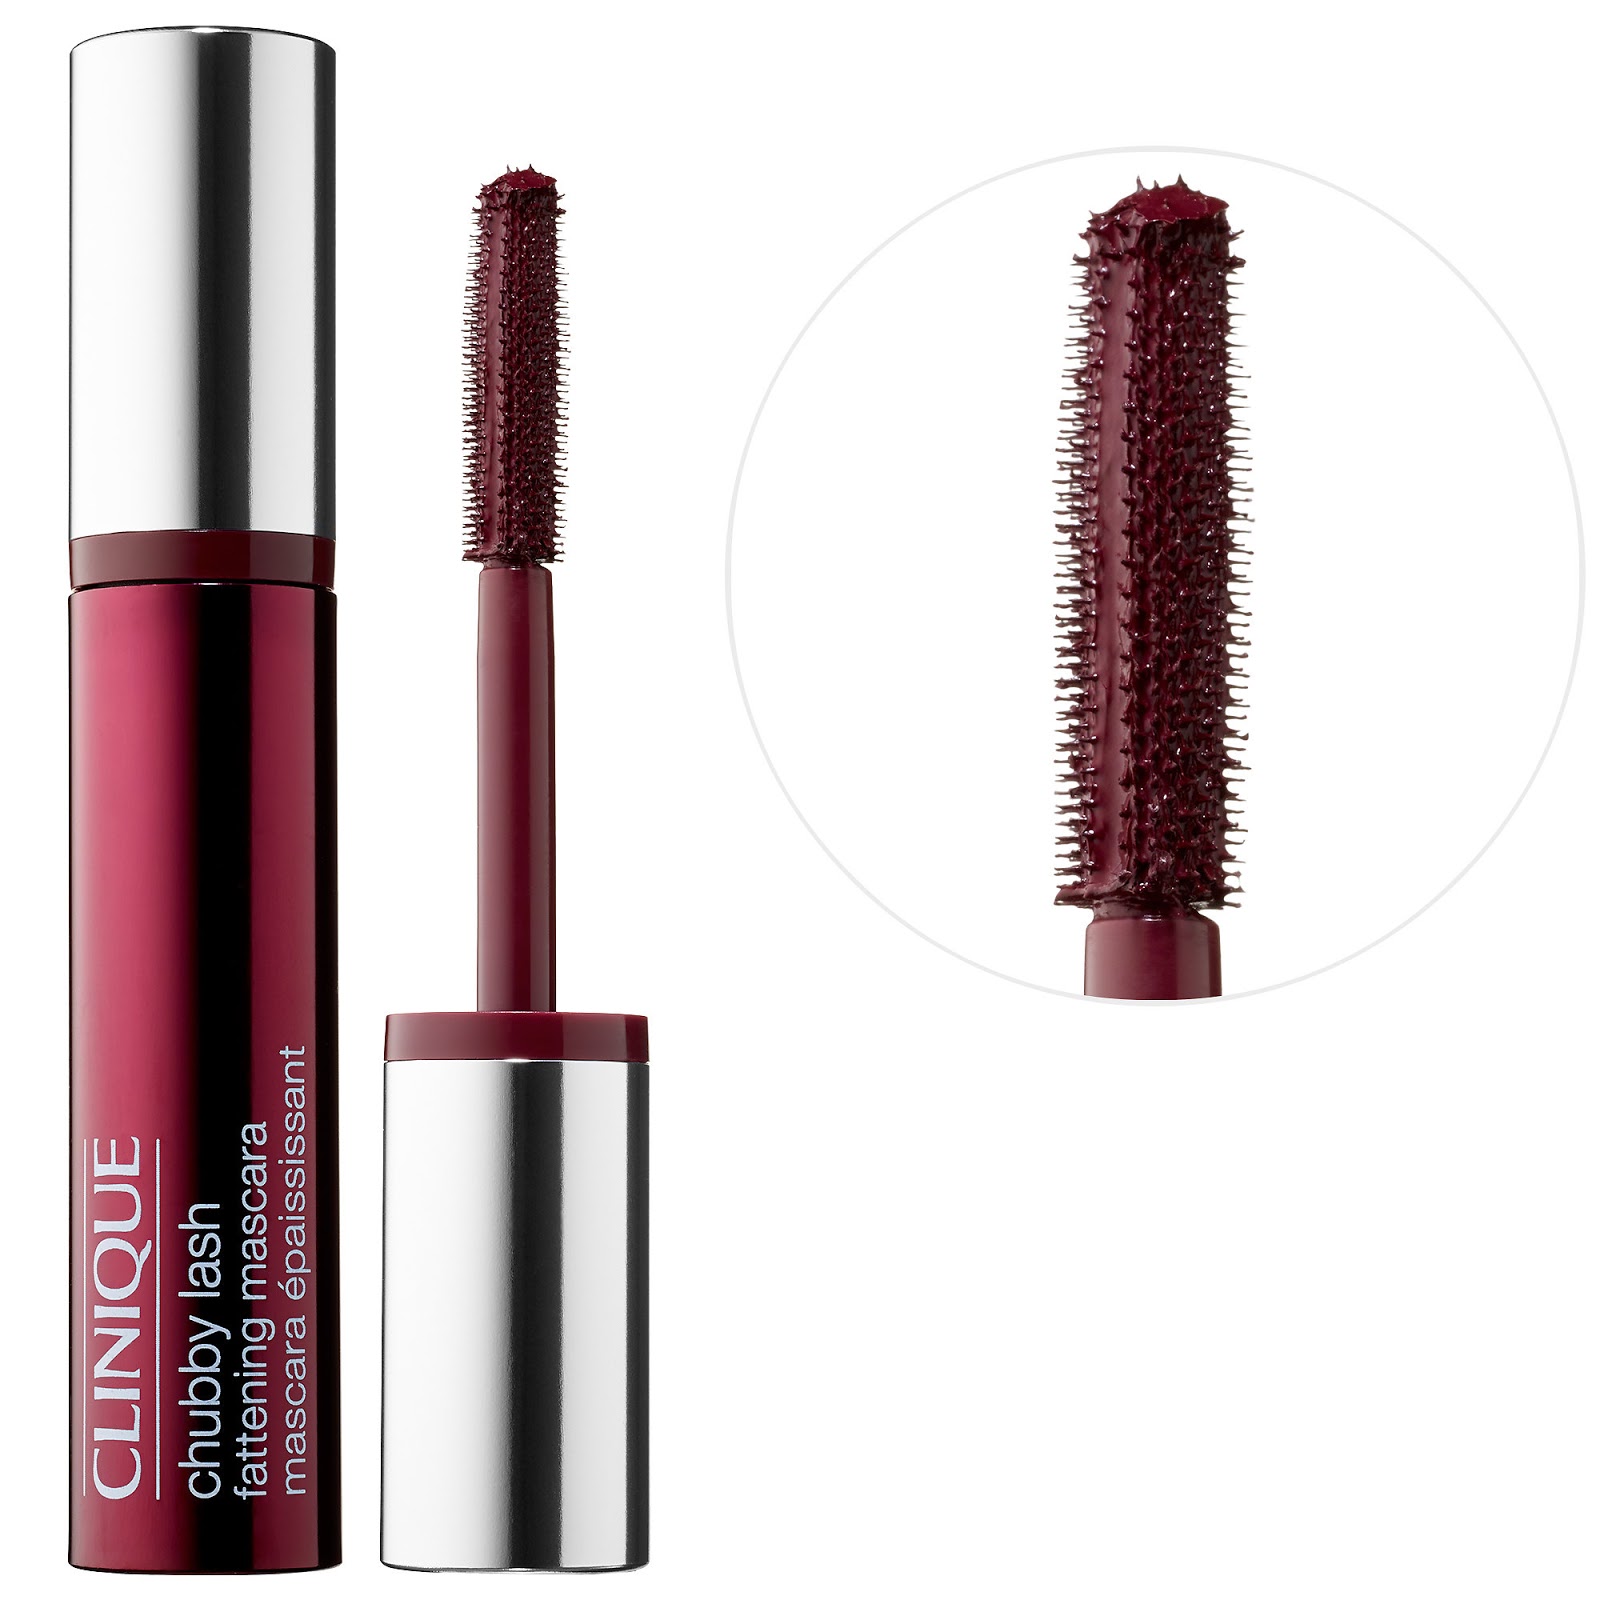
Clinique's Chubby Mascara in Black Honey


This item is exclusively at Sephora.  I have found it nowhere else.  Not even at Clinique at the mall.

This mascara could have been invented for redheads.  It has just a tint of maroon that looks lovely on redheads with our pale skin.  And it is the most natural color that I have yet been able to find to match my hair.

Bronzer

Tarte's Park Avenue Princess Pink Bronze


Alot of bronzers can look muddy, streaky or just plain weird on the skin of a redhead.  For it to look more natural, we need that tint of pink in our bronzer.  This product gives me color in my face so that I don't have to look pale as death and makes me look healthy rather than like I am misguidedly trying to contour my face.

Eye Shadow

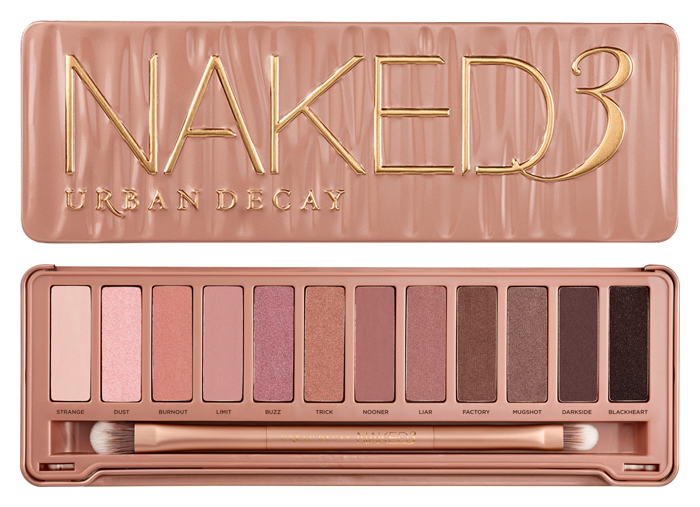
Urban Decay's Naked 3

Honestly, all of Urban Decay's Naked eye shadow collections are good to have, but this one seems to have been made for those of us with titian manes.  I personally love all the browns with the slightly pink tinge.  You would think that you would look like you have an eye infection once you put it on but instead you just look beautiful.

Red Lipstick

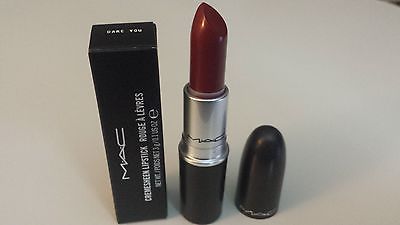
MAC Cremesheen Lipstick in Dare You


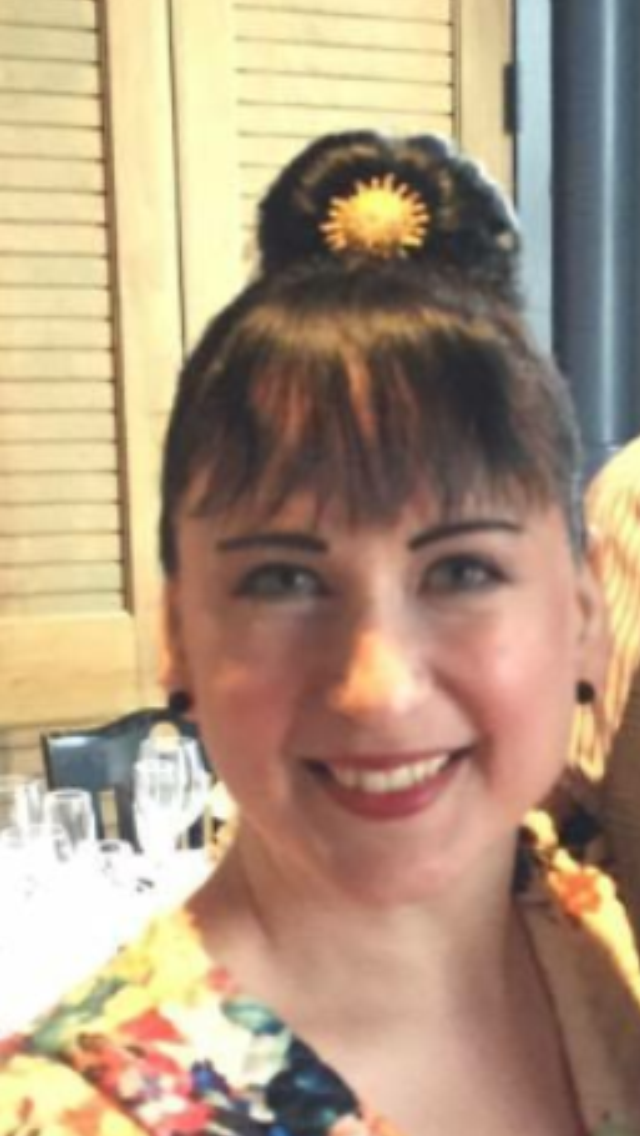
This is the color that I am wearing in the hair photos below.

YES YOU CAN WEAR RED LIPSTICK!!!!  I don't know how many times that I have heard redheads say that they look bad in red lipstick.  WRONG!  You just have to find the right color of red.  What works for some might not work on others.  This is the shade that works for me and, in truth, it is not a true red but is more of a burgundy.  It is the second red that I have found and cannot live without. I found it when I was on a mission to replace my first red lipstick love- Chanel's Fatale- after they discontinued it.  This is one area where you want to go to the makeup counter and try the color on your lips.  The hand test doesn't work, the pink of your lip changes the color of red.  Keep trying until you find the red that is right for you, that is why sample counters exist.


Some days, when I am feeling lazy, I just wear a little face powder, and the above face products, minus the eye shadow, and I am ready to face the day.


Fun Facts About Redheads

*  2%-4%, depending on the which study you look at, of people in the world are redheads.

*  The gene for red hair is a mutant gene and is a recessive gene.  Because of this, redheads are going to become an "endangered species" and, according to National Geographic, by 2060 natural redheads will no longer exist.

*  Redheads are not likely to go grey!  The red color just slowly fades out of the strands leaving the hair blonde or white.

*  Bees are more attracted to redheads.  I haven't found a study on it, but from personal experience I would also say that so are mosquitoes - those little jerks always seem to go for me before anyone else.

*  Red heads have less hair than other hairs colors.  It just tends to be thicker so that it looks like they have as much hair.

*  Marilyn Monroe was a natural red head!   As a Marilyn fan, this fact tickles me.  On the complete opposite of the color spectrum, so is Dita Von Teese.  So, if you are ever thinking about changing your fiery locks, these two color extremes will probably look good on you.

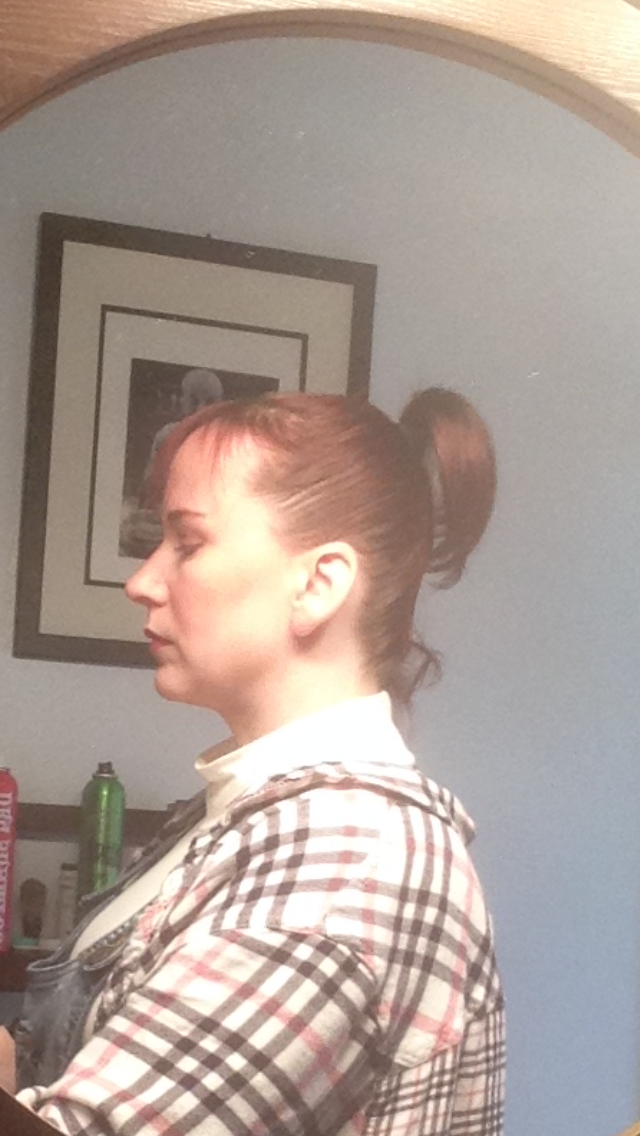
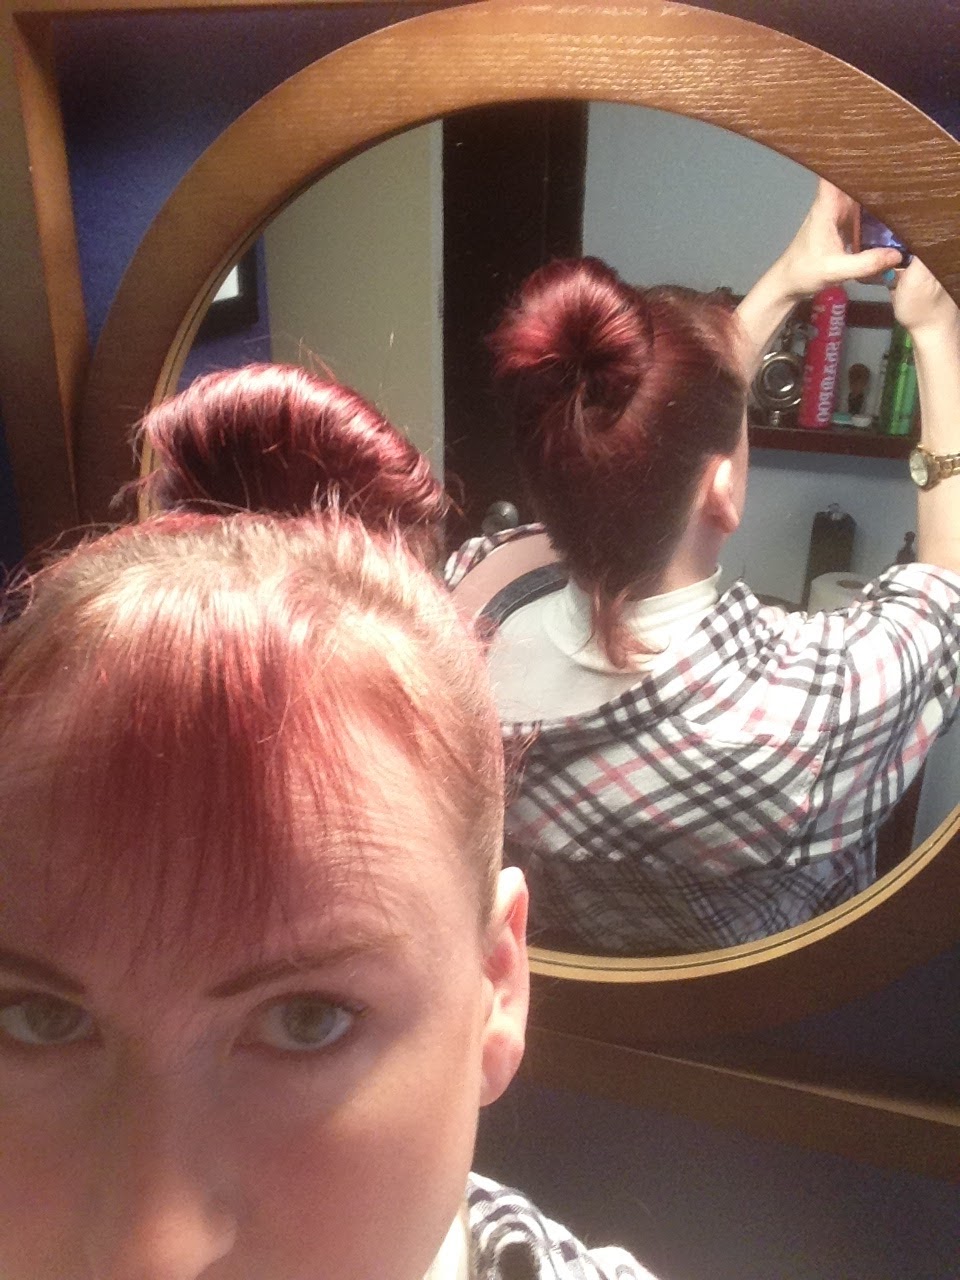
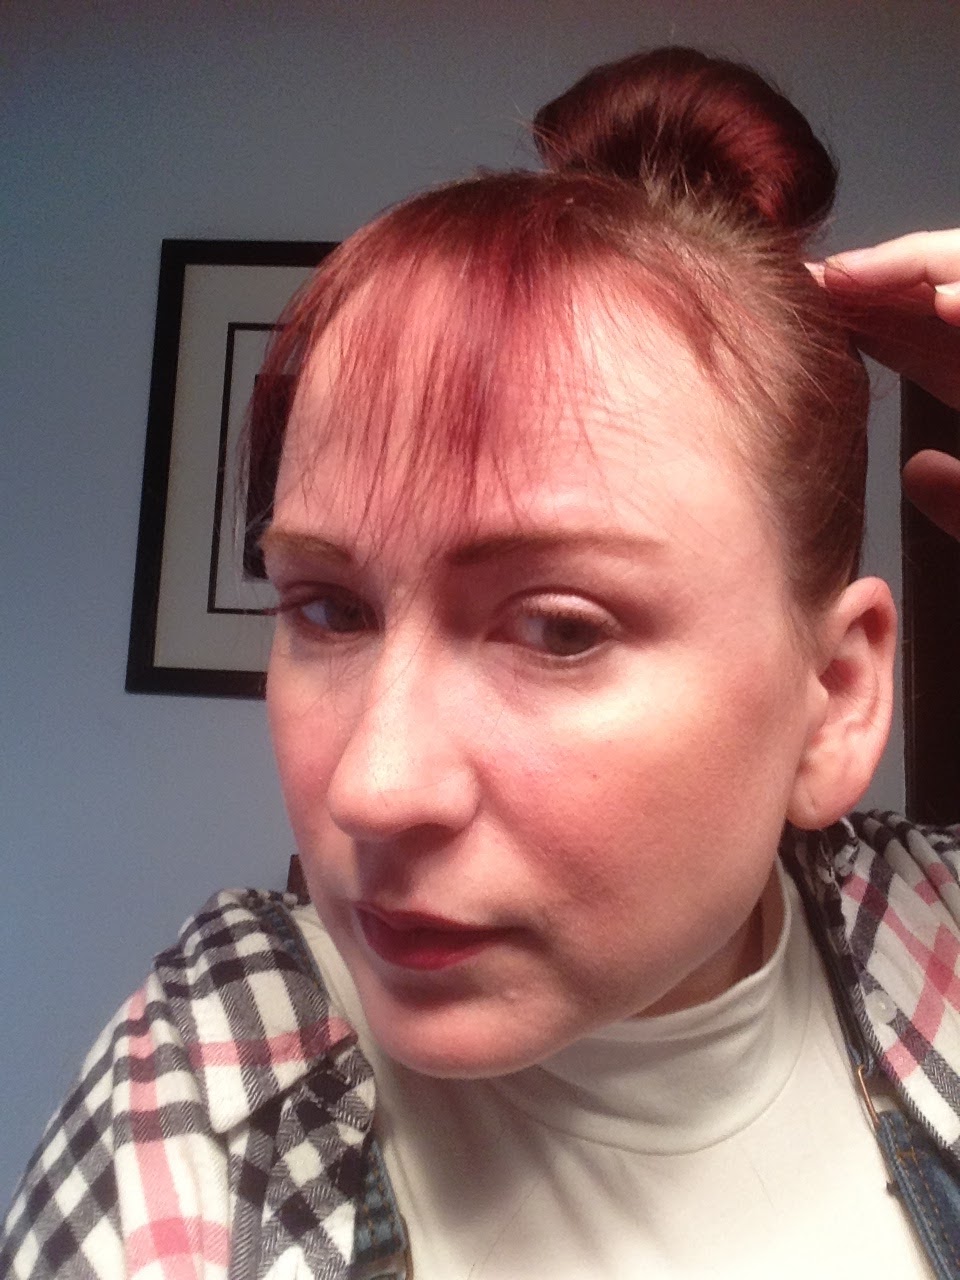
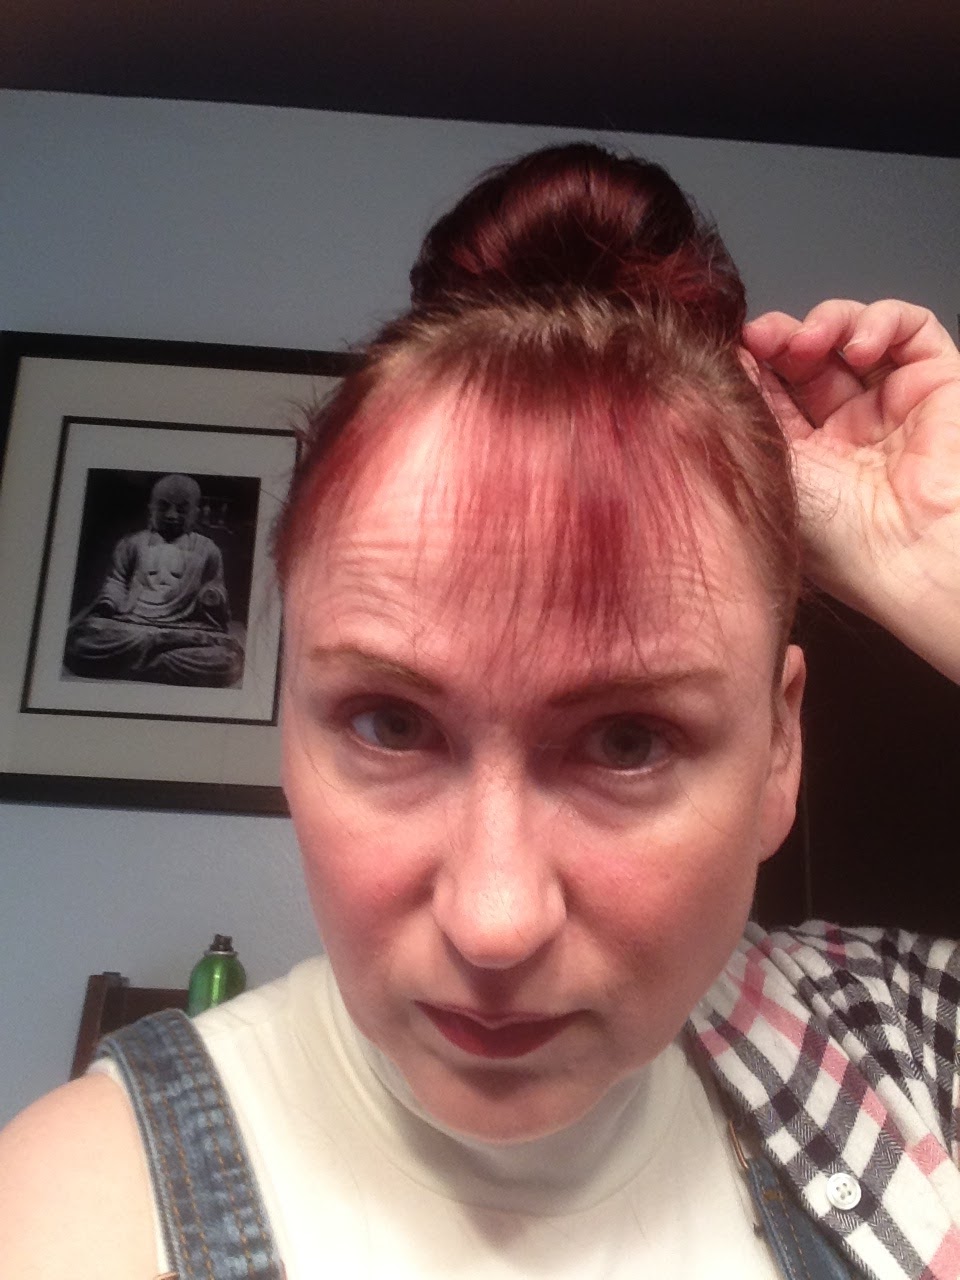
And finally, in honor of the day, I will show you how to do my favorite, easy "out" hair do.  Please excuse the pictures, its just me here today while my husband watches the game so I had to selfie them.

This is one of the rare photos of me without red hair.  I had blue black hair for about three months this year, but I thought it was a good picture of the hairdo, so I had to include it.

Carole's Favorite Up Do 

Instructions
1.  Start with hair hair that has not been freshly washed.  Fresh washed hair tends to be too limp to stay in the hairdo.  If you have freshly washed hair use liberal amounts of either dry shampoo or texturizing spray before your start.
I know, I looks so happy.  And my hair didn't want to look good down because I had been wearing it in a bun for most of the day.  

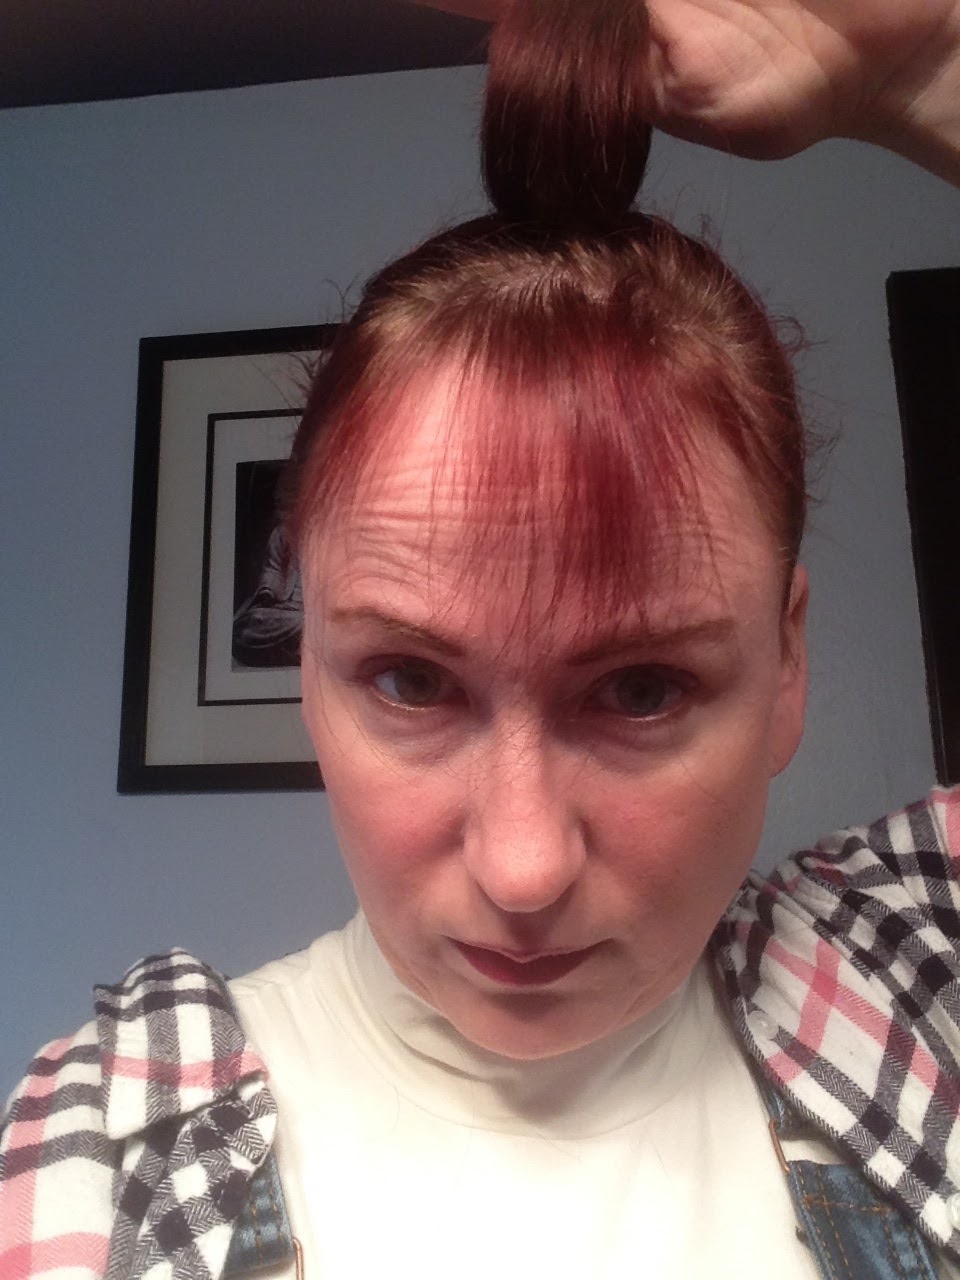
2.  Using a bristle brush, I like one made with boars hair, put you hair up into a high and tight pony tail.  I mean really high.  Think I Dream of Jeannie high.


You don't have to worry about the wispy hairs in the back, you can fix those with a couple bobby pins when you finalize your hair style.


3.  Spray the tail of the pony tail with dry shampoo or texturizing spray and allow to dry.  Once the dry shampoo/texturizing spray is dry, using the bristle brush, brush the tail forward so that it loops towards your face rather than away from your face.  Then gather the pony tail into your hand and bring it forward over the top of your head so that it makes a loop .


Not the most flattering of photos, I'll admit.
4.  Slide a bobby pin over the ends of the pony tail creating a loop in your hair.
5.  Grab the bottom side of one of the loops and pull around to the back of the pony tail holder and hold in place with a bobby pin.

6.  Go to the other side of the loop and repeat Step 5.  Using a hand held mirror and a wall mirror move the hair until it completes a circular bun.  The hair at this point will almost be shaping itself at this time.


7.  Grab one side of the loop and "fan" your hair to create a Holly Golightly type of look.  Insert bobby pin on the side of the fan holding down some of the hair.


8.  Repeat Step 7 on the other side of the "fan" making certain to secure with a bobby pin.

Almost done!
9.  If the bun has any spaces then just use your fingers to shift the hair over any thin spots.
10.  Spray with hairspray and you are done!  If you want to be fancy, you can put a rhinestone comb or barrette and the base of the center of the bun and then you will really look like Audrey Hepburn as Holly Golightly.
Use a mirror to smooth out your straggly hairs.


Top view and you can see a thin spot where I need to fan more.
One of the things that I love about this style is that it makes your hair look way longer than it actually is if you have shoulder length hair.

And that is it for this post.  I hope you enjoyed.  I'll be coming back soon with more crafts and recipes soon!

Even Elvis loved red hair!


Sunday, October 30, 2016

Bat Wings Recipe (aka Buffalo Wings Recipe) and some more easy decorating ideas for indoors and outdoors

Hello Everyone!
I am a day behind on my posts as this was the post as this was the posting that I wanted to do yesterday.  However, as so often happens when you are helping to plan an event, I ran out of time to do everything I wanted to do in a day.  What was the event that put me behind you may ask?  The theatre where I work is doing a production of Rocky Horror and, last night, we threw a party with the cast for those who purchased tickets.  After that, we did a midnight run of the show.
At the party, I served the dish that I am going to show you how to make today.  For those who were brave enough to eat it, it was hit.  But these buffalo wings are not for the faint of heart.  Because of their color, they look like they are scorched.  But they are not!  They are wonderfully juicy and tender.

I am really sort of addicted to this whole scene.  I really have to find this movie and watch this.


To do these correctly, you should use a package of just chicken wings and then they will really look like bat wings rather than blackened buffalo wings, but I found a bag of over 60 wings at Costco and, since I was feeding alot of people, I went the more affordable route rather than the artistic route,

Bat Wings

I know, they look like they would taste terrible.  They are very good.

Ingredients
3/4 cups all purpose flour
1/2 tsp. cayenne pepper
1/2 tsp. garlic powder
1/2 tsp. salt
1/2 tsp. Creole seasoning
1/2 package Zesty Italian Dressing Mix
1/2 tsp. freshly ground pepper
20 chicken wings
1/2 cup melted butter
1/2 cup hot pepper sauce (I use Louisiana Hot Sauce, but you use what you like)
1 tsp. Worcestershire sauce
1/2 tbsp. Hoisin sauce
1/2 tsp black food gel (more if your sauce does not get black)

Instructions
1,  Line a baking sheet with parchment paper and heavily grease with cooking spray.


2.  Place the flour, cayenne pepper, garlic powder, salt, Zesty Italian Dressing Mix and freshly ground pepper into a resealable plastic bag and shake to mix.


3.  Add the chicken wings, about three or four at a time and toss until well coated with the flour mixture.  Place the wings onto the prepared baking sheet.  Repeat this for the rest of the chicken.


4.  Once all the chicken is coated and on the baking sheet, place in the refrigerator and refrigerate for at least 1 hour.
You can see how the flour has sort of gelled itself to the chicken

5.  After an hour has passed, preheat the oven to 400 degrees F.
6.  In a large liquid measuring cup, whisk together the butter, pepper sauce, worcestershire, hoisin sauce and black food gel.
7.  Dip the wings into the sauce mixture and place back on the baking sheet.
At the top, I made a batch of wings without the food dye so that you could see the difference.  They are the same recipe, one just looks more terrifying.

 (You will probably want to wear rubber gloves for this part.  I did not and I am still trying to get black dye out from under my nails.)


8.  Bake in the oven until the chicken is no longer pink in the center, about 45 minutes.
9.  Turn the wings over halfway during cooking so they cook evenly.

To serve, remove from oven and serve with Ranch Dressing or Blue Cheese Dressing, whichever is your preference.

So that was yesterday's post.

Today, I was going to show you how to make some outside decorations for the house.  I am no longer an 18 year old, however, and staying up until 3:30am finally pushed my body over the edge and allowed the illness that I have been fending off from my husband to win. 
Here is me in my Wonder Woman costume inspired by the outfit she had in 2005 when they re-imaged her look and they put her in pants.

So I woke up this morning ill and with strict instructions from my husband that I was to do as little as possible.
While I rested, my darling husband decorated the outside of our house.  So I don't have the craft project that I wanted to show you, but I do have some inspirational photos for decorating the outside of your home and one that you can use indoors.

Mouse Guardians on the Roof

I found some rubber rats that were $1.00 each at the dollar store.  I snapped up a dozen and told my husband I wanted to put them up on our roof so that we would like we were infested with them.  He put some up on the corners of our house and then stashed some around the front porch.

They look like two little rat gargoyles guarding my driveway.

Why is when you back light something it automatically makes it look creepier?

Cobwebs 

These are really a staple and a little goes a long way in Halloween decorating.  I bought two bags this year for two for $4.00 and we didn't even need to open the second bag.  So, we are saving that for next year and it is one less thing we have to worry about picking up.

In this picture you can see the cobwebs and you can sort of see the spooky lights we put in the bushes,

Right before Halloween I add the cobwebs and the eerie lights.  It helps to make actual Halloween a little more fun and special.

Hang cobwebs from anything you can think of, lamps, tables, fireplace mantles.  Just make certain, if you have pets, that you keep it out of their reach.

Creepy Lights and Creepy Crawlies

Ask any movie director and they will tell you that lighting sets the mood.  Get some Halloween lights and put them up in yard with cobwebs.  Instant spooky!
This is an ornamental pepper that I found at the Farmers Market.  I love the black leaves.  I thought it just looked super scary.  I was going to put some orange mums in with them, but never got the chance.  The double bonus is that the farmer that sold these to me assured me that the peppers were edible.

My husband added some rubber rats and snakes in with the ornamental pepper.

Sheets Over Furniture

This is one of the easiest things you can do to decorate.  Especially if you already own white sheets and tablecloths.  Drape them over your furniture, add some cobwebs and you instantly have an area that looks like an abandoned haunted house.

This is a picture from the theatre.  I put some white sheets over the chairs, a black tablecloth over the table and added cobwebs to the candlesticks and the mirror.  Dim the lights and add some battery operated candles to the candle holders and it sudden turns a little eerie,


So, I hope that you can use some of these ideas!  And, after Monday, we can start focusing on Thanksgiving and Christmas!