Sunday, May 13, 2018

Happy Mother's Day - My New Outdoor "Room"

Hello Everyone!
And Happy Mother's Day to those of you who are mothers!


When you are living in an apartment and planning on getting a home, there are things that you dream for yourself when you get your house.  They are different for everyone and vary widely from place to place and person to person but everyone has those dreams. 
Some of my dreams for my dream house, in no particular order, were:
Have a kitchen with a double oven - bonus if the oven is stainless steel or vintage/retro.
Have a kitchen with a gas stove - see above for the bonus
Have a wrap-around porch which will be decorated in a shabby chic style (I have this decorated in my mind down to the rug painted on the porch floor.)
Have a yard with enough space for an herb garden. (DONE)
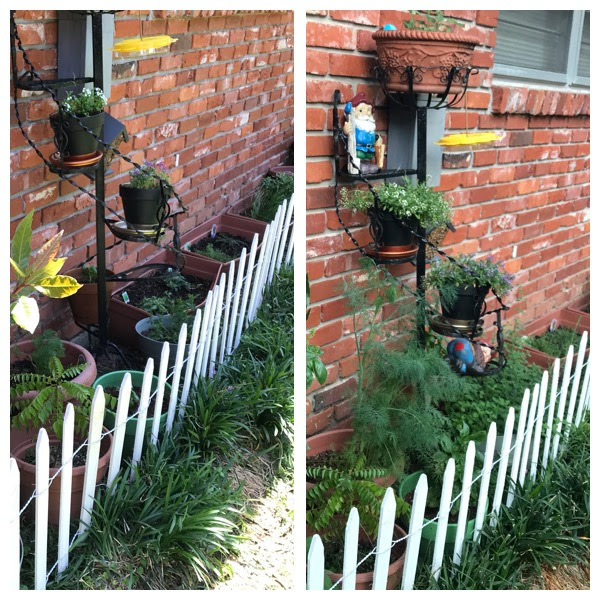
Have a yard with an outdoor room/area to read in.
Have a living room with fireplace. (DONE)
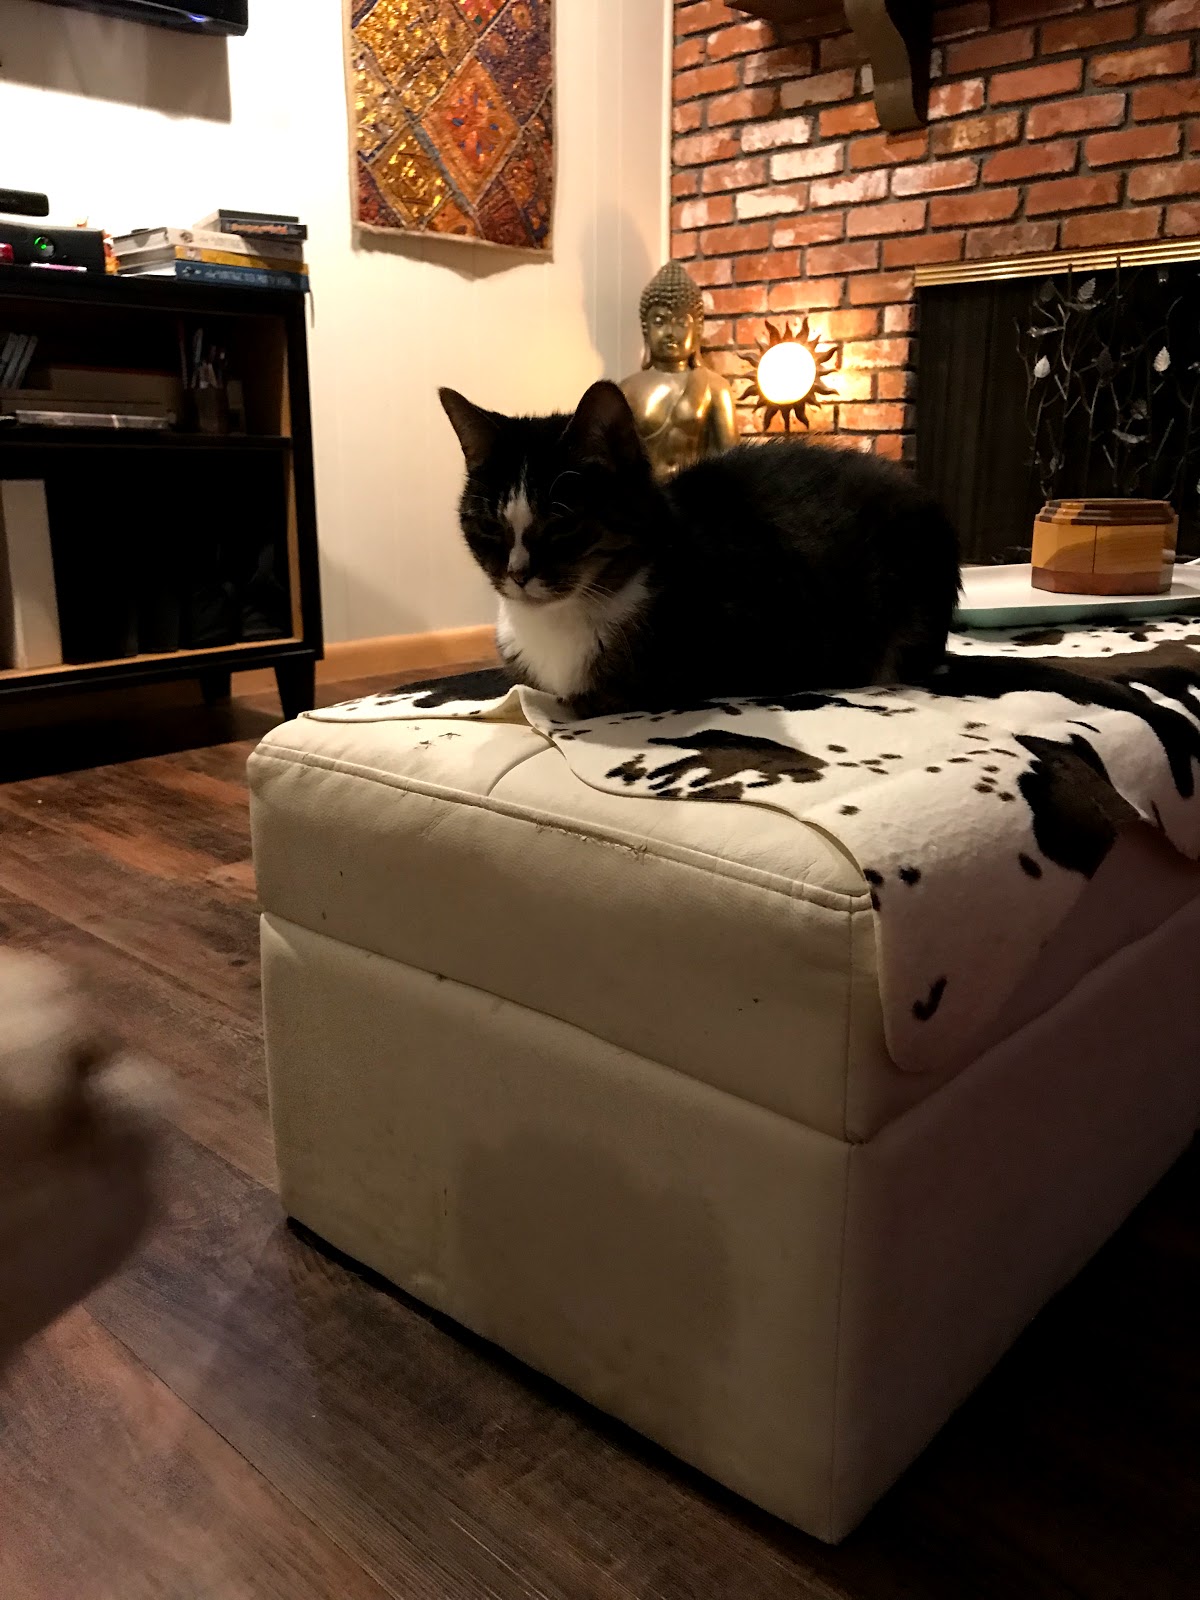
Have a house with an entertaining area. (DONE)
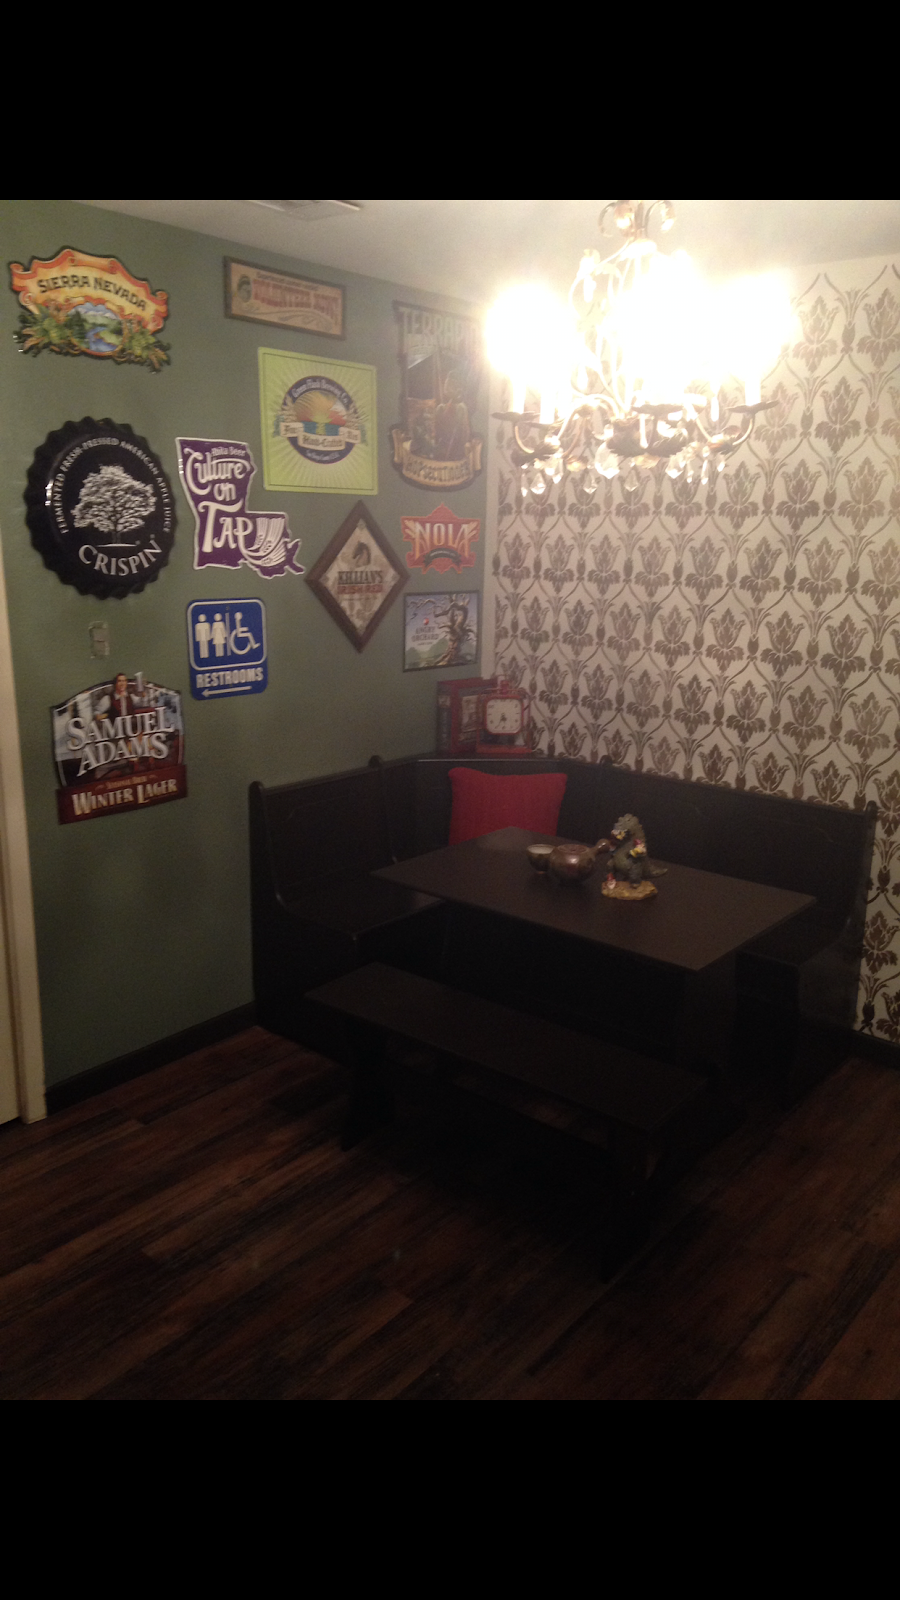
Have a house with enough space for a craft room. (DONE) - don't have any pictures yet.

When I got my house, many of the items on this list were accomplished.  Some are on the back burner waiting to happen, and some will not happen with the house that I currently own. (Bye bye wrap around porch.)  Ironically, considering how much I love to cook, the kitchen items are on hiatus until I have the funds to do a kitchen make-over so no double oven or gas stove for me yet, but it will happen. 
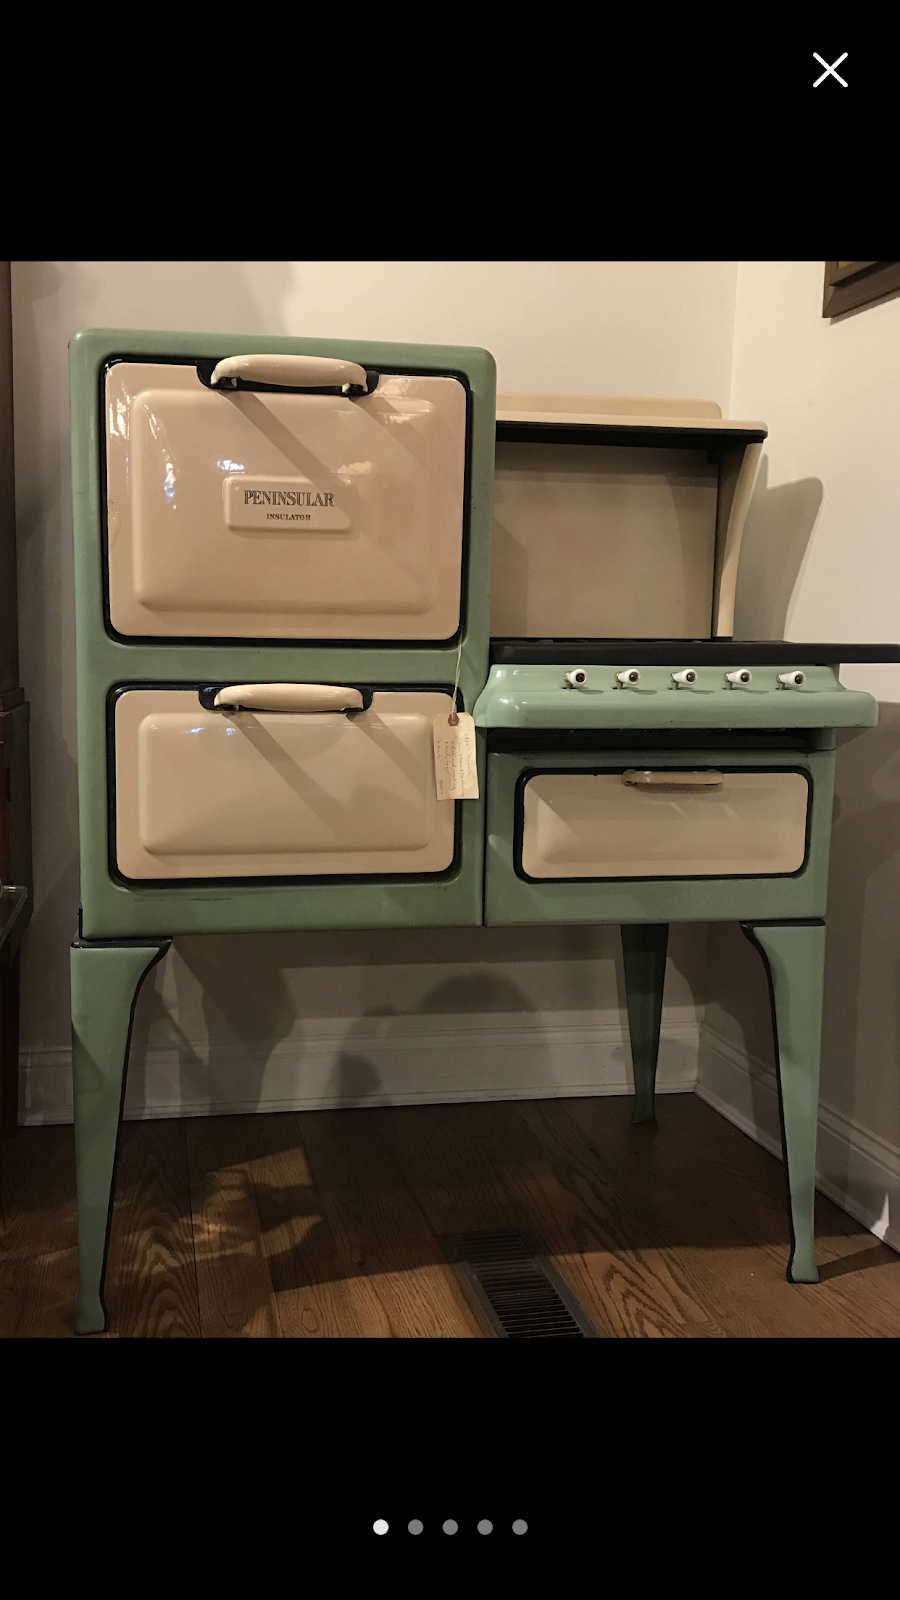
This is a real, WORKING, vintage stove/oven.  Isn't it gorgeous?!?!?!?  Oh, how a girl can dream.

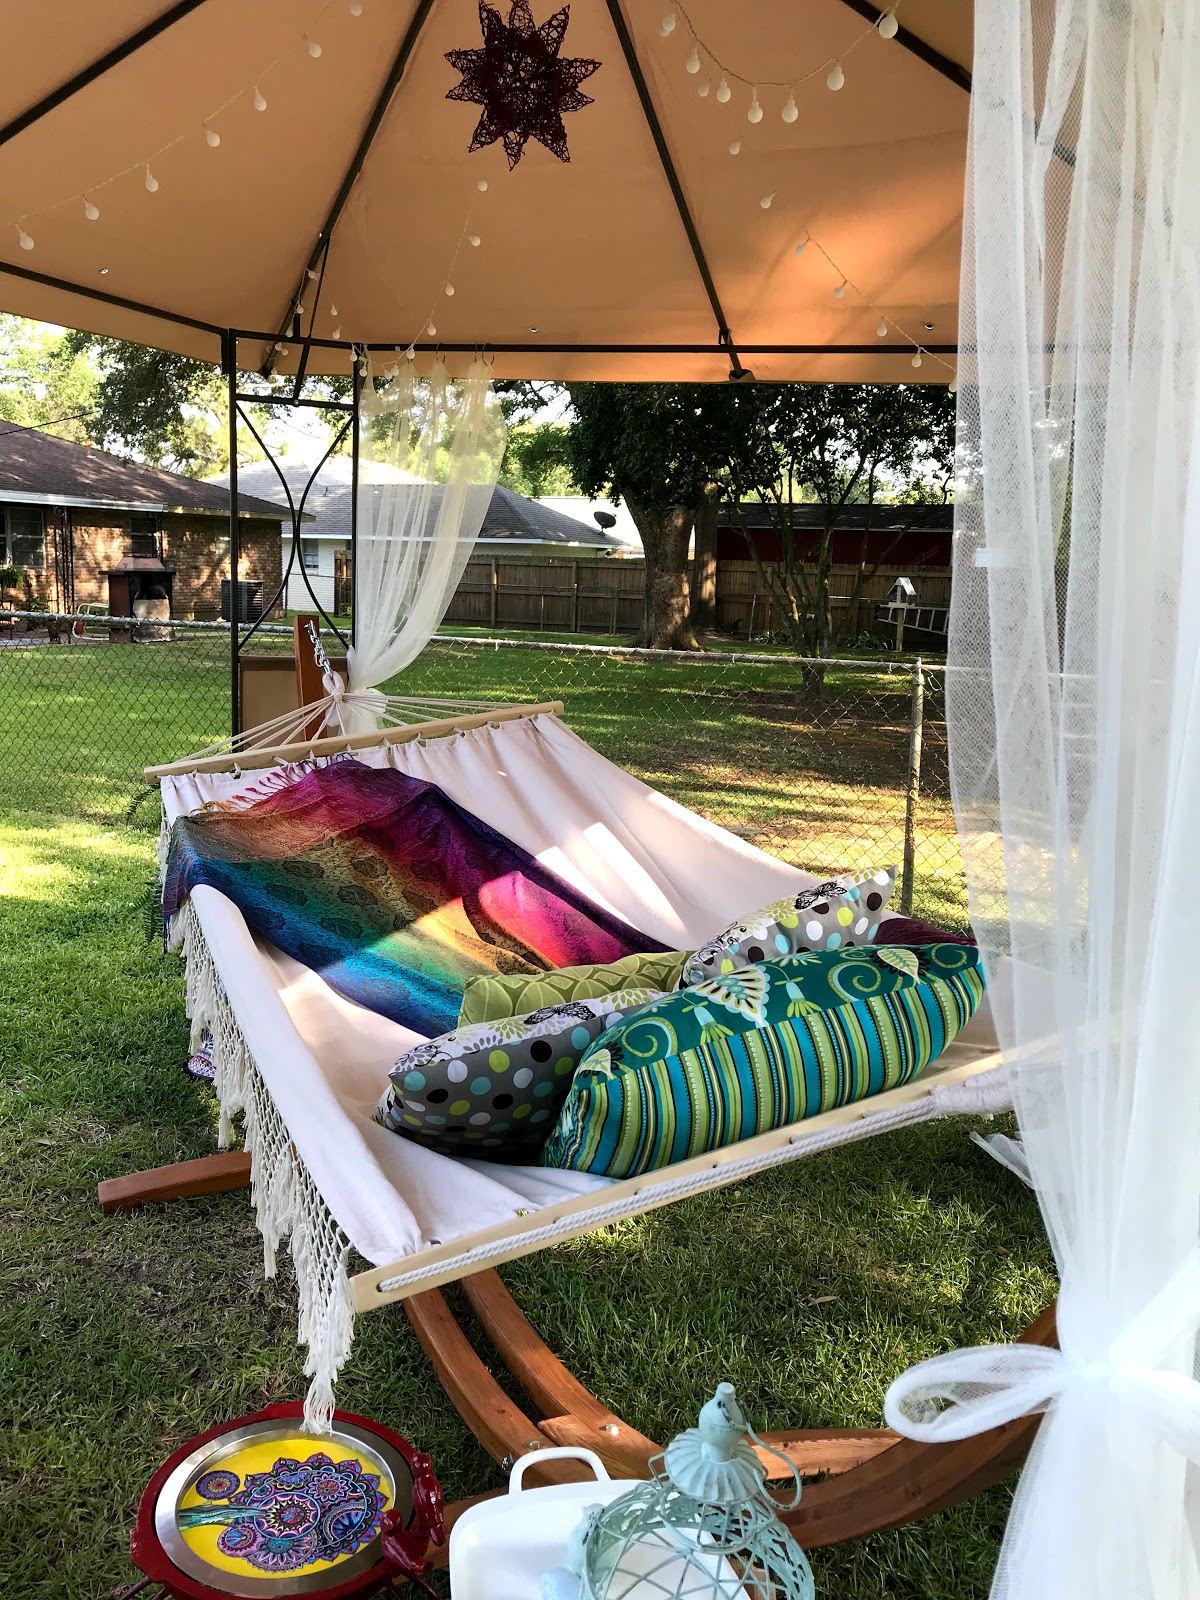
But, today, I got an one of the items on my list that I have been wanting for over a decade.  I got my outdoor reading place and I got my hammock!!!!
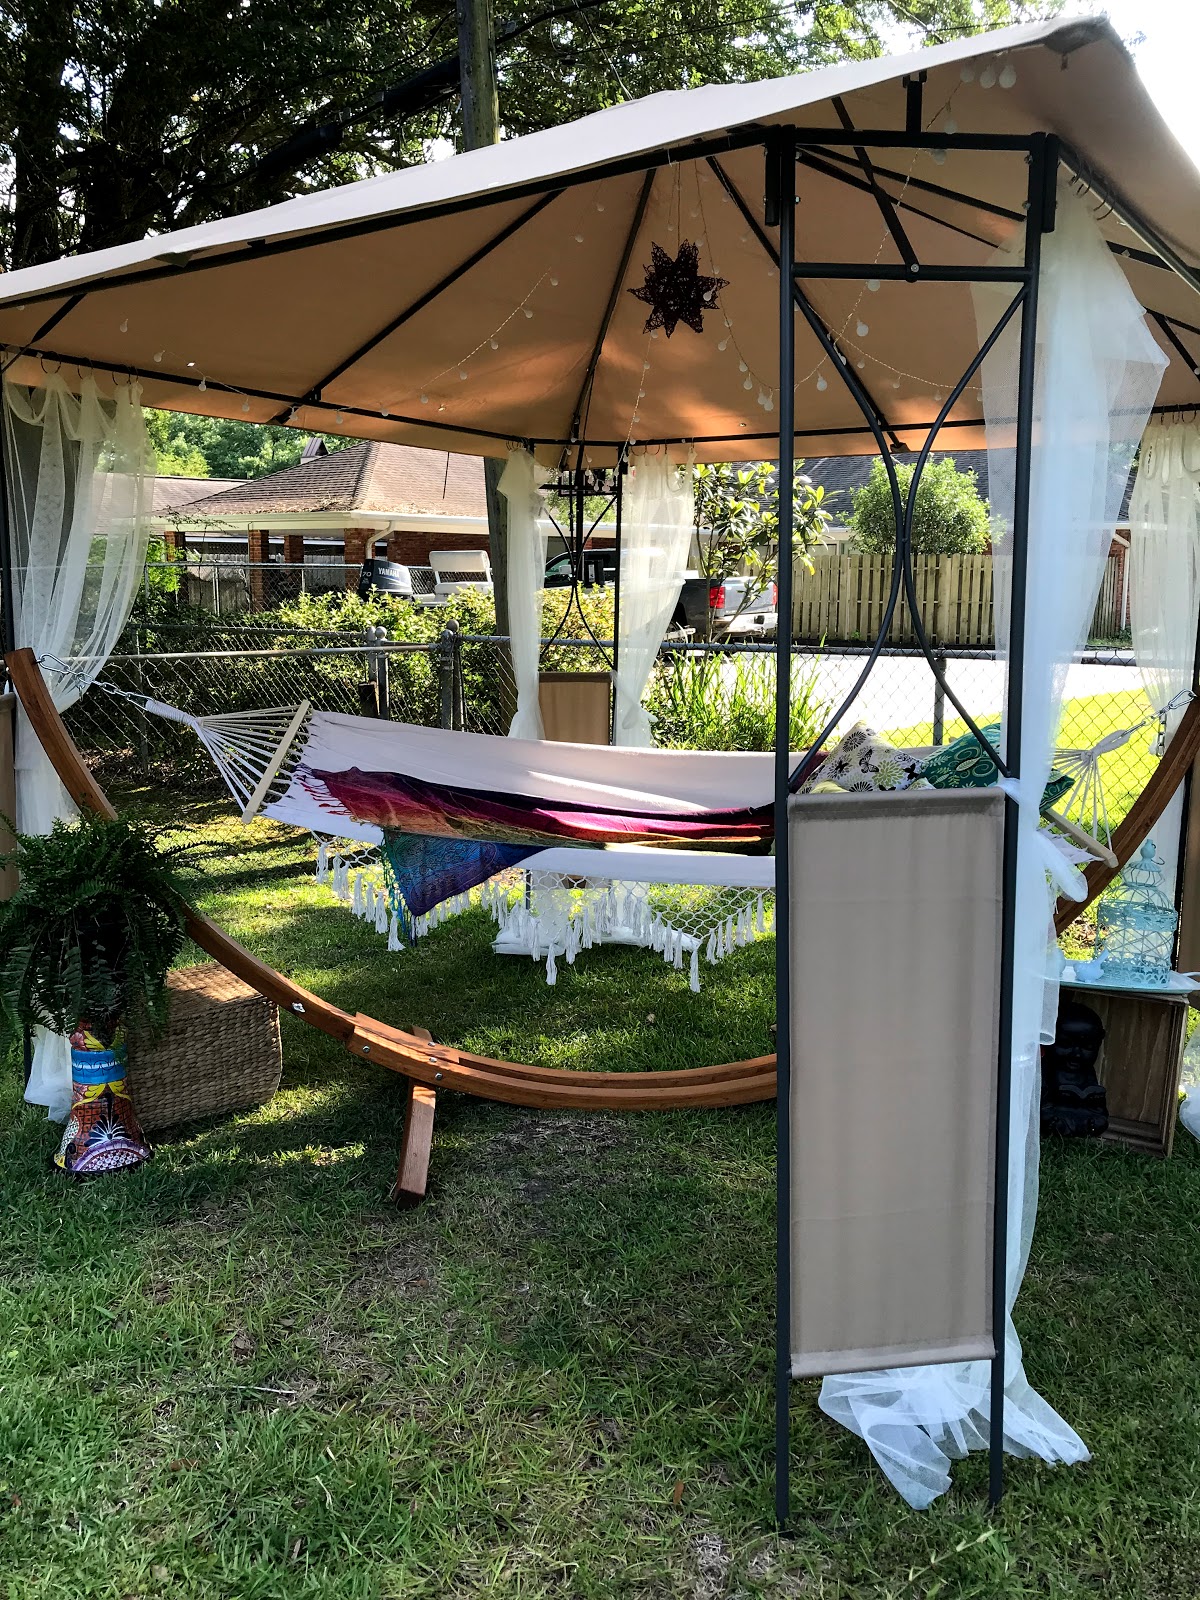

Now, to be fair, the outdoor area that my husband and I want is a little more permanent than what I currently have.  But, I decided that I would rather wait with a temporary soluction that was going to work almost as well as something more permanent, than wait with nothing at all. 
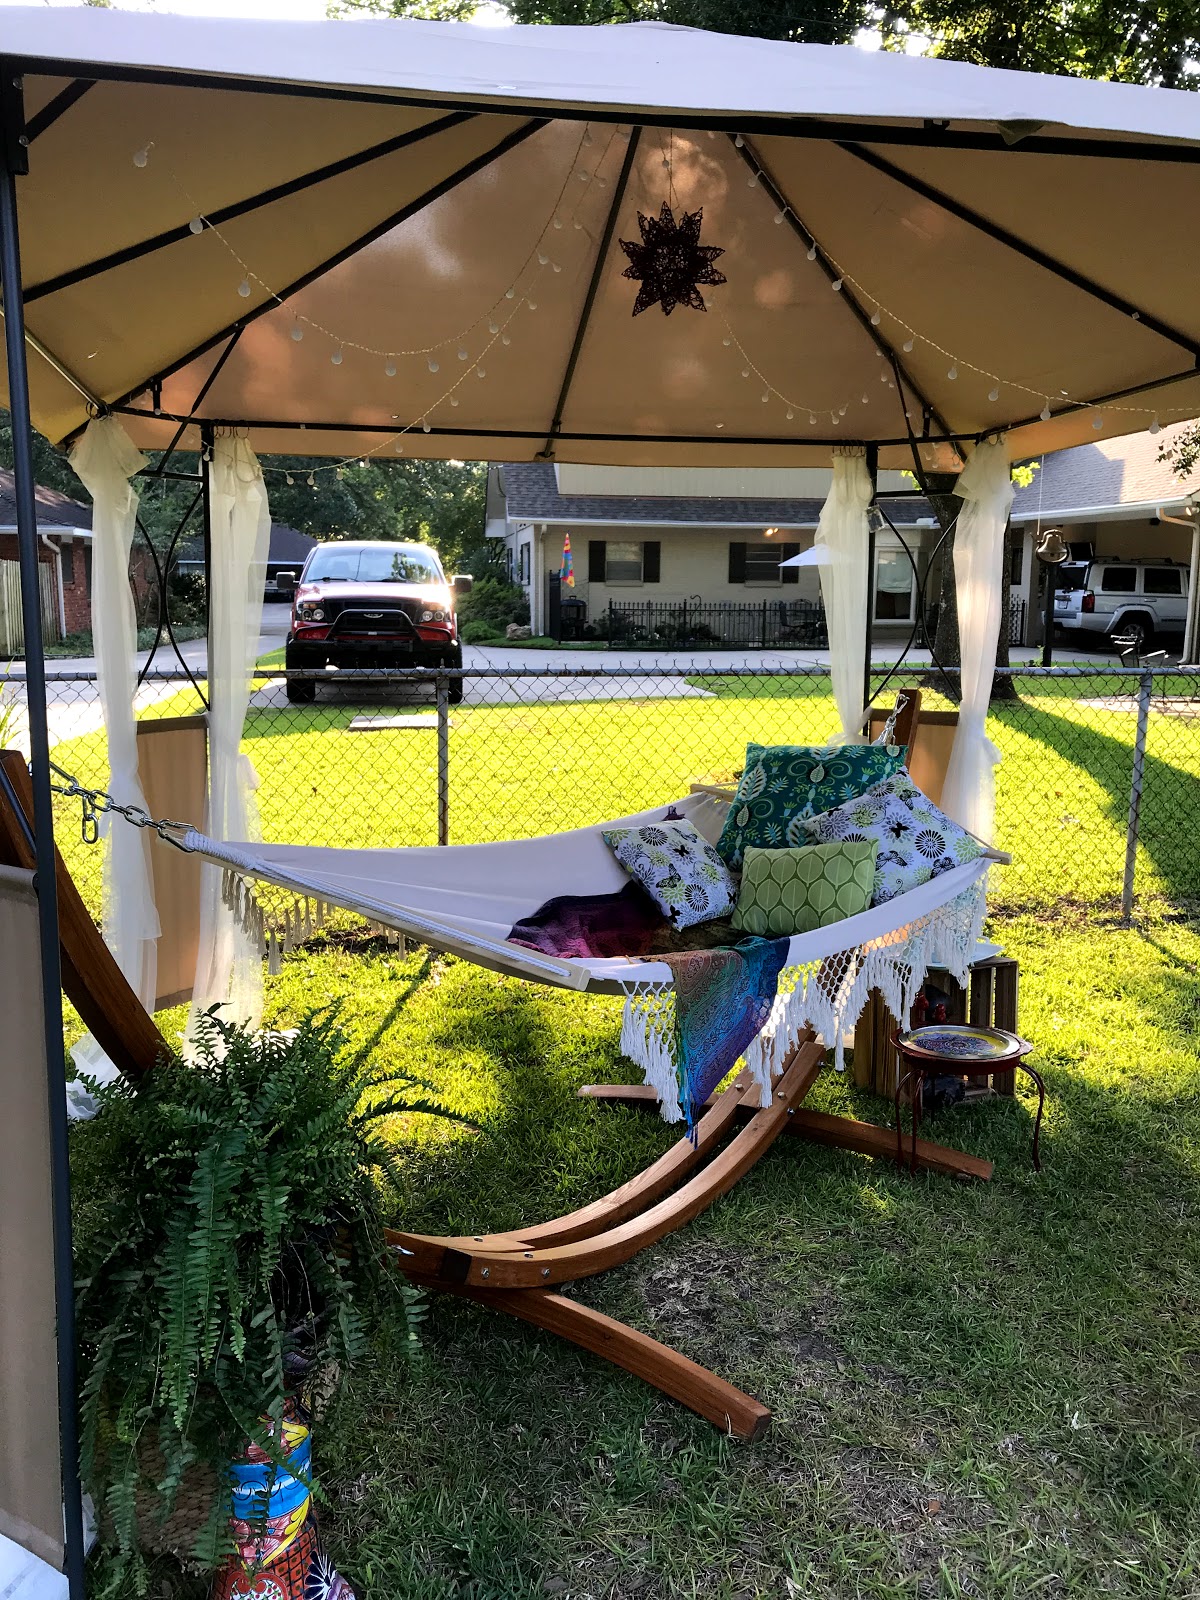


So, since this was not to be the permanent outdoor space solution,  I went on a Frugal Femme quest...... to try to make a beautiful and comfortable outdoor area without spending more than $300 for the whole kit and kaboodle.  And I mean EVERYTHING - furniture, lighting, decor - all of it, for $300 or, preferably, less.  Not an easy task and, I will admit, some of my friends told me that it couldn't be done.  But, with a little help from my neighbors, friends, and my tendency to not throw away things on the off chance that I can use them for something else, I have managed to do it!
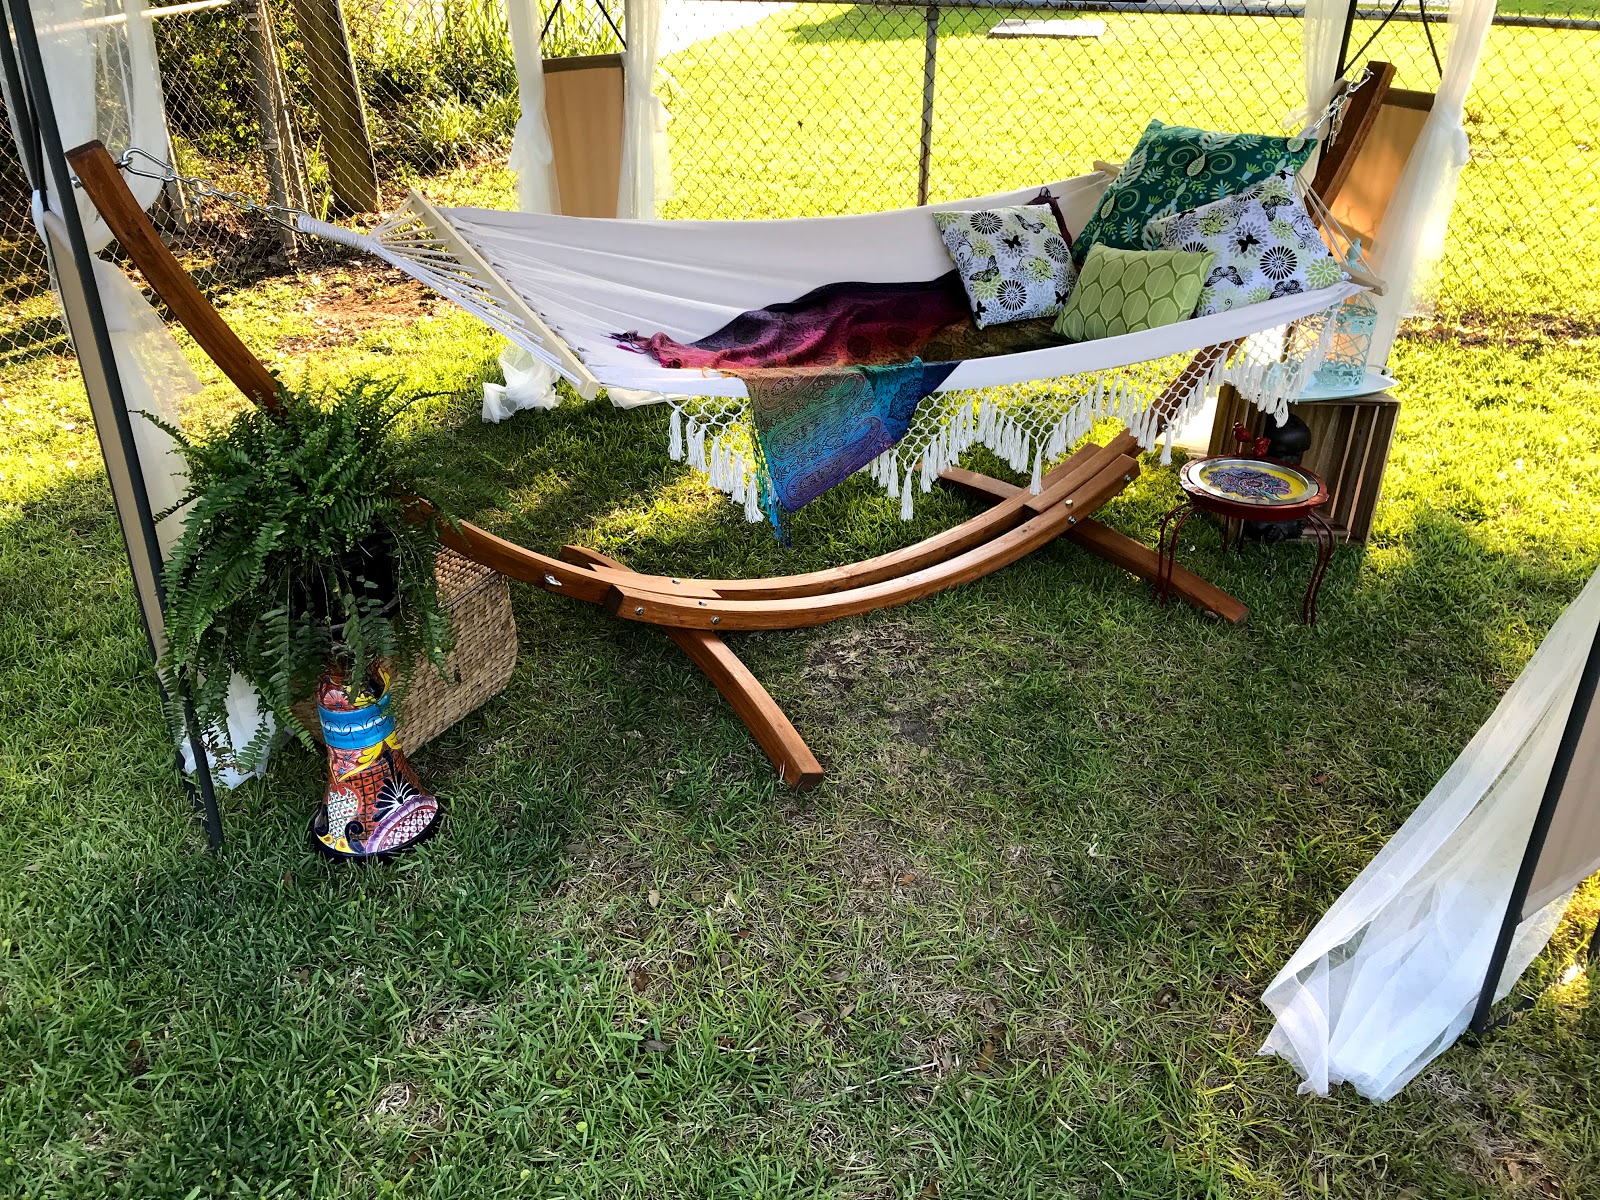
I have an outdoor rug that I am thinking about adding to the space because the grass in this area is so worn out.  I don't know though, I don't want a whole area of dead grass where the rug would be either.
Here is a breakdown of everthing you see in the pictures and how much it cost.

Gazebo tent -  $70  - got for $40 because I had Ebay bucks and purchased it on Ebay.
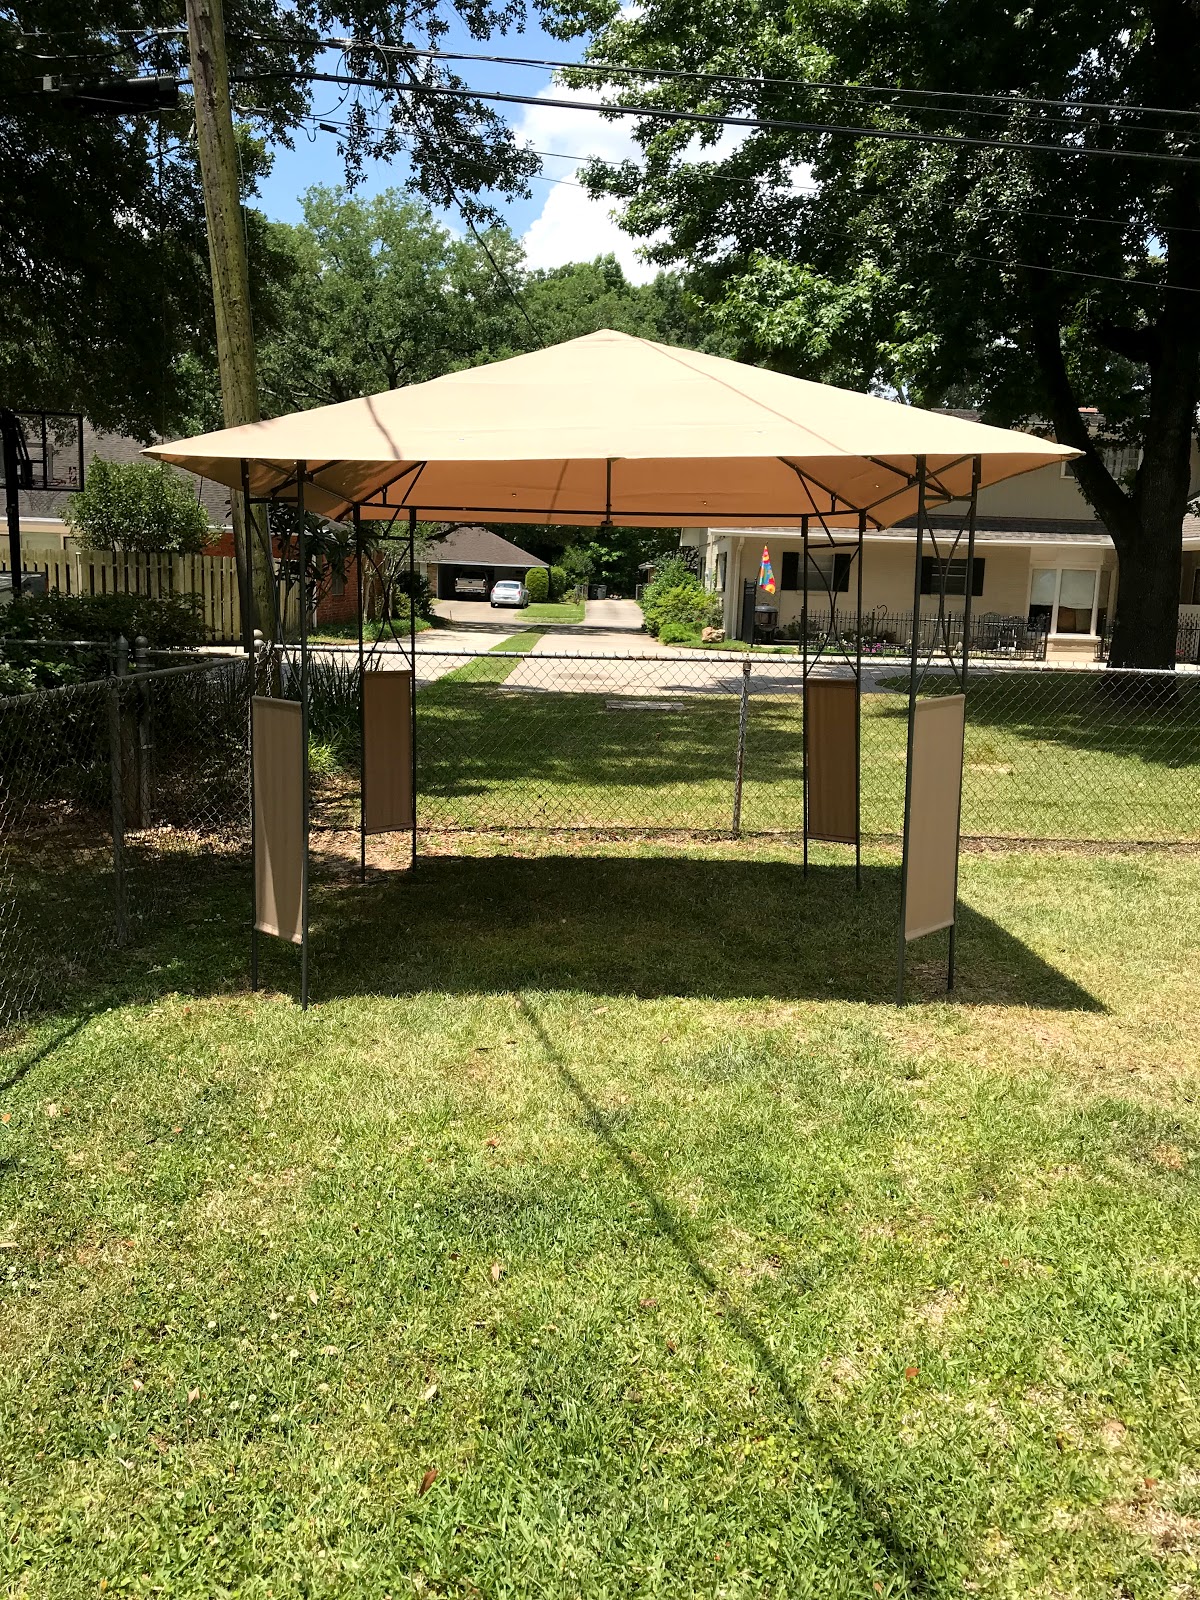

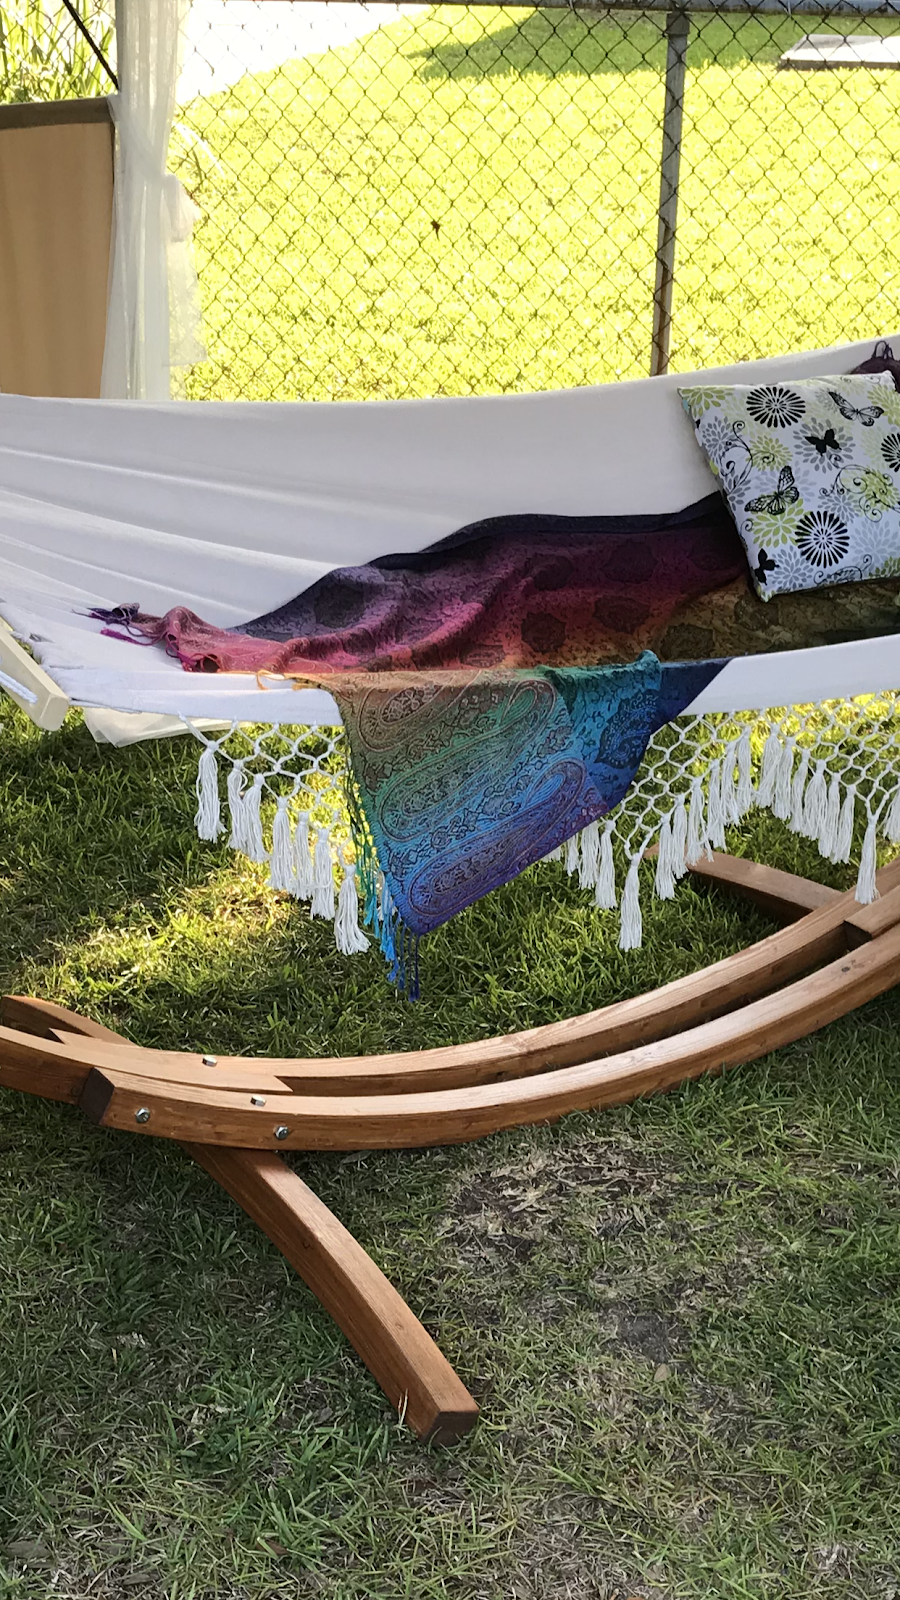
Hammock - $140 - this was my big ticket item, and I could have gotten it for less if I was willing to go with an uglier hammock - I wasn't.
Lights - $10  (five dollars a strand and battery operated - batteries cost me nothing - I have AA battery source) I had to do battery operated so I didn't have to worry about trying to run extension cords to the farthest reaches of my yard.
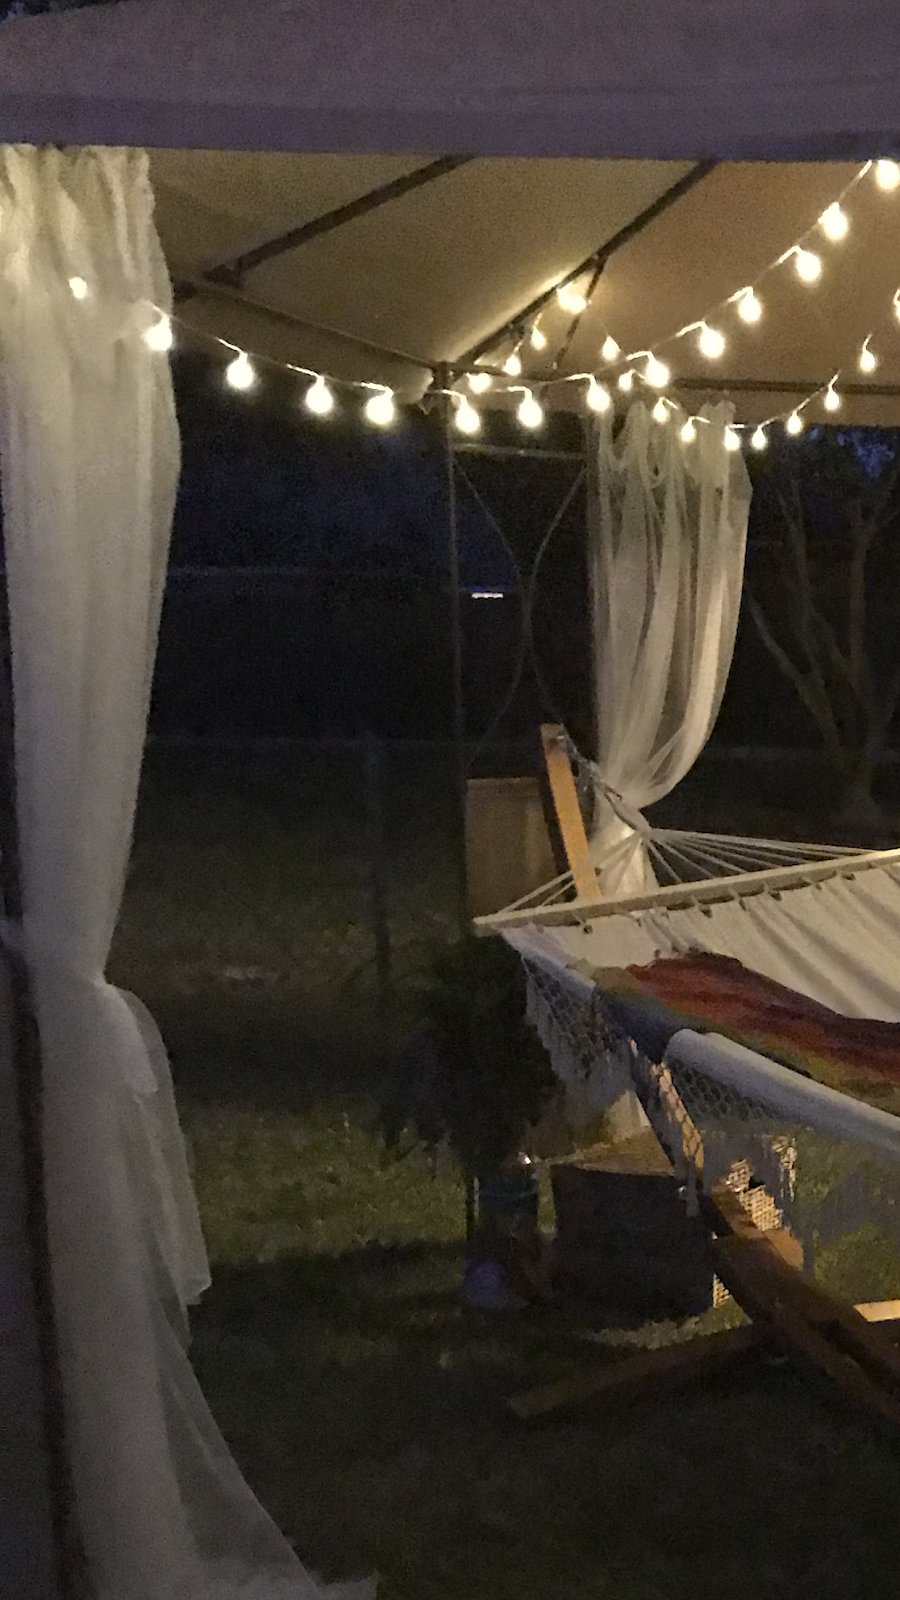
Mosquito Netting - $20 I got two panels for $10.  The gazebo/tent was small enough that I could cut one panel in half, making four panels out of the two panel packet, so that I only needed to get two packages containing four total panels, and I still have one panel left over if I ever need to replace a curtain.  I can close these to keep away mosquitoes, but they still allow a breeze to go through.  
Shower curtain rings - $17
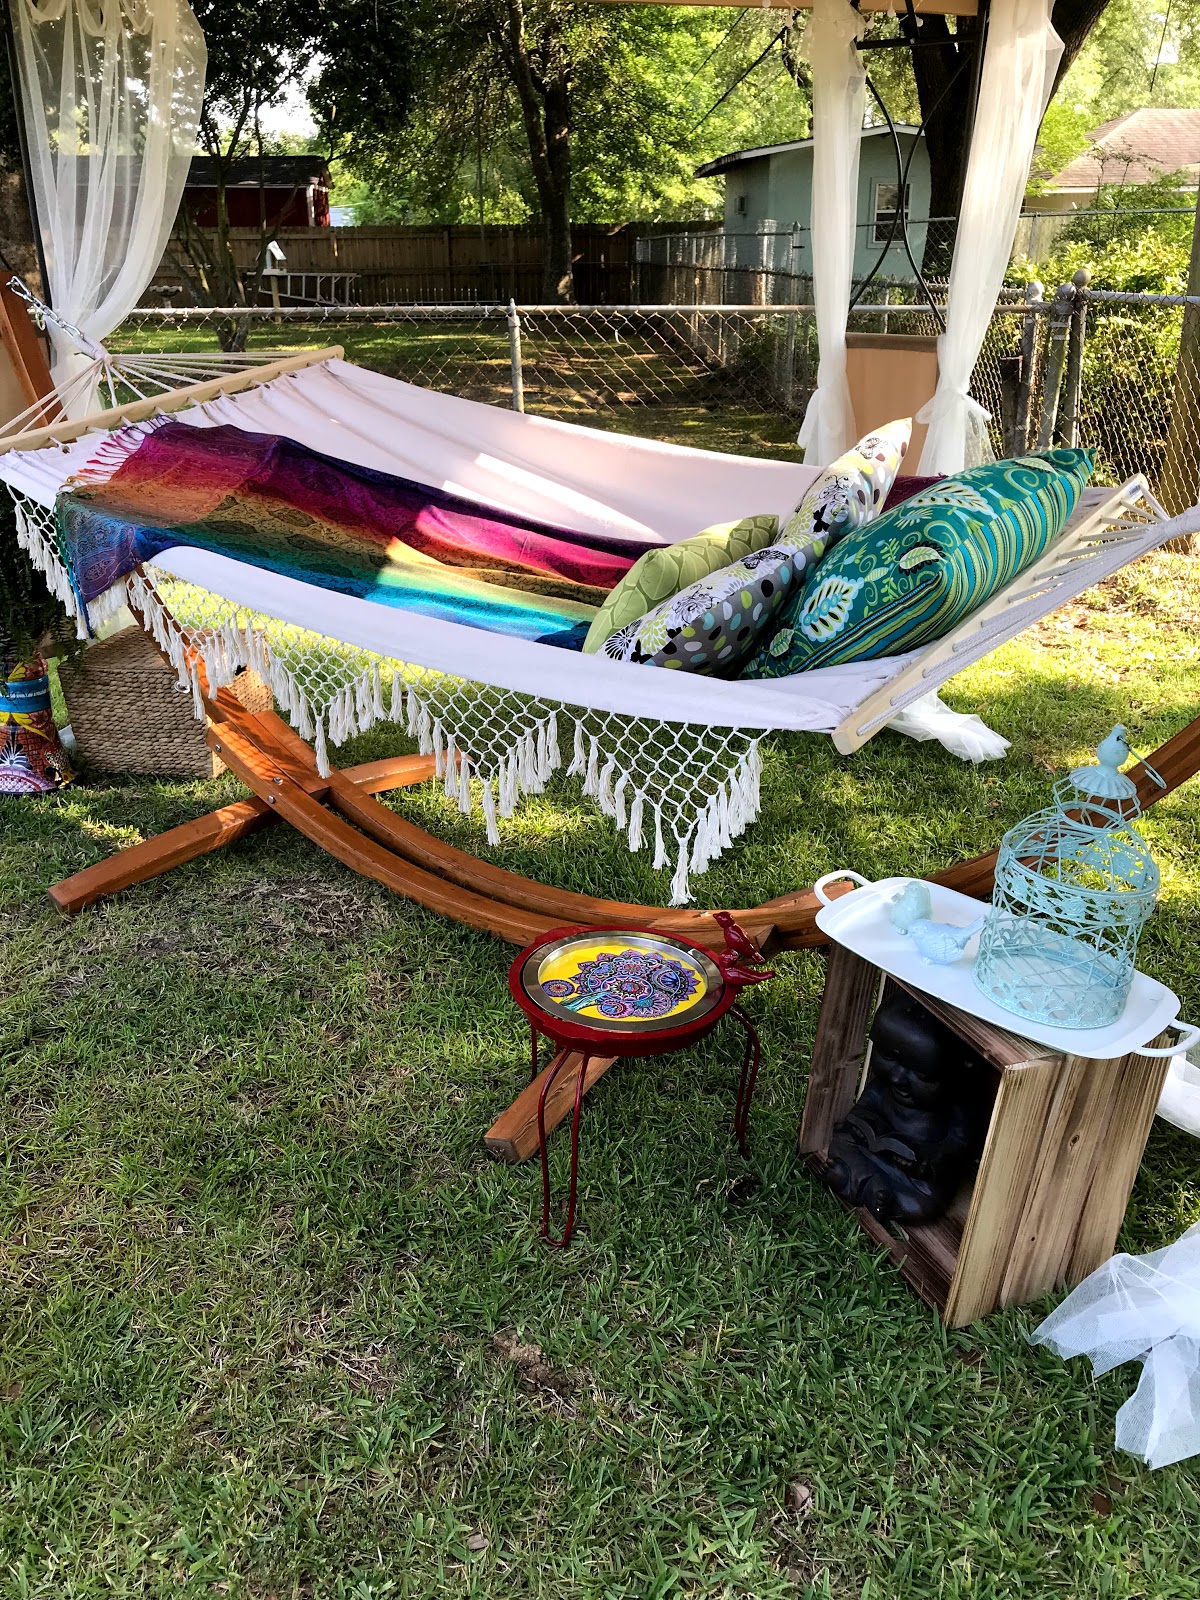
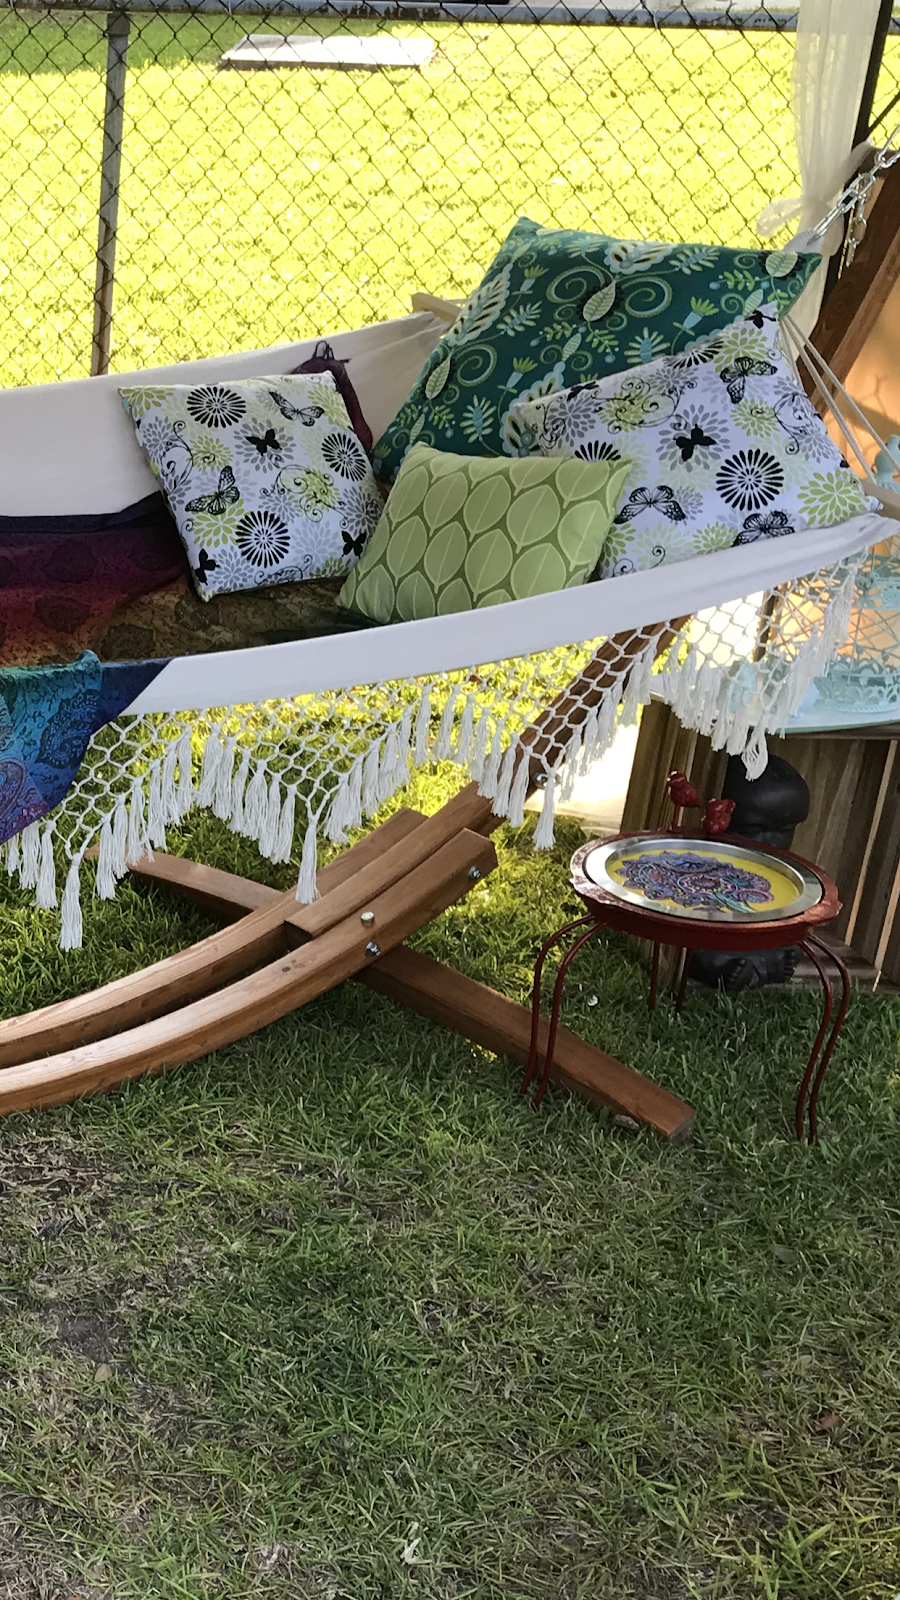
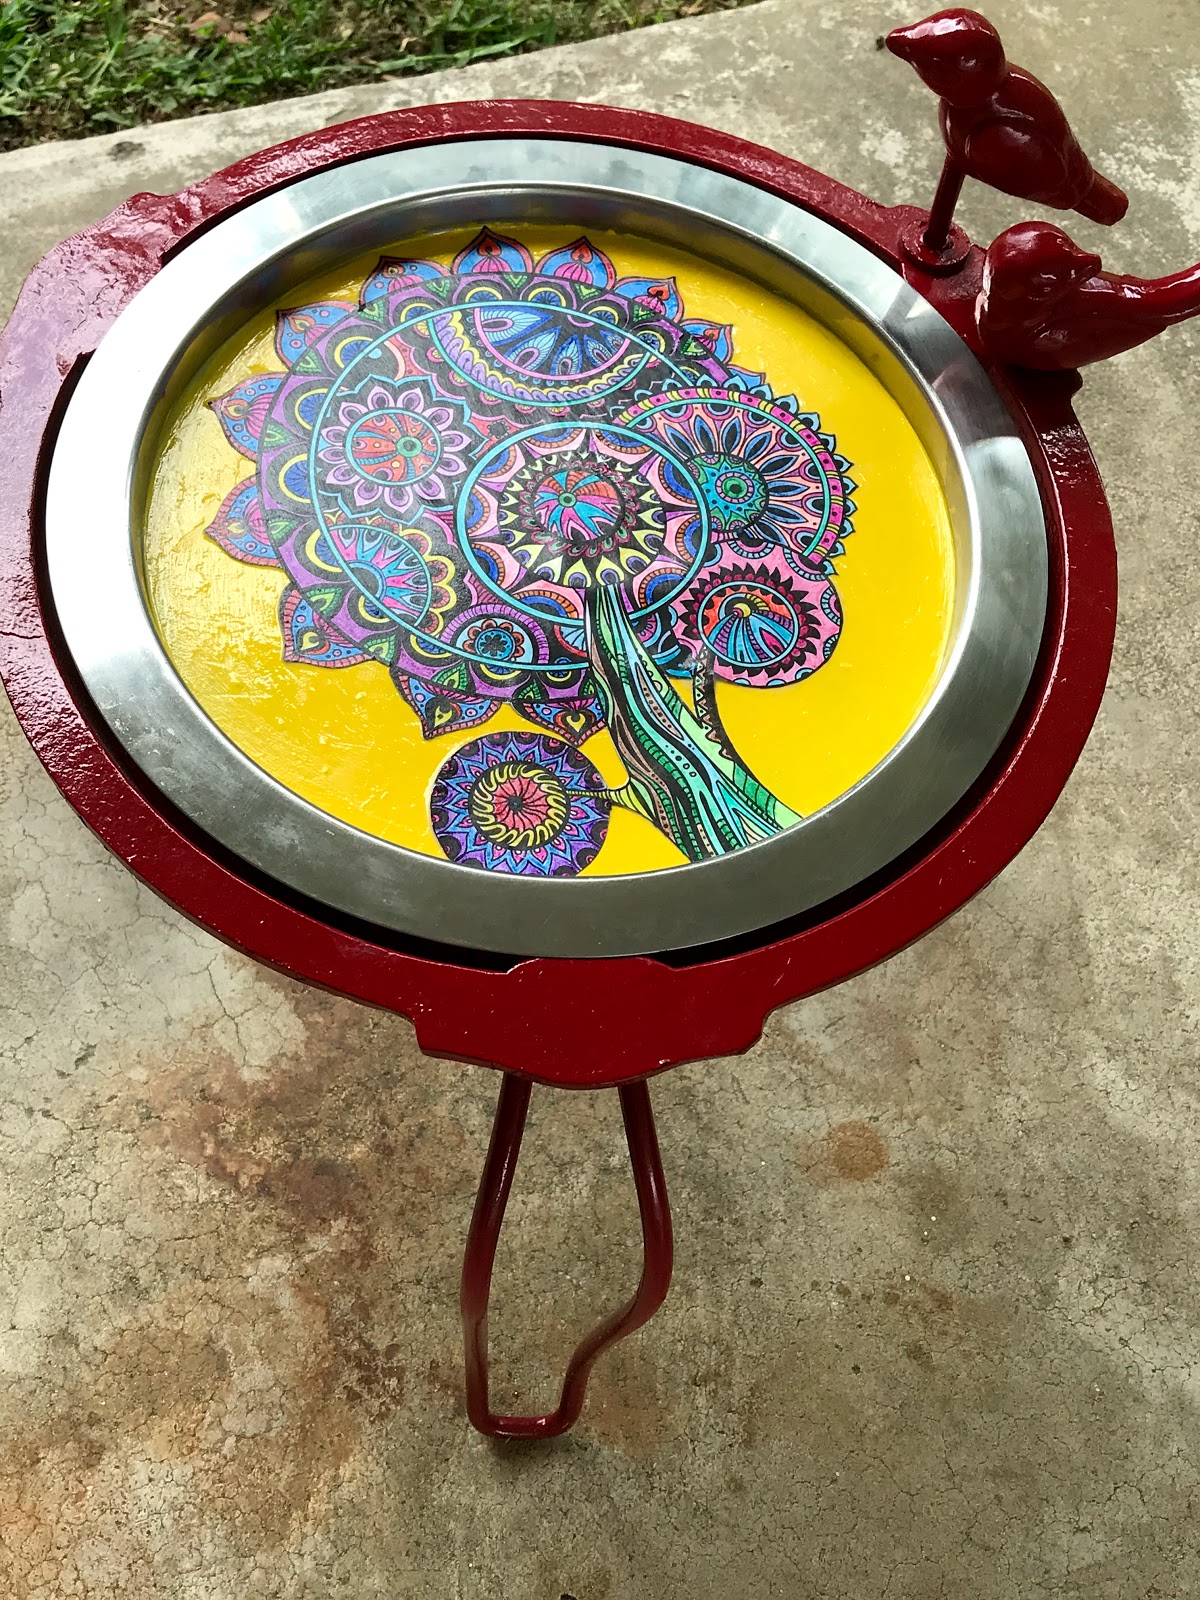
Table - $5  The base is a plant holder that my neighbor gave me because she was getting rid of it.  I cleaned it up, painted it red, and turned a round serving tray into the table top - more on how I did that a little further along in this post.

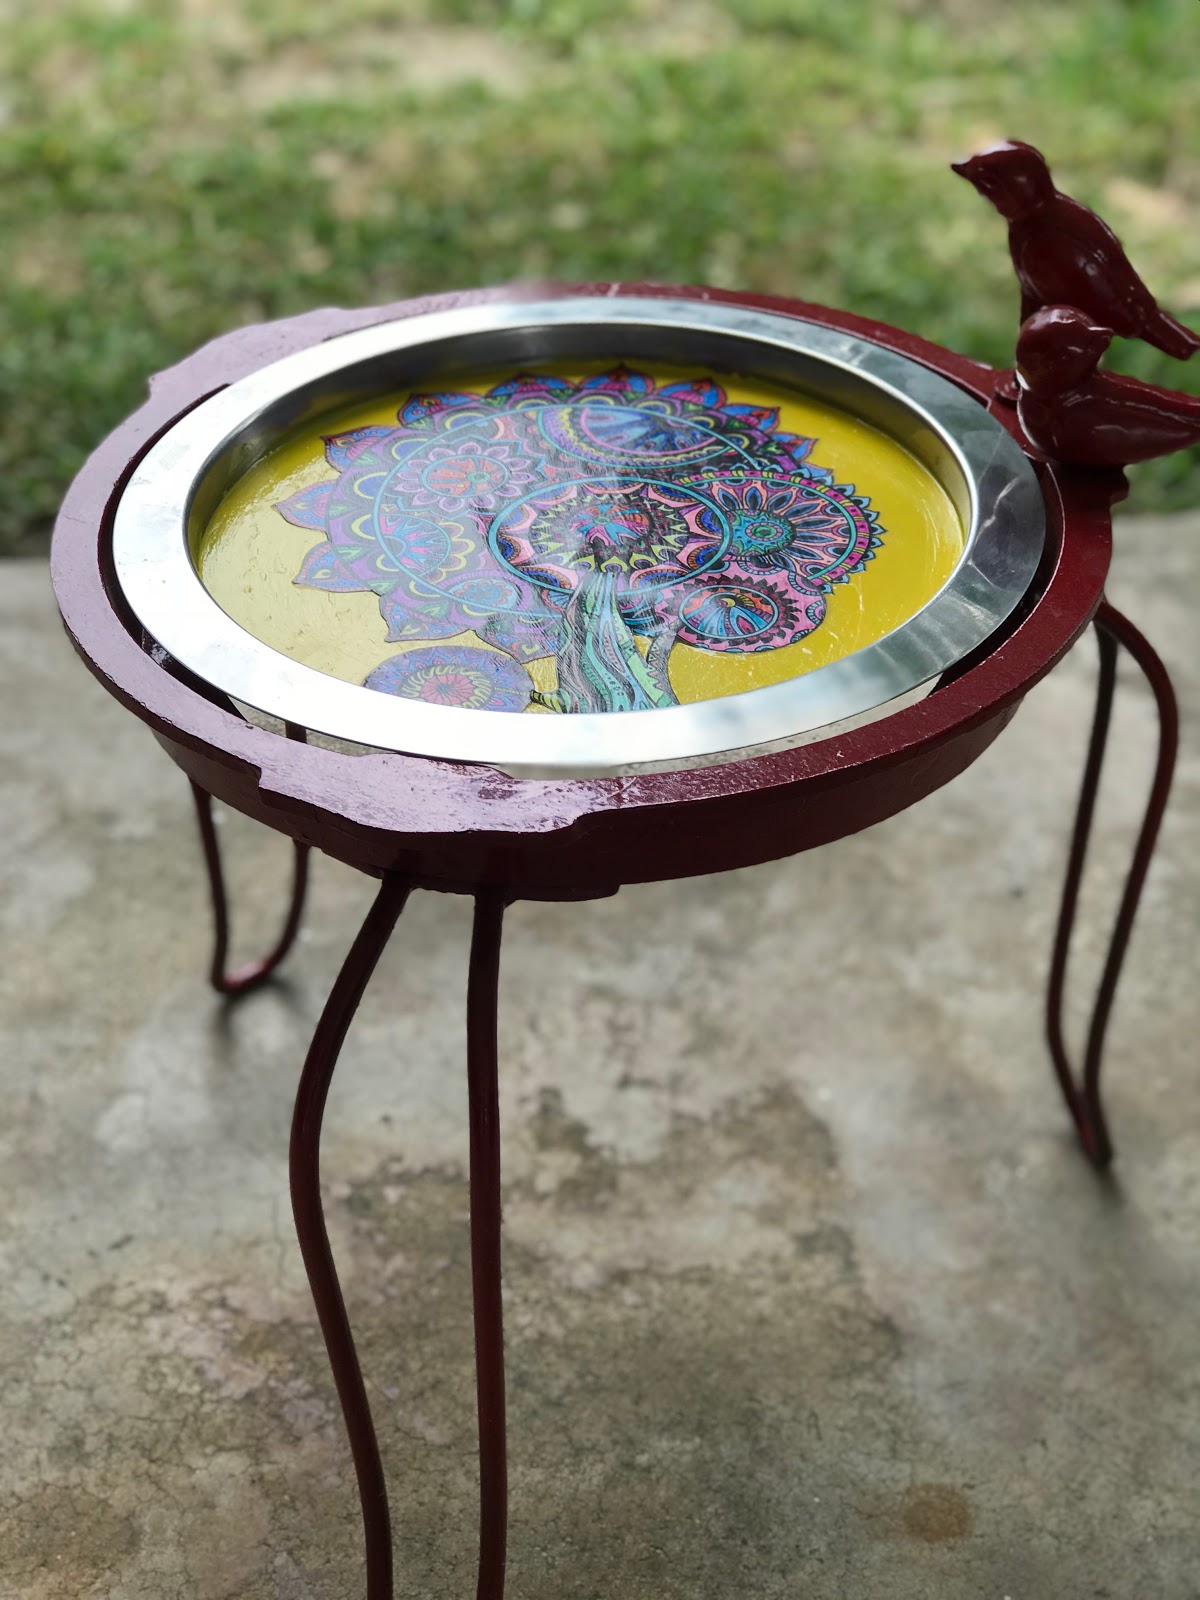
Plant Stand - $0  This was a bird bath in its first life.  And the whole things was $60,  But, about a year and a half ago my frenchie Basil accidentally ran into it, knocked down the vessel part of the bird bath,  and shattered it, leaving only the base behind in his wake.  This year my husband and I decided we were going to get a different kind of bird bath, but I decided the base was too pretty to throw away- thus its new life as a plant stand.
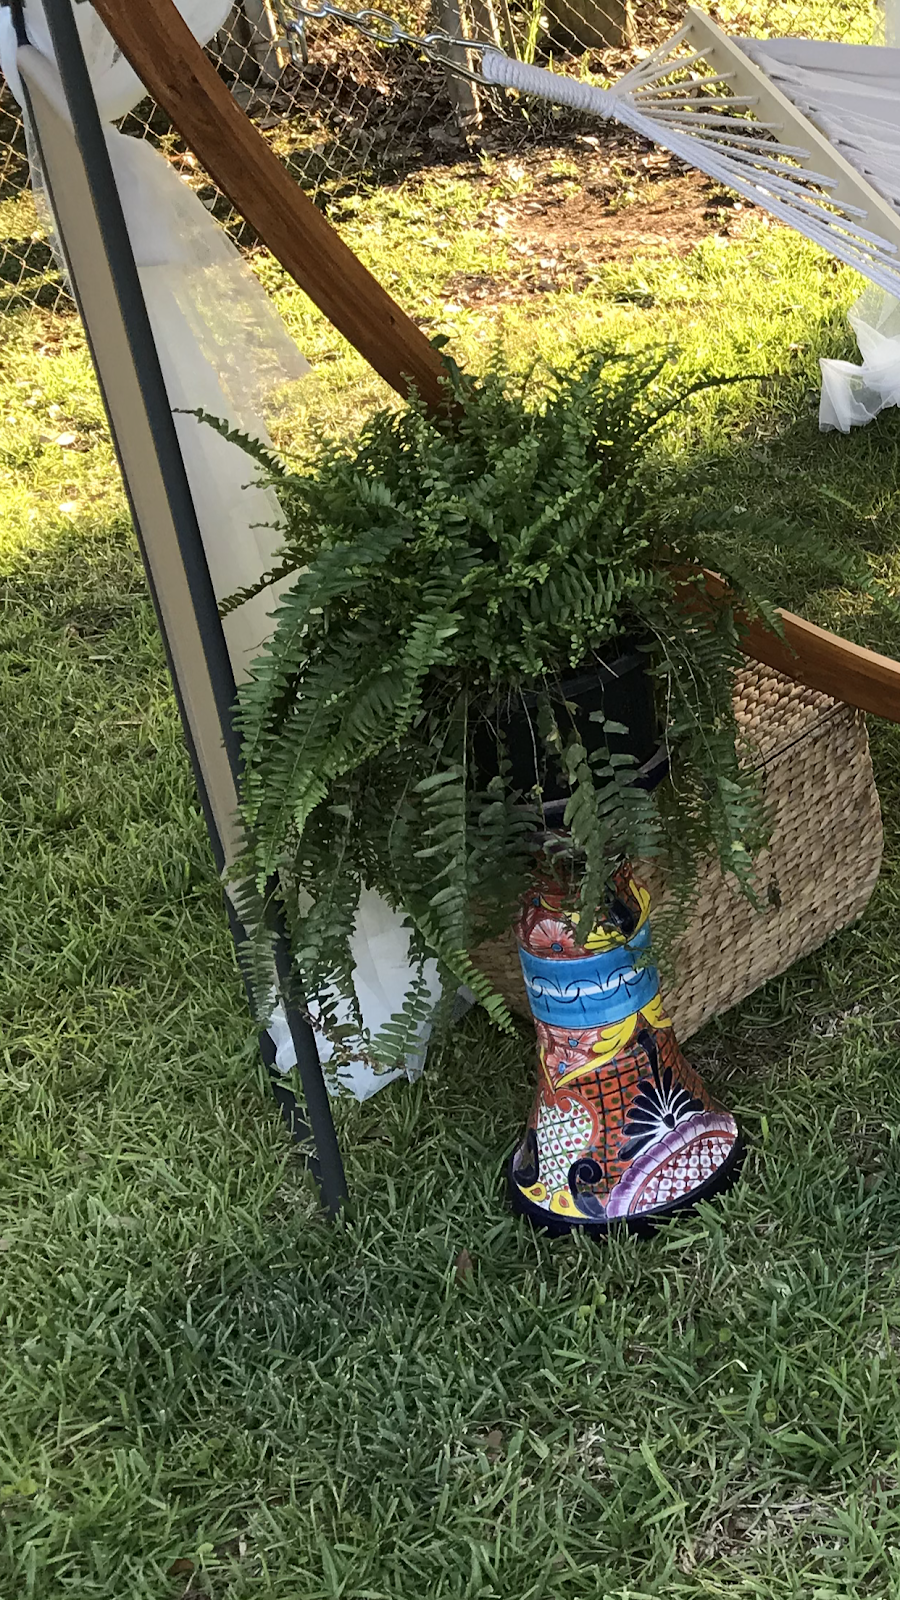
Plant - $0  This was another gift from my neighbor.  A store was clearing them out for $5 and she purchased more than she needed, so I adopted one.  I think I'm going to call him Iggy.
Pillows - $0 These are not outdoor pillows, they are pillows that I made about seven years ago for the bedroom when my husband and I were still living in our apartment.  They got demoted to a closet as pillows to use for filler pillows but worked perfect for the hammock.  They will be put in the basket and put away when not in use so that they outdoor weather does not destroy them. (I do have a Frugal Femme idea for outdoor pillows.  I have to try it and see how it works.  If it turns out well, I am going to share the idea with y'all - but I'm trying to figure out a way to make outdoor pillows for about $.99.  I have the outside all figured out, its the filling that I am still working on.)
Hanging Star - $0  This was in a box of Christmas decorations that were going to be thrown away where I work.  I glued, rewove, and spray painted, with spray paint I already had on hand, and it now gives my tent a slightly Moroccan flair.
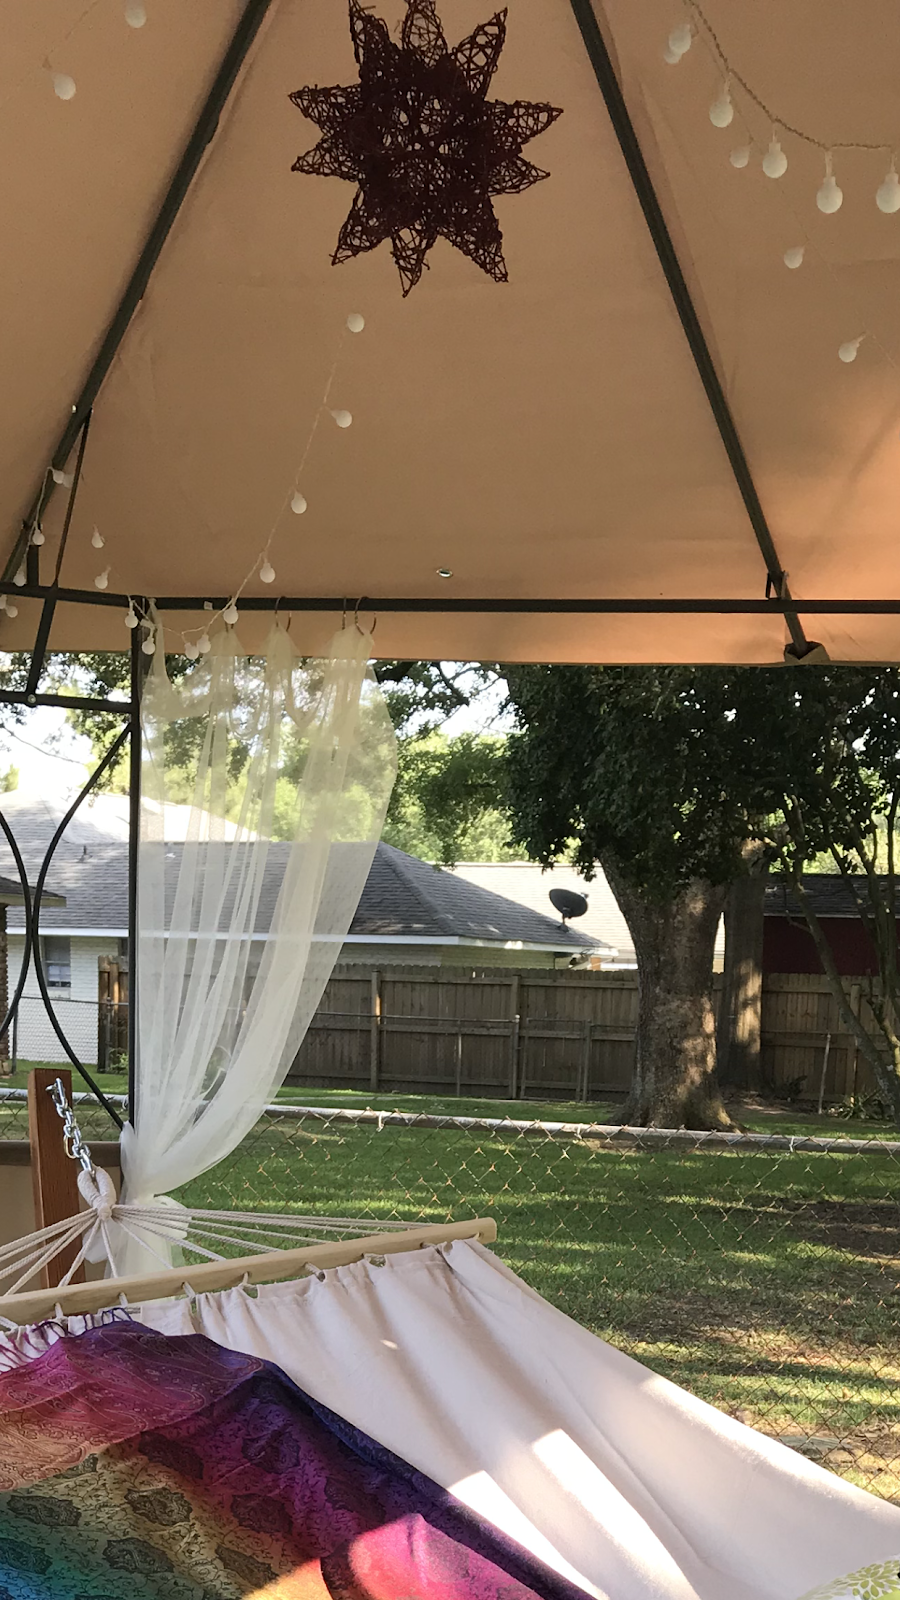
Scarf/Blanket - $5  I already had this scarf, so technically it can go in the freebie column, but I purchased it with the idea that I would use it for this purpose, so I am including it on the list.
White and Aqua Tray - $0  This was a silver plated tray that I already owned, in fact, I think I did a Frugal Femme showing how I painted it and brought it back to life. If not, I will be posting that shortly.

Bird cage and ceramic birds - $15  These were on clearance at Michael's and I love them.
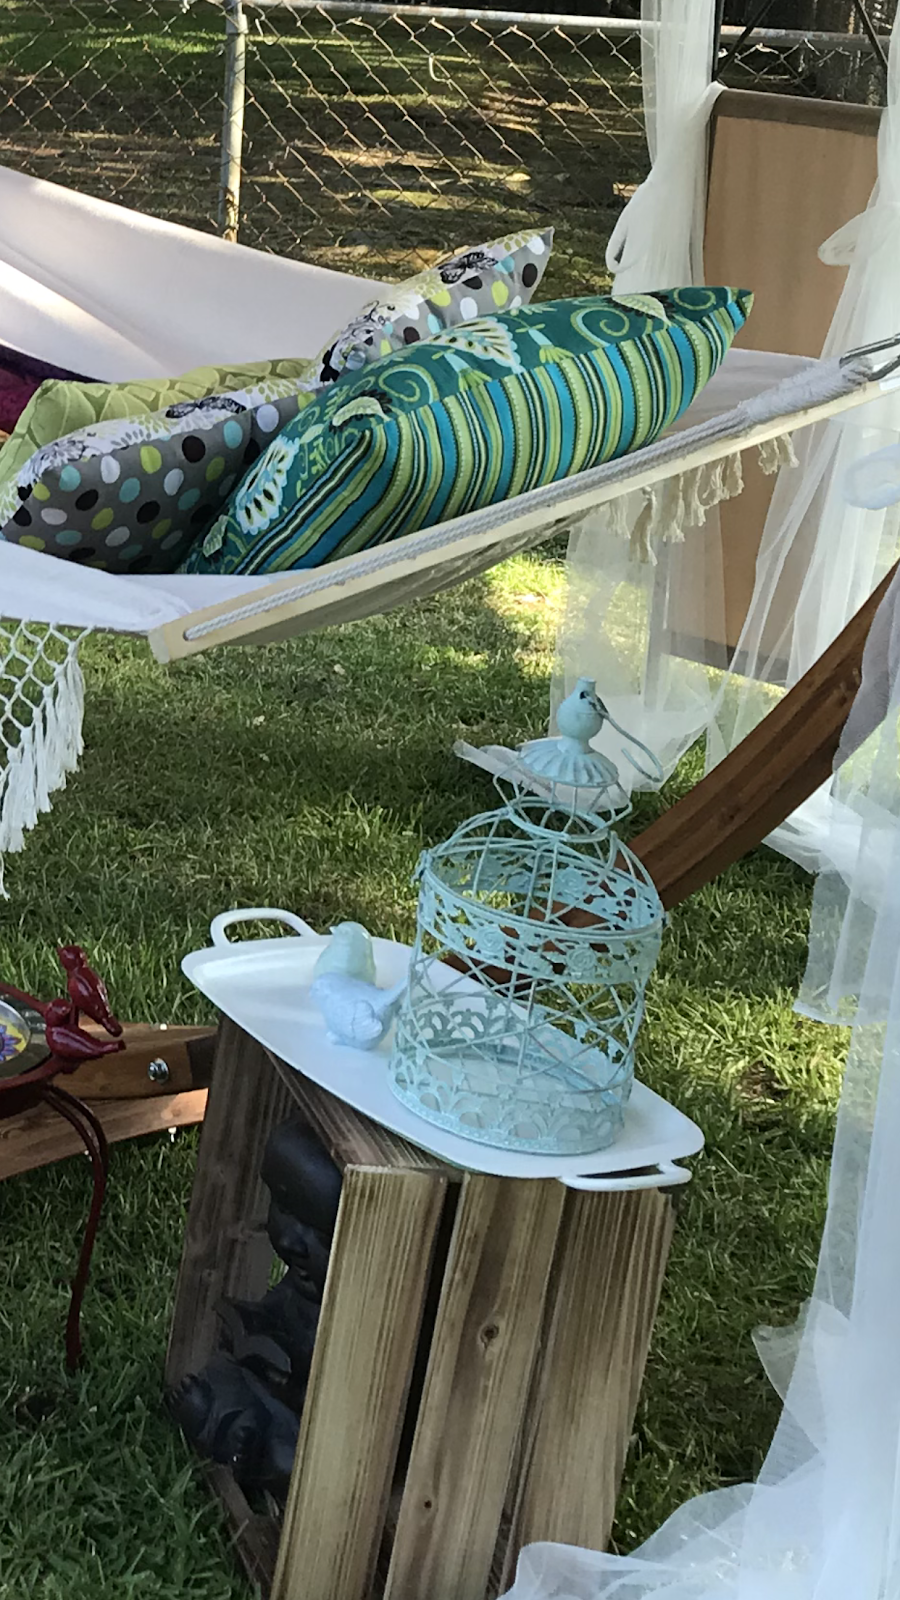
Its hard to see in this picture, but the tray under the birdcage is white on top and aqua on the bottom.

Buddha Statue - $0  Yes, I purchased it.  And I got it at Marshall's for $20, I think.  But I purchased it over two years ago and I use it all around the house, so he wasn't purchased for this project and I am not including him in the cost.
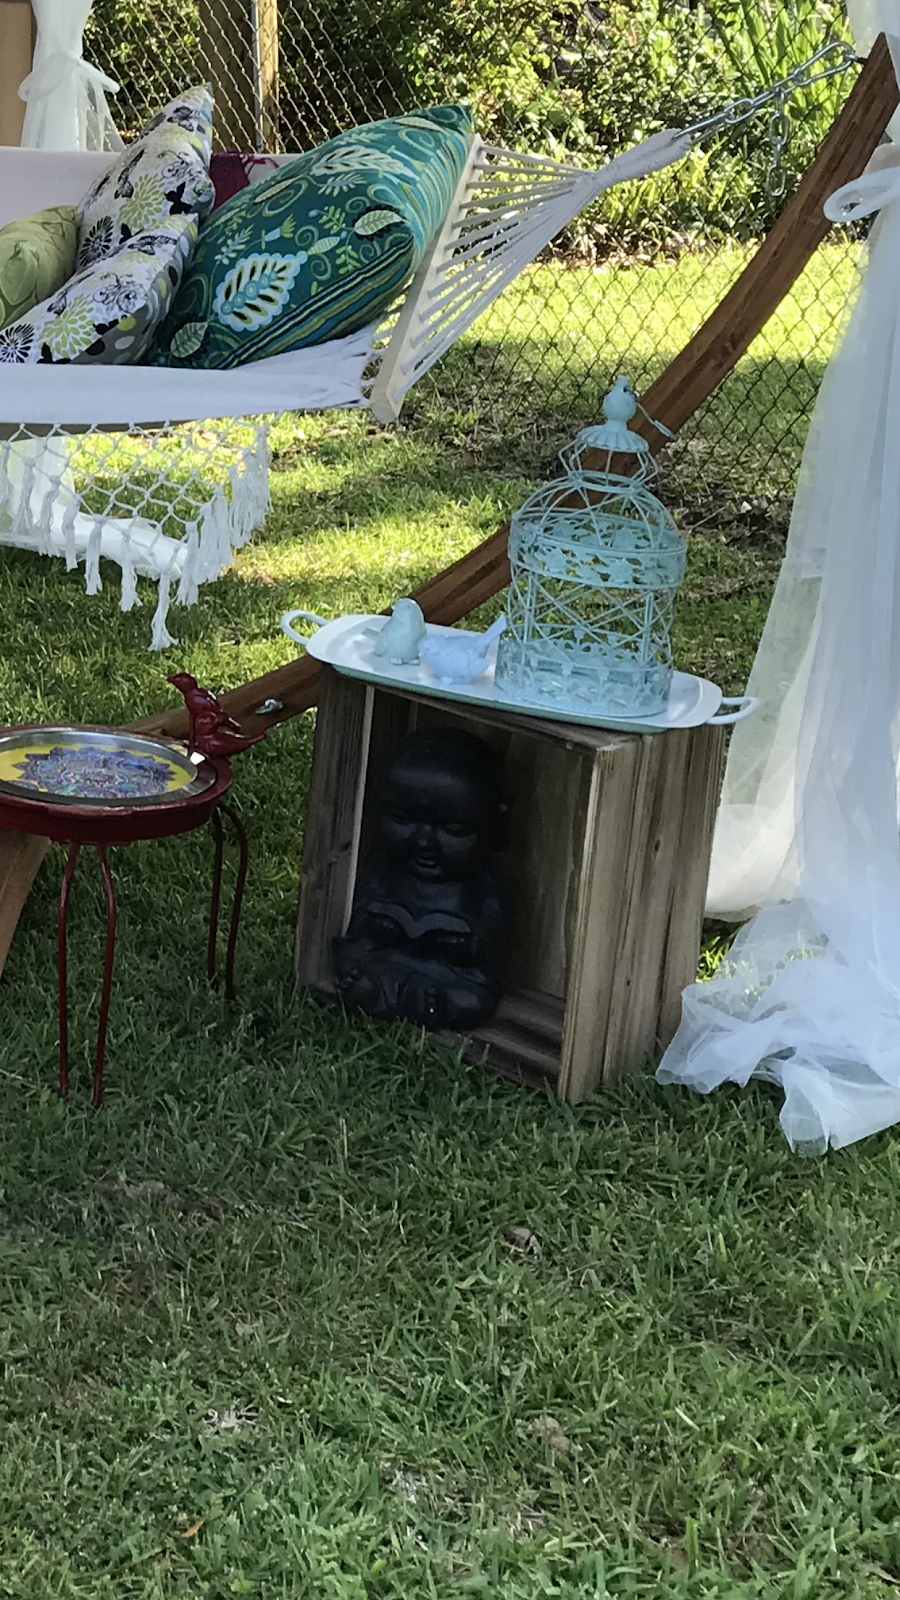
Basket and Crate - $25 The crate and basket both I had in my craft room, the bottom of the crate is falling apart, so I don't mind losing it to the outdoor gods.  The basket is storage for all of the items that I think will disintegrate outdoors and gets stored indoors when it is not in use.
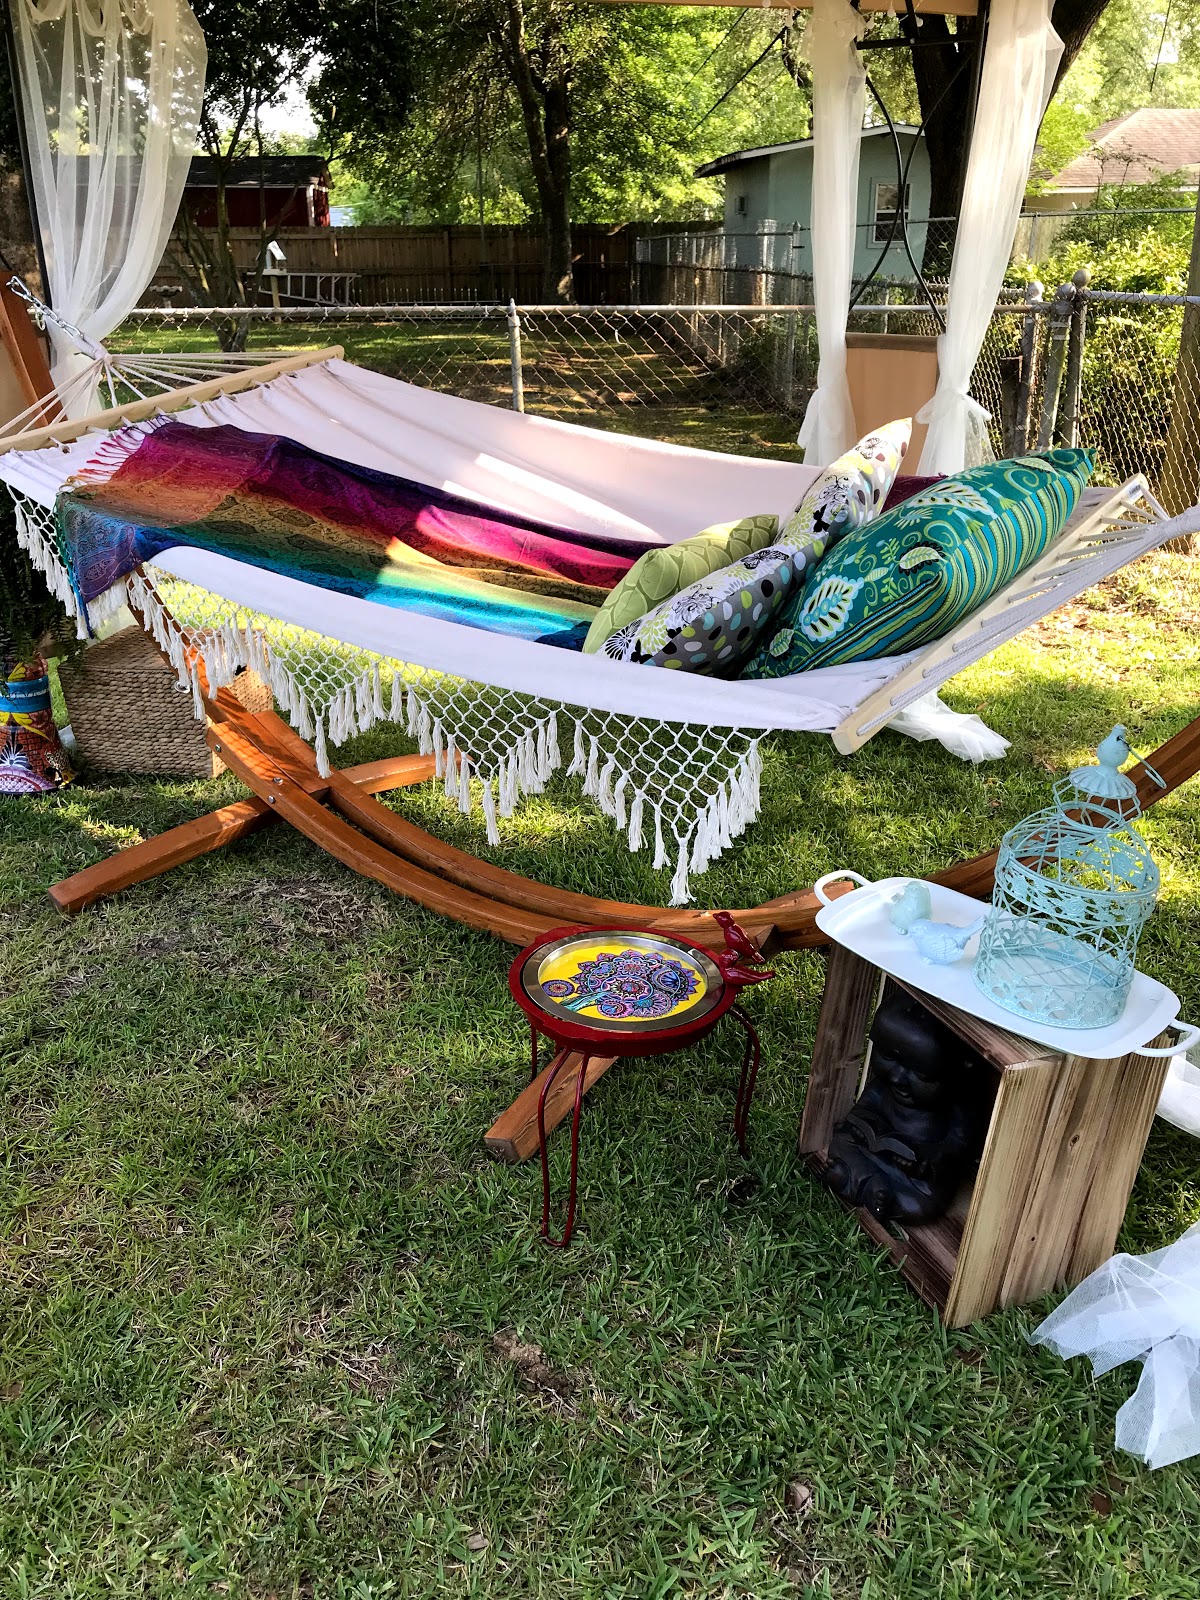
So, if I am doing my math correctly, the project came in, under budget at $267 total!  Even if I had not had the Ebay bucks for the tent, I would have come under budget at $297.00.  Booyah!!!!  Now that's what I call a Frugal Femme project!


Will I add more items later?  Probably.  I might add a chair or two in the back corner so that more than one person can be using the area at a time.  But, fortunately for me, or unfortunately, depending on how you look at it, I don't think there will be a need for that chair any time soon.  Why you may ask?  Well, its because I live in Louisiana and I have already passed the ten whole days of spring where it is bearable to be outdoors.  We are already into the super hot weather - and its not even June yet.  Which means that I have to live through June, July, August, September, and part of October before it will get comfortable enough to have the room again.  But oh do I have plans!!!!
One good thing about this not being a more permanent structure is that my husband and I can move it around the yard to see where we would like to place our permanent structure the most.  We may put it under the crepe myrtle and see if we like that better than the back corner of the back yard where it is currently.
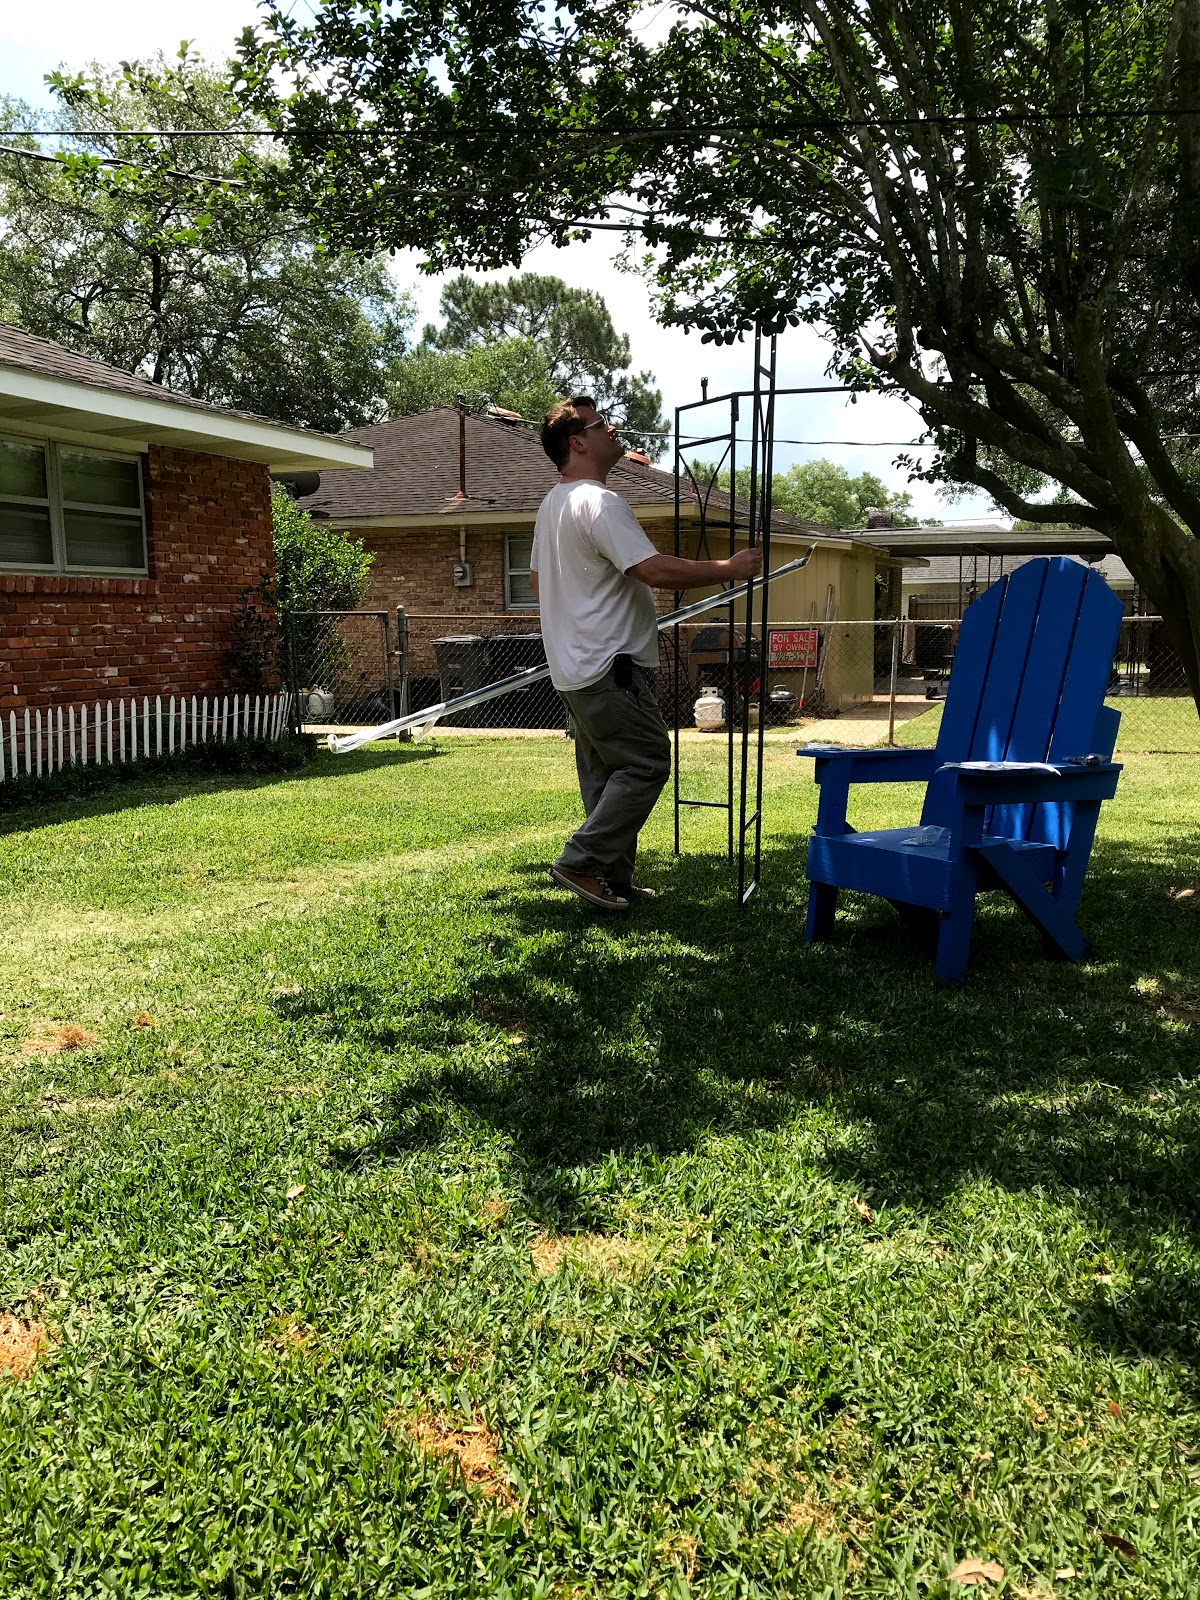
My husband building the gazebo/tent by the crepe myrtle.

Also, I so want to change things up with the season, just like I do in my house, so I so want to decorate it for Halloween and Christmas! I will of course post pictures and all of the items will probably be things that I have refurbished or re-purposed for their outdoor use.
Speaking of refurbished, here is how I turned a plant stand into an accent table.

Bird Accent Table


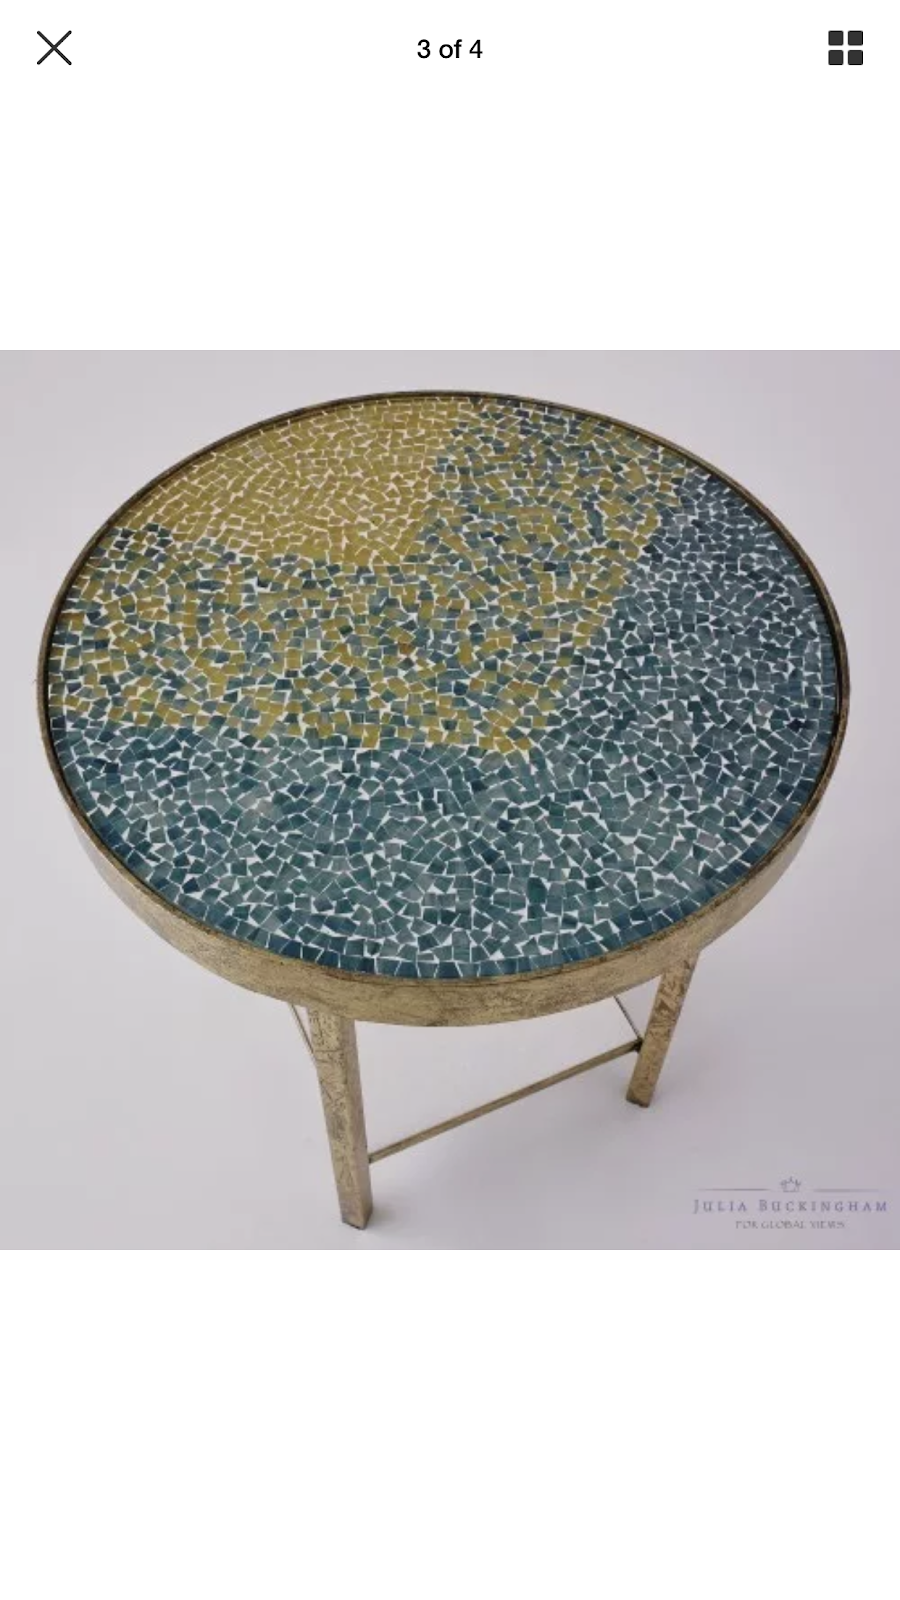
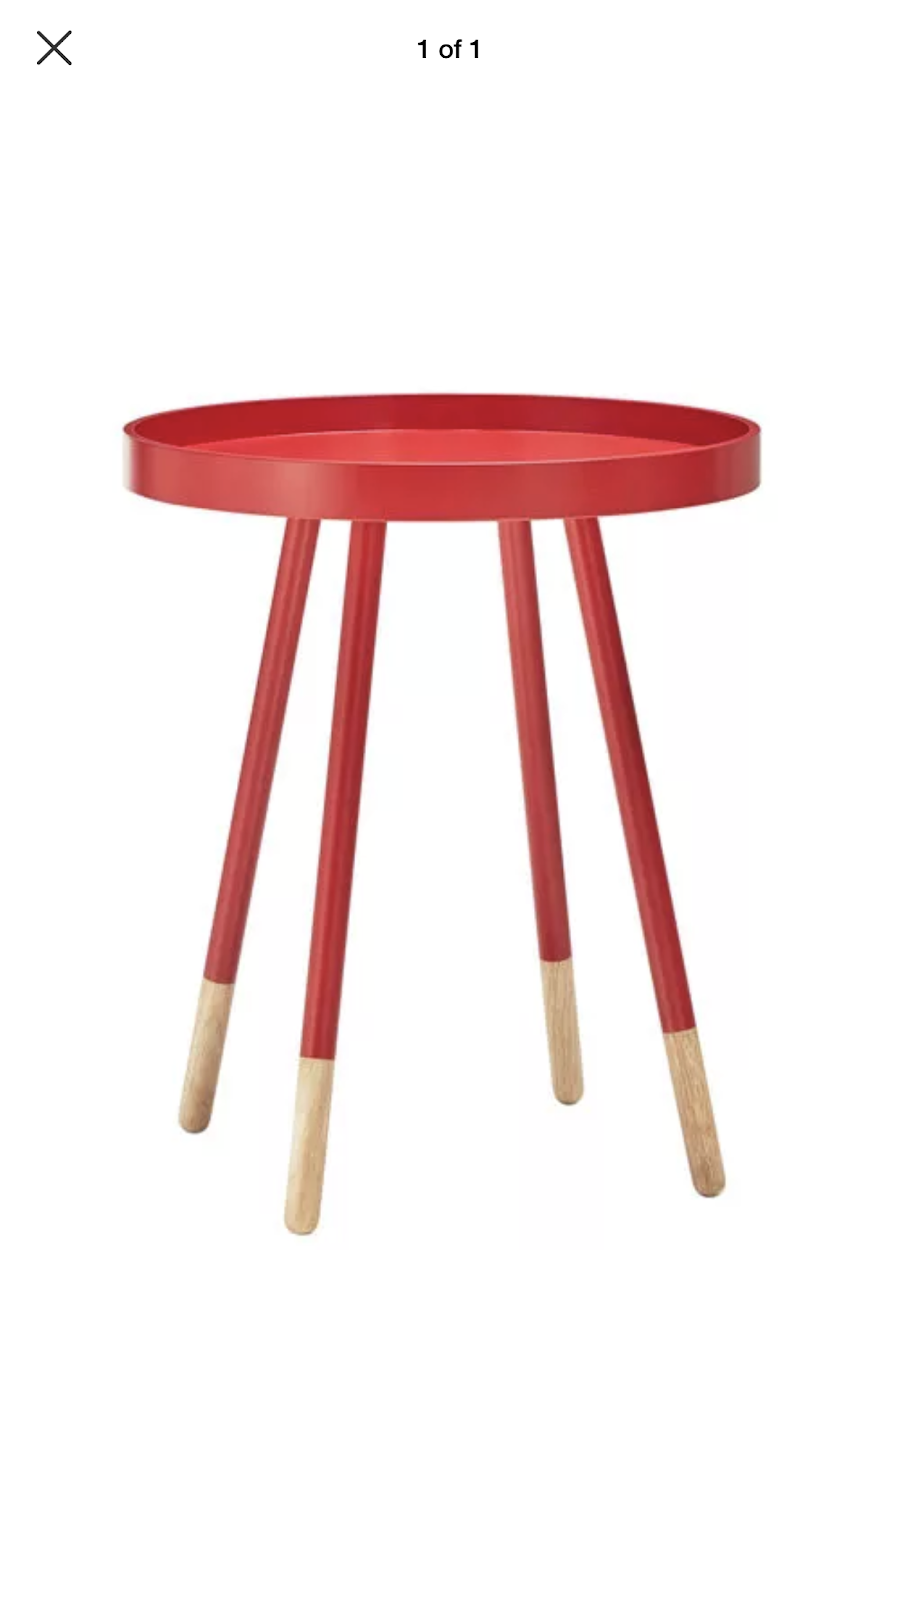
I got this idea from some mid-century accent tables that I just love.  I couldn't afford them, so I thought that I would see if I could get the look by re-purposing an item.  
Here are some of my inspiration pictures:
And this is what I came up with.

Items Needed
1 Plant Stand (mine was given to me, but look at yard sales for good prices for these)
Spray Paint (I already had red on hand - I also prefer mine to be shiny rather than matte)
Round Serving tray, metal - mine was 11.5 inches in diameter, yours will depend on the plant stand)
Sandpaper
Acrylic Oaint (Actually, chalk paint would be better, but I was using what I had on hand)
Acylic Sealer (Clear) - I use Dura-Clear Satin Varnish
Paint Brush
1 relaxation coloring book/coloring page
colored pencils
Scissors

Instructions
1.  Find a relaxation coloring page that will fit in the round tray that you are using as your table top.  (I actually had one that I already colored.  My husband had given me a relaxation coloring book for Christmas a couple years ago and one of the pages just happened to work perfectly, but you can go online and find a blank coloring page that you would like and print it - which would be far cheaper than buying a coloring book. Color the picture whatever colors you think will go for your table.
2.  Prepare the tray for painting.  Using fine grain sandpaper, sand the areas of the tray that you want to paint.  This may be the entire tray or, you may do as I decided to do, and just paint part of the tray and leave the rest alone.  For my tray, I decided that I liked the silver rim bordering the pattern on the inside so I only painted the inside of the tray.
3.  Using a large-ish, soft bristled paint brush, paint your tray.  Make certain that you let the coats dry thoroughly before putting on another coat.  You may have to do several coats if you use plain acrylic paint rather than chalk paint.  (I had to do about five coats.)
4.  Once the paint has dried, line up your coloring page to see how you would like to lay it out on your tray. 
5.  Cut out the design.
6.  Using a large-ish, soft bristled paint brush, apply a coat of sealer/varnish to the painted areas of your tray.
7.  While the varnish is still tacky to the touch, put down the coloring page pictures in the design of your choosing on the tray.  Gently smooth onto the tray with your fingertips, making certain to eliminate any air bubbles.
8.  After the sealer/varnish has dried completely, add another another coat to the painted parts of your tray, making certain to also cover the coloring pages as well.  This will seal the paper to the tray even better and will make it so that you can put drinks, and other items on the tray without damaging the paper.
9.  Put at least three coats of sealer on the painted/colored parts of the tray, making certain to let each coat dry before continuing.
10.  Between any of your drying coats, you can spray paint the planter.  I actually paint one coat on the tray and, while that is drying, go and spray paint the planter.  I did this once a day for almost a week because I wanted to make certain that my paint was dry.
11.  Insert the tray into the planter. 
12.  You can glue down the tray to the planter if that is your choice.  It will prevent the tray from moving and causing any accidents or spills.  I decided to not glue down my tray.  This way, I can remove the tray from the stand, clean it by hand in the kitchen sink, and then put it back in the stand.
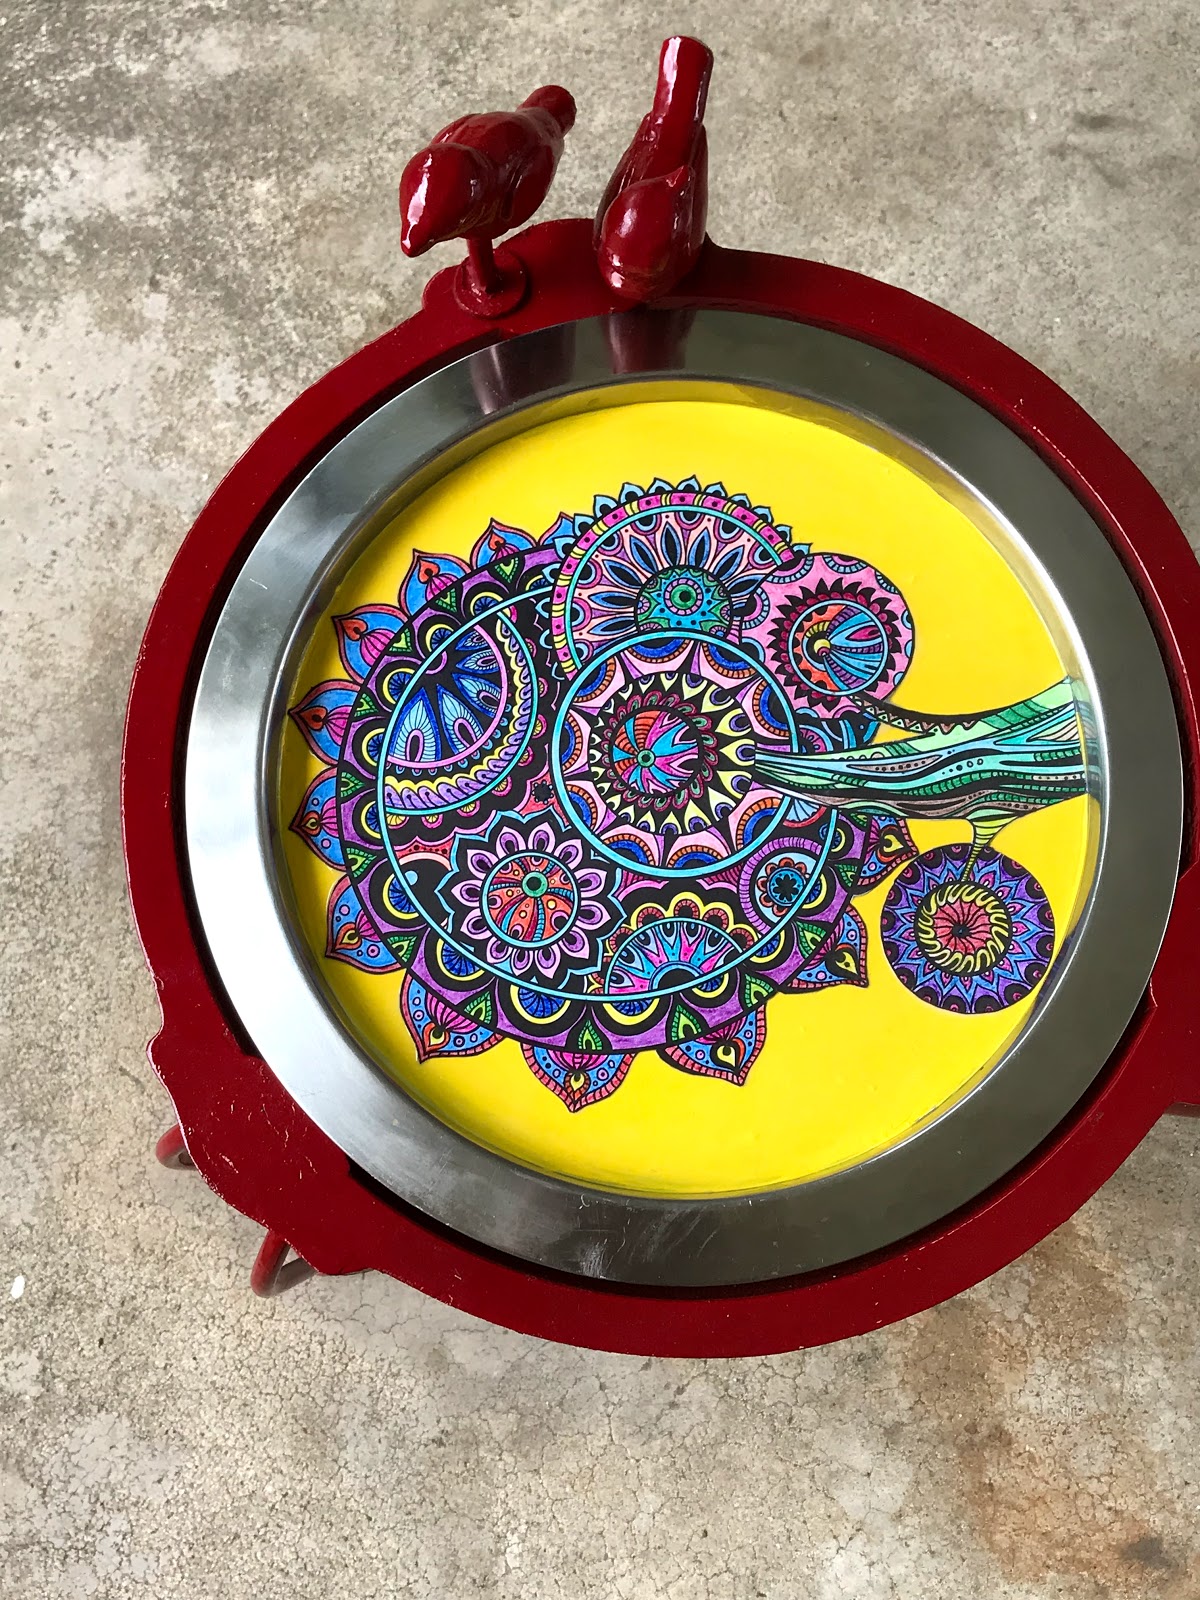

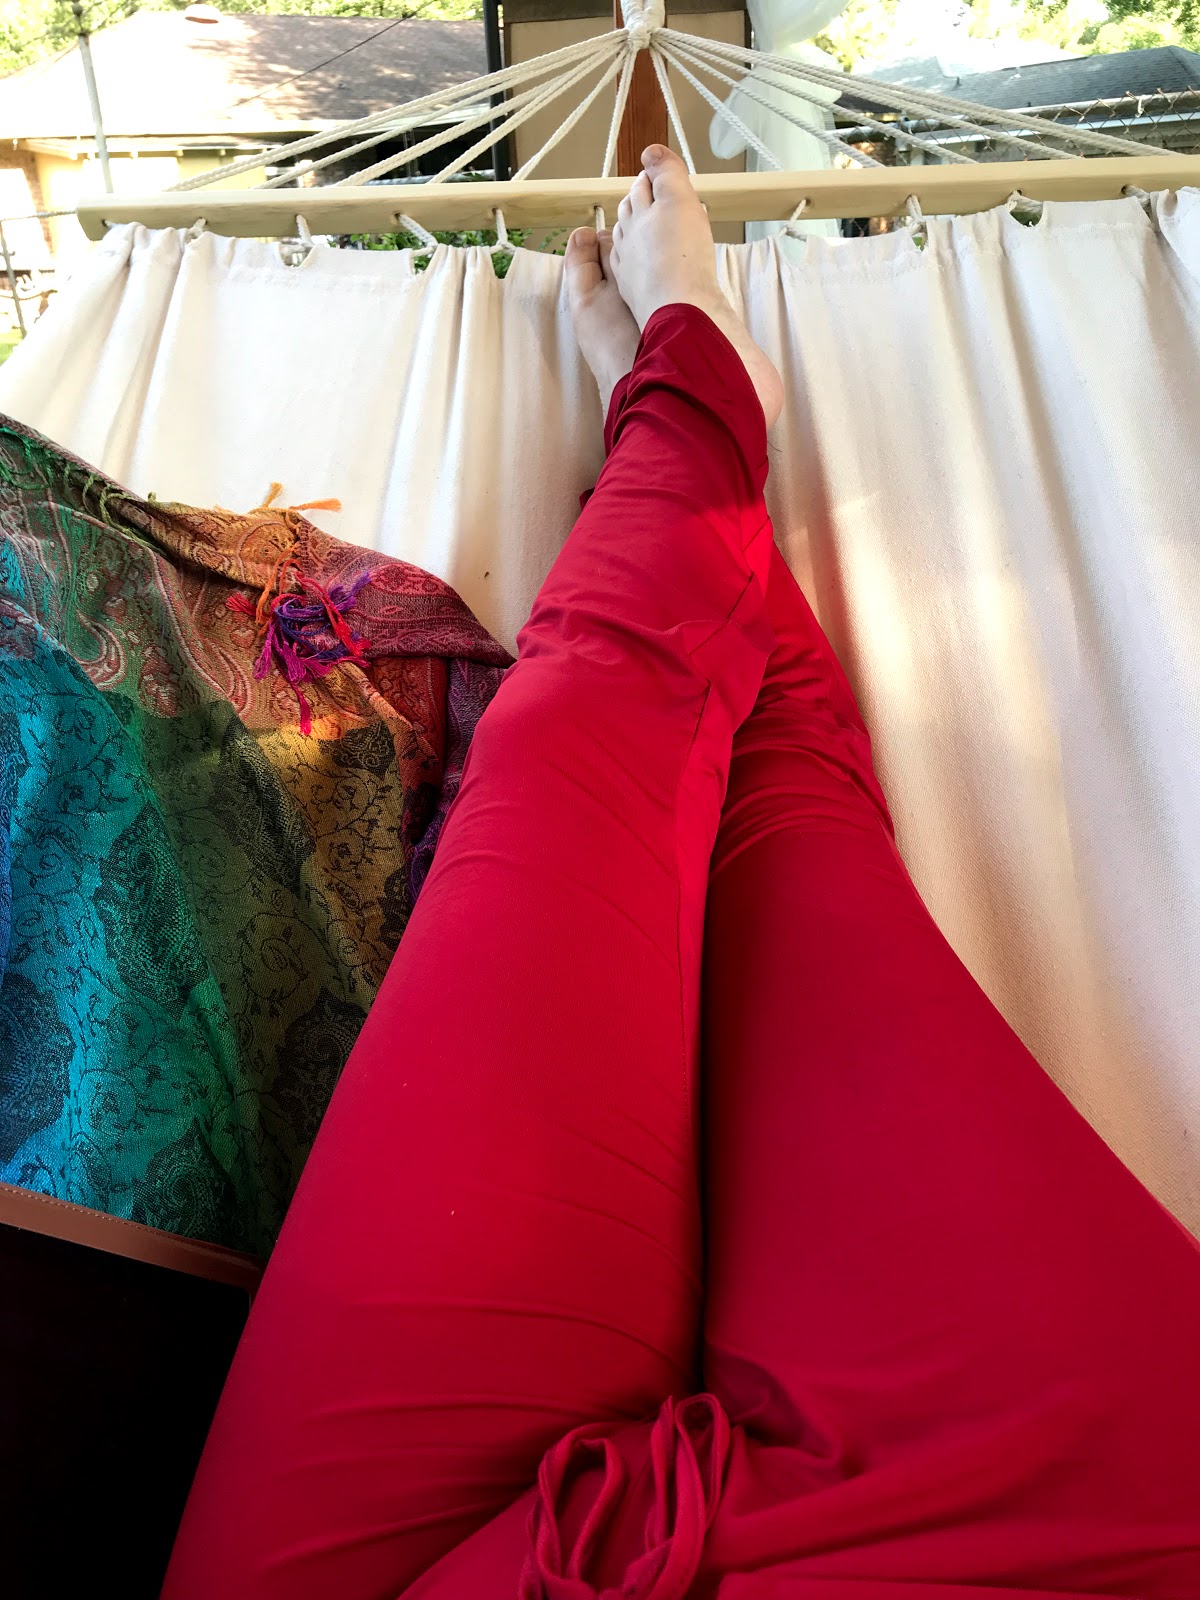
And then lean back, relax, and enjoy the fruits of your labor.

You can't see it in this picture, but I have a nice, cold tea on the little table beside me.

My view while in the hammock.

Well, I think that's it for this post.  I am working on some other craft things at the moment that, I hope, I will be finished with soon and can share with you shortly.  I also have some recipes that I want to share, but I need to remember to take pictures while I cook.  That's not as easy as it sounds.  So keep checking back with me as I should have something up again this week! Also, I leave you with some pictures of my outdoor room at night.
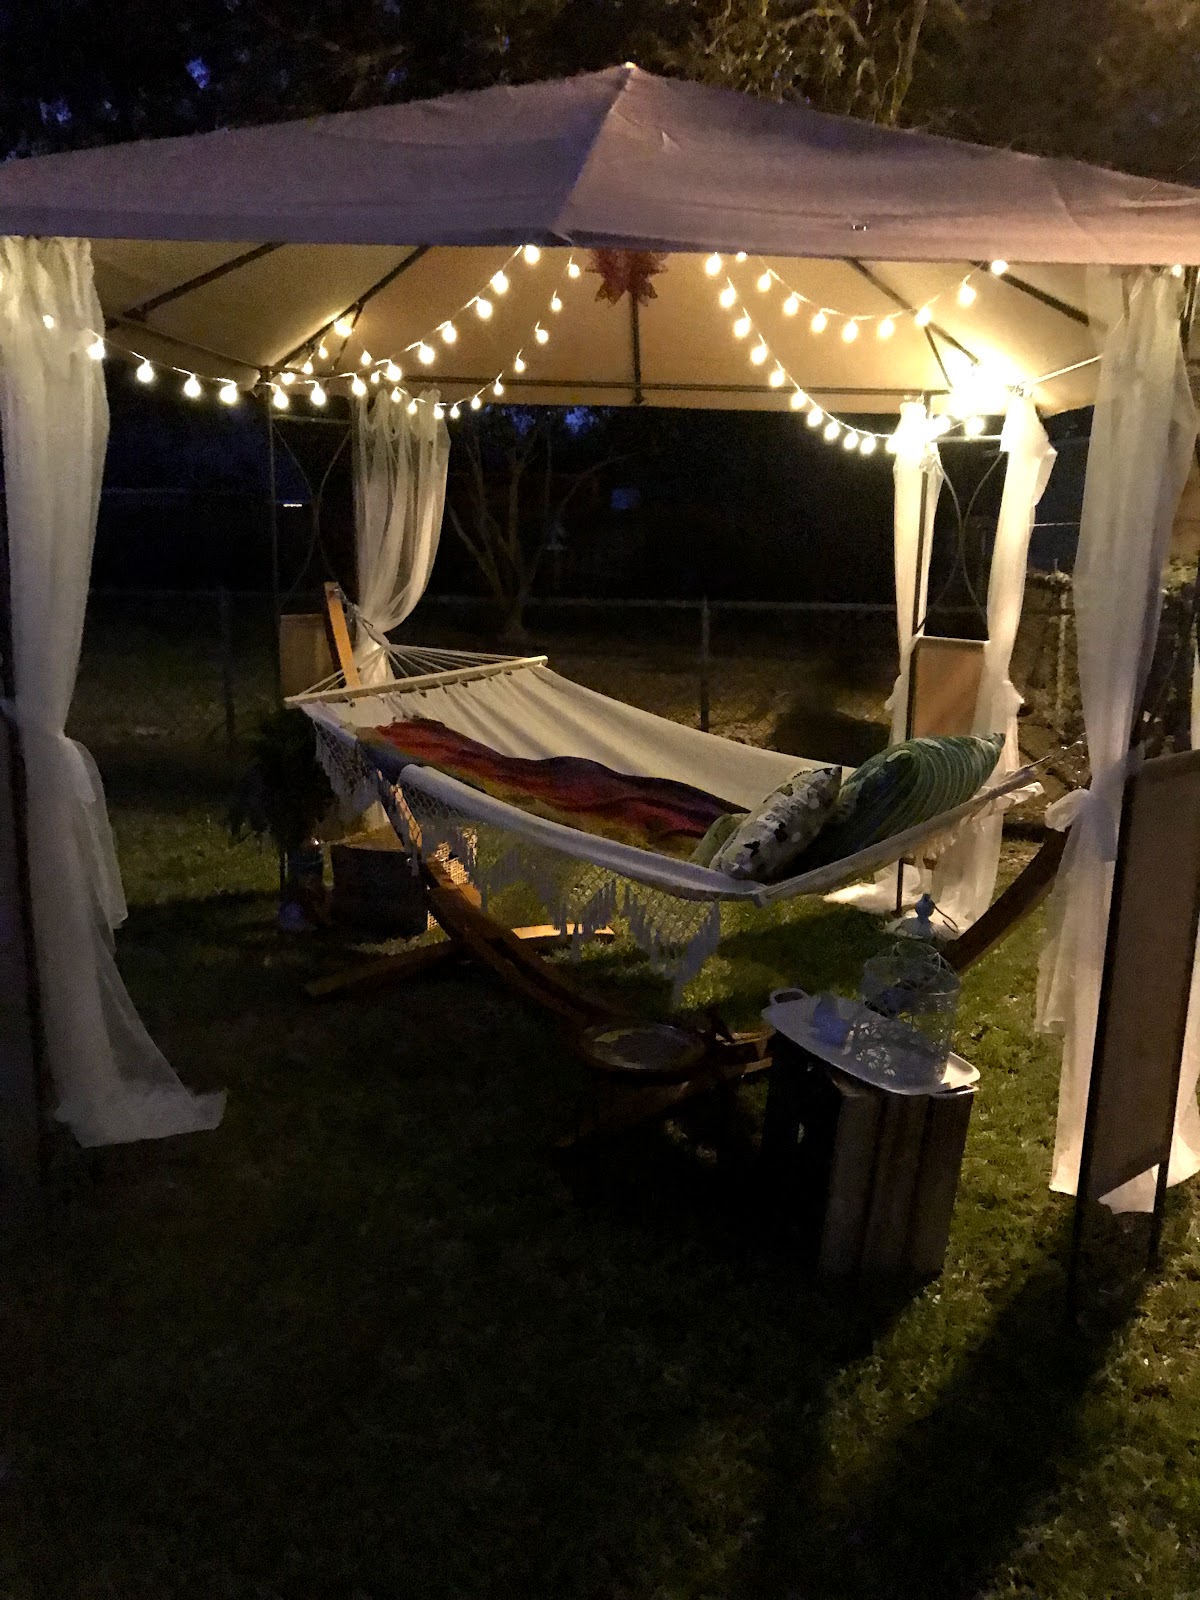
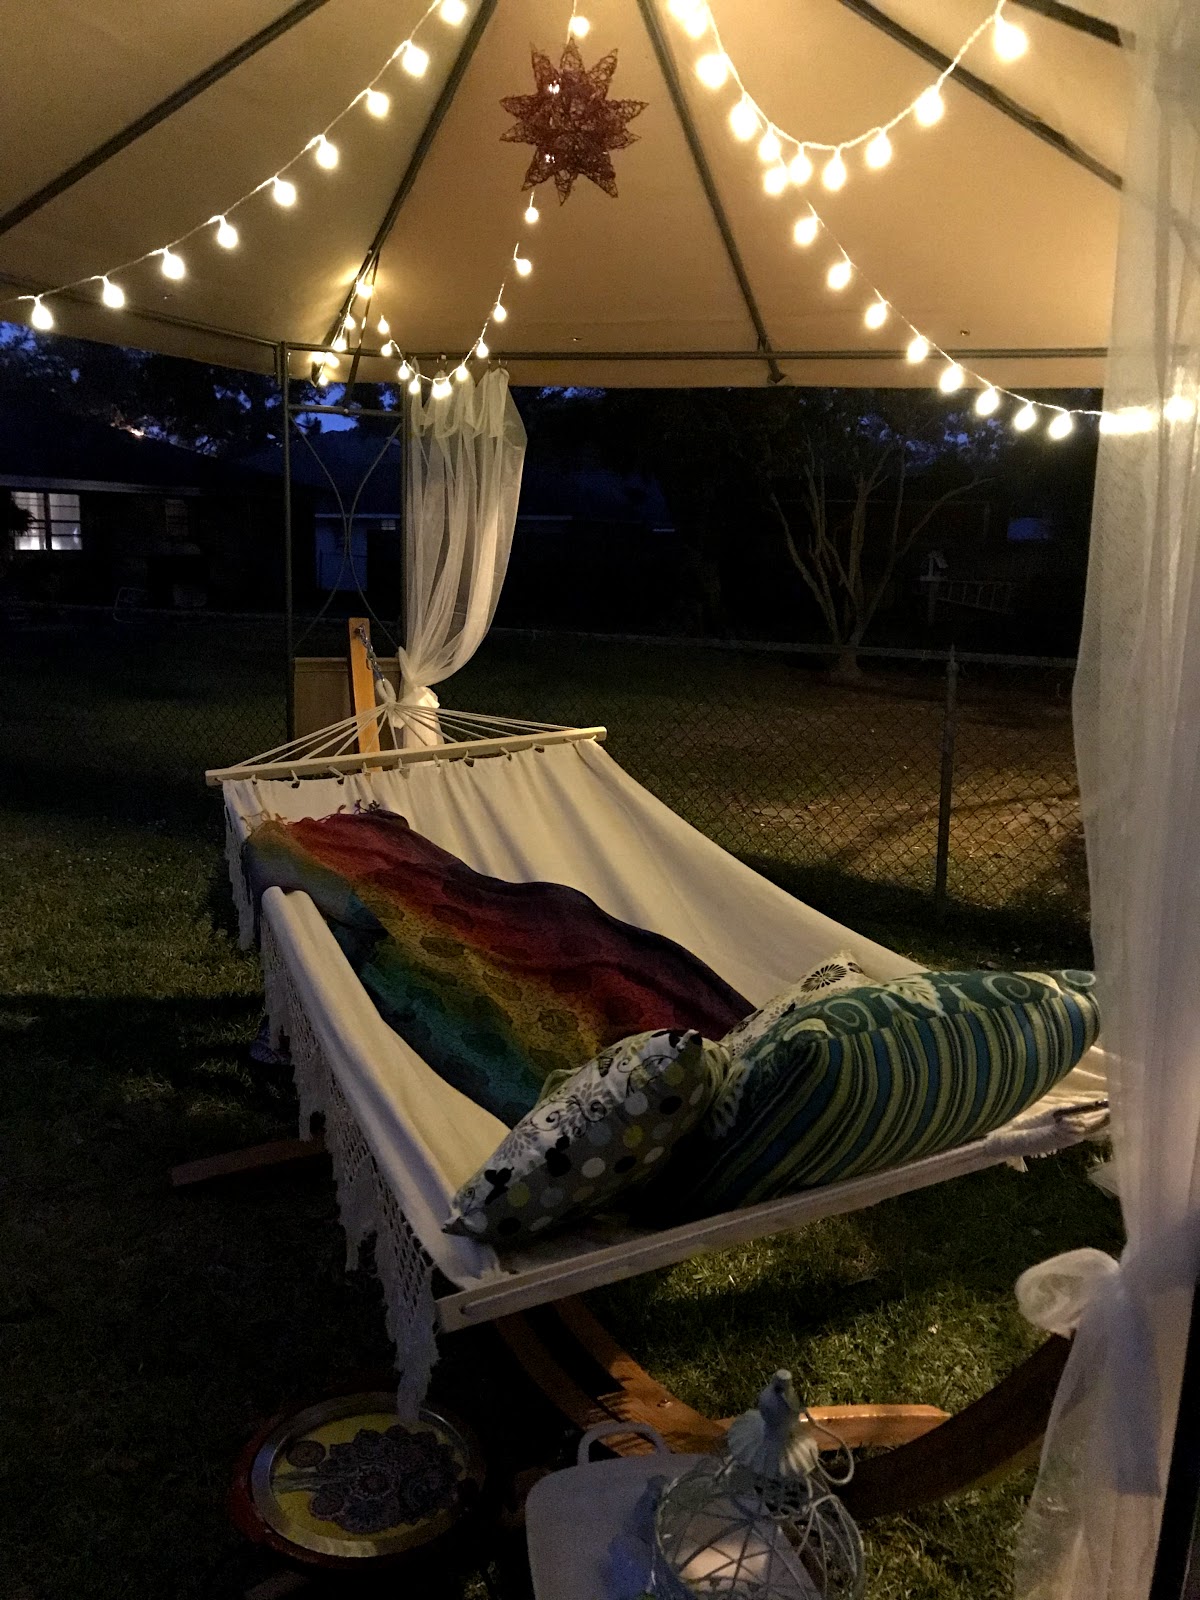

Doesn't this just scream relaxing with a book and an adult beverage?  I'm so happy!


Monday, April 23, 2018

Roast Beef Boursin Bites

Hello Everyone!
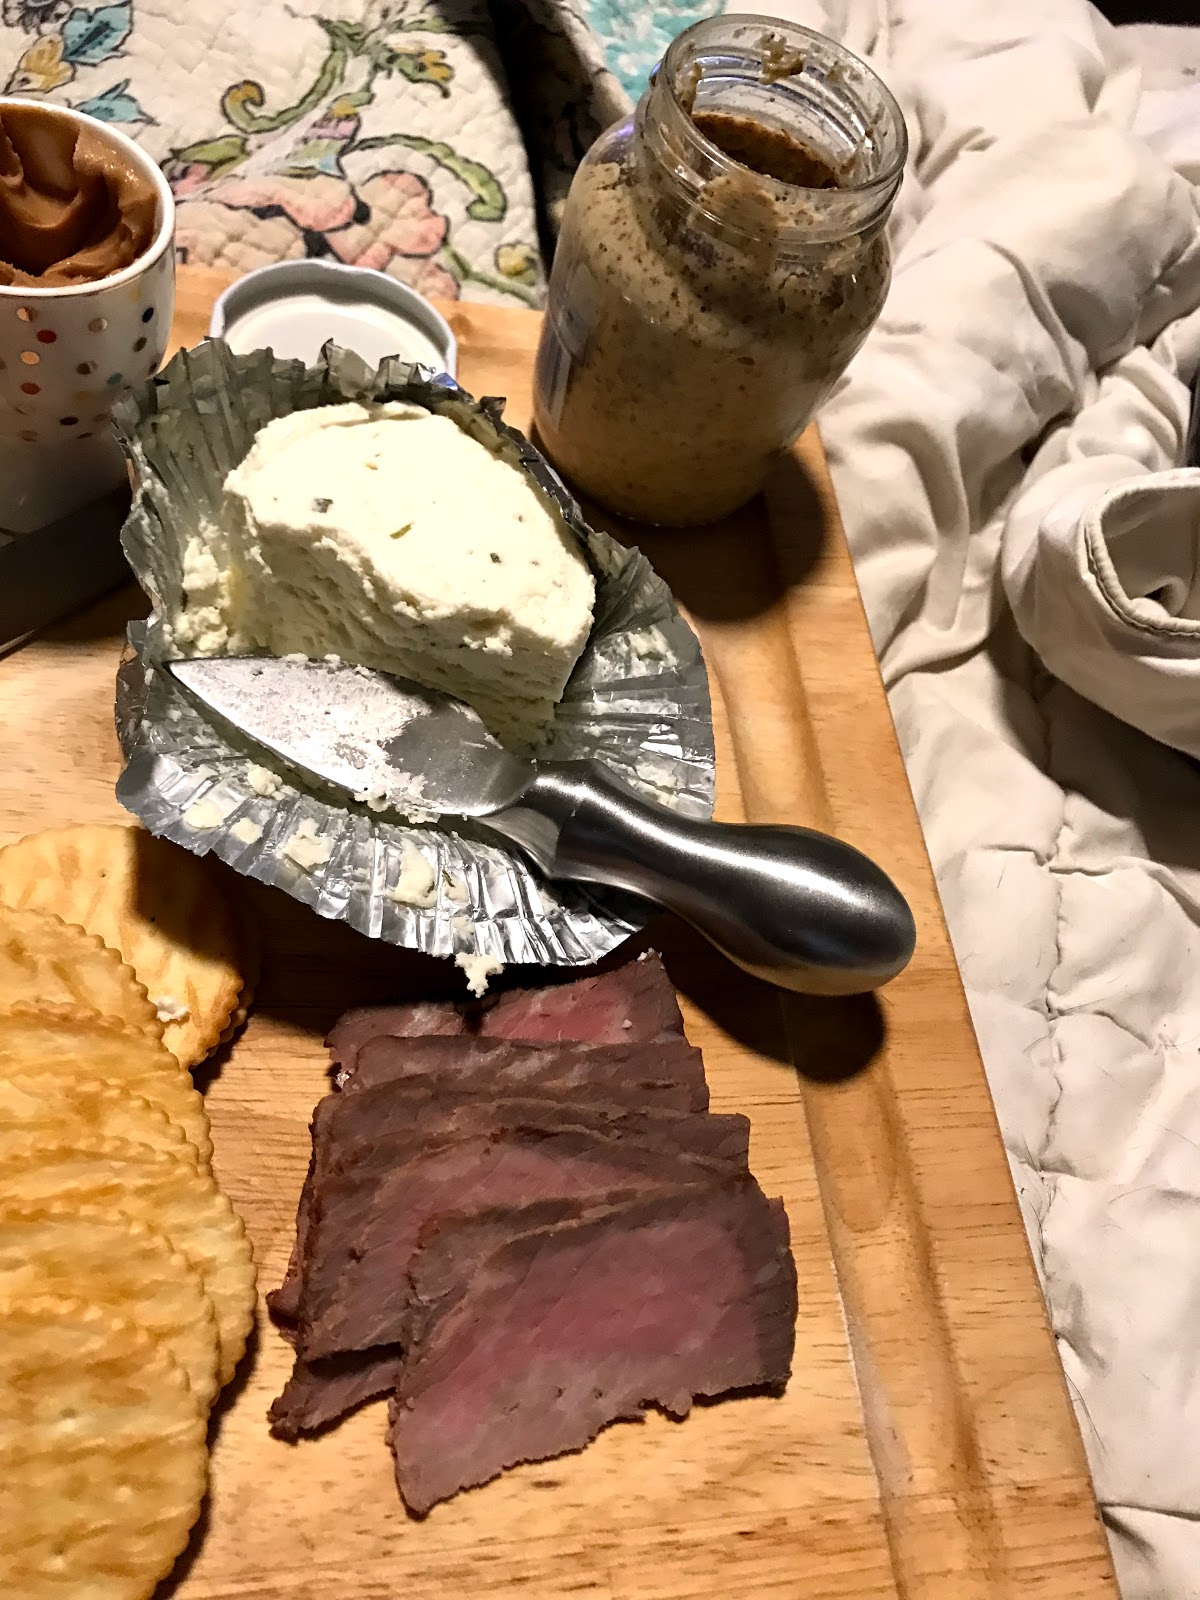
I don't know about any one else, but I always seem to be a little more whipped after work on a Monday than any other workday.  Even if the work day isn't anything out of the normal.  That was how it was for me today.  Of course, it didn't help that my allergies were the worst today and were kicking my behind like they were getting paid for it.  So when I got home today, I was hungry, and didn't want to eat fast food, but I just was up to doing even one of my super basic meals.  So I decided to make a leftover picnic.


What, you may ask, is a leftover picnic?  That is when you go into the fridge, look at all of the foods that you can eat without cooking, and see if you can prepare a nice, easy cold meal out of them.  One of the things I had was a little bit of pot roast that I had made earlier in the week.  Normally I would have turned it into roast beef sandwiches - but there wasn't quite enough, or stir-fry - but I didn't feel like cooking.  Instead, I decided that I would serve them on crackers as part of my leftovers picnic. 
Oh.  My.  Goodness. 
They were so delicious that I thought that I would share this quick "meal" idea with y'all.  For those nights when cooking is just too much.

Roast Beef Boursin Bites


Ingredients
Roast Beef  (a small piece leftover from a pot roast dinner)
Boursin Cheese - Garlic and Herb
Dijon or Creole Mustard - my husband and I like the Grey Poupon Country Dijon Mustard
Round Crackers - like Ritz crackers

Instructions
1.  Slice the roast beef as thin as you possibly can.  Trying to do your best to trim them into two inch, by two inch pieces.  You know, the perfect size to put on a cracker.
2.  Assemble your cracker.  For me, I like to smear the Boursin cheese on the cracker, then put the roast beef slice so that the Boursin sort of works like a glue to keep the roast beef in place, and then I put a small dollop of the Grey Poupon.

These things are so good!  My husband and I couldn't believe how delicious they were. 

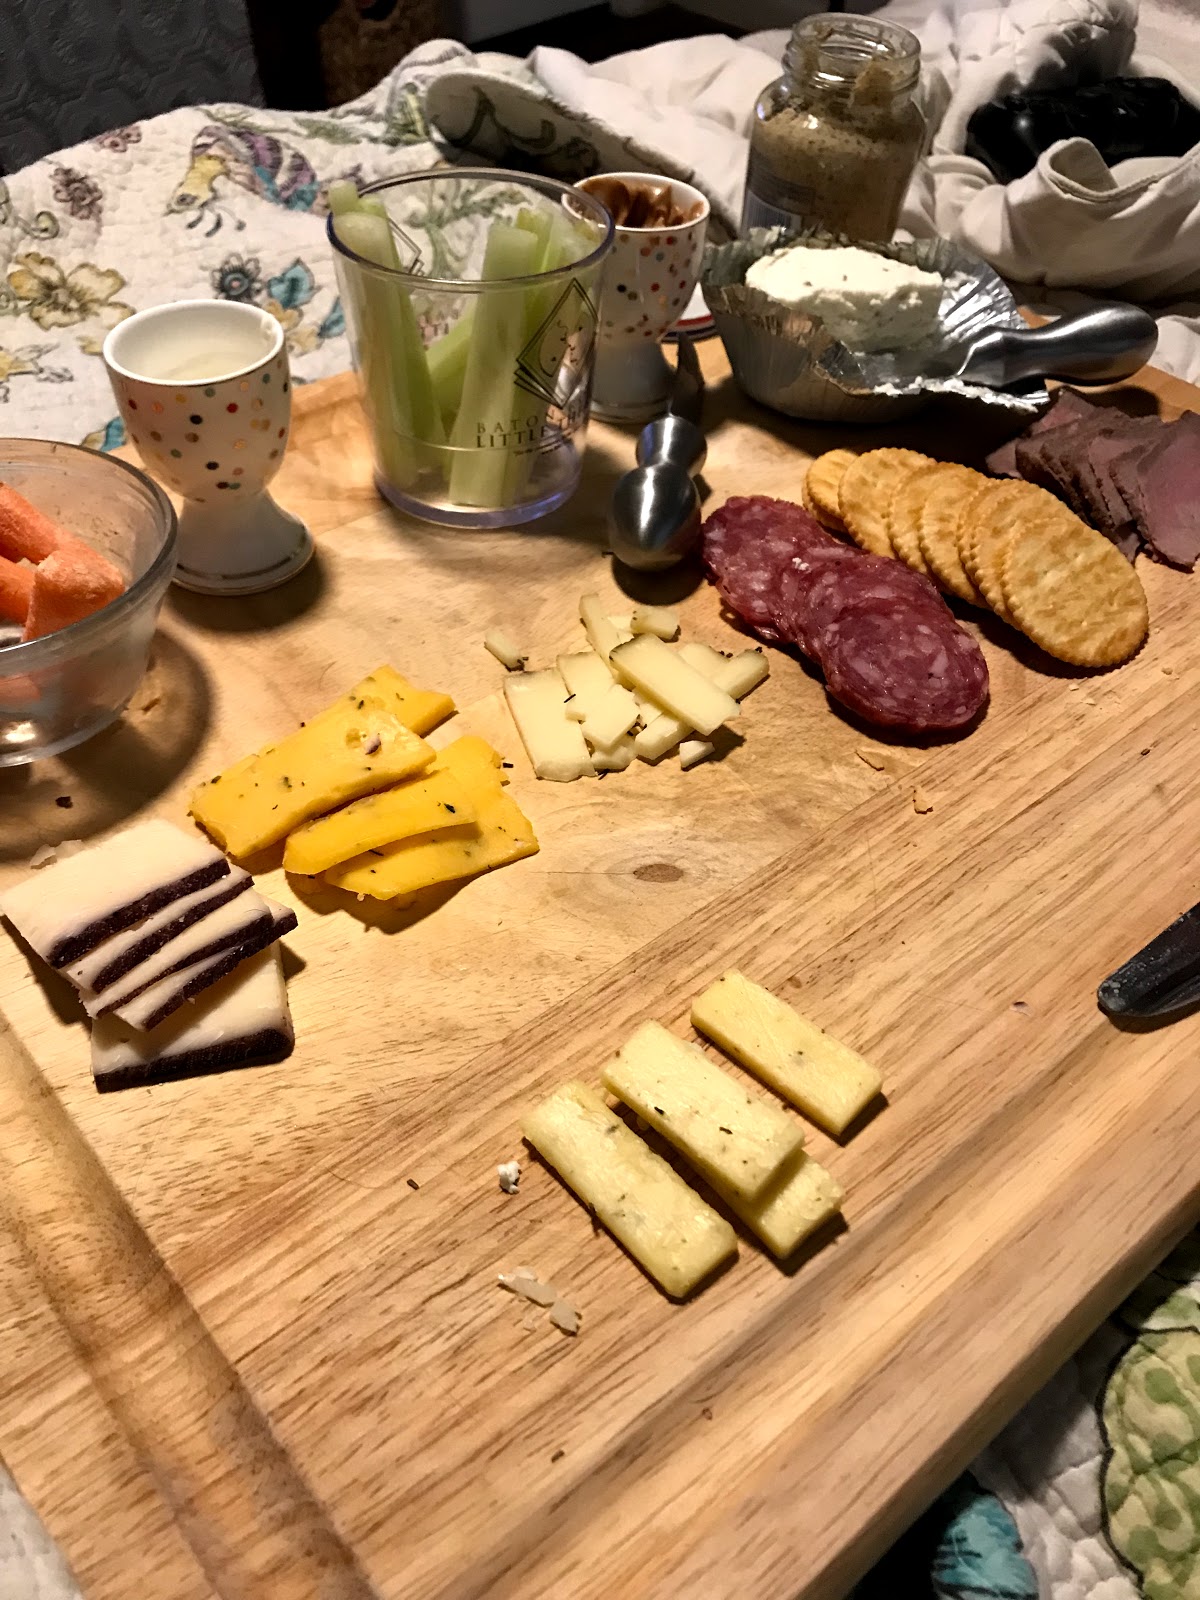
Along with the Roast Beef Boursin Bites I included the following:
     Assorted cheeses, thinly sliced
     Salami, thinly sliced
     Celery sticks with peanut butter for dipping
     Carrots with blue cheese dressing for dipping
     Grapes
     Apple slices sprinkled with lavender sugar
I put everything on a big cutting board and put it on the bed in the bedroom.  So relaxing.
I know!  It sounds fancy when you put them all together, but these are just things that I have in my fridge for lunch and dinner during the week.  (The cheese and the salami are part of my go to's for eating a semi-healthy lunch.)
It makes for a super relaxing meal - partly because you can munch on it as you watch television.  I know, I know we're not supposed to eat and watch television, but almost all of us do it, so don't judge me.  You can relax even more if you have glass of wine or cup of tea with your leftover picnic.
Well, this was just a quick post to share a quick meal idea.
Hope you enjoyed! 

Thursday, April 19, 2018

Easy One Minute Egg or No Excuse to Miss Breakfast

Hello Everyone!
In the attempt to live a healthy lifestyle, and lose about six (ahem, realism check - 3) inches of my waistline, I have been making a conscious effort to eat healthier.  I don't believe in diets and banning foods from myself.  From what I have observed in my personal life, these types of diet plans may work for a short time but they, usually, never work out in the long run- mostly because you are denying yourself everything delicious. 

Yes, this was a real ad at one time.  Don't eat food! Smoke cigarettes instead.  Ummmm.  I think I'll pass.

Instead I prefer to try to make certain that the foods that I am eating are the right proportions according to the Food and Drug Administration.  I also try to make certain that I eat at least three meals a day - and a light snack. This means that there is no missing breakfast - which may be the most important meal of the day but is absolutely the easiest meal of the day to skip. 
To that end, I have been trying to come up with easy breakfasts that I can take to work that aren't just yogurt.  So far, my favorite is what I am calling the one minute scrambled egg. In fact, I love it so much that I thought that I would share it with you.

The One Minute Scrambled Egg


I call this recipe the minute egg but sometimes it can take less or more time, depending on how cold your fridge is and how powerful your microwave runs, but I have never had it take less than 30 seconds or over 1 minute and 15 seconds, so I have averaged the time and call it the minute egg.  This recipe can be easily modified to suit your personal taste - but my recipe is very low in fat, although it doesn't taste like it, so, do yourself a favor and don't make it with egg whites to try to reduce calories.

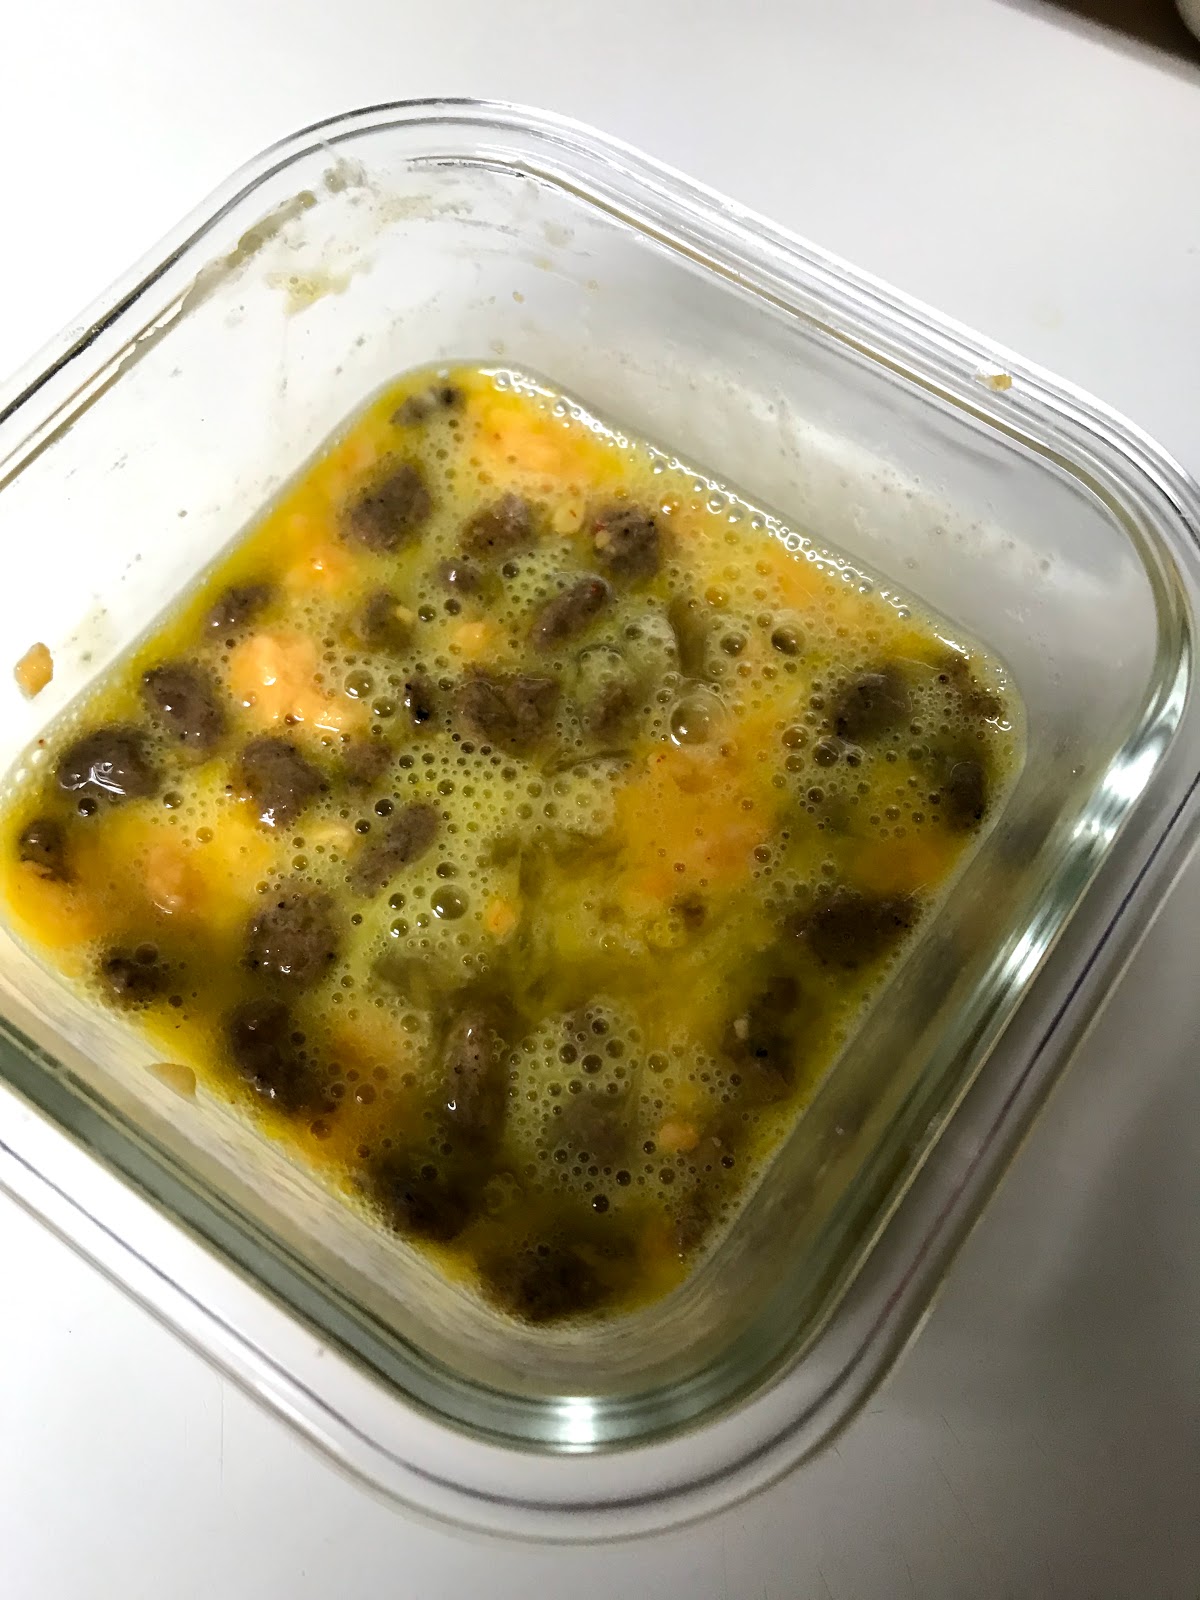
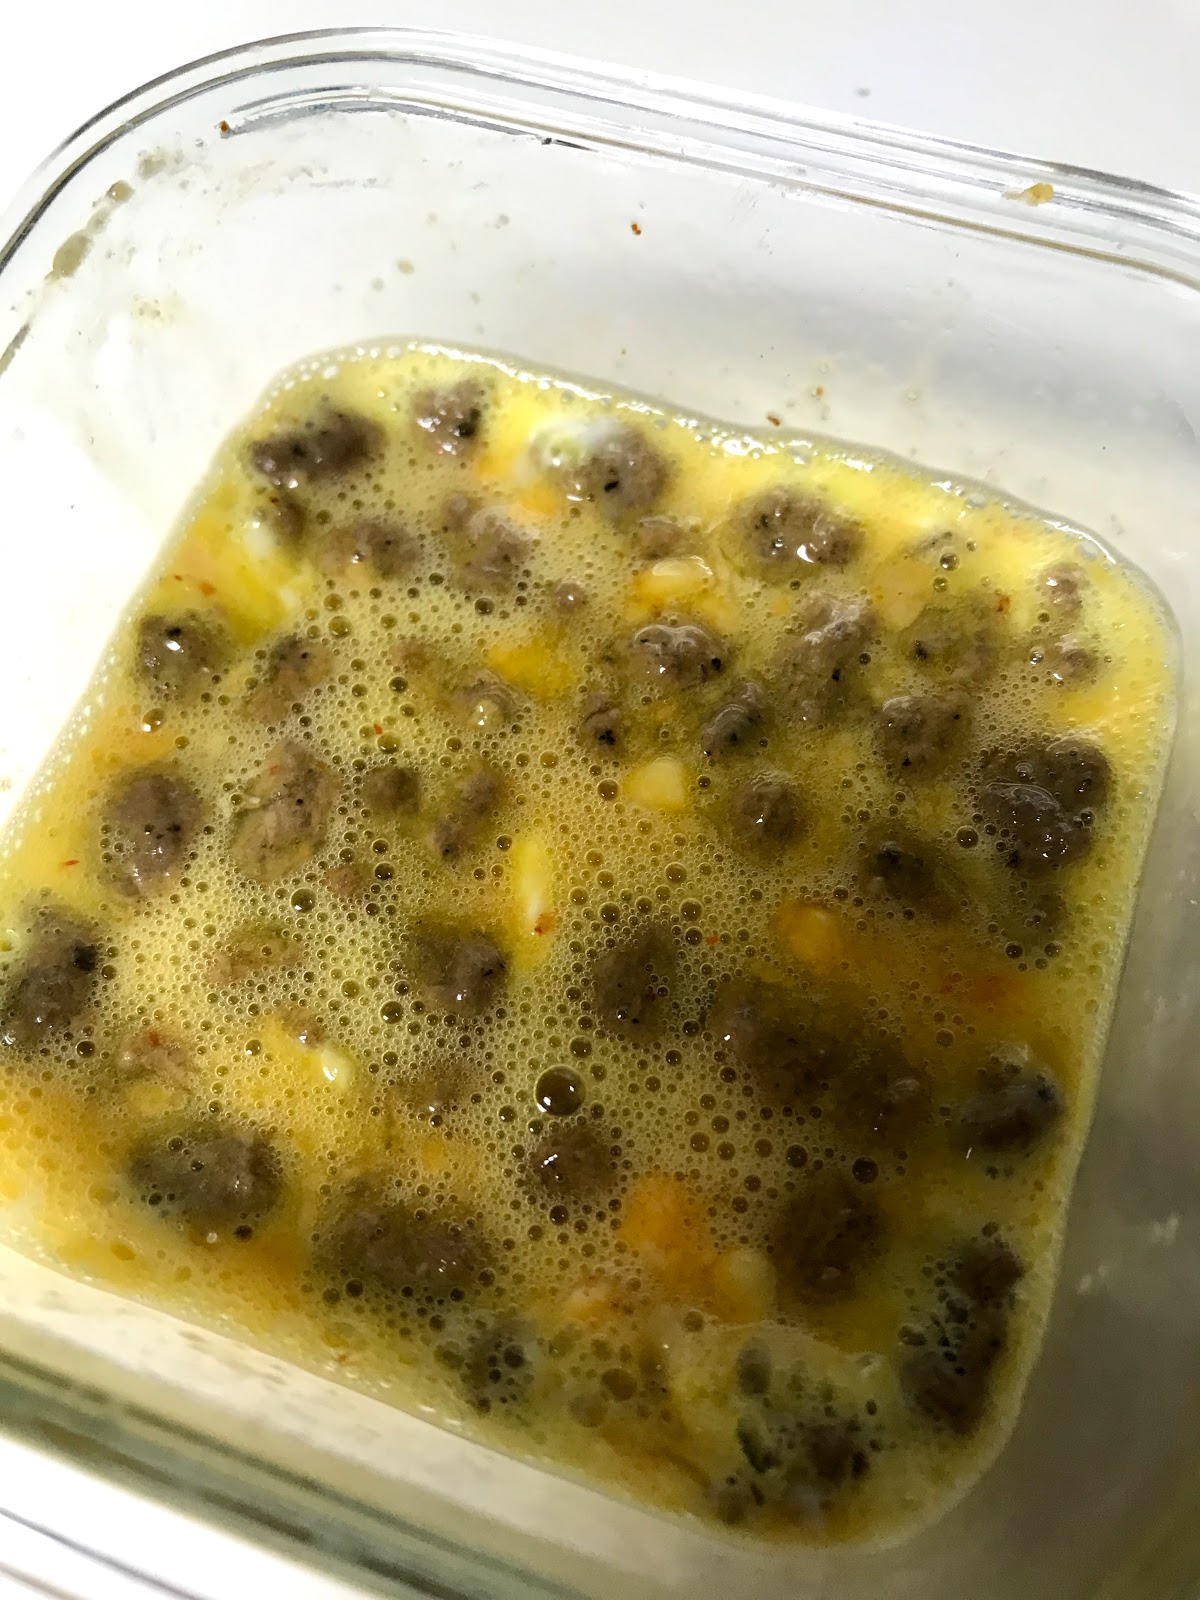
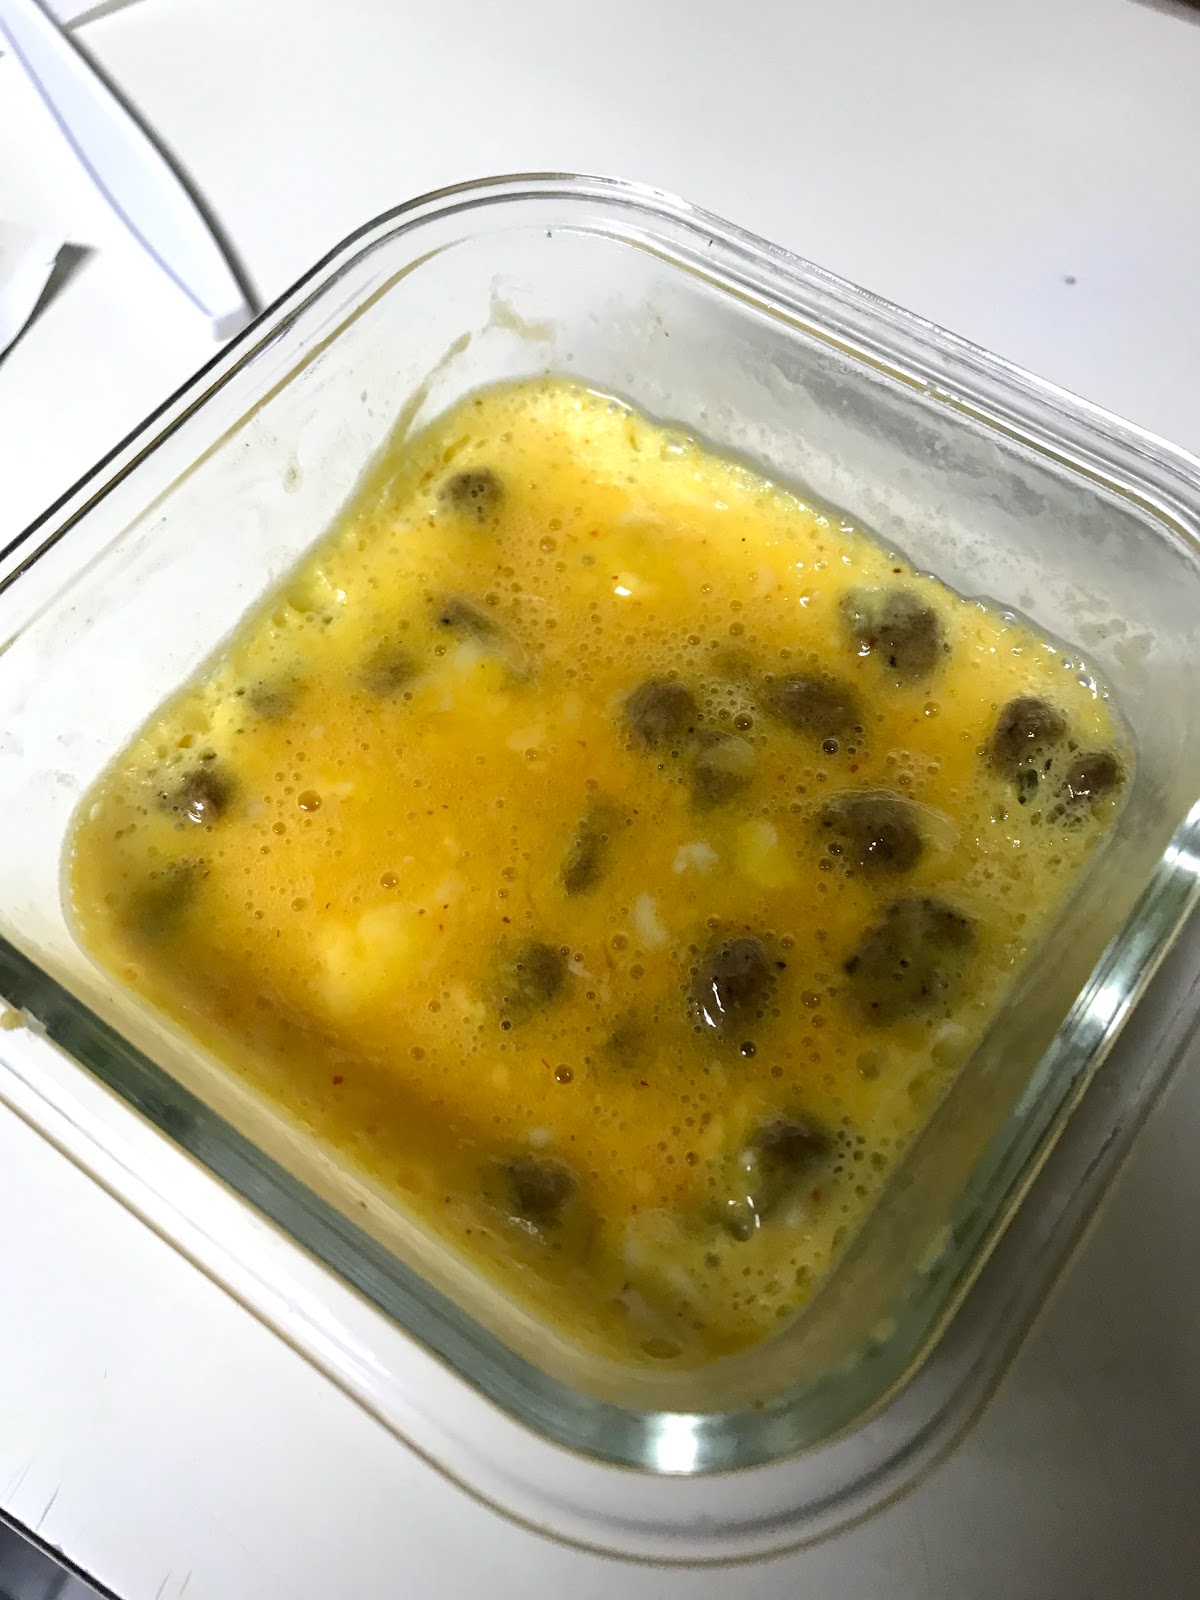
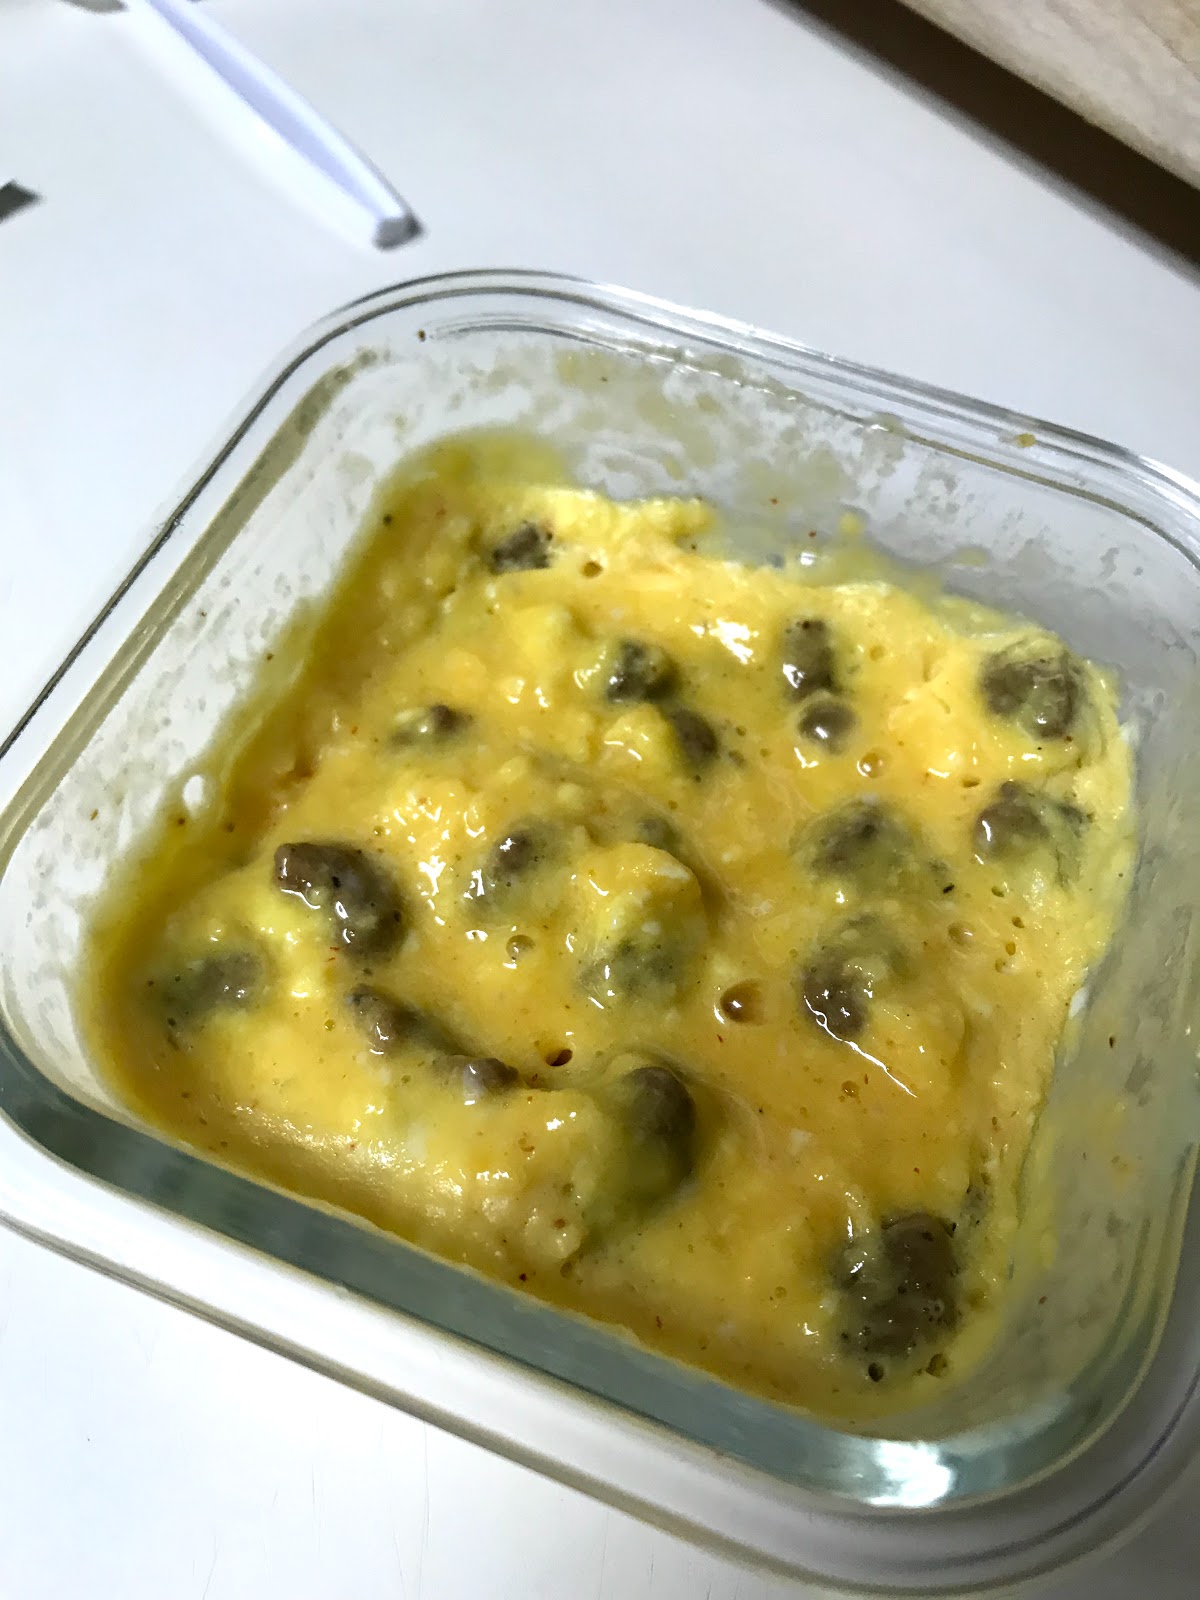
I have included pictures so you can see what the eggs look like during the different stages of cooking.

Ingredients
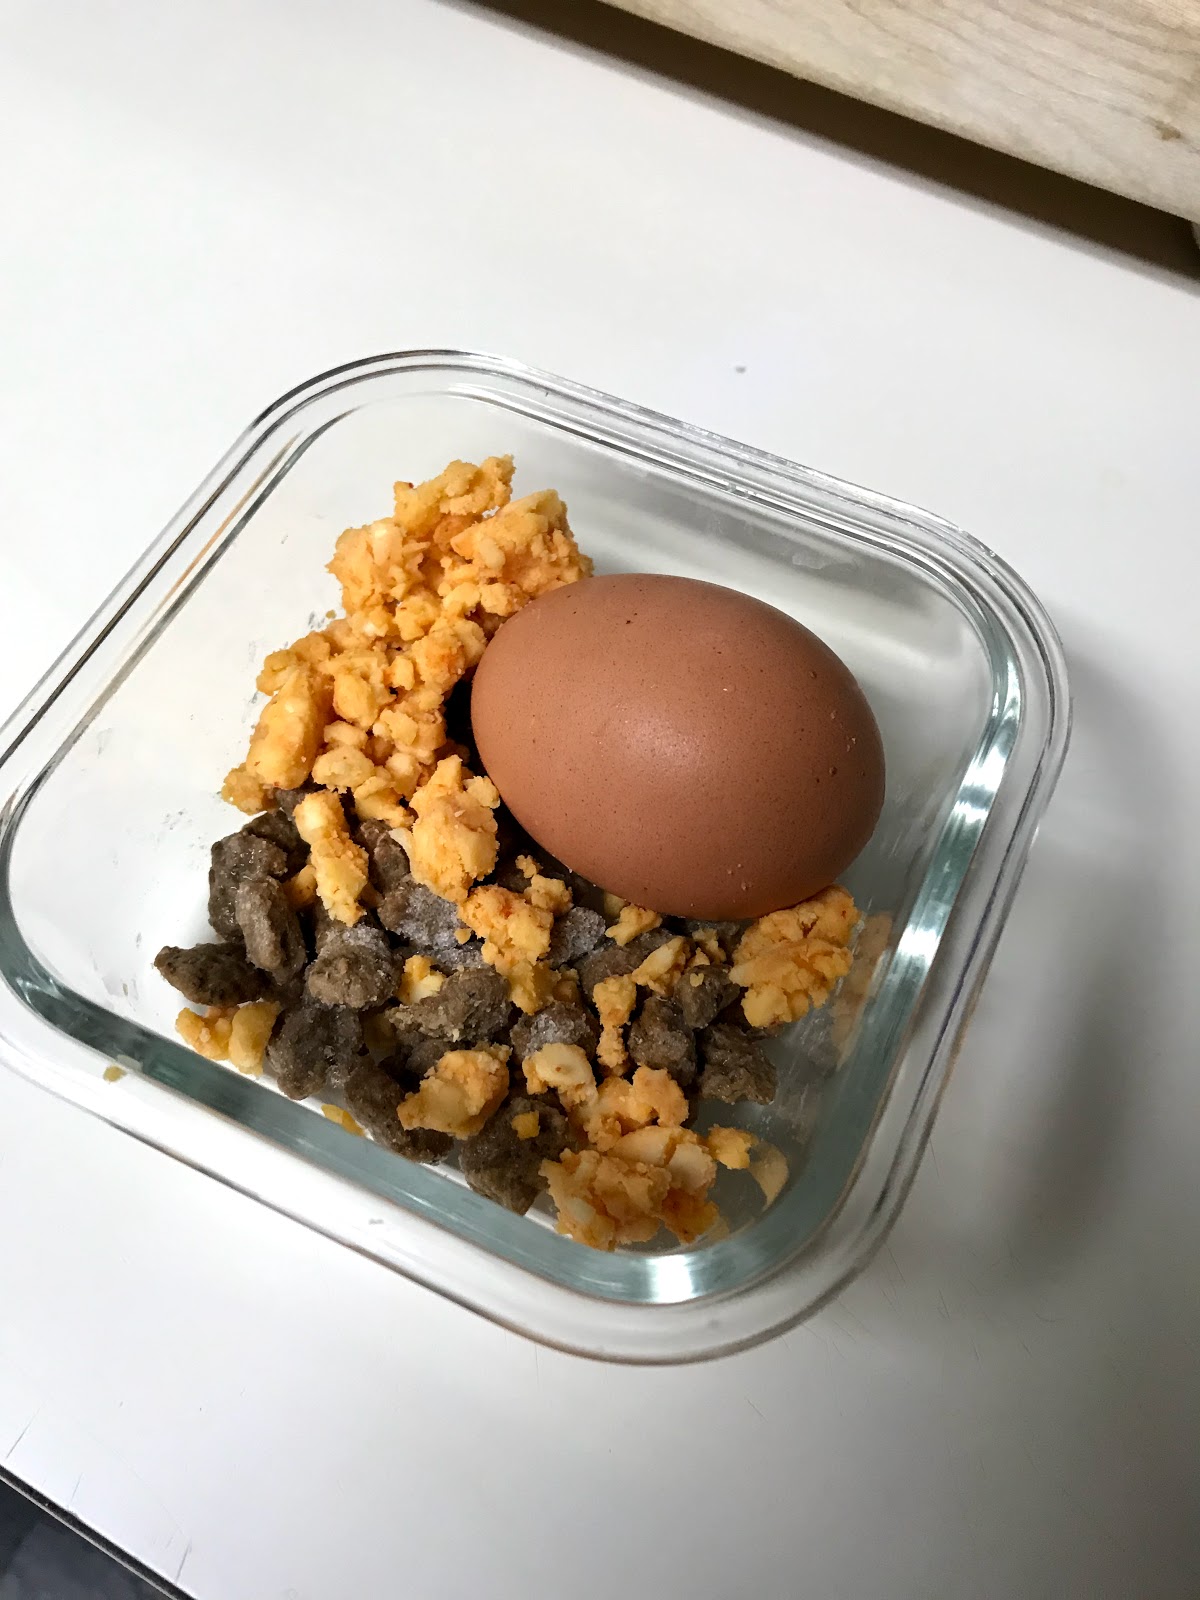
1 egg
1 tbsp. crumbled sriracha cheese (I get mine from Trader Joe's and I get the smallest block I can because a little goes a long way.)
1-2 tbsp Jimmy Dean turkey sausage crumbles (I freeze mine.  They come in a bag that contains too much for me to eat before they go bad, so I store mine in the freezer.)

Instructions
1.  The night before, or in the morning, put all of your ingredients into a small, glass dish. (Don't crack the egg.)  I like to use the small, square, single serve, dishes that are made by Systema and you can get for about $3.00 at Marshall's.  But any microwave safe dish that has a lid and is about the size of a tea cup will work. I have actually made this dish in a tea cup.  It looks so cute!!!
I just leave the egg like that, but if you're nervous, you can always wrap it.

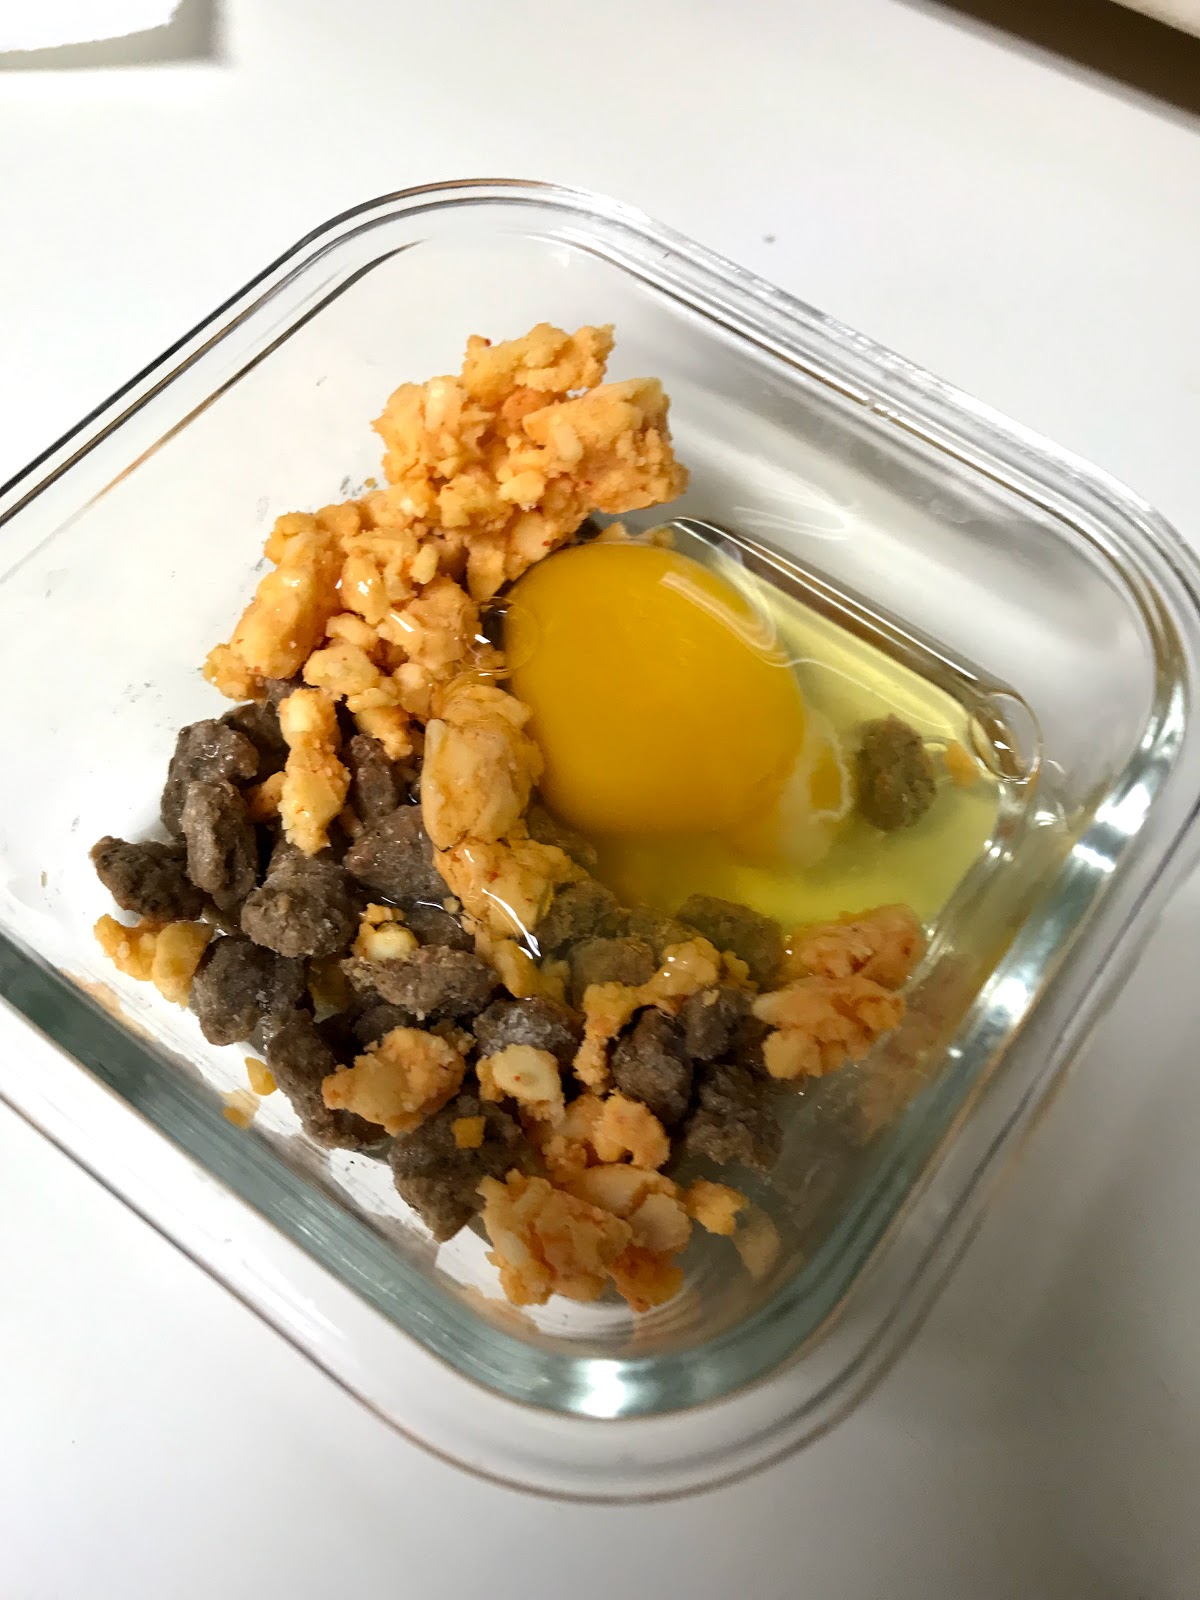
2.  Once you are ready to eat your breakfast crack your egg into the dish.  (You don't have to worry your egg will stick if you follow these instructions, so you don't have to worry about "greasing" the dish.


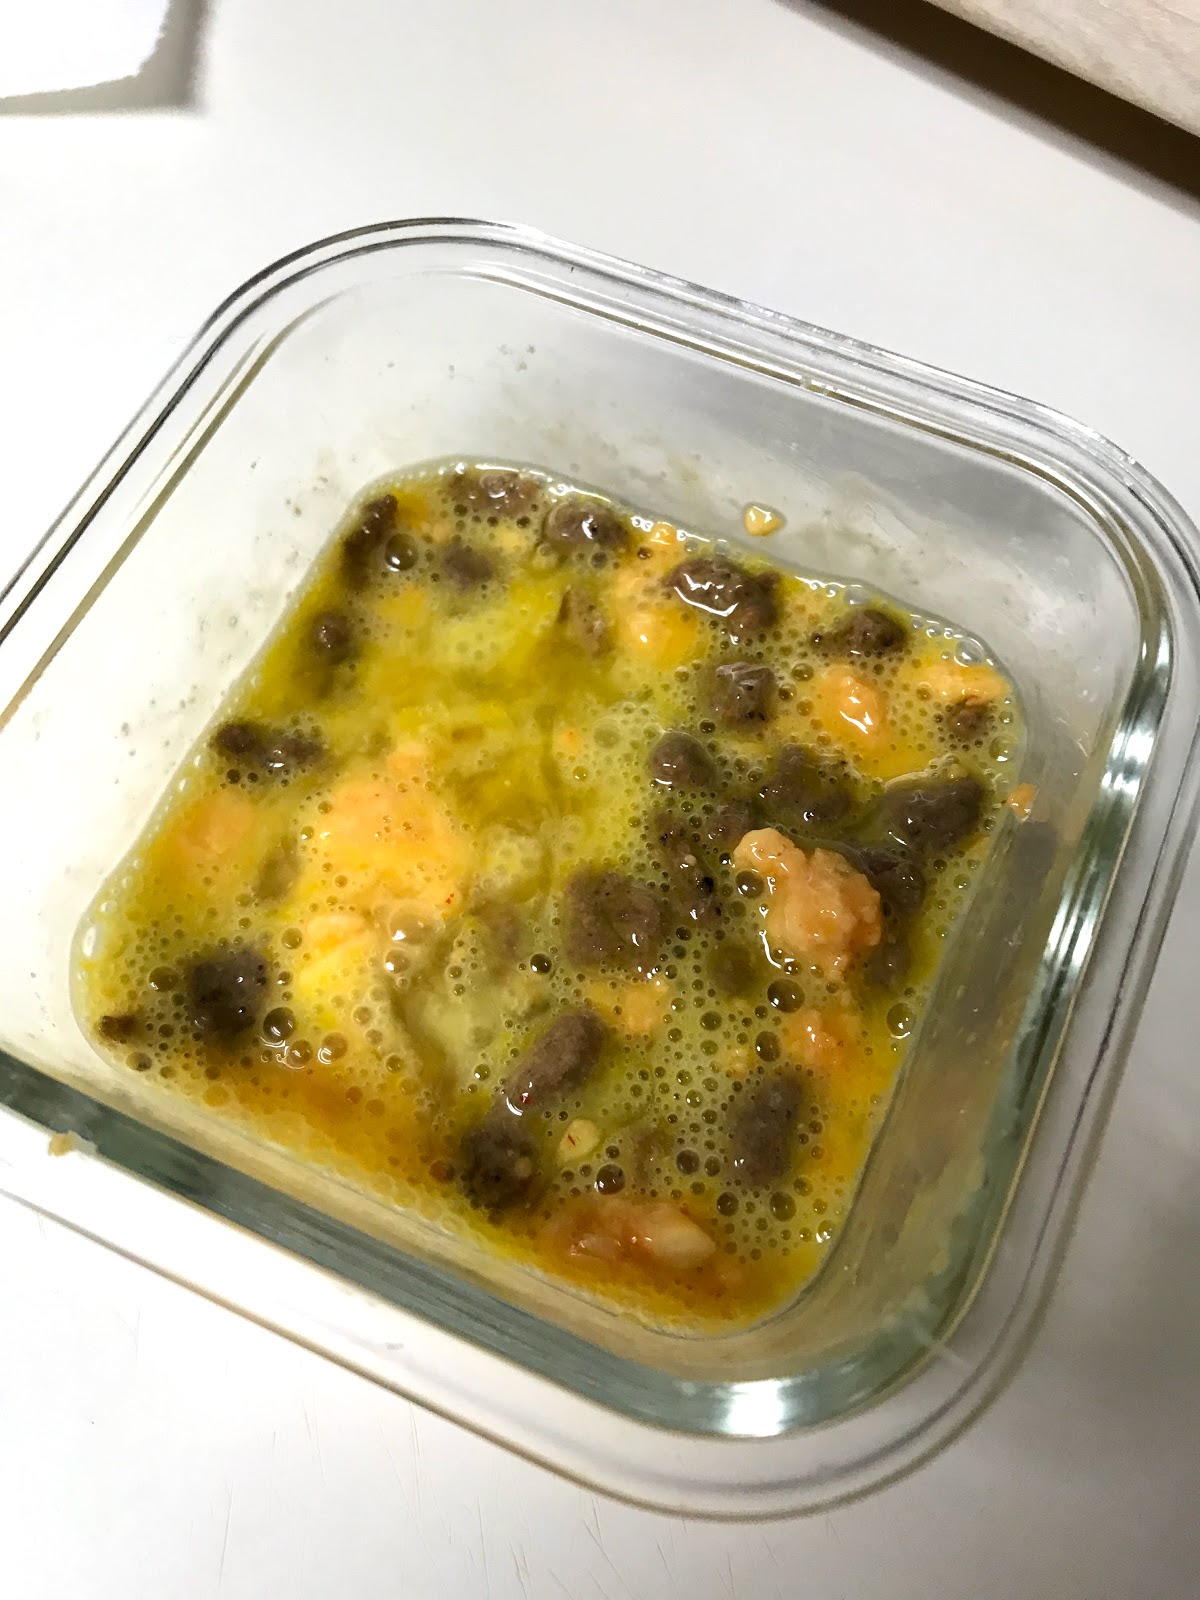
With a fork, lightly beat the egg, sausage and cheese until they are "mixed" together.


3.  Put in the microwave  and cook on high for 15 seconds.  Stir with a fork.

4.  Put back in the microwave and cook on high for another 15 seconds.  Stir with a fork.  Pay special attention to the sides as the egg will be warmer here than in the center.


5.  Put back in the microwave and stir for another 15 seconds.  Stir with a fork.  The eggs will really start firming at this point.  In fact, in some microwaves your eggs will be ready.


I know its kind of hard to see, but the sides are firming in this picture.

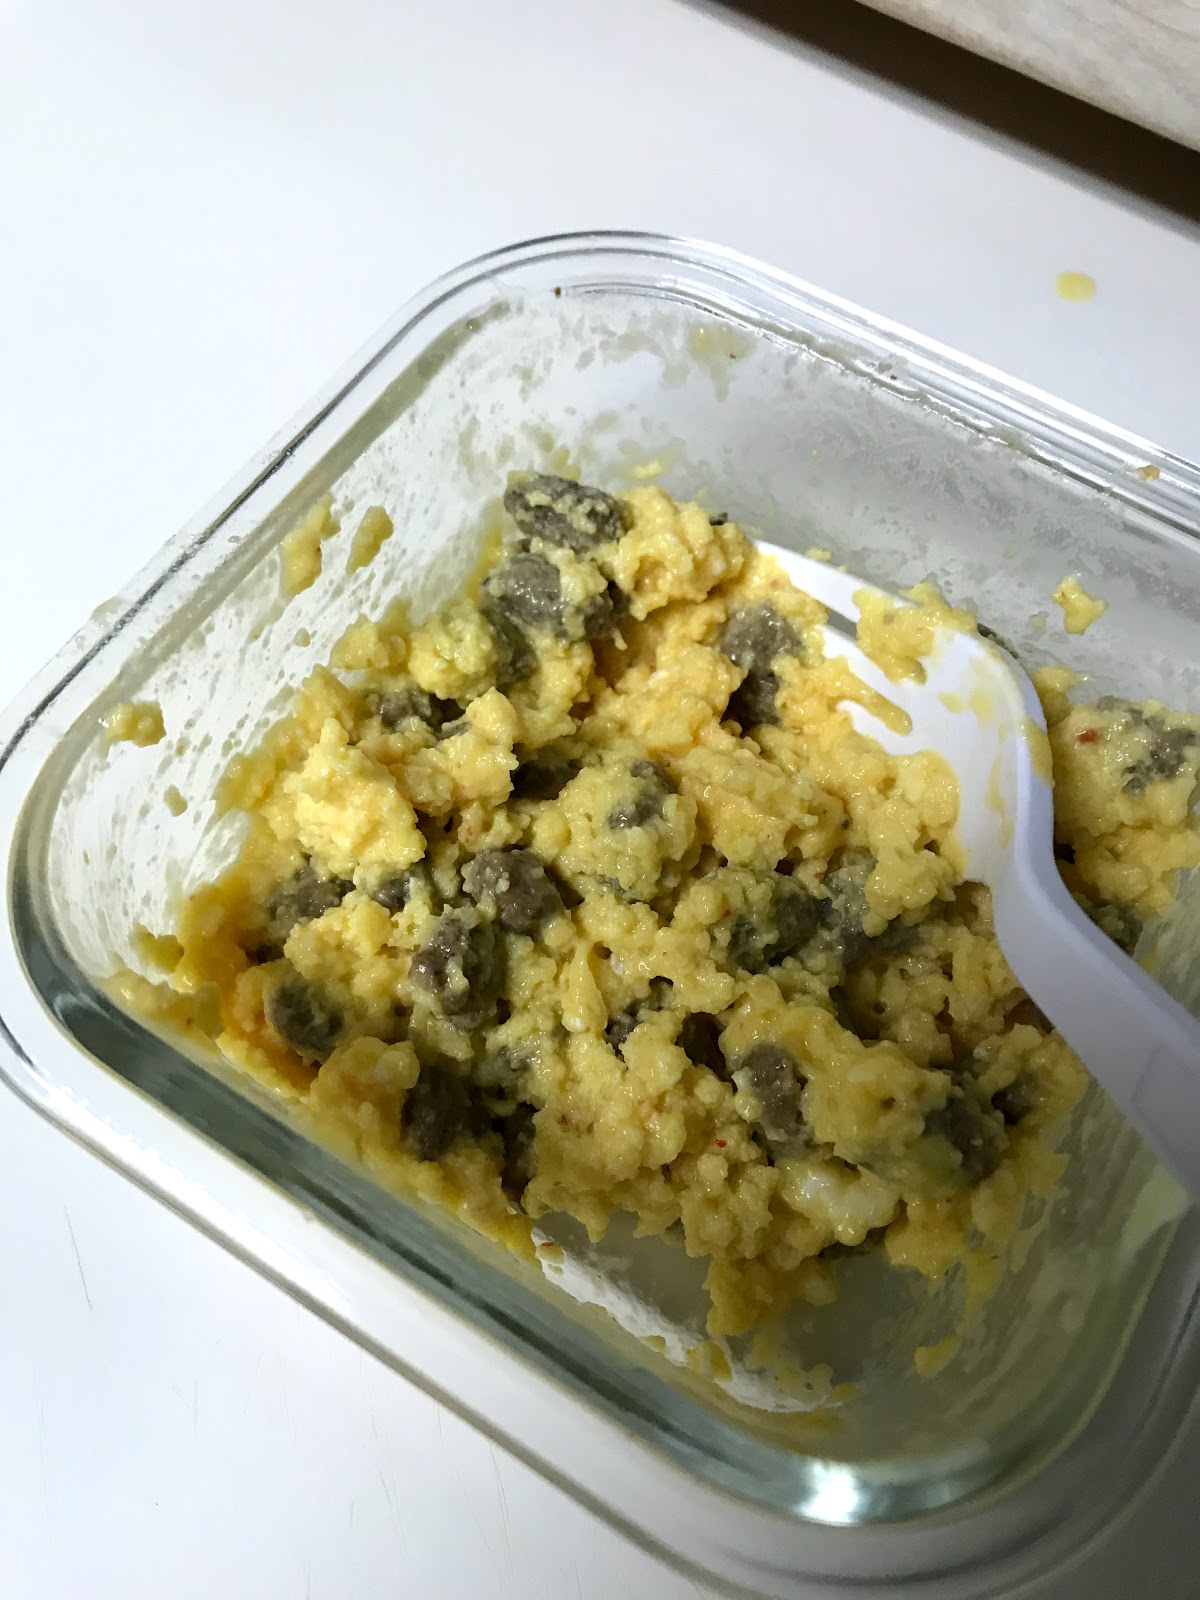
6.  Put back in the microwave and cook for another 15 seconds.  At this point your eggs will, in most cases be ready.  You will know it is done when your eggs look cooked around the side but are still wet-ish in the center.

 I know this sounds wrong, but once you stir the egg with a fork, the heat from the rest of the egg will finish cooking the eggs.

This will produce lovely, moist, fluffy eggs.  If you like your eggs drier, you can cook them for another 15 seconds.  I like to have these eggs with fruit - either a banana, half an apple, or grapes and Mrs. T's Bloody Mary Mix in the can.  Yum.

Whatever you do, don't put the eggs in for one minute and skip the stirring.  This will end up in very rubbery, slightly gross eggs.

Do y'all have any breakfasts to go that you like to do for a workday?  If you do, I would love to hear what they are!

Monday, April 16, 2018

Balsamic Chicken and Bacon Pizza

Hello Everyone!
It Sunday night and the final night before my husband and I (again) start our regime to eat healthier.  We let things go a little - what with all that is going on in our lives - and we have been comfort eating.  So I look like I might be two/three months pregnant and my husband is not happy at his current weight.  But, before we start to eat spaghetti squash and kale - not in the same dishes mind you, but they are on the menu for this week, I thought that I would make a pizza.


I have actually made this pizza a couple of times and it has always come out delicious, so I thought that I would share it with you.

Balsamic Chicken and Bacon Pizza


I actually had a picture of my pizza, but I accidentally deleted it.  So you get the little pizza Valentine chef and his French bulldog.

Ingredients
1 Pillsbury Original Pizza Crust
1/2 jar Progresso Pizza Sauce
1 chicken breast, thinly sliced and cut into 1 inch pieces (If this is the one of the large, mutant, chicken breasts, then you can just use half the breast)
3 slices bacon, finely chopped
Scallions, finely chopped
Red Onions, finely chopped
1/2 container Ricotta Cheese
1/2 cup to 1 cup assorted shredded cheeses (I use what I have in the fridge, which is usually from Trader Joe's and is an assortment of truffle cheese, creamy Toscano cheese soaked in Syrah, and sharp cheddar cheese.)
1/4 cup fresh parmesan aregiano, grated
1- 2 tsp. balsamic vinegar
Herb de Provence to taste
Creole Season, to taste
Fresh oregano
Fresh basil

Instructions
1.  Precook the crust according to the package directions. 
2.  While the oven is preheating and the pizza crust is cooking prepare your toppings.
3.  In a small, non-stick pan, cook the diced bacon until it is cooked all the way through but not crunchy.
4.  While the bacon is cooking, prepare the chicken. Thinly slice the chicken into one inch pieces, sprinkle with Creole seasoning and Herb de Provence and toss with your fingers to cover all of the chicken with the herbs and seasoning.
5.  Using tongs, place the cooked bacon in a small bowl and set aside.
6.  Drain most of the bacon grease but leave about 1 tsp. of the bacon grease in the bottom of the pan.
Place the sliced chicken in the pan with the bacon grease and toss constantly using tongs about 30 seconds.  Add the balsamic vinegar and  toss for about another 30-45 seconds. Drain the chicken and any remaining vinegar into a small bowl and set aside.  (Don't worry that the chicken may not be fully cooked, the chicken will finish cooking when you bake the pizza, but this is why you slice the chicken so finely.)
7.  Shred the various cheeses and put in a small bowl, mixing the various cheeses together.  Add the parmesan cheese and toss to mix.
8.  Assemble the pizza.
       - Spread the pizza sauce on the pizza crust, leave about one inch of crust on all sides.
       - Sprinkle the chicken breast pieces, trying to space as evenly as possible. (Reserve the chicken
         juice and the balsamic vinegar.)
       - Sprinkle the bacon bits, trying to space as evenly as possible.
       - Sprinkle the red onion/scallion, trying to space as evenly as possible.
       - Using a spoon, dollop the Ricotta cheese on the pizza, trying to space the cheese as evenly as
         possible
       - Sprinkle the cheese over the pizza, leave about one inch of crust on all sides.
       - Pour the chicken juice/balsamic vinegar over the pizza
9.  Place in the oven and cook according to the crust directions.
10.  Once the pizza is done cooking, remove from the oven.
11.  While the pizza is cooling, sprinkle with the fresh oregano, basil and Herb de Provence.
12.  Let the pizza cool slightly.  Slice and eat. Yum!


Wednesday, April 11, 2018

Homemade Sumo Shirt!

Hello Everyone!
I am sorry that I have not posted in a while.  But my truly spectacular 2018 is continuing in a fantastically epic fashion and not in a good way.


In the end of February my dad passed away.  He lived a long life and I know he was ready to go, but I wasn't ready for him to be gone.  I know that I am forty three years old, but to him I was still "his little girl" and I could always count on him for advice and to listen to the ups and downs of my life.  He was the one "adult" still in my life and now he's gone.
I went to Coweta, Oklahoma, where he lived,  to help my family with the arrangements and to help go through his things.  It was one of the most surreal experiences of my life.
And when I returned home I was not myself.  A couple days after I returned home, I broke out into terribly ugly and itchy hives.  And they weren't going away.  Which forced me to go the dermatologist.  She couldn't determine what caused my hives, we (meaning my husband and I) are thinking they were probably a reaction to stress from my father's passing - but she did let me know that the ugly, red, bump on my shoulder, that I have had for about a decade from a spider bite that healed weird, and that I only showed to her because I promised my husband, was probably cancer.
Wonderful.
As she put it,  if you are going to get cancer, this is the cancer that you want to get because it won't kill you.  Which sounds reassuring but, honestly, that still doesn't make it scary as crap when its about you.  Fortunately, I found out two days later that it wasn't cancer - just an ugly scar.  I still needed to have it removed so that it wouldn't turn in to cancer.  Which is what I did yesterday.  So I am typing this with three stitches in my shoulder.


My husband kept saying what more could possibly happen -implying the worst was behind us.  His answer came when half of the people where he worked were all laid off by the company-including him.  Yay!!!  And then, a few days later our washer broke and we had to get a new one because the transmission went out.
I was unaware that wash machines had transmissions.
So this year is kicking my butt.  I know that there are others that have it worse and I know that I should be grateful for everything, and everyone, that I have in my life, and I am, but the will to do anything productive sort of left me.  Including crafting, cooking and blogging - three things that usually bring me joy.  Thus there was no blogging going on.
However, there is one thing that I discovered in 2018 that makes me happy, and that is Japanese Sumo tournaments.........  I know right?!?!?!  Sumo!
There are so many things wrong about this poster.  But the it still makes me smile.

My husband and I love Japanese game shows and anime and we do searches on YouTube to see what translations we can find for some of the shows that we enjoy.  One night, after one of our regular shows, YouTube decided that - if we liked Japanese games shows - then we would probably like sumo.  It was so right!  Within minutes my husband and I were enthralled.
Tournaments occur about every two months and we happened to catch the New Year's tournament.  All two weeks of it.  By the end of the New Year's tournament we were hooked.  So we waited in anticipation for the next tournament in March.  And we continued to love it.  We jokingly say that we now have a sport that we can watch since we don't watch any of the usual sporting events.  Like all sports fans, we wanted to support our "teams".   We are American, so we thought the best way would be to wear a "team" shirt or jersey.
Unfortunately, sumo t-shirts are not cheap.  Which I should have known from the cost of hockey and football jerseys that I have looked for as gifts for friends and family.  So my husband and I decided that we would just do generic sumo shirts without one of our favorite wrestlers.  This was much easier for my husband than it was for me.  I guess there aren't a lot of female sumo fans in America because pickin's were slim and I definitely did not want to wear a shirt that proclaimed that I was a "Sumo Wrestler in Training" -  yes, that is a real thing.  I finally narrowed my options down to this shirt on Amazon:
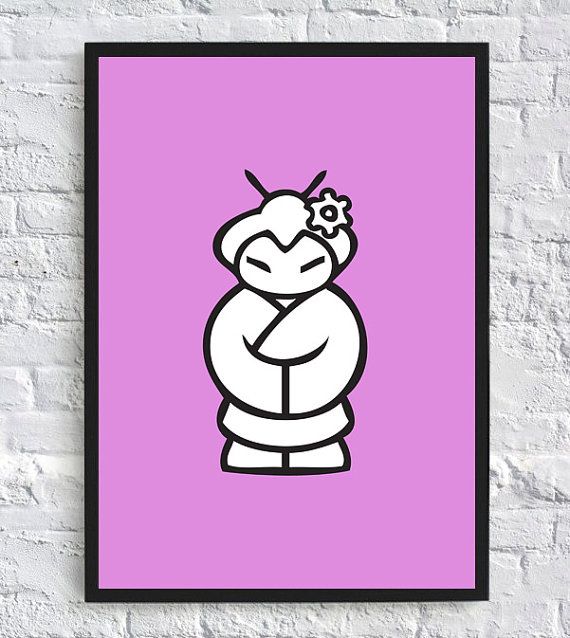
It combines two of the things I deeply enjoy sumo and ramen. Plus, style-wise, this little guy reminds me of the geisha poster in Jen's office from the IT Crowd.  (A fantastic comedy from Great Britain that you should watch if you haven't already.)

I actually have a copy of this that I painted for my mantle when I do my eclectic art.  Don't you think that she and the sumo guy look very similar.  I may have to paint him with a turquoise background and have them as a "set".

Unfortunately,  I could only find them for men, and I didn't want a baggy shirt. I also didn't want it in grey, black or white.  I wanted something cute.  And in cherry blossom, because that is my favorite color, next to the turquoise, that the wrestlers where as they fight.  Since I couldn't find anything in my size that I liked and in my price range I decided that I would make it myself.
First I went on eBay and got a t-shirt in lilac for about $5.00.
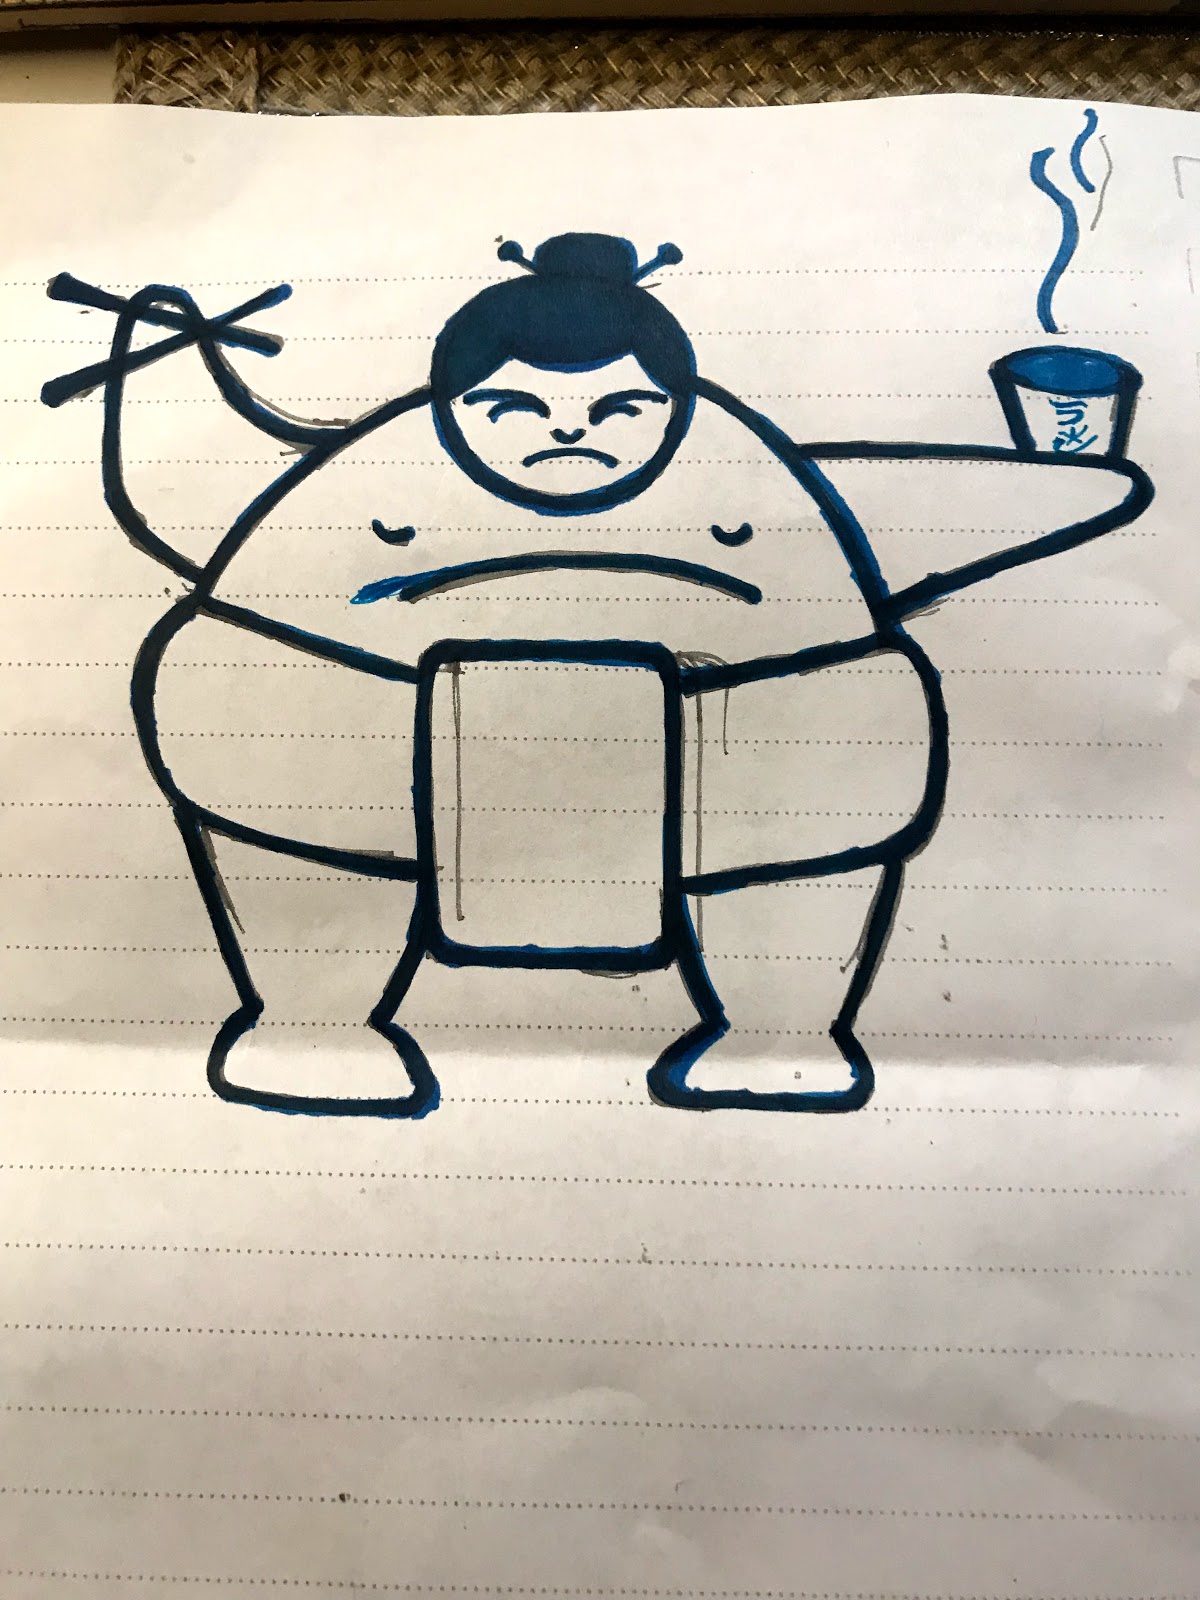
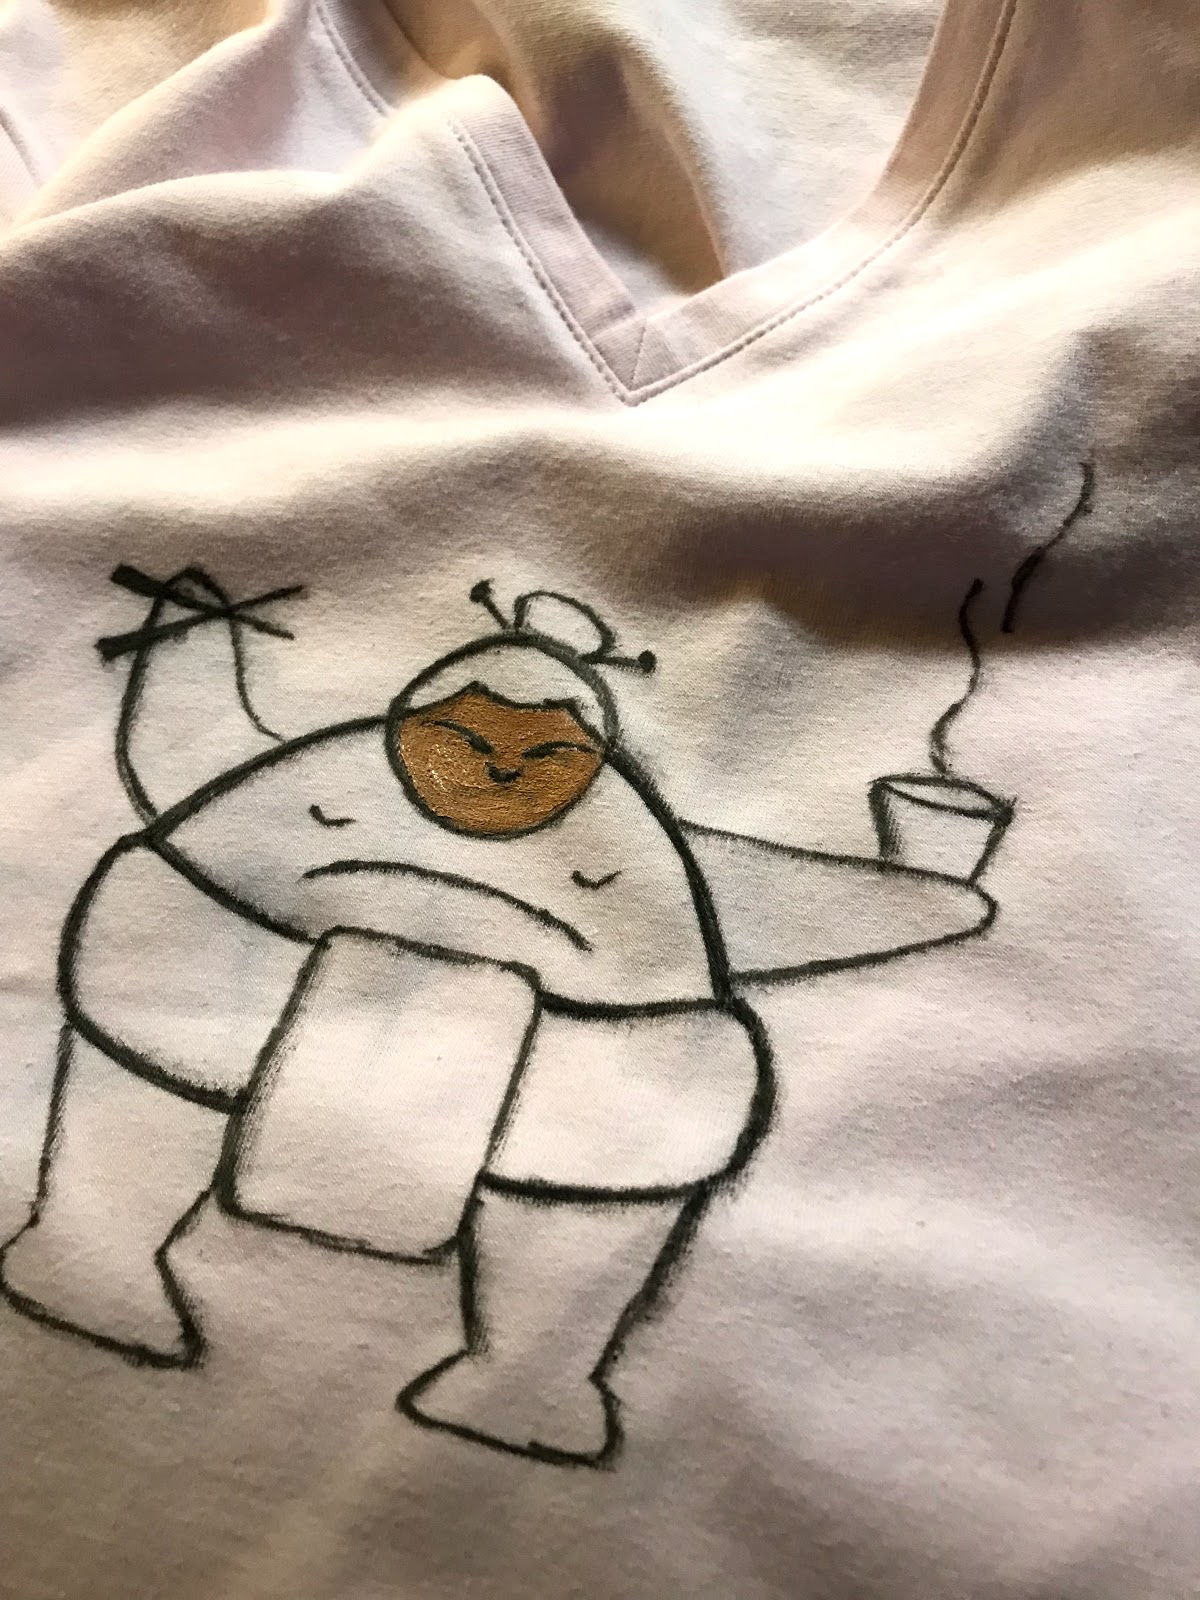
Then I drew the little sumo guy.


The next step was to put the drawing under the front section of the shirt and trace it with a fabric marker.  This is where I found out that, if you are not careful, fabric marker smears very easily.  This will be good to know when I do my literature scarf - which is a project that I have in my mind for another time.
And from there I painted him with fabric paints that I had purchased for myself to create a painted circle skirt like they used to make in the fifties.  I thought this would be a perfect practice item before I started to work on the skirt.  Also, I keep changing my mind about what I want to paint on the skirt.

This is what my little sumo guy looked like after I traced him.  So the black you are seeing here is fabric marker.

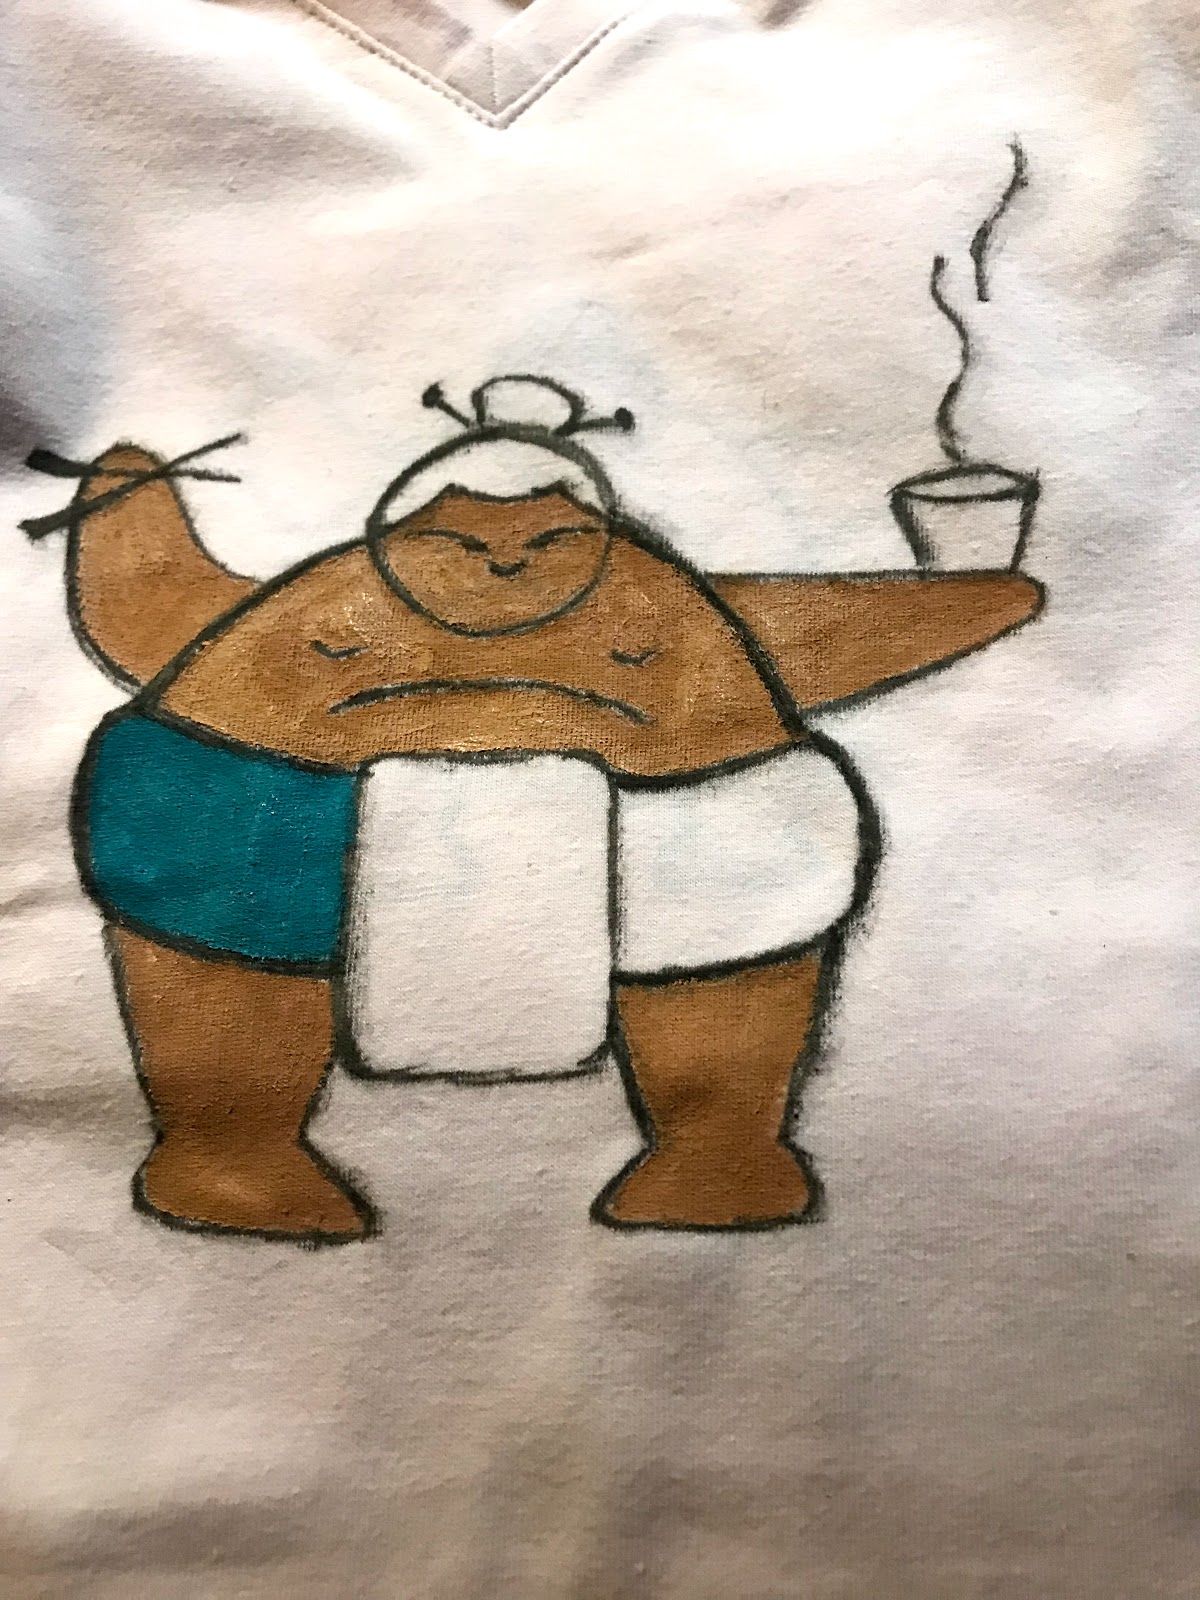
I painted his mawashi turquoise because, in the tournaments that I have watched, the sumo wrestlers don't wear white mawashi,  Plus, I love turquoise.

Here he is all painted!  I don't know if you can tell, but I even painted the black outlines over so that my lines would be more defined than they were with the fabric marker.

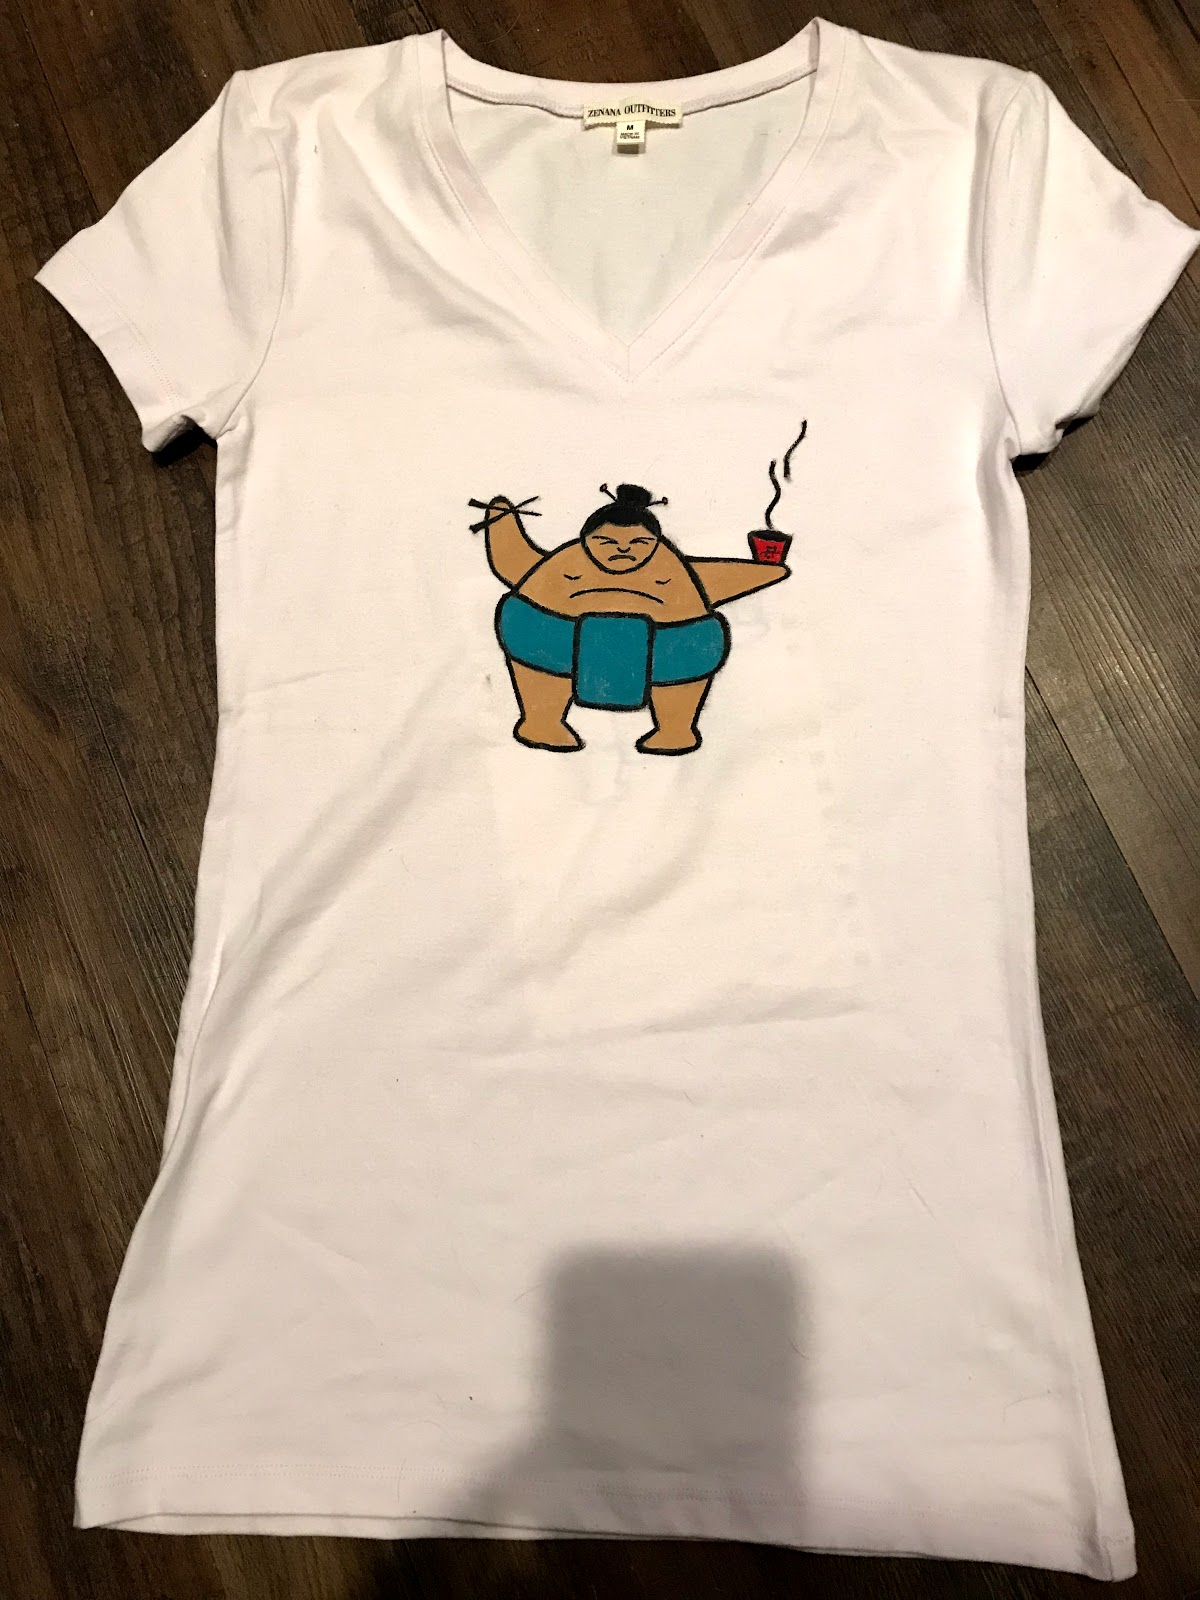
And this is what I ended up with!


I think he turned out pretty good.  And I am ready to wear my shirt in May when the next tournament starts!
Well, that is it for now.  Unless something else happens in my life, and its 2018 so it may, I hope to be posting again very soon.