Monday, May 29, 2017

Memorial Day Poppies - Don't Forget the Reason for the Day and Show That You Remember and Honor

Happy Memorial Day Everyone!
I hope that you everyone is enjoying their long week-end and, for those of you who are so inclined, enjoying your various meats that have been cooked upon a grill with friends and family.  Grilling, for most of us, is a Memorial Day tradition.  There is just something about this holiday and the start of summer that makes it almost a moral imperative to go and char some meat on an open flame.


And though I myself will be doing my part to eat far to much red meat than is healthy, I wanted to take the time in this blog to remind everyone why we have this Monday off.

Memorial Day began after the Civil War to remember and honor those soldiers who died while serving in their countries armed forces.  Although people had been honoring fallen soldiers before then, this is when the holiday gained national recognition in 1868, so I'm going with that.  It started as a day when family and friends would go and put flowers on the graves of fallen soldiers.  Not a very happy holiday, I must say.

The tradition that I remember best from when I was a little girl was wearing a "Buddy Poppy" on Memorial Day.  These poppies were sold by veterans outside of stores and my father always bought one whenever we came across a veteran who was selling them.  Sometimes, I would have several paper poppies that I would wear in my hair and on my clothes.  I didn't know then, as a little girl, what they really symbolized, even though my dad and grandfather did their best to try to explain the meaning behind them to me.  I just new that I looked pretty and that the older gentleman that sold them always made me feel like a beautiful "little lady".

As an adult, I recently remembered the poppies and  I went to track down what those poppies meant and find out why my dad would purchase them whenever we would run across a gentleman selling one.
Here's what I found out:

It was after World War I, that people started the tradition of wearing tissue paper poppies to honor the soldiers that had fallen.  The red common poppy grows wild throughout Europe and is "seeded" by the tumbling of dirt.   Trenches created by the fighting soldiers during World War I were the perfect place for poppies to bloom and was a vivid symbol in the poem "In Flanders Fields".

In Flanders Fields

by Lieutenant Colonel John McCrae

In Flanders fields the poppies blow
Between the crosses, row on row,
That marks our place; and in the sky
The larks, still bravely singing, fly
Scarce heard amid the guns below.

We are the Dead.  Short days ago
We lived, felt dawn, saw sunset glow,
Loved and were loved, and now we lie
In Flanders fields.

Take up our quarrel with the foe:
To you from falling hands with throw
The torch; be yours to hold it high.
If ye break faith with us who die
We shall not sleep, though poppies grow
In Flanders fields.



During the early 1920's, the Veterans of Foreign Wars (VFW) adopted the idea of wearing the poppy, which resulted in the VFW "Buddy Poppy".  The paper poppies were fashioned by disabled veterans, who were paid for their work as a practical means of financial assistance.  This practice is still going on today. For more information, click the link below.

https://www.vfw.org/community/community-initiatives/buddy-poppy


I remember. as a child, that these veterans used to be as much of an institution on Memorial Day as fireworks are on Fourth of July.  But I haven't seen a veteran selling one of these "Buddy Poppies" in at least a decade.  Maybe, I am no longer visiting the stores that they are at.  Or, maybe, I am just not living in an area that has many veterans, I don't know.  I only know that, this year, when I was consciously looking for a veteran so I could buy my poppy, I could not find one.

I still wanted to carry on the tradition of showing that I remembered why were celebrating Memorials Day and I wanted to wear a poppy.  I could have gone to Michael's or Hobby Lobby and purchased a flower, but that didn't have the same feel for me as the tissue paper poppies.  So I decided that I would make my own tissue paper poppy and wear it in my hair.

Let me stress this before I show you the tutorial on how to make your own tissue paper poppy --- If you can buy a poppy from a veteran DO SO!!!  This money goes to a good cause and is the way to wear a poppy.  But if, like me, you are having trouble find a veteran selling poppies, then this an alternative that I feel still honors the intent behind the symbol.
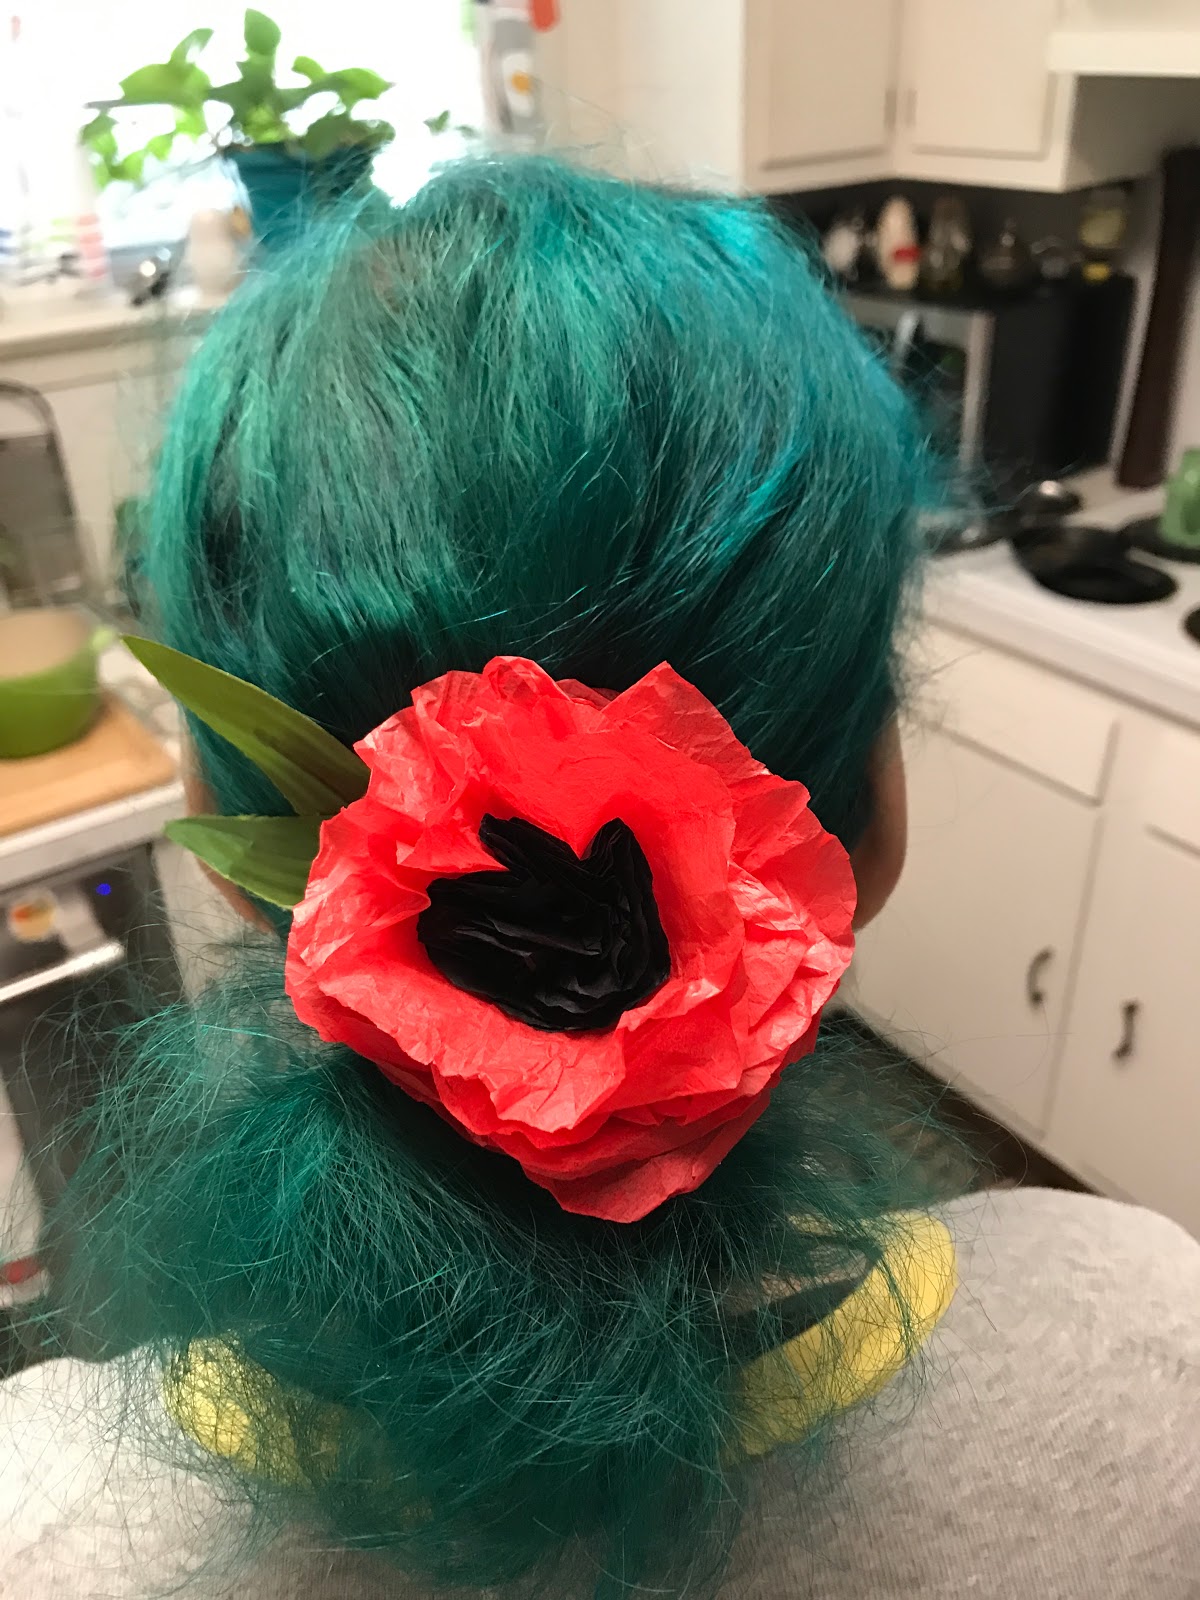
Excuse the messiness of my hair in this picture.  I was only focusing on the flower when I had my hubby take the picture.

How to Make a Tissue Paper Poppy

Materials
1 sheet red tissue paper
1 sheet black tissue paper
Scissors
1 green pipe cleaner or a 4 inch strip of floral wire
wire cutters
glue (Can be a hot glue gun or Elmer's Glue)
Green scrapbook paper or leftover scrap leaves from a previous floral project

Instructions
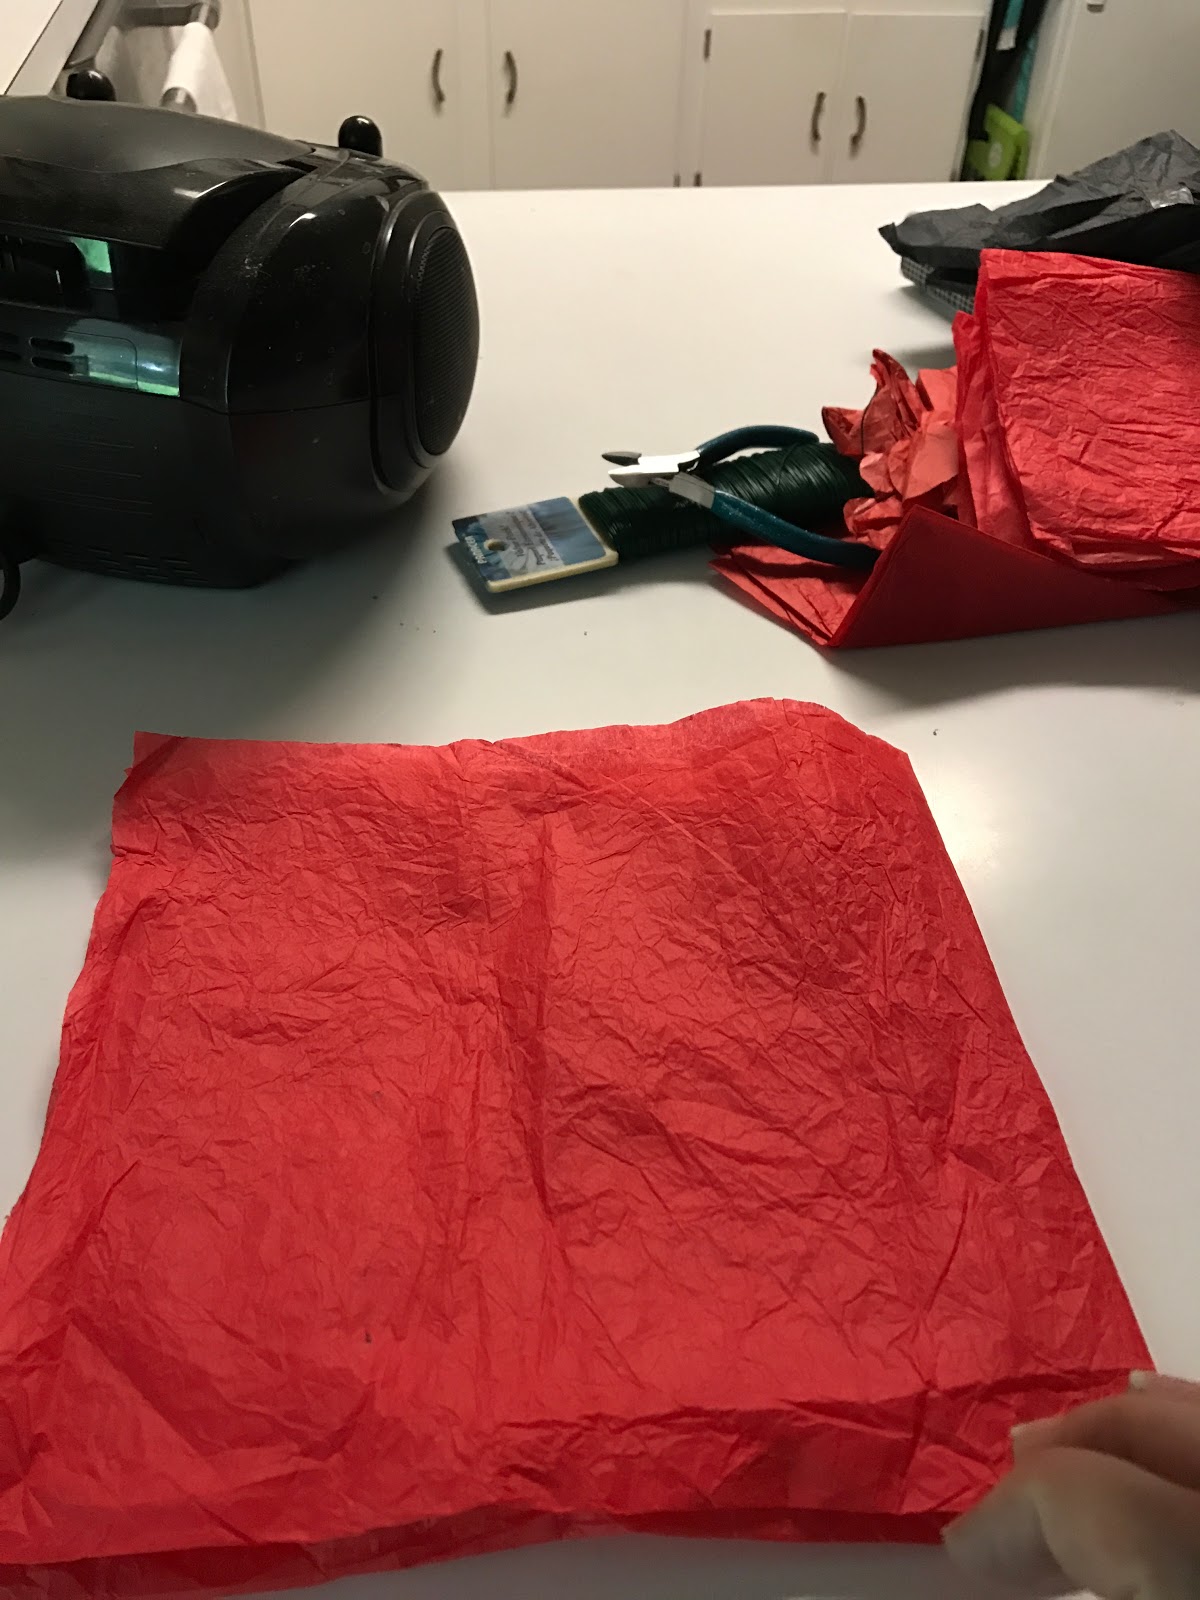
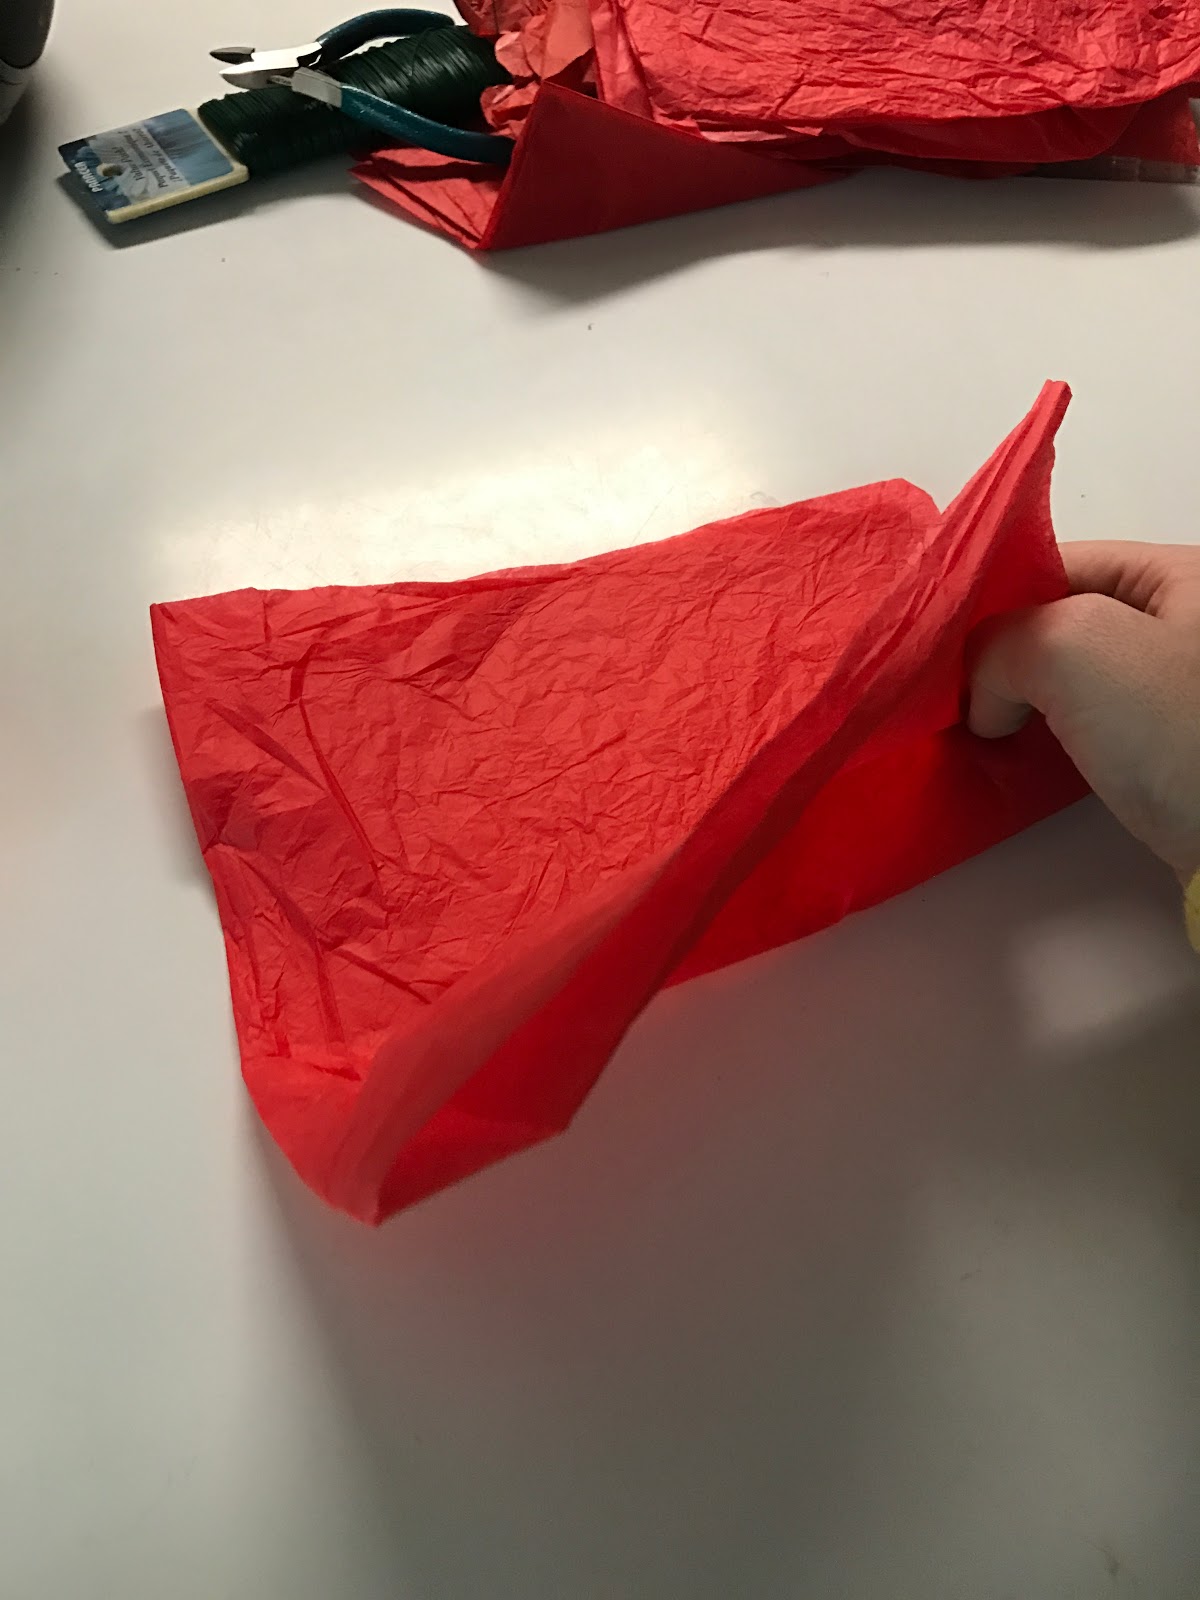
1.  Start with one sheet of red tissue paper.  As you can see from the picture below, my tissue paper was used tissue paper that I had saved from a Christmas present that I had received.  I always save my tissue paper to use for other presents or for craft projects.  You can iron your used tissue paper to make it flatter, but since I knew I was going to wrinkle up my flowers anyway, I decided that I would just use it as is.
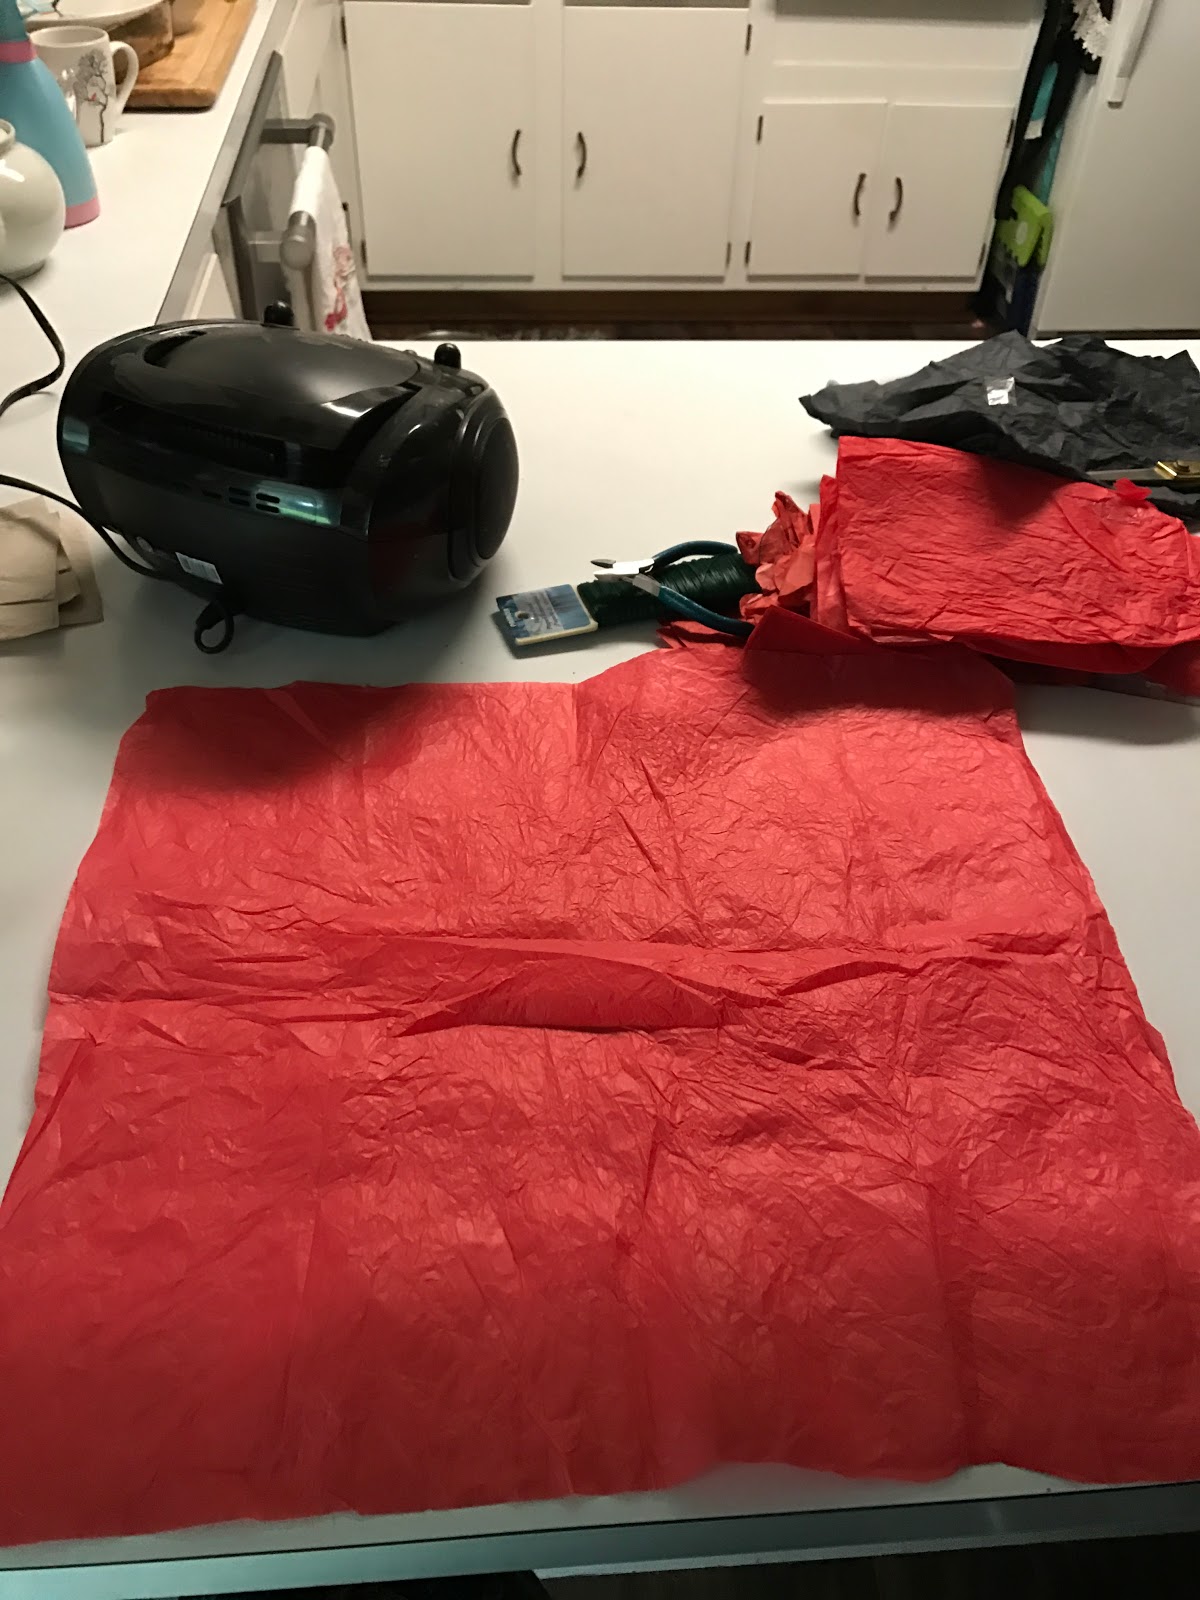
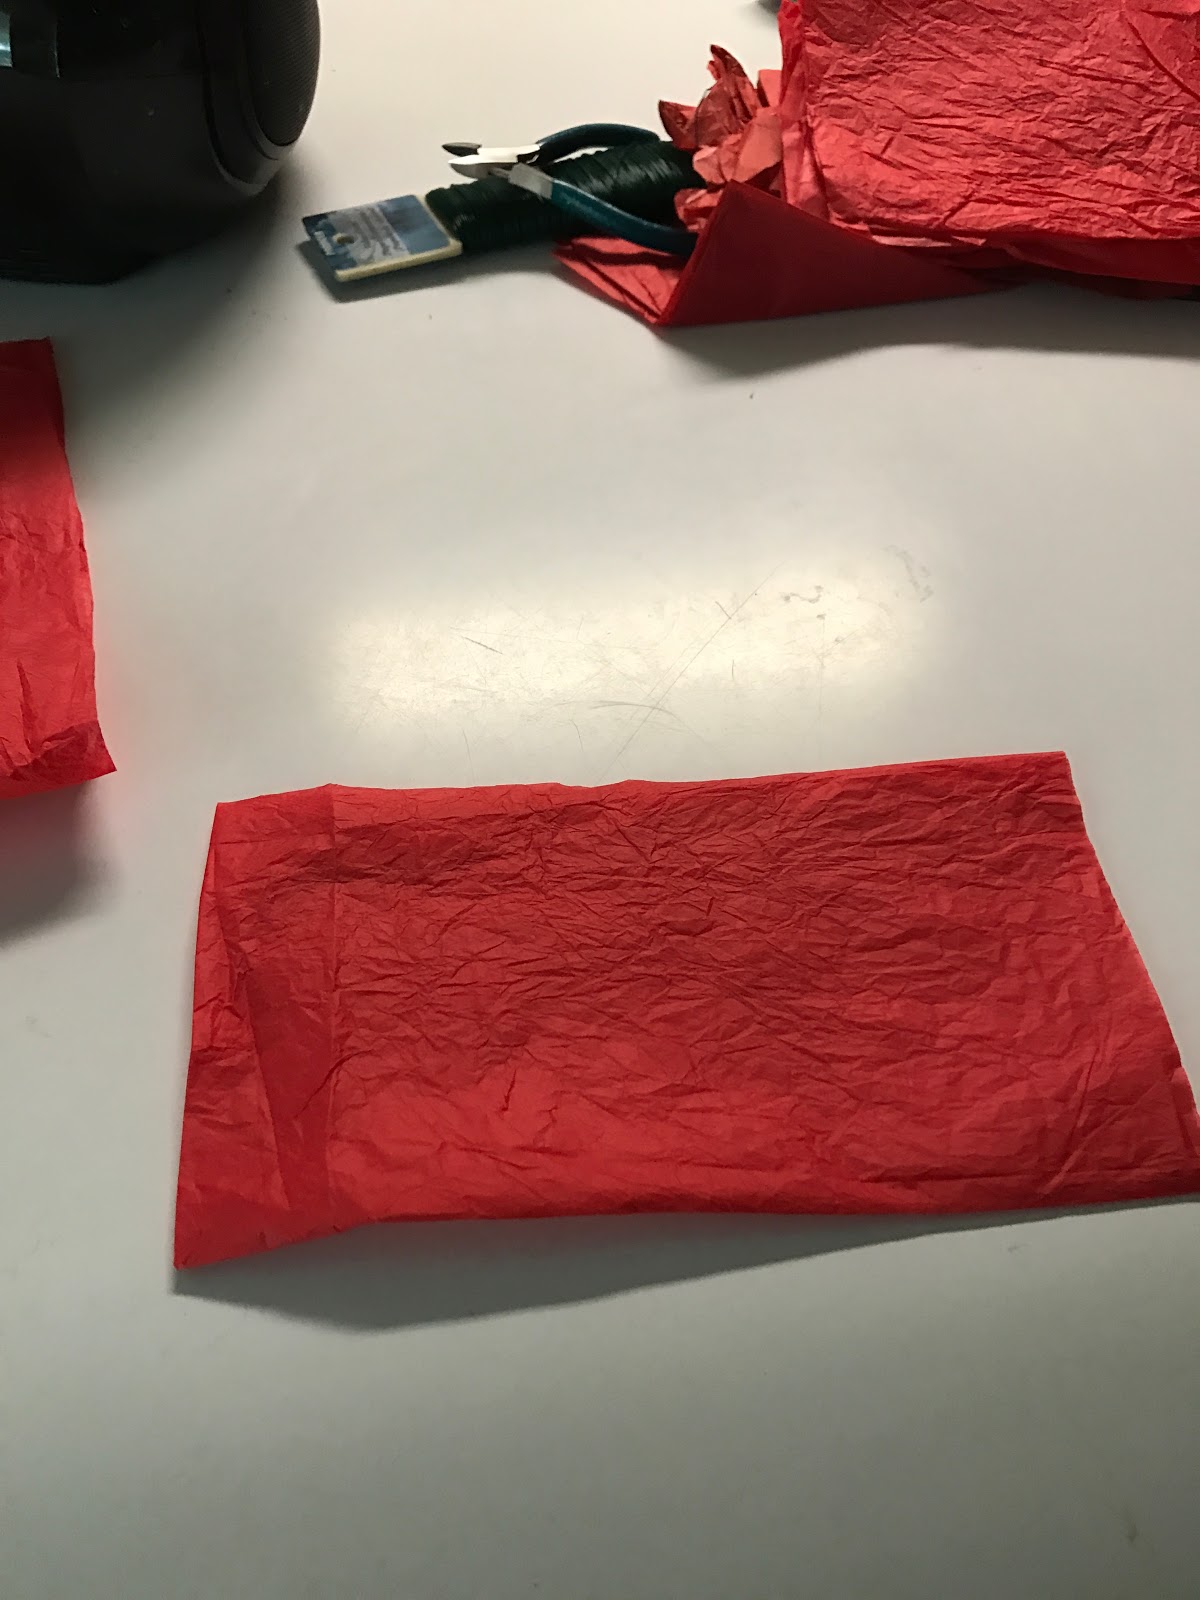
2.  Fold the tissue paper in half.  This should give a rectangle.


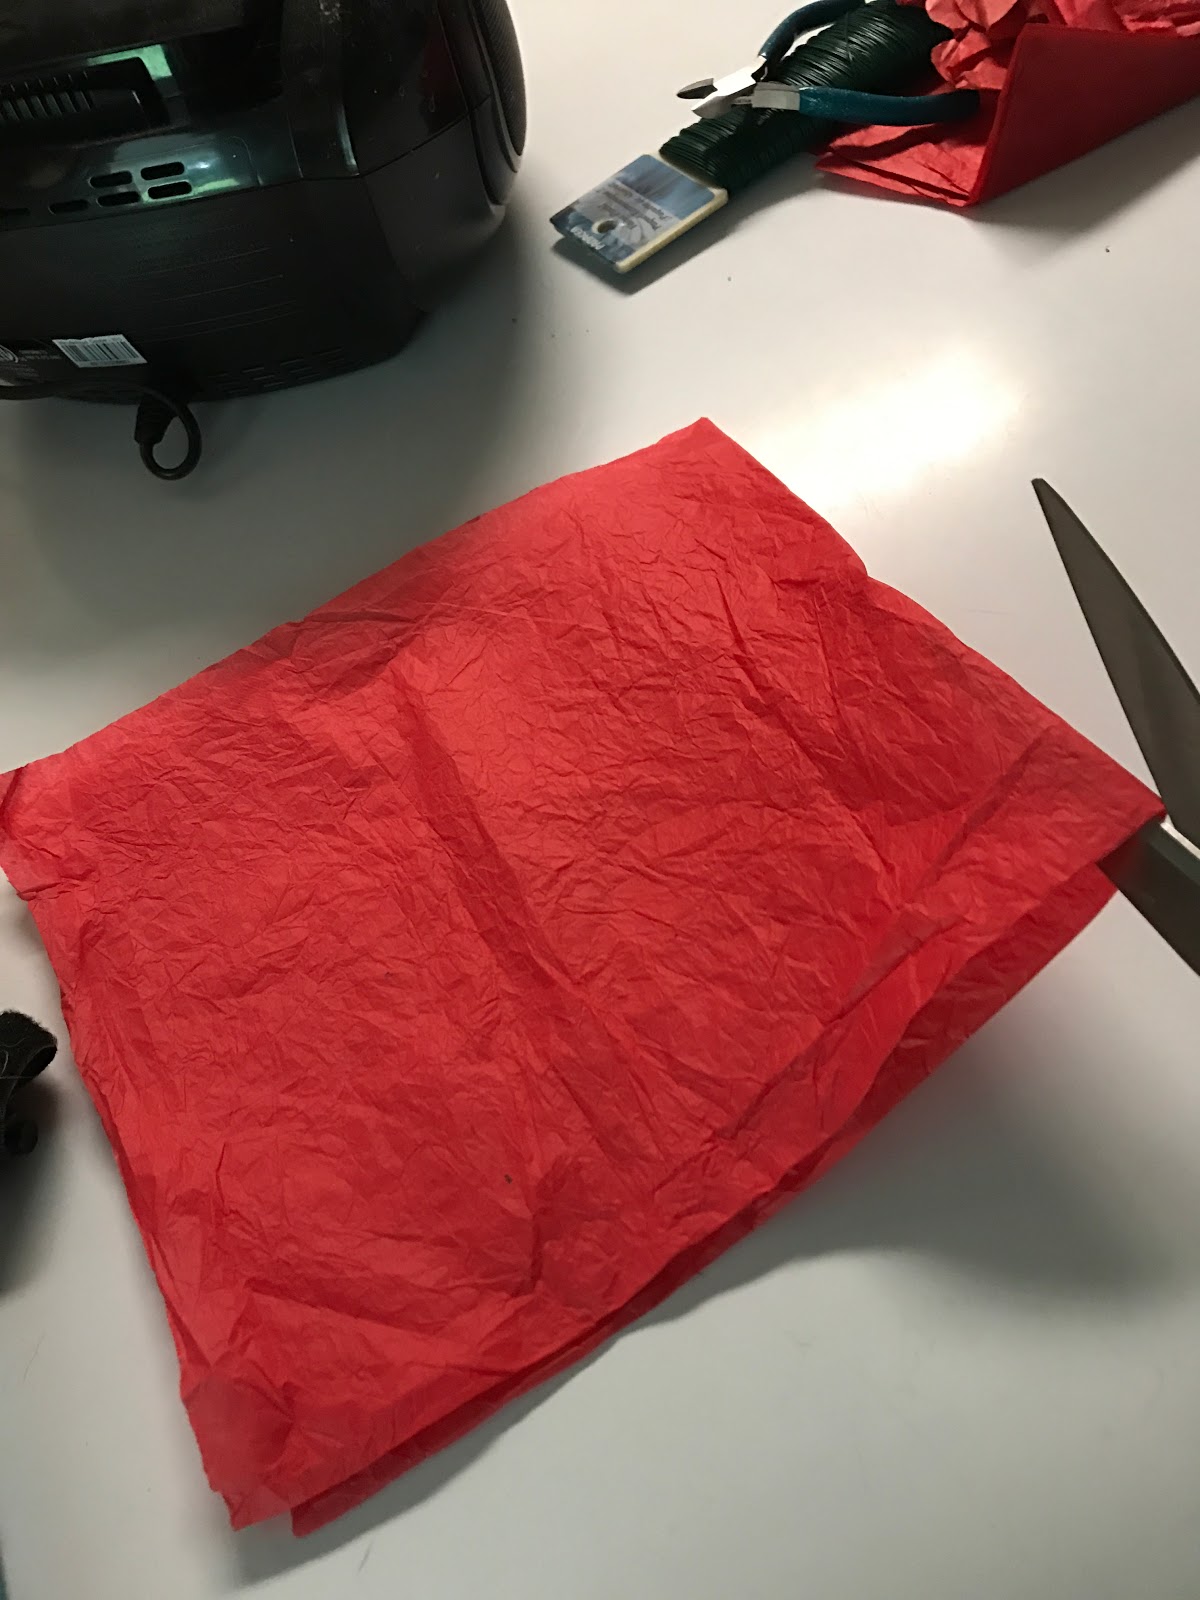
3.  Fold the paper in half again forming a square.


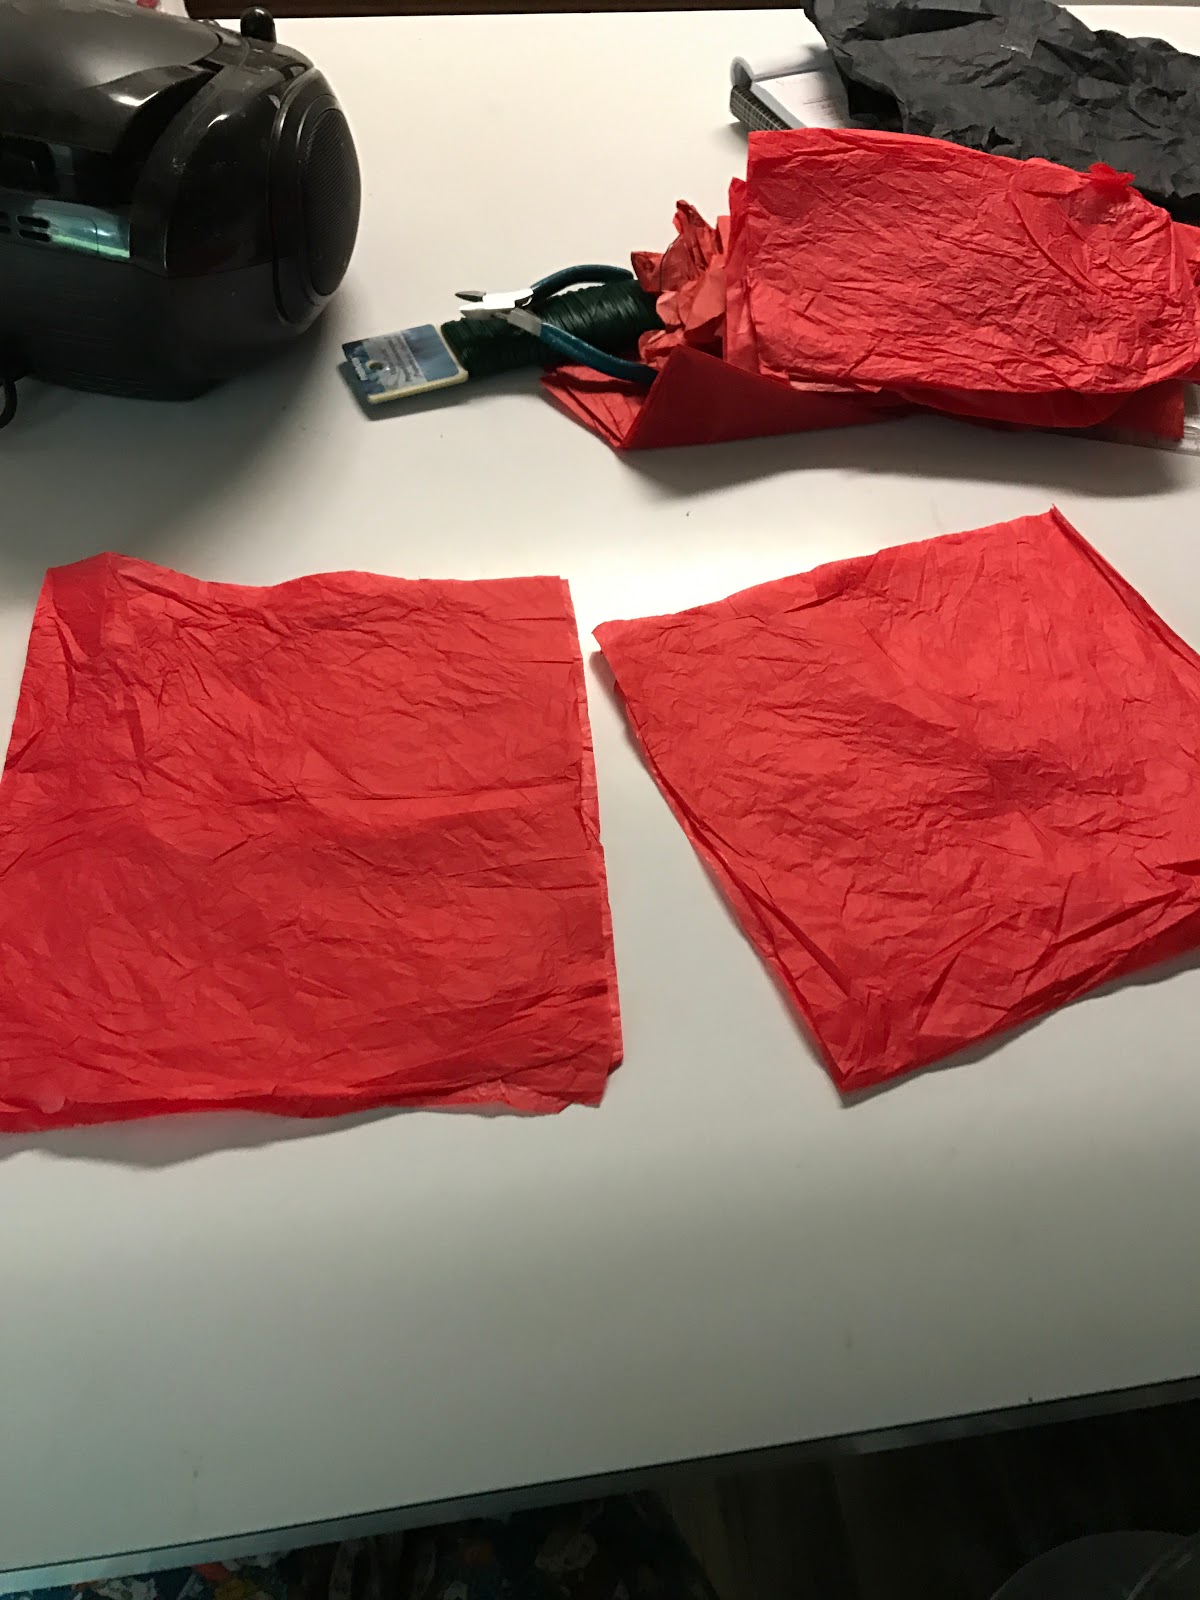
4.  Cut along the folded edge with a pair of scissors.  This will give you two squares.


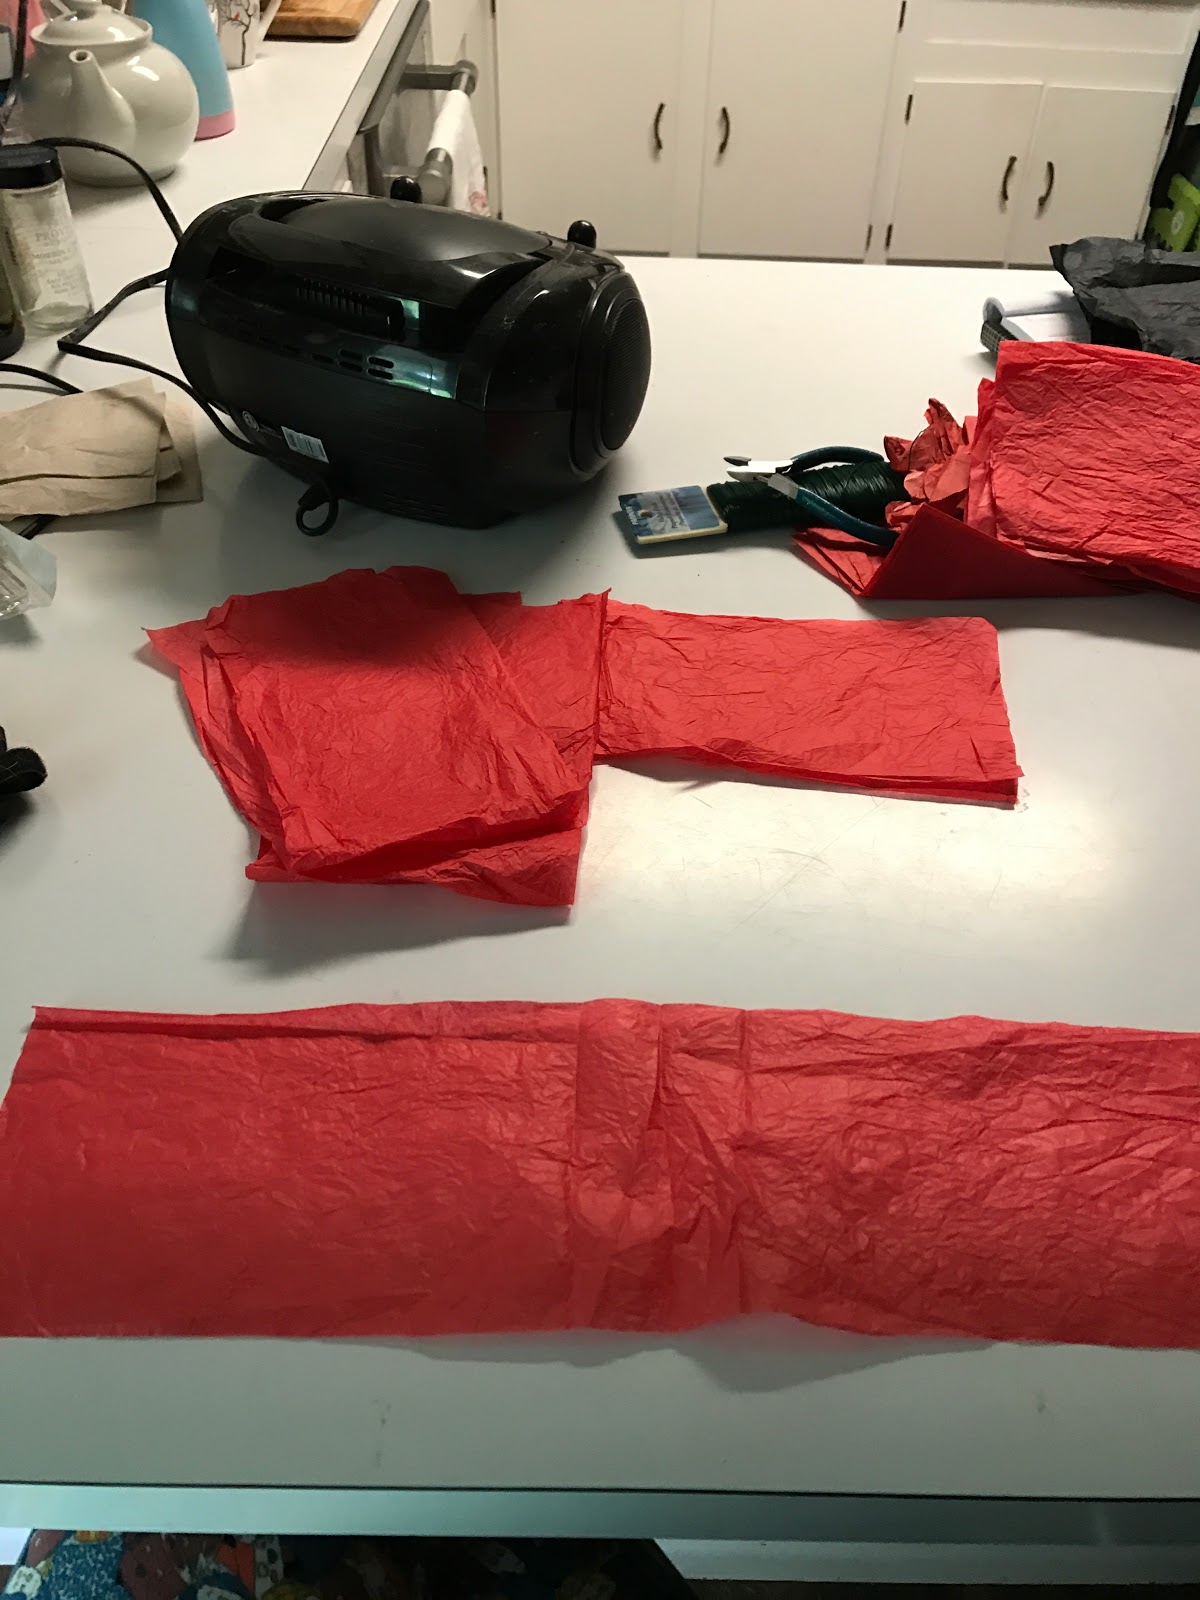
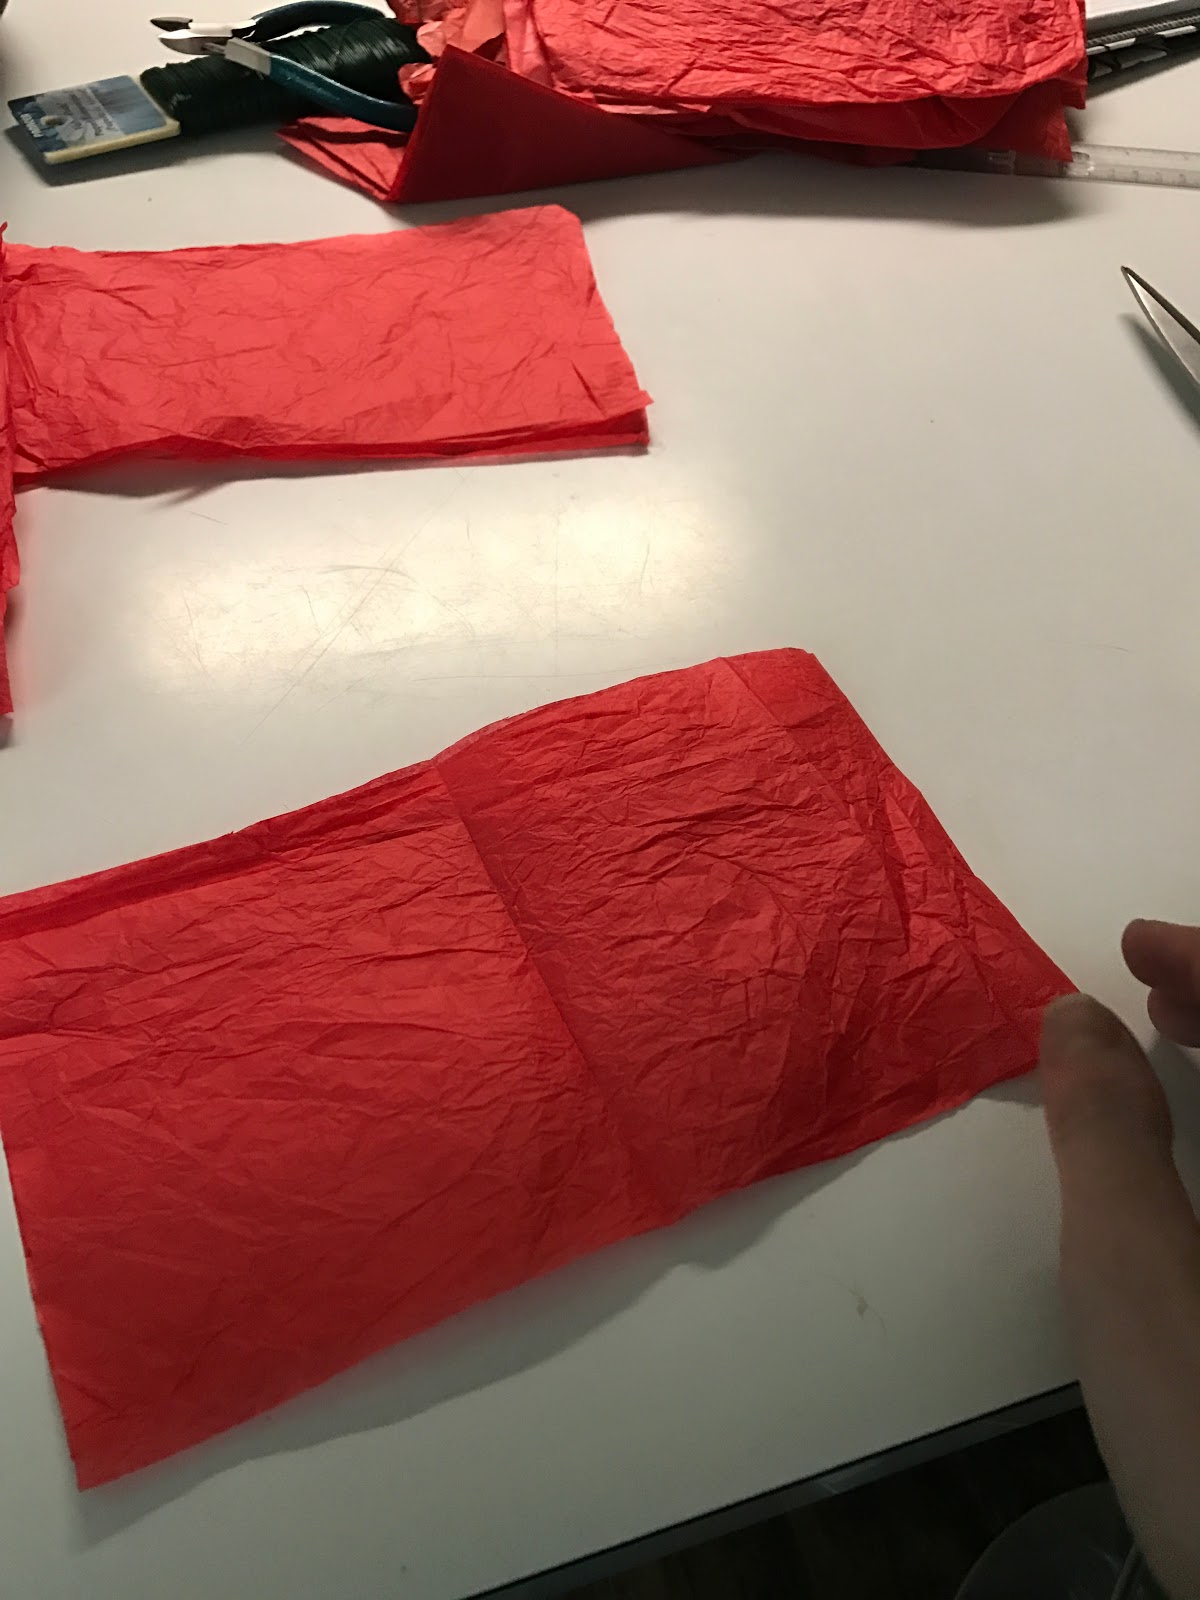
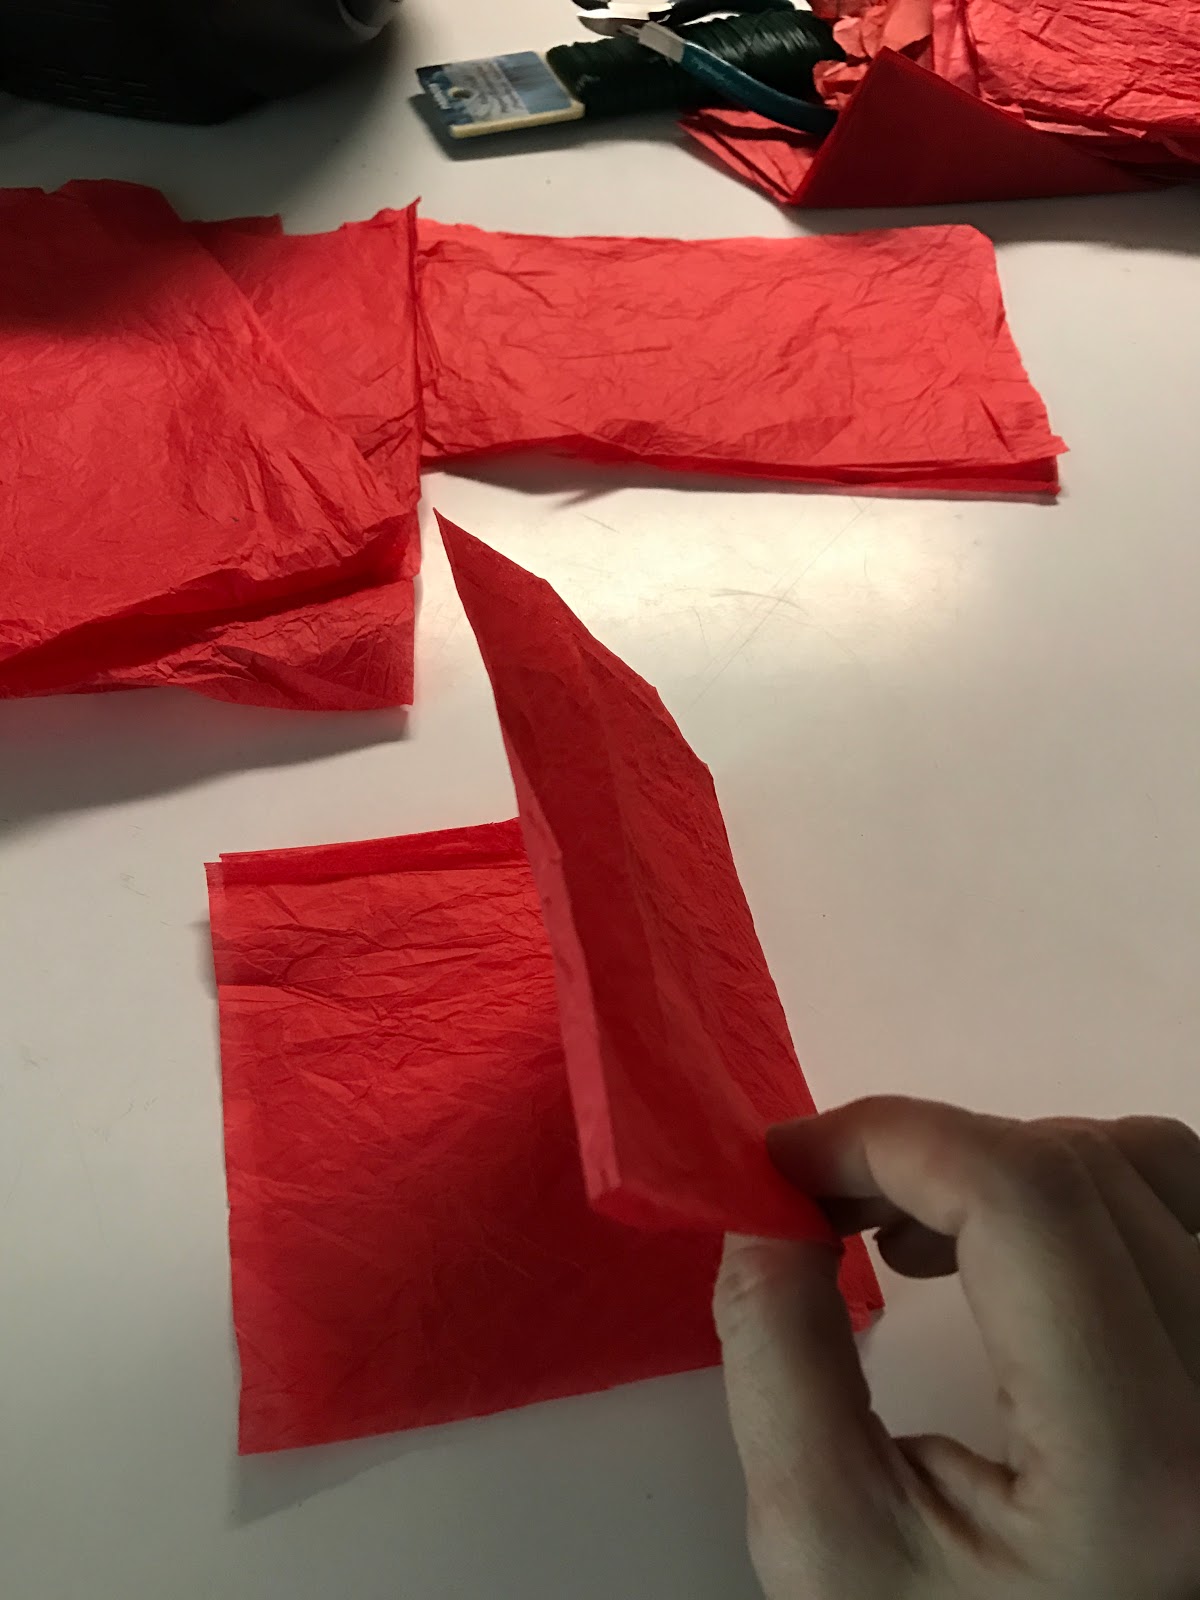
5. Fold one of the squares in half forming a rectangle.


6.  Cut along the folded edge of the rectangle.  This will give you a long rectangle.
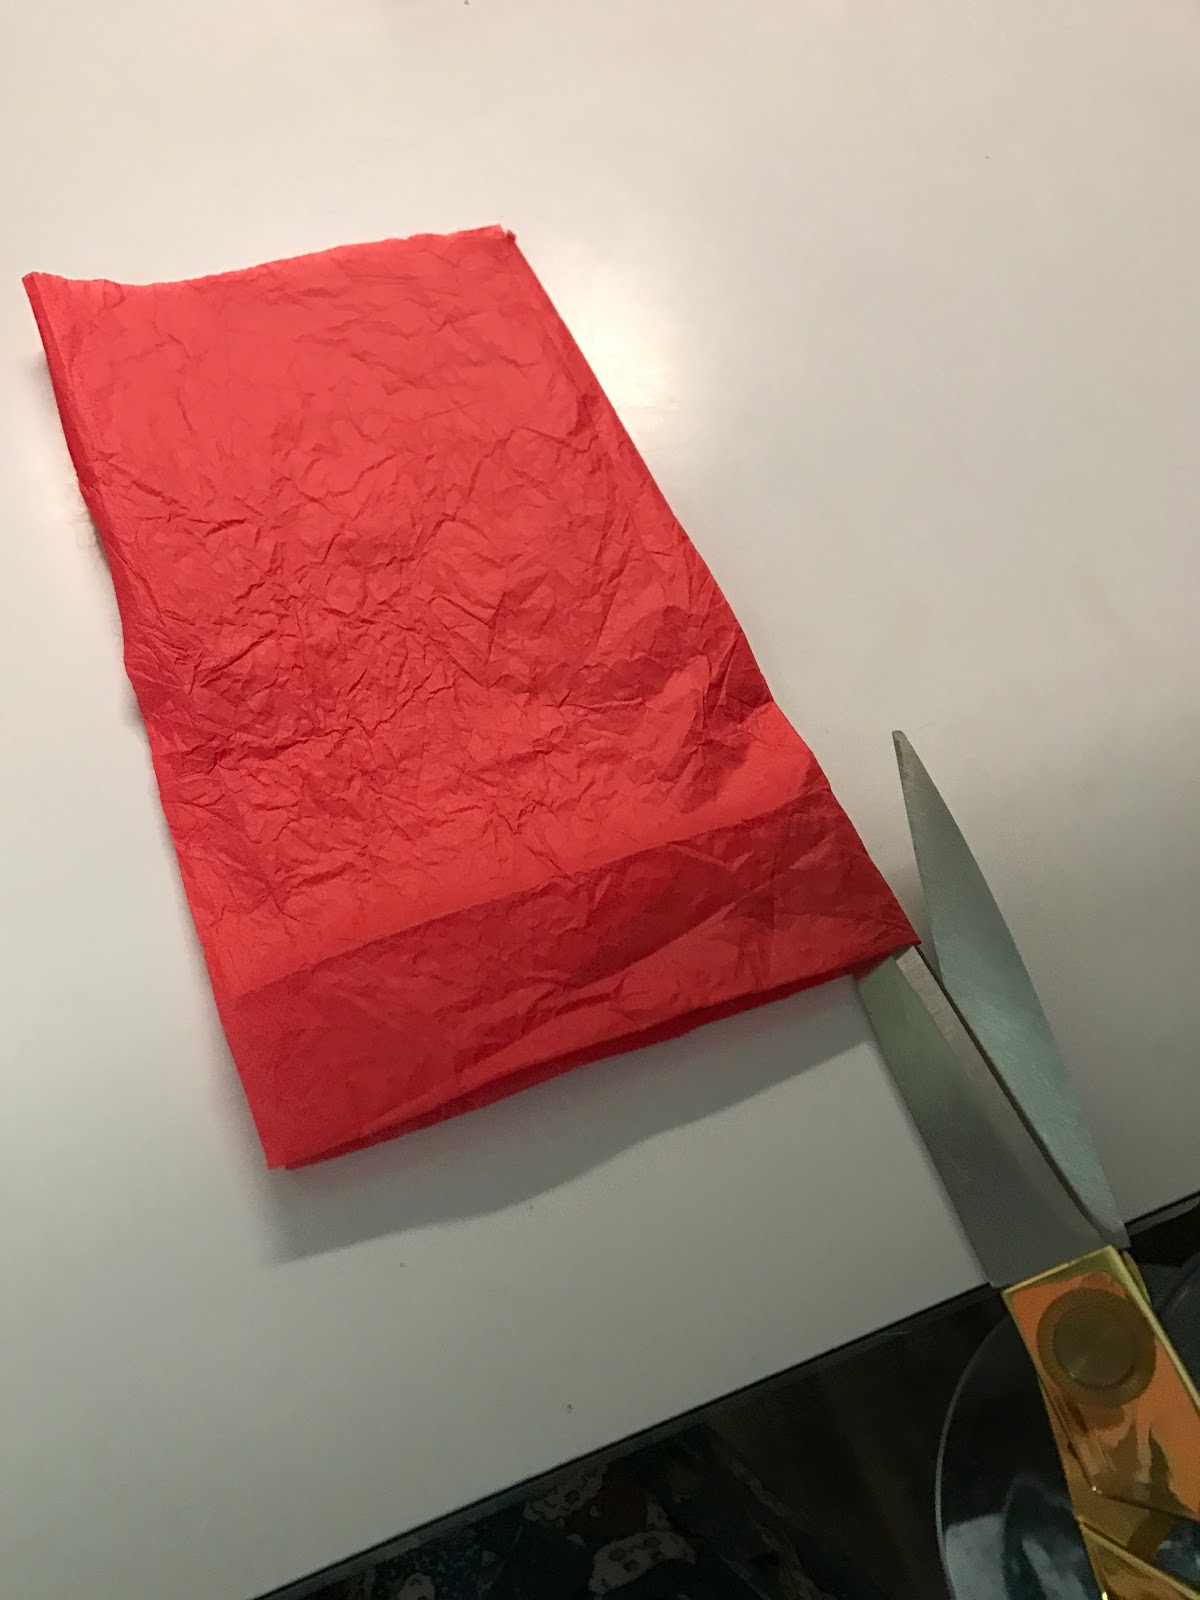


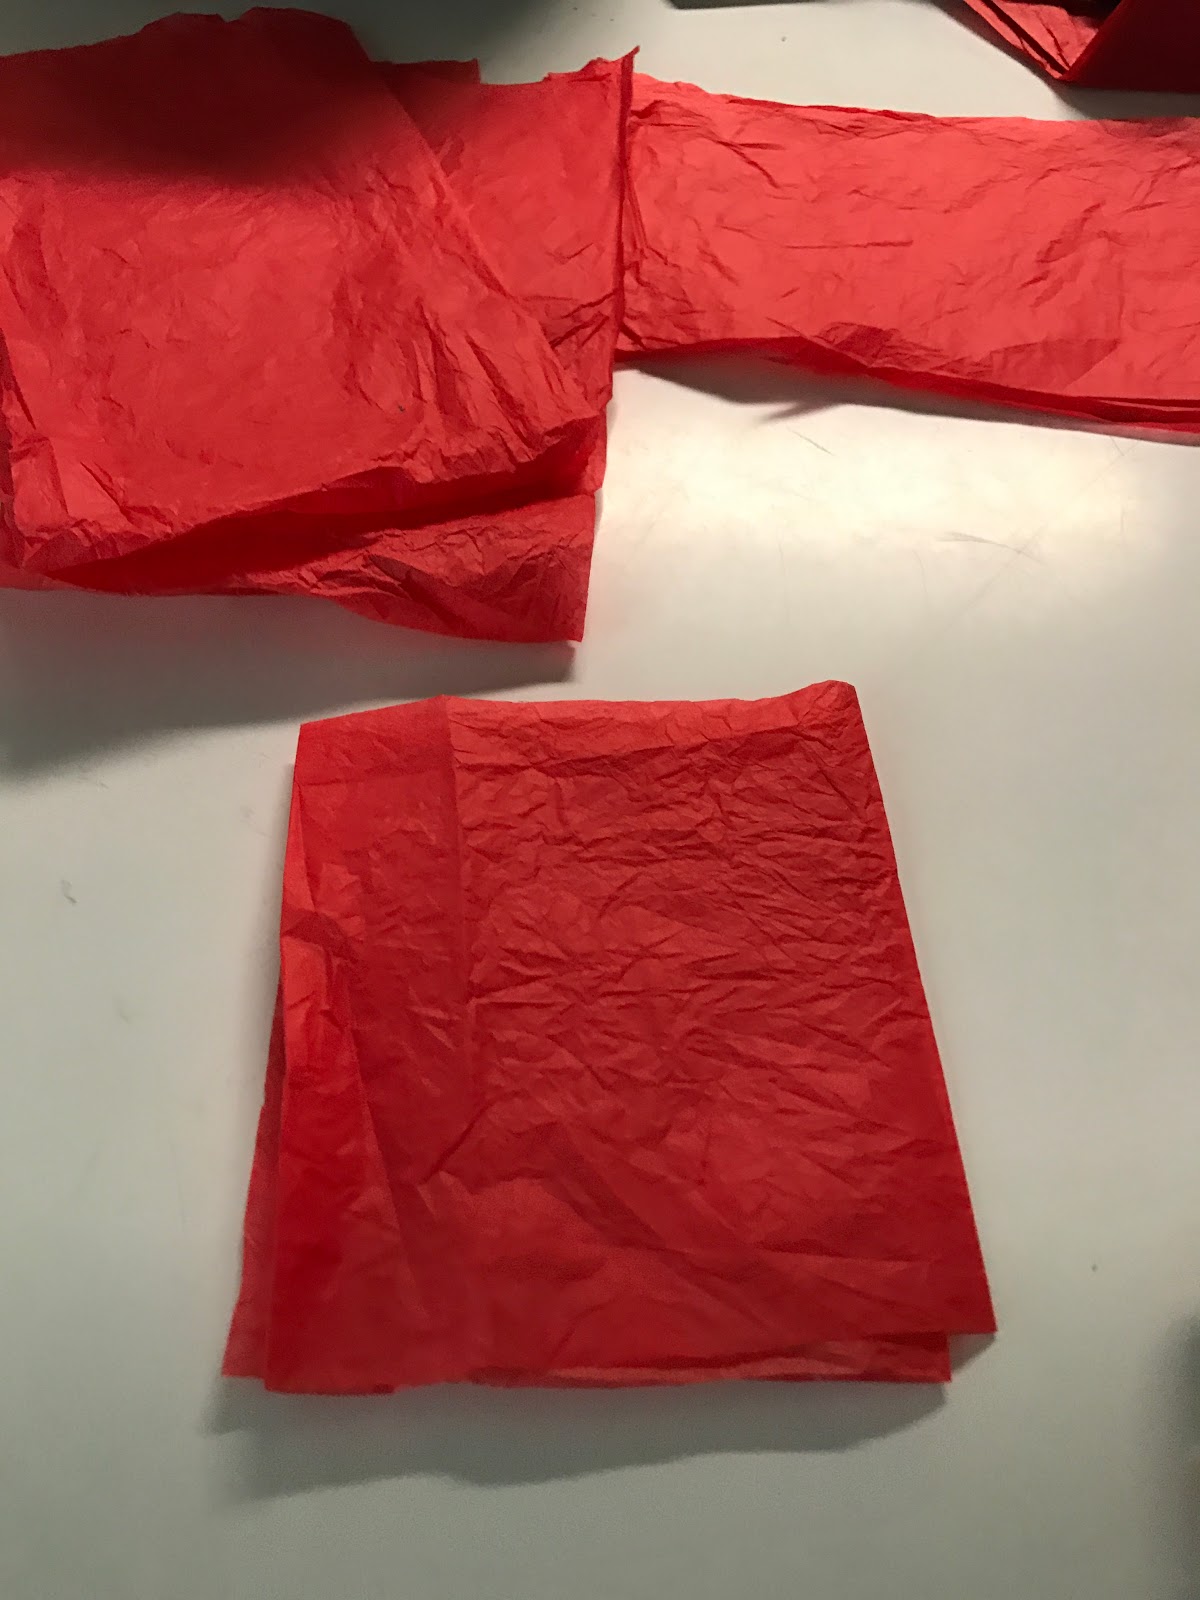
7.  Fold the rectangle in half and then fold it in half again.


8.  Cut along the folded edges.


9.  Keep repeating these steps until you have eight tissue paper squares that are about 10.5 centimeters in size.  Don't worry if your edges aren't perfect or if you have squares that aren't exactly square, this will get fixed later on in the project.

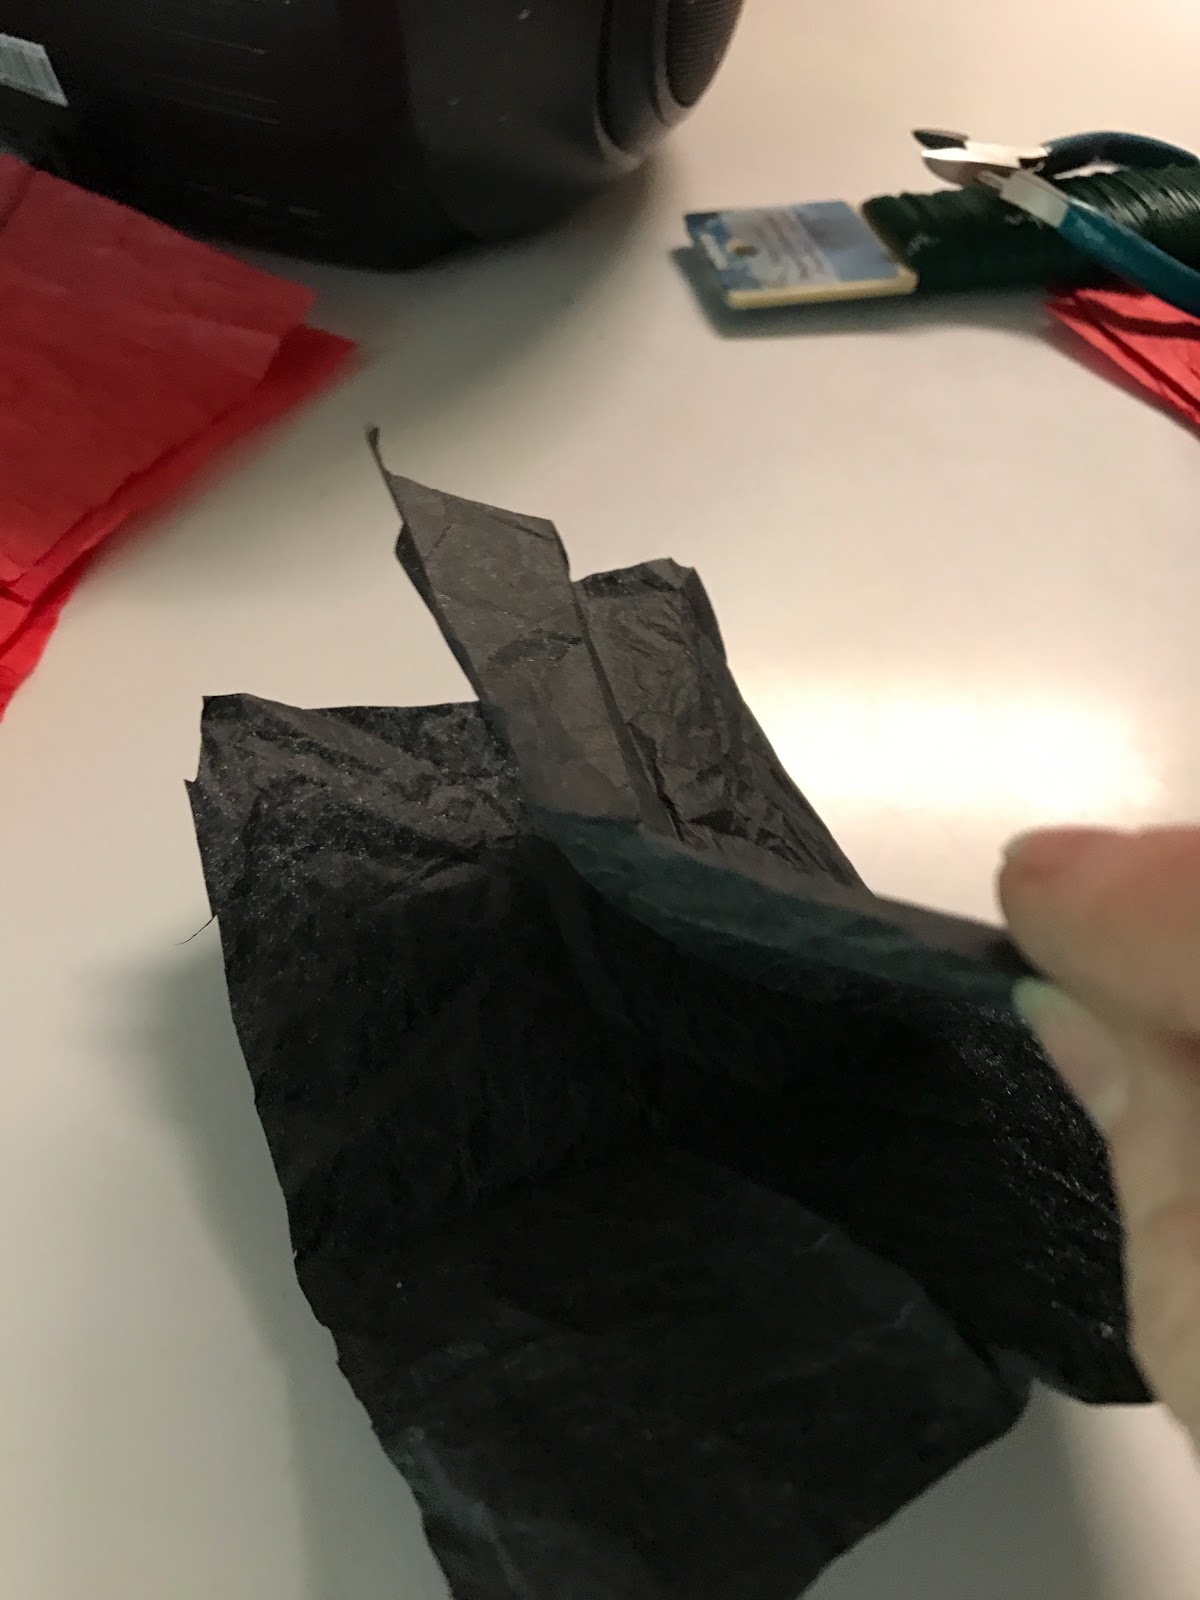

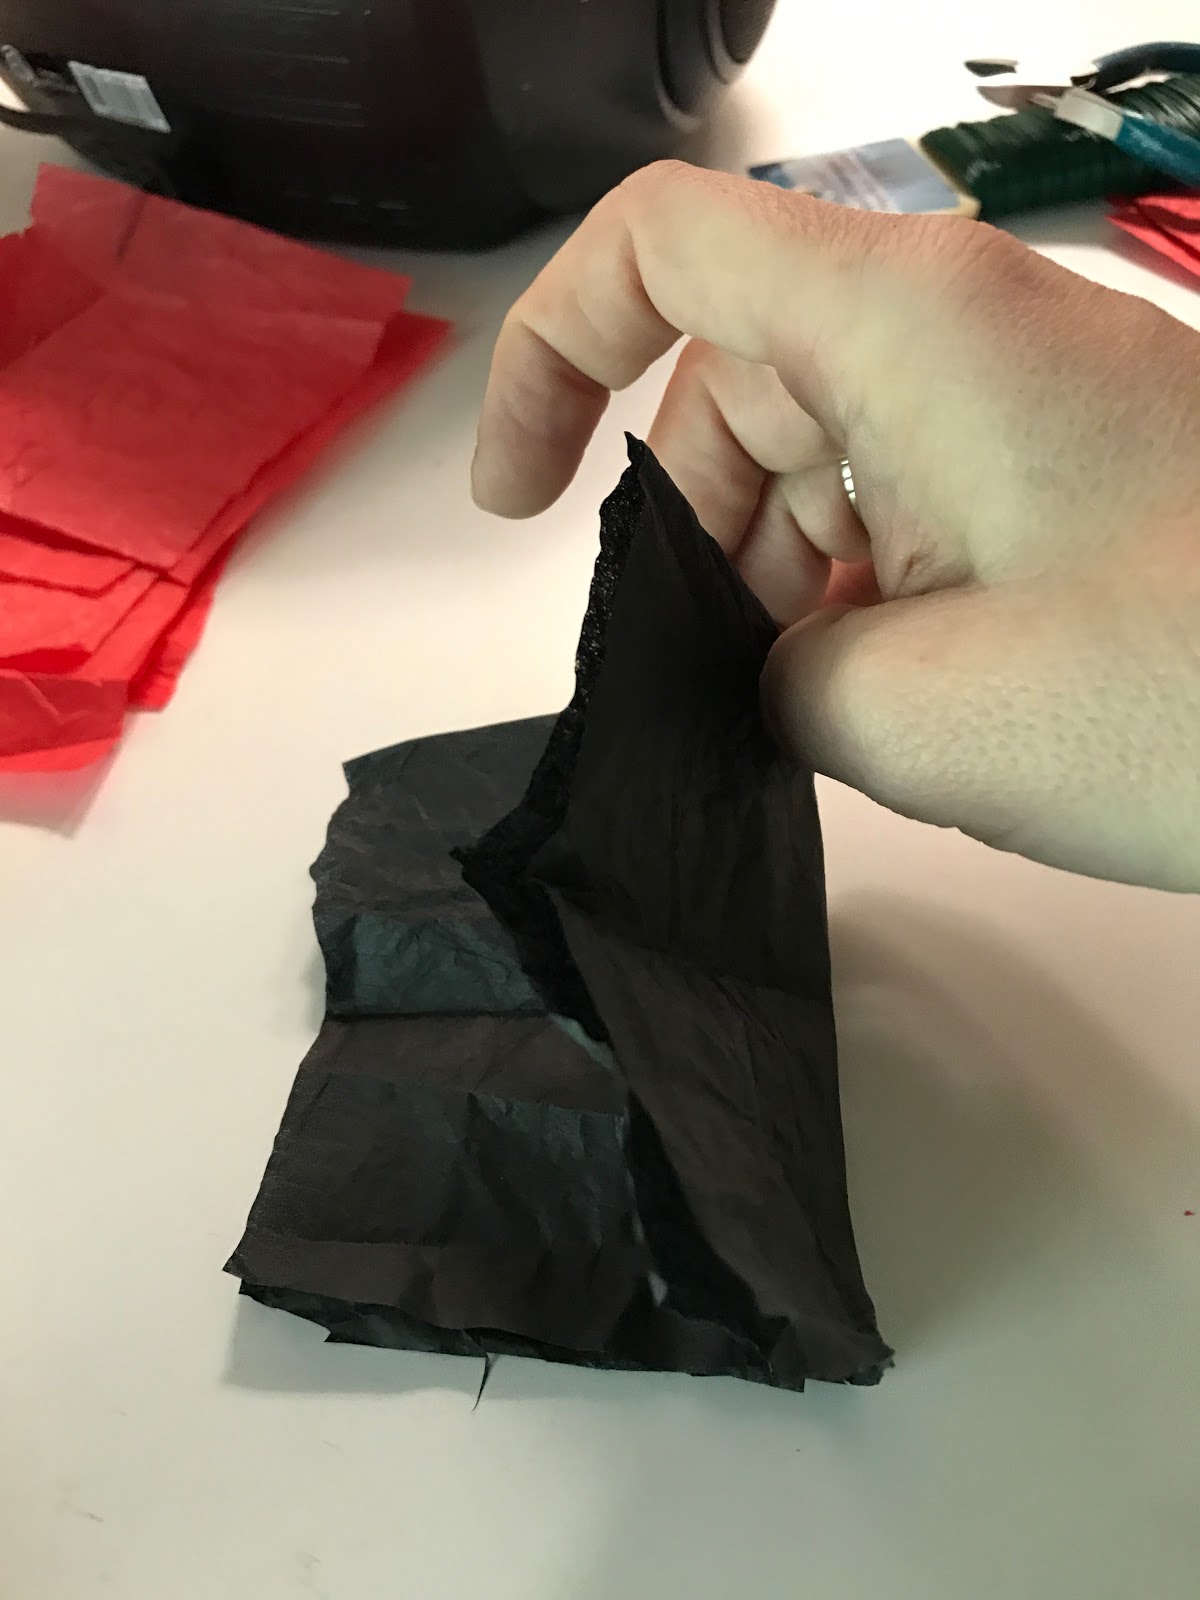
10. Gather your black tissues paper and create a rectangle.  I didn't measure my rectangle, but it was about 1 quarter of the total tissue paper rectangle.  Fold the rectangle in half.


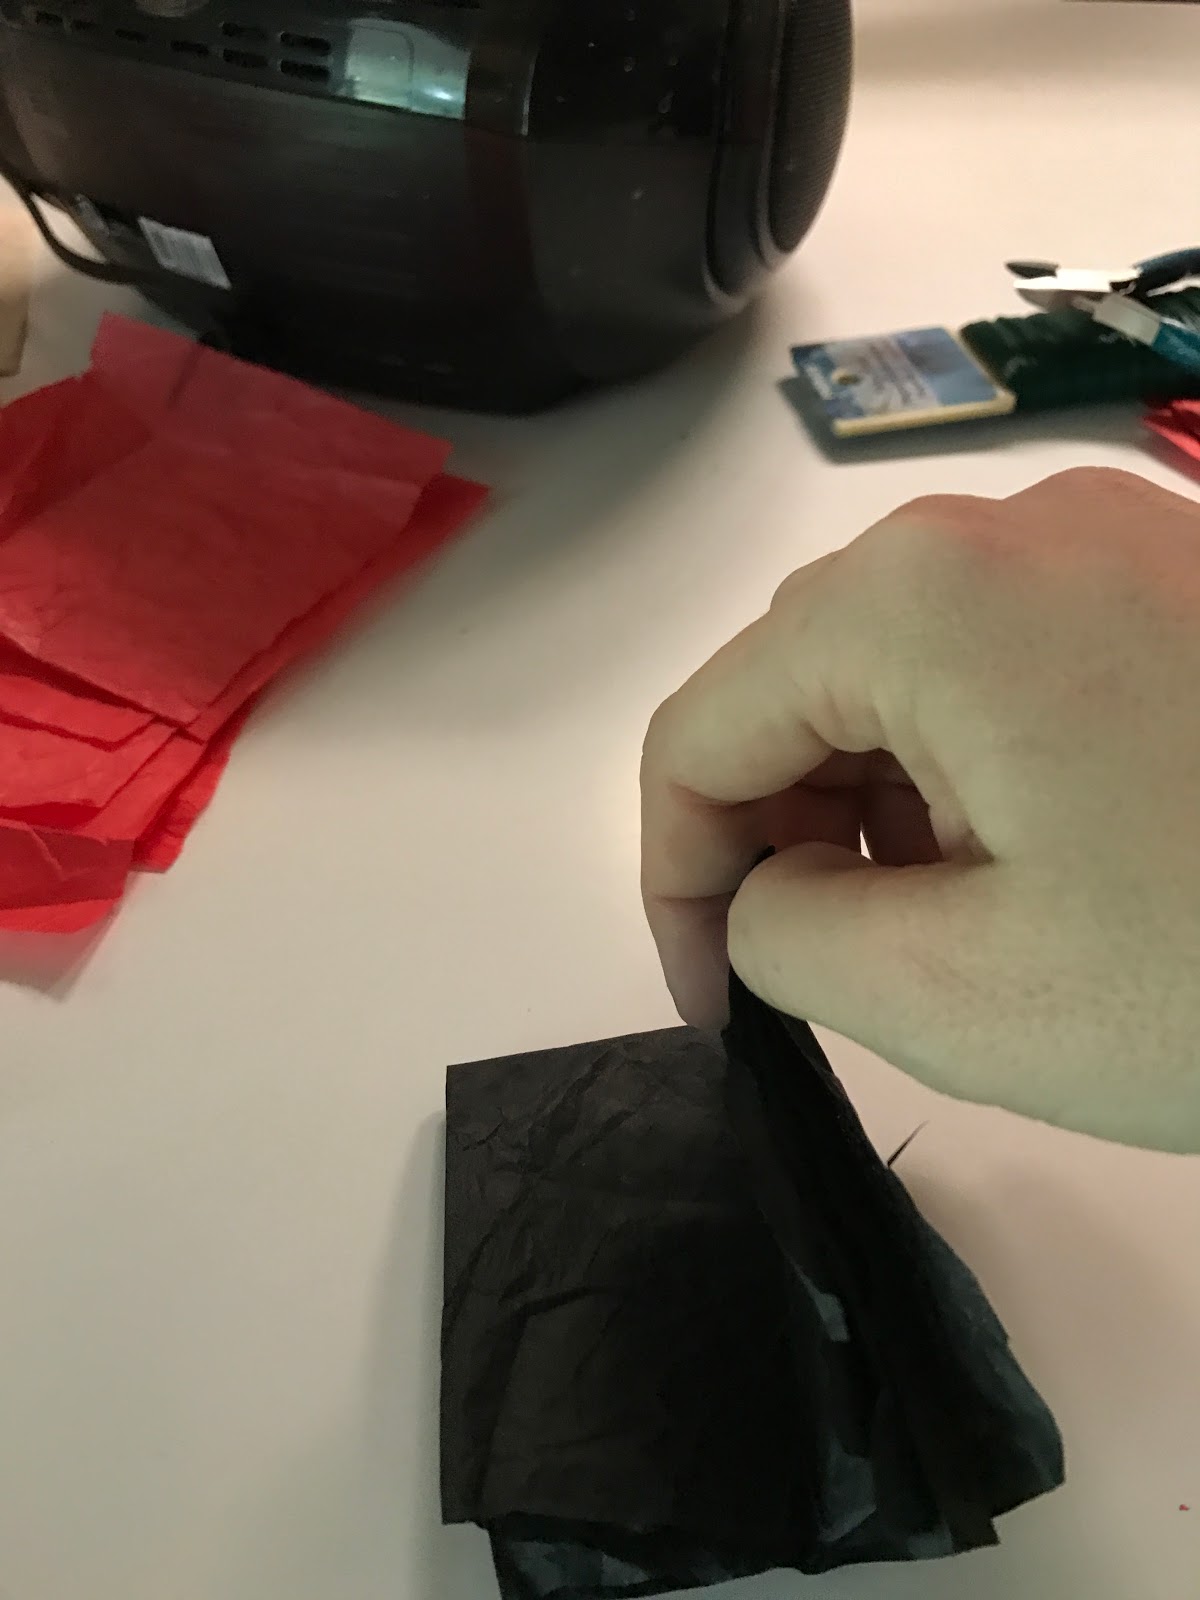
11.  Fold the paper in half again.


12.  Fold the paper in half again.  You should now have a fairly small rectangle/square.


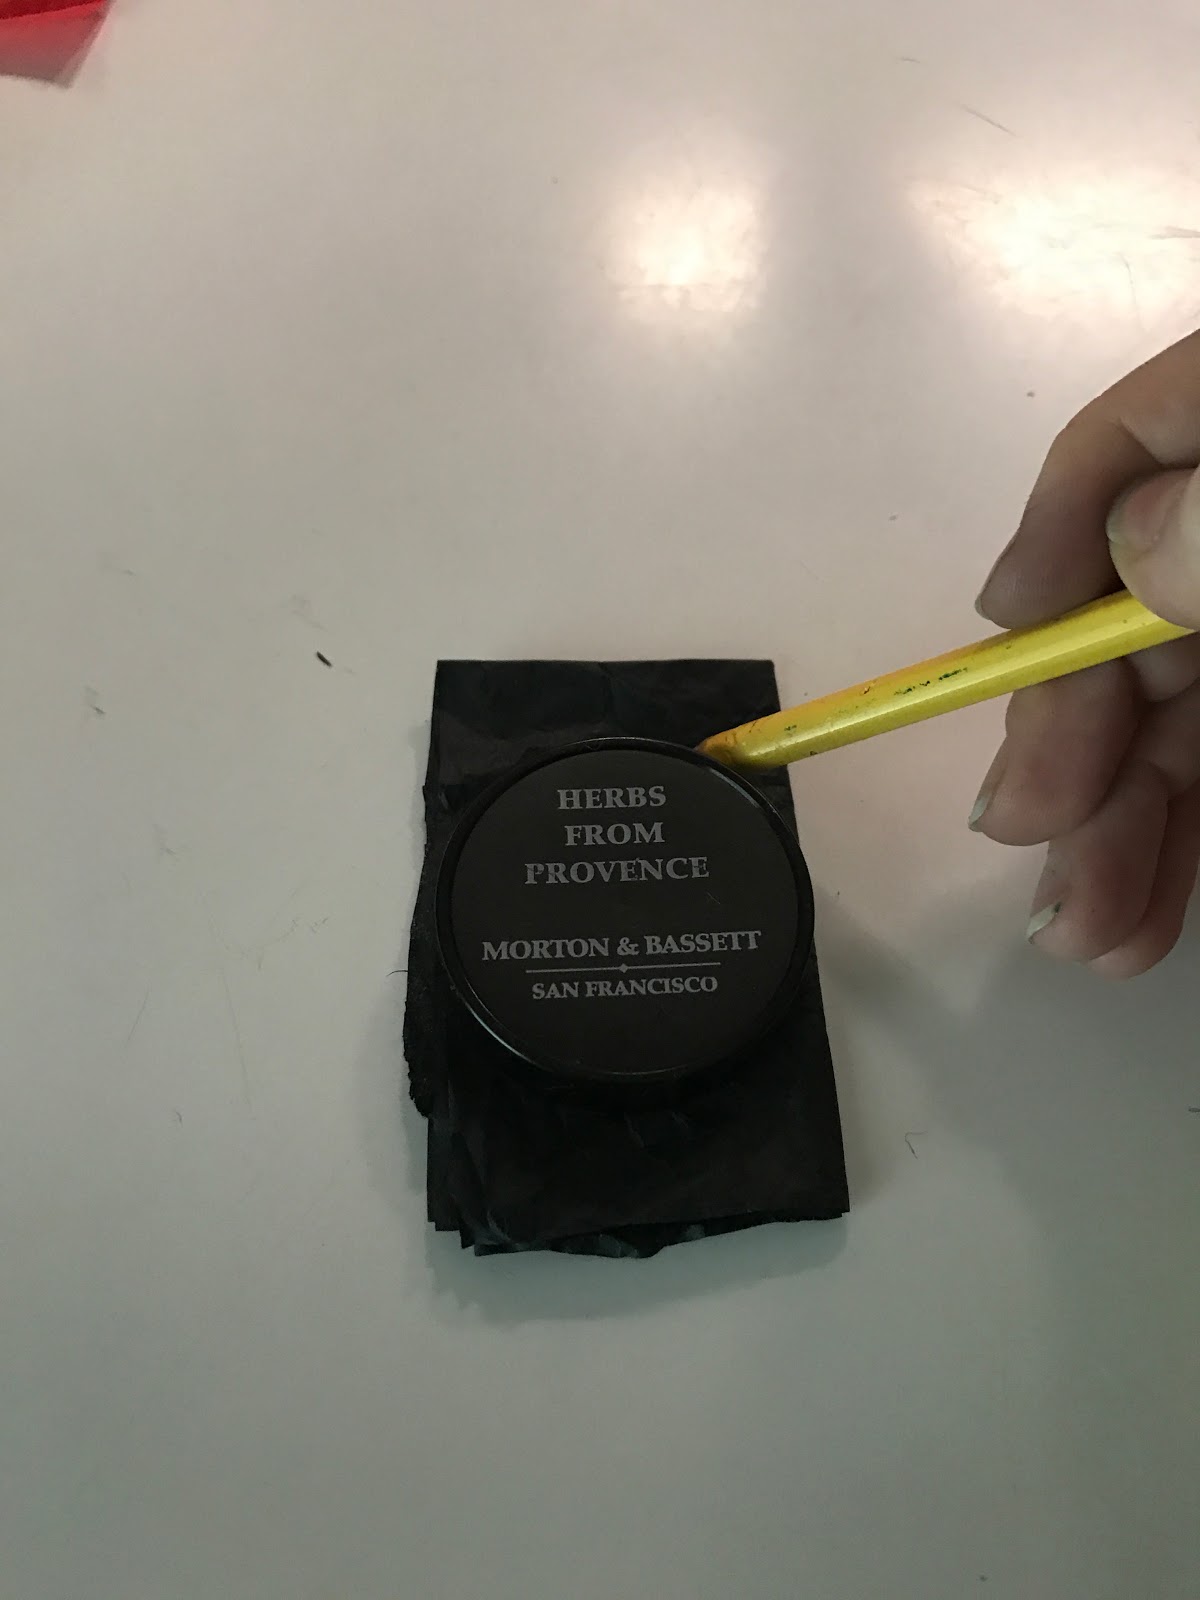
13.  Place a spice bottle cap on the black paper and trace around it with a pencil to create a circle.
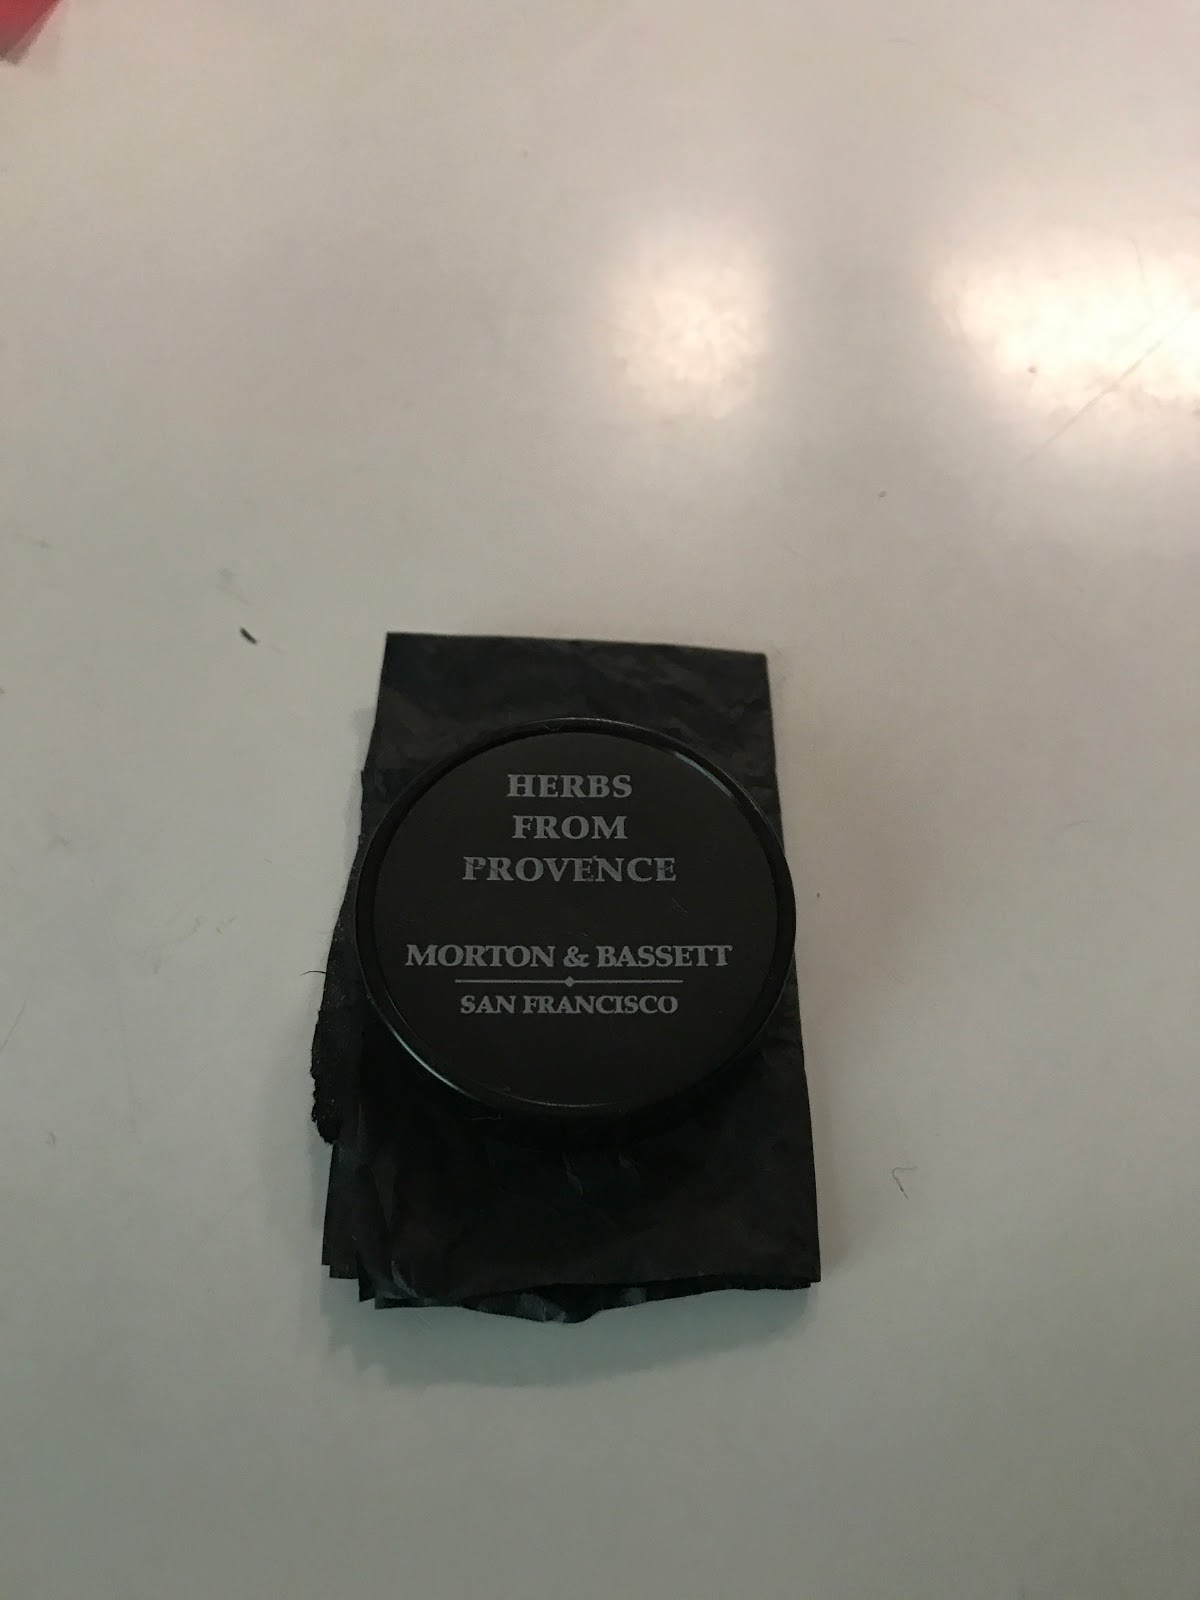


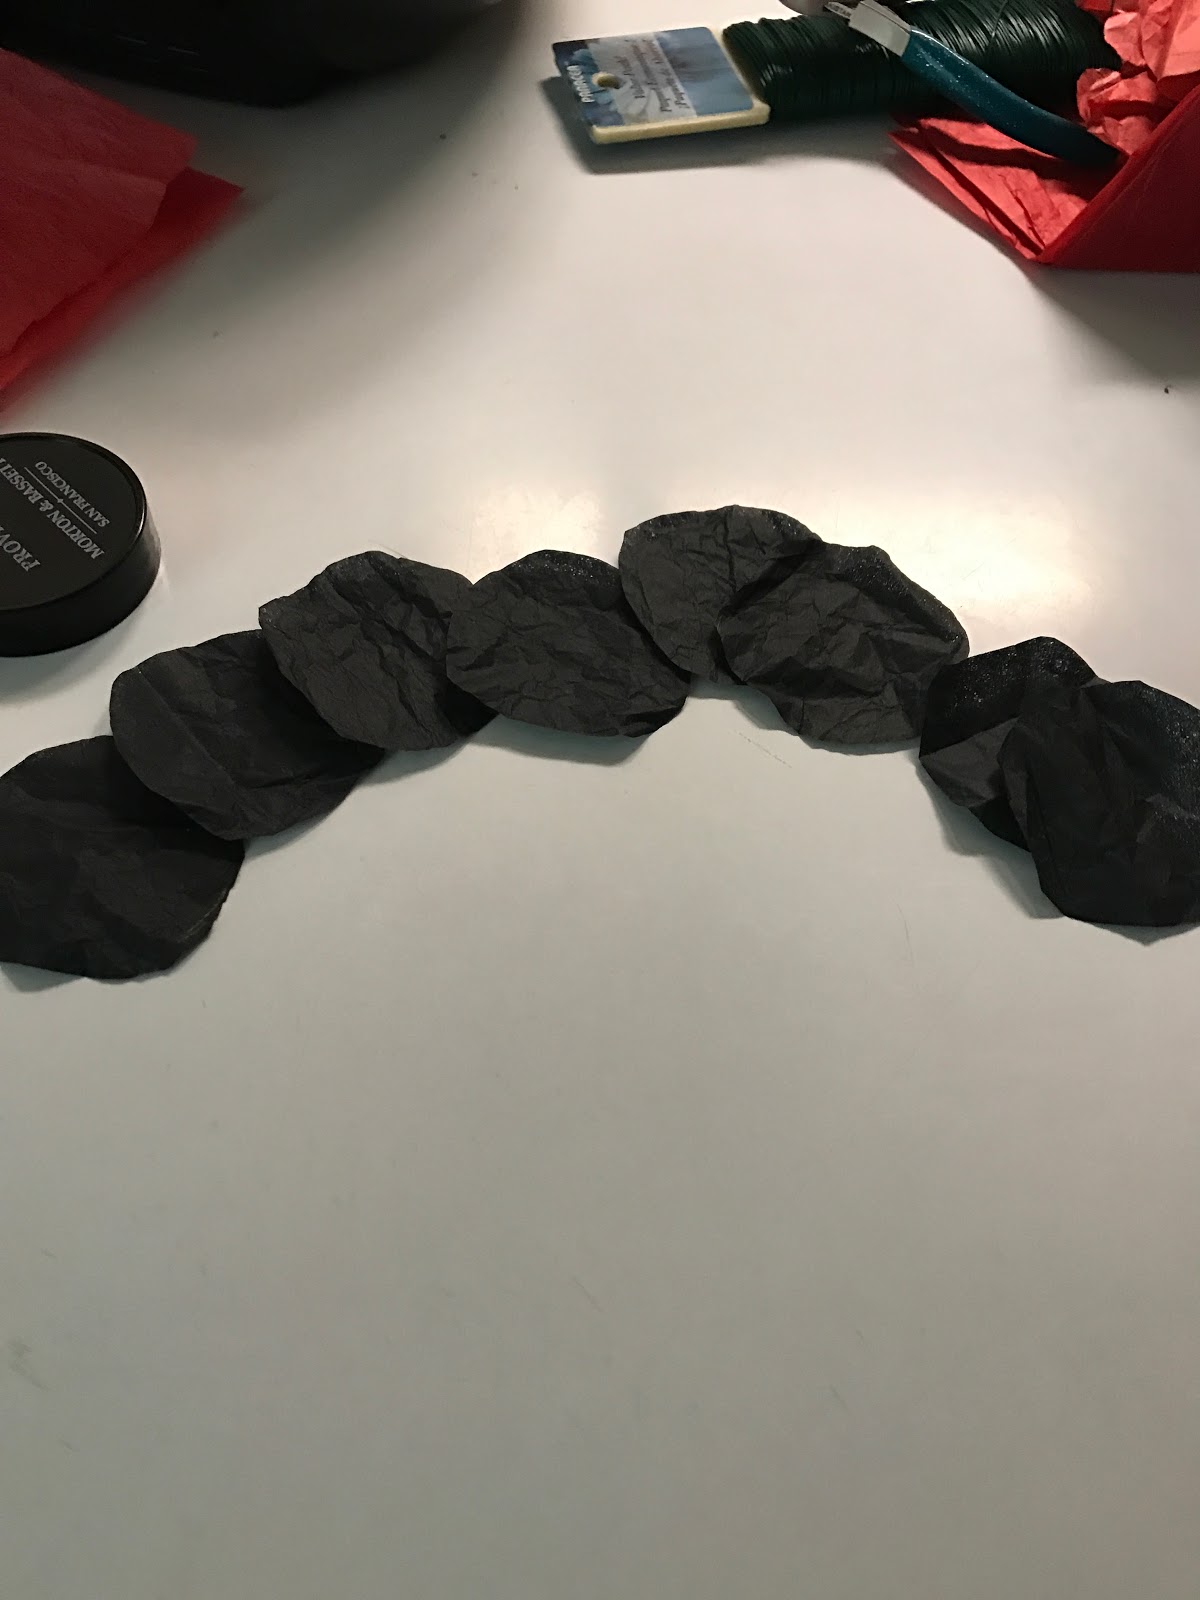
14.  Cut the circle out of the tissue paper.  You should now have eight small black tissue paper circles.
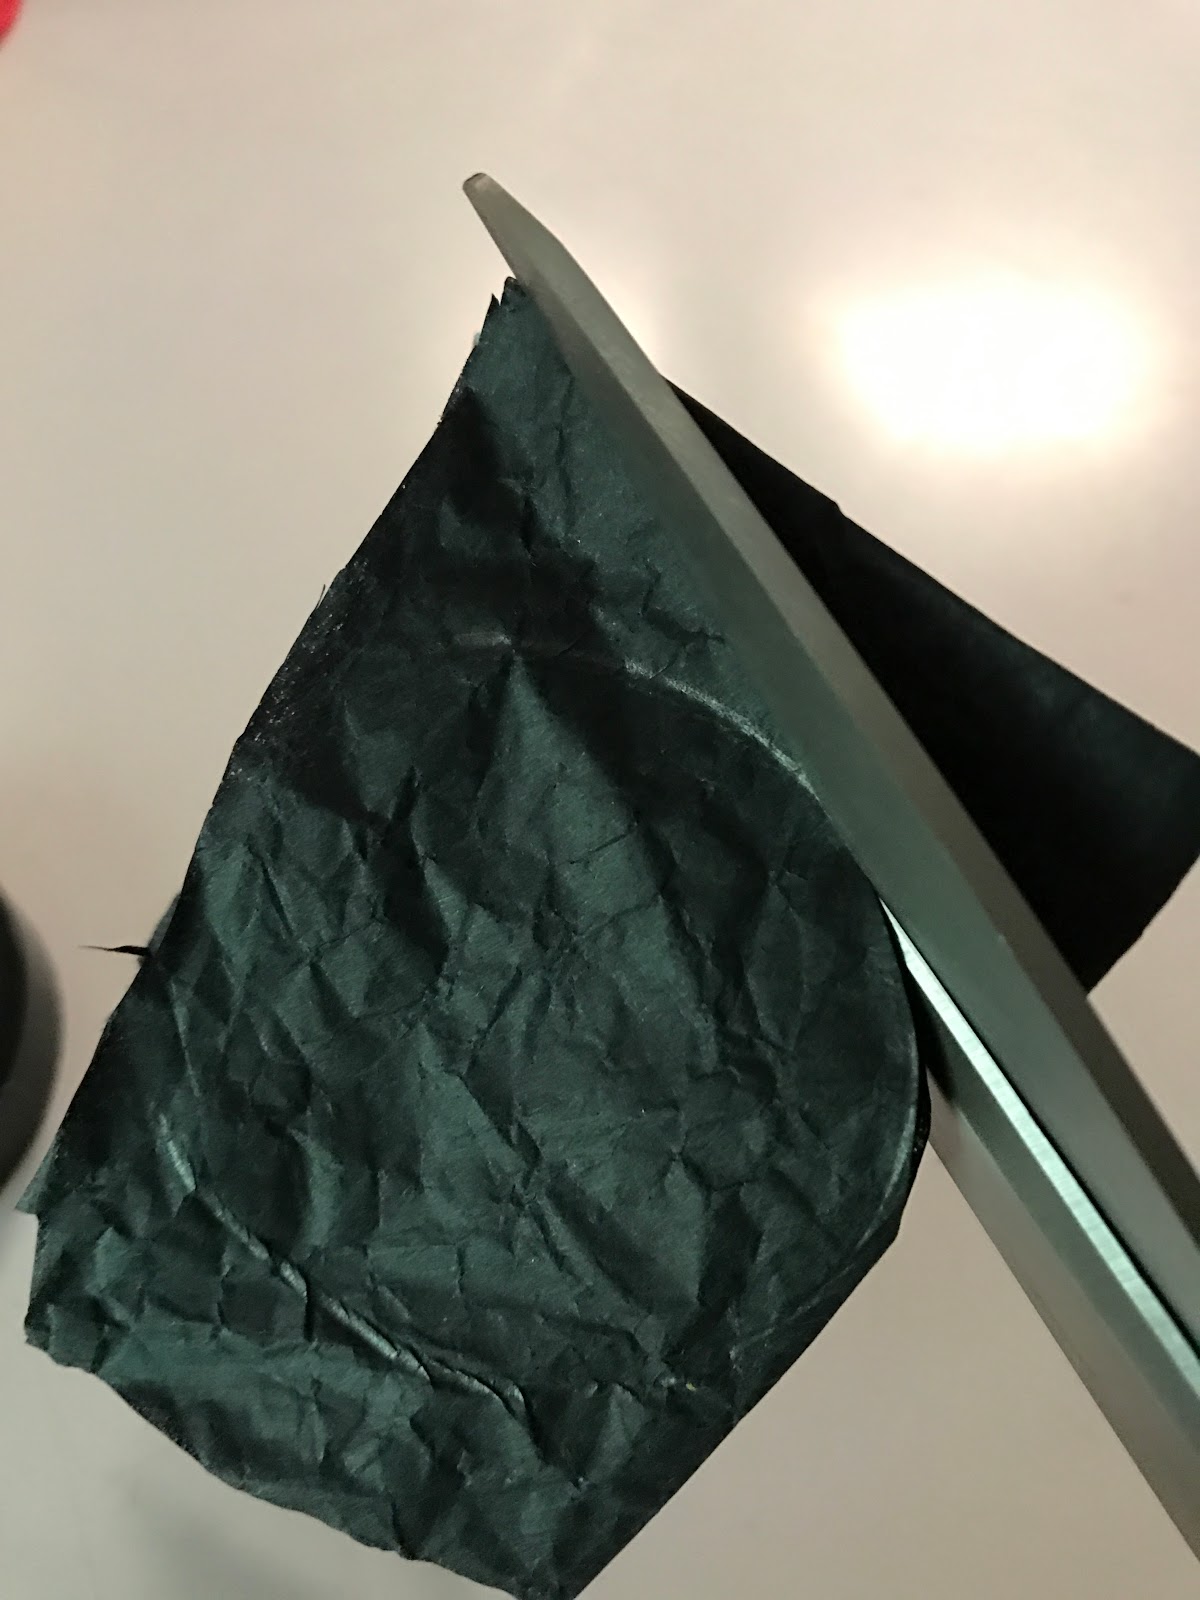


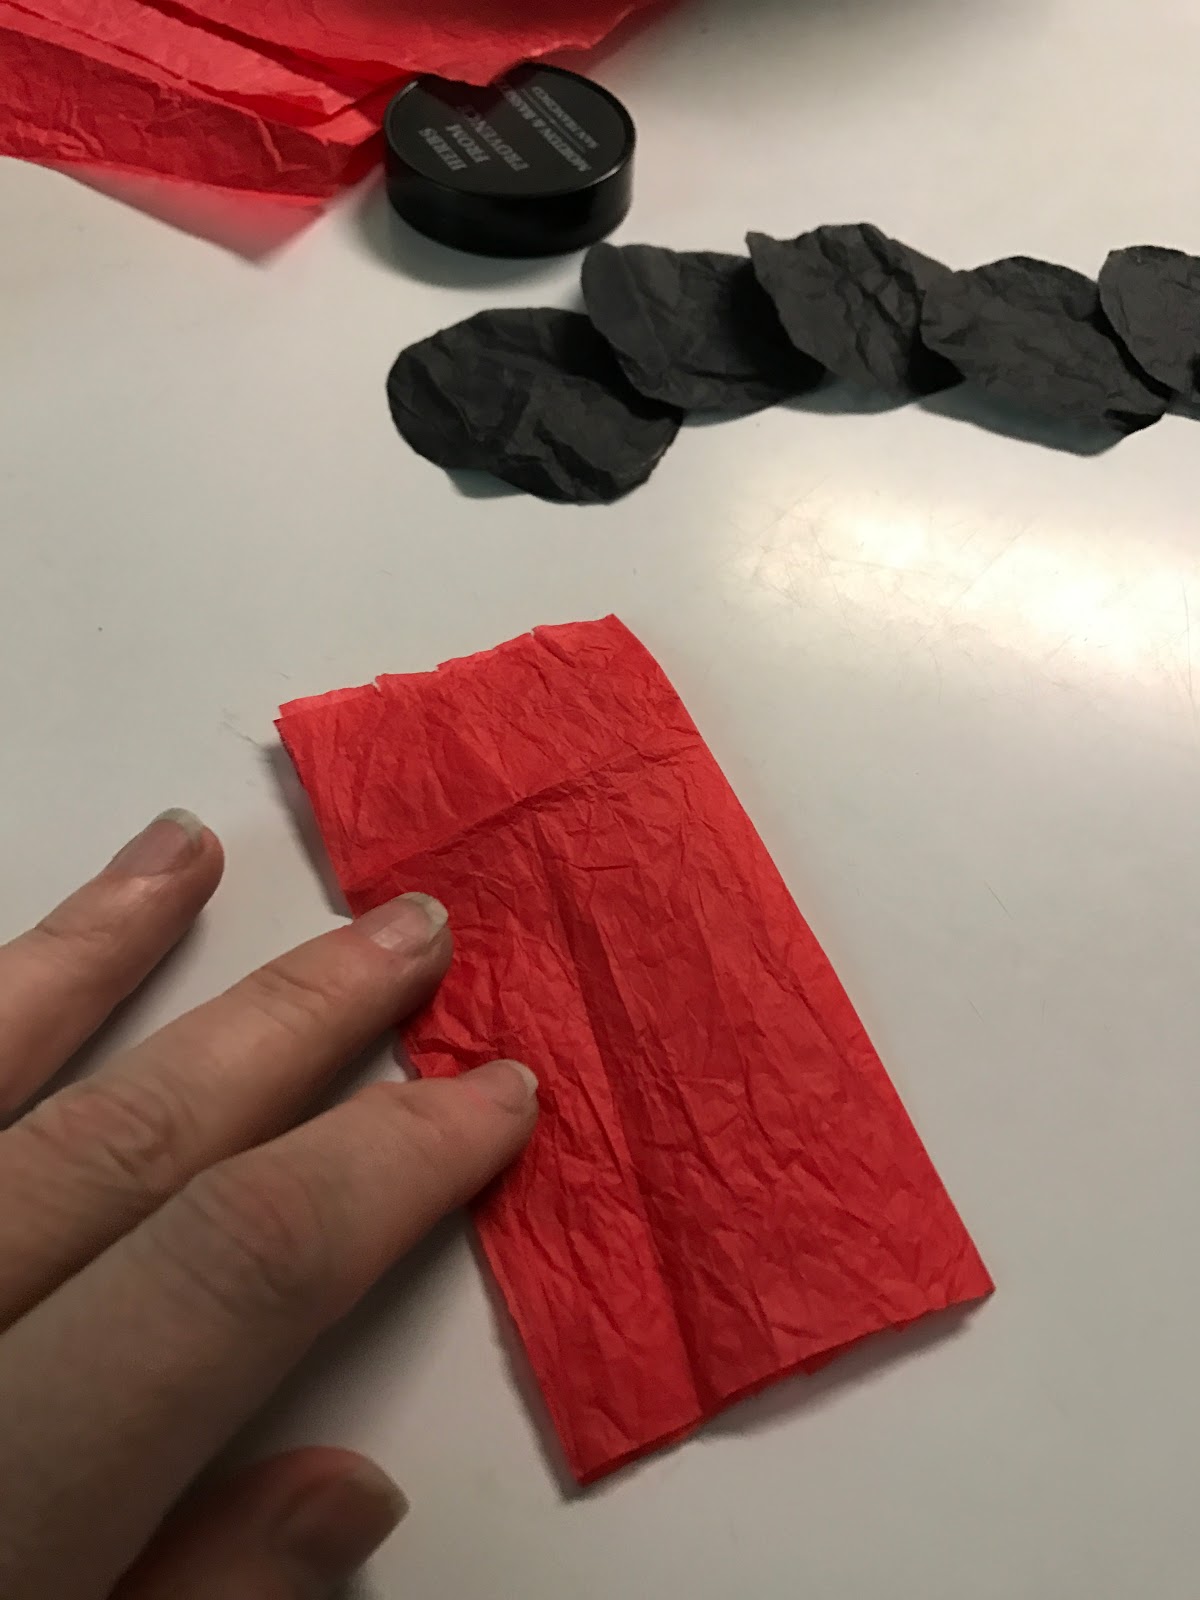
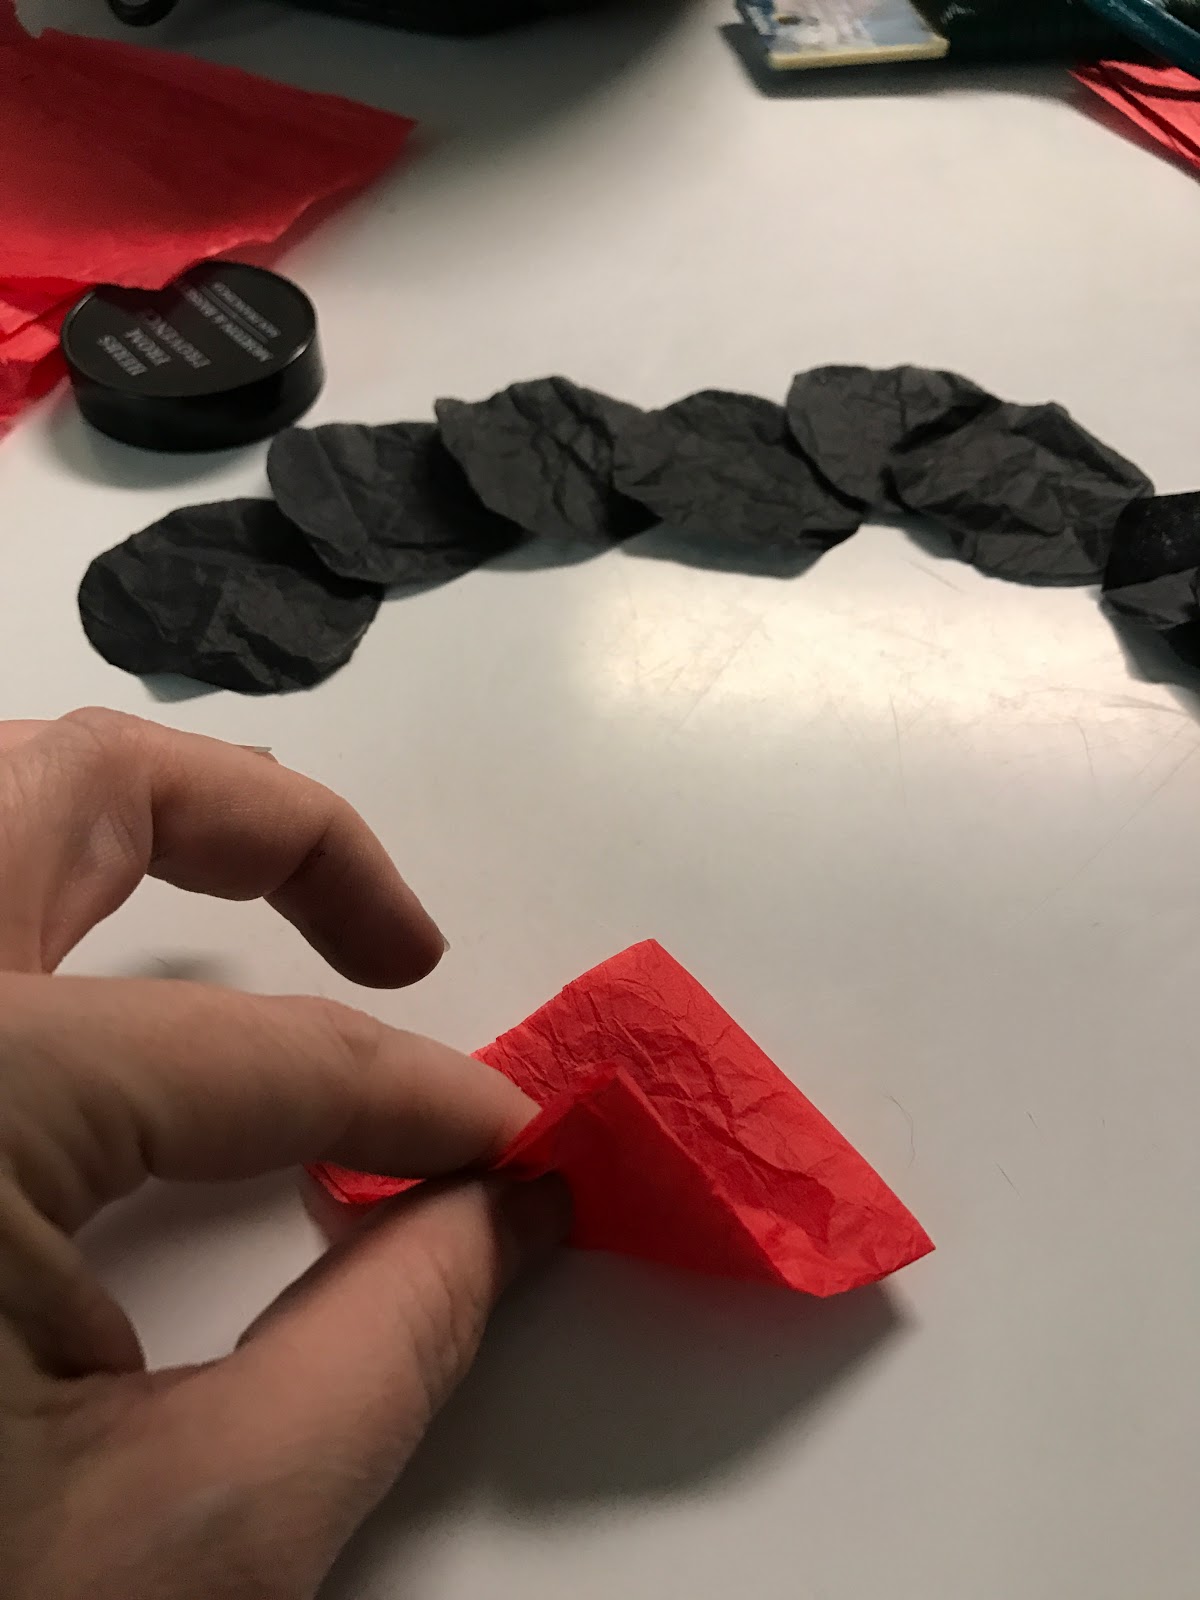
15.  Grab one of your eight red squares and fold it in half.
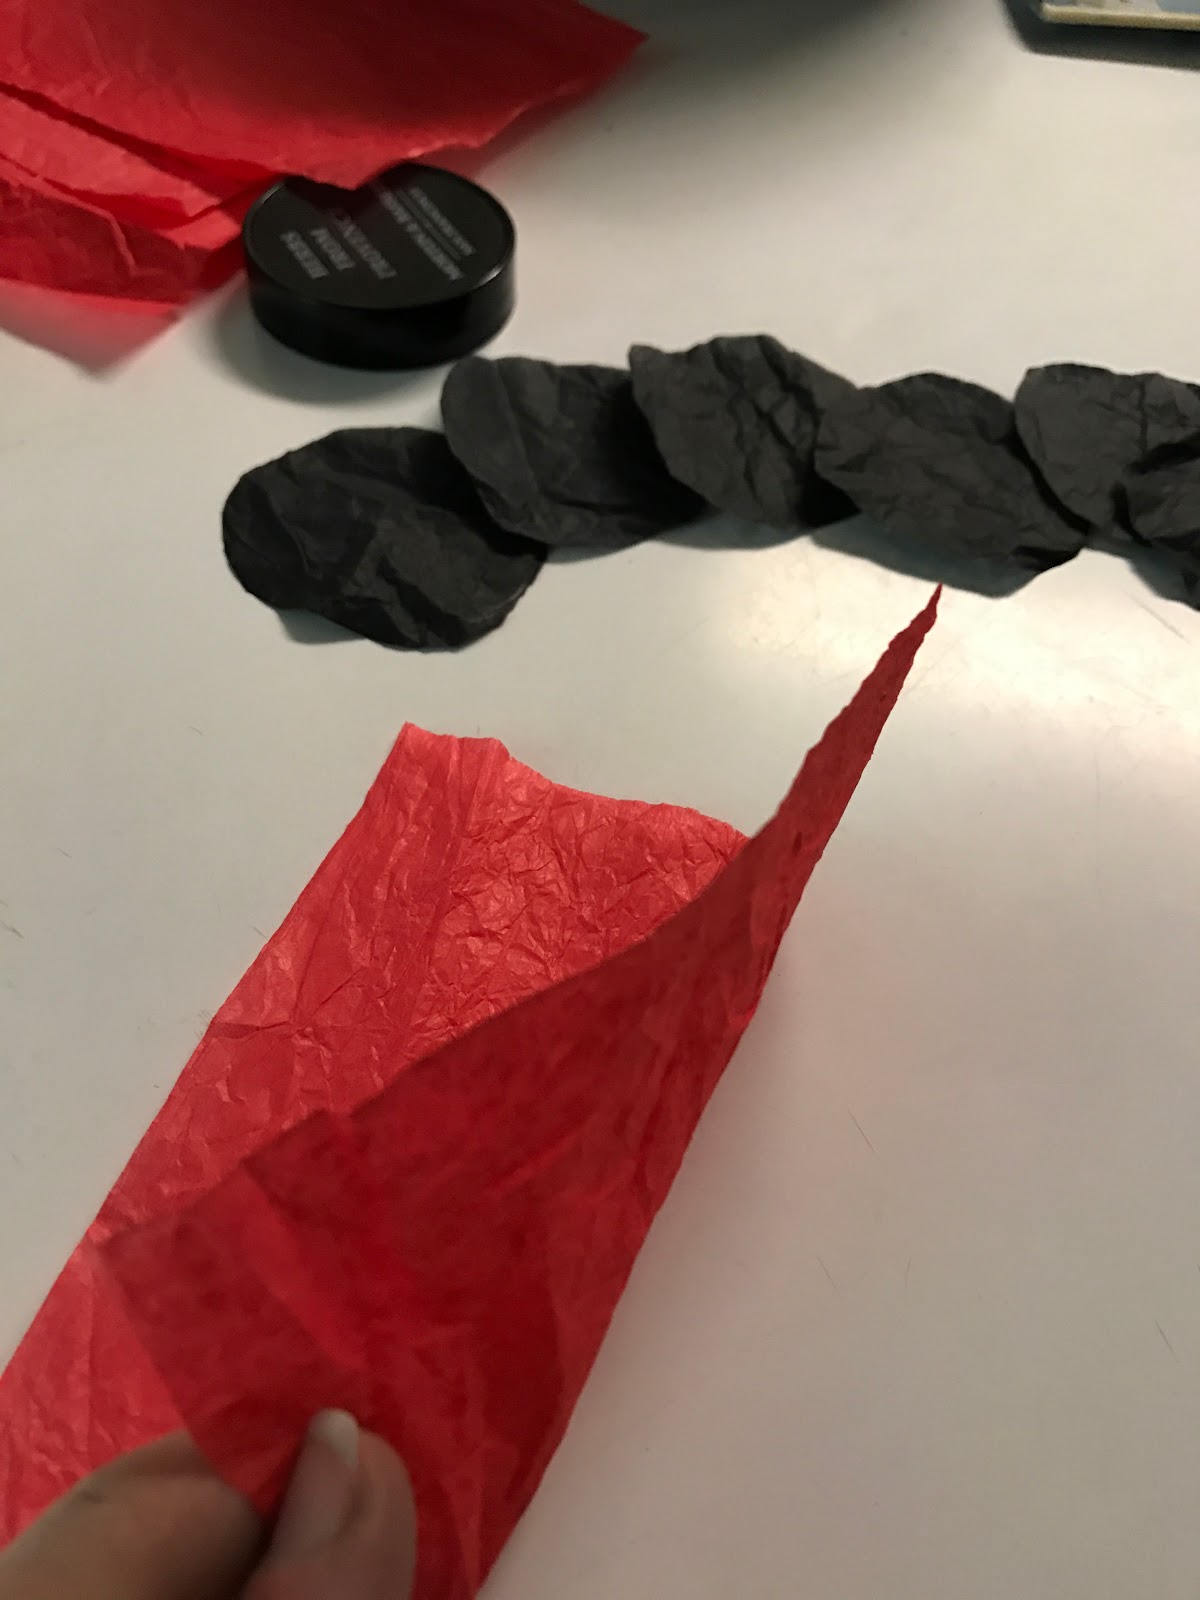


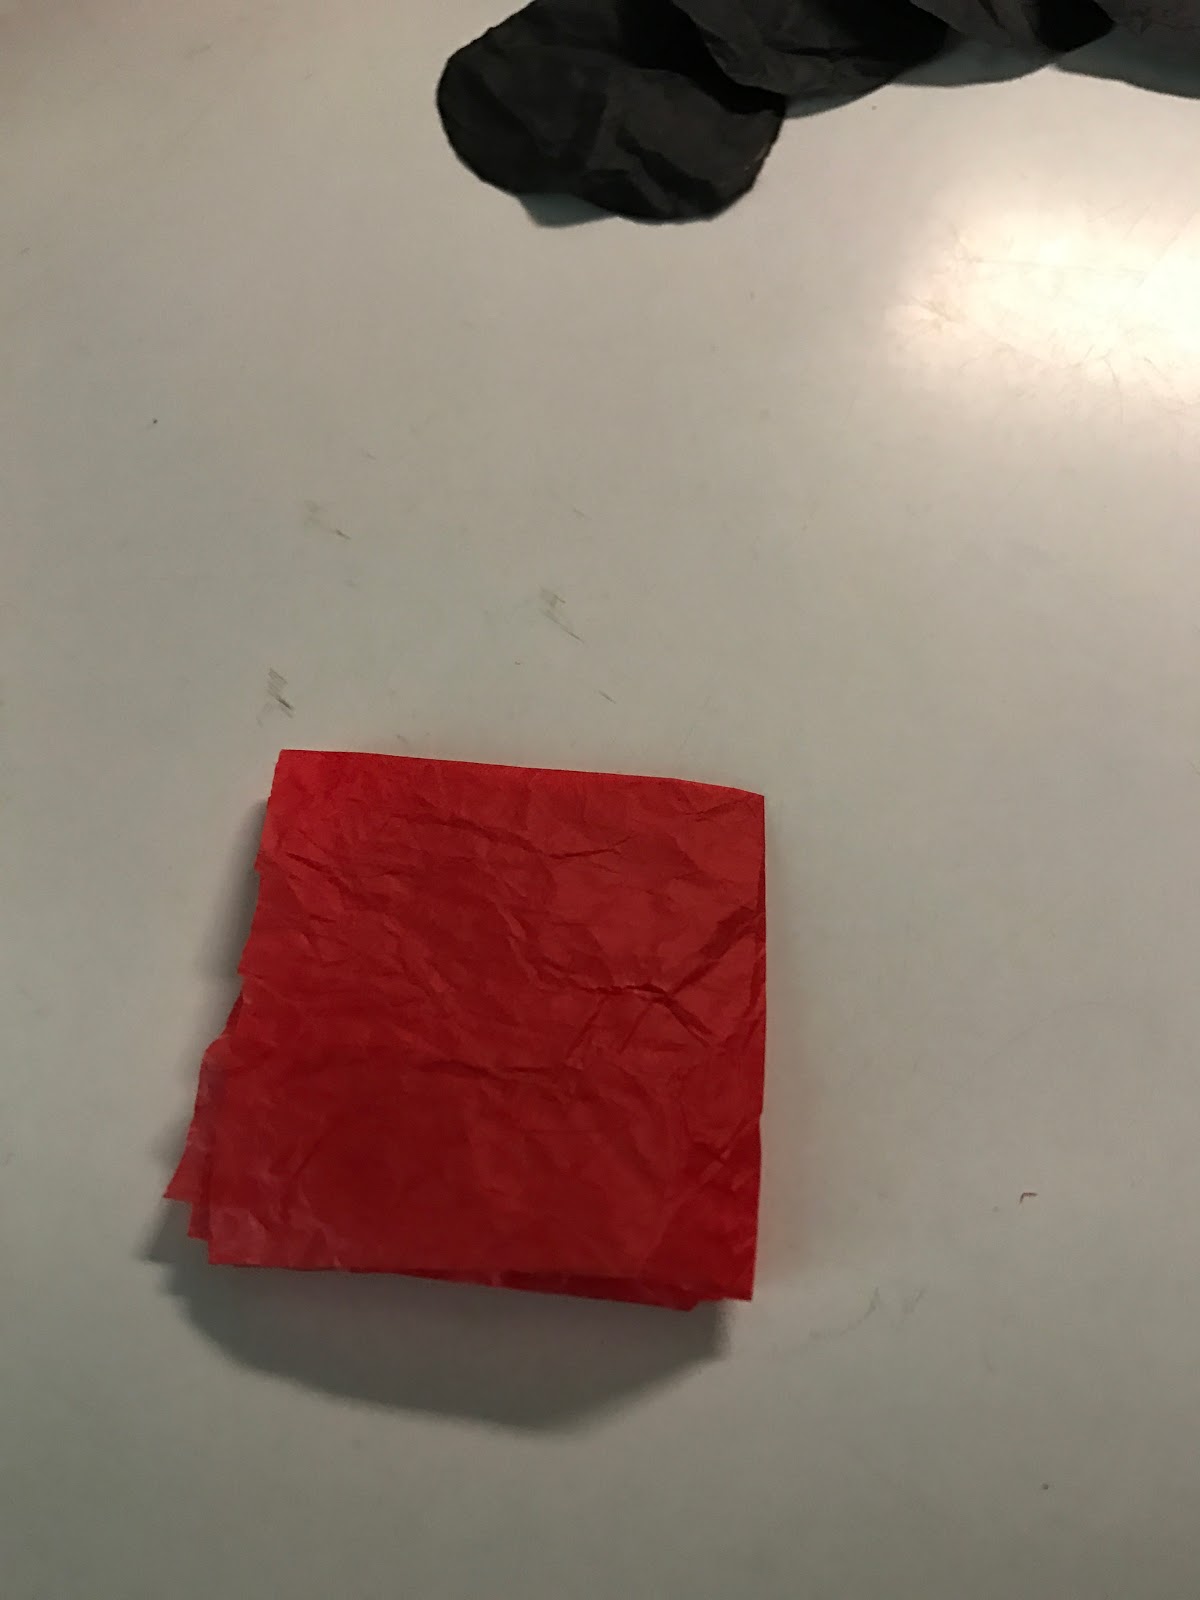
16.  Fold the tissue paper in half again.  You should now have a small square.


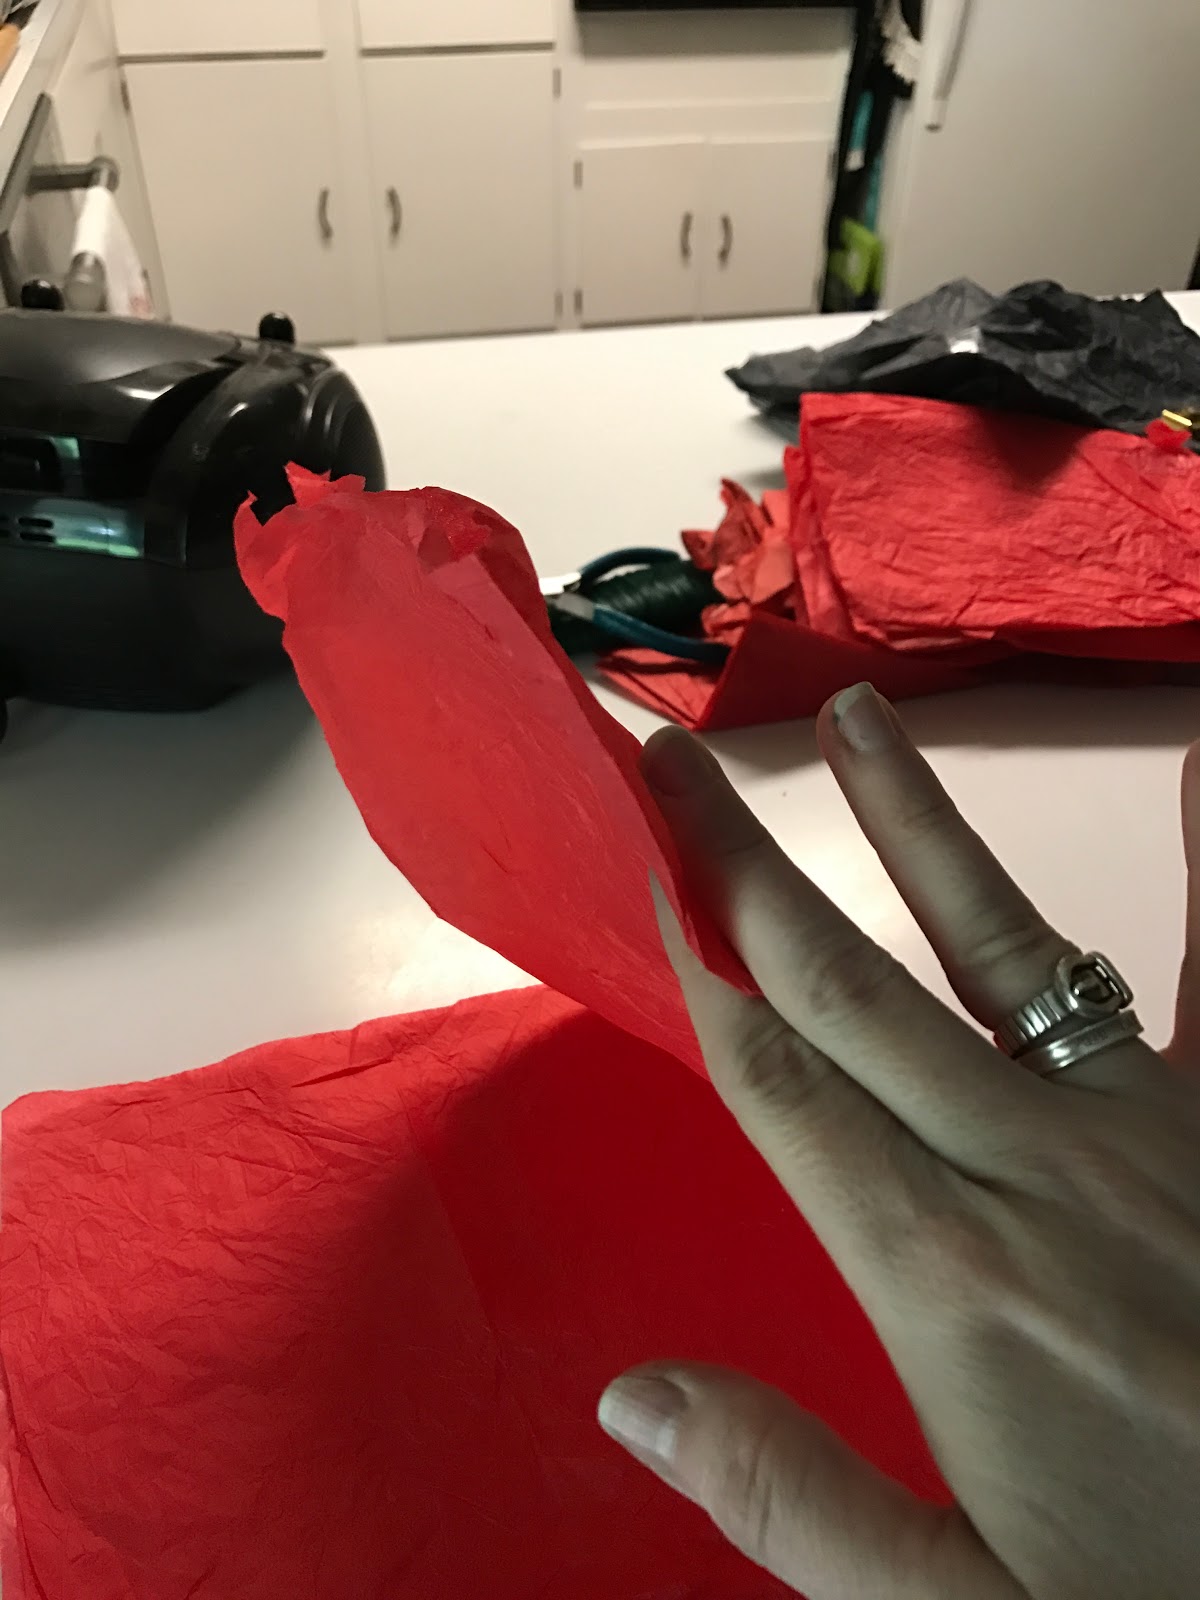
17.  Position your folded tissue paper square so that all of the folded edges are pointing toward you and the unfolded edges are away from you. Fold the square in half going from corner to corner forming a triangle.


18.  Along the unfolded edges of the triangle use your scissors to cut a curve so that you make a "petal" shape.


19.  This is what it looks like if you have cut it correctly.
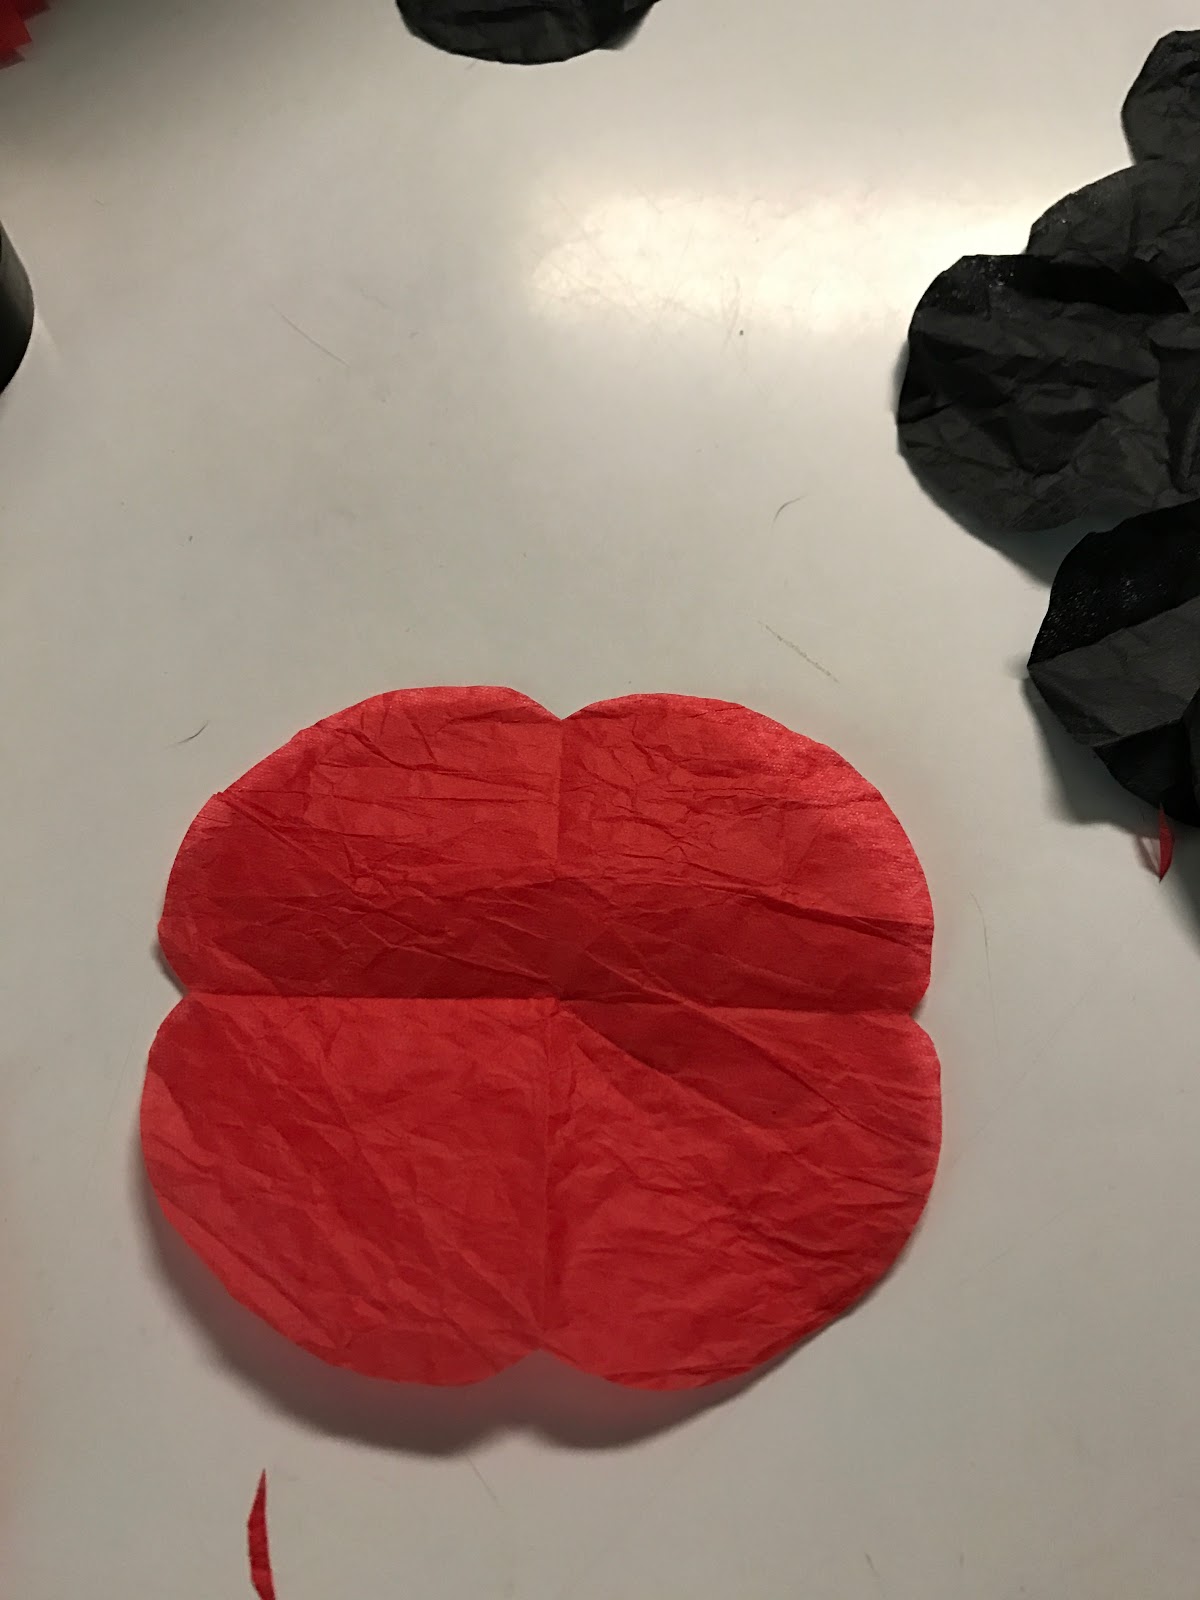

This is what it looks like if you have not cut it correctly.  This is what you don't want to happen.
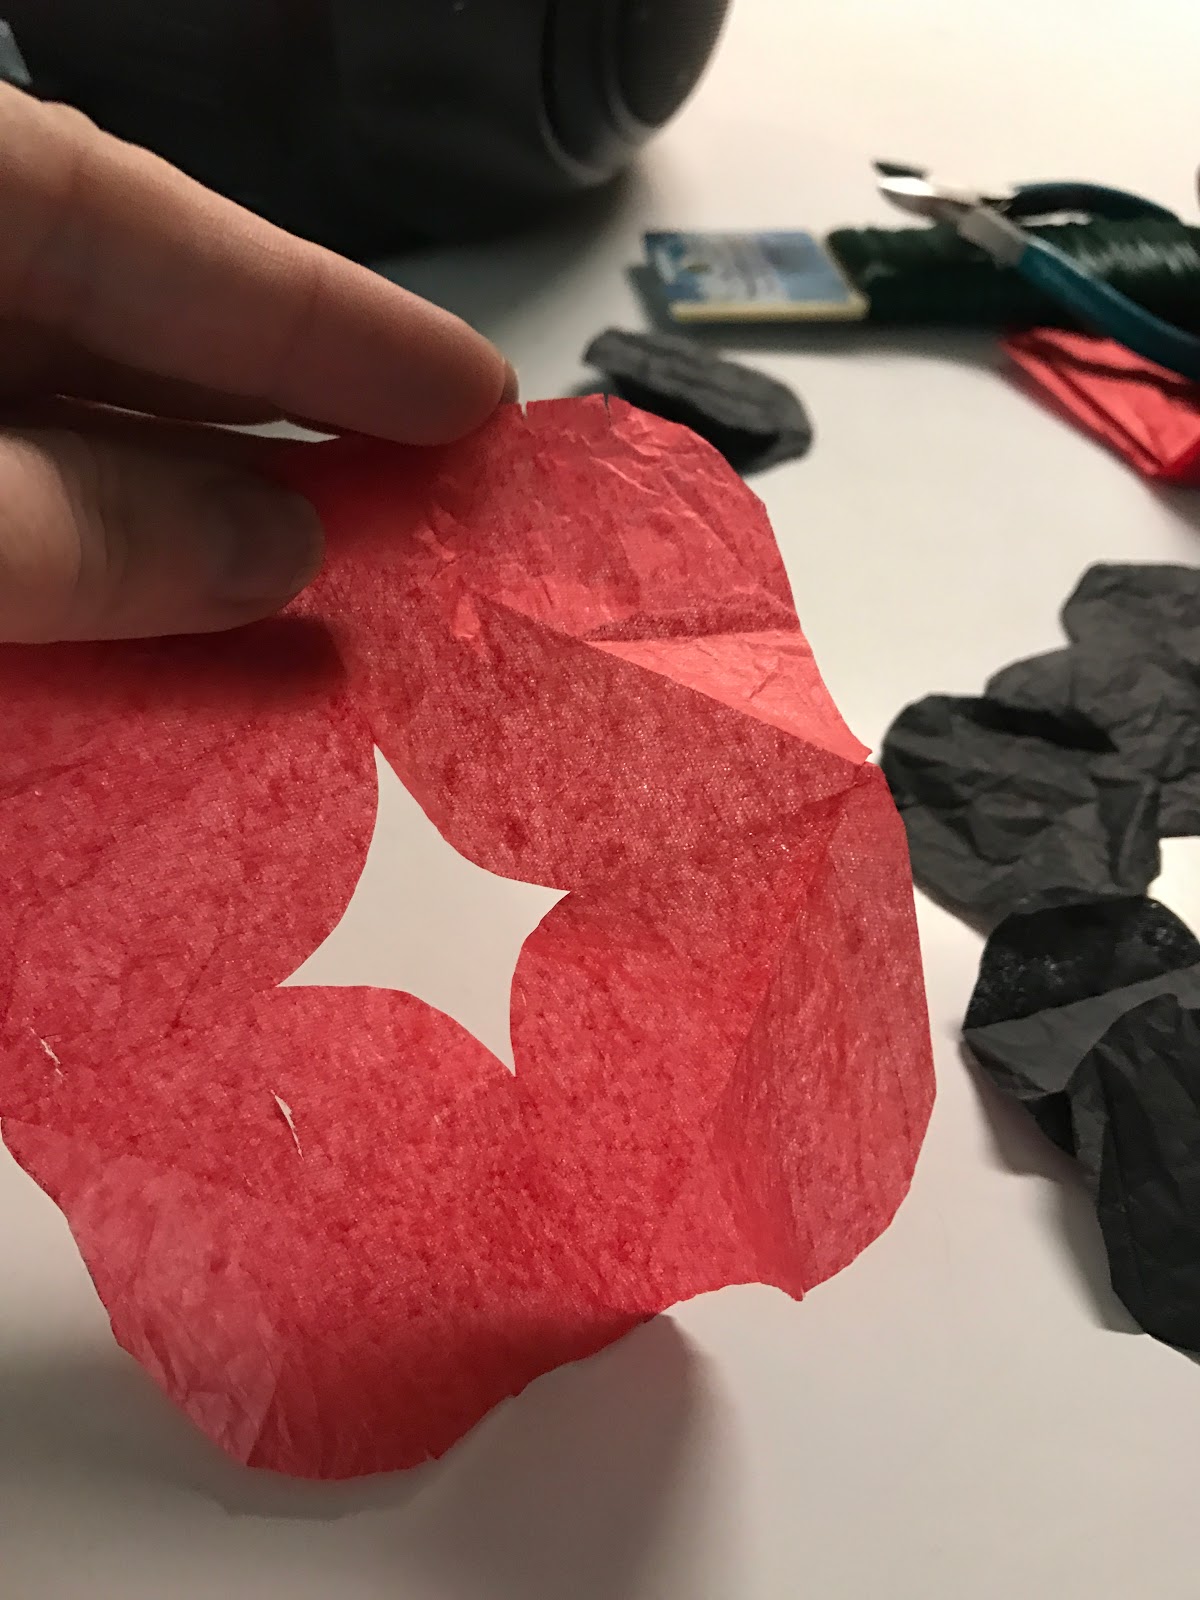

20.  Repeat steps 15 thru 19 until you have eight of the red poppy petal squares created.
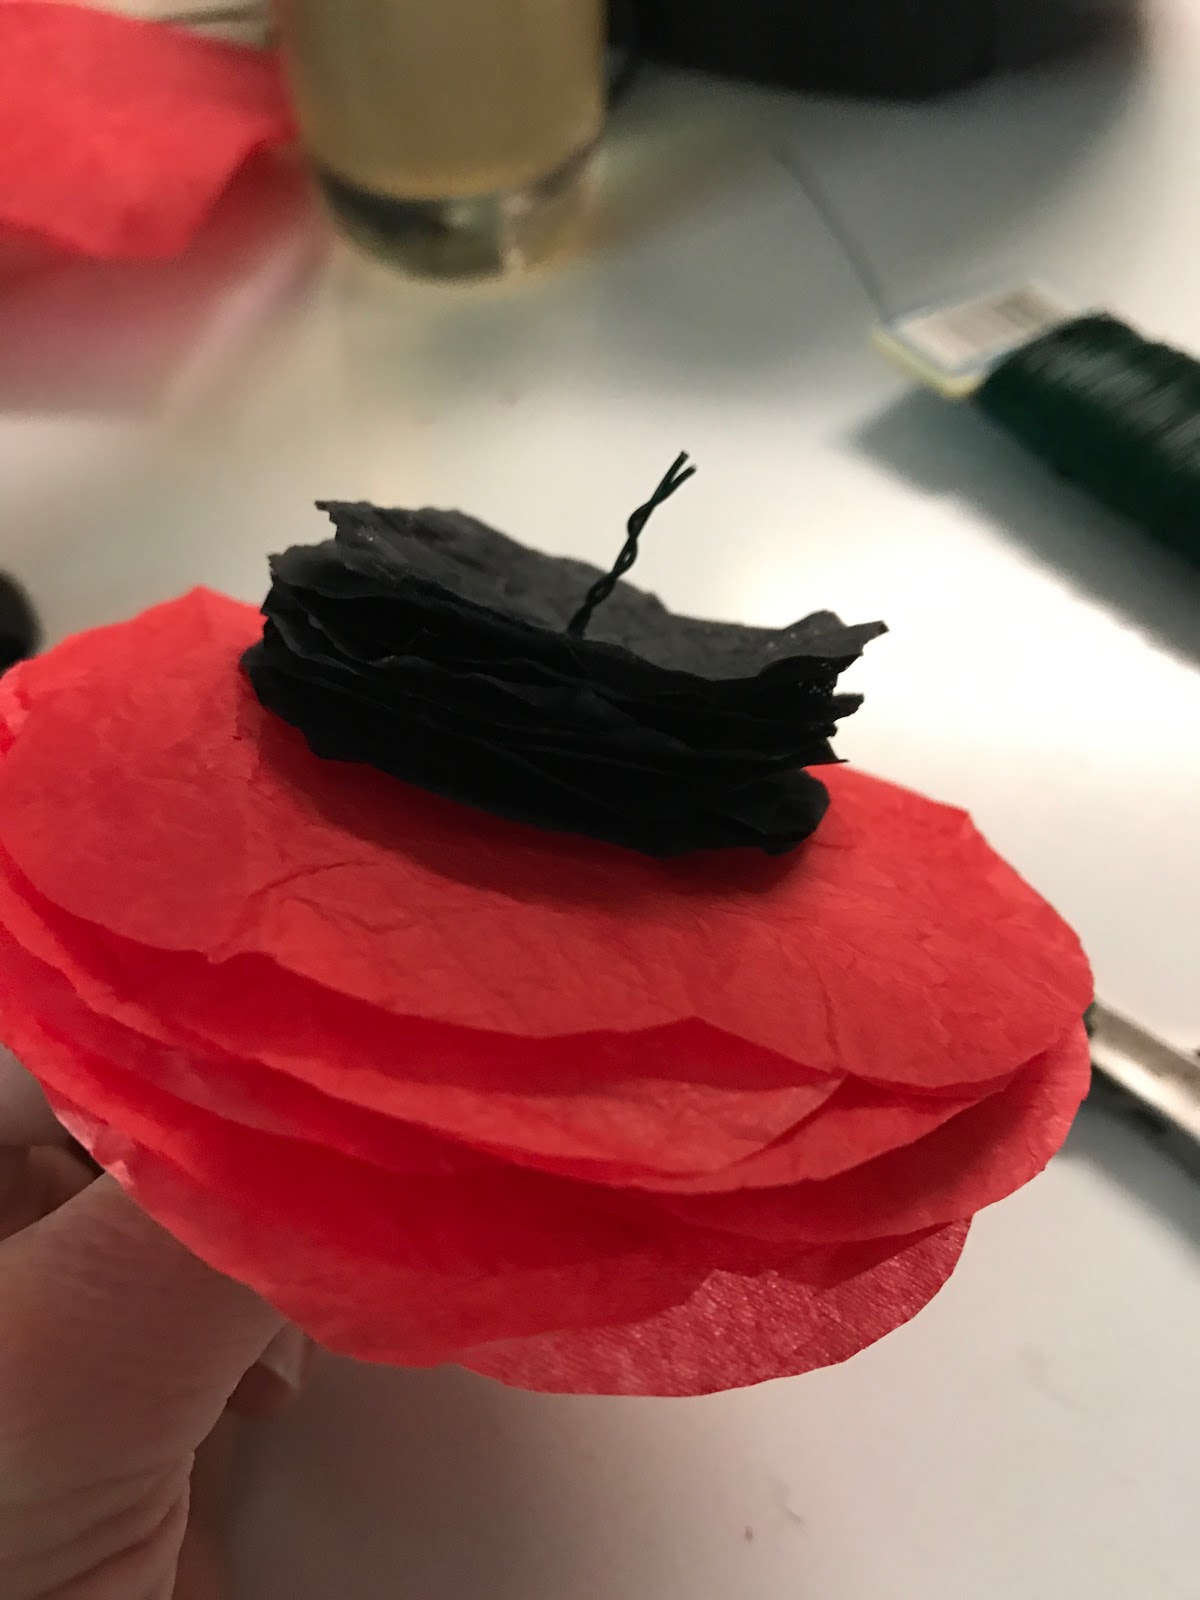
21.  Take all eight of your red tissue paper petal squares and place them in a fairly even pile.  Don't worry about trying to line them so that they all face exactly the same.  Then place your eight black circles in the center of your petal squares.
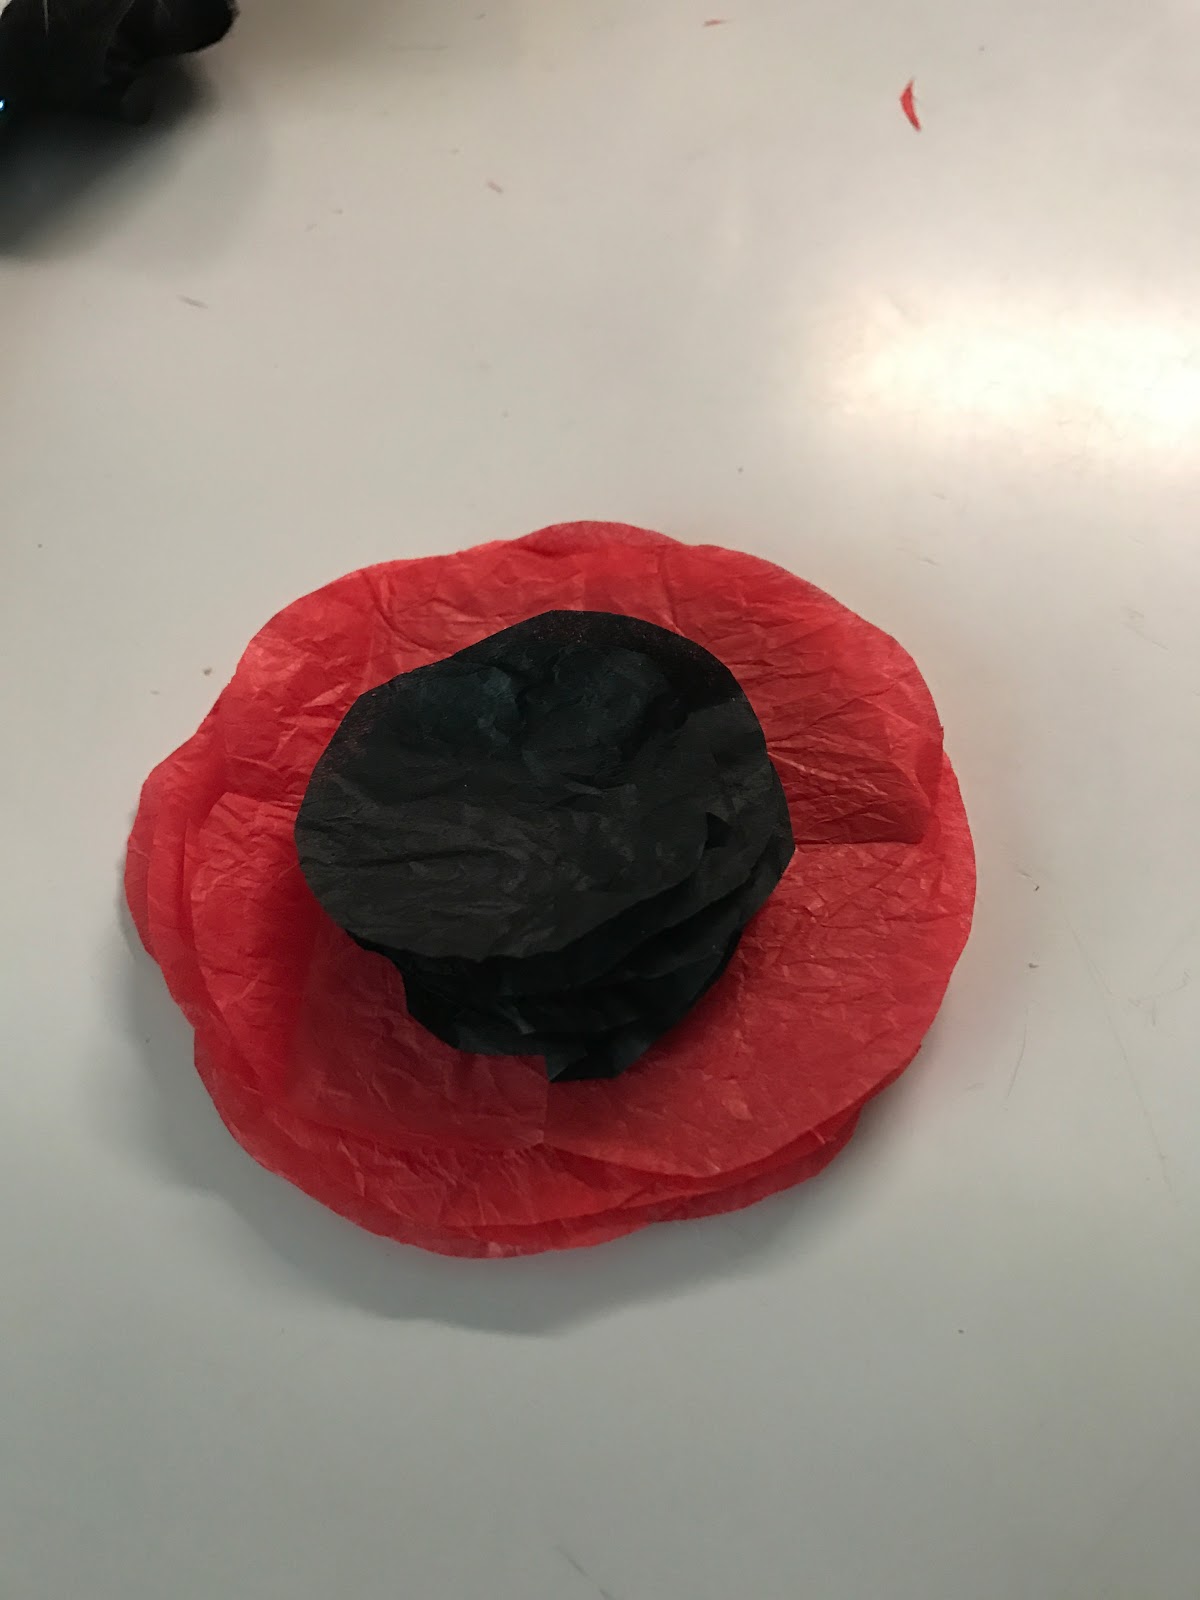

22.  Using a green pipe cleaner or a twisted length of floral wire, poke through the center of all of the blossoms.  I find this easier to do if I do them one by one and just keep stacking rather than trying to do all of them at the same time.  Leave about one inch of the pipe cleaner or wire poking out from the top.
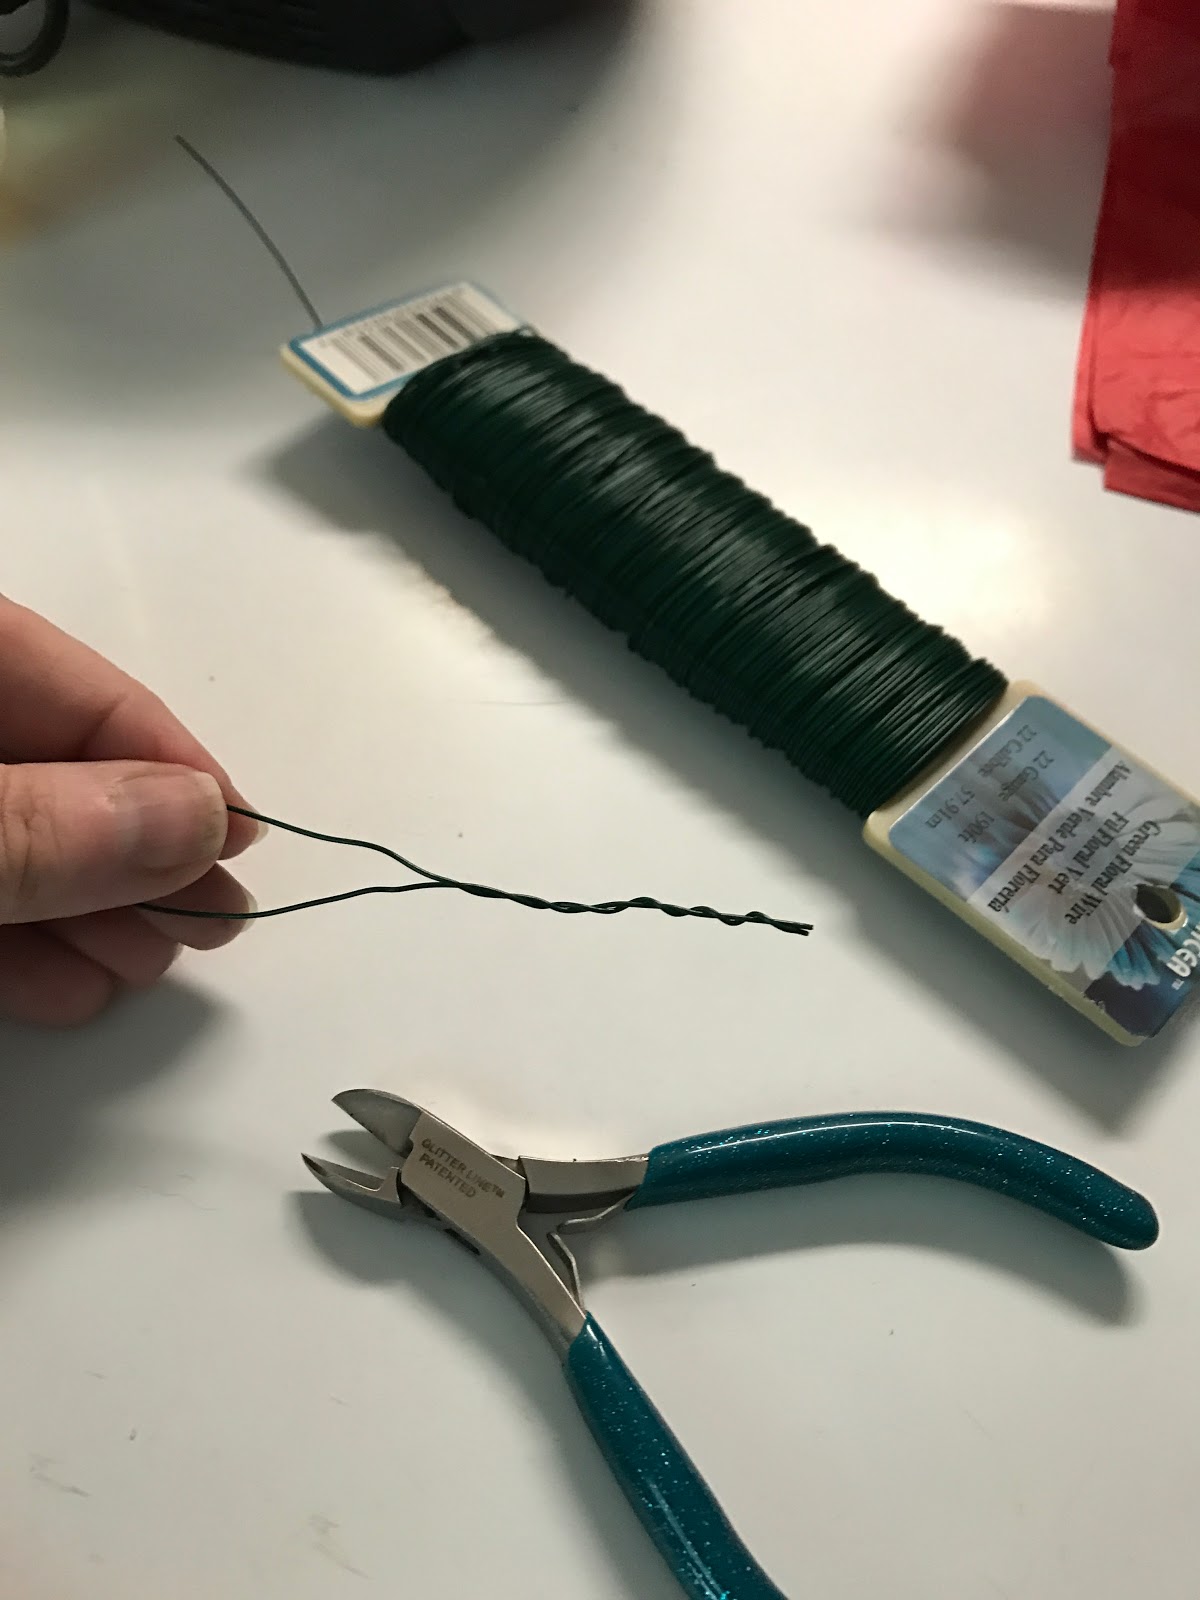


23.  Bend the pipe cleaner or the wire until it forms a hook and push the hook back into the center of the flower until it goes through all of the layers of the tissue paper.
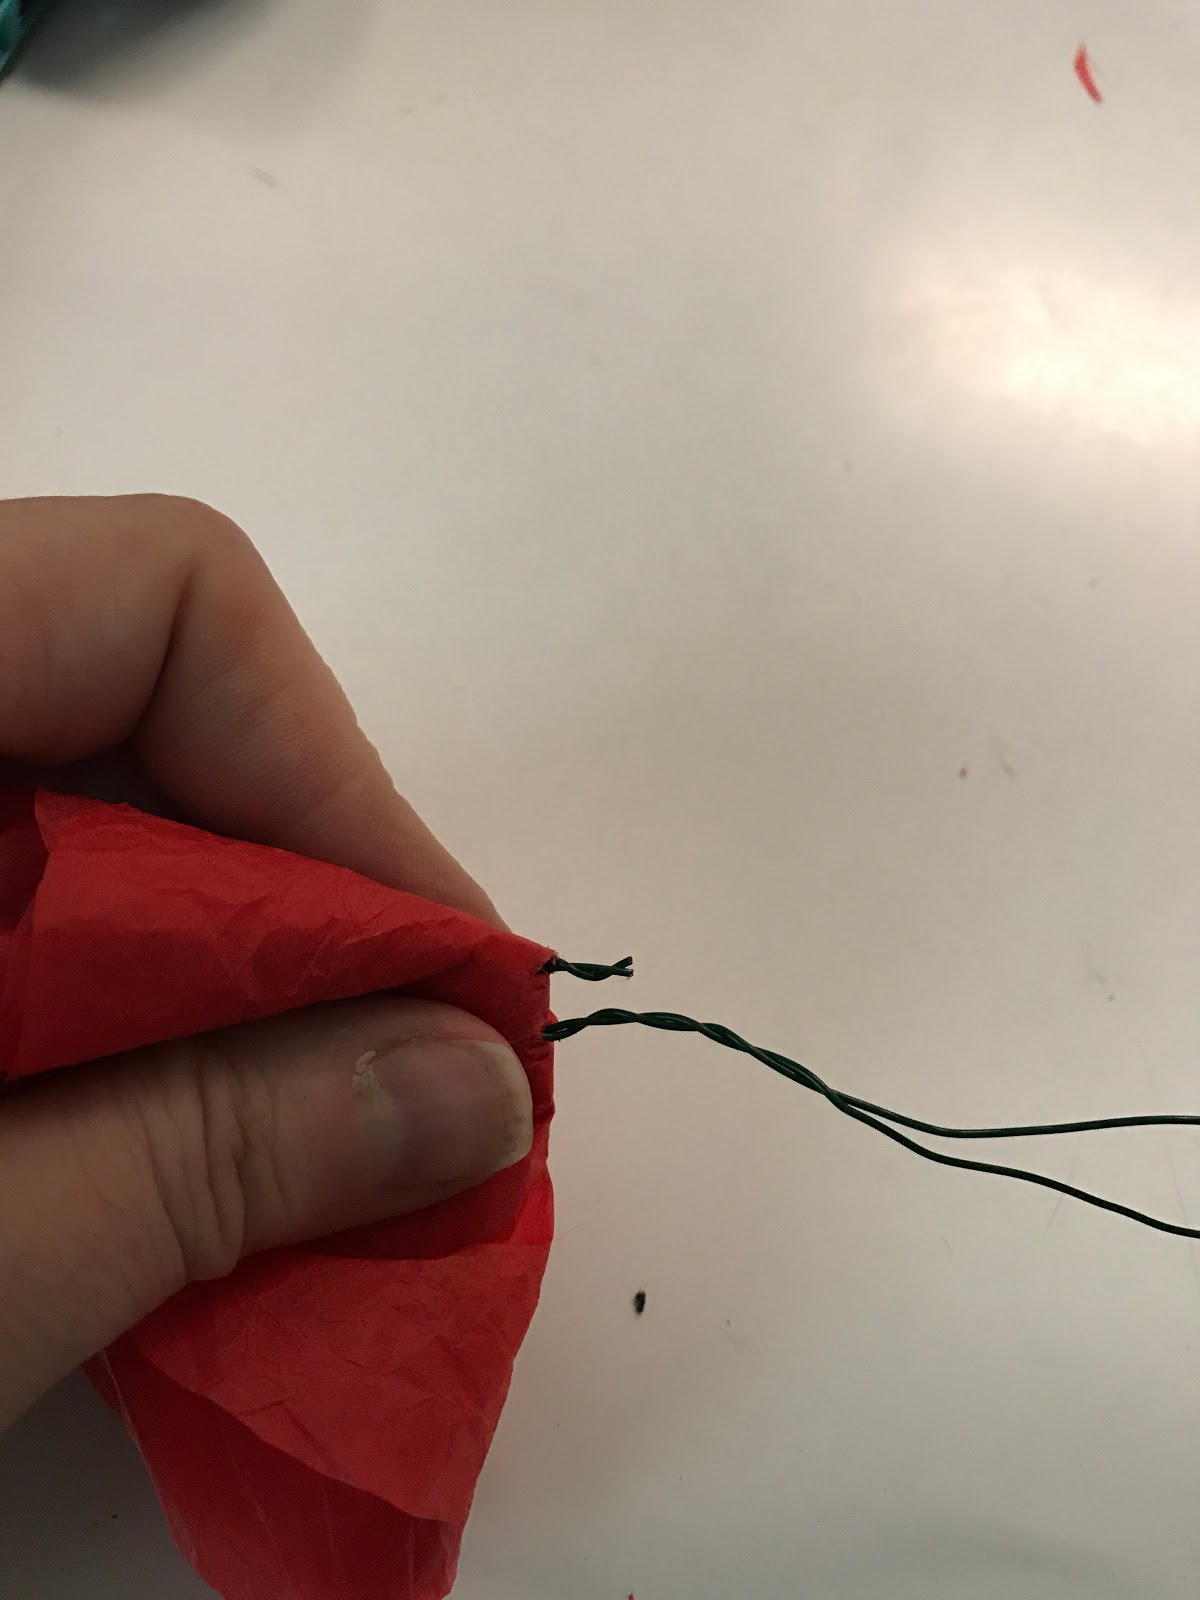

24.  Twist the ends of the hook to the "stem" of the flower tightly.  Then put a drop of glue at the base of the flower to help it stick.  To be honest, pipe cleaners work better for this than floral wire, but floral wire was what I had so it was what I used.
25.  If you have leftover leaves from a project, slide those down the "stem" facing up toward the flower.  Or, you can make paper leaves.  You also don't have to do any leaves at all.  You do what makes you happy.  you should already having something that looks a lot like a poppy.
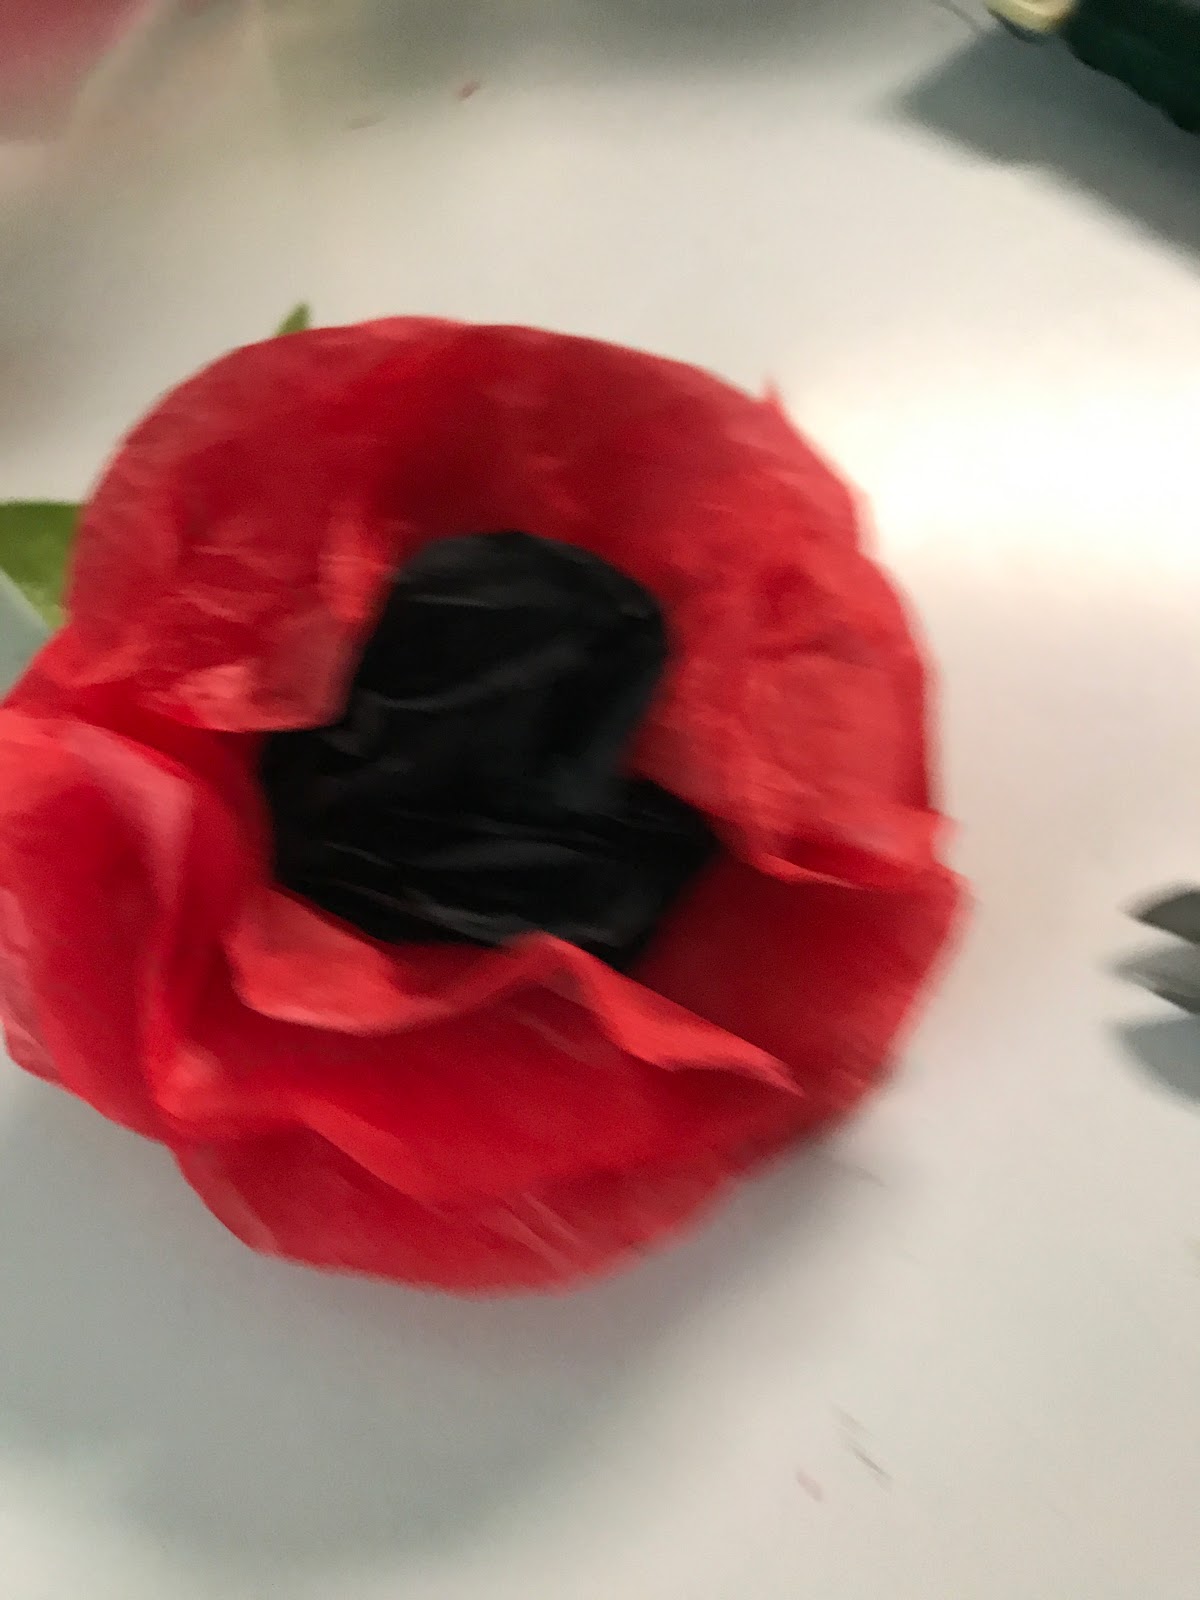
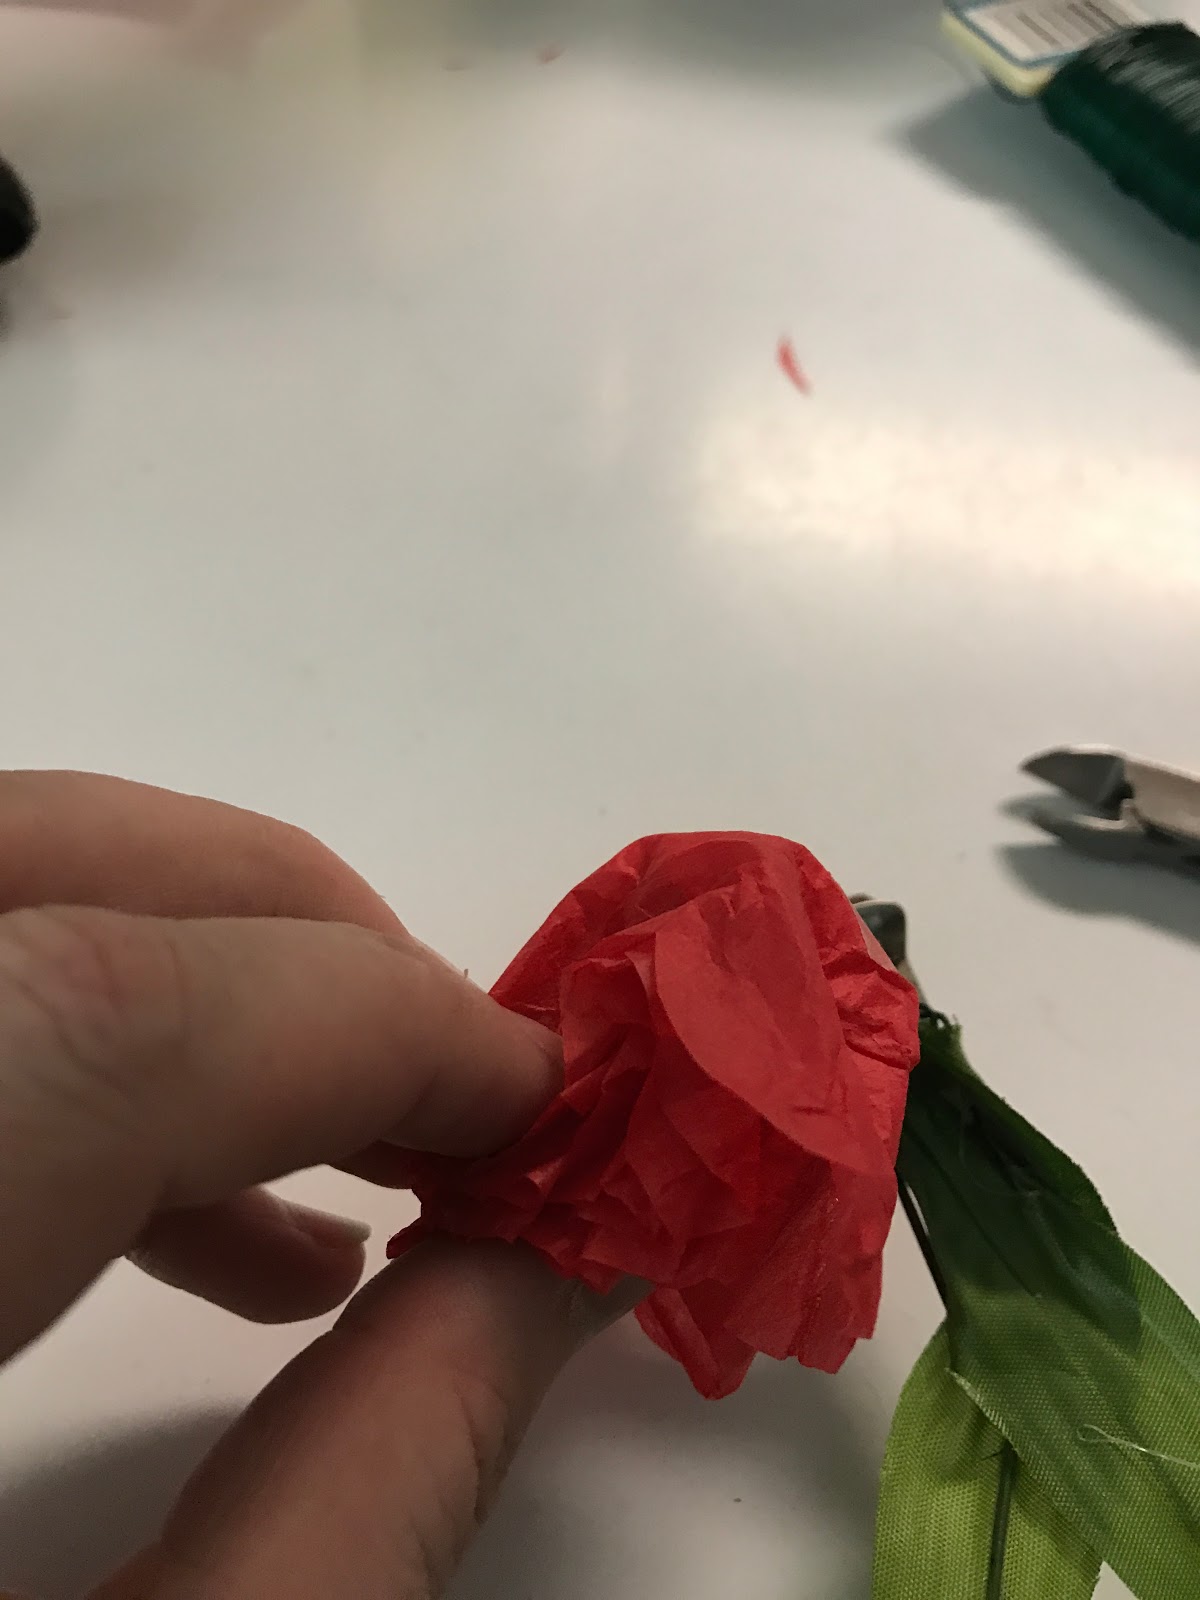
Sorry the picture is a little blurry.  I didn't notice while I was taking it.

26.  Crumple and play with flower to make it look more "poppy-like".


27.  And voila!!!  You have a tissue paper poppy!
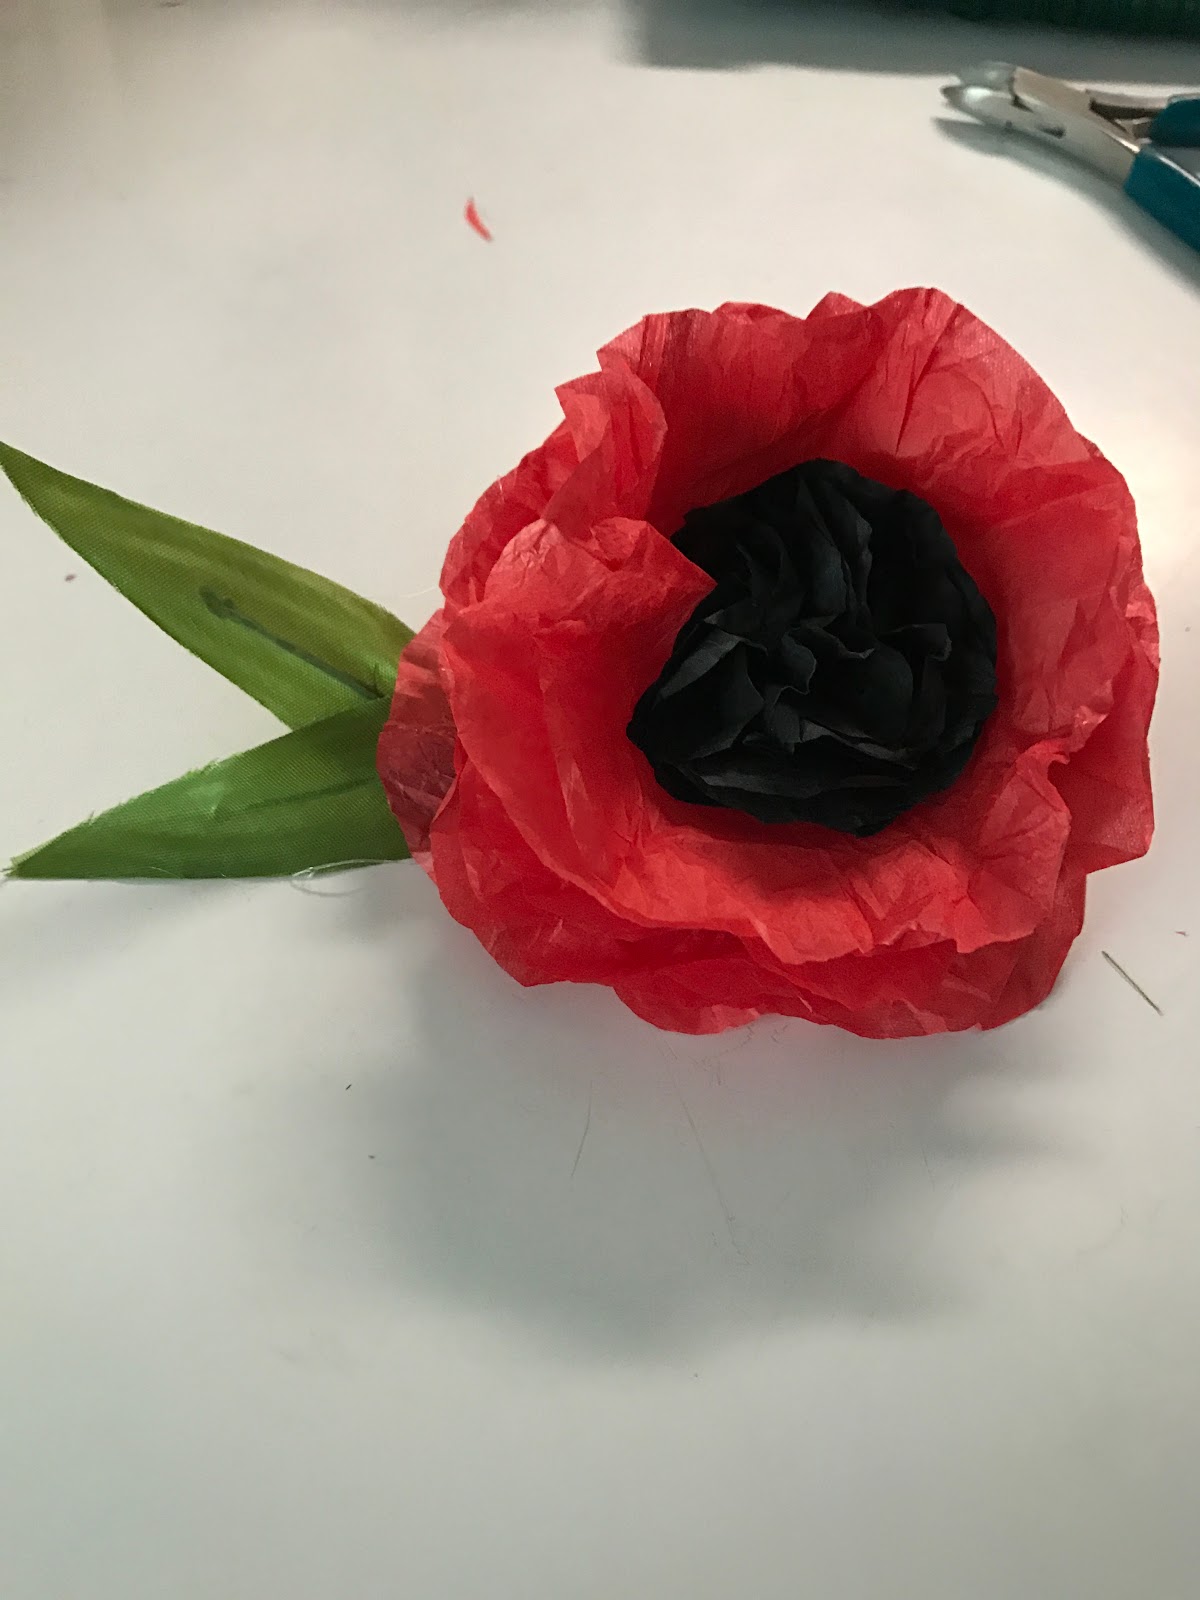

It is up to you how you want to wear it.  You can leave it stem alone and pin it to your clothes with a straight pin or you can just poke the step into an updo.
I wanted to wear mine in my hair, so I glued mine to an old pin curl clip that I had that was starting to get rusty.
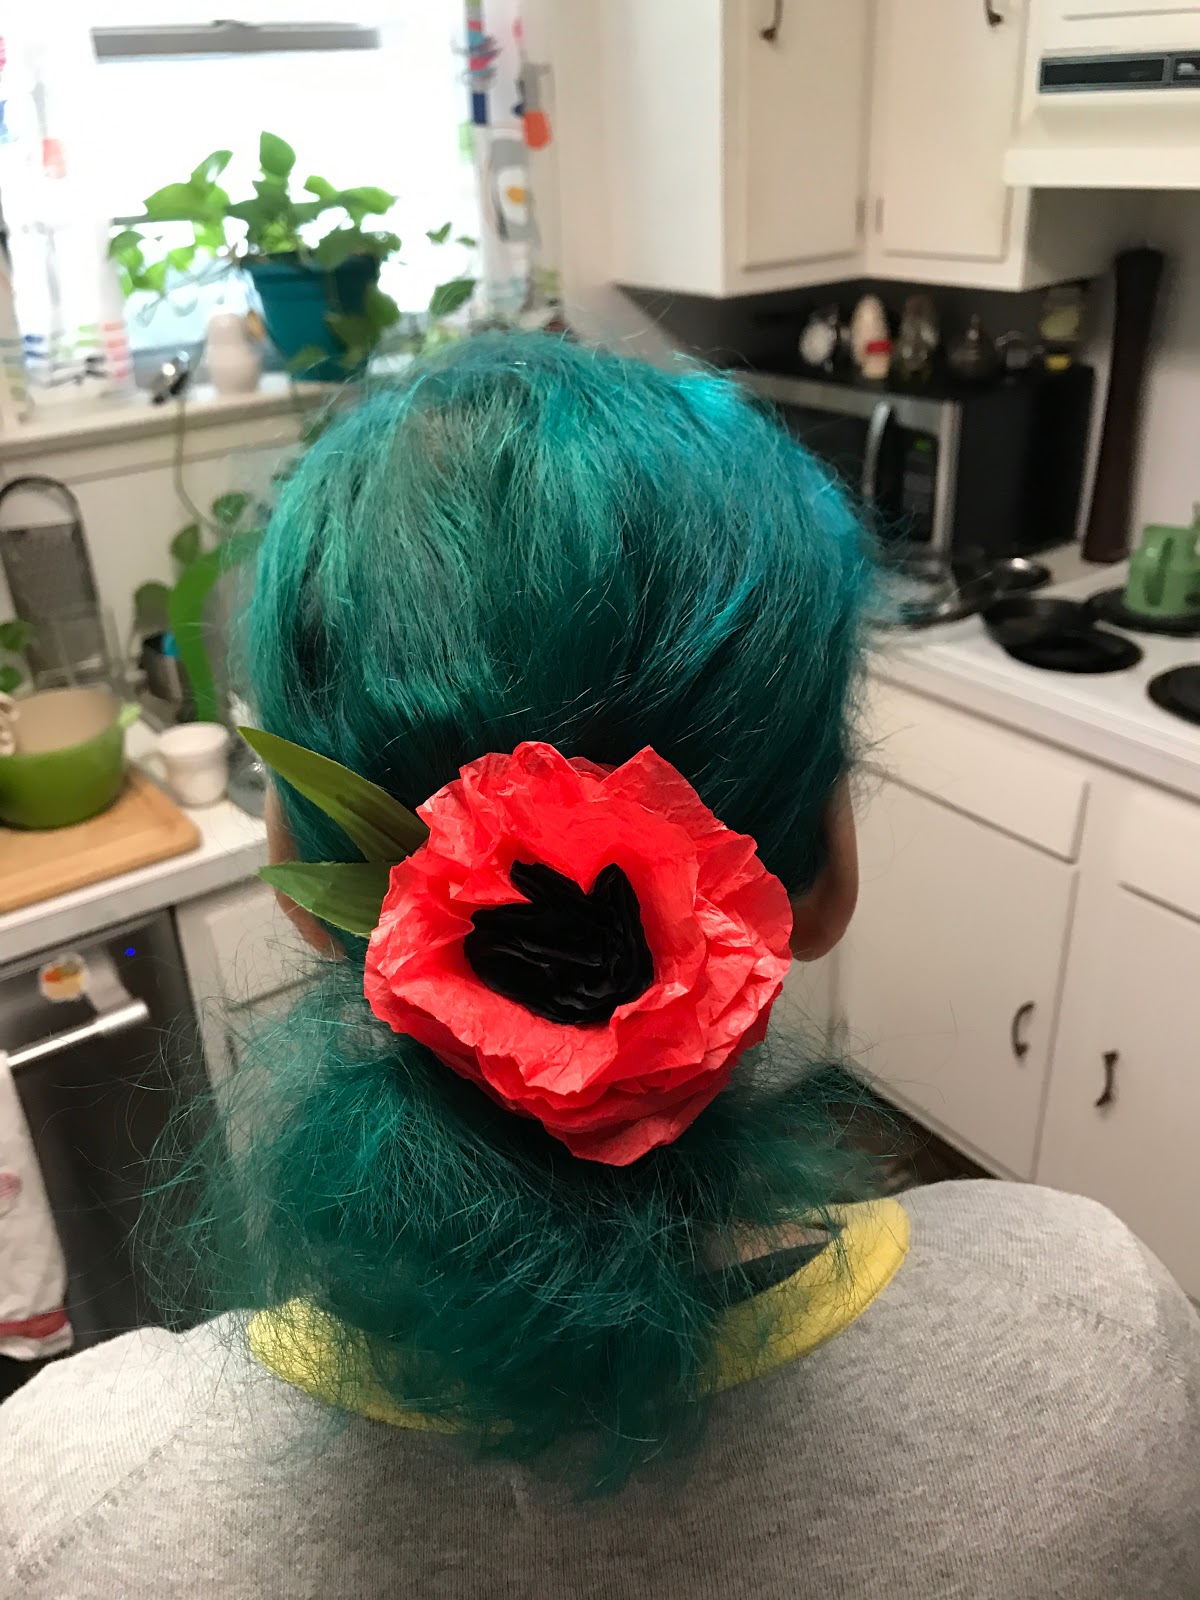

So I have my poppy and I am honoring our fallen heroes?  Do you have any Memorial Day memories traditions that you haven't seen in a while?  Or do you have any Memorial Day dishes that you always make for the start of summer?
If you do, please let me know.  I would love to hear about them!

Thursday, May 25, 2017

Summer Tomato Bacon Soup - and I have turquoise hair!

Hello Everyone!
It is almost the end of May and that means two things:  Memorial Day Weekend and the start of Summer!


I don't know about you, but I have a very full weekend of fun planned.  Which means, by Monday, I should be exhausted from my restful week-end.  I wasn't sure what I wanted to put in this post, so I decided that I would put in a little bit of everything.
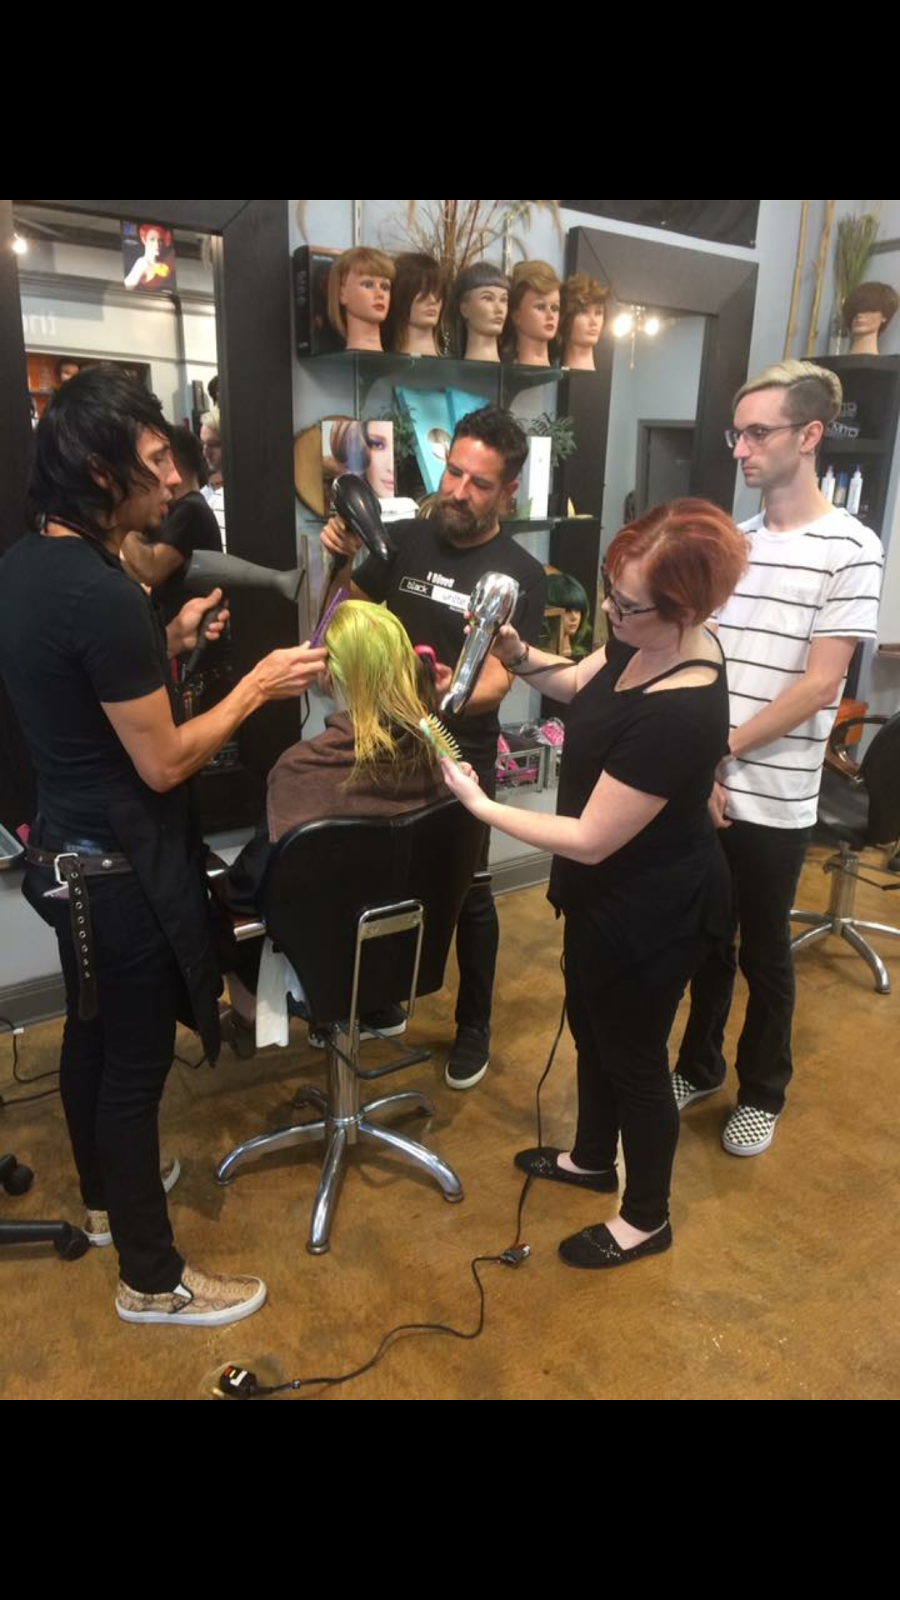
First, my exciting news, or at least it is exciting for me; after years of wanting turquoise/green hair my husband finally decided that I should go for it and gave me a gift of a trip to Lee Caro's Salon in Baton Rouge.  What I was asking was no small feat.  I wanted to go from red to green and I wanted to do it in one sitting.  It took a team of five skilled technicians and four and a half hours, but I left the salon with the anime hair that I have always wanted!  (And for those of you who are wondering, no my hair isn't brittle, it is just as soft and healthy as it was before.  They are wizards!)
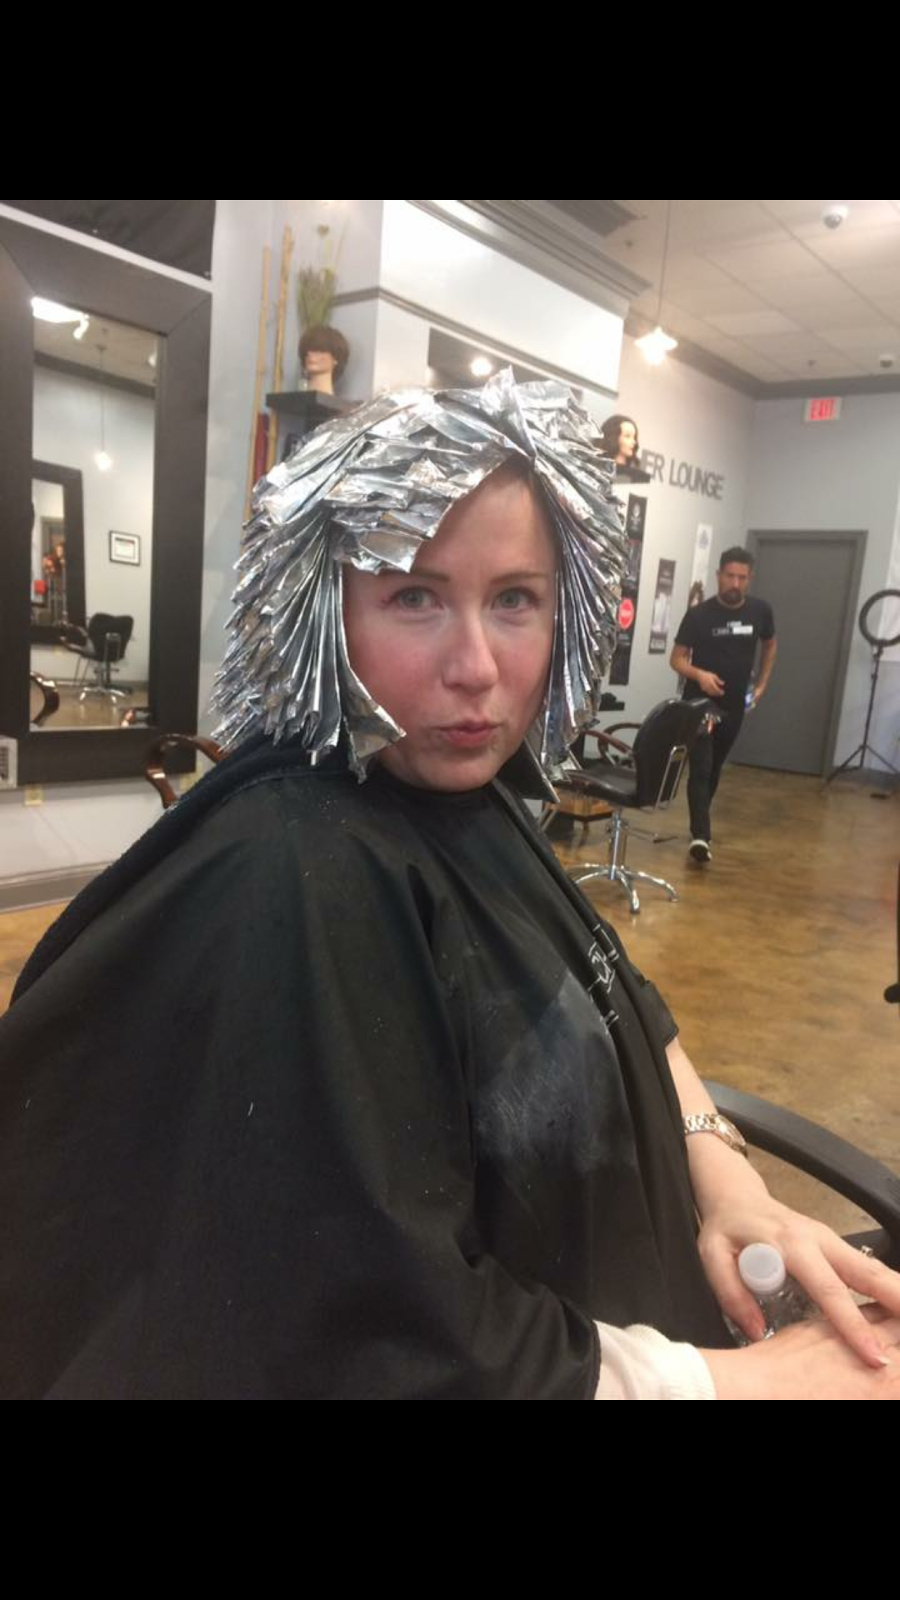
This is me having all of the red pulled out of my hair.  I look like some sort of cyborg.  And, even trying to do Zoolander's Blue Steel pose doesn't make it look any sexier.  And let me tell you, that get up was heavy!
Its hard to tell with my group of four blow drying my locks, but that's me in the center of all that attention, and with lemon lime hair!!!  This was the coolest color I have ever seen, it was not the color that I wanted, but it was fun to have.  Even if it was just for about five minutes
Here is what it looked like when they were finished.  The amazing part to me wasn't the color as much as the 60's flip that they were able to put in my hair using just a brush and a hair dryer.  And it lasted!!!!  I wasn't allowed to wash or get my hair wet for 5 days and that flip lasted!!!  I have to learn how to do that.
In my husband's truck right outside the salon in the sunlight rather than florescent light.

And here's the hair as it looks now.  I love to wear snoods and this one is one of my favorite that was made special for me by Tanis, the owner of the shop Gin Poodle on Etsy. https://www.etsy.com/shop/GinPoodle?ref=shop_sugg  I love this shop! And I love snoods.  I especially love it with my turquoise hair.
I truly love this hair.  And, even though it sounds strange, I feel that it fits my slightly retro sense of style even better than my red hair did.  I don't know how that it is possible, but that is how I feel.

And another one in front of my bird tree!

In keeping with the spirit of green things, I planted my herbs, a couple tomato plants and some cucumbers at the beginning of April and boy are they starting to grow!  They're not anywhere near where one of my friend's garden is.  But I'm not retired and don't have a whole spot of the yard designated to vegetables and hours to spend maintaining my garden - so I'm pretty happy with where I am at.  Although I am thinking about putting in some raised beds this summer.
Here are some pictures of my veggie babies:

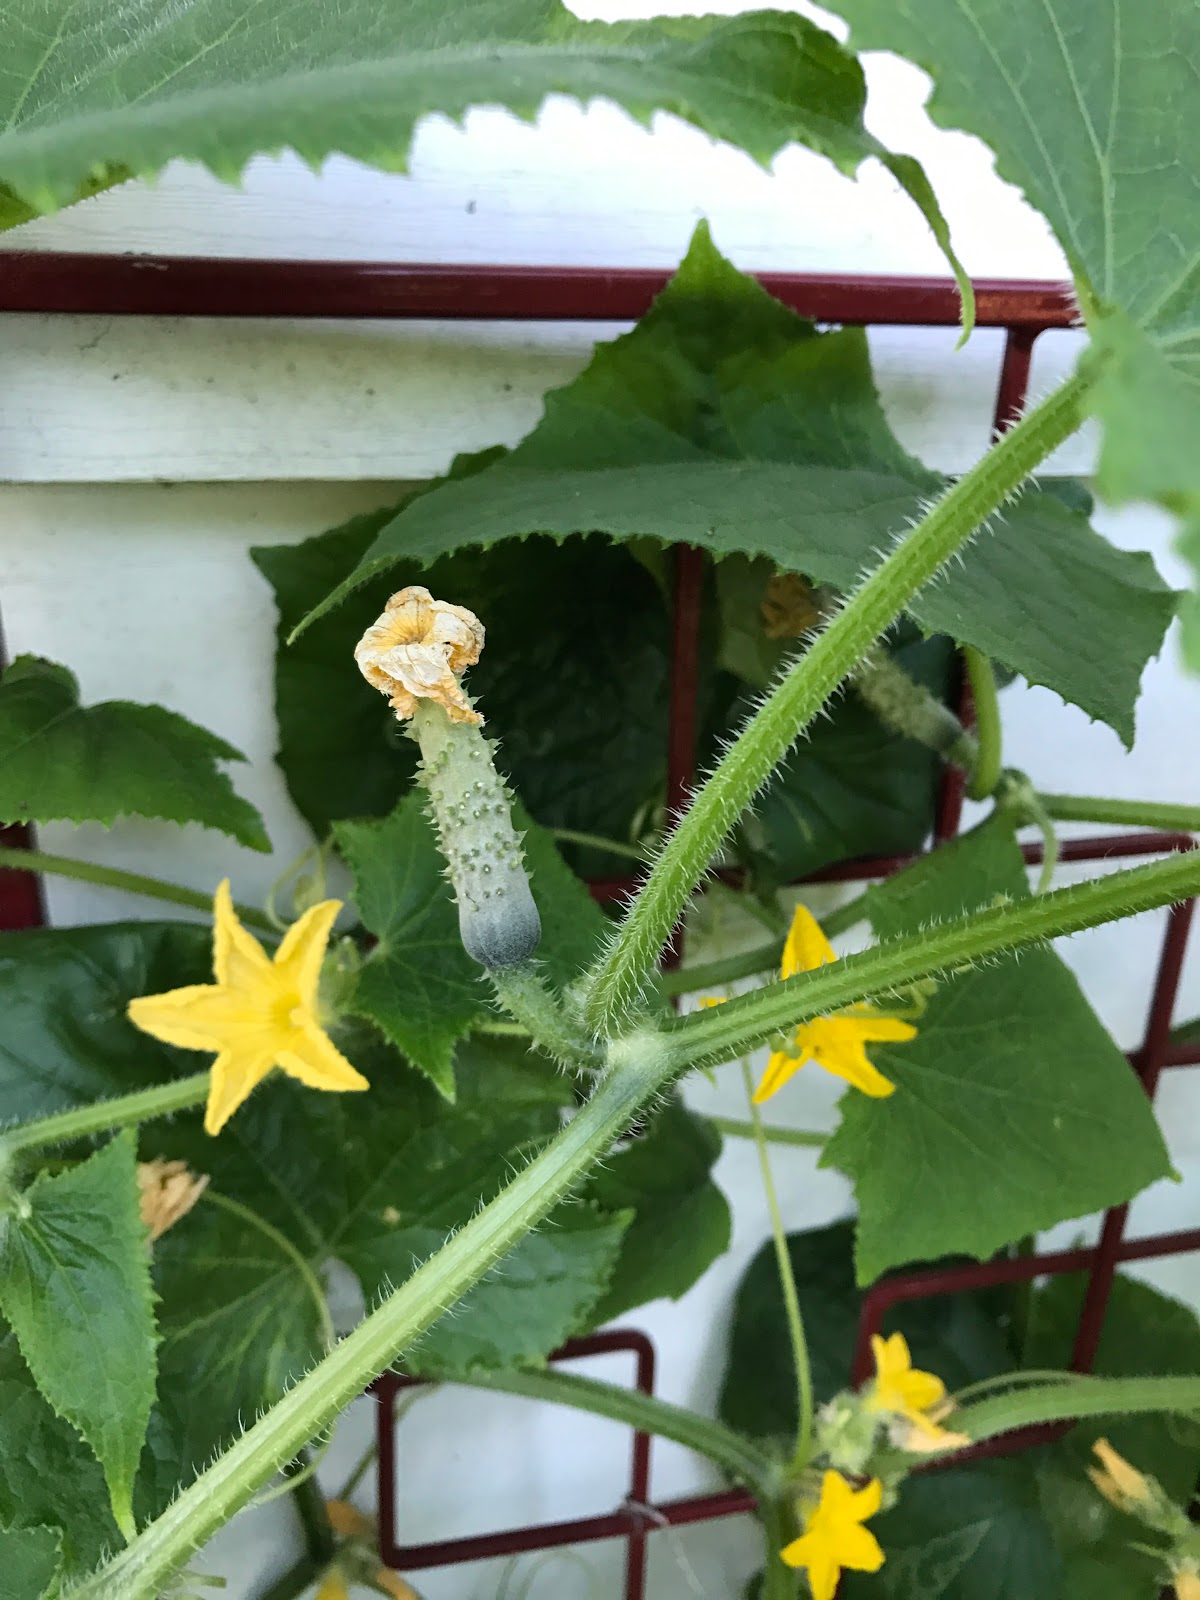
Here's a teeny tiny cucumber with the bloom still on the end of it.  This particular cucumber plant is an heirloom variety that doesn't grow huge cucumbers.  I thought that would be cute and adorable for a family of two, so that it what I got. 

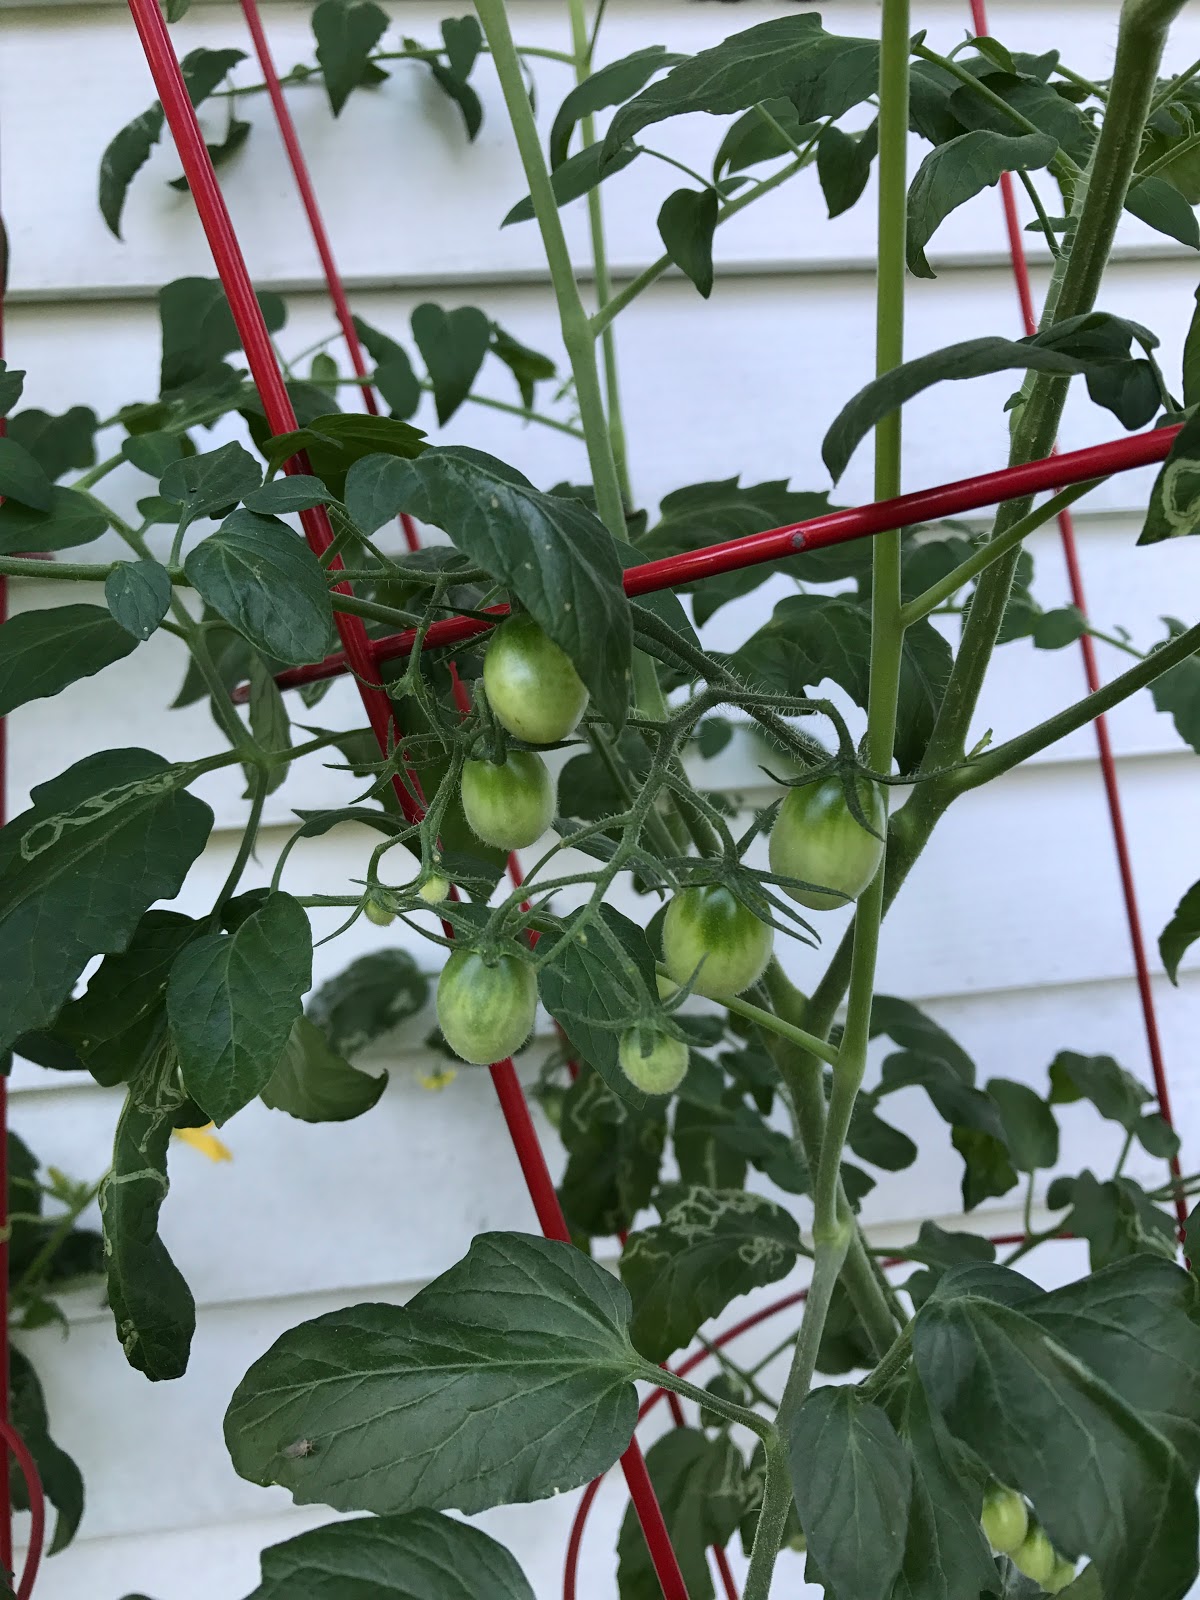
These are my cherry tomatoes.  I didn't grow any last year, so I was a little worried that they wouldn't grow, but I have quite a few clumps of tomatoes and I am very pleased with the results.  As I tend to use cherry tomatoes in my recipes more than large tomatoes, I think that I will plant more of these next year,
Speaking of tomatoes, if you garden, you know that first you start off lean and then you seem to have a plethora of the gorgeous red beauties. And you are always trying to find new ways to prepare them because there are really only so many times in a week that you can eat BLTs before you get tired of them.  No matter how delicious they are.  Thus was the case in my kitchen just last week.  I had purchased some beautiful tomatoes from the Farmers Market to make BLTs and then I had a friend give me some from his garden.  They were huge and gorgeous, but I had to find a way to fix all of them before they went bad.  The library came to my rescue.
I had checked out a new cookbook by Meike Peters called "eat in my kitchen".  (This book has some really delicious recipes and I really think that I may have to break down and purchase it - or put it on my Christmas list for things that I really want.)  Of course, I didn't have all of the ingredients the way that she described them in the recipe, so I had to modify the recipe.  So below is my recipe for Fresh Summer Tomato Soup that I came up with instead.


Fresh Summer Tomato Soup with Bacon and Cream Cheese


This recipe is super quick and super easy!  It is a summer tomato soup because you don't roast the tomatoes ahead of time and then skin the tomatoes.  You just let those puppies cook down on your stove top for a little while.  This soup may be thinner than what you are used to in a tomato soup, but it thickens up when you add the cheese.  Remember, this is a summer soup, so you want it to be lighter than it's winter counterparts.
Sorry I don't have pictures for this.  But I had a minor disaster with my new blender and pictures were the last thing on my mind.

Ingredients
1 tbsp. olive oil (If you can find it, use a Tuscan Herb Olive Oil or Garlic Olive Oil)
1 1/2 pounds ripe tomatoes, roughly chopped
2 large cloves garlic, finely minced or flattened into a paste
Kosher salt, to taste
1/4 cup homemade chicken broth, hot  (You can use low sodium store bought chicken broth or vegetable broth, but the homemade is better.)
1 tbsp. sun dried tomato paste (you can also use regular tomato paste)
1 bay leaf
2 tsp. balsamic vinegar (Needs to be a good balsamic that tastes sweet, if it is not, you will want to add more sugar.)
Pinch of sugar
Ground black pepper, to taste
1 handful fresh basil, finely chopped (or 1 tsp. dried basil)
2-3 sprigs fresh dill (or 1 tsp. dried dill)  I actually put more than that in, but I really love the taste of dill with tomatoes

Garnish Ingredients
3-4 slices bacon, crumbled or finely chopped
2 tsp. per bowl cream cheese  (The original recipe called for ricotta, which I think would be delicious!  But, I hardly ever have ricotta in my fridge and I almost always have cream cheese so, cream cheese it is.)

Instructions
1.  In a large heavy bottomed pot or dutch oven, heat olive oil over medium-high heat.  Once the oil is heated, when it starts to shimmer or cold water "dances" when you sprinkle it on the surface of the pot, add the tomatoes and the garlic and saute, stirring occasionally for 4-5 minutes.
2.  Add the hot chicken broth, tomato paste, bay leaf, balsamic vinegar, basil and dill.  Stir until well blended.  Taste with a small spoon to check the seasoning and acidity.  Add a pinch of sugar.  Depending on your tomatoes, you may have to add another pinch of sugar to get rid of the acidity.
Add freshly ground black pepper to taste.  (You may also add salt here, although I frequently don't use any.)
3.  Bring the soup to a boil, then lower the heat and simmer, uncovered for five minutes.
4.  Remove the soup from the heat and remove the bay leaf.
5.  Very carefully pour the soup mixture into a blender or food processor.  Blend the soup mixture until smooth.  (I never find that my mixture is too thick, but if yours is, you can simply add more chicken broth to the mixture at this time.)
6.  Put a fine sieve over the same heavy bottomed pot or dutch oven and pour the soup back into the pot through the sieve.  This is a very important step, otherwise, you will have what my husband and I call tomato "bones" in your soup.  These can be eaten, but they aren't very pleasant so I like to remove them from my soup.
7.  Taste the soup.  At this time you can add more pepper, salt or balsamic vinegar if it suits your fancy.
To Serve:  Put the soup into bowls and top with the crumbled bacon and 2 tsp. cream cheese per bowl/serving.

See!  I told you it was going to be easy!

Well, that is all that I have for tonight.  We have a long weekend coming up, so I may actually get a chance to post again this week-end.  Maybe a Memorial Day weekend post.  If I don't post again until after that, y'all have a great and safe Memorial Day weekend!


Friday, May 5, 2017

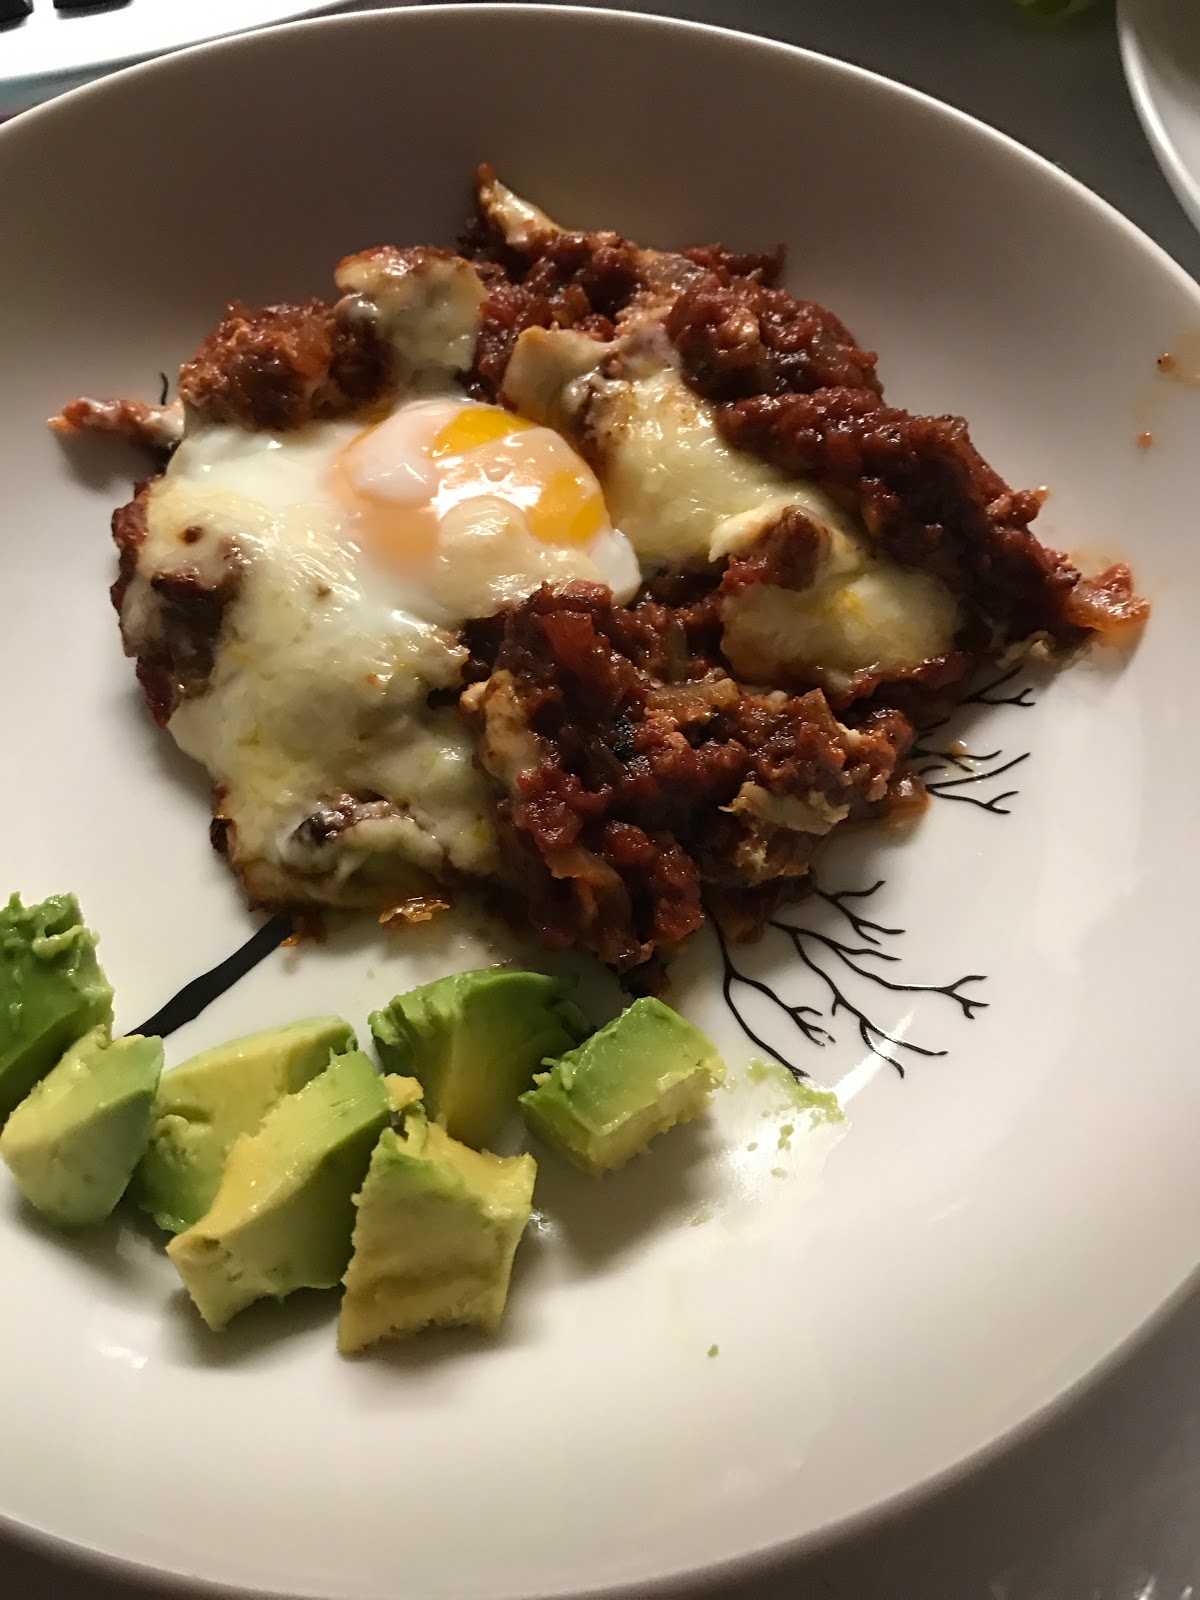
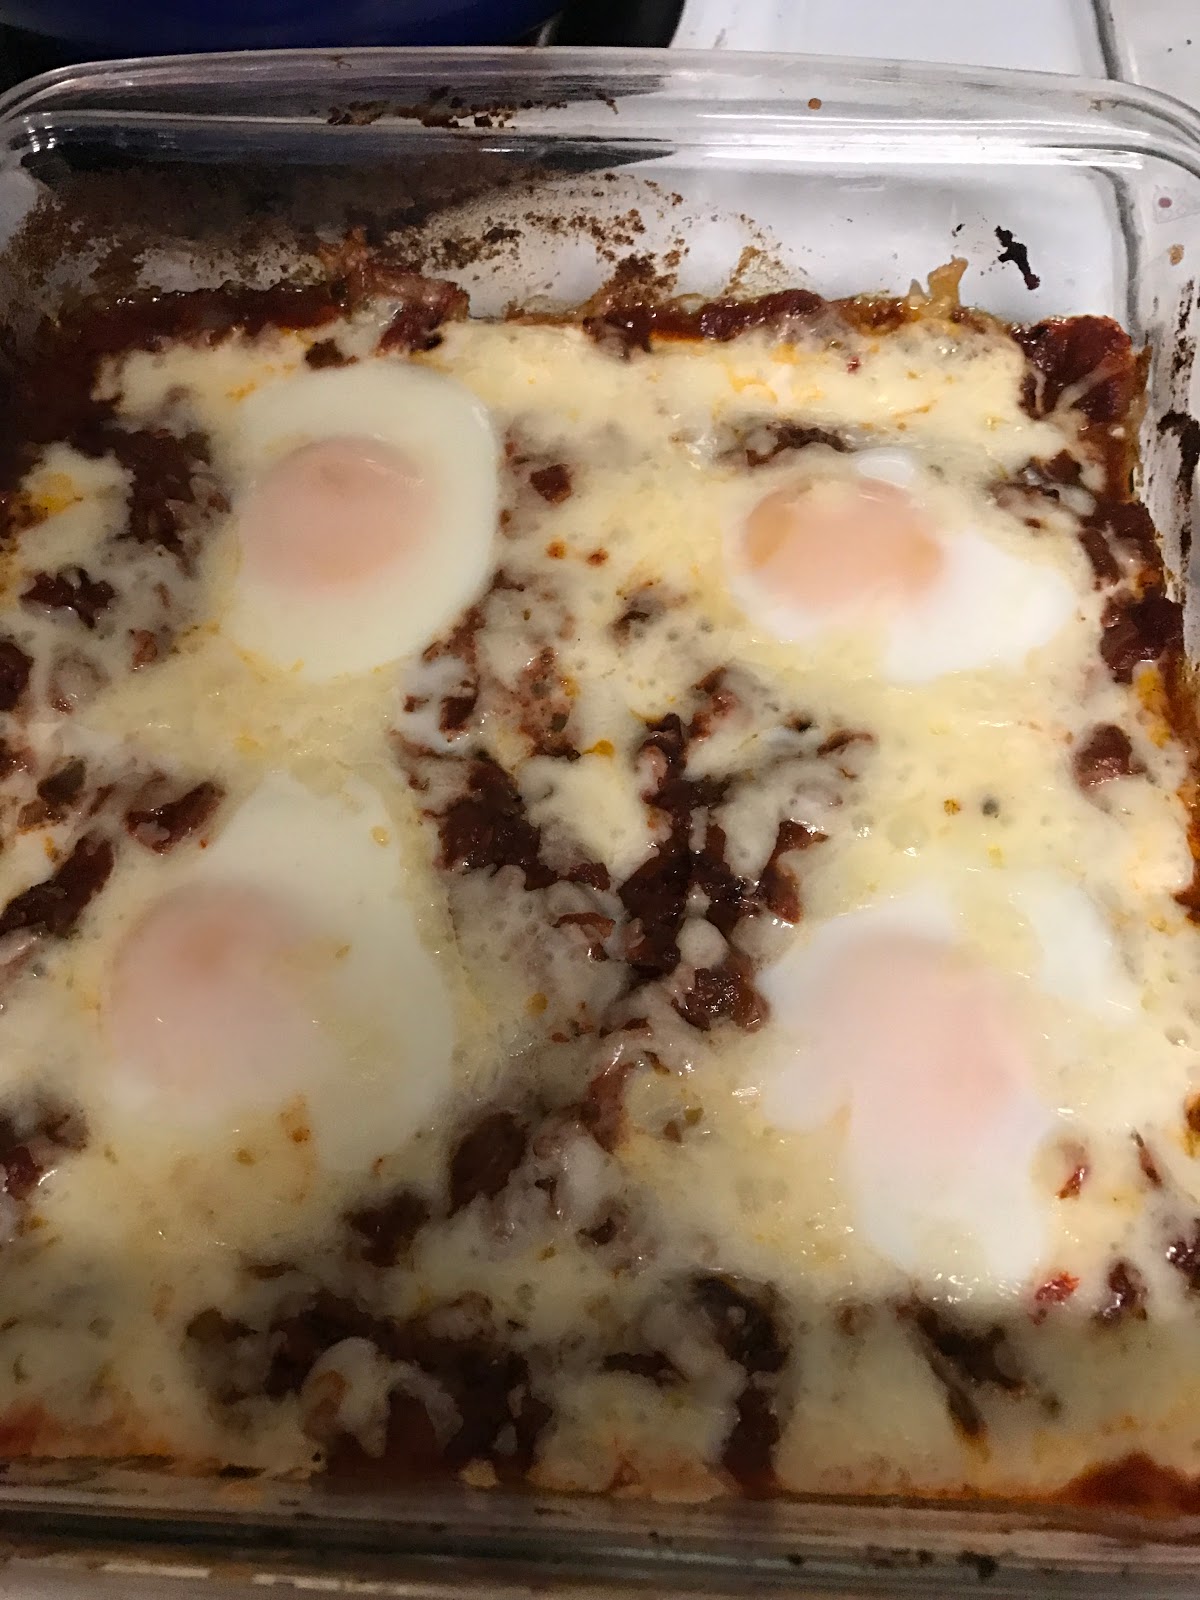
Huevos Rancheros for Two

Hola Everyone!
It is Cinqo de Mayo today and I hope that you are out enjoying the day by eating some good Mexican or Tex-Mex food.


In today's blog I have a treat for those of you who didn't get to have Mexican tonight or want to keep the party going and have Mexican for breakfast.  I originally saw the inspiration for this recipe on America's Test Kitchen one evening and grew almost obsessed with making it.  But I couldn't find the recipe online without paying for it, so I had to go online over and wait for the video to be posted to their website and I then watched the video over and over to get the measurements, temperatures and times right.
As I always do, I had to make some changes to this recipe to change the portions to size it down for two.  I also had to change some of the recipe ingredients because their recipe called for cilantro and green onion.  I felt there was already enough onion and my husband hates cilantro so out those two items went.  I also felt that it was a little too tomato-y tasting and needed more seasoning so I added some spices and lessened the salt and pepper used.  So, though this recipe was based off of theirs and uses their roasting technique it is not their recipe.  There, now that my conscious is clear, I will get on with the dish.
Also, surprise!  I remembered to take pictures while I made this.

Huevos Rancheros for Two


This may be an almost perfect Frugal Femme recipe, the total cost for the dish is about $7.00, if that.  I don't know the exact cast because I already had the eggs, onion, garlic, tortillas and cheese on hand, so my total purchase was $5.00.  Eggs are a perfect inexpensive form of protein and this dish can be either a breakfast dish or be eaten for dinner.


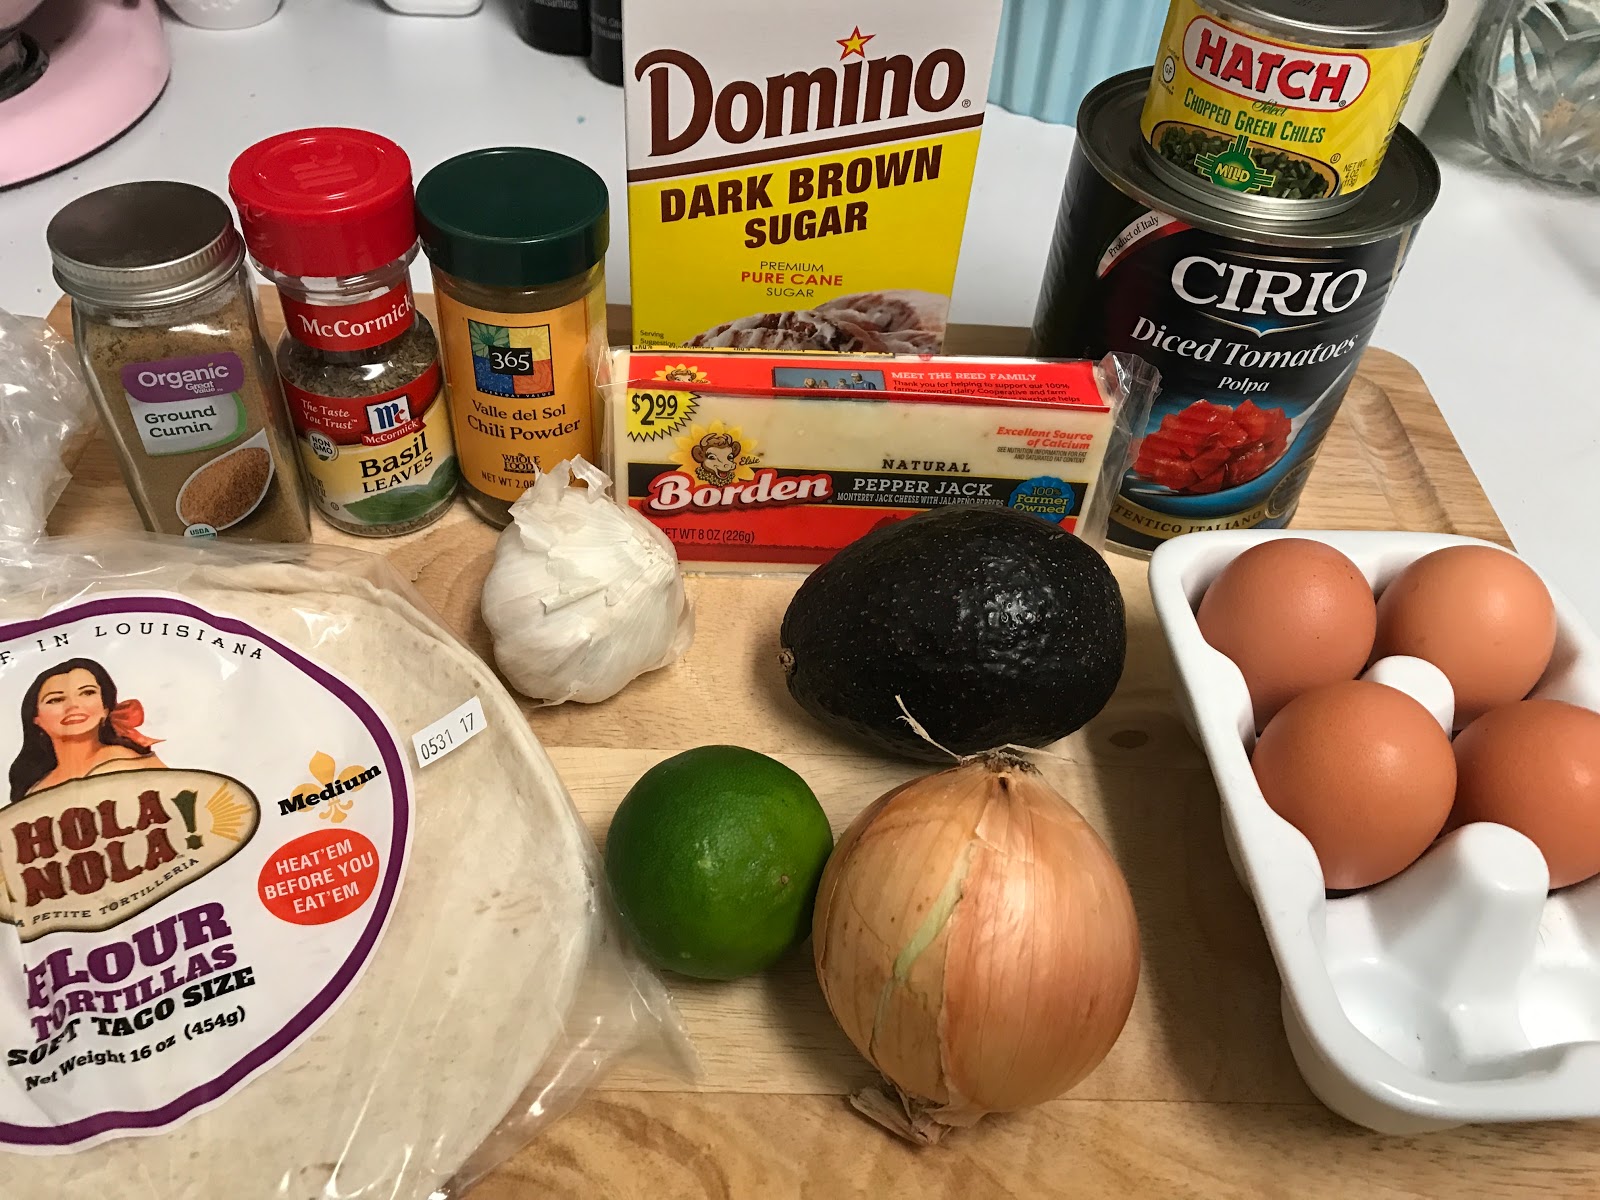
Ingredients
1 (20 ounce) can diced tomatoes
1 1/2 tsp. packed brown sugar
1 1/2 tsp. lime juice
1 small onion or half of a large onion, chopped (largely diced)
1/4 cup chopped canned green chiles
2 tbsp. olive oil  (If you don't have olive oil, I have used Canola oil)
1 1/2 tbsp. chili powder
3 cloves garlic, sliced thin or chopped - do not mince, you want larger pieces
salt
1/8 tsp. cumin  (this is an approx. amount, I just sprinkle it in)
1/8 tsp. basil  (This is an approx. amount.  I just sprinkle it in.)
2 ounces pepper jack cheese, shredded (about 1/2 cup although you can do more or less)
4 eggs
4 tortillas, warmed
1 avocado, halved, pitted and diced

Instructions
1.  Prepare your oven for cooking by moving your oven rack to the middle position of your oven and preheat oven to 500 degrees.
2.  Line a rimmed small baking sheet with parchment paper.
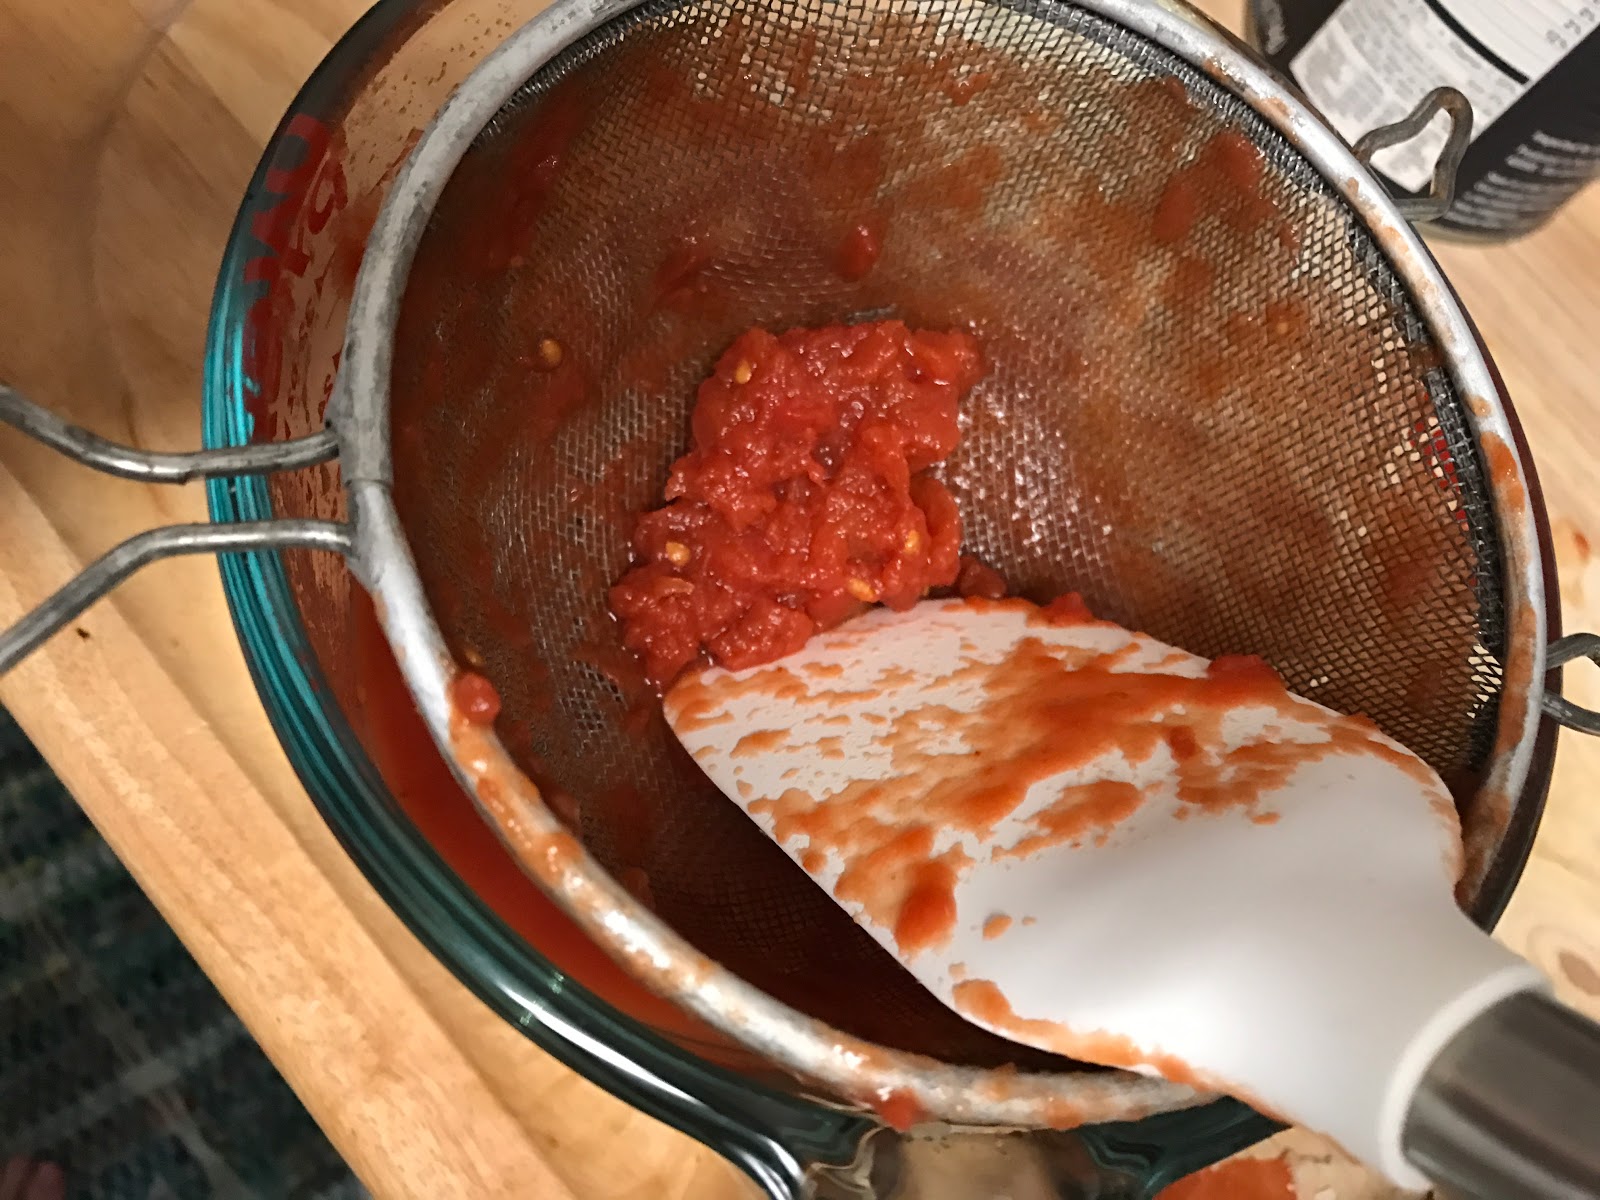
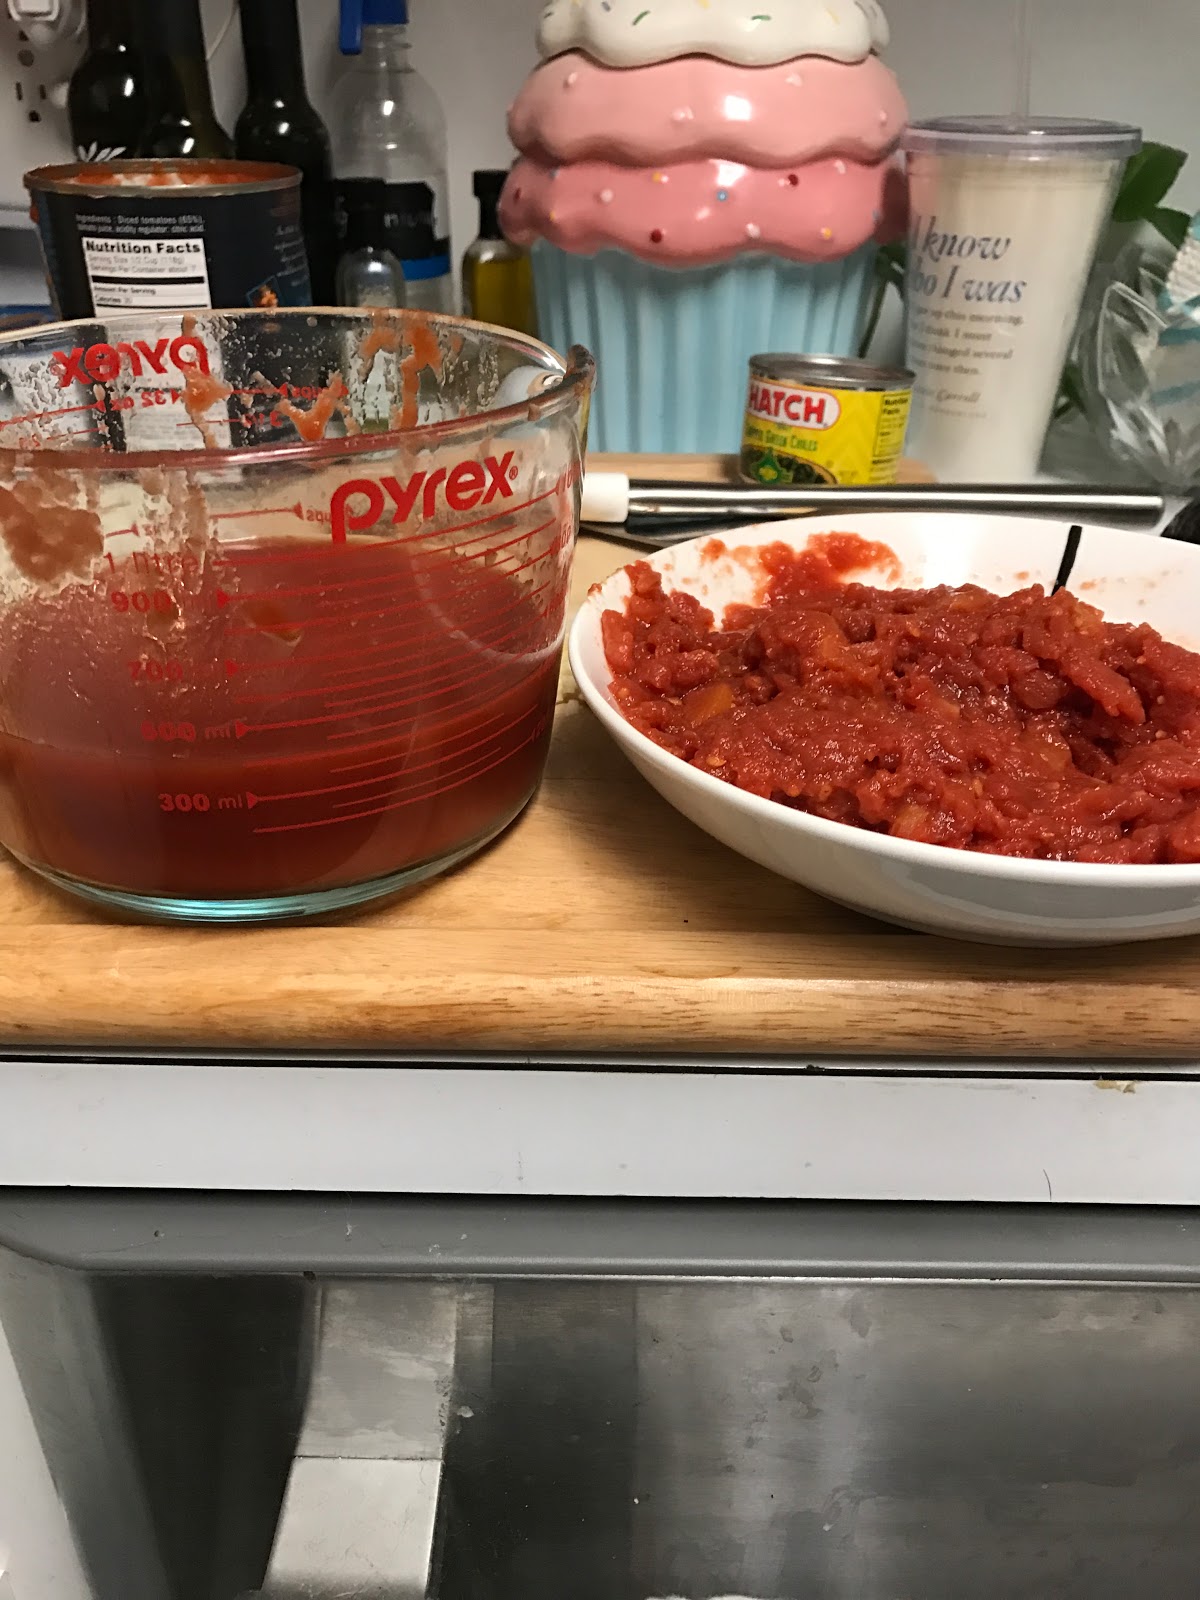
3.  Drain tomatoes in a fine mesh strainer placed over a bowl or large liquid measuring cup.   Press the tomatoes down with your spatula, and I mean really press down as you want to try to make the tomatoes as dry as possible and remove as much juice as you can.  I have a small strainer, so I had to do this in batches and had to place my tomatoes in a small bowl to the side after they were done draining and then move on to my next batch.

Reserve 3/4 cups of the tomato juice you strained from the tomatoes in a 2 cup liquid measure or small bowl, although you are going to have a lot more than that left.  You can save the leftover juice for another recipe.


4.  Whisk sugar and lime juice into the reserved tomato juice and set aside to use later in the dish.
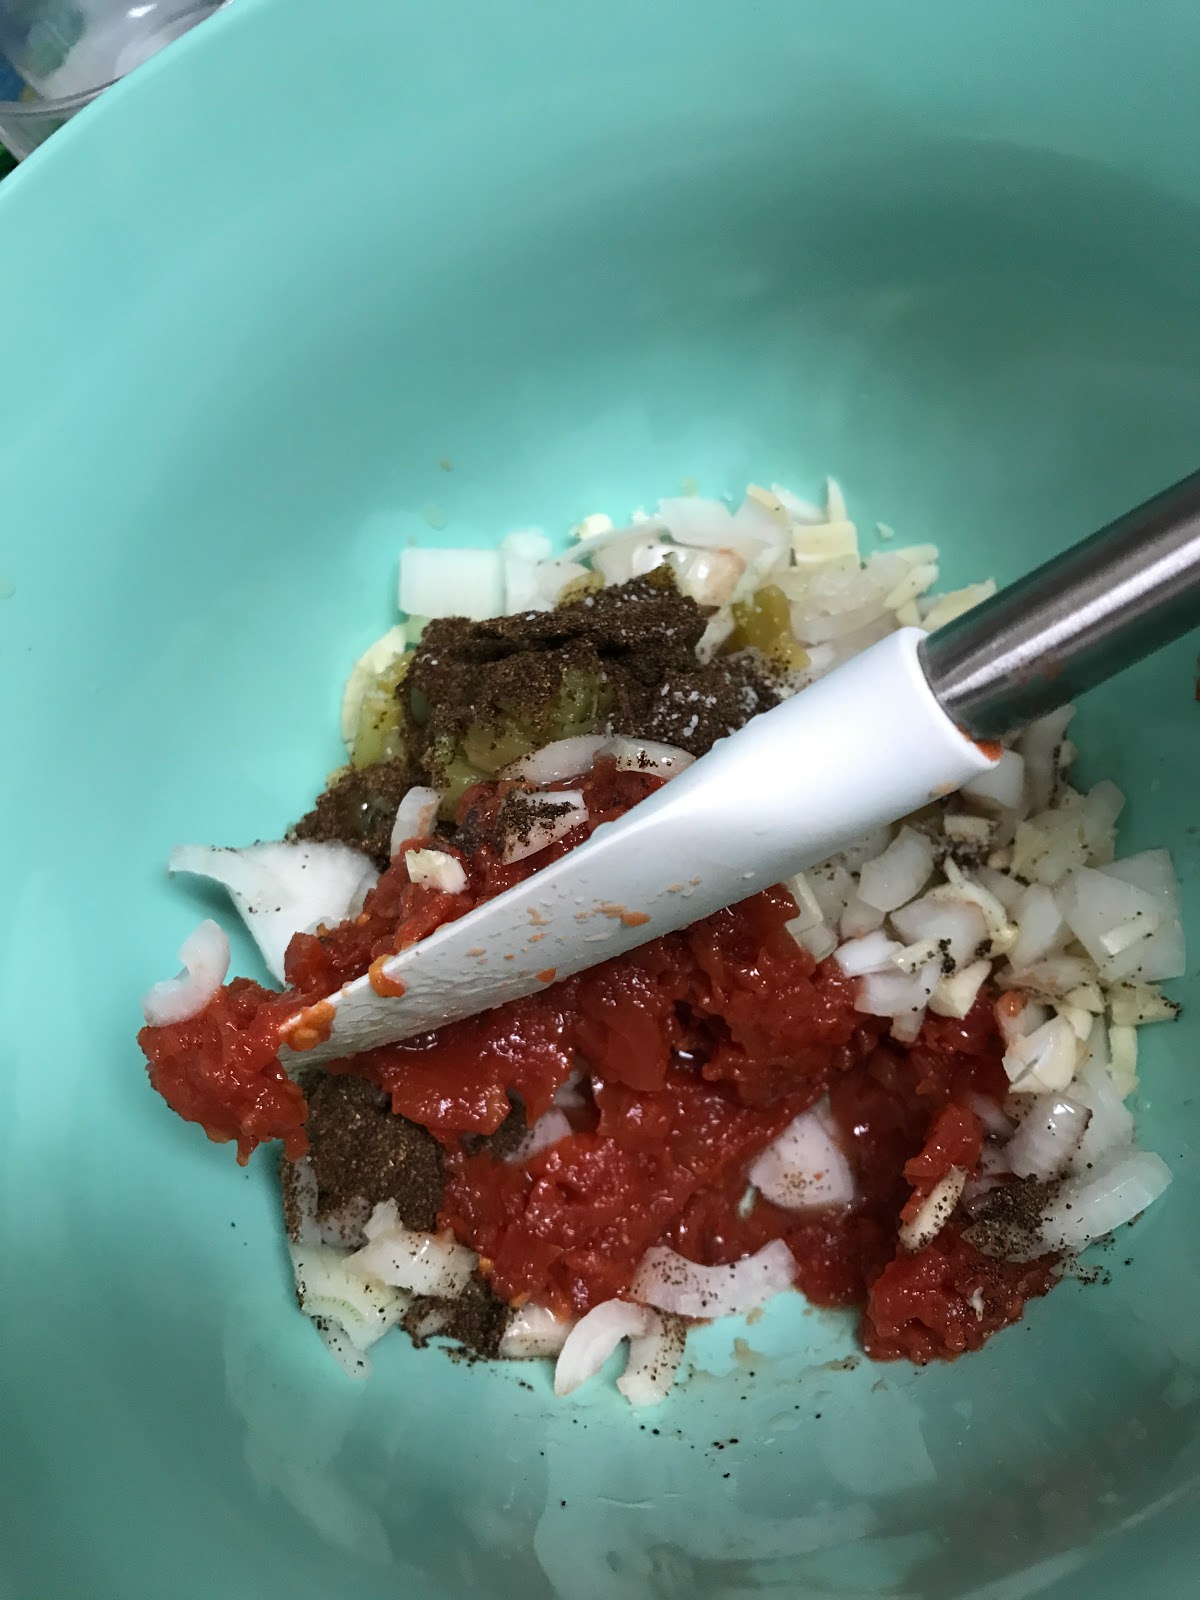
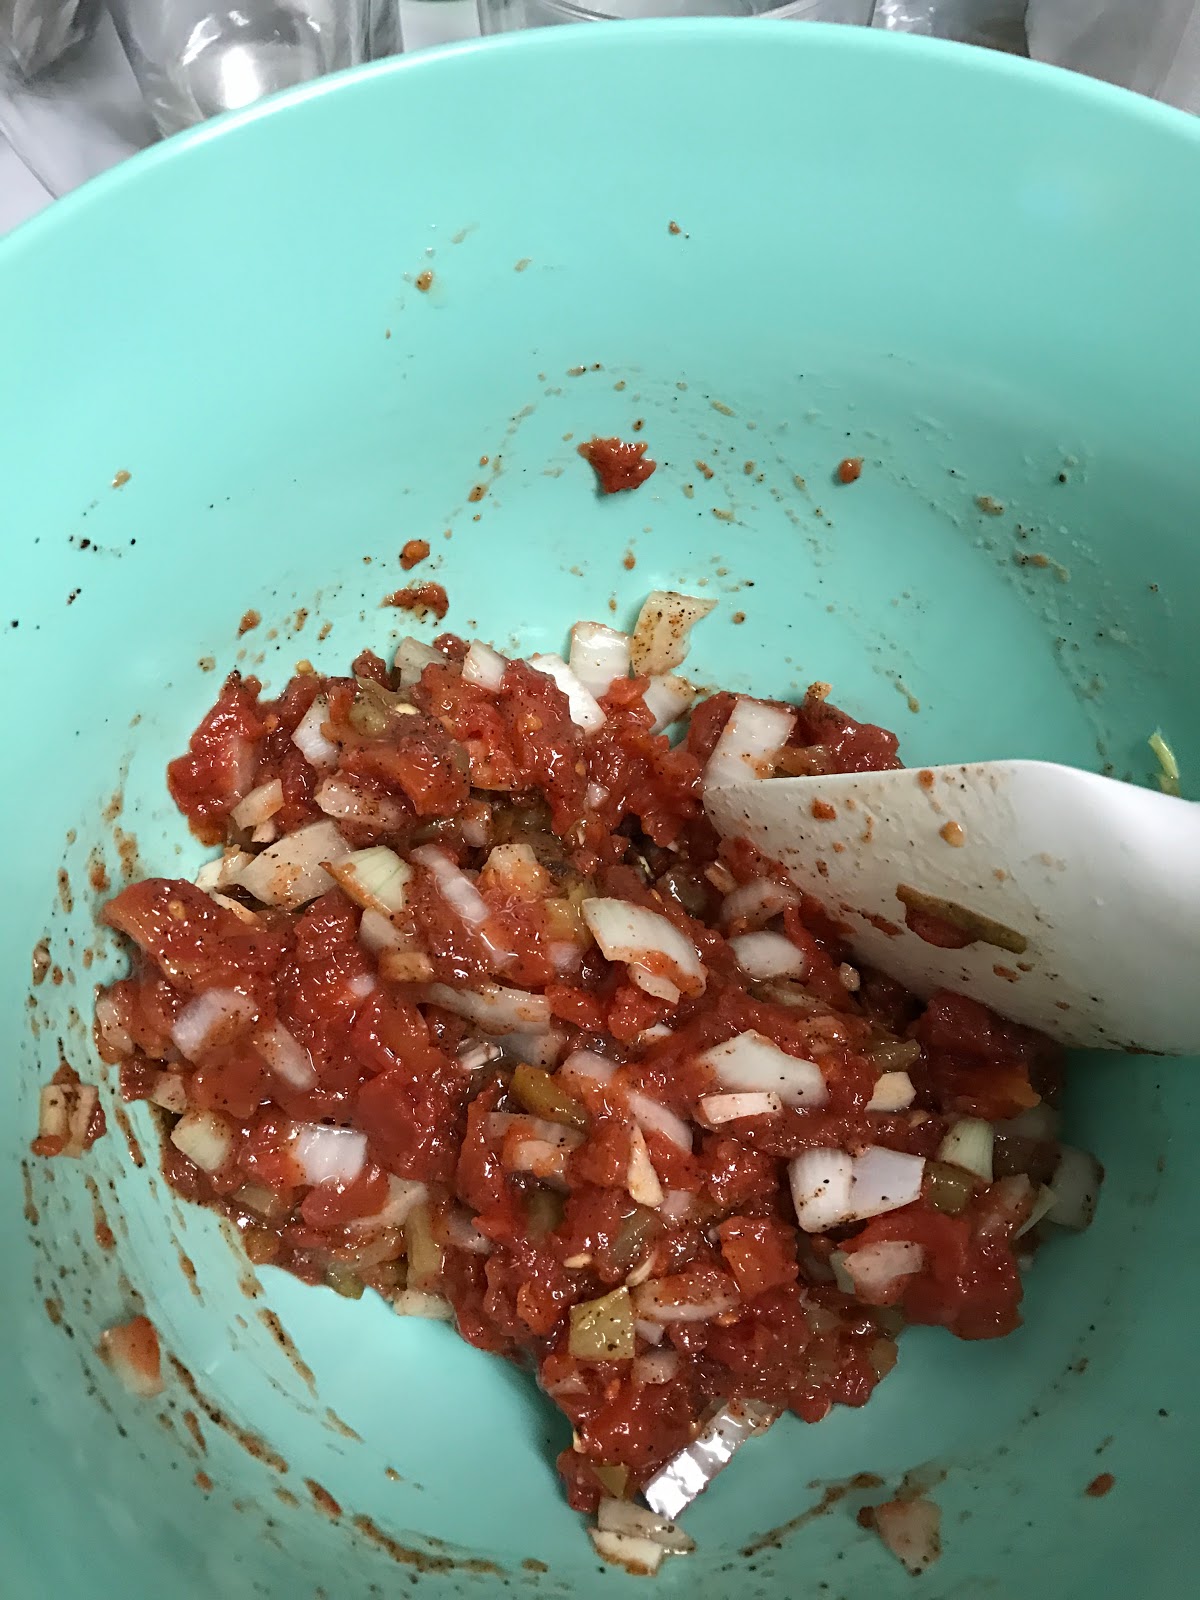
5.  In a separate, medium sized bowl combine onions, chiles, oil, chili powder, garlic, 1/2 tsp. salt and drained tomatoes.  Stir until all of the ingredients are combined.


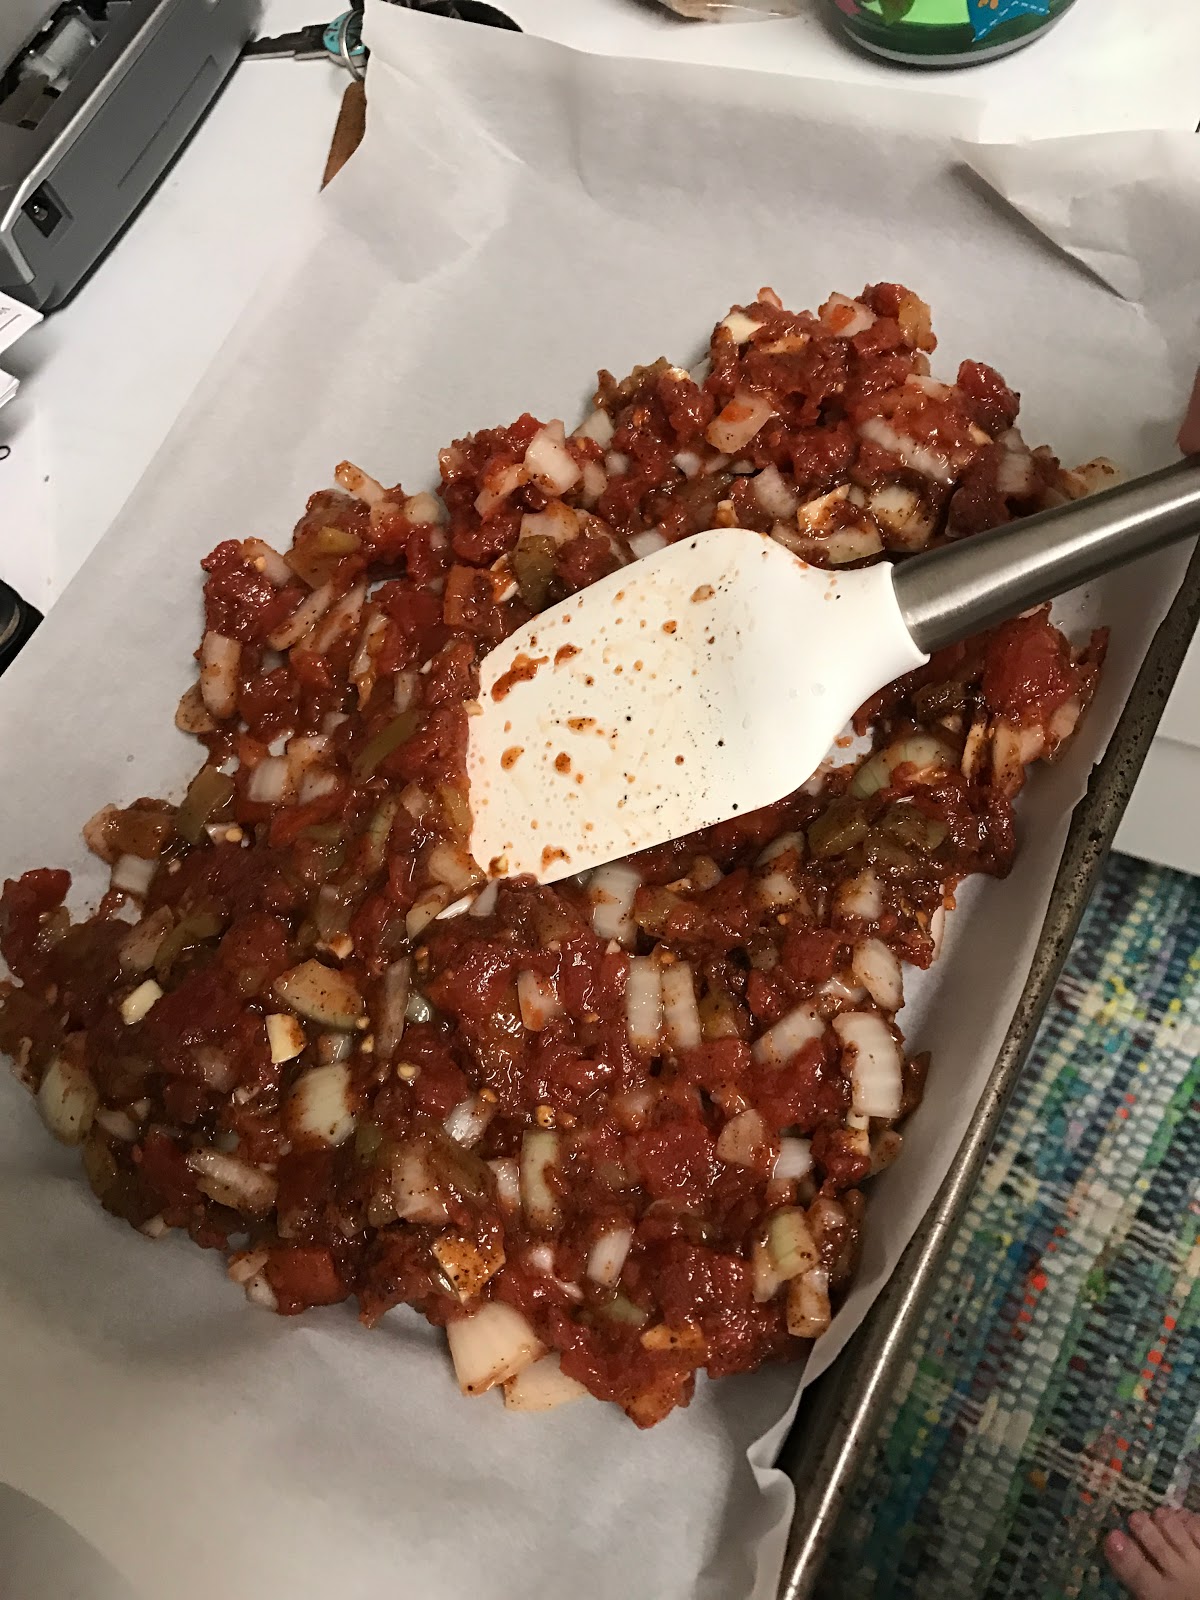
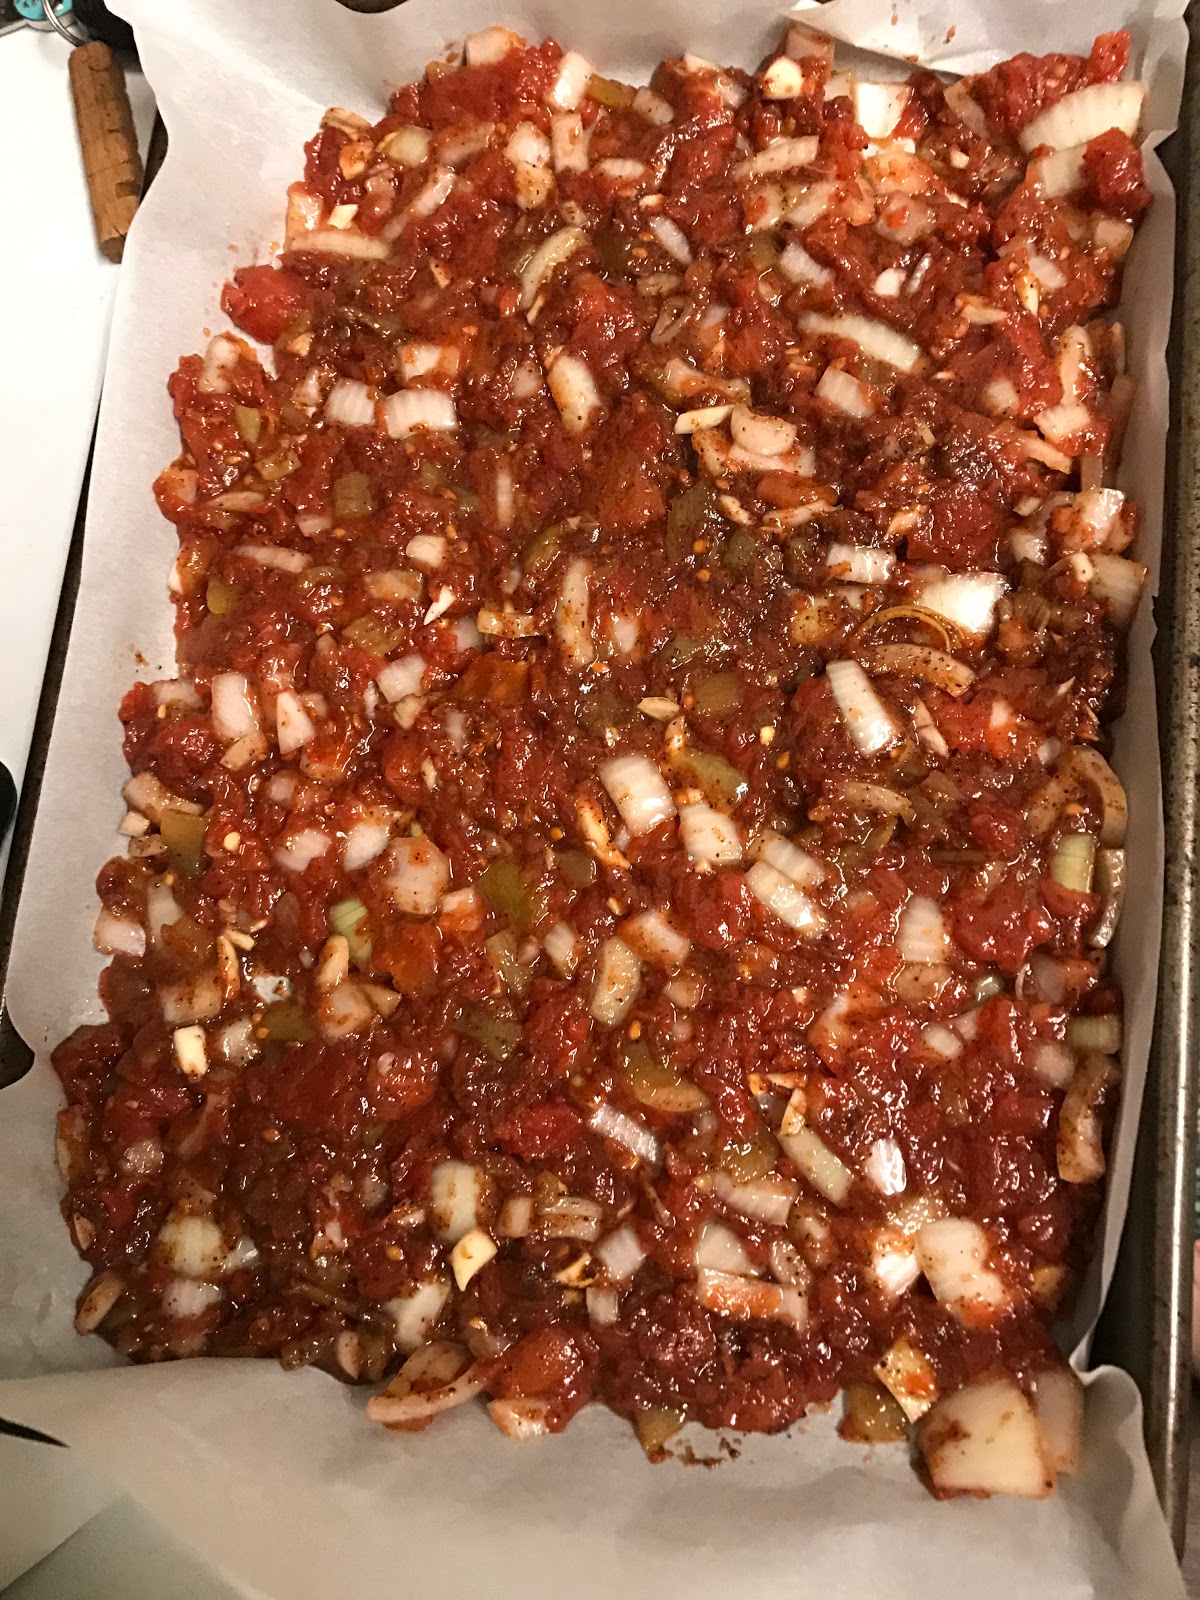
6.   Transfer the tomato mixture to the prepared, rimmed, baking sheet and spread, in an even layer, to the edges of the sheet.


I know its kinda hard to see, but this is the mixture going all the way to the edge of my pan.

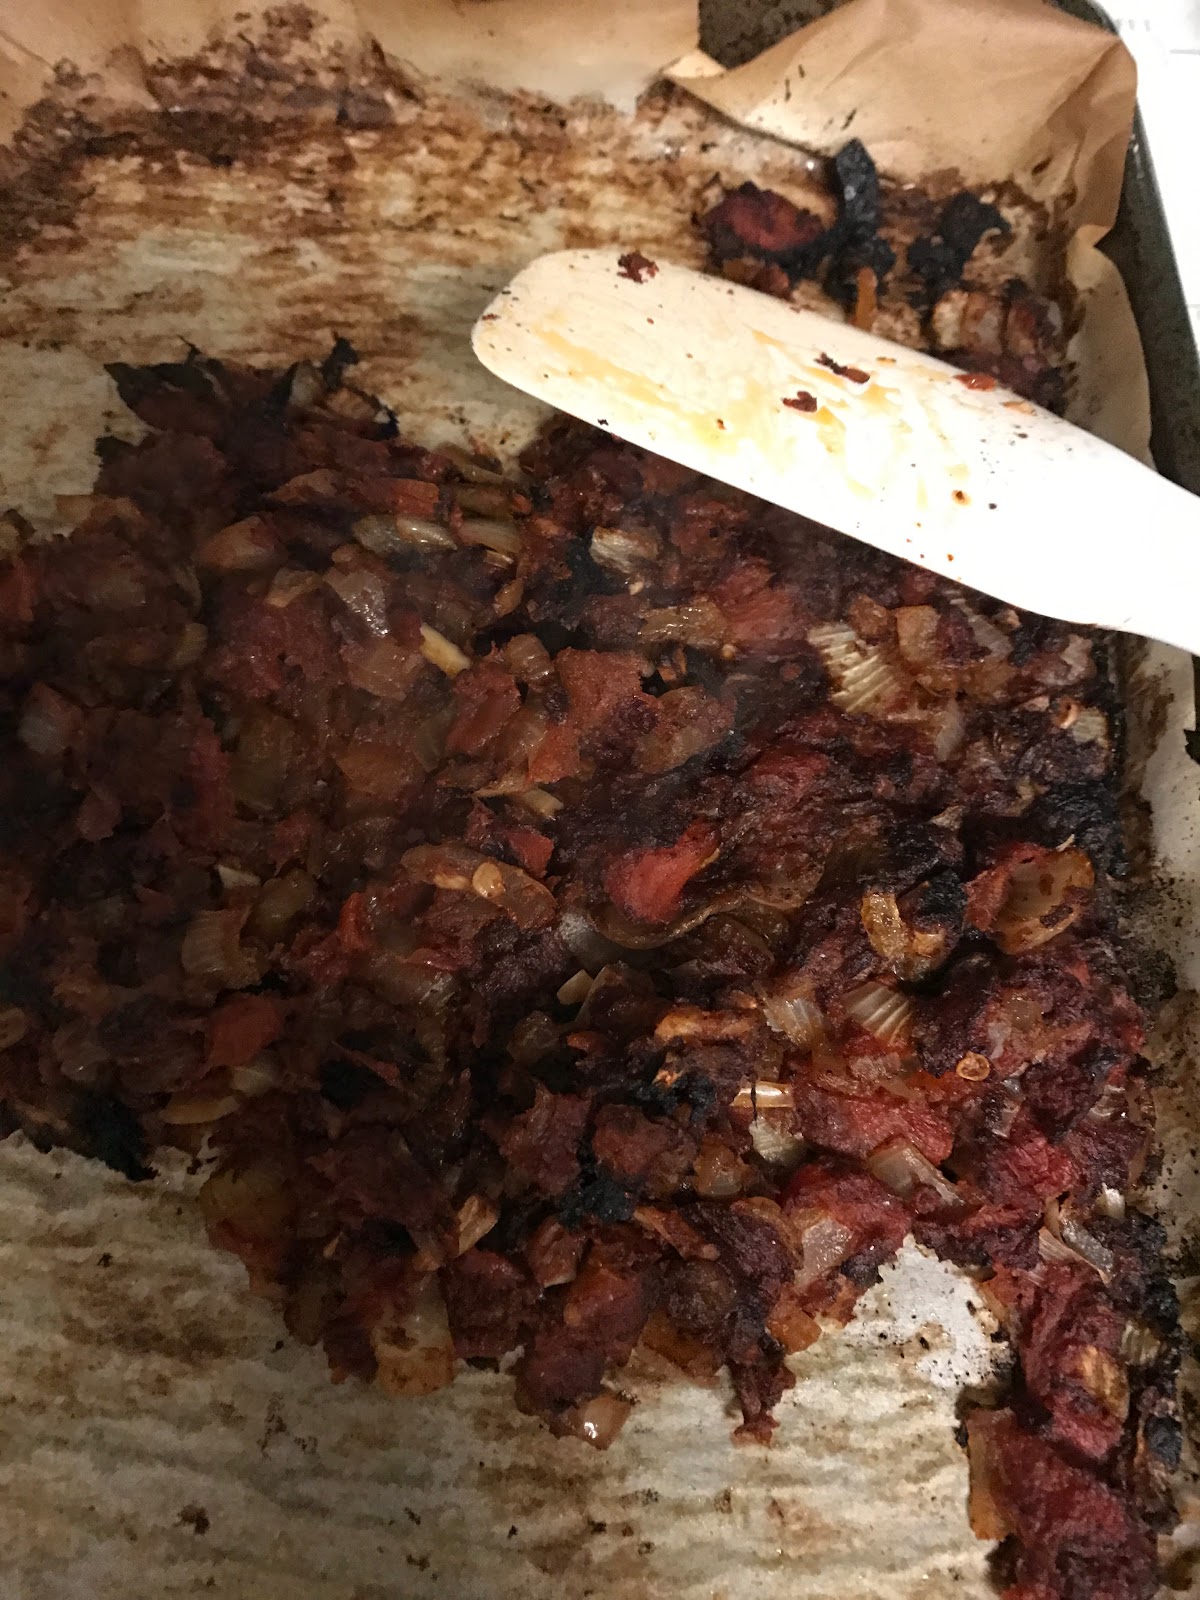
7.  Place in the oven and roast 35-40 minutes, stirring halfway through cooking time and making certain to spread out on the baking sheet to the edges after stirring.  Cooking the tomatoes for so long on such a high heat will "char" the tomatoes and the mixture will look slightly burnt, that is fine, it helps to get the flavor right.

The mixture after it is removed from the oven.

8.  Remove from oven and reduce heat to 400 degrees.
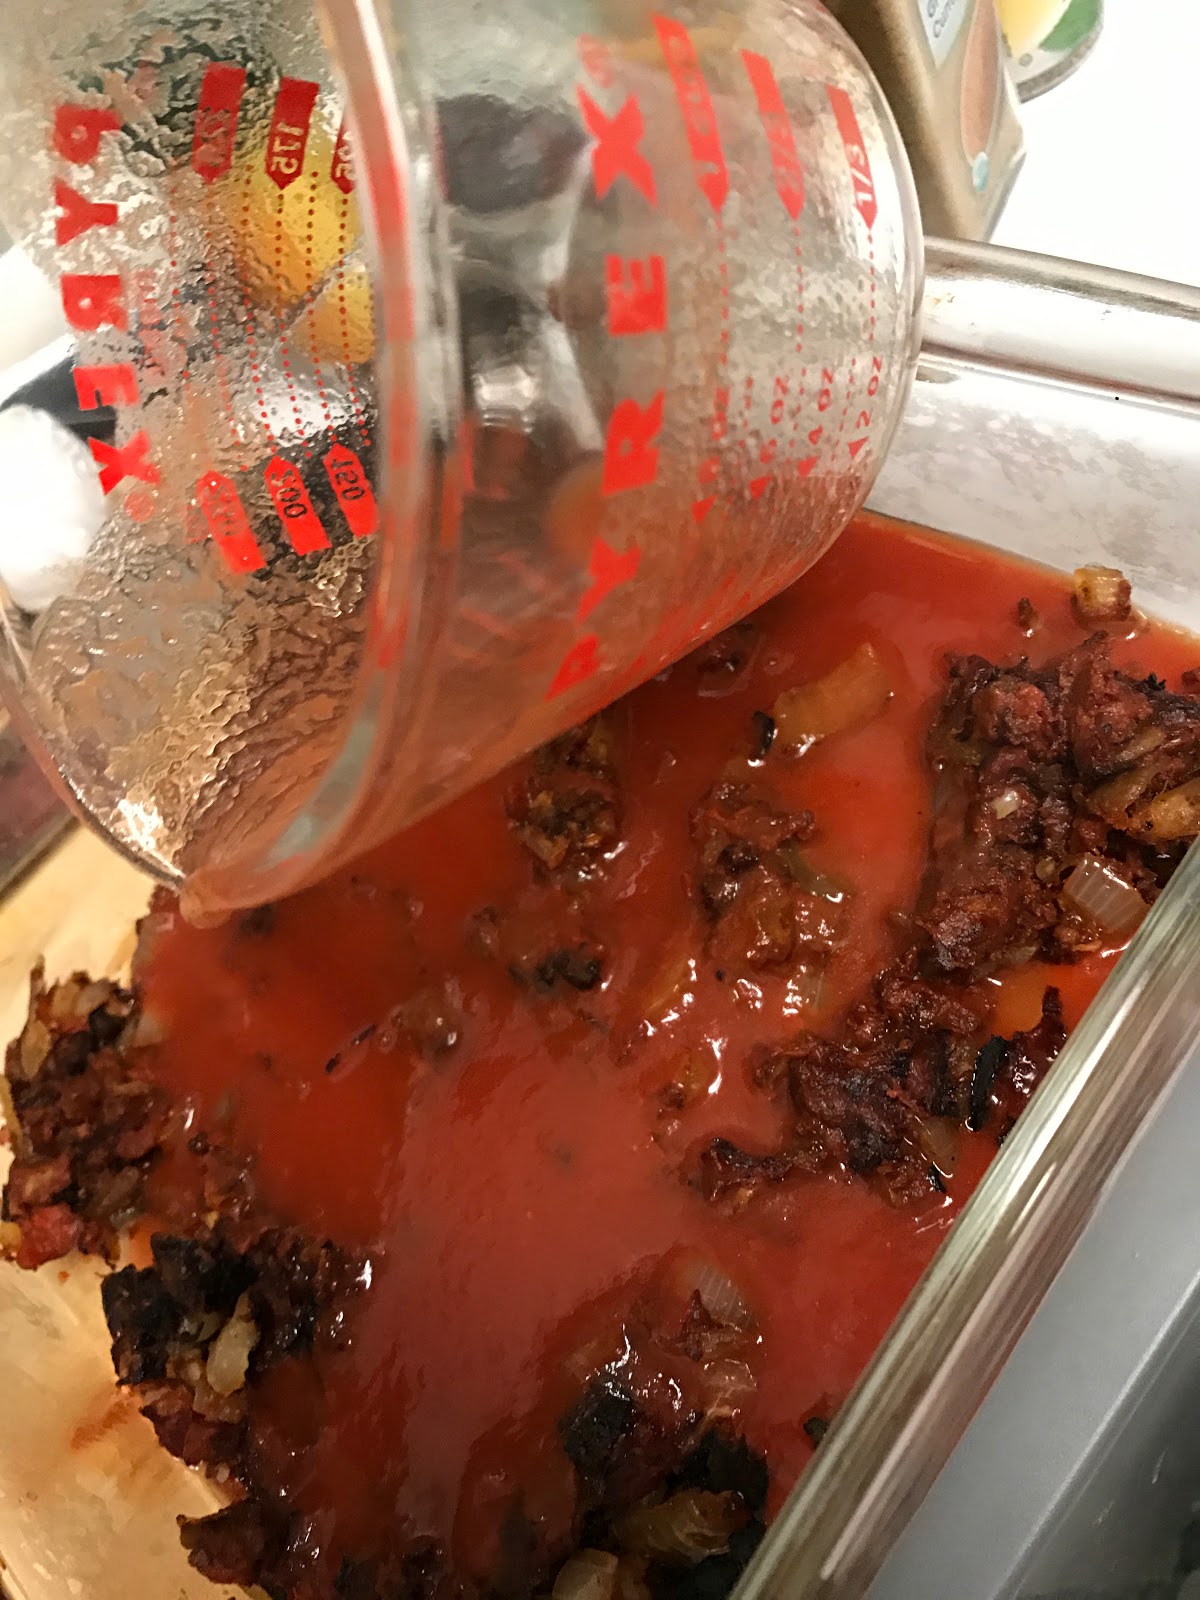
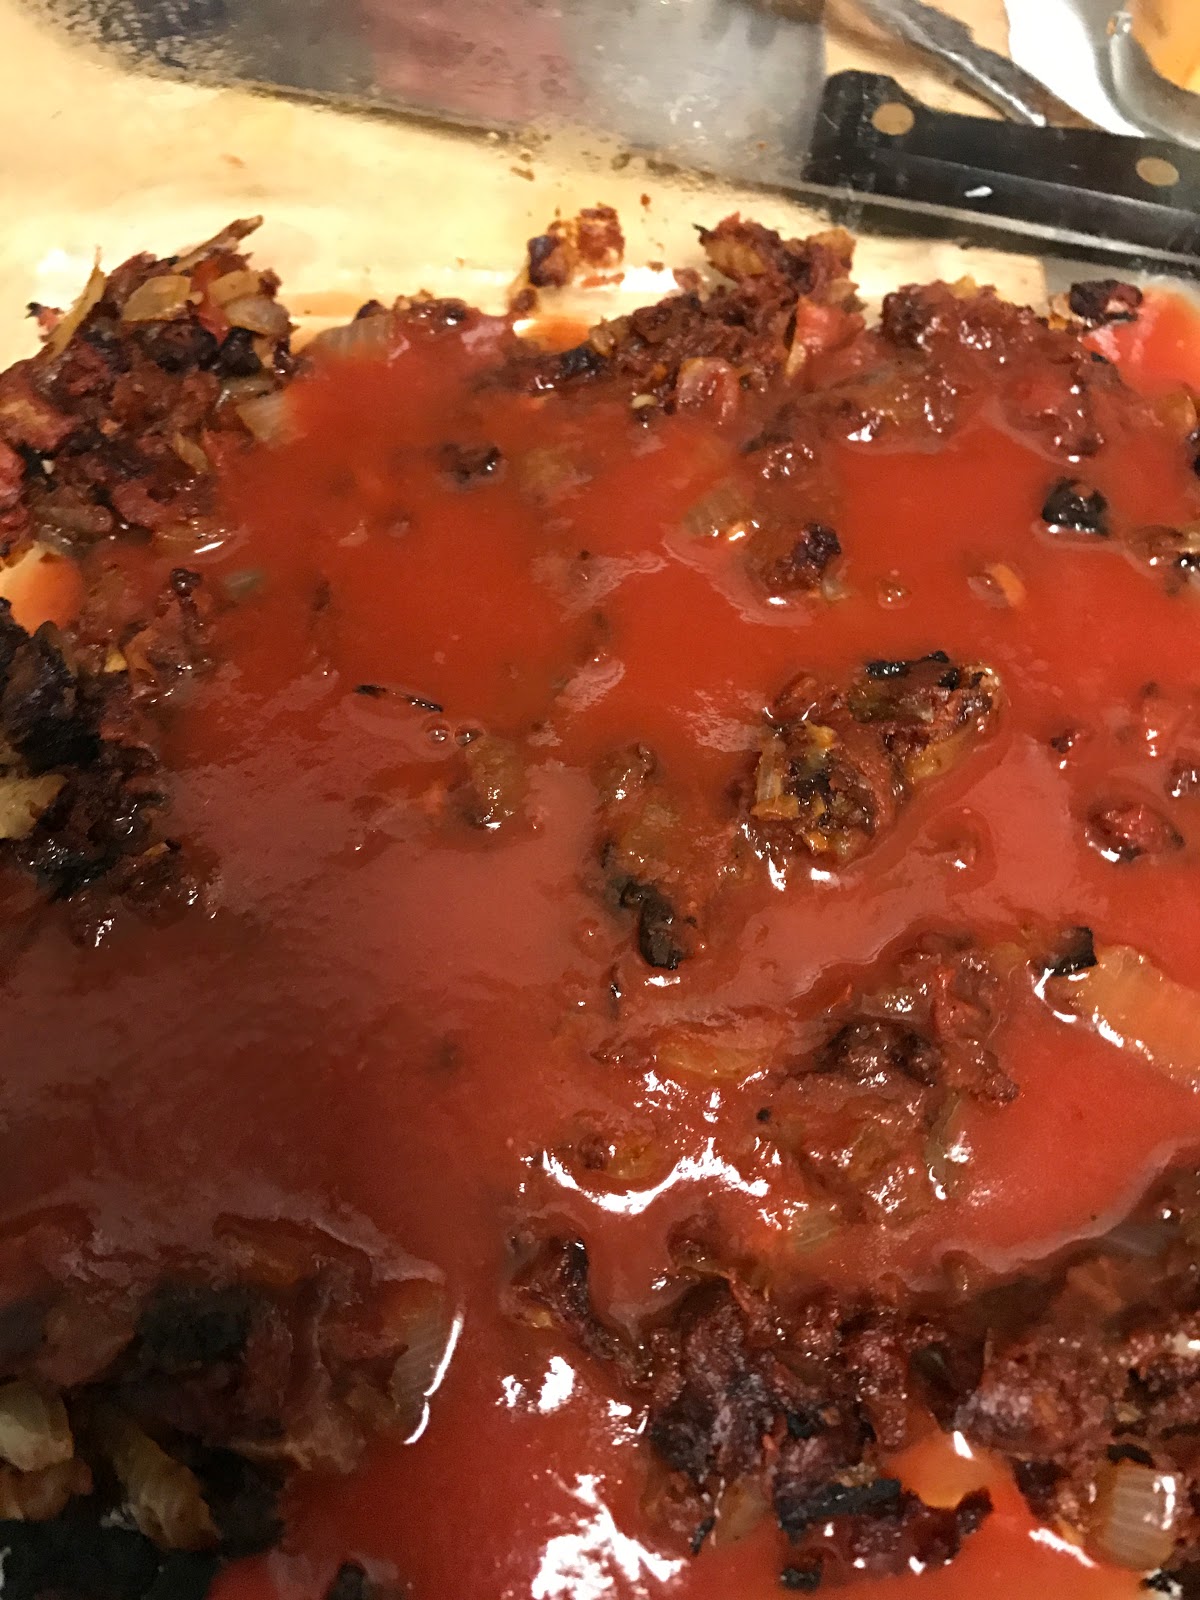
9.  Transfer the roasted tomato mixture to a square baking dish.  Stir in the reserved tomato juice mixture that you set aside.  Stir until the roasted tomatoes have "re-hydrated".


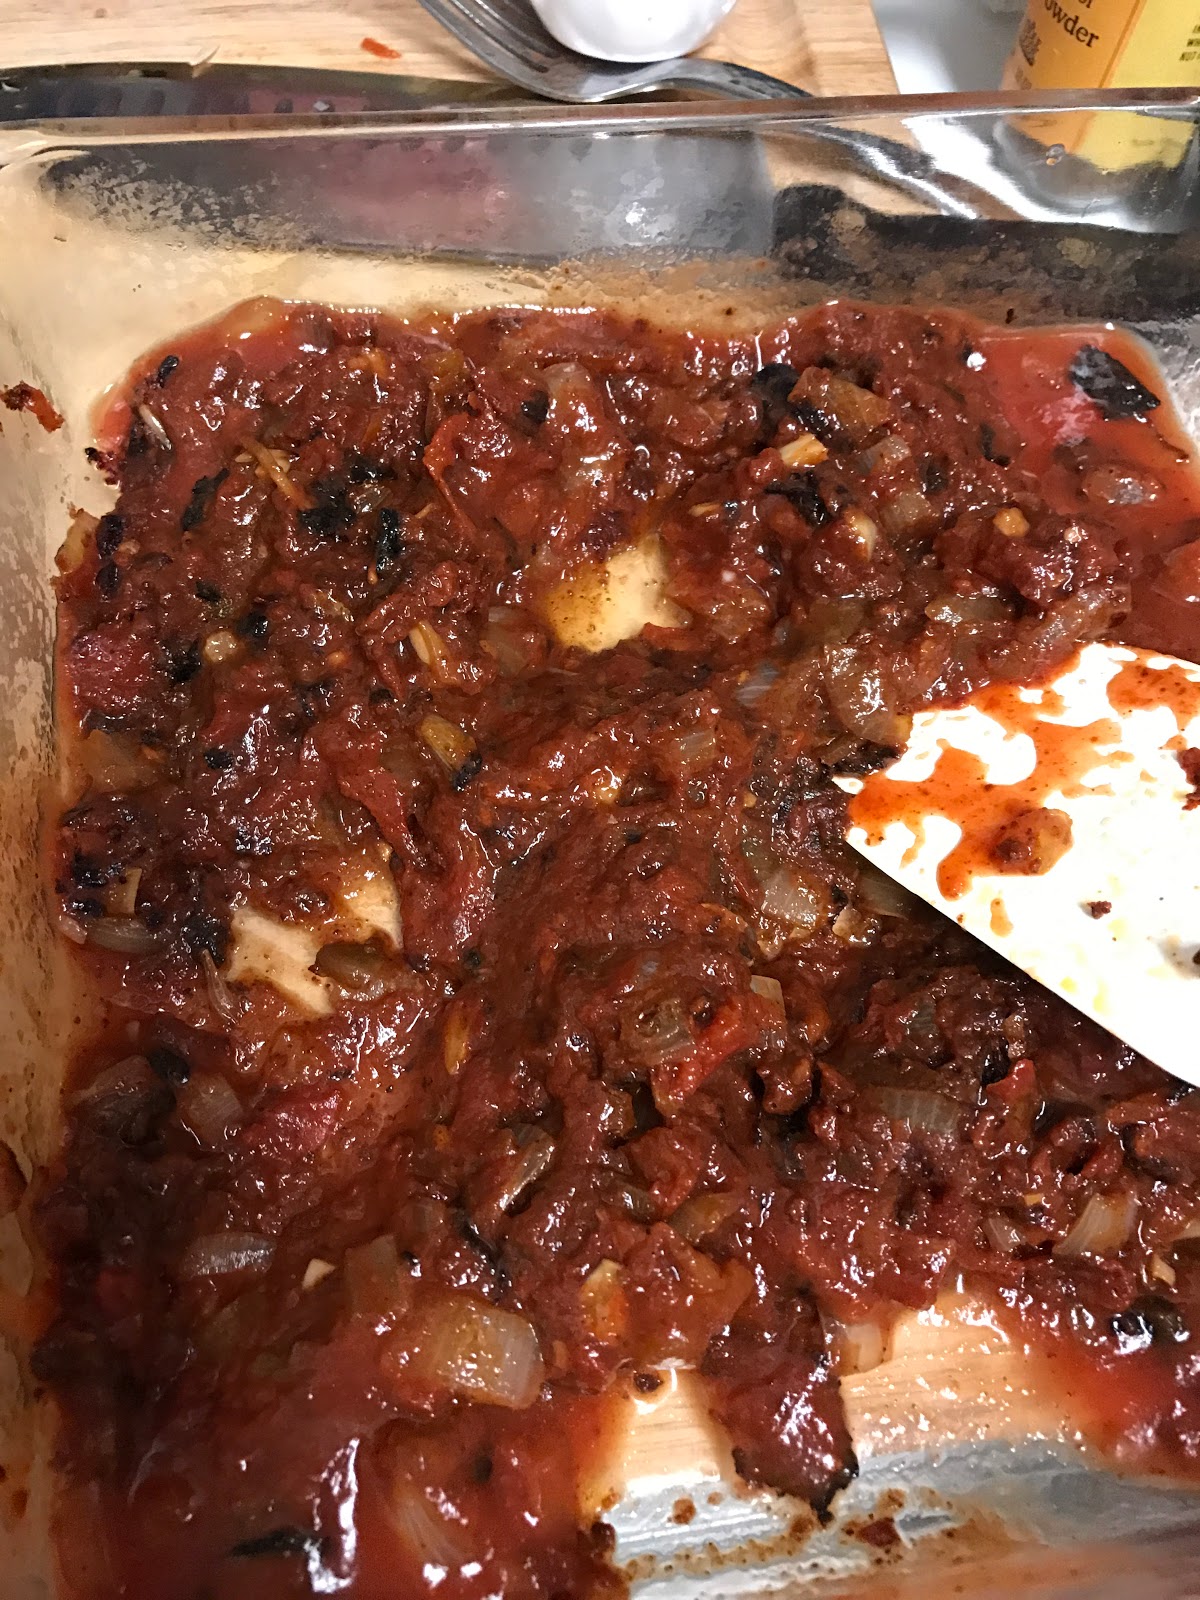
Here the tomato juice is almost all soaked up the way that you want it.

10.  Season with the cumin and basil.
11.  Spread the mixture in an even layer in the baking dish.
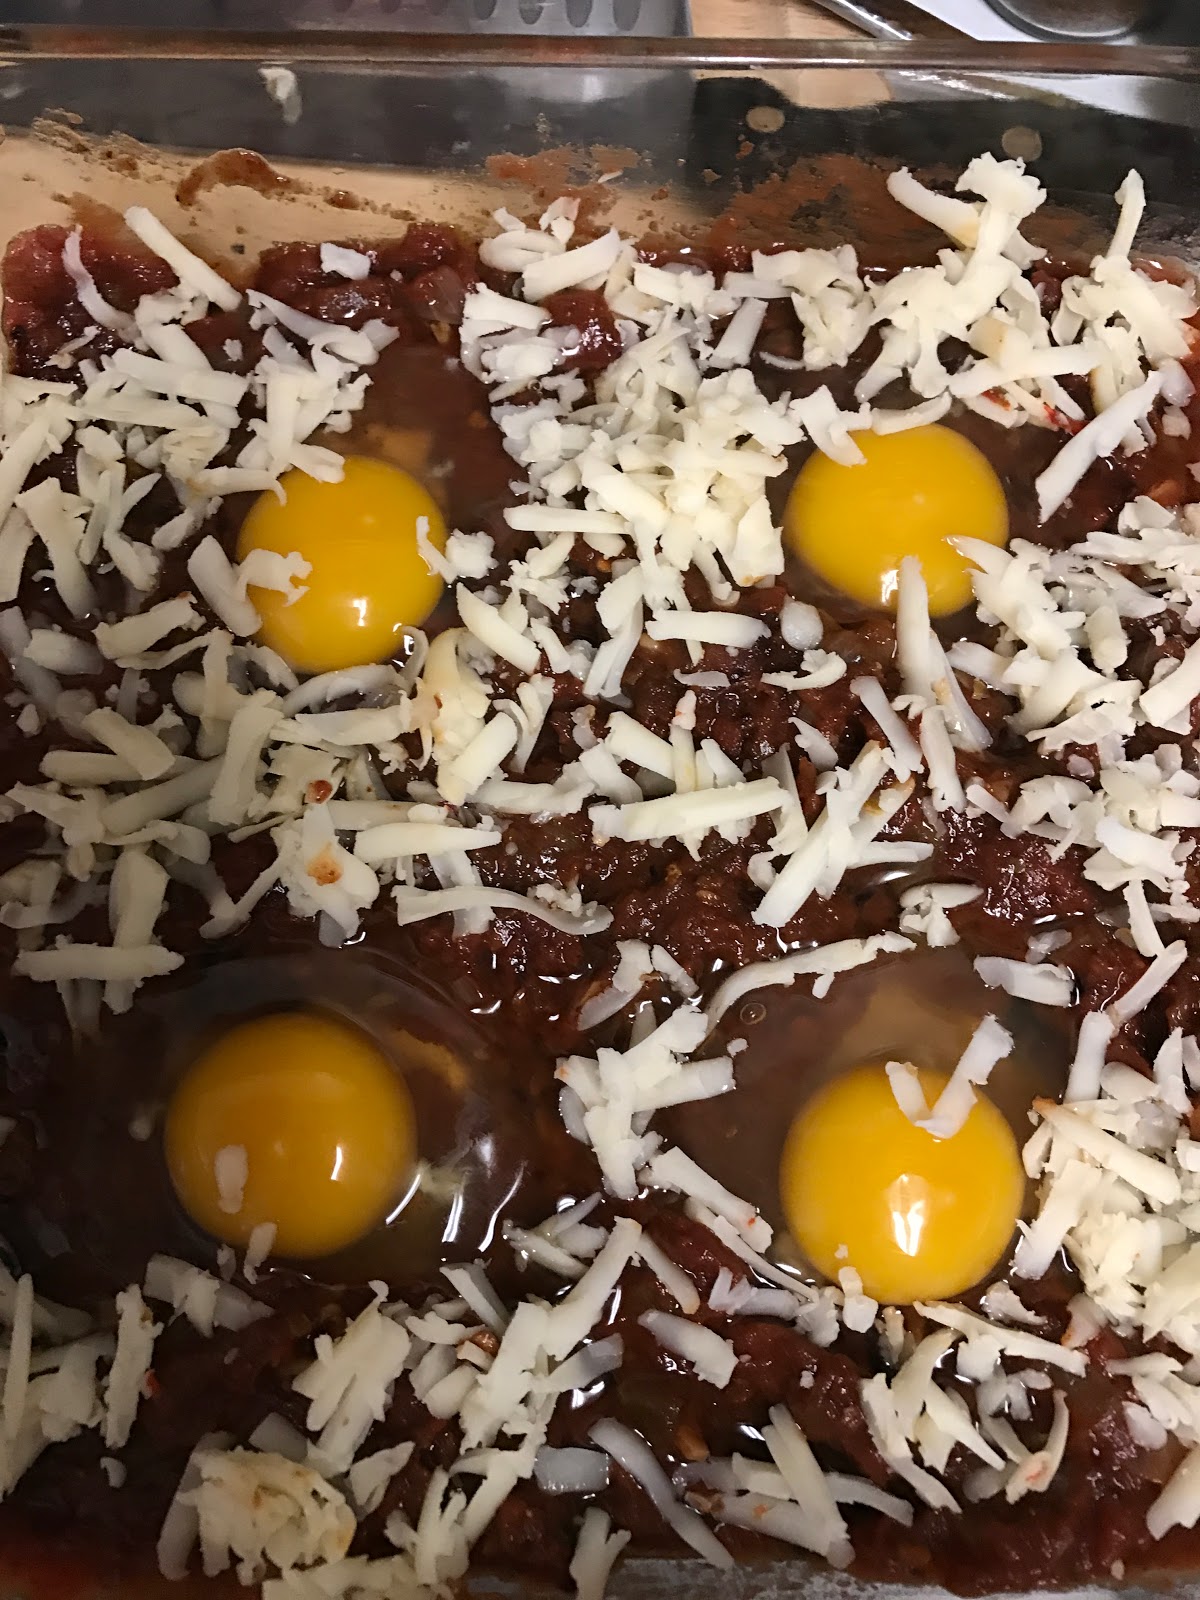
12.  Sprinkle the pepper jack cheese over the tomato mixture.
13.  Using a spoon, hollow out a hole in the tomato.  Carefully break an egg and "pour" it into the whole.  Repeat this process three times making two rows in the baking pan.


14.  Place in oven and bake for 13 minutes.
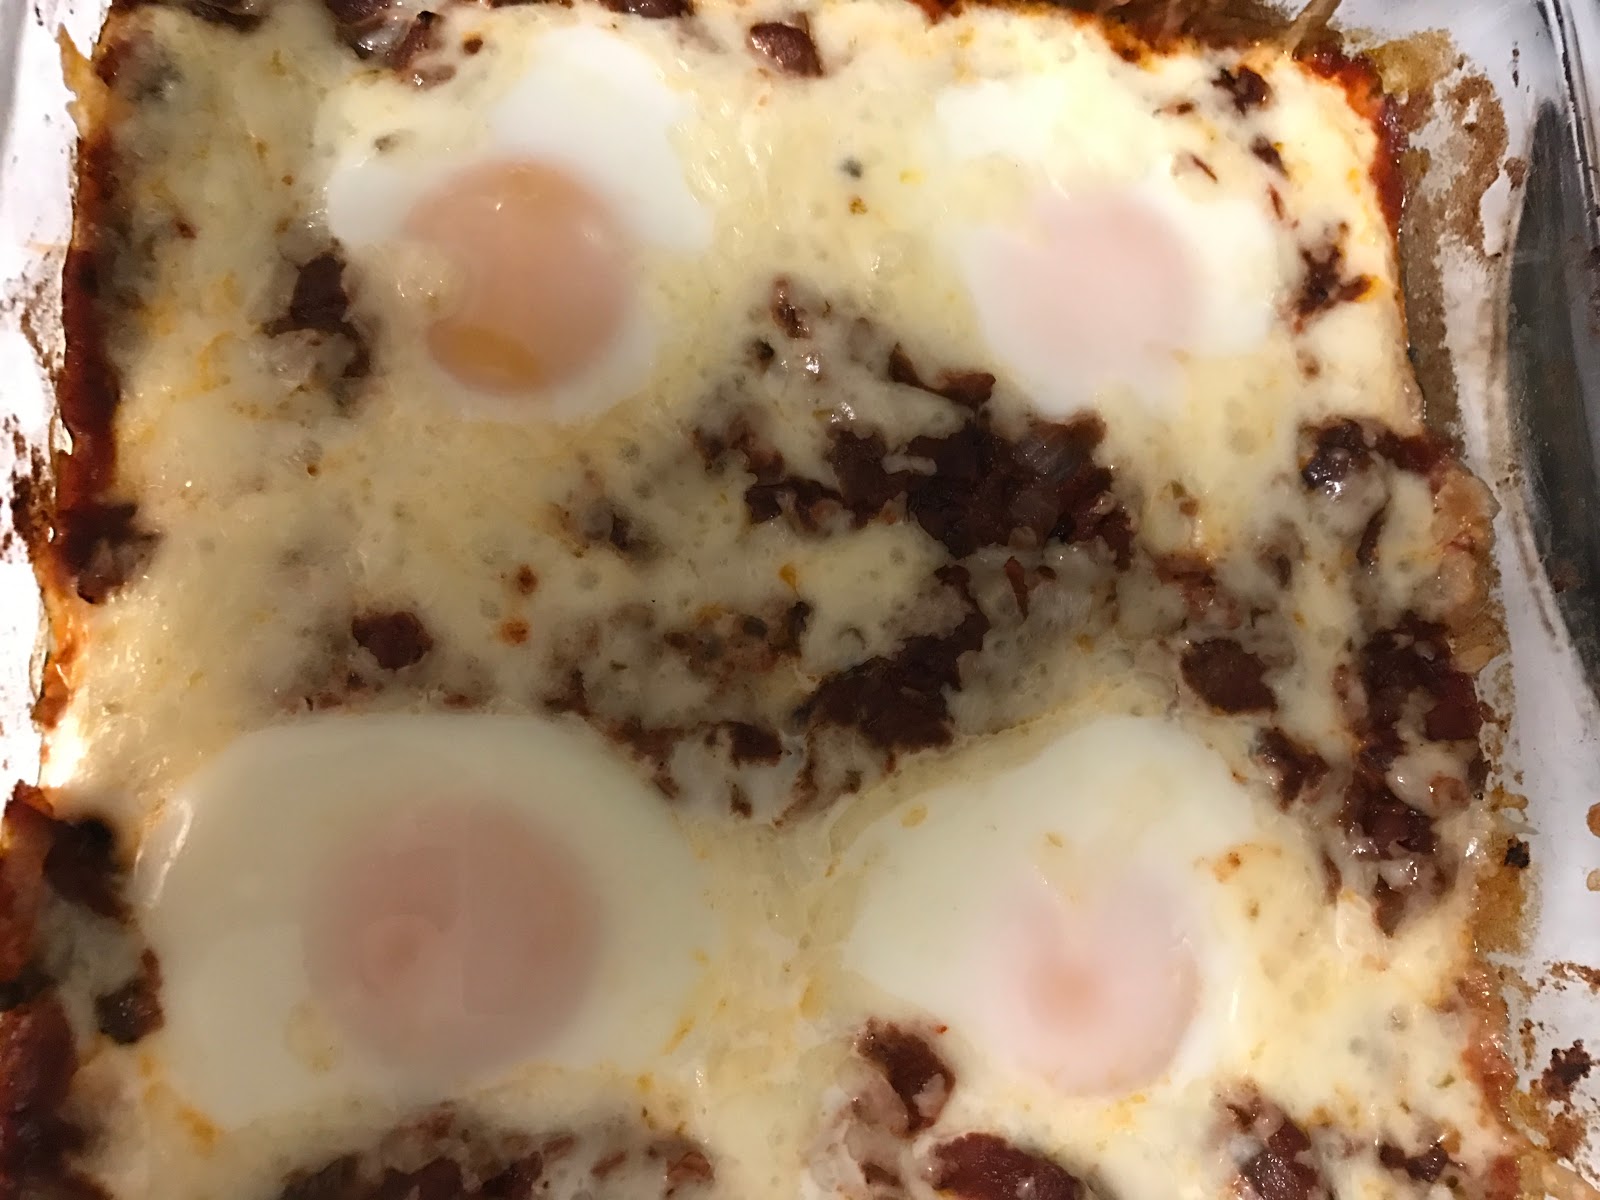
15.  When you remove the eggs from the oven, the eggs should still be a little bit jiggle-y when you gently shake the dish.  This is fine because you are going to finish cooking them in the next step.


16.  Transfer the dish to a wire rack or place in a warm location and tent loosely with aluminum foil.  Let the eggs sit for 5 minutes.  This will finish cooking the eggs.

Its hard to tell in the picture, but these are the eggs that are less jiggly.

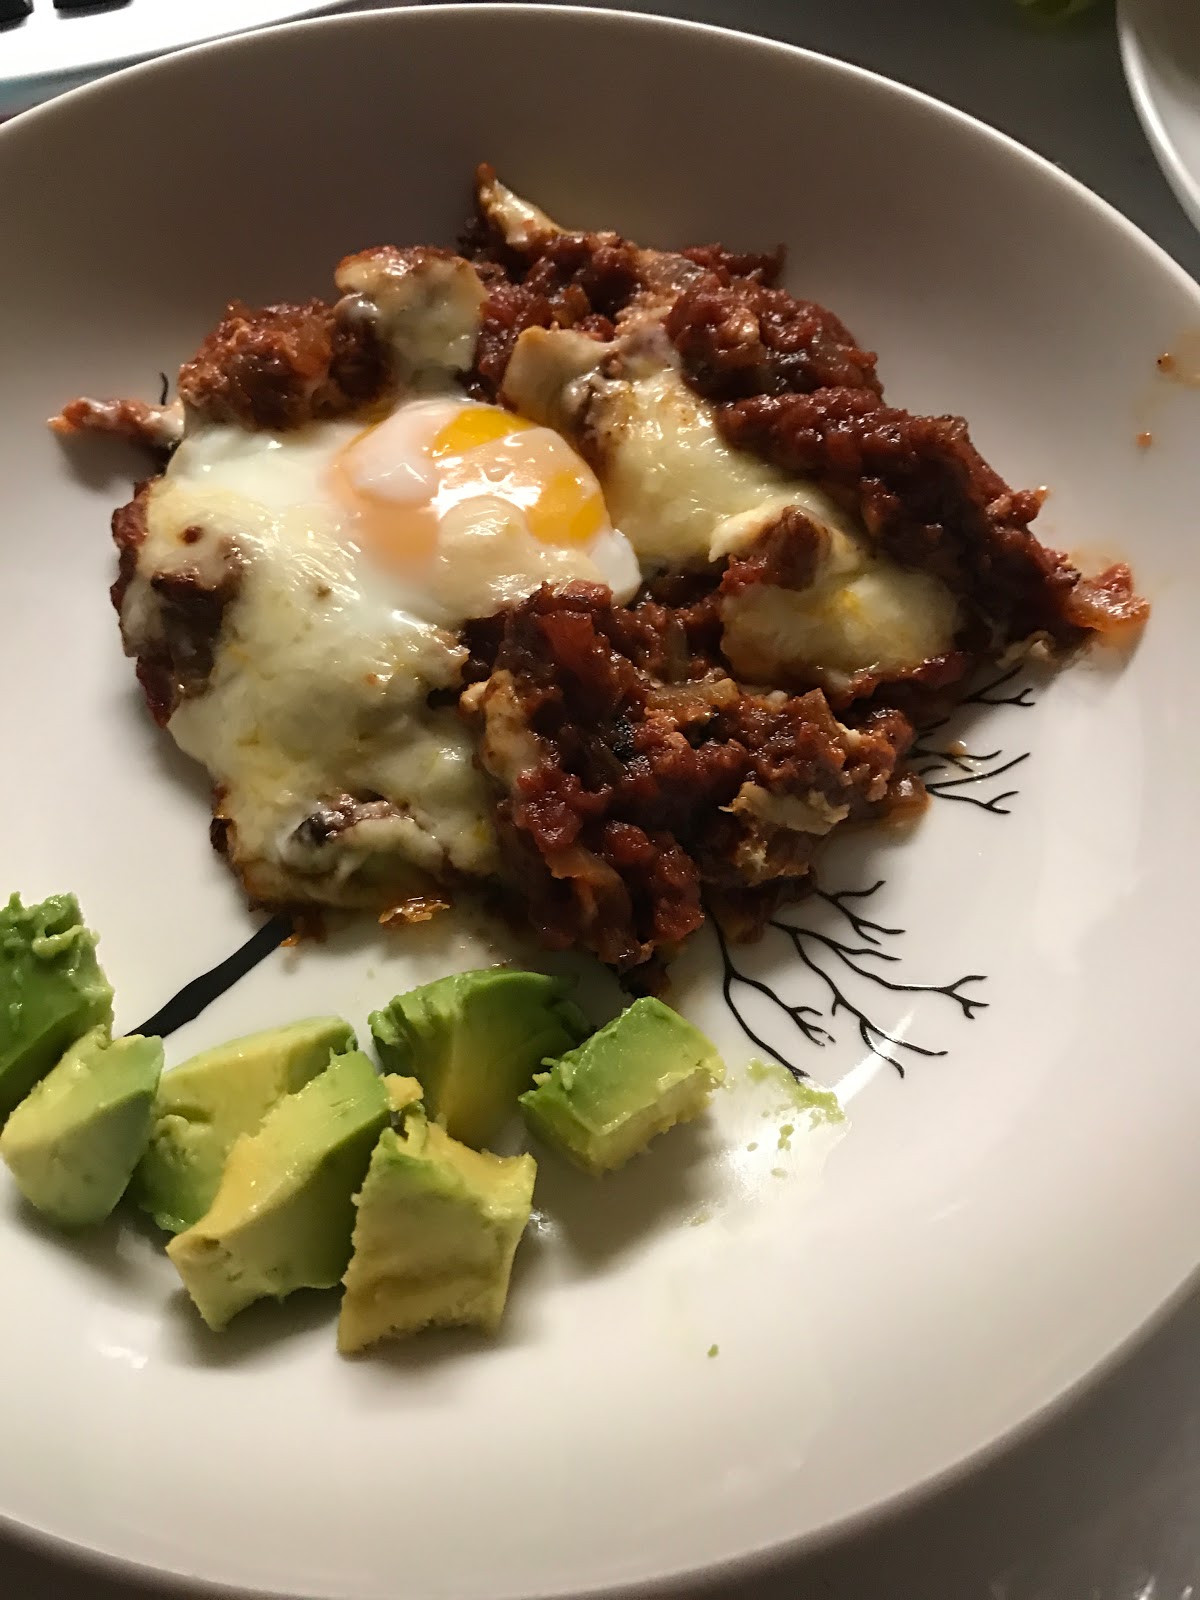
(NOTE:  If you cook the eggs for the times that I have notated here, your eggs will turn out with the yolks a gel like consistency like jam.  My husband and I called eggs cooked this way jammy eggs.  If you want your eggs firmer, cook them one minute longer before removing from oven.  If you want your yolks more liquid, then take them out around 11 to 12 minutes after baking.)
17.  Serve with the avocado and tortillas.  (I would not suggest skipping the avocado, it adds a creamy consistency to the dish and also helps to cool some of the spice "heat" from the dish.)


If you live in Louisiana, I would suggest using Hola Nola wraps as they are my favorites.  (No, I'm not getting paid to say that, I genuinely just think they are the best.  I love a tortilla that I don't have to microwave to keep soft and these fit the bill.  Plus, they are locally made if you live in Louisiana so why wouldn't you want something that fresh?)

Since I am posting this as a breakfast dish, I also thought that I might add an breakfast adult beverage to suit the dish.  To be honest, I haven't tried this recipe yet, but is marked in box as one that I have to try.

Tequila Sunrise Mimosas


Picture from the Give Me Some Oven website.

Don't those look delicious?!?!?!
To get the recipe, just click the link below.
https://www.gimmesomeoven.com/tequila-sunrise-mimosa/

Well, that's it for this post.  I hope you enjoyed it!  I'll be back in time to give some ideas and recipes for Mother's Day.

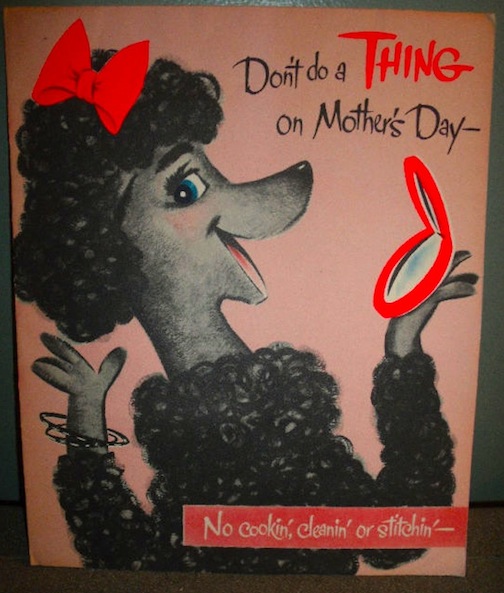
I wonder what the inside of this card says.

Friday, April 28, 2017

Home Made Honey Cough Drops (Two Flavors) and an Essential Oil Steam - To help beat those Spring "Ickies"

Hello Everyone!
Today's post is inspired by the fact that I have been ill for almost two weeks.  Well, that is a bit of a dramatic statement.  I was actually sick for three days starting on Easter morning and am now trying to get rid of very wet cough and the sniffles.


Since I know that at least three of my friends are in the same boat, I decided that others probably were feeling the Spring "Ick" that is going around in Louisiana and I thought that I would post some of my homemade remedies to help sooth a sore throat and cough.
I am often torn about what flavor I want to make my home made cough drops, so I am including two flavors here.  They are basically the same recipe, I am just changing out a couple of the ingredients to get the different flavors.

Mint Honey Ginger Cough Drops


Ingredients
1 cup honey
1 cup boiling water
1/2 tbsp. fresh ginger juice**
1 tbsp. (One tea bag) peppermint tea leaves
4 drops mint extract

Instructions
1.  In a medium sized pot, bring 1 and half cups water to a boil.
2.  Remove from heat and steep the mint tea bag in the one cup water for about 10 minutes.
3.  Once you have made the mint tea, remove the tea bag and pour the tea back into the medium sized pot.  Add the honey, ginger juice, and four drops of mint extract to the tea.
4.  Heat over medium heat until the mixture begins to boil, stirring constantly with a wire whisk  It will get foamy and will try to "climb" up the sides.  When this happens, lift the pot away from the heat and continue whisking.  Once the mixture has settled back down, put the pot back on the warm burner and repeat as needed.
5.  This is where it gets tricky.  If you have a candy thermometer, you want your mixture to reach 300 degrees and then remove from heat.  I don't have a candy thermometer, so I have to do it the gambling way and eyeball it.  So, if you don't have a candy thermometer, this process is going to take about 30 minutes.  You can use the ice water method to see if your cough drops are ready.
For the ice water method, you drop a small bit of the cough drop mixture into a glass filled with ice water.  If the mixture is ready it will harden to a consistency that will "shatter" when you bite down on it.  If it is chewy, keep it on the stove and cook it a little longer.
6.  At this point, you can pour the cough drop mixture into candy molds.  If you don't have candy molds, and I know I sure don't, line a baking sheet with a silicone baking mat or parchment paper and spray with oil. Use a spoon and drop the mixture on the parchment paper to form a coin.  Once it has cooled slightly, enough to touch without burning yourself, use spoons to form small rounds or to better shape the cough drops.
7.  Allow the cough drops to cool and harden completely.
8.  Take a piece of was paper and cut it into two by three inch squares, as many as you need to wrap your cough drops and wrap them individually.
9.  Store in an air tight container.

** To make the ginger juice, grate about a 1 inch piece of ginger and place in the center of a paper towel.  Squeeze the ginger inside the towel above a small bowl.  Keep squeezing until you have 1/2 tbsp. ginger juice.  If this sounds too complicated you can do one teaspoon grated ginger and just put that in your cough drops.

Lemon Honey Ginger Cough Drops


1 cup honey
1 cup boiling water
1 elderberry tea bag  (I included a link in case you don't have this at your grocery store) https://www.amazon.com/Traditional-Medicinals-Organic-Echinacea-Elderberry/dp/B000EJPDL8/ref=sr_1_2_s_it?s=hpc&ie=UTF8&qid=1493426186&sr=1-2&keywords=elderberry+tea
1/2 tsp. cinnamon
2 tbsp fresh lemon juice
1/2 tbsp. fresh ginger juice**

Instructions
1.  In a medium sized pot, bring 1 and half cups water to a boil.
2.  Remove from heat and steep the elderberry tea bag in the one cup water for about 10 minutes.
3.  Once you have made the elderberry tea, remove the tea bag and pour the tea back into the medium sized pot.  Add the honey, ginger juice, and cinnamon and fresh lemon juice to the tea.
4.  Heat over medium heat until the mixture begins to boil, stirring constantly with a wire whisk  It will get foamy and will try to "climb" up the sides.  When this happens, lift the pot away from the heat and continue whisking.  Once the mixture has settled back down, put the pot back on the warm burner and repeat as needed.
5.  This is where it gets tricky.  If you have a candy thermometer, you want your mixture to reach 300 degrees and then remove from heat.  I don't have a candy thermometer, so I have to do it the gambling way and eyeball it.  So, if you don't have a candy thermometer, this process is going to take about 30 minutes.  You can use the ice water method to see if your cough drops are ready.
For the ice water method, you drop a small bit of the cough drop mixture into a glass filled with ice water.  If the mixture is ready it will harden to a consistency that will "shatter" when you bite down on it.  If it is chewy, keep it on the stove and cook it a little longer.
6.  At this point, you can pour the cough drop mixture into candy molds.  If you don't have candy molds, and I know I sure don't, line a baking sheet with a silicone baking mat or parchment paper and spray with oil. Use a spoon and drop the mixture on the parchment paper to form a coin.  Once it has cooled slightly, enough to touch without burning yourself, use spoons to form small rounds or to better shape the cough drops.
7.  Allow the cough drops to cool and harden completely.
8.  Take a piece of was paper and cut it into two by three inch squares, as many as you need to wrap your cough drops and wrap them individually.
9.  Store in an air tight container.

I'm going to be honest, I don't know how long these last in the air tight jar.  I usually use them within a two week period and they are okay.

Another trick that can help you when you are sick is to "steam bath" your face with essential oils while you are feeling congested and cough-y.  I wish I could say that I got this idea from my grandmother, but the truth is, I got it from watching Adelaide's lament in the film version of Guys and Dolls.


In the show, she sings about the fact that she has a chronic cold and, in the movie version, she ends the song by sticking her head in a steamer and putting a towel over her head,
One day, when I was feeling miserable and couldn't breath, I decided that I wanted to try it.  One try and it was love at first steam.
I couldn't just do plain steam.  So, as you may know, if you are a frequent reader of my blog, I love essential oils and use them as much as I possibly can, in whatever I can.  So I added some oils to my steam bath. Oh wow, I could breath!  Heaven. For me, it really works!  So here is what I do.

Essential Oil Nasal Congestion Steam


Ingredients
4 cups water
10 drops essential oil (Can be one scent only or a mix of any of these - lavender, tea tree oil, eucalyptus rosemary, and peppermint)
1.  In a large pot, preferable one with a wide brim, bring water to a low boil.
2.  When water is steaming, remove from the heat and add the essential oils. (Be careful not to add too much as the oils will get stronger with heat. It is better to start slow and add more if you feel you need it as you steam.)  Of course, if you do make it too strong, you can always add more boiling water to dilute it.)
3.  Place a heating pad or towel on a table that you can comfortable lean over.
4.  Place the pot on the heating pad or towel.
5.  Drape a large towel over your head and over the pot, this will ensure that you lock in the steam.
6.  Begin to take deep "singer's" breaths.  That means that you want to take deep breaths through your nose and release the breath through your mouth.
7.  If you have a cough, alternate and breath through your nose and breath out through your mouth, then breath in through your mouth and out through your nose.
You may have to move your head out of the steam bath after a couple of minutes as it can get quite warm in there.  Just make certain that you keep the pot covered with the towel to keep in the heat.
8.  Try to breath in the vapors for at least ten minutes.
9.  Repeat as needed.

After my talk with Jeff Johnson, I think I am going to try to modify this idea to make a shower bomb of these oils to put on the floor of the shower so that you can steam and breath as you take a shower.  I don't know if it is going to work, but I am going to try.  If it is successful, I will share on this blog!

Well, that is it for now.  We have Cinco de Mayo coming up and I would like to share some recipes that you can do at home that aren't tacos,  (Not that I don't love tacos, but sometimes its fun to switch things up.)


 And then after that is Mother's Day and I will share some recipes and craft ideas!  So please, come back and check out what I will be posting in the future.

Friday, April 14, 2017

Easter Dinner for Two: Spicy Sweet Ham, Raspberry and Walnut Spring Salad and Rosemary and Garlic Sliced Roasted Potatoes

Hello Everyone!
Gosh, today has been a busy day.  First,  I woke up at the crack of dawn so I could be a part of the "and Company" on Jeff and Company this morning on 103.3 so I could have fun and let people know about this post.  Then I went to the theatre where I work and worked on a few things for a while that I don't get a chance to do on a regular work day when the theatre is open and I have to answer the phone.  And finally, I had to go to some stores and get some last minute items for my husband's Easter basket for this year.

Although this is cute, it is not advisable to buy chicks for Easter.  Unless you plan on raising chickens,  you are just buying something that you really aren't prepared to take care of and keep alive.  Just sayin'.  And now, I'm stepping off my soap box.

We always try to get one another Easter Baskets.  They are really just an excuse to get one another presents. We usually fill ours with with fun, little "stocking stuffer" type items but in the Spring instead of for Christmas. It's like having a mini-Christmas! Plus, everybody knows that Christmas stockings are often the best part of Christmas so why not have a version for Easter.
And I did all of this before 2pm!
Then it was back home to water the plants, start some laundry, eat lunch, write down a few recipes I want to try to experiment with to change the serving size from 12 people to 2 people and then I could finally feel like I had earned the time to do a blog.

I don't know if you have noticed, but holidays, except for Valentine's Day, are not really scaled to be enjoyed by only two people.  And why should they be?  For most, holidays are an excuse to be with your loved ones, eat lots of food, and enjoy being alive.  But what about when you don't have big holiday plans? What do you do then?

This poor, sad, little guy is from Disney's cartoon The Ugly Duckling.

That's what is happening to my husband and me this Easter.  His parents moved to North Carolina last year and his sisters are both doing Easter with their husband's families.  My family has always lived out of state so we are not doing Easter with my family.  What were we to do?  Well, celebrate it of course!!!  But we would just have to scale back everything.

So I went to work creating a menu and figuring out how to create an Easter feast for two that wouldn't leave us with a ton of leftovers. And now I am sharing that menu with you, just in time for Easter!

We are having:
Deviled Eggs (Because you have to have Deviled eggs for Easter.)
Spicy Sweet Ham
Raspberry and Walnut Spring Salad
Rosemary and Garlic Sliced Roasted Potatoes
Hawaiin Rolls (Because my husband loves to make mini ham sandwiches.  These are purchased, not made.)
and
Bunny Shaped Citrus Cakes  (This recipe will not be posted today, it will be posted Saturday.  I have to see if I can make it work first.)

Spicy Sweet Ham


Yup.  I would say that she is sweet and spicy.

Smoked ham is a dish that is really already cooked.  So what you are really doing when you are cooking a ham is warming it up and adding a little flavor with a glaze or rub if you so desire.  I figured the best way for us to cook a ham for two people was to not cook an entire ham.  I got a boneless ham from Costco.  (If you read my blog you know that this is one of the staples in my freezer and that, depending on the size of the ham, I cut it up into 4 to 6 equal size pieces and then only make a little at a time.)  Then I cut the ham into 6 equal portions, wrapped five of them to go in the freezer and left one out to make the main dish for my Easter dinner.  It makes the perfect amount of ham for two people for a meal and leaves just a smidgeon over for sandwiches if you so desire, or you can put it in a quiche!

Ingredients
2-3 pounds smoked ham
1/4 cup brown sugar
2 tbsp. brandy  (Please use brandy and don't try to substitute, it just will not be as good.)
1 1/2 tsp. whole grain mustard
1 tsp. cumin
1 tsp. ground coriander
1/4 tsp. all spice
1/2 tsp. to 1 tsp. cayenne pepper (You can do less if you would prefer your ham be less spicy, how spicy I mine depends on my mood for that day.)
1-2 tsp. Louisiana hot sauce or Sriracha  (Again, taste it and if you want it spicier, do it!  I do sometimes.)
1/2 tsp. salt

Instructions
1.  Preheat the oven to 350 degrees.
2.  Line a small, rimmed baking sheet with foil and lay the ham on it.  (If you were doing a big ham, you would do this flat side down, so try to find a piece that you cut from the butt end, that you can do this with, but, if you can't, don't worry about it.  Just make certain that at least one side that is facing the oven is the skin side.)  Whatever you do, don't forget the foil or clean up will be a royal mess.
3.  Score the ham with cuts one inch apart and about 1/4 inch deep.  You want to do do this in a grid pattern going in two directions going diagonally one way and then going the opposite way so that you create "sqares" over the entire surface of the ham, excluding the side of the ham that is face down on the pan.  You know, this pattern:

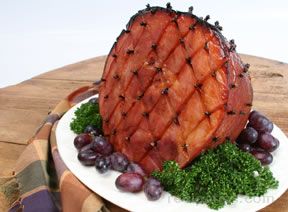
This is not my ham, but until I could get you pictures from my Sunday dinner, I wanted you to have a visual for how to score the ham.
4.  In a small/medium bowl, mix all of the remaining ingredients to make the glaze.
5.  Rub half of the glaze over the surface of the ham.  Make sure to rub the mixture into the scores that you made in the ham.  Reserve the other half of the glaze for use later.
6.  Place in oven and bake for 20 minutes.
7.  Pull the ham out of the oven.  Rub the rest of the glaze over the ham and place back in the oven for another 10-20 minutes. (The timing of this will depend on the weight of your ham.)  You will know the ham is done when the exterior is dark and crusty and the ham is heated all the way through and read 140 degrees with a meat thermometer.

Raspberry and Walnut Spring Salad


Ingredients
1/2 package of  torn mixed salad greens of your choice (I like romaine and baby spinache)
1-2 tbsp. chopped walnuts
1 1/2 tsp. sugar
1/2 cups raspberries (You can use frozen or fresh, whatever is available.  But if you use frozen, make sure they are thawed before you use them in the salad)
1-2 slices of red onion, thinly sliced  (You can dice them if you would rather and you would want about 2 tbsp.)
2 tbsp. chopped dates
3 1/2 tsp.  (Or more, depending on your dressing preferences) balsamic vinaigrette
(You can use a bottled balsamic vinaigrette you like, or you can make your own.  Here is one of my favorite recipes, just make certain that you use a good vinegar.  It makes all the difference in the word.
http://www.epicurious.com/recipes/food/views/balsamic-vinaigrette-234241))
Feta, crumbled  however much you would like

Instructions
1. In a small non-stick skillet cook walnuts and sugar over low hear for about 10 minutes, stirring constantly, until sugar is melted and walnuts are coated; cool and break apart.
2.  In large salad bowl, combine salad greens, raspberries, onions and dates.
3.  Just before serving, pour dressing over salad and toss gently to coat.  Top with the feta cheese and walnuts.

Rosemary and Garlic Sliced Roasted Potatoes

I make these in individual scallop dishes, but you can also make them in custard cups.

Ingredients
1 tsp. butter, melted
1 1/2 tsp. olive oil
1 tsp. chopped fresh rosemary leaves or 1/2 tsp. dried rosemary
1/2 tsp. dill
1 clove garlic (I usually do 2, but I really like garlic), minced
1/2 tsp. kosher salt
1/8 tsp. freshly ground pepper
1/2 - 1 pound Yukon gold potatoes, peeled and cut crosswise into 1/8- inch slices (About two potatoes, and it helps for this recipe if you have a mandoline.)
1/4 cup grated fresh Parmesan Reggiano

Instructions
1.  Heat oven to 375 degrees.
2.  In a medium bowl, stir together butter, olive oil, rosemary, dill, garlic, salt and pepper.
3.  Add potato slices to butter mixture.  Toss until all of the slices are thoroughly coated with the butter mixture.
4.  Pick up the potato slices by the handful and place the slices one on top of the other forming a small stack in your hand.
5.  Place the potato stack on its side in an ungreased miniature scallop pan or a custard cup.
6.  Continue making stacks and arranging them side by side in the dish to form potato stack "rows".  You should have about two rows, but you may have three depending on the size of your dish.  These rows need to be tightly packed slices.
7.  Scrape bowl for any remaining butter mixture and spread over the potatoes.
8.  Bake 30 minutes.
9.  Remove from the oven and sprinkle with Parmesan cheese.
10.  Return to oven and bake 15-20 minutes longer or until potatoes are fork tender and golden brown on top.
 Let stand 10 minutes before serving.

TIP: If you do not have a double oven and cannot cook your potatoes and ham at the same time, you can cook the potatoes ahead of time and put them in the refrigerator but you will want to skip steps 9 and 10.  Once the ham has finished cooking, cover the ham in foil, remove your potatoes from the refrigerator, change the oven temperature and proceed with steps 9 and 10 of the potato recipe.

I am going to post the Deviled Egg recipe and the bunny shaped cakes recipes tomorrow.  I am doing something a little different for each and I want to make them before I give the recipes to make certain my ideas are going to work. If they don't work, I will share my story of my epic fail.

Also, I will add pictures for the recipes on Sunday as I cook them.  I forgot to do this when I was doing the test recipes.

I hope you like these ideas for an Easter Dinner for Two.

Do you give out Easter Baskets in your home?  And, if you do, what are your favorite items to put in them?