Tuesday, April 5, 2016

Frugal Femme Two Week Menu #2: Week One, Tuesday - Pork "Steaks" with Curried Peanut Sauce, White Rice, and Roasted Garlic Cauliflower

Hello Everyone!
Today, I went to the farmers market to get some fresh, seasonal produce.  This is a rather new thing for me, as I only really started eating vegetables this year. And I only did so because I didn't want my husband to die from diabetes.  So I have been trying a whole slew of different recipes to try to convince myself that vegetables are delicious and I really do like them.  (It would be better if I could smother them in Velveeta cheese, but that would be negating the point of trying to eat healthily in the first place.)  Do I like vegetables yet? Still not my favorites, but I am working on it.

Doesn't that look pretty and healthy?

Also, my husband let me know that my laundry sorter table top he was making for me was finished!!!!  What is a laundry sorter table top you are probably asking yourself.  Well, it is a top that my husband made for me that sits on top of my laundry sorting hamper.
It was an idea that I came up with one week-end when I had done laundry for a whole day and I woke up the next morning wanting to die because my back was hurting so bad from bending over my bed so I could use the t-shirt folder that I am, just a little, in love with. (Thank you Sheldon for letting me know these things existed.)  So, after looking at my hamper, I came up with what I thought was a brilliant idea:  put a "table top" on the hamper.  Then I wouldn't have to bend to fold my shirts. It already had wheels so  I could roll it to whatever room I wanted to so I could fold laundry in the living room if I was so inclined and I could use it as a desk in the bedroom for when I am writing my blogs and want to be in the same room while my husband plays video games.  GENIUS!!!   So I asked my husband if this was doable and he made me one.  Ta dah!!!

Well, not quite yet, this is my hamper without the table top, but with the baskets I keep on top to keep Laika from going into the hamper and eating our underwear.

Here is the hamper with the tabletop.  You can still sort of see the baskets. I didn't have to remove them!!!

This is the bottom of the table.  You can see the grooves that my husband did by hand so that it would sit gently and level on the bars of the hamper.

This is the table top in use!  You can see the t-shirt folder and the t-shirts I have already folded all fit nicely on the table.  I am so happy!!!!
 
Isn't that awesome?  I love having a husband who can work with his hands.

But now on to the next meal of the Frugal Femme Two Week Menu.

Tonight, I am making a meal made from the leftover pork and cauliflower we had from Sunday night's dinner and the left over white rice that we had from Monday night's dinner.  (The rice should be the only pre-cooked item.  All of the other items should still be raw.)

Pork "Steaks" with Curried Peanut Sauce

Ingredients
2 boneless pork "steaks"  (I cut mine from the pork roast that I had left over from Sunday. 
   I also had a few smaller pieces that I cooked as well.in case my hubby wanted a little more protein.)
2 tbsp. creamy peanut butter  (You could use crunchy if that's what you have.  I like creamy.)
1/2 tsp. Better Than Bouillon Low Sodium Chicken base
1 tbsp. olive oil
1 tsp.butter
1 small onion, cut into wedges
1 carrot, sliced (1/2 cup)
2 large garlic cloves, minced
1-2 tsp. curry powder  (I like to do two and I use two types of curry, but this is definitely a spice you should be careful with.  If you are not sure that you are going to like curry, start with one teaspoon and, after tasting, work your way up to another teaspoon.)
1/2 tsp. ground ginger  (or, if you have it, freshly ground ginger)
1 tsp. coriander
1/2 tsp. ground cloves

Instructions
1.  In a small bowl, combine the water, peanut butter and Better than Bouillon base.  Whisk with a fork until well blended and set aside.

Not very exciting.  Or pretty.
Some prep pictures, before we start cooking.

I used just the white bulb and the light green part of one of these that I picked up from the Farmer's Market, but you can use any onion that you would like.

This is mid chop.  You can see how I chopped it into quarters.

I like using baby carrots for almost all of my carrot needs. That way I can cook with them and snack on them.

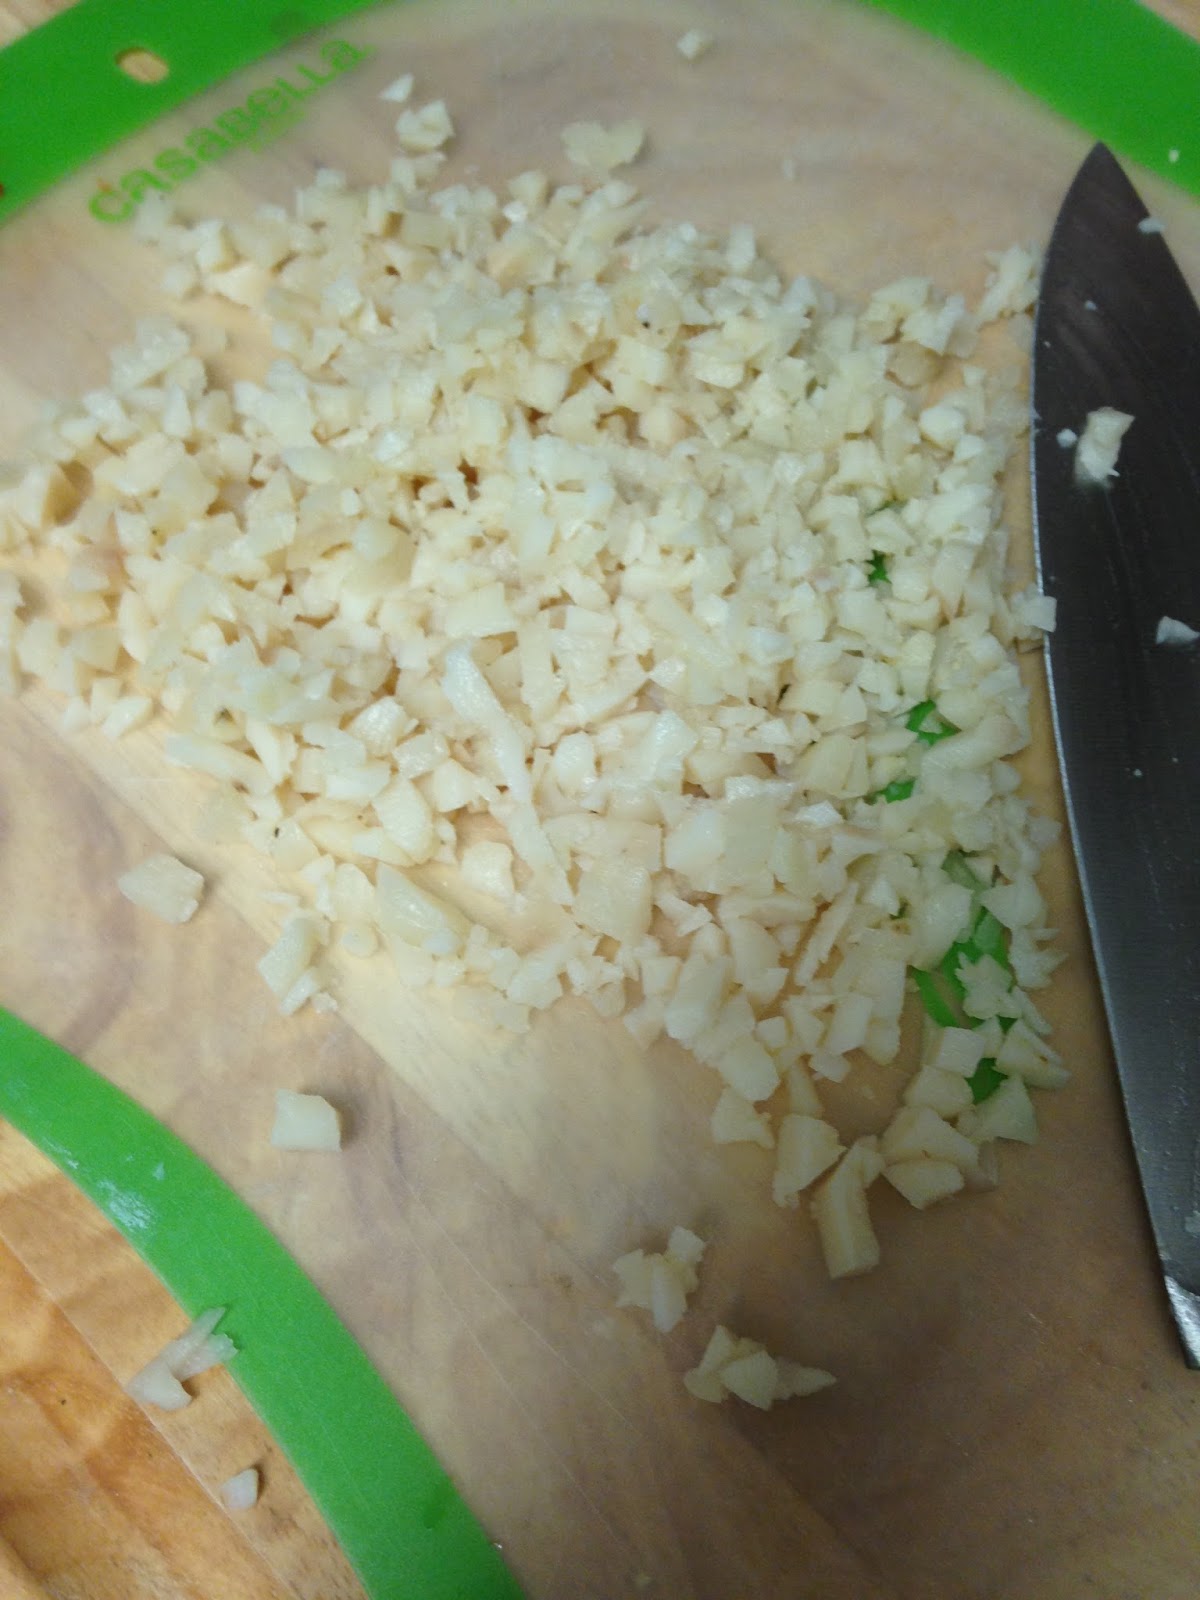
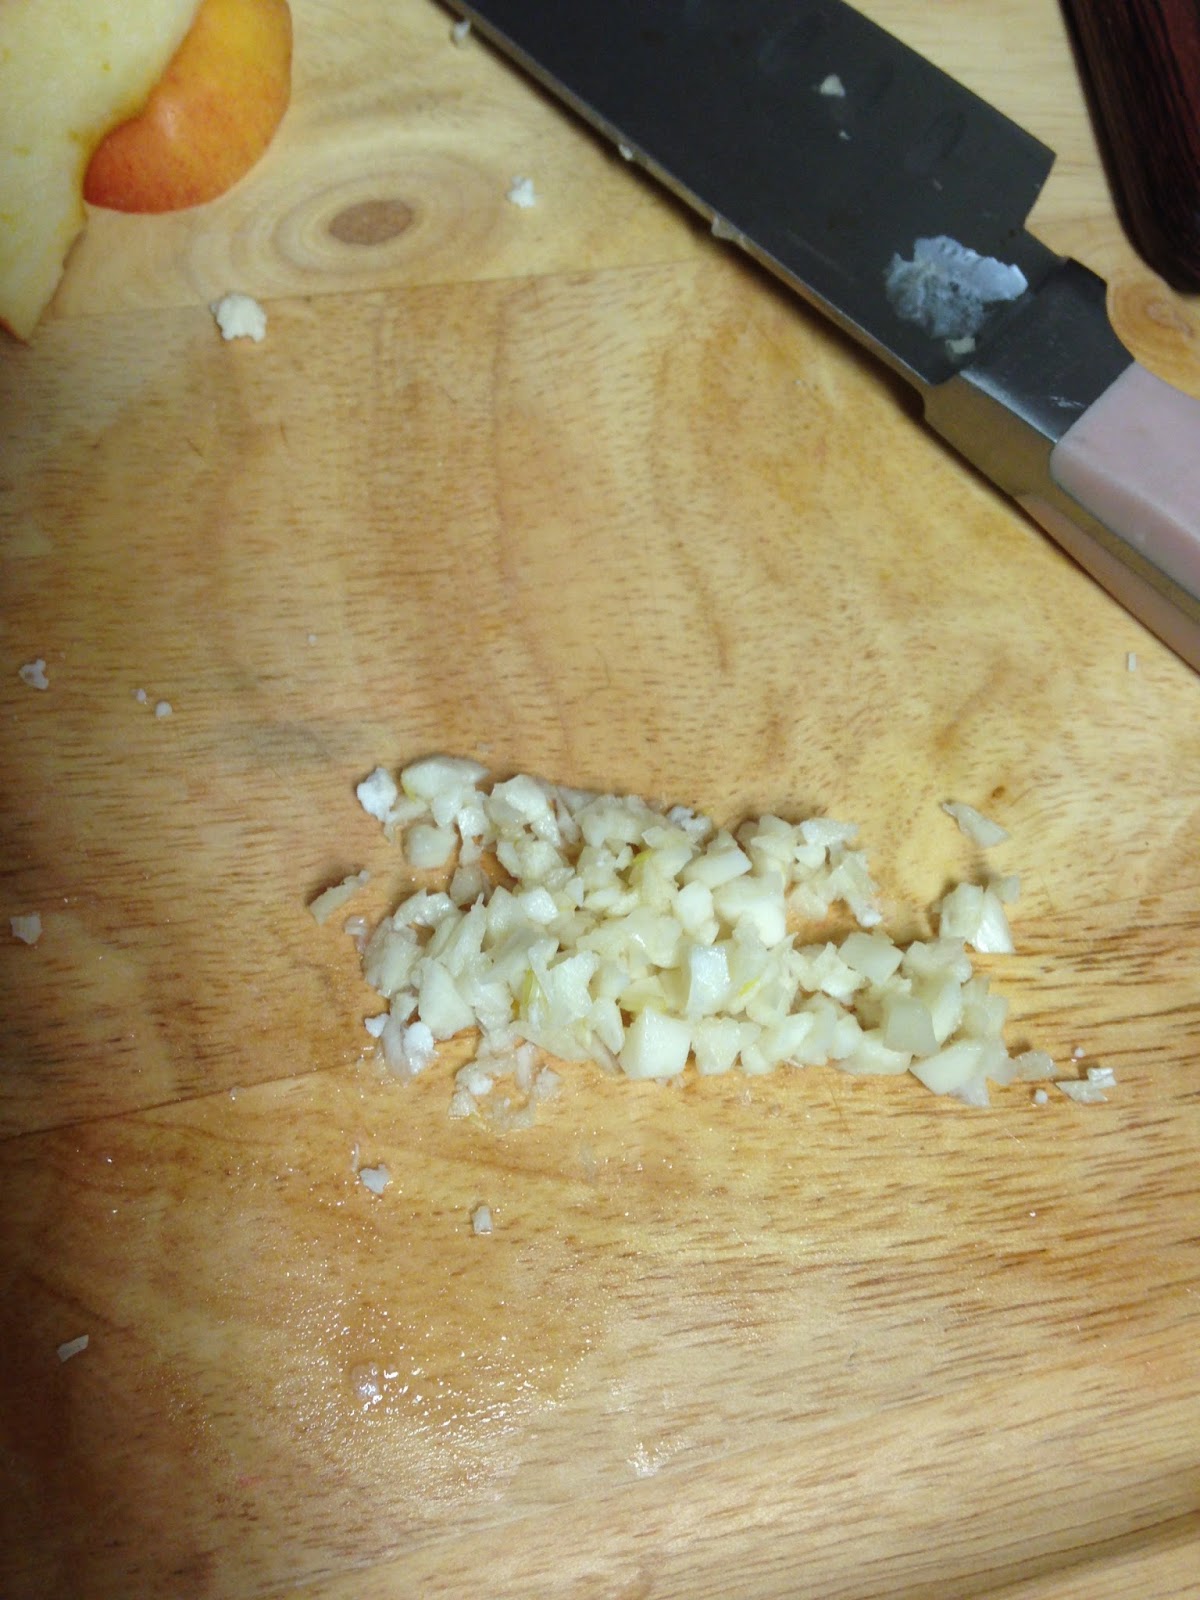
Minced garlic. Not sure why I took a picture of this but.....:-)

2.  Cut your roast into 1 inch thick pork "steaks".

Here is what is left of the roast.

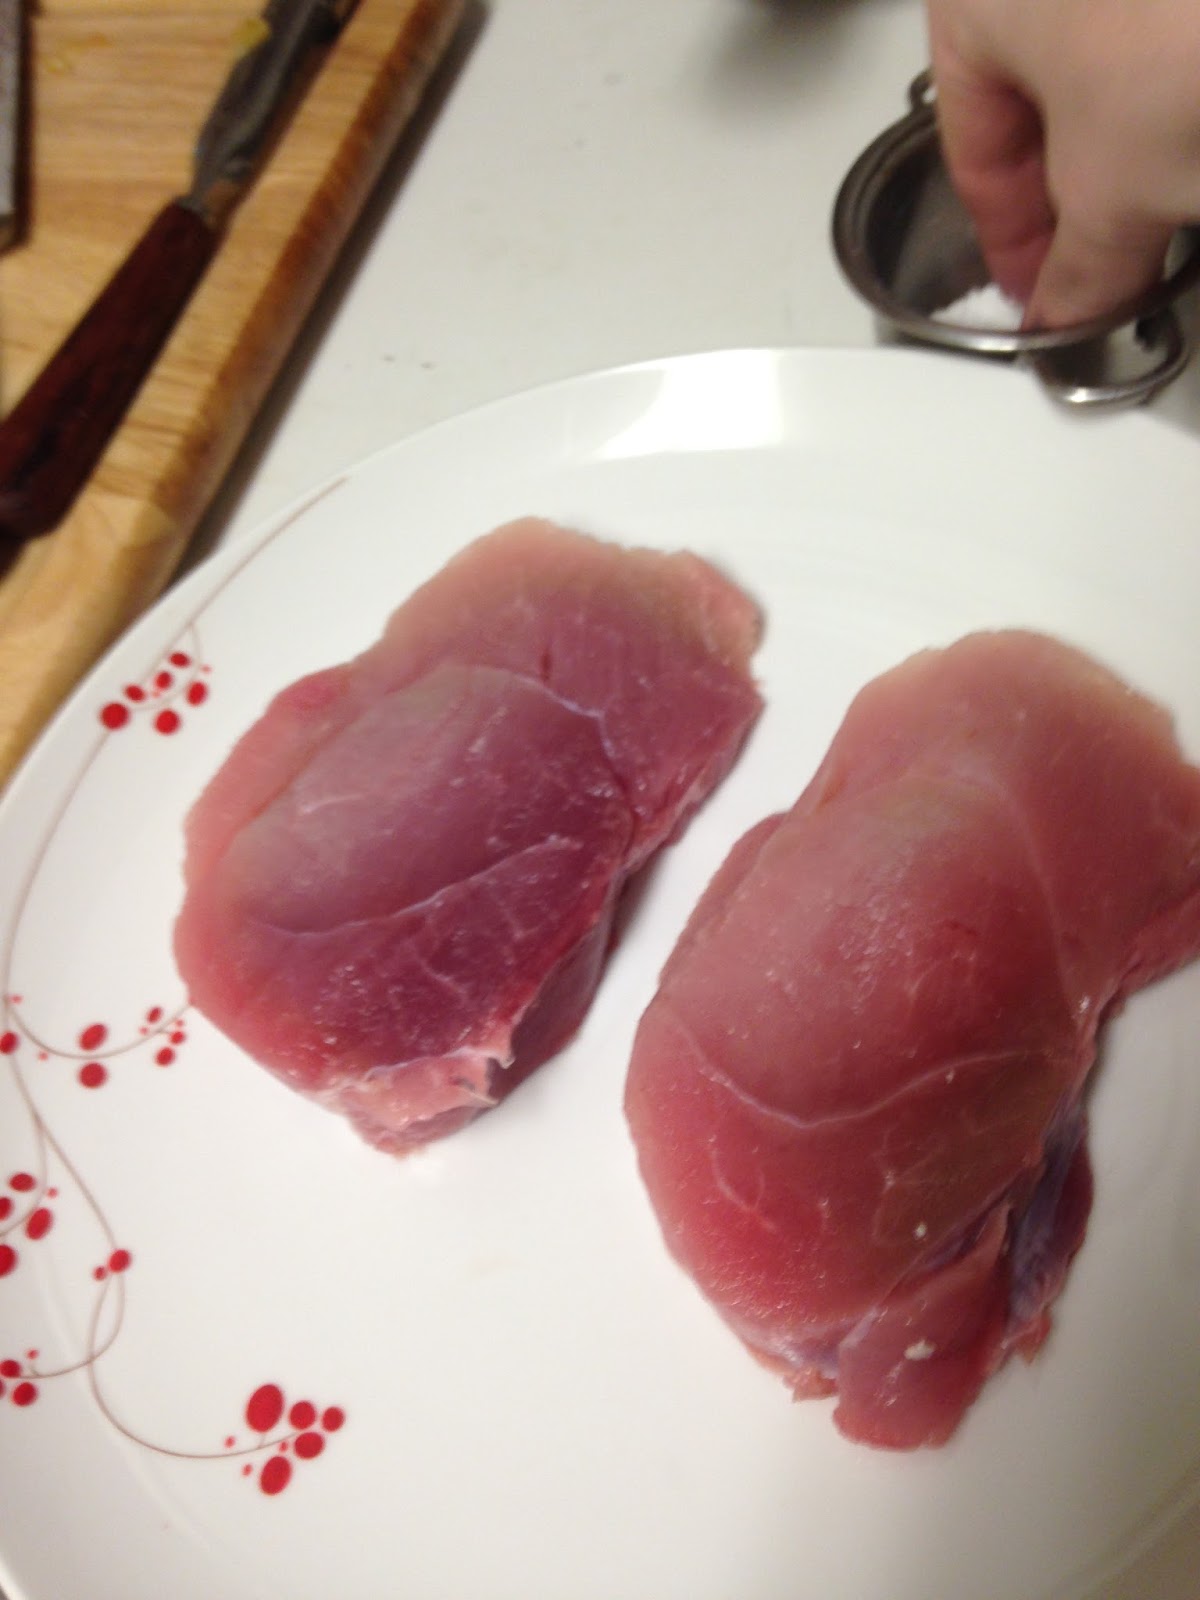
And now they are "steaks".

3.  On medium high heat, heat your olive oil and butter in a heavy bottomed skillet.  (I like using a cast iron skillet.)  Once the oil begins to "shimmer" and the butter begins to sizzle, place the pork steaks into the skillet.

4.  Cook steaks for about three minutes per side.  Each side should have a lovely golden color, but will not be cooked all the way through. Remove the meat from the skillet and put on a plate.


5.  Add onion, carrot, garlic and curry powder to skillet.  (You may have to add about a teaspoon more olive oil before putting the vegetables in the pan.) Cook, stirring constantly, 1 minute.
 
These are the two types of curry that I like to use.  One teaspoon of each.  They both have different blends and taste different, so it actually makes a difference in the flavor of the dish.


6. Push the vegetables to the side of the skillet and return your pork steaks to the pan.  Scoop the vegetables on top of the pork steaks.


7.  Pour peanut butter mixture over steaks and vegetables.  Lower heat to low.  Cover and simmer for 10 minutes until meat and vegetables are tender.  Remove meat to a warm platter.

This is what it looks like when you first put the peanut sauce in.

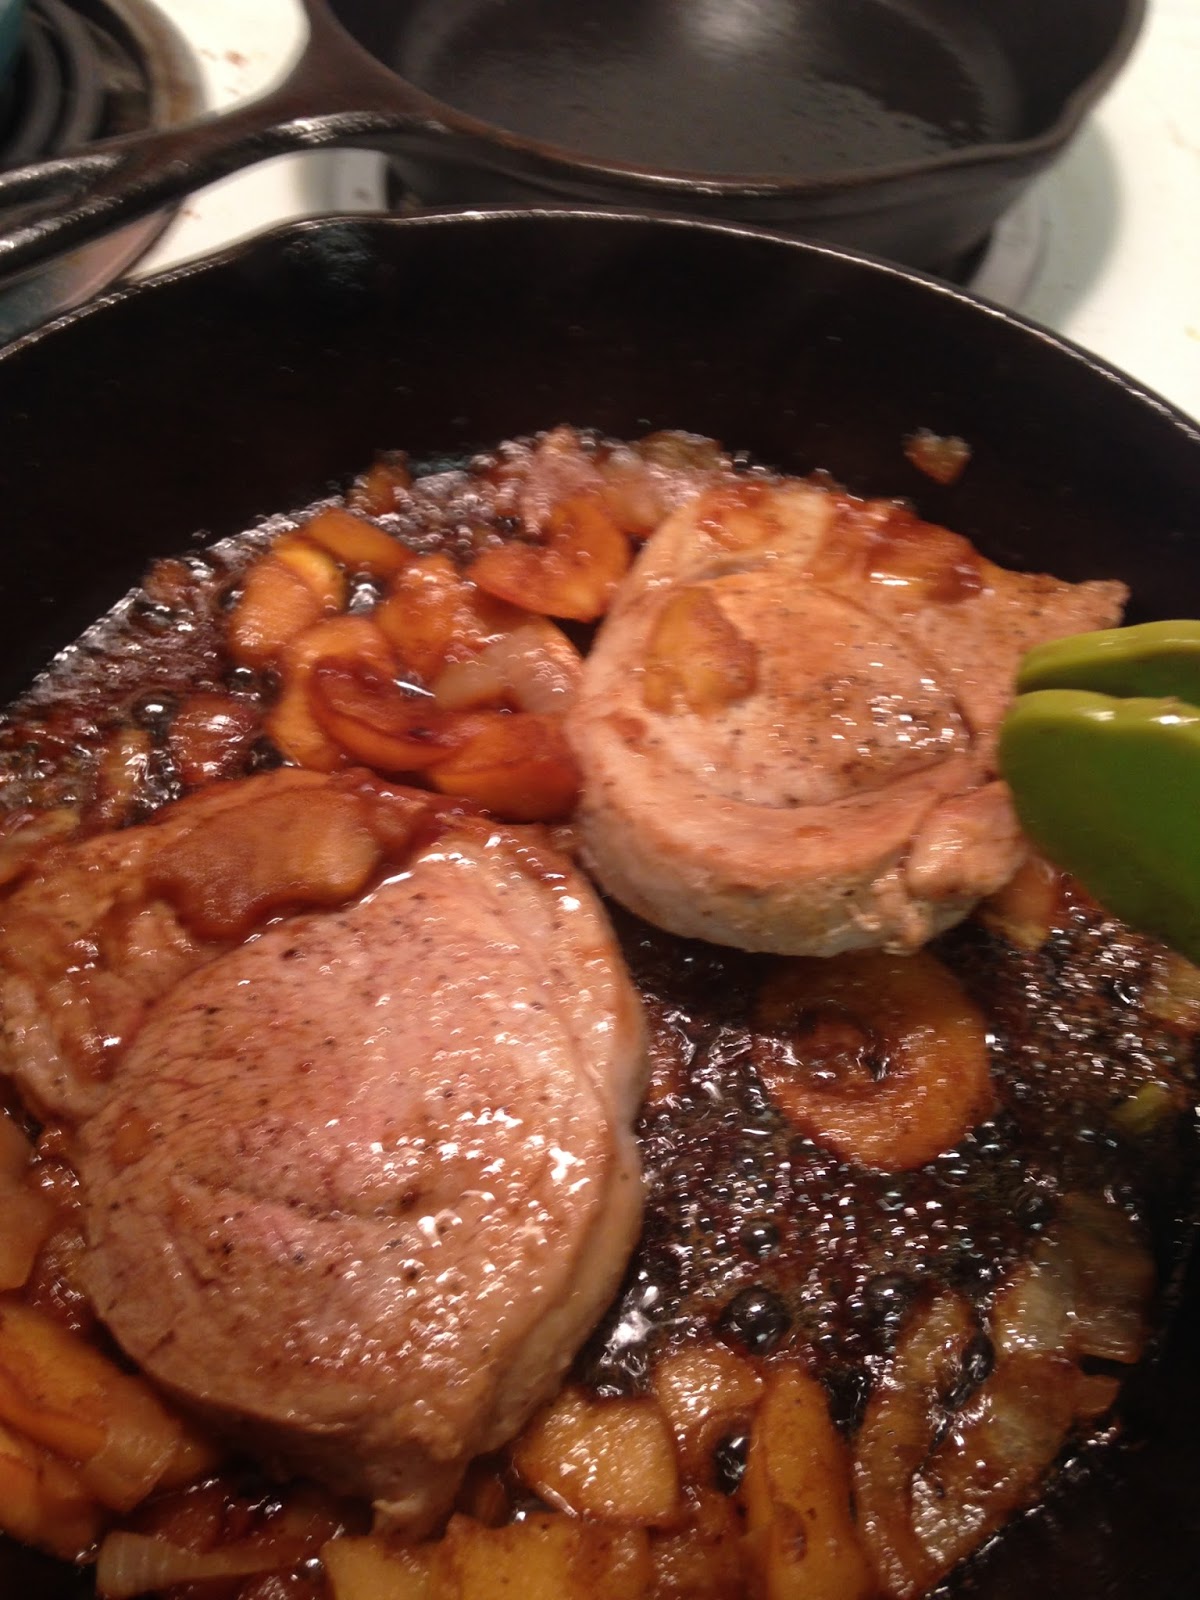
And this is what it looks like once it has reduced.


The sauce should be thickened at this point.  If it is still a little runny, add 1 heaping teaspoon cornstarch to 1/4 cold water and stir with a fork.  Once this mixture is combined, add it to the peanut sauce and stir and the peanut sauce should thicken right up.

Serve pork steaks over a bed of rice and scoop vegetables and peanut sauce over the rice and meat.


Roasted Garlic Cauliflower

I actually like this dish.  The broiling done in the last five minutes of preparation gives the dish a delicious crunch and flavor that I really like. 

Ingredients
1/2 of large head of cauliflower, separated into florets
2 tbsp. minced garlic
3 tbsp. olive oil
garlic pepper salt (to taste)
1/3 cup freshly grated parmesan cheese
1 tsp. dried dill

Instructions
1.  Preheat oven to 450 degrees.
2.  Grease a medium size casserole dish.  I just pour a little olive oil in the dish and then "paint" it all around with a pastry brush.
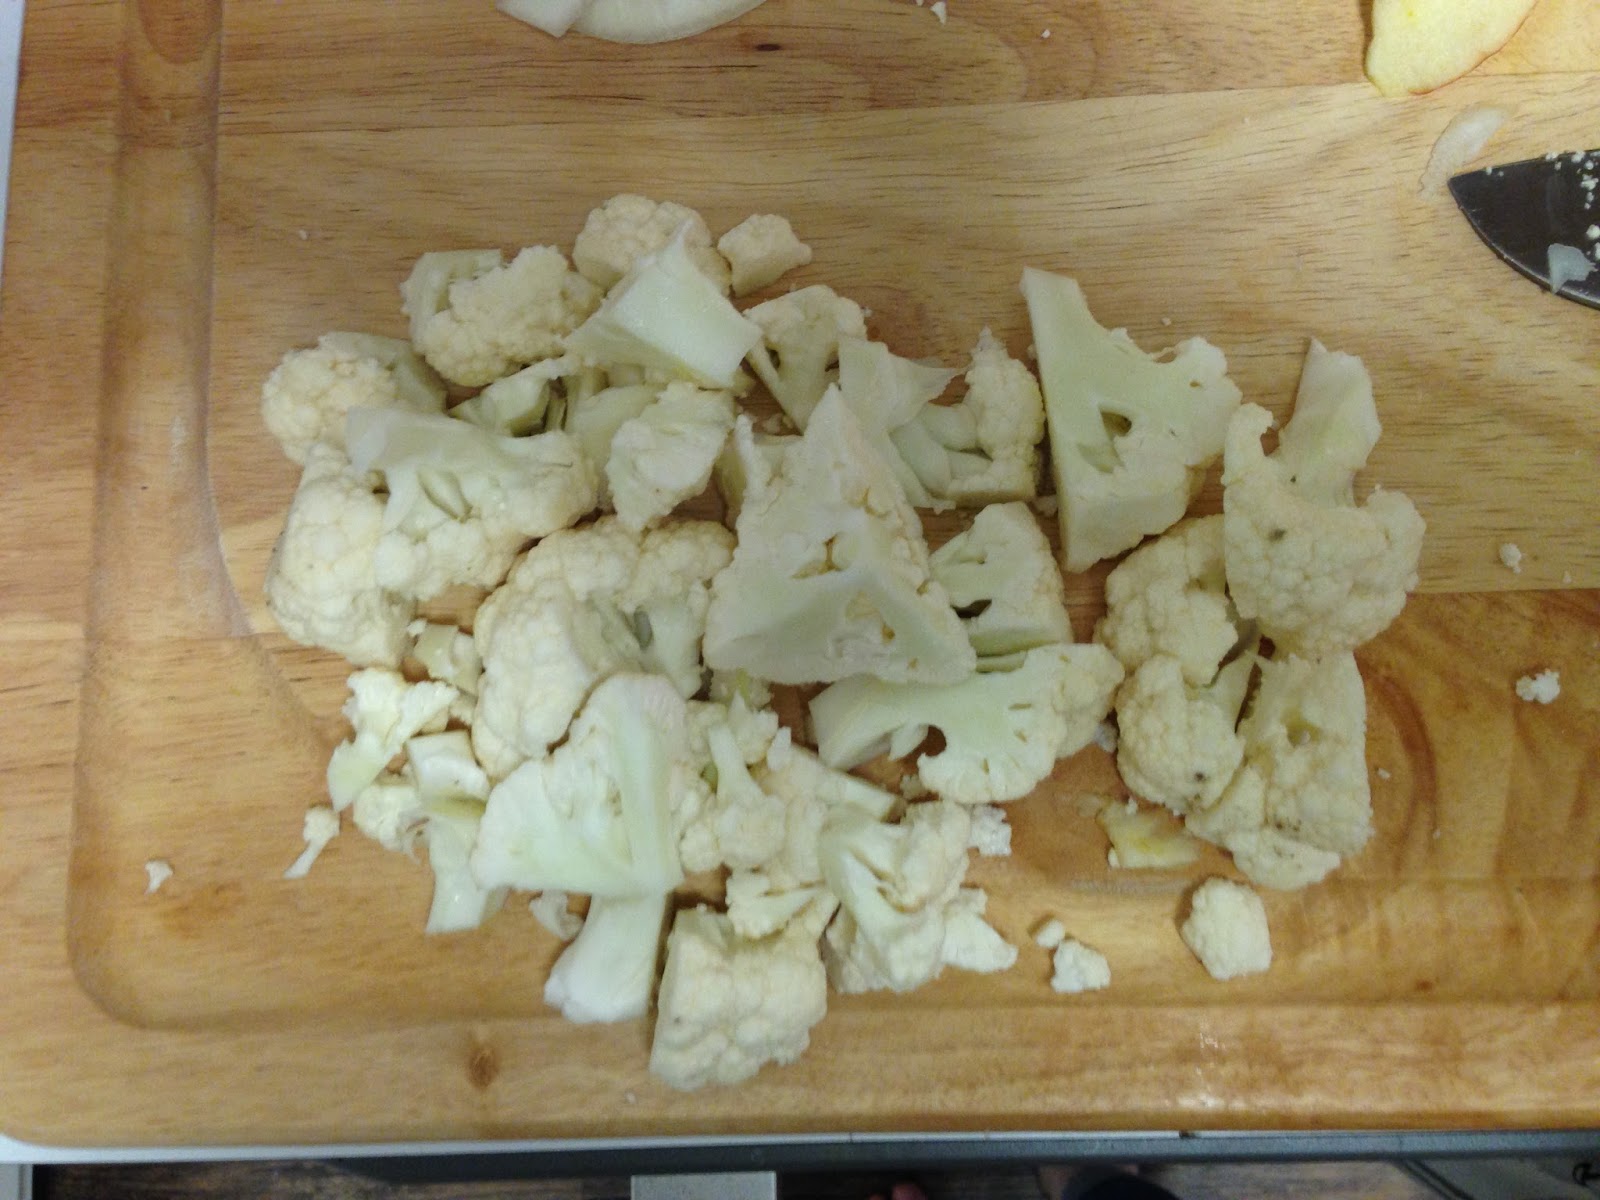
3.  Place the olive oil and garlic into a large re-sealable bag. Add cauliflower and shake to mix. 

Here are the garlic and cauliflower before I added them to the bag.


4.  Pour into the prepared casserole dish.  Make sure that you use a spatula or spoon to wipe down the sides of the bag as plenty of garlic will stick to the sides of the bag and you want all that garlic goodness to go into your dish.
5.  Season with the garlic pepper to your taste. I do between three to four shakes of the container.


6.  Bake for 25 minutes, stirring about halfway through.
7. After 25 minutes has passed, pull the shelf that your cauliflower is on out of the oven, so that it is resting about the oven door.  Turn your oven to broil.  Top the cauliflower with parmesan cheese and dill and broil for 3-5 minutes until golden brown. 


(Depending on the size of your oven, to get a good browning, you may have to move the shelf your casserole was baking on up a couple notches so that your cauliflower is about 3-4 inches from your broiler.)

Tip: This is best served immediately after removing from the oven.  If it sits too long, it is still delicious, but it loses most of its yummy crunch.)

White Rice

For the white rice, I just reheated the rice I had made yesterday in the microwave.  Just add about a teaspoon of water and nuke it in the microwave for 60 seconds.  Your rice should be tender, fluffy and heated all the way through.

That is it for this post.  I'll be back tomorrow with yet another meal. 

Frugal Femme Two Week Menu #2: Week One, Monday- Asian Chicken Lettuce Wraps with Spicy Peanut Sauce

Hello Everyone.
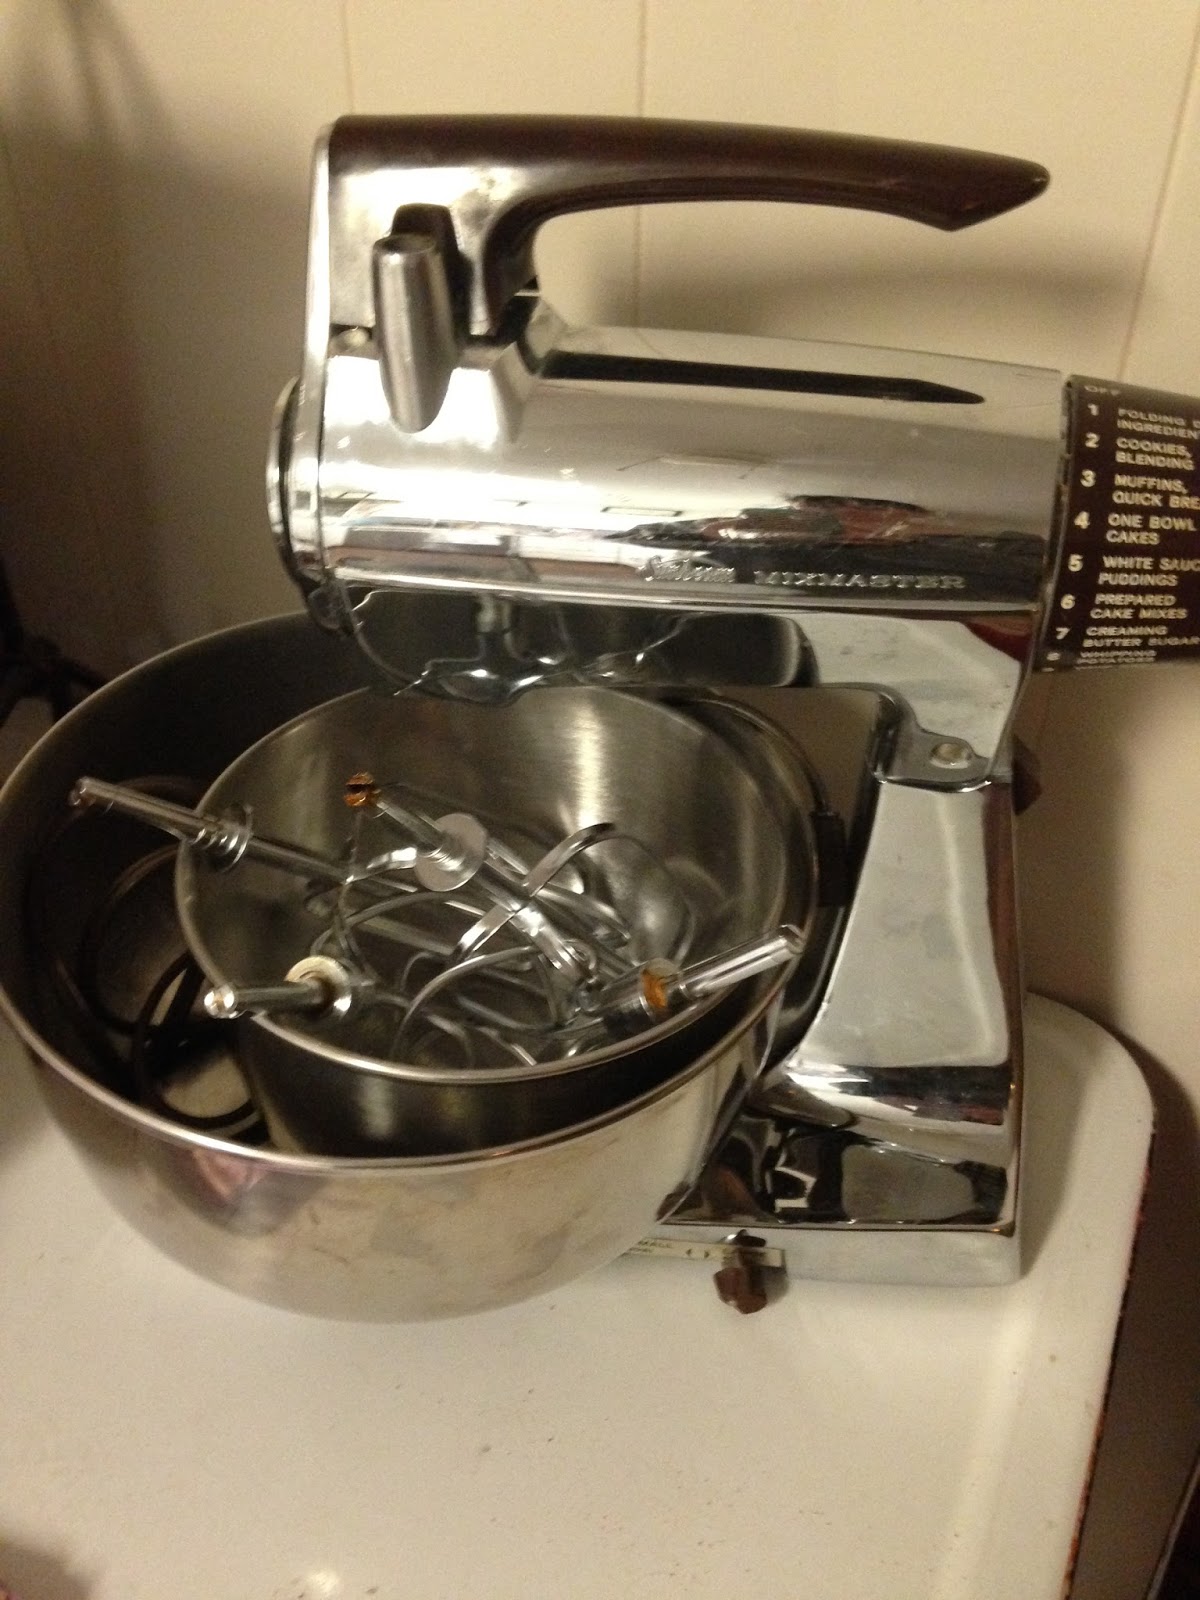
I am so excited!!!  For my birthday, my in-laws sent me some birthday money and with it I went on eBay and purchased myself a "new" kitchen appliance.  This is how I get ALOT of my kitchen equipment that I cherish so much. My agreement with my husband is that I always spend my birthday money on myself and not a bill and that I will spend it on something that I wouldn't purchase for myself - usually because I think:  "They want me to pay HOW much for WHAT?!?!" For this year's birthday, I got myself a vintage Sunbeam Mixmaster!!!!  I grew up with my grandmother's Mixmaster and that thing worked GREAT.  This one is probably a little bit later model than my grandmother's - I think hers was from the fifties and this one is most likely from the sixties. And it isn't one of the more collectable ones that come in the pastel colors.  But I already have a pastel pink KitchenAid mixer that my husband got me as a gift one year and, because I didn't care if it was a pastel color, I was able to get my Mixmaster for under $45.
 

My new baby.  Swoon.

Doesn't it look sleek?  Sort of futuristic and vintage both at the same time?  What I really love about it, is that the top comes off and becomes a handheld mixer.  Squee!!!!  I really wanted a handheld mixer, and to get a new Sunbeam Hand mixer (which look almost identical to the top of the mixer)would be about $60-$300 depending on the model that I could get. This way I get my hand mixer, a stand mixer, two bowls, and two types of beaters and for less than I would the new handheld.  Happy Birthday to me!
But enough about my new toy. On to tonight's meal.  To be honest, this recipe is not normally one that I would do on a week night because of the amount of time that it is the slow cooker.  Normally, this would be a meal that I would do on a Saturday afternoon because I could start the dish and it could cook in the slow cooker while I continue to do chores around the house and in the yard. However, since my husband and I aren't eating until around 9pm because of  his rehearsals, this one was a perfect dish to do for this Monday. 
Another warning, this is one of the few dishes that I am going to put up here that will feed more than two people. This dish will feed 4-6 people and you would probably still have leftovers. The reason why I am posting it here is for two reasons: 1. It makes great leftovers, and is a very delicious dish to bring with you to eat for lunch and 2.  It freezes really well, so its a great dish to have in the freezer for those nights when you just aren't feeling up to cooking and you still want something healthy-ish to eat.

Asian Chicken Lettuce Wraps


The idea for this recipe came from a slow cooker cook book put out by America's Test Kitchen.  I adore America's Test Kitchen.  (Which I believe I have already mentioned in another post.)  It may be my favorite cooking show on PBS' Create TV.  Their recipes are usually very delicious, although I do agree with one of my male friends who also likes to cook that, for people from Louisiana, the recipes can sometimes be a little on the bland side.  So, I spiced this up a little and came up with a peanut sauce to go with it and it was just what I was looking for.

Ingredients
2 pounds ground chicken (this should be ground chicken, not ground chicken breast)
4 cloves garlic, minced
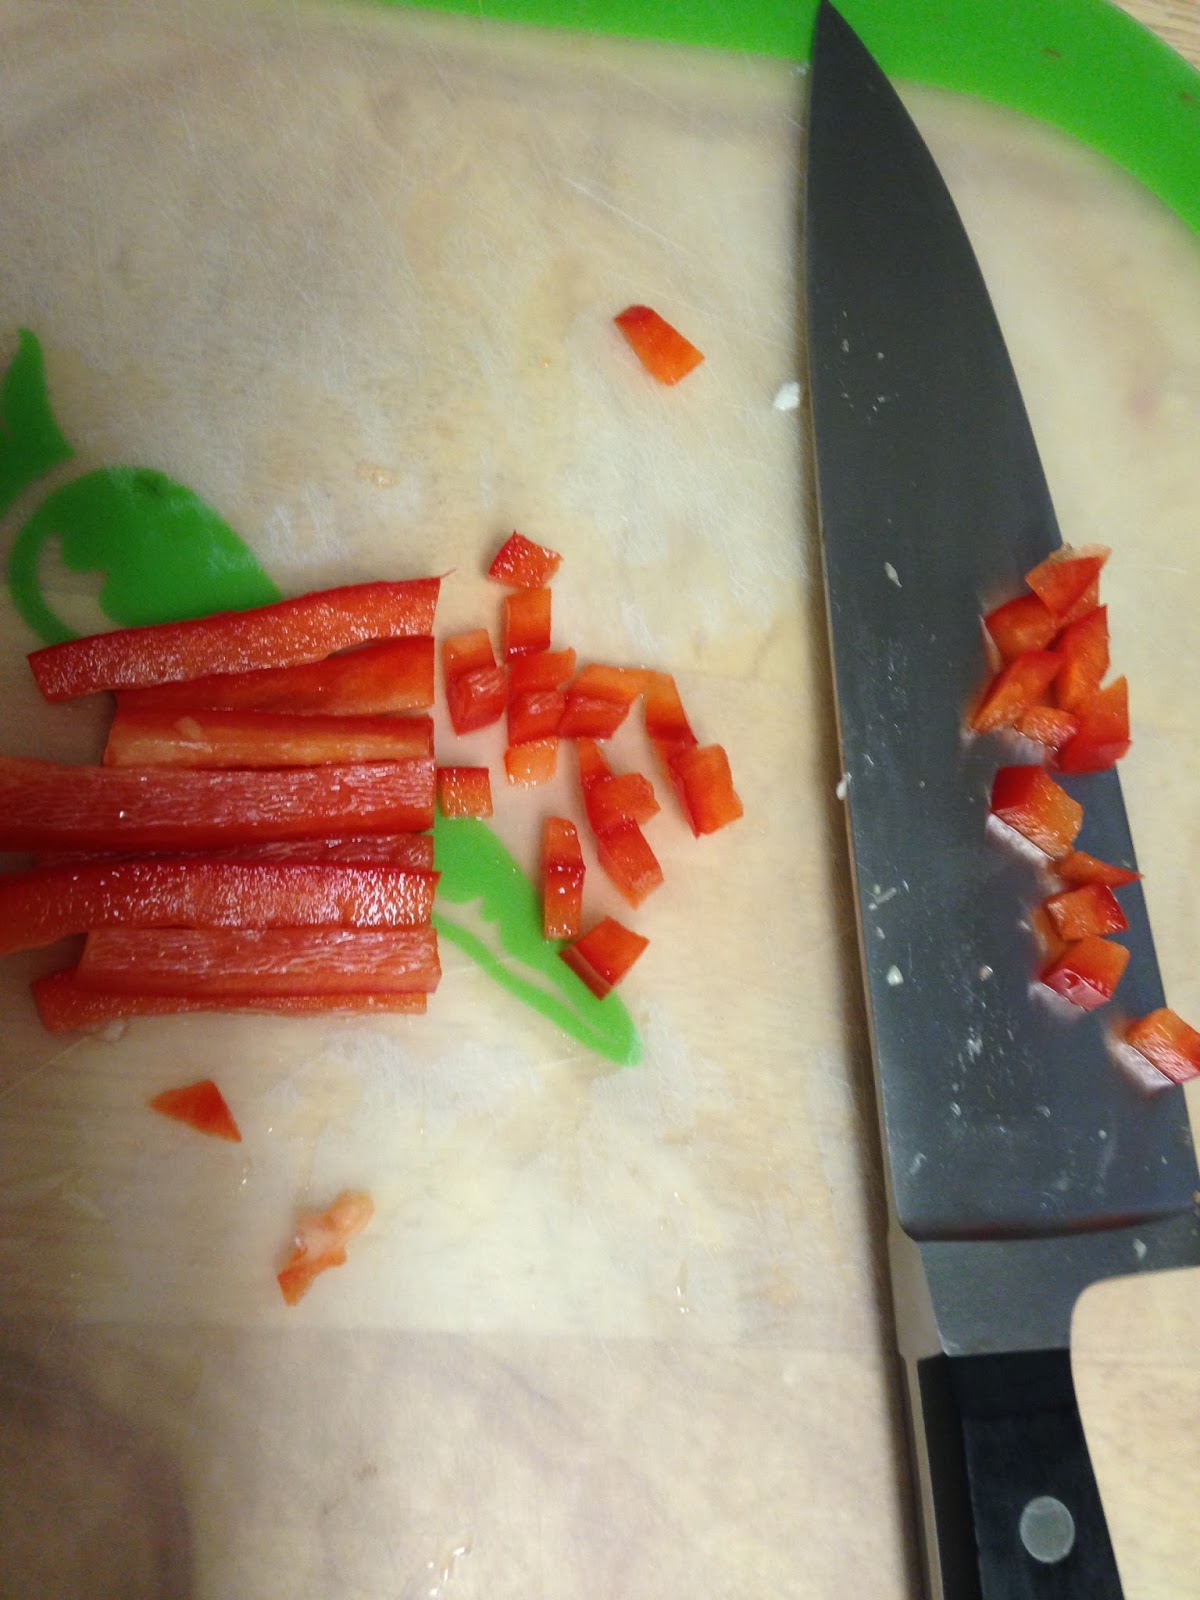
1/2 red bell pepper, stemmed, seeded and chopped fine
1/2 cup hoisin sauce
2 tbsp. soy sauce
kosher salt and freshly ground pepper
1 (8 ounce) can sliced water chestnuts, rinsed and minced
1-2 tsp. garlic rice wine vinegar (I like two but I would start with one and see how you like it.)
1 cup cooked rice
3 green onions, sliced thin
1 package baby romaine lettuce

Instructions
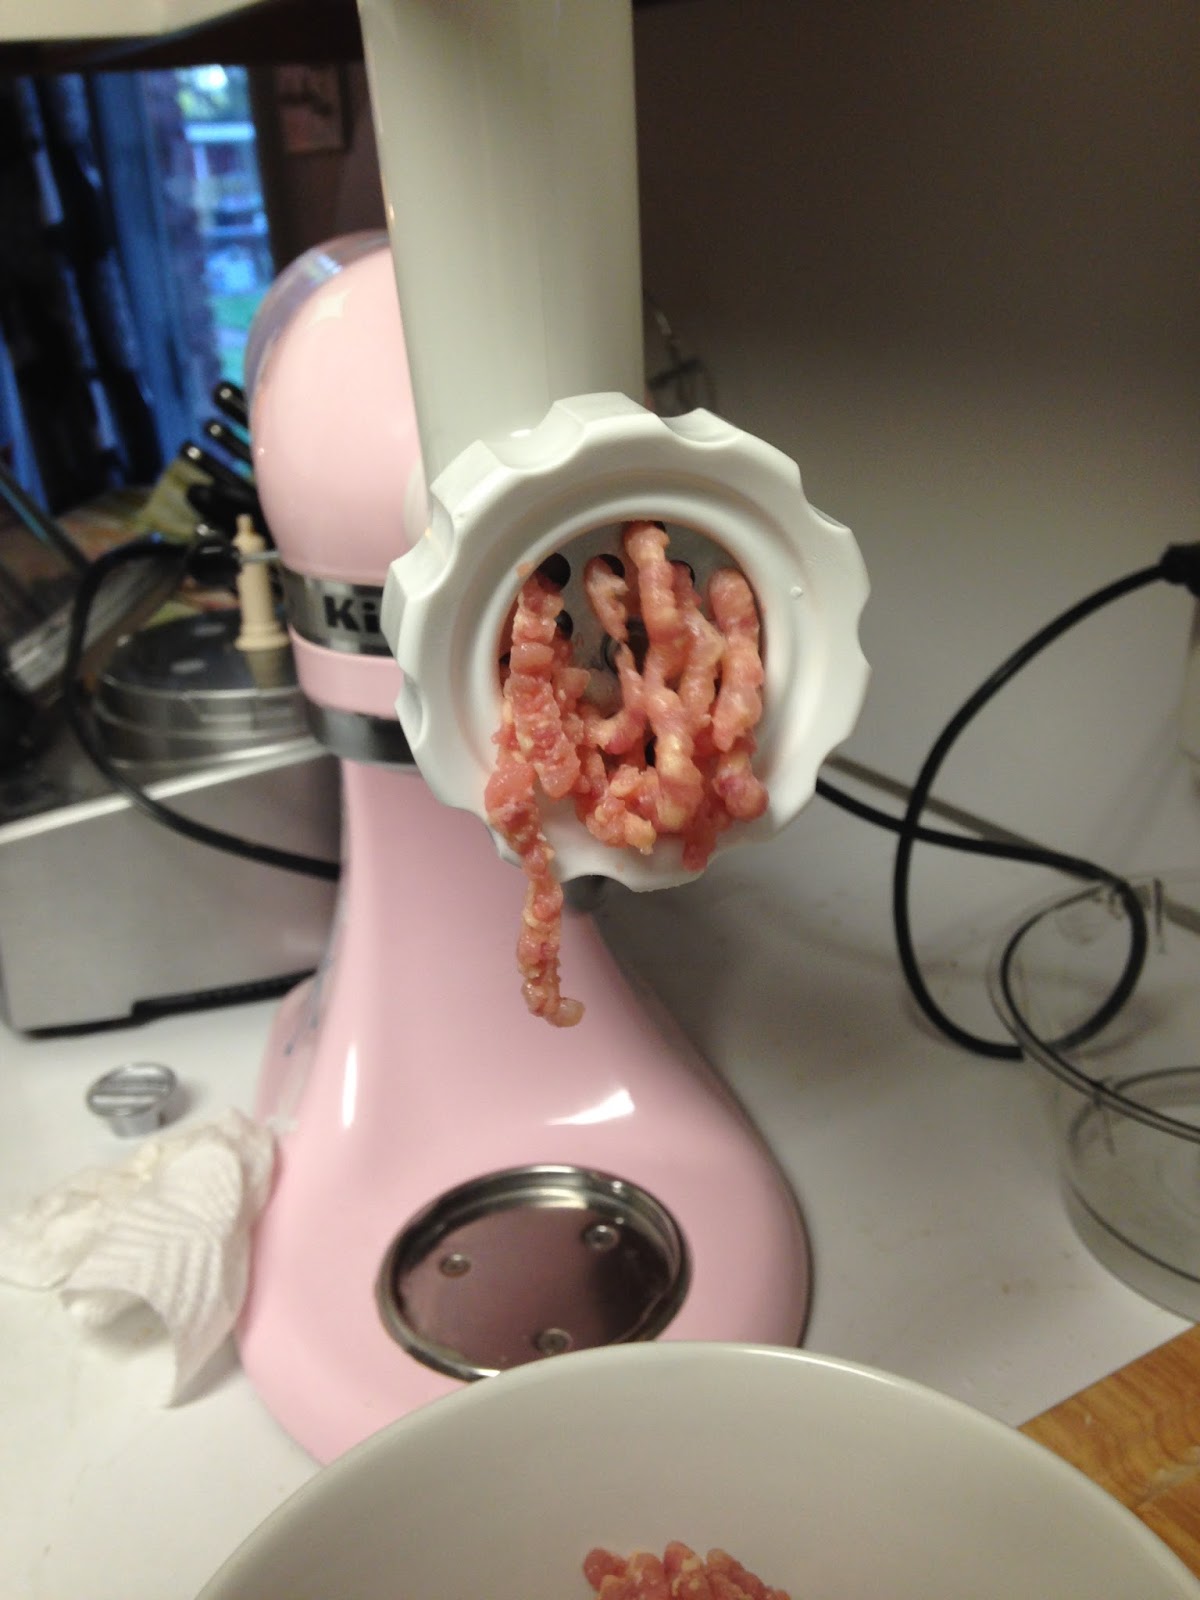
1.  It is very important for this recipe that you do not use ground chicken breast as it will get too dry.  You want to have ground chicken that includes thigh meat.  I could not find ground chicken at my grocery store and there were some boneless chicken thighs on sale.  So I bought 2.5 pounds of chicken thighs and decided to grind up my own.  (This is one great way to save money as you can get two to three different meals from one packet of chicken.)  There are three ways that you can go about creating your own ground chicken. I am fortunate enough to have a Kitchenaid mixer with a grinder attachment.

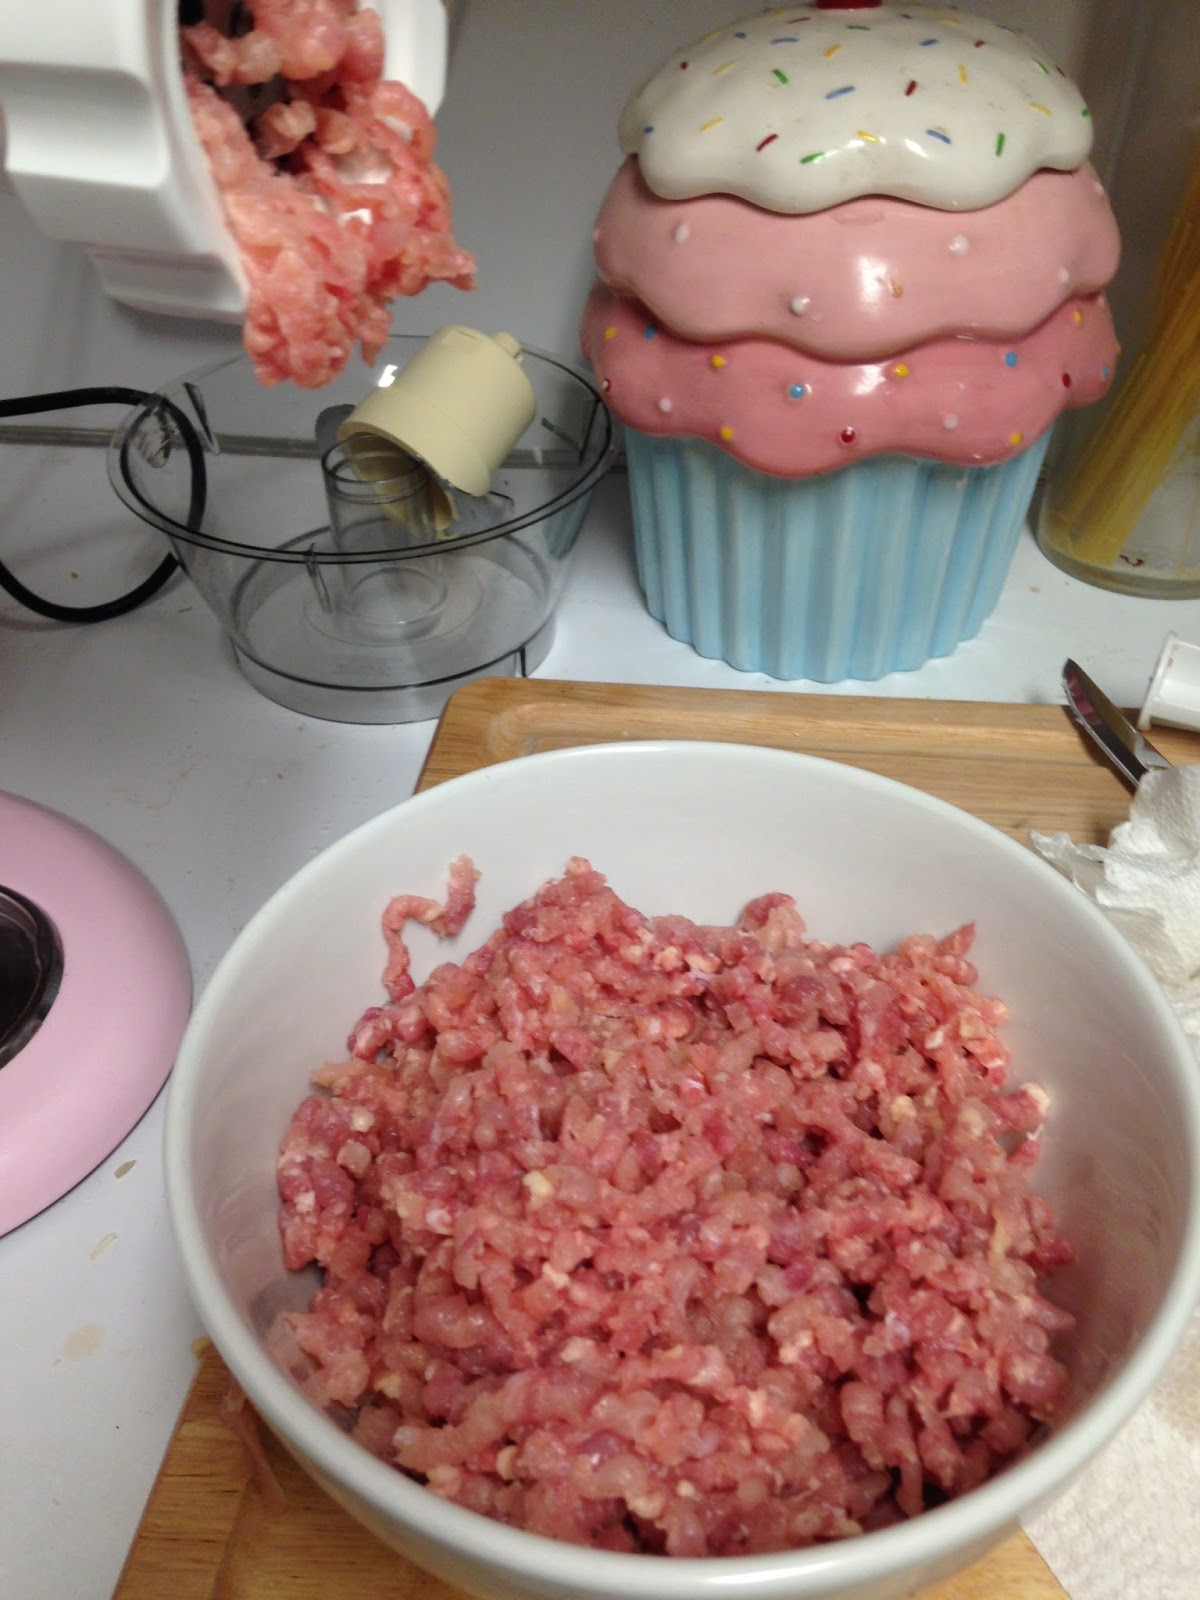
My cup cake cookie jar makes this picture a little jarring.  Sorry.

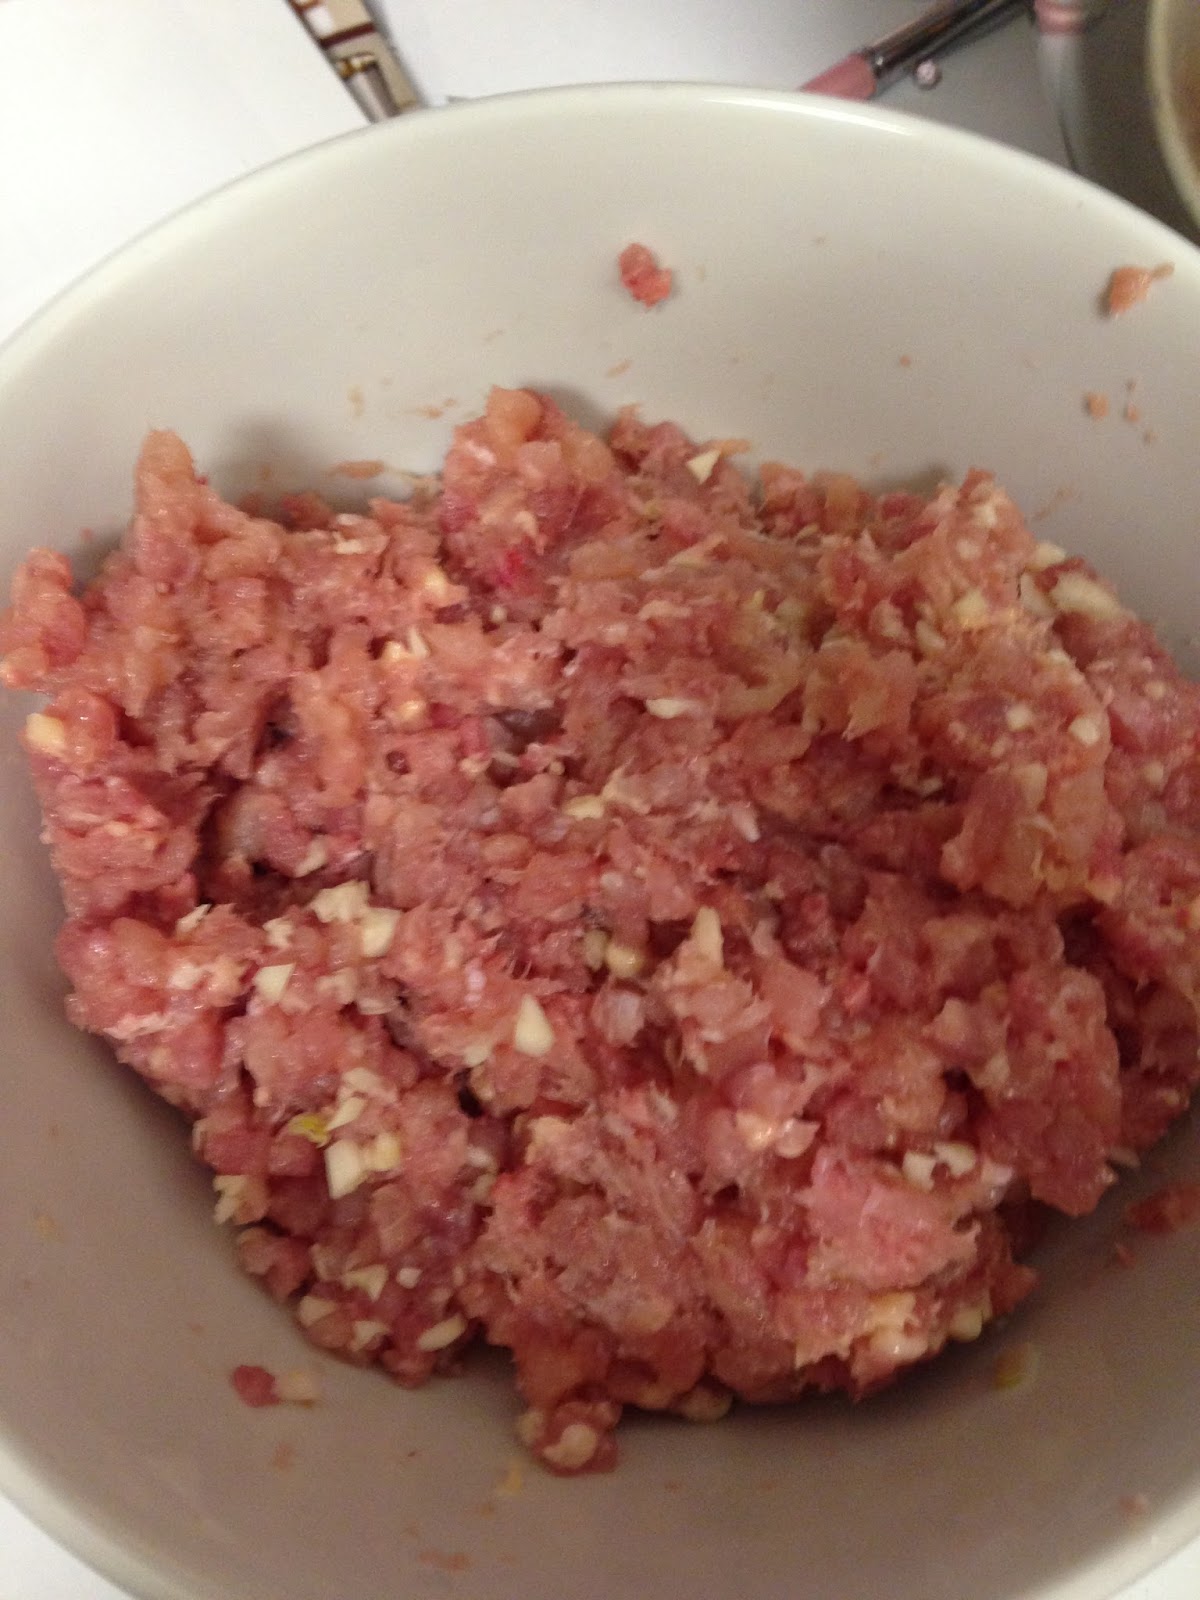
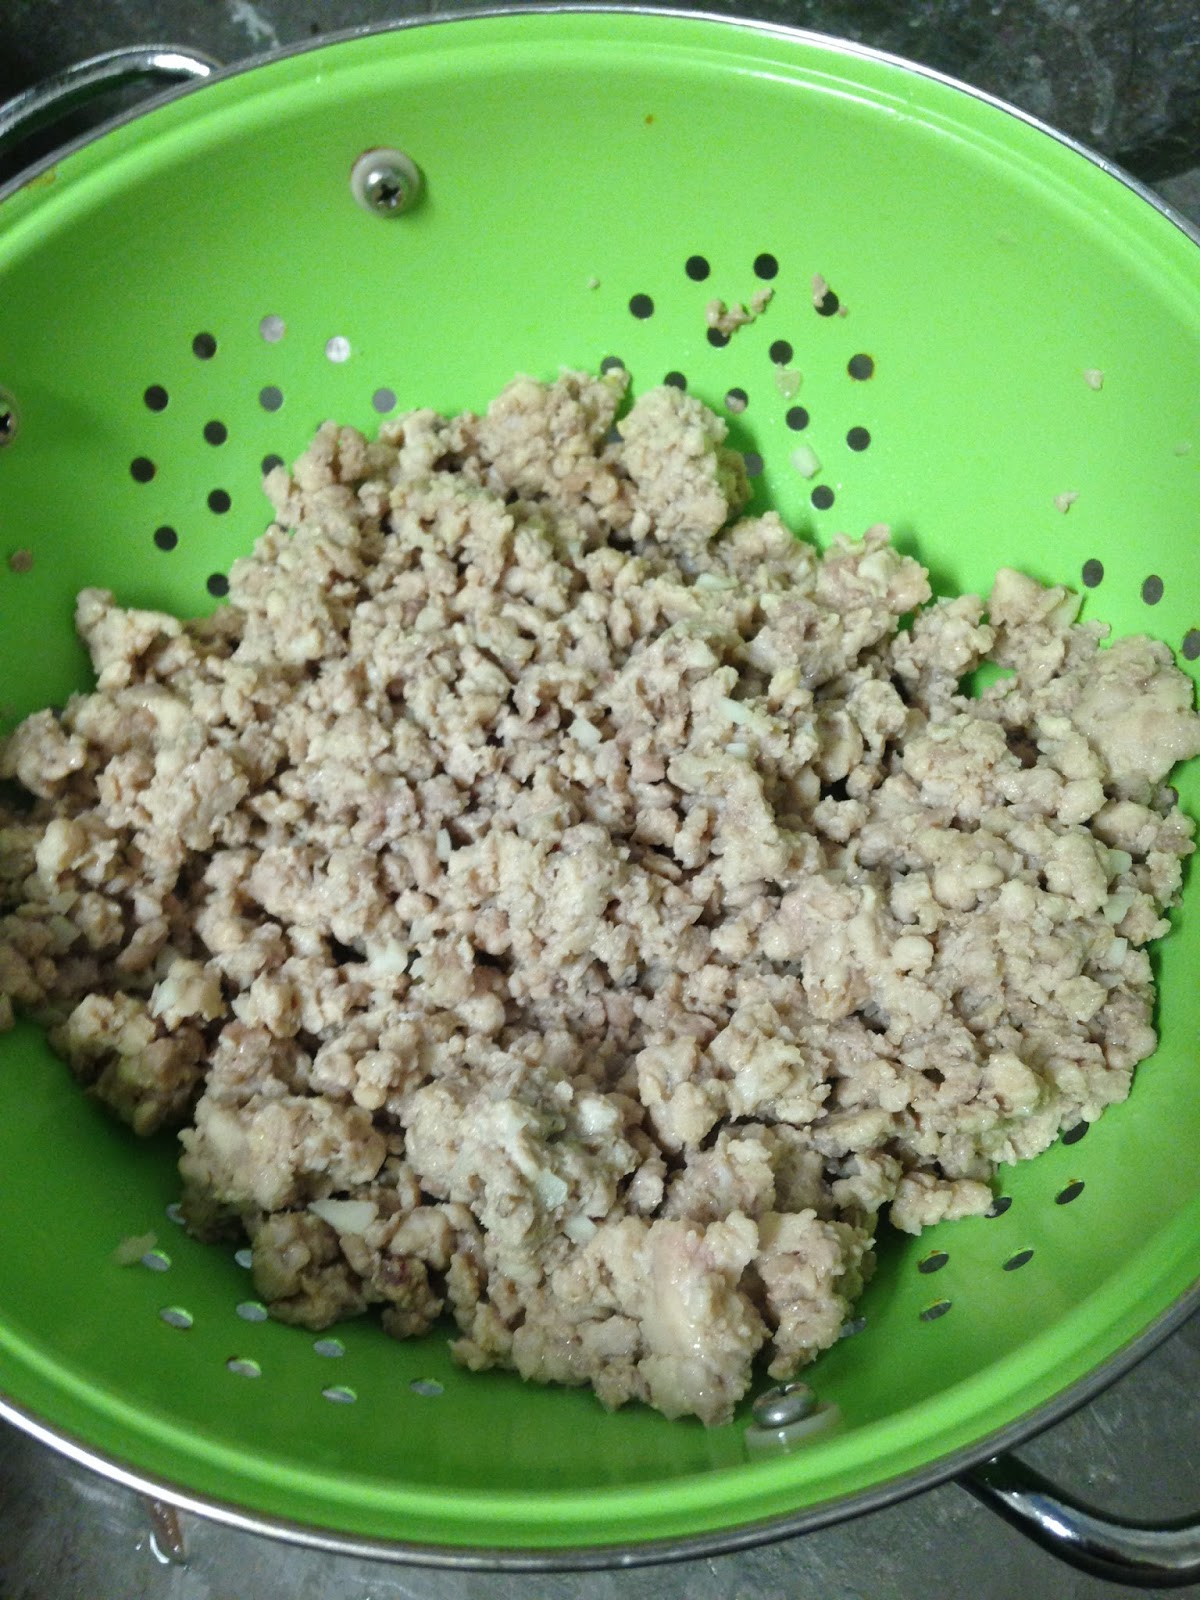
Ground Chicken with garlic in it.

 (The attachment was a Christmas present from my husband this year and I use it like crazy.) and this is how I grind my meat but you can also grind meat using a food processor.
Below is a link to an America's Test Kitchen video that shows you how to grind your own ground beef, but the idea is the same no matter the meat.
https://www.youtube.com/watch?v=y1fz2fvvkqw
Or you can use a knife.  This will be the longest process, but it is doable.   The secret any of these methods is to freeze any of the meat that you are planning on grinding for about 30 minutes.  This allows the meat to stiffen and it will grind easier.
I removed two chicken thighs out of the package and put them in a plastic bag in the fridge to use for another dinner this week and used the remainder of the chicken in this dish.
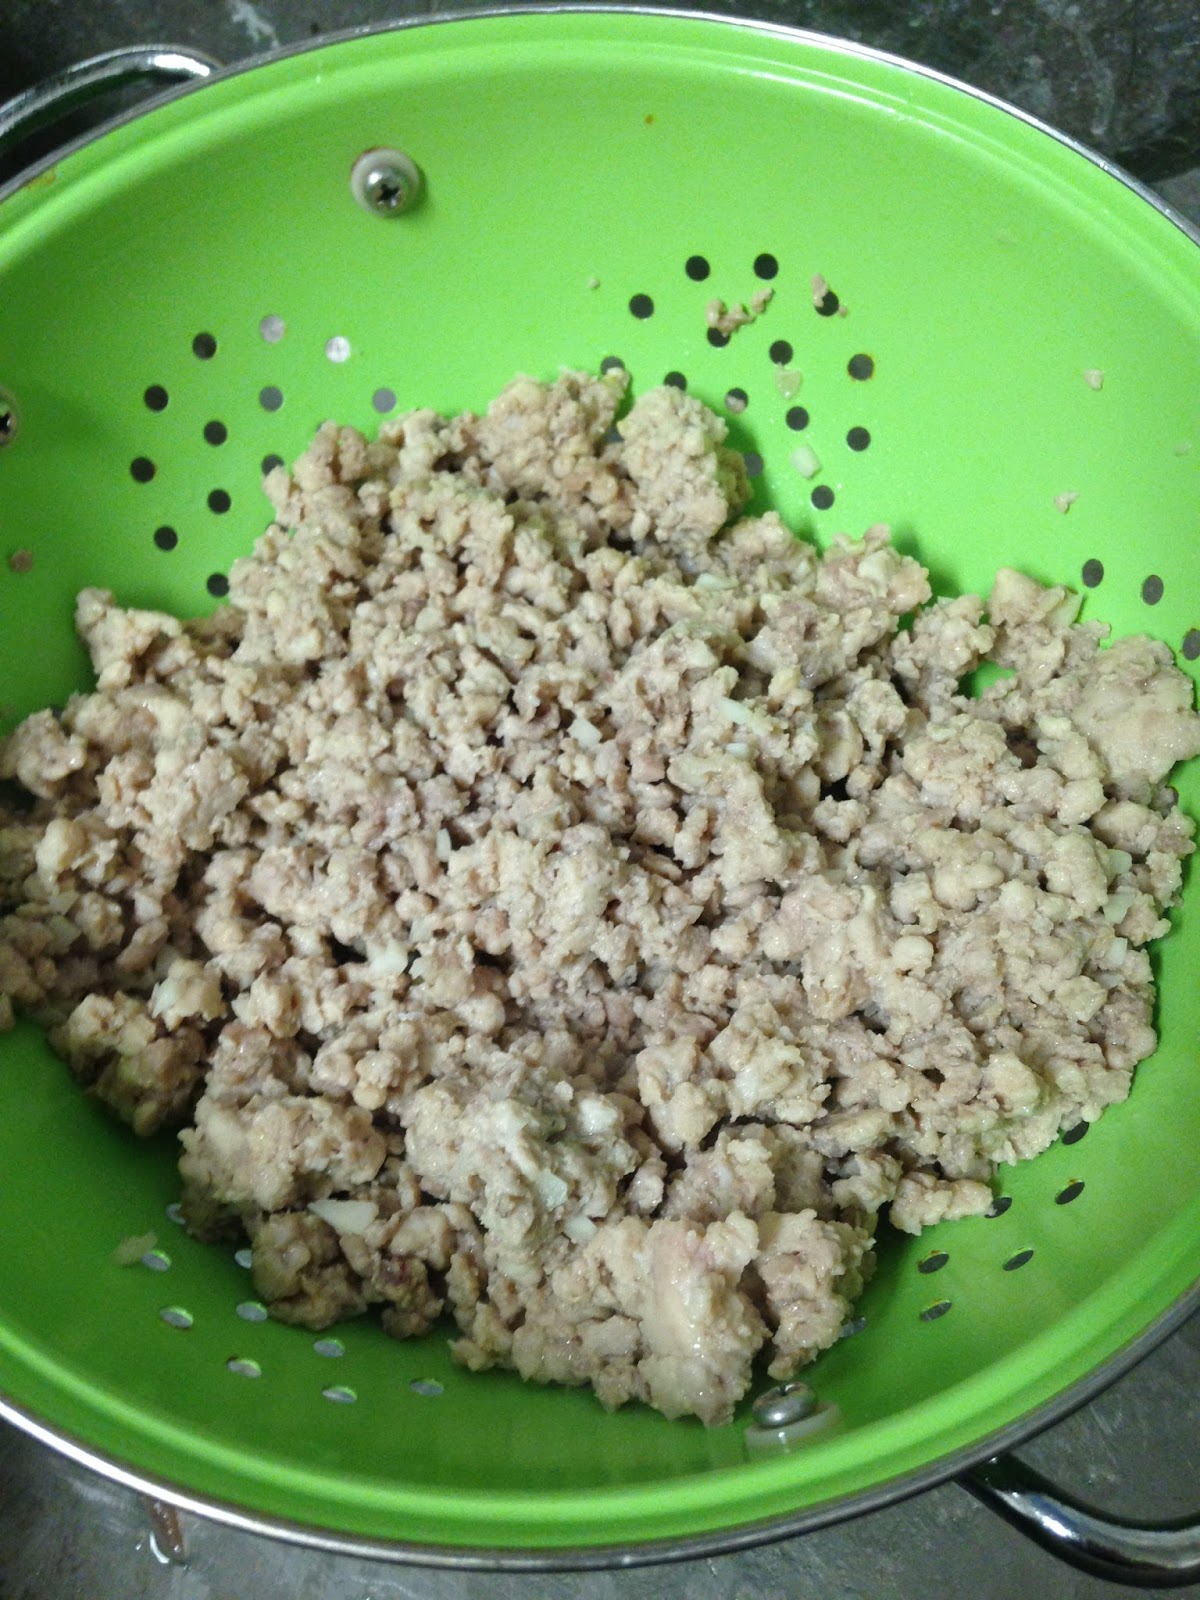
2.  Once the meat is ground, microwave the chicken and garlic in a bowl, stirring about every two minutes until chicken is no longer pink, about 5 minutes if you're meat is already ground, about 8 minutes if you ground your own chicken.  (I know this step seems weird but this is a very important step.  This step allows the ground chicken to become firm enough to crumble coarsely without turning grainy in the slow cooker.)
3.  Drain off liquid and put chicken garlic mixture in the slow cooker.


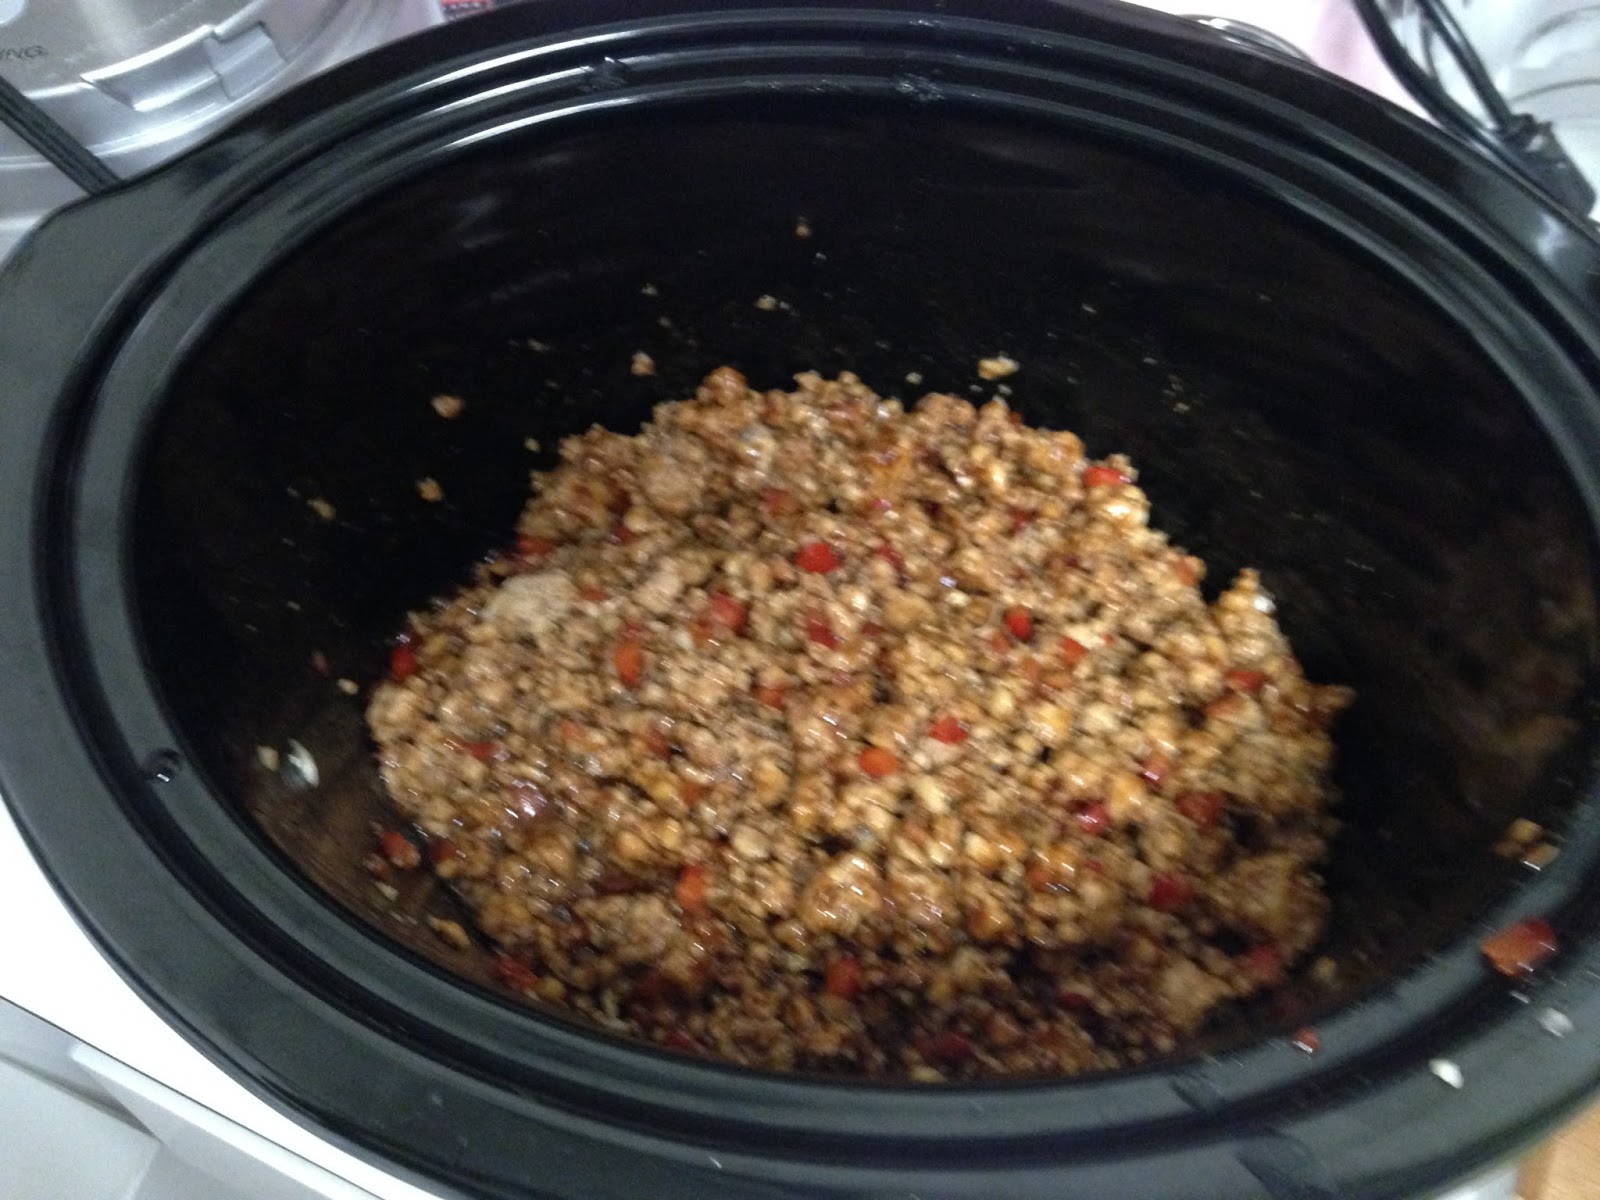
4.  Stir in the bell pepper, hoisin sauce, soy sauce, 1 tsp. garlic rice wine vinegar, 1/2 tsp. salt and 1/2 tsp. pepper.  Cover and cook until chicken is tender, 2-3 hours on low.  (I usually only find two hours necessary.)


5.  Let it cook for about one hour and taste.  If you want the mixture to be tangier, add the other teaspoon of rice wine vinegar. If you would like it to be saltier, add a little bit more soy sauce per your personal taste.
6.  When the chicken has about a half hour to go, if you do not already have a cup of leftover white rice from another meal, start a cup of white rice in a rice cooker.  While the rice is steaming, drain and dice/mince the water chestnuts.


7.  After the chicken mixture has cooked for a minimum of two hours, stir in the water chestnuts and rice and let it sit until heated through, about 5 minutes.
8.  Stir in scallions.
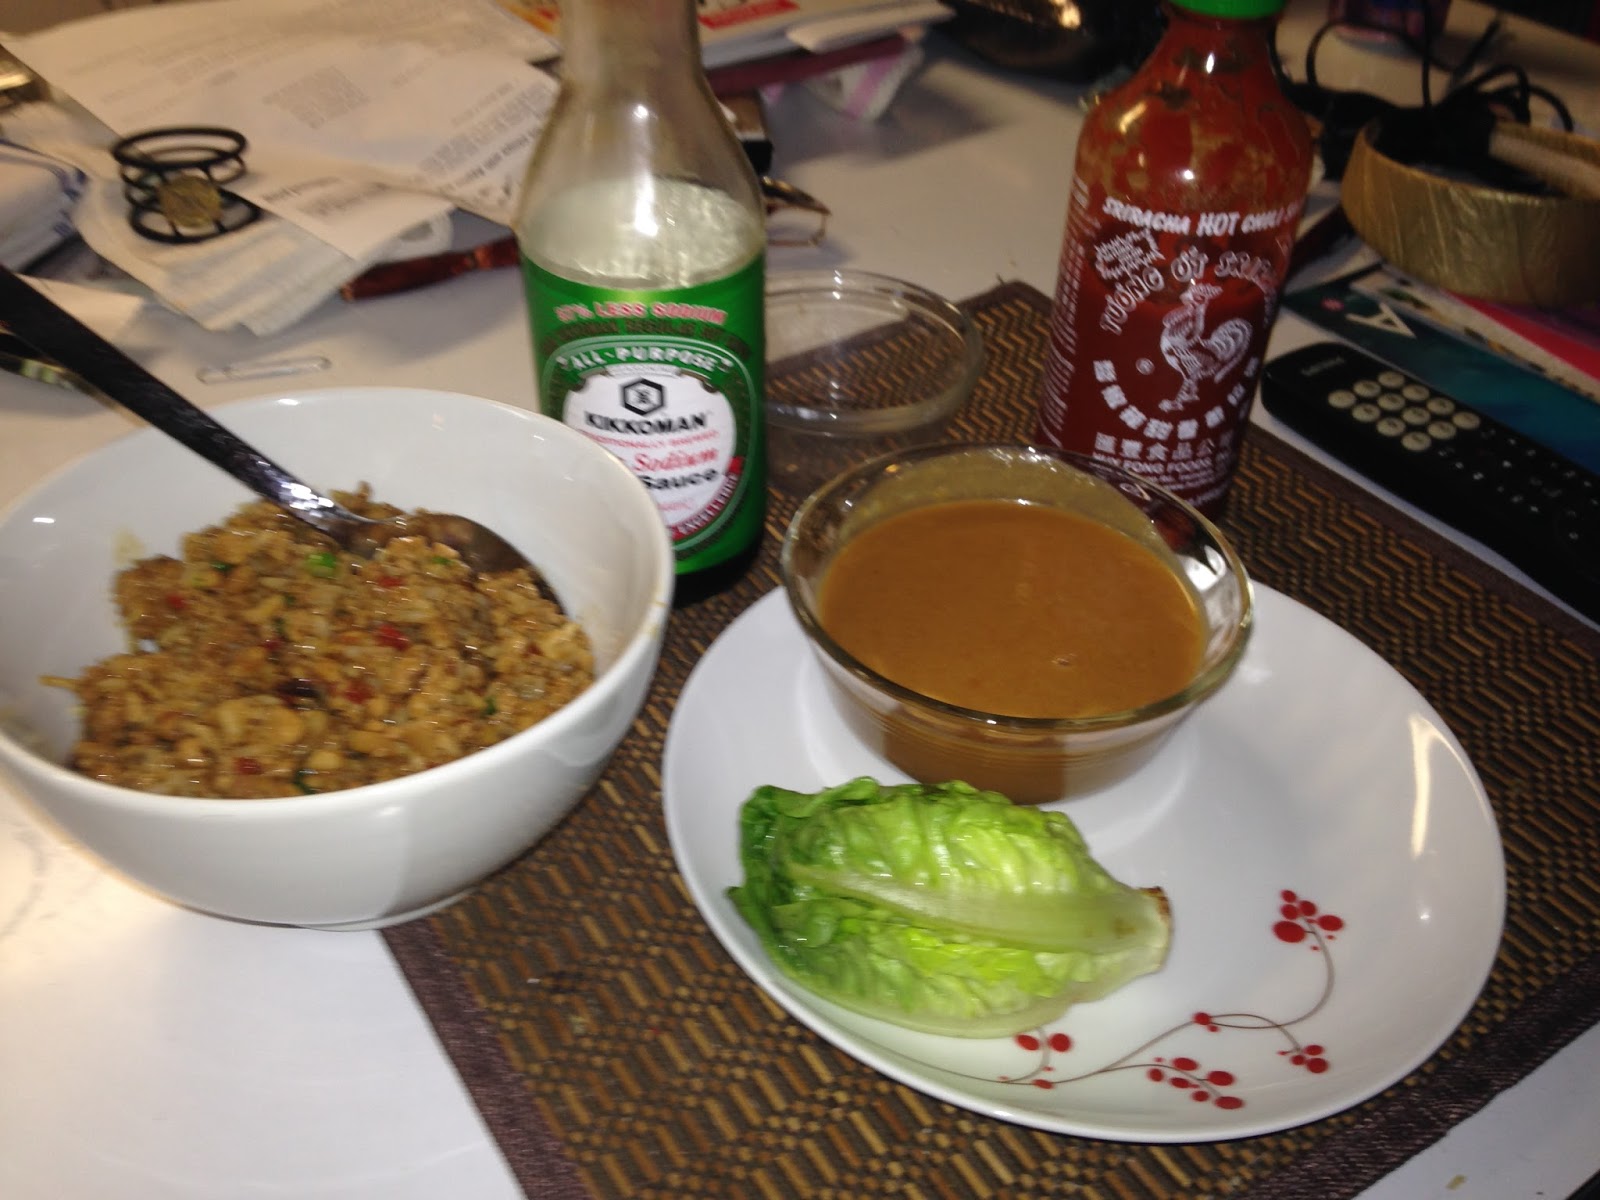
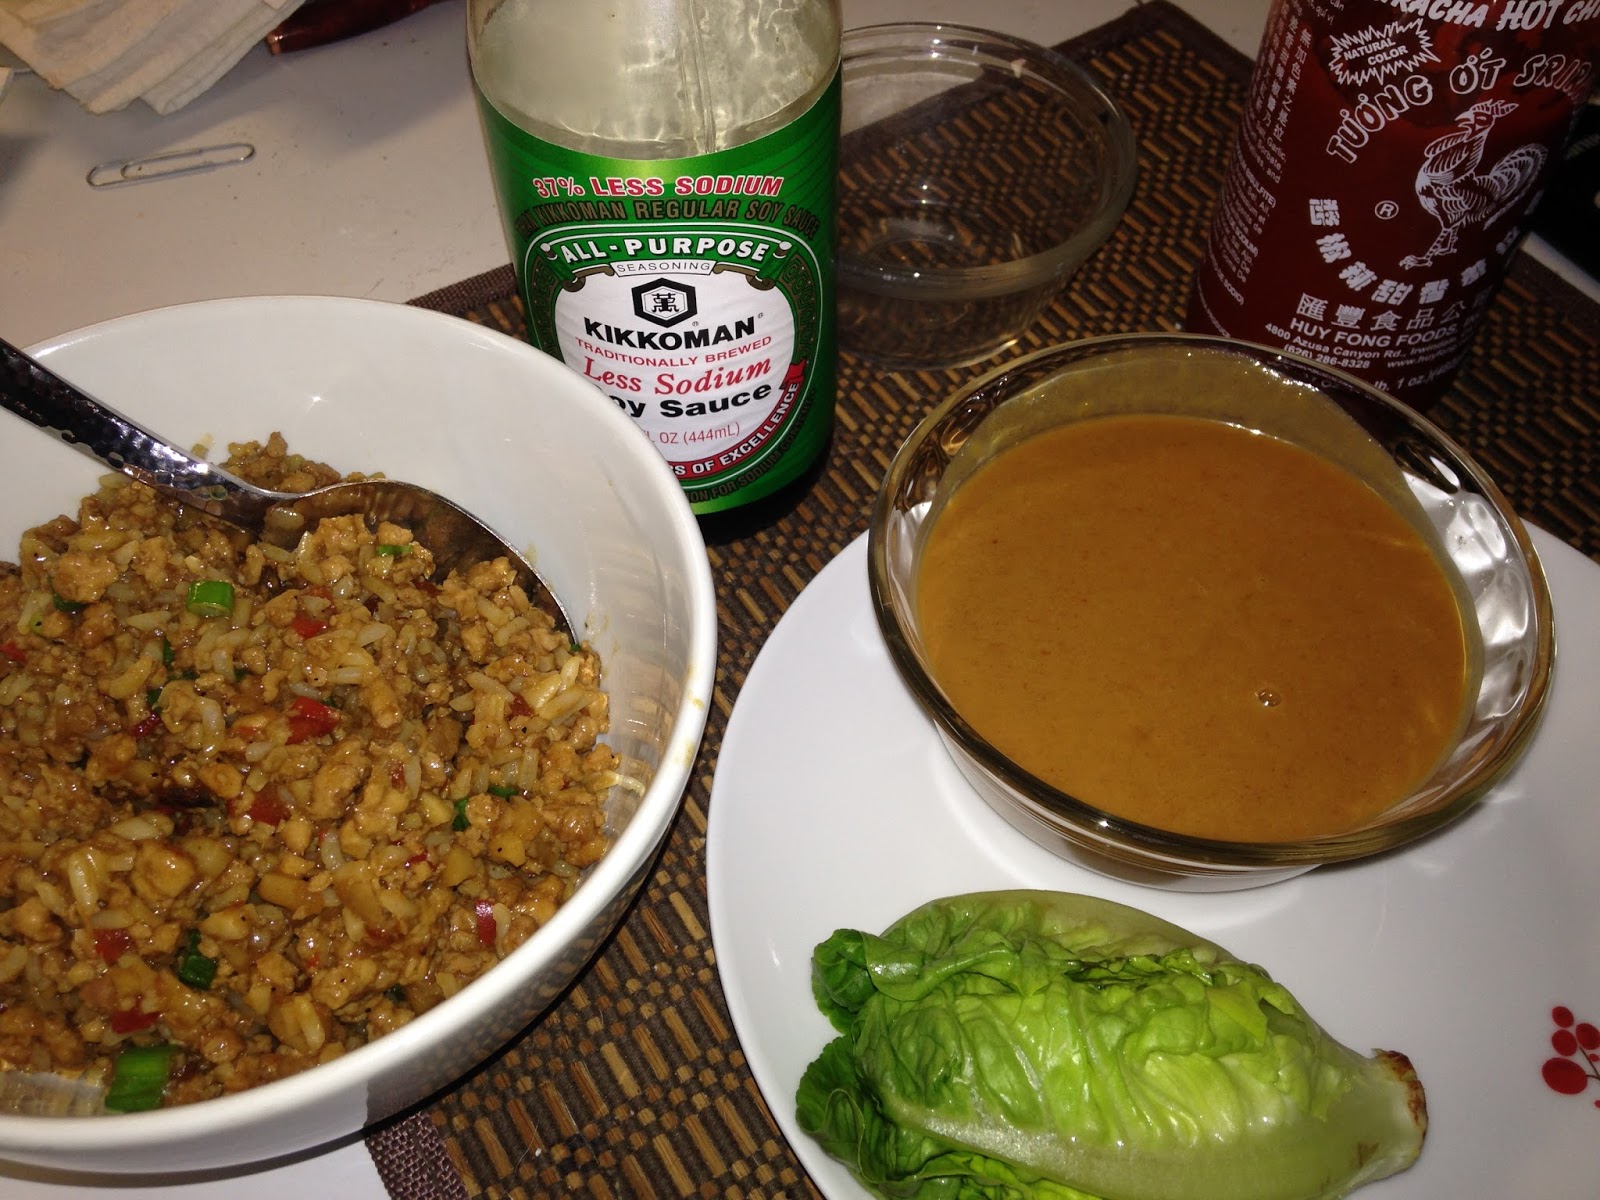
9.  Serve chicken with lettuce leaves, spicy peanut sauce, Sriracha chili sauce and soy sauce for dipping.


Sweet Spicy Peanut Dipping Sauce

Ingredients
1/4 cup plus 1 tbsp. peanut butter
1/4 cup garlic rice wine vinegar
1/4 cup water
1 tbsp. honey
1 1/2 - 2 tbsp. low-sodium soy sauce
1 tbsp. rice wine vinegar or fresh lime juice
1 tsp. sesame oil
2 tsp. Sriracha chili paste (Or more to your person taste--it I want it really spicy, I do 3-4 tsp. chili paste)
1 tsp. anchovy paste (You could also you 1/2 tsp. fish oil, but I never have fish oil but do keep anchovy paste as a staple.)

Instructions
1.  In a medium bowl, or using a small food processor, combine all ingredients and gently whisk together until smooth and creamy.  Set aside until ready to serve with wraps. 
 

Well, that is it for tonight's dinner.  I hope that you try it and enjoy!!!


Sunday, April 3, 2016

1st Meal of Another Two Week Menu - Pork Chops with Apples and Onions, "Mock" Garlic Mashed Potatoes, and Tossed Salad

Hi Everyone!
Its time to begin posting another round of two week menus.  My husband is currently rehearsing for a show, so the meals will be posted late as I will preparing them late so he has something to eat when rehearsals are done.   Why do I have to wait?  Because this time around I am going to include pictures!
Per some advice from some of my friends, I am going to try to do this differently.  The first change is that one of my friends asked me to put the two week menu into more of a grid.  Another asked me to include a grocery list with as many of the ingredients on the list as possible.  I tried to do this, but I know there are still some ingredients that I am missing.  Also, I did the grid.  I hope this was what she had in mind.

Sunday
Pork chops” with Apples & Onions
 
Mock” Garlic Mashed Potatoes
 
Tossed Salad
 
Monday
Asian Chicken Lettuce Wraps
Tuesday
Pork Steaks with curried peanut sauce
 
Roasted Garlic Cauliflower
 
Ramen Noodle Salad
Wednesday
Country Style Casserole (Chicken)
 
Julienned Carrots and Onions
 
Thursday
Fried Ham
 
Angel  Hair Pasta
 
Chopped Salad
Friday
Pan Sauteed Chicken with Vegatables and herbs
Saturday
Roast Chicken
 
Feta and avocado with red onions (Caprese Salad)
 
Stuffing Bread
 
Peaches  and Apples  with Peanut Butter Honey Dip
Sunday
Beef Roast
 
Potatoes
 
Salad
Monday
Chicken Salad
 
Roasted Tomatoes
 
Stuffing Bread
Tuesday
Beef Stew for Two
 
Strawberry Salad with Poppy Seed Dressing
 
Country Herb Croissants
Wednesday
Grilled Chicken
 
Curried Carrot Soup
 
Scallion Pancakes with apple chutney
Thursday
Muffuletta  Pasta Salad
Country Herb Croissants
Friday
Greek Meatballs in wine sauce
 
Herbed basmati rice
Saturday
Steak
 
Savory Grilled Corn
 
Twice Baked Potatoes
 
Fruit Salad Dressing & Fresh Fruit
Grocery List
Meats
Vegetables/Fruit
Pasta/Rice
Dairy
Staples (Items Already in Pantry)
Canned Foods
 
Pork Roast (from Costco)
Chicken Breasts
1 Whole Chicken
1 (3-4lb beef roast)
Ham (Cut into quarters and frozen)
Salami
Gold Potatoes
Apples
Onions (1 white and 1 red)
Cauliflower
1-2 Cloves Garlic
Green Onions
Bibb Lettuce
Romaine Lettuce
Iceberg Lettuce
Peach
2 Lemons
Frozen Shredded Hashbrowns
Carrots
2 ears corn
Strawberries
Cherry Tomatoes
 
Tri Colored Pasta
Angel Hair Pasta
Milk
Cream Cheese
Mayonnaise
1 tube refrigerated crescent rolls
Sour Cream
Parmesan Cheese
Hoisin Sauce
Soy Sauce
White Rice
Honey
Smooth Peanut Butter
Dijon Mustard
Chicken Boullion
Yeast
Bread Flour
1 (8 ounce can) water chestnuts
2 cans pineapple juice
1 can frozen orange juice concentrate
2 cans cream of chicken soup
Chicken Broth
Olive Salad


And now for the first meal of the week!!!

Pork Chops with Apples and Onions

Ingredients
2 "pork chops"  (these are two "chops" that I cut from the pork roast about 1 inch thick each)
Kosher Salt
Freshly Ground Pepper
1 tbsp. extra virgin olive oil
2 tbsp. unsalted butter
1/2 one white onion sliced
1 large apple or 2 small apples sliced
1/2 cup sherry

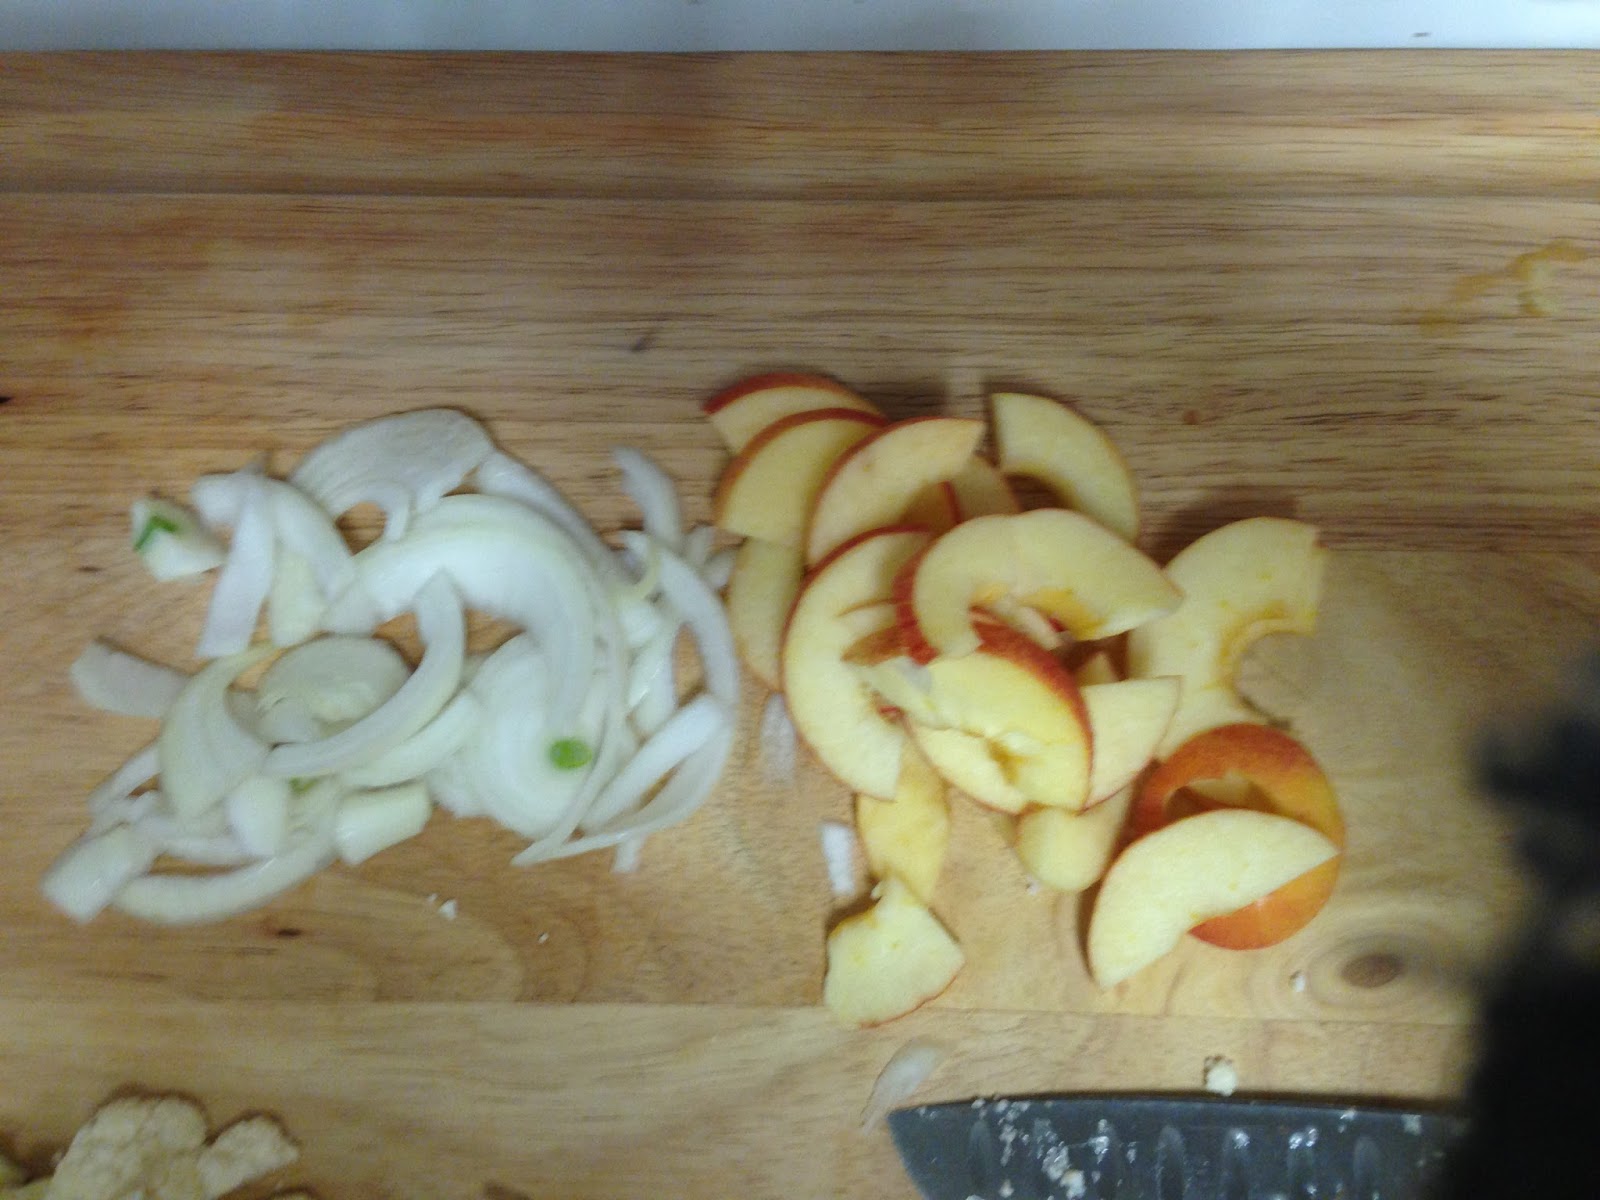
Ingredients sliced and ready to go

Instructions
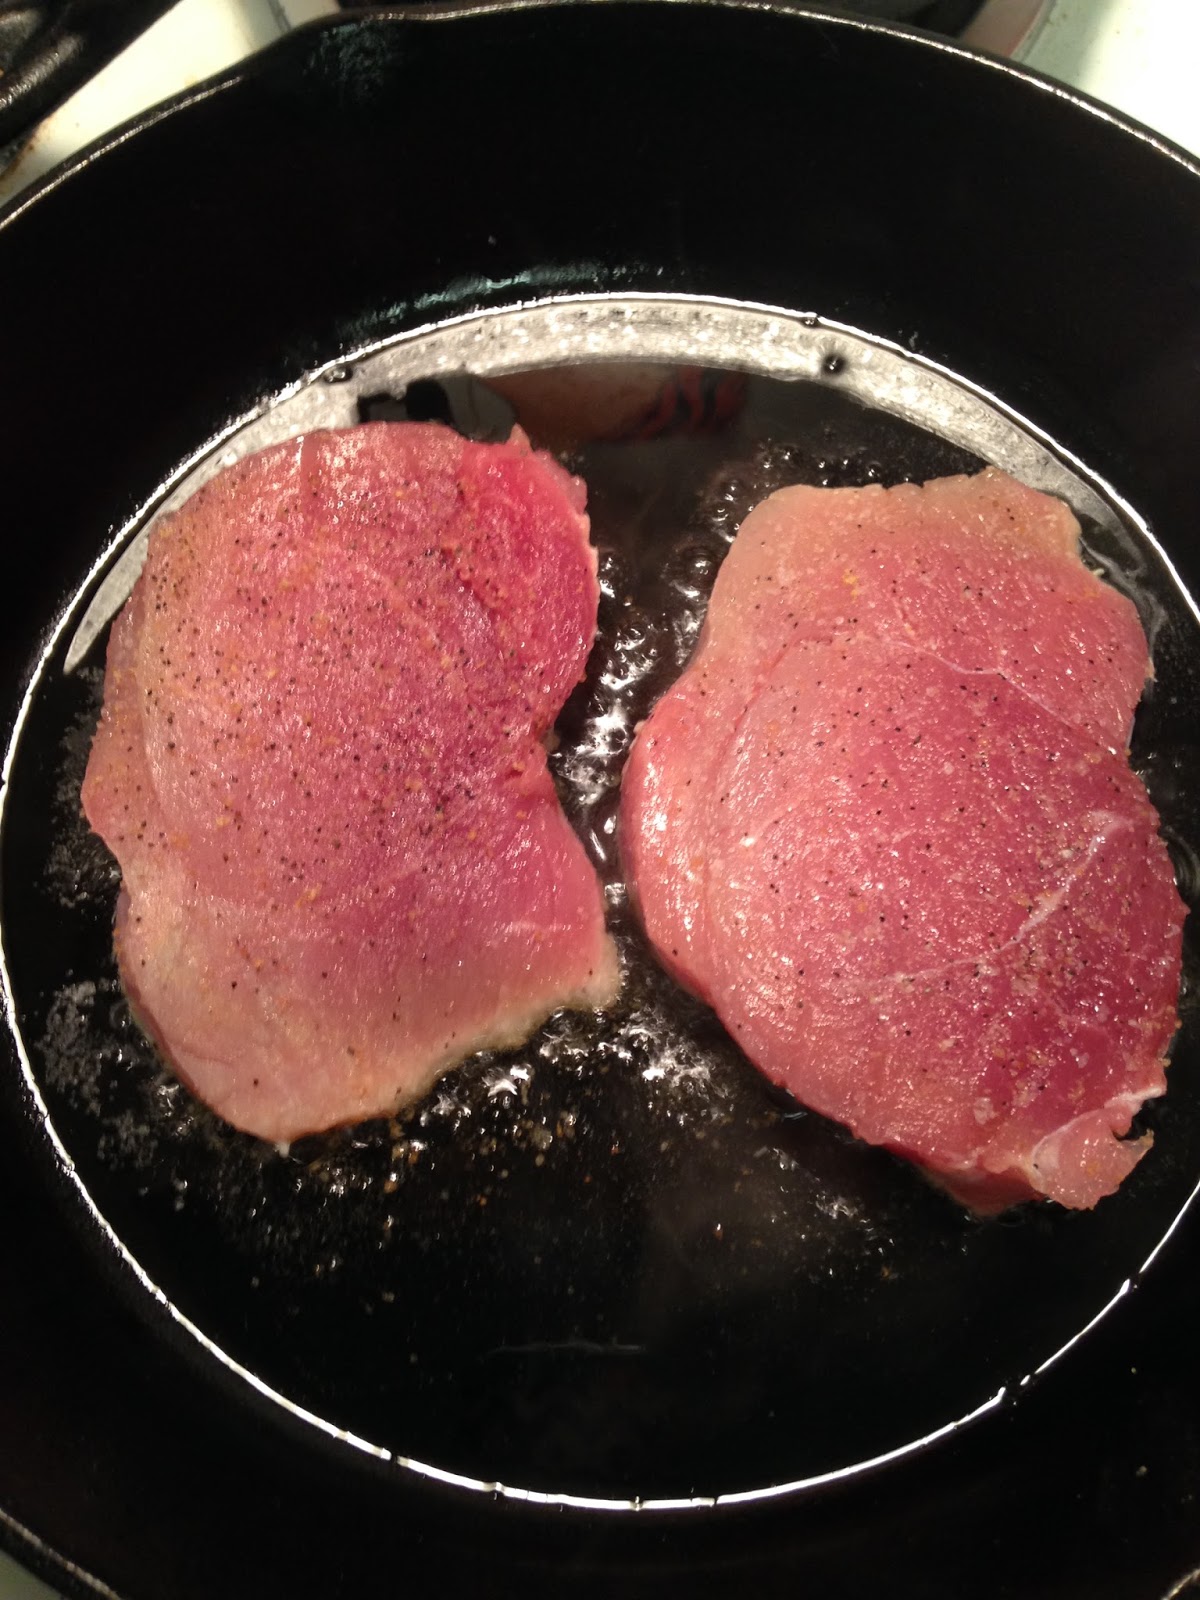
1.  Sprinkle chops generously with salt and pepper on both sides.


2.  Heat a large cast iron skillet over medium high heat and swirl in the olive oil.  Once olive oil begins to "gleam", lay the pork chops in the pan and don't move them for a few minutes, to assure that a good golden sear forms.  Turn and brown well on the second side for a total of about 3 to 4 minutes per side.  Transfer the chops to a warm plate.


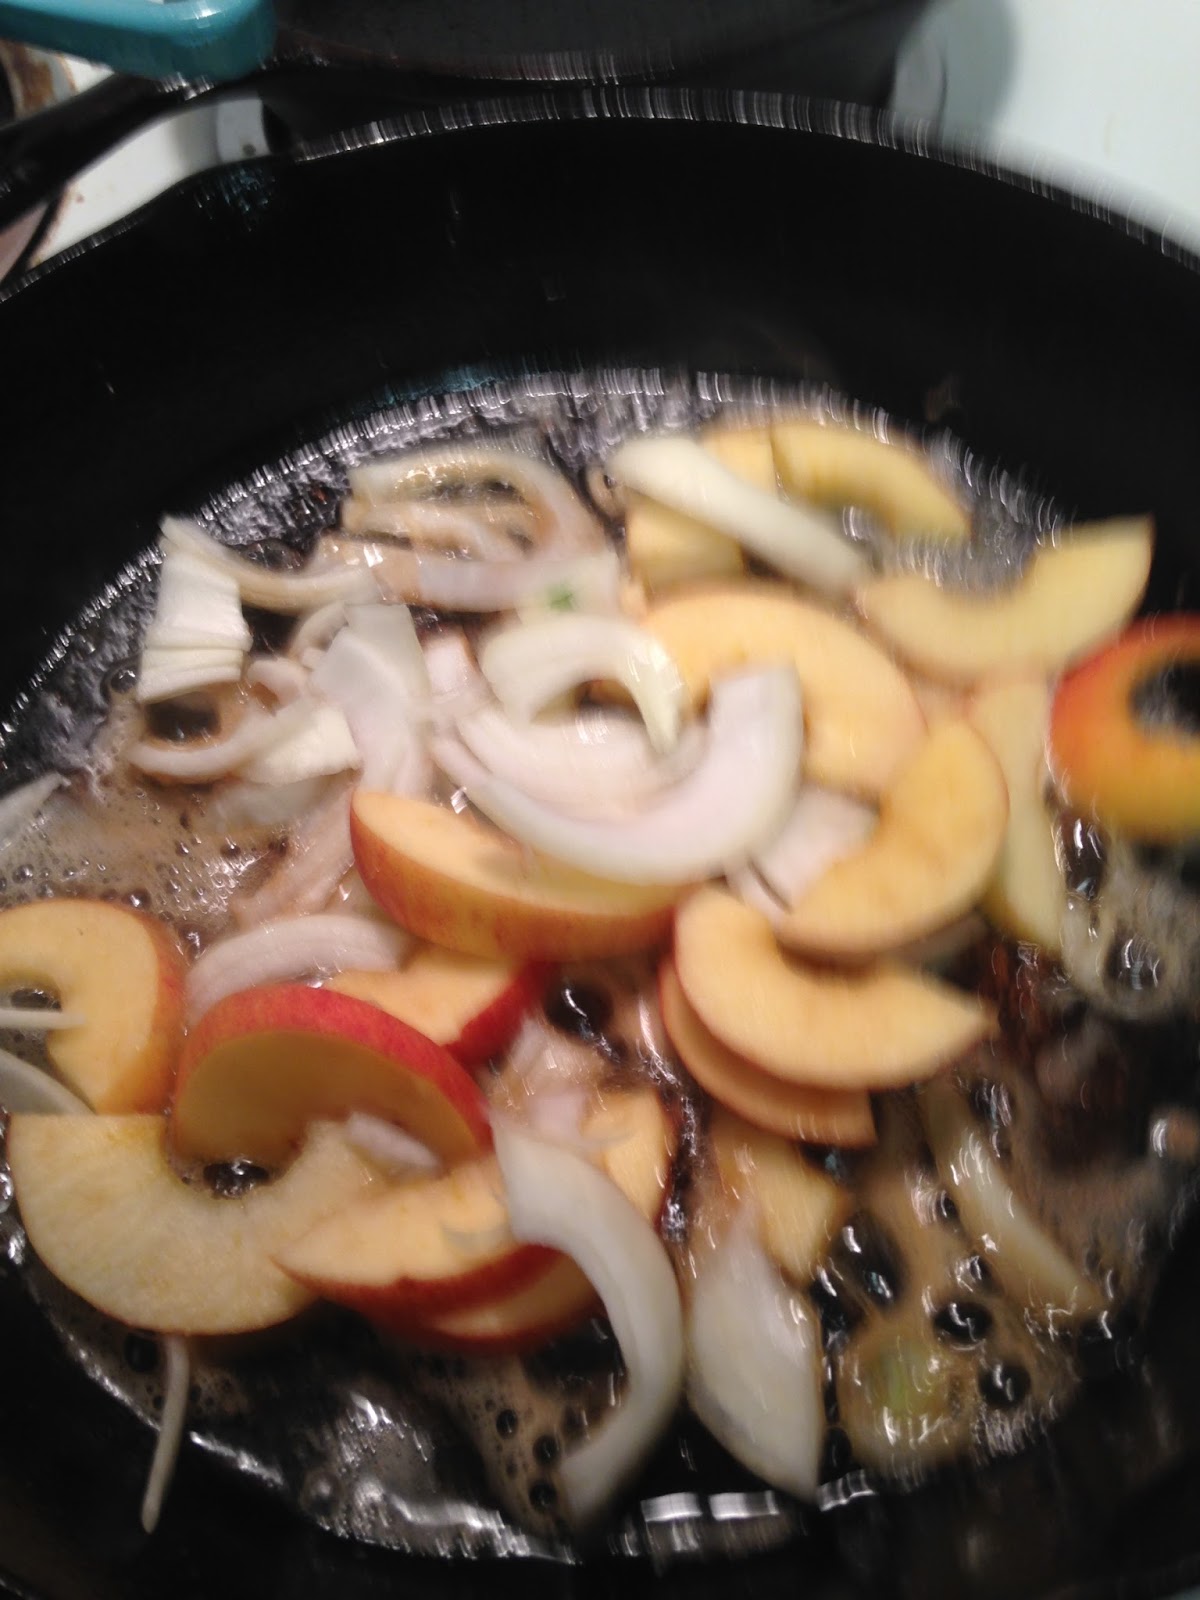
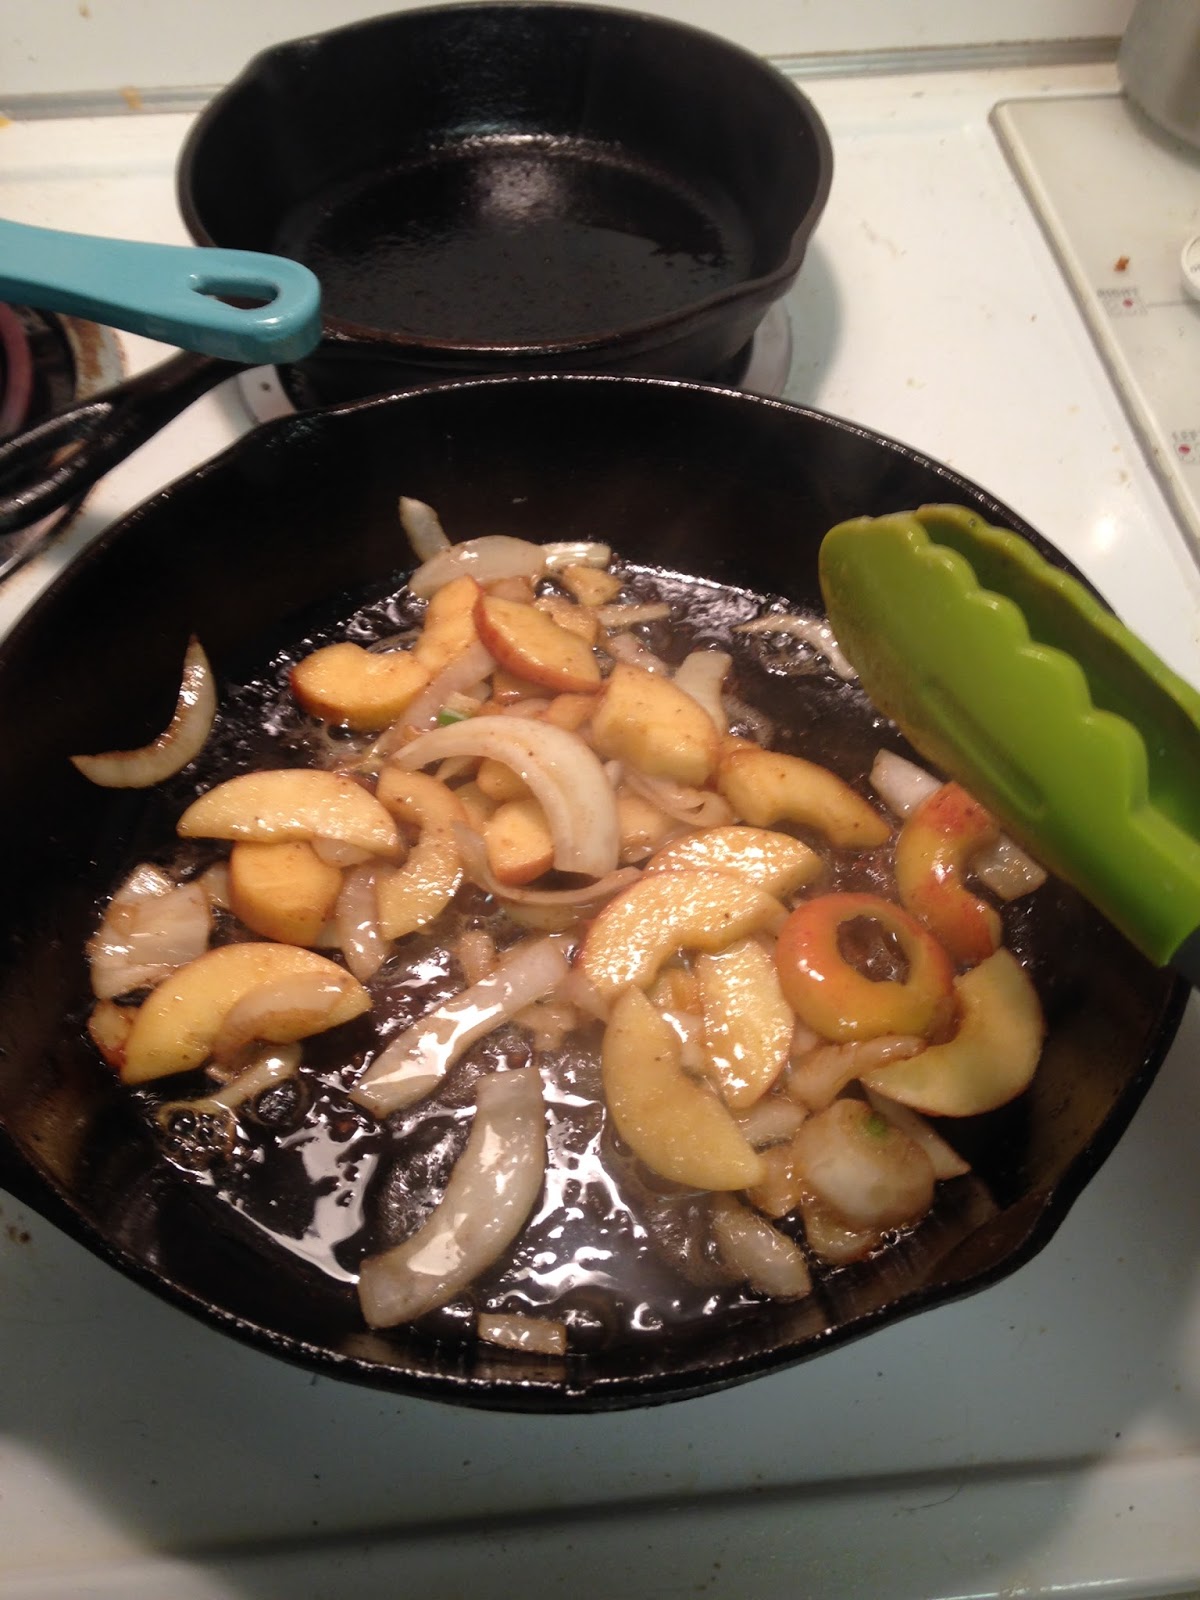
3.  Lower heat to medium.  Swirl the butter into the pan. Add the onions and the apples. Saute until the onions are lightly caramelized and that apples have begun to soften, about 8 minutes.  Stir in the sherry.  Return the chops to the pan.


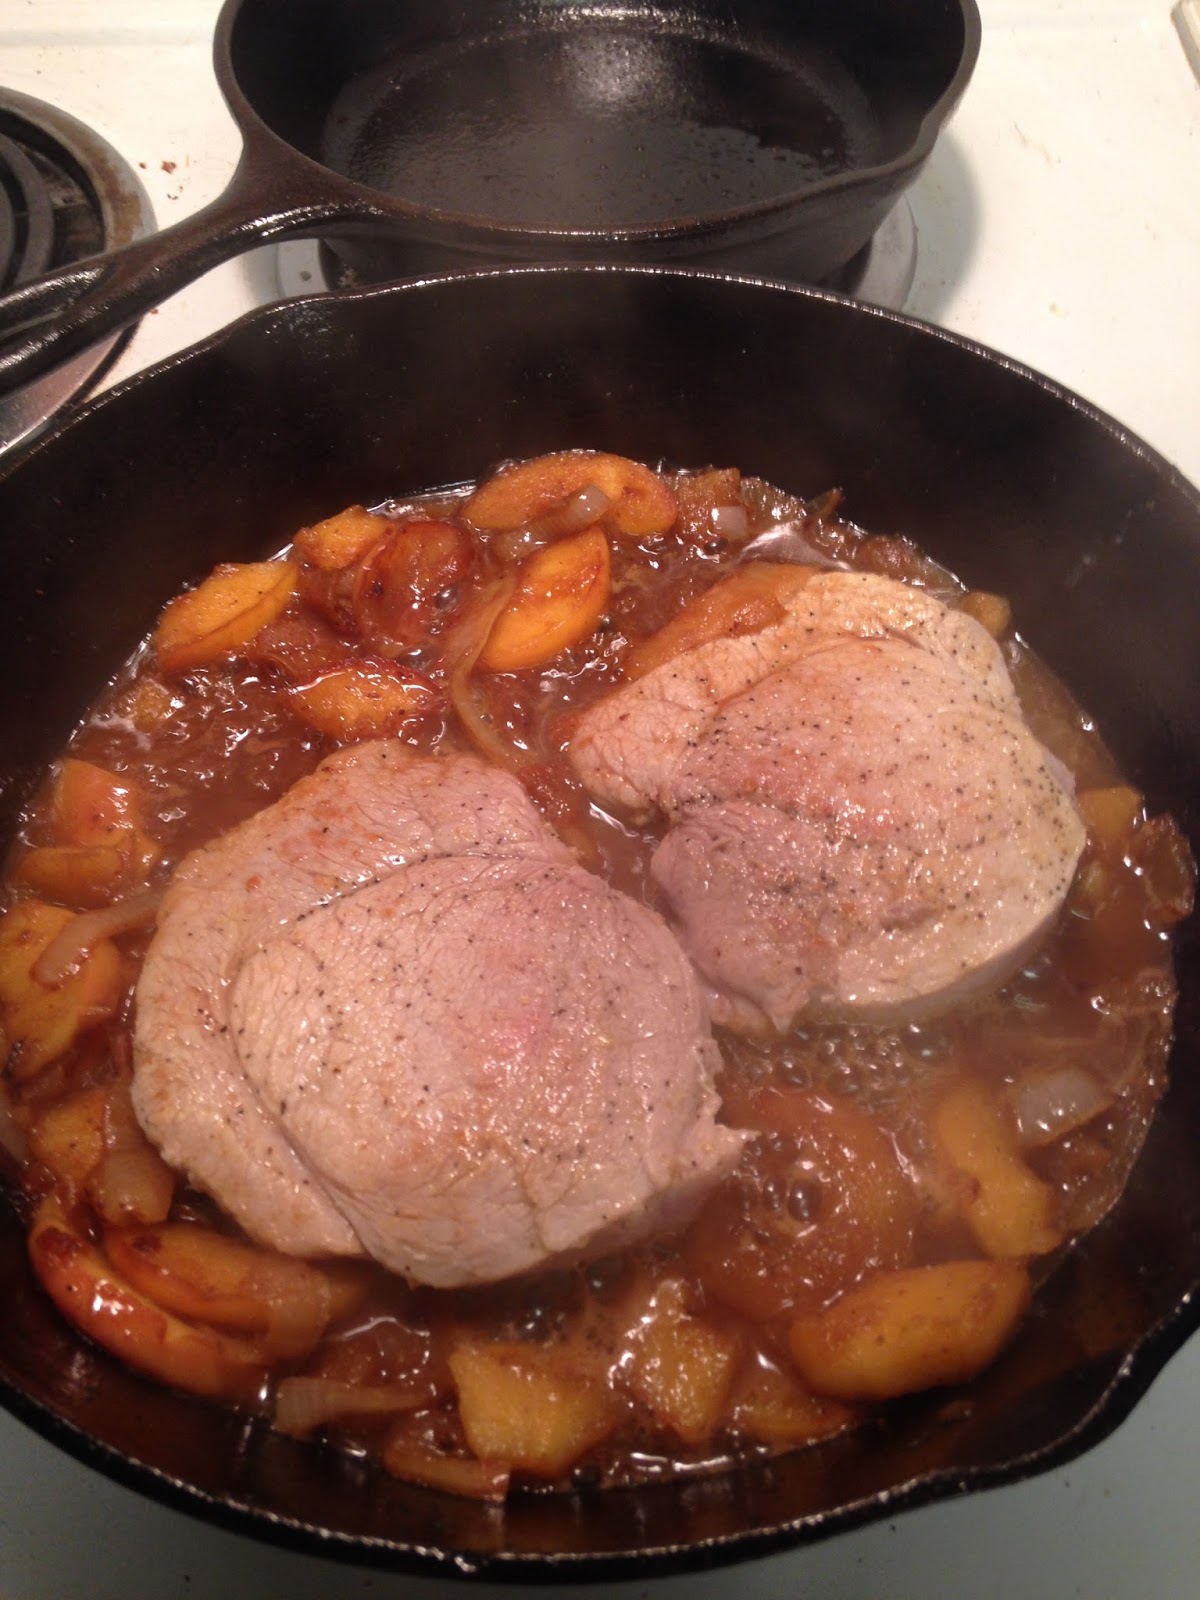
4.  Cook until the pork is tender and cooked all the way through, about 4-5 minutes per side.

Serve the chops with the apple onion mixture over the top.

"Mock" Garlic Mashed Potatoes

Ingredients
1 head cauliflower
1 tbsp. creamed cheese
1/4 cup grated parmesan cheese
1/2 tsp. minced garlic
1/8 tsp. chicken bullion (I like Better than Bullion.)
1/8 tsp. freshly ground black pepper
Chives ( for garnish)


Instructions
1.  Set a medium size pot of water to boil over high heat.
2.  Clean and cut the cauliflower into small pieces.  (I only used about a half of the head of cauliflower.)
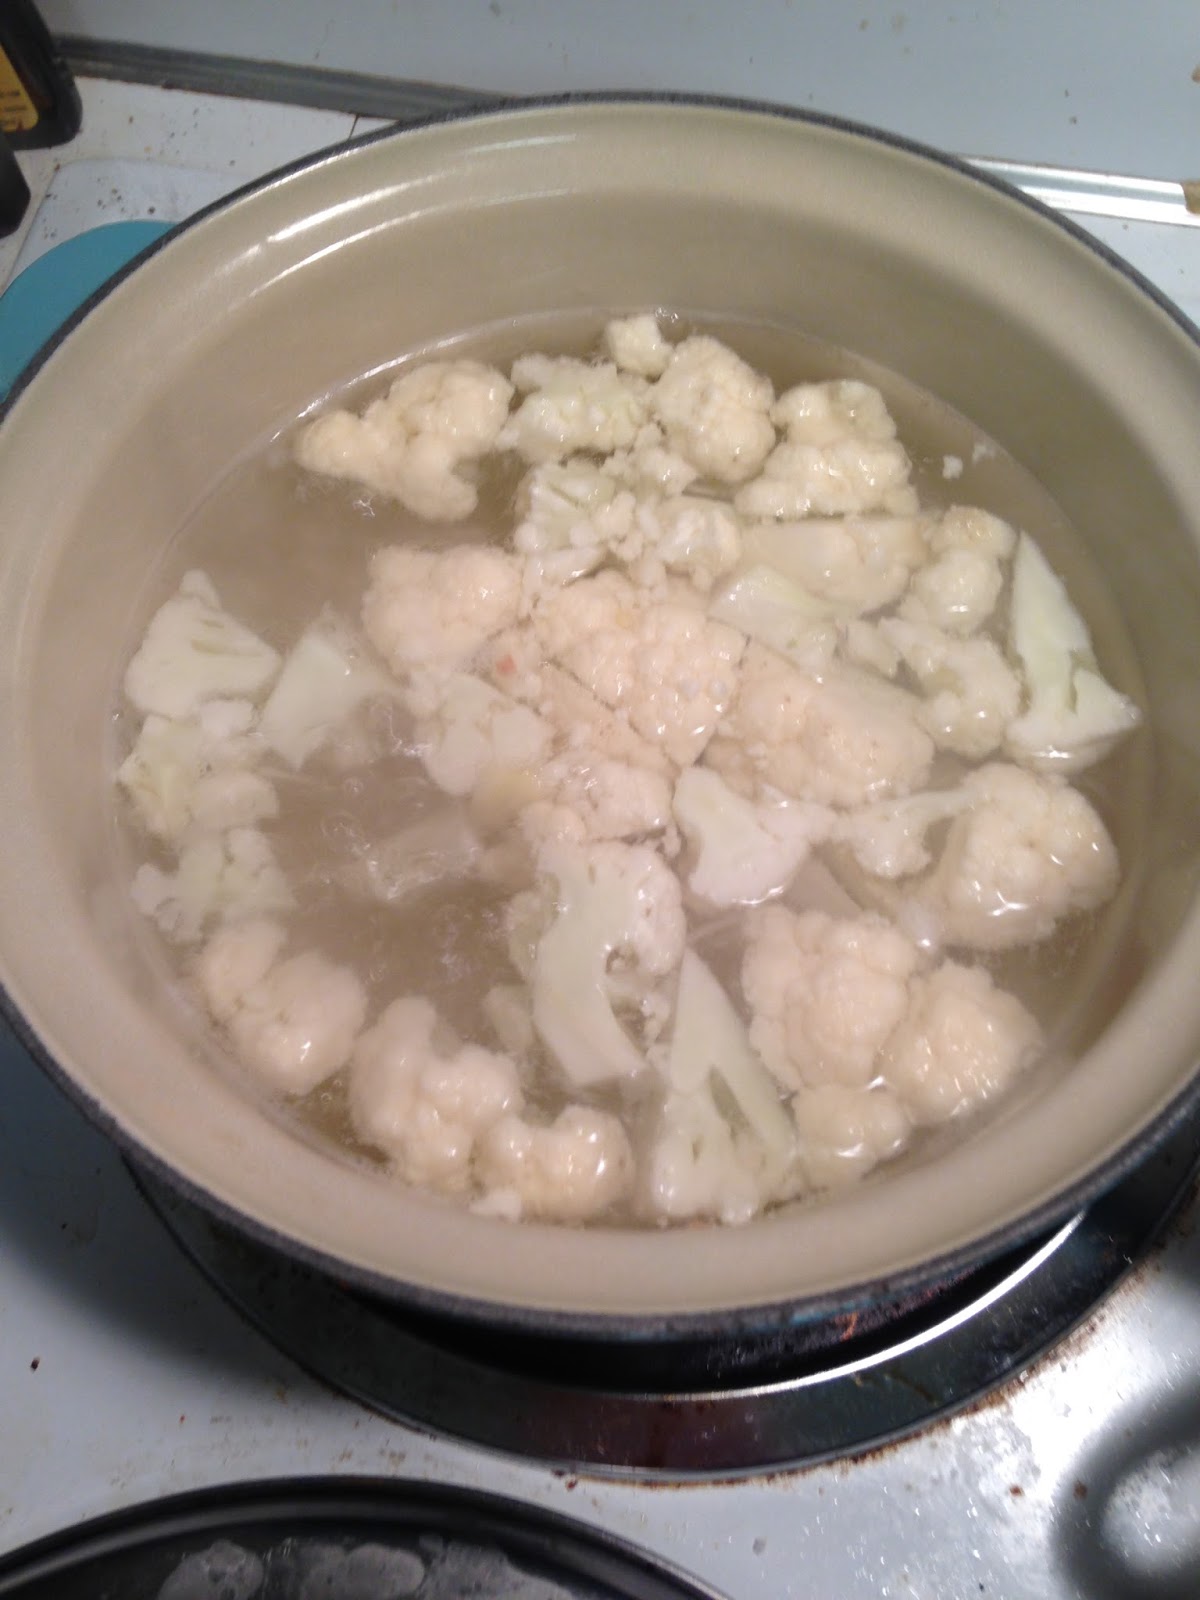
3.  Place in water and boil for about 6 minutes, or until well done. 


4. Drain well, do NOT let cool.  Pat cooked cauliflower dry between several layers of paper towels.
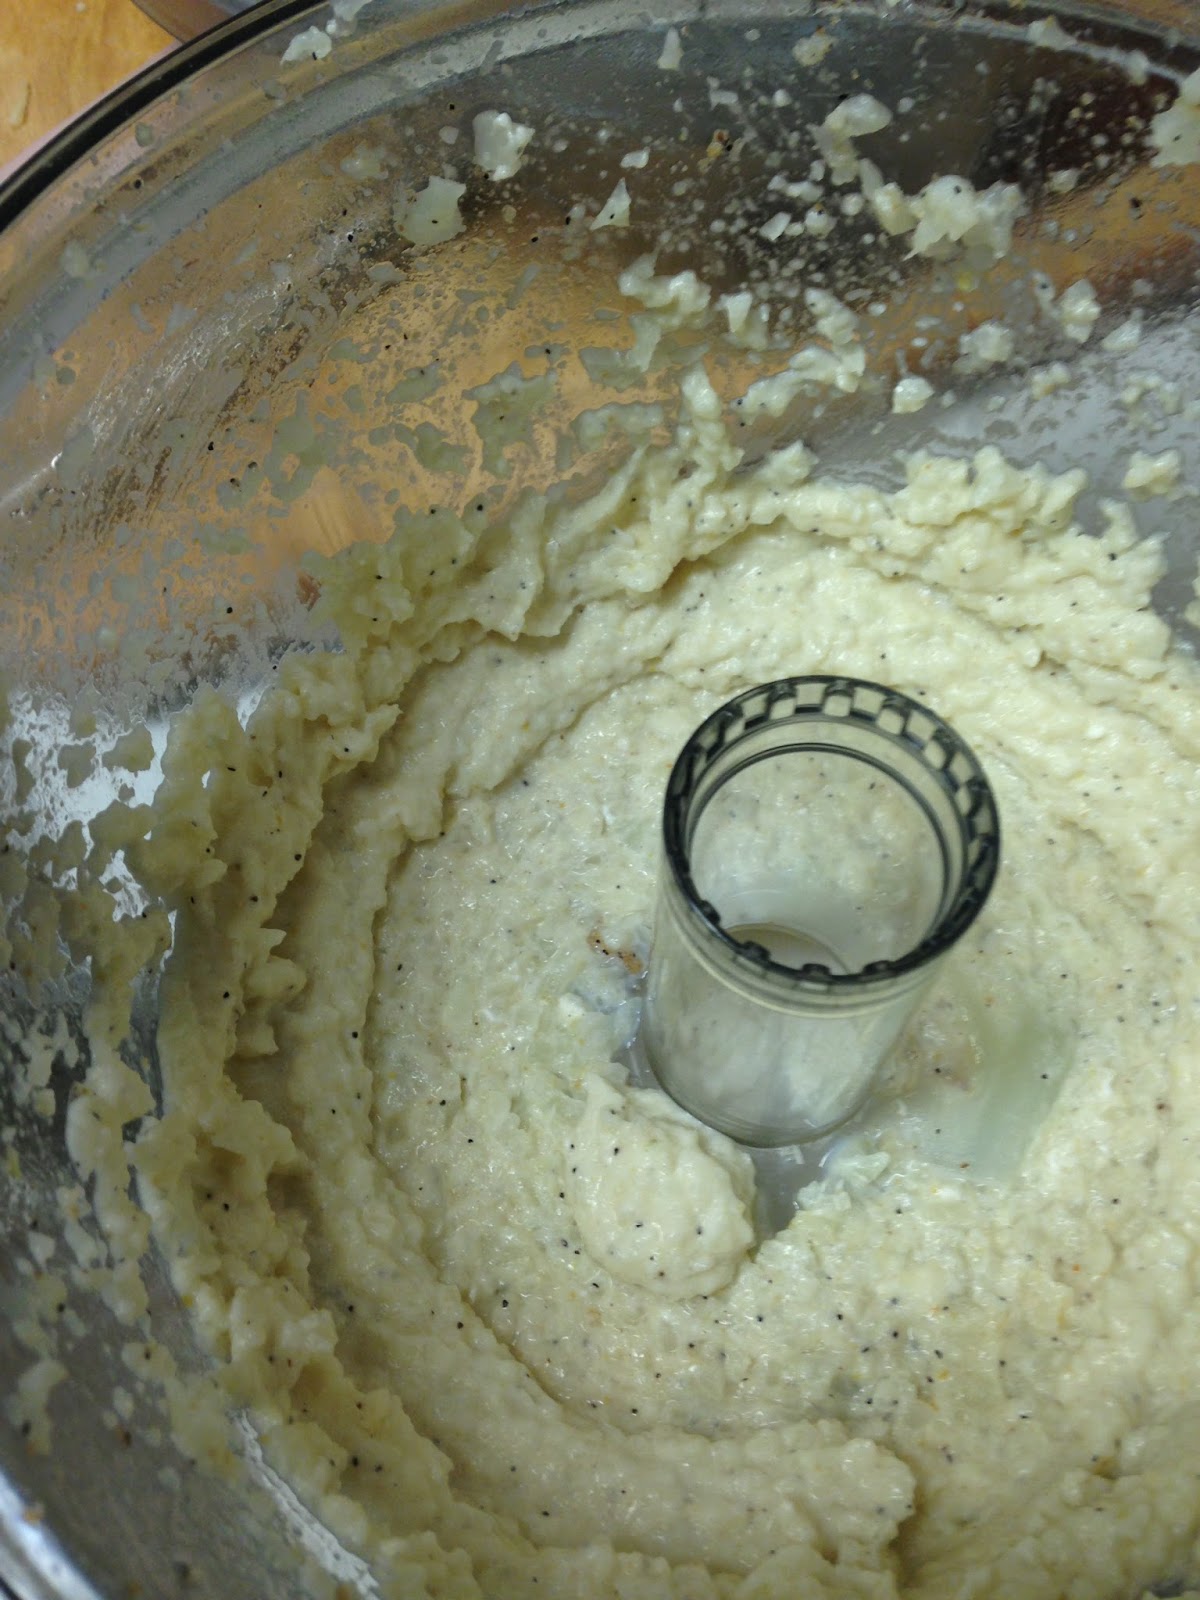
5.  In a food processor, puree the cauliflower with the cream cheese, Parmesan, garlic, bullion, and pepper until almost smooth.


Garnish with chives.

Y'all are on your own for a salad with the one.  I just did lettuce, carrots, chives and a vinaigrette dressing.

Hope y'all enjoy and I will post the next recipe tomorrow.


Friday, April 1, 2016

Golden Tips Manicure

Hello Everyone!
I am sorry that it has been so long since I have posted.
What could you possibly have been doing to stay away from us for so long you may ask.  Well......  My husband participated in Louisiana's Grid Iron.  Which is apparently the longest, continuous running Grid Iron in the nation.  And I met the governor!!!!


 Then, it was Easter and I had to carry on some family tradition.  I inherited my great grandmother's cast iron lamb mold and it is one of my most prized possessions. I decided that it was finally time to put on my big girl panties and try to make a lamb cake. The first goal was for the cake to actually rise and make a three dimensional lamb. (That's harder to do than it sounds, you can just ask my dad.)   The second goal was for the head and ears to stay on the cake.  This was also not as easy as it sounded because I had to make certain that the lamb survived for a 30 minute drive to Easter dinner. Seven hours of prepping and baking to make this little guy.


But the lamb was a success and I am very proud of my first try.  Next year I may try to make more decorations so that the lamb can lay down in a bed of flowers.

And today is my birthday!!!!  (No foolin'.)  So I took off work today, promised my co-workers that I would not do any work at home, and decided to spend the day doing things that made me happy.
So I woke up late and had breakfast.
Then I went shopping at Marshall's for a little while. (I love Marshall's!) Where I got myself a new lunch tote bag and some kitchen towels.  Aren't these the cutest?!?!


Then I did some yoga and had some lunch.  The dogs tried to participate in the yoga.  They're very good at downward dog.


And then I decided to give myself a manicure.  I love going to the salon and getting my toes and nails done.  It is one of my greatest pleasures in life.  But sometimes, I don't want to drive out in a thunderstorm or I do not have the funds to afford to pay for a manicure, so I do it myself.
Doing a manicure yourself is actually a great way to save money if you get your nails done.  If you don't get your nails done, doing your nails yourself can be the ultimate in self pampering.  I love do various types of manicure designs, so I thought I would show all of you the frugal femme way to do a manicure.
You should do this while watching a movie.  Personally, the girly-er the movie the better.  Today, I chose Bridget Jone's Diary.  What ever you do, don't plan on doing anything with your hands for two hours.

Equipment needed:

nail file/emery board (I like glass nail files because you put them in the dishwasher and they last forever until you drop them.)
buffer file
cuticle trimmer
cuticle pusher
custard bowl
warm water
dove dish soap (or dish soap of your choice)
clean towel
cotton balls
q-tips
nail tips
nail polish remover
hand lotion of your choice
nail/cuticle oil
base coat
nail polish (rose gold and turquoise)
gel top coat


I know you're thinking. Dang, that's ALOT of equipment, and it is. But, most of it you probably already own,  and, those pieces that you may not own (like cuticle trimmers or a cuticle pusher), you can get by purchasing a manicure kit.  (You can get kits from between $6-$20 on eBay.  Or they make great stocking stuffers, so they are good items to ask for when people ask what you would like for Christmas.)
I did not include nail clippers or anything to actually trim your nails on this list.  The reason is because I am focusing mostly on the decorative part of doing a manicure. You will need to make certain that your nails are the length and the shape you want before you start your manicure.
Also, this post assumes that you have had your nails professionally manicured at least once. If you have not, get it done and carefully watch what they do, this will make it easier for you to know the correct way to do the steps when you are doing them for yourself.

Instructions

1.  Remove all existing nail polish you may have on your nails.
2.  File your nails to the shape and length you prefer. I personally like my nails to be kind of a squoval shape but you do what looks good on you and what you prefer.
(Some people like to file their nails after they have soaked them. I do not prefer that, but it may work better for you.)
3.  Place warm water and Dove dishwashing liquid in a small custard cup.  Soak the tips of your fingers in the warm soapy water until your cuticles are soft.  I like to soak mine until the tips of my fingers are almost starting to prune.


3.  Using the cuticle pusher, gently push down on your cuticles.  Gently is the key word here. Let the instrument do the work for you.  You will have a tiny collection of dead skin near the bottom of your cuticle bed.


4.  Carefully trim the dead skin with the cuticle trimmer.  Be very careful.  Some salons advise filing your cuticles and not using a trimmer so that you don't have to worry about cutting your cuticles and making yourself bleed, but that doesn't work for me. DO NOT over trim.  When done correctly, you should not feel the skin that the trimmer is removing as it is already dead. There should be no pain and no bleeding.  Again, I cannot stress enough, be gentle when you do this.


5.  Brush the tops of your nails with the buffer file.  After this, you may have to do some trimming of your cuticles again.


6.  Brush on cuticle oil. (I like Essie Apricot oil.)  Allow cuticle oil to soak for about five minutes.


7.  Rub hand lotion into hands and lower arms.  Let soak in for about five minutes.
8.  Thoroughly wash hands paying particular attention to the nails. If you have a nail scrubber, now would be the time to use it.
9.  Wet a cotton ball with nail polish remover and wipe it across every nail.  This will remove the last of the oil from the cuticle oil and the lotion.
YOU ARE NOW DONE WITH PREPPING YOUR NAILS!!!! 
At this point, if you didn't want to do a fancy manicure, you could put on clear coat of polish and call it a day.  But, we are going to do a fancy manicure, so continuing on....
10.  Brush a base coat onto all of your nails.  (Yes, you have to do this.  This will make the difference between your manicure lasting a few days and your manicure lasting a couple weeks.  I personally like to use Essie's Fill the Gap.)


11. After the base coat has dried, brush on your first coat of your main color nail polish. For this manicure, I used Chanel's Azure.  (Yes, I like to use pricier nail polishes. This is one of those times where cheaper is NOT better. I like Essie, OPI and Chanel.  I find that cheaper nail polishes do not give the same look as a salon manicure, so I spend the money on the higher end polishes.  Because this is a splurge for me, I do not allow myself to go crazy with the amount of nail polishes that I have, meaning that I do not have any more than 12 nail polish colors at a time. This is also another good item to put on your Christmas list for friends to easily pick up for your or, you can purchase it on eBay and save money.)  Brush on at least two coats nail polish.  Make certain that you pause through each coat so that the nail polish is dry before you apply a new coat.


13.  Once nail polish is completely dry, put on the nailene perfect tips on the tips of your painted nails as a template. (You can hand paint this if you would like, but the tips make it so much easier and they are only $0.99 at Walmart, so why wouldn't you use them?)
14.  After the templates are placed on the nails, paint your nail tips with the accent polish.  With this manicure I used Essie's Penny Talk.  As soon as you are done, carefully remove the templates.  If  you wait until the nail polish is dry, some of your accent polish will come up with the sticker template when you try to remove it from your nail.


15.  Let your nails dry completely and cover with clear coat. I LOVE the new gel coat top coats that do not have to have the light to dry.  I got my Dior top coat when it was the only brand to have a clear gel top coat, but I would advise getting the Essie Gel Top Coat instead. It does just as well and it is WAY cheaper.    The trick to gel paint is to make certain the brush has what seems to be an over abundance of paint and putting a blob of paint on the center of the nail.  Then carefully spreading this with the brush. If you try to do thin coats, it ends up with brush strokes in the polish.


16.  Once top coat has completely dried, use a q-tip dipped in nail polish remove to clean around the edges and to clean up where-ever you may have put polish that you did not intend to put polish.


VOILA!!!  A beautiful manicure that people will swear that you got done at a salon.

And, also, because it is my birthday, as a present for the ladies, I pose a question:  Why can't our president look like this?


HE is the real, honest to God, current Prime Minister of Canada.  Amazing.

Well, that is all for today.  I hope you had a great April Fools Day and I'll be back soon!